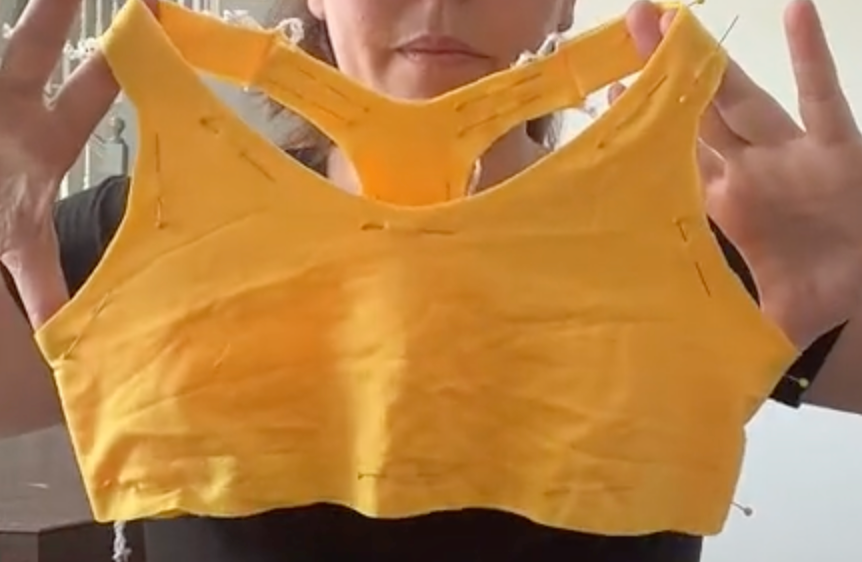
Fold Over Elastic or "FOE" is used in such a large part of our ready-to-wear clothing that I am sure you are wearing some RIGHT NOW. Here's a guide for how to "Sew that FOE (Fold Over Elastic) Like a Pro!"
What is Fold Over Elastic?
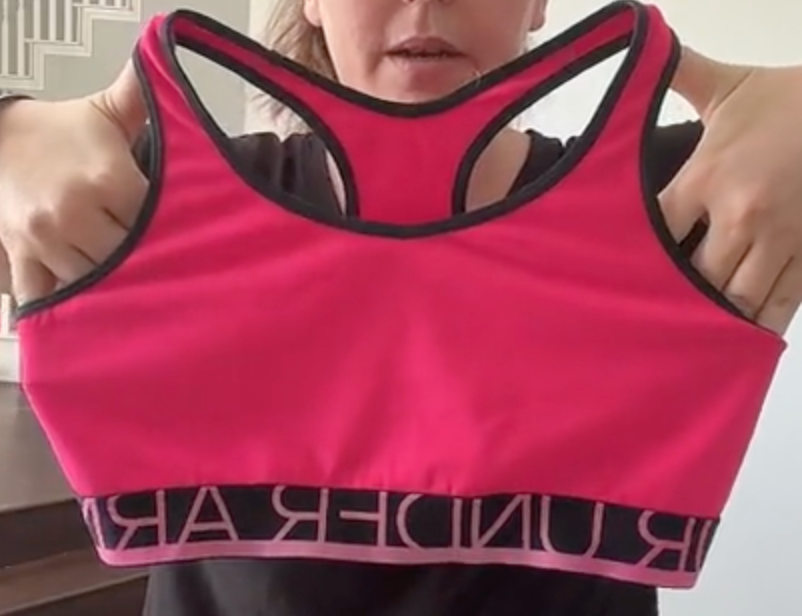
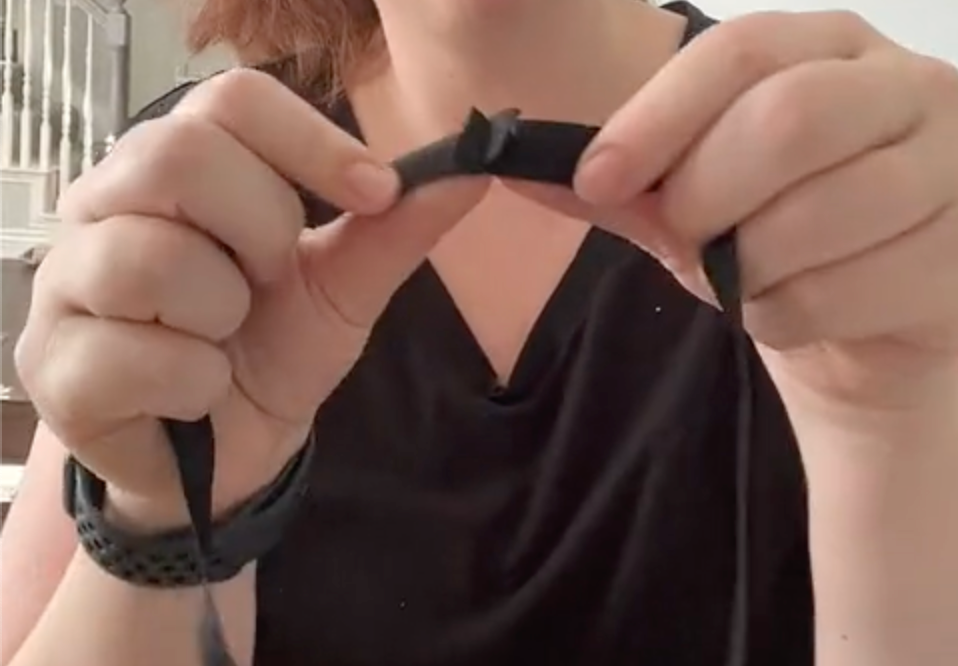
“ Fold Over Elastic” is an elastic widely used in ready to wear garments. It is easy to spot and defined by an elastic you can fold down the center. This type of elastic is lightweight and has great recovery! The elastic is sandwiched over the fabric on top and bottom and attached usually with a Cover Stitch Machine for high performance fabrics and stretch/ knits. This elastic is typically shiny on the finished side. Fold Over Elastic can come in many width options with 5/8” being the most common.
Why use fold over elastic?
Fold over elastic finishes the edge of the garment and adds structure/ elasticity to the edge line in one step.
I think you will find this application to be on multiple pieces of clothing in your wardrobe. This method can be used on sportswear, underwear/ lingerie, as well as under garments / tank tops and so much more!
Trace out your garment to make a pattern!
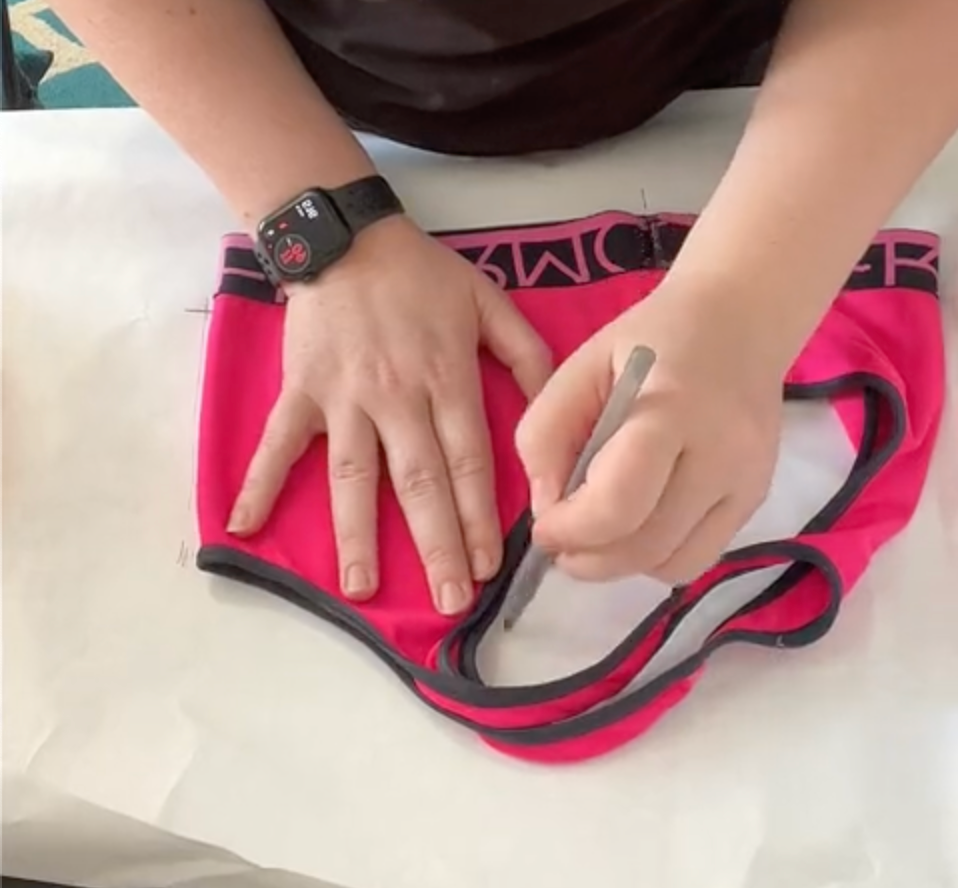
First I began by tracing out the garment to make a pattern. When finishing with fold over elastic you will not need to add seam allowance. This is because the fold over elastic encases the raw edge at the “edge line”. Only add seam allowance where seams are sewn together (at the shoulders and side seams).
Cut out the Pattern Pieces in your fabric.
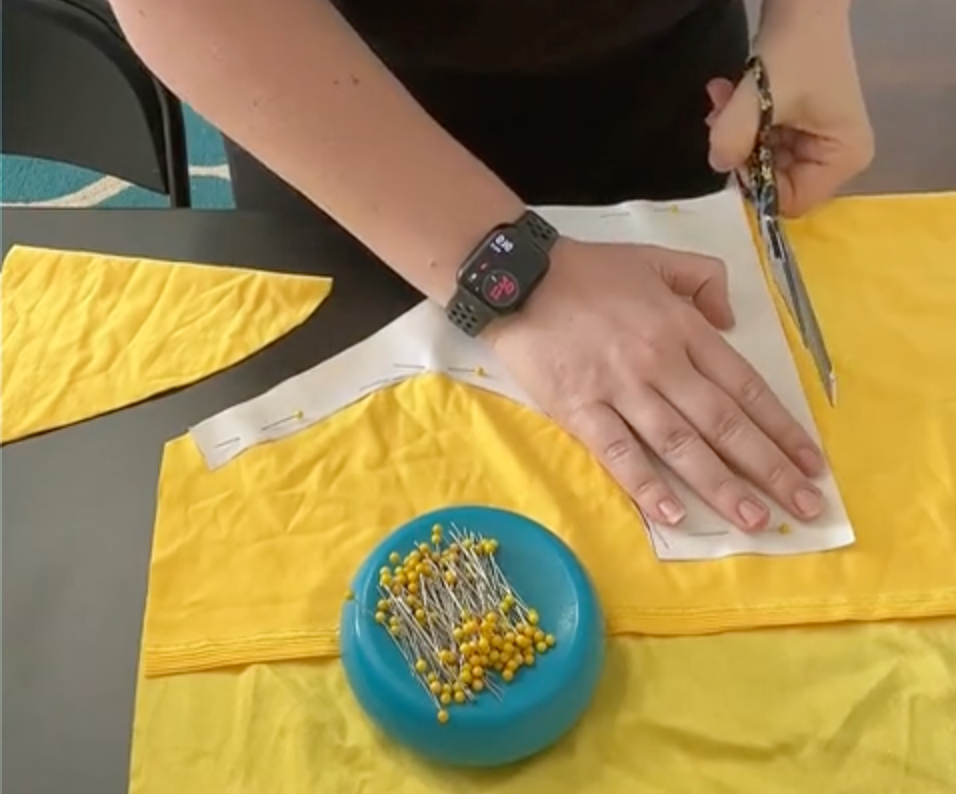
Keep in mind you DO NOT need seam allowance where your FOE Fold Over Elastic will go. Only where you will seam your garment together.
Assemble Your Garment
For the next step I assembled the garment. Options for the seams include: Sewing the seams together using a stretch stitch on your sewing machine or Serger like the Janome AirThread 2000D.
Pin on Your Elastic
I then measured the elastic on the garment I am copying. I cut two strips, one for each arm hole opening and one for the neckline. I then cut out a thicker band for the under bust. Before pinning the elastic to the garment you will need to seam the elastic together to make one continuous loop.
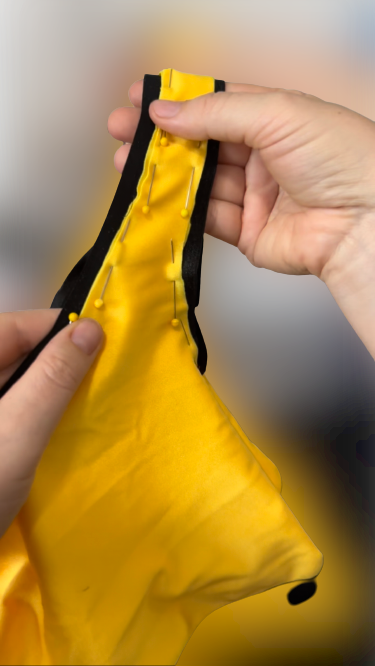
I recommend to pin the elastic to the garment before attaching it. You will stretch out the length of the opening and pin the elastic around the opening. Work your way around the opening while holding the elastic against the inside of the garment. This picture shows the elastic pinned and the garment right side facing you. (Reminder: The shiny side of the elastic is the finished side.) The fabric should line up just shy of the elastic’s fold line.
Attach Your Elastic
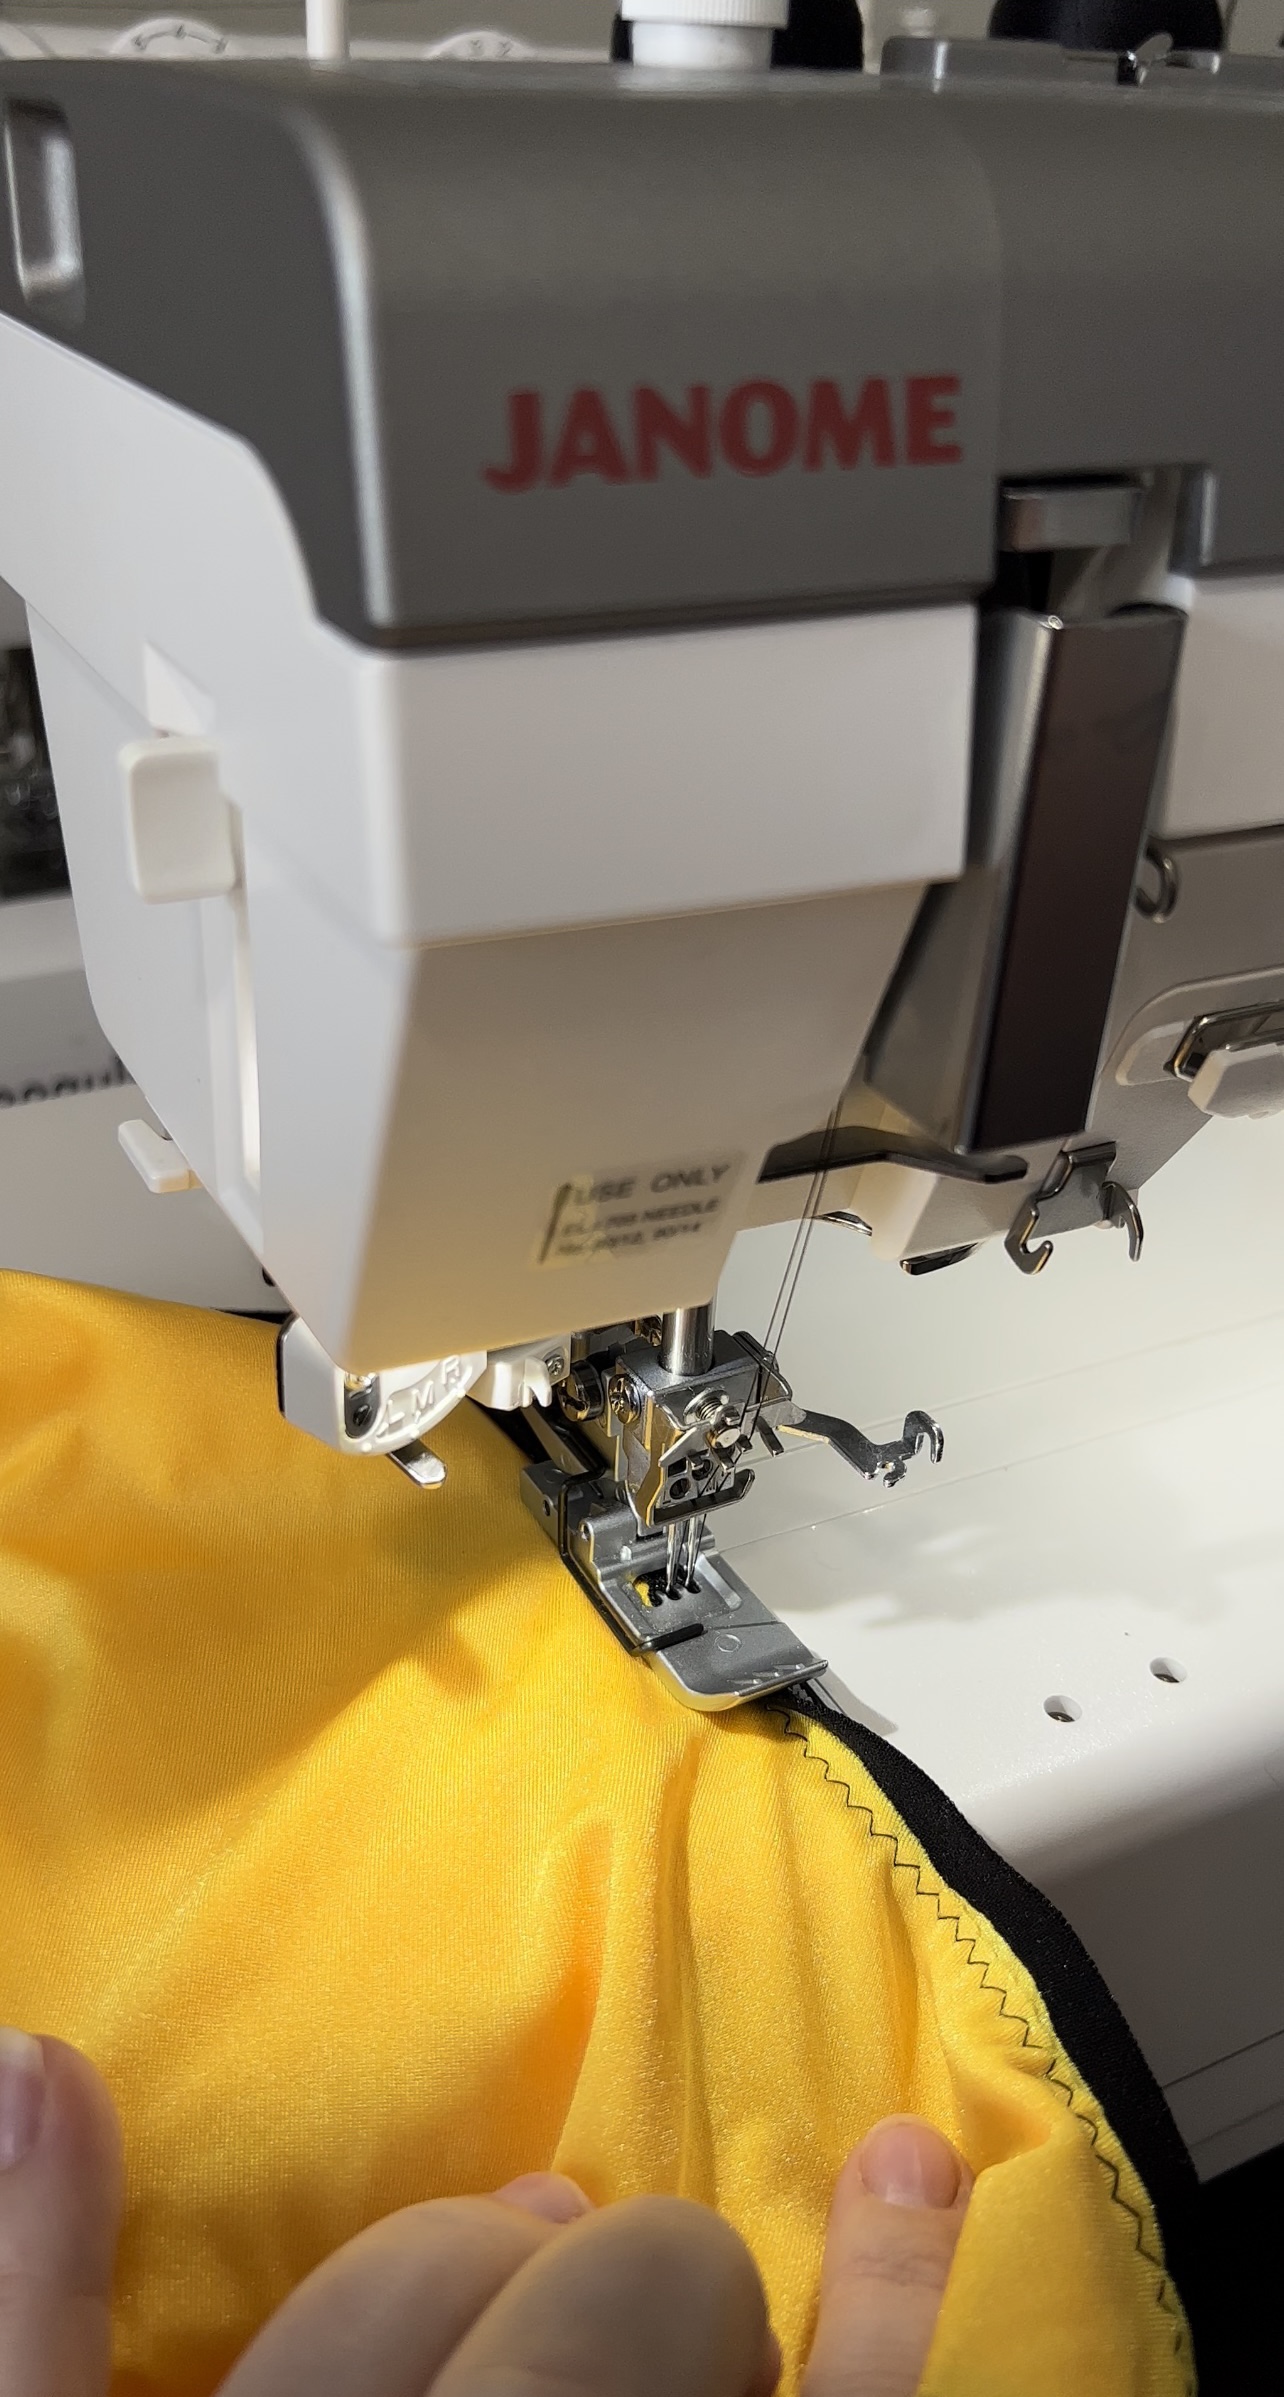
I used a zig zag stitch to roughly attach the fold over elastic. I set my machine to a wide Zig Zag with my stitch length at 4. This extra step will ensure that when you come back to cover stitch your elastic, you will not miss your garment’s edge or struggle to fold it and sew. TIP: You can also use this step to try on your garment for fit and easily adjust the elastic if needed. The Picture below shows the zig zag basting stitch has held the elastic in place before I start the cover stitch.
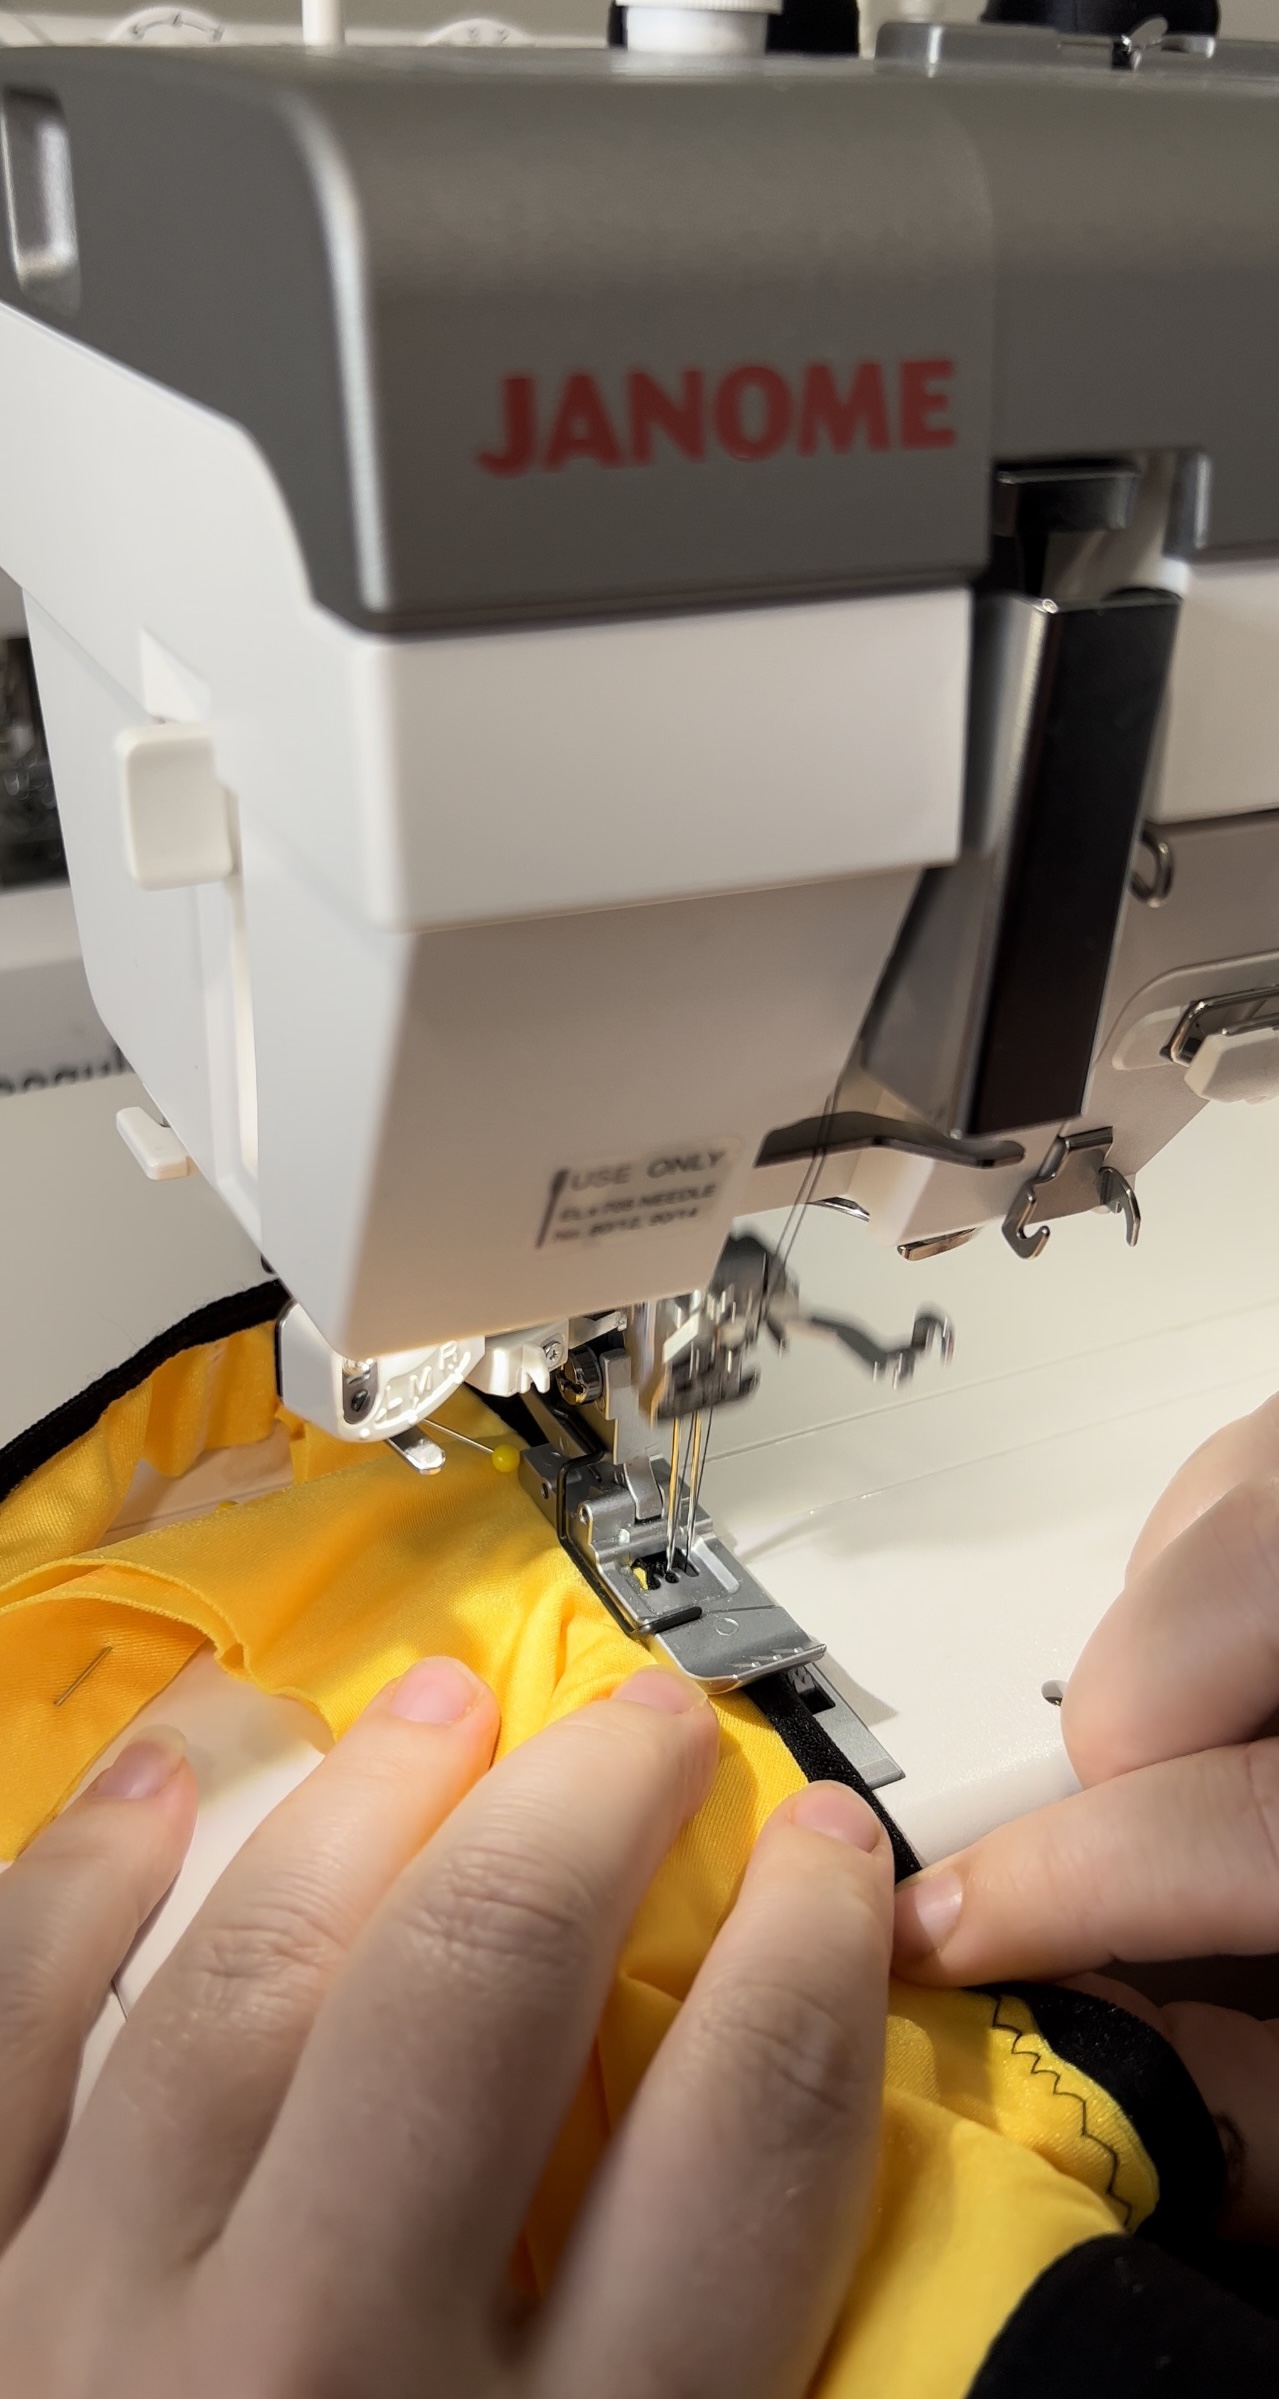
TIME TO COVER STITCH
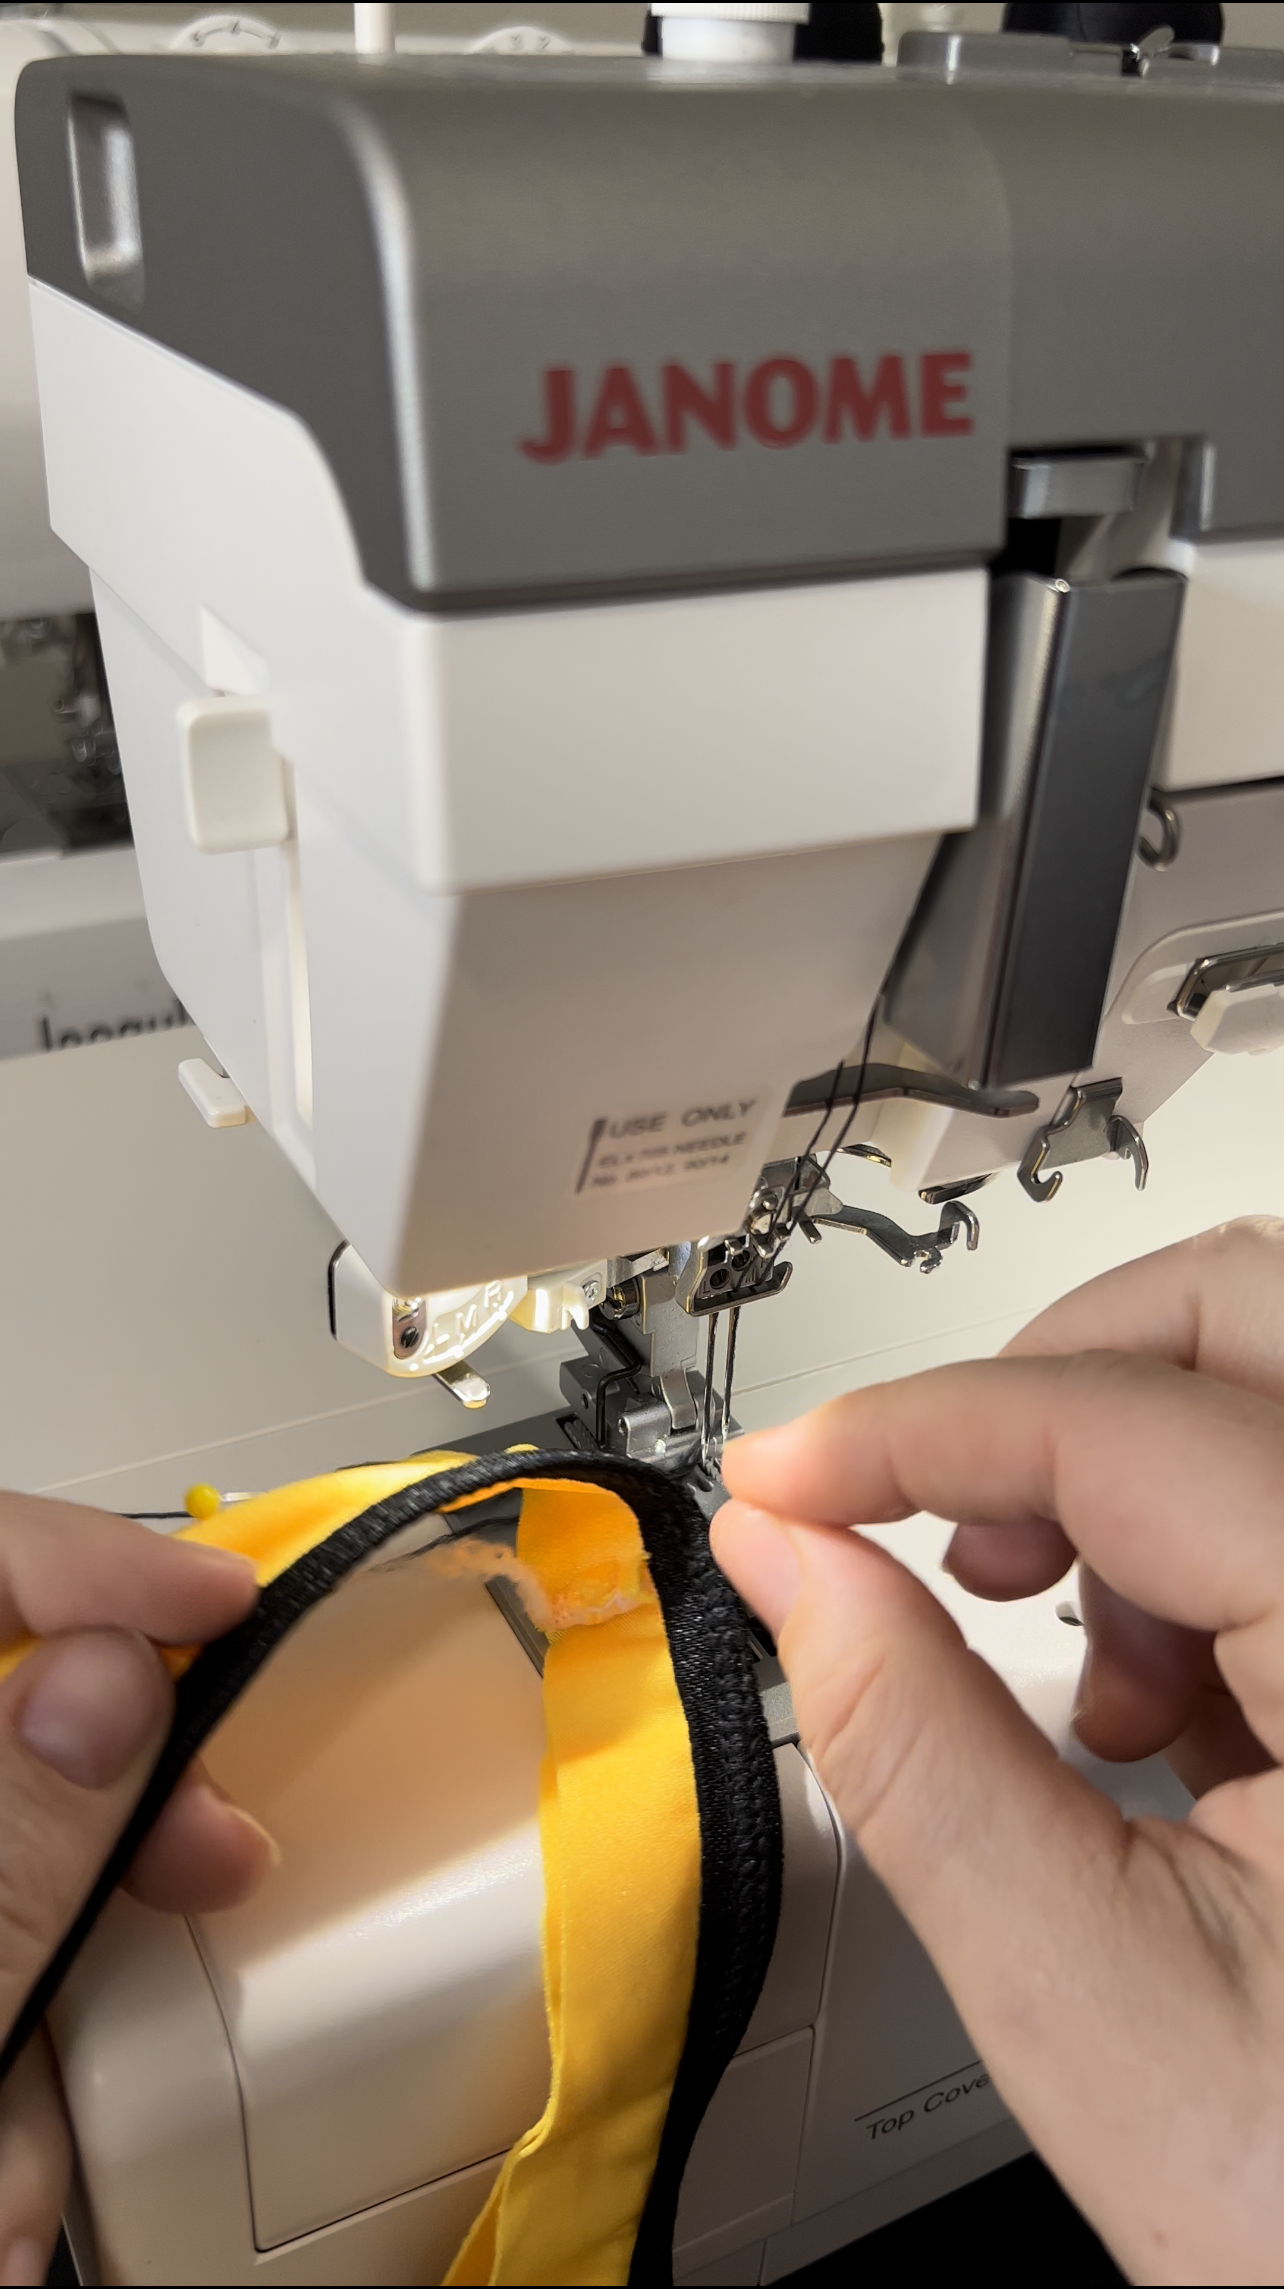
Using my Janome CoverPro 3000 Professional, I fold over the elastic remaining onto the front face of the garment and top stitch. TIP: Do not pull your fabric or elastic through the cover stitch machine while sewing.
You will notice, using the CoverPro 3000, your garment will look professional top and bottom. I am using wooly Nylon thread in this example for maximum stretch and fiber matching. TIP: using the AUTO THREADER is essential to threading wooly nylon thread into your machine. If you do not have access to a CoverPro 3000, don’t worry you can zigzag this step on your Janome Sewing Machine!
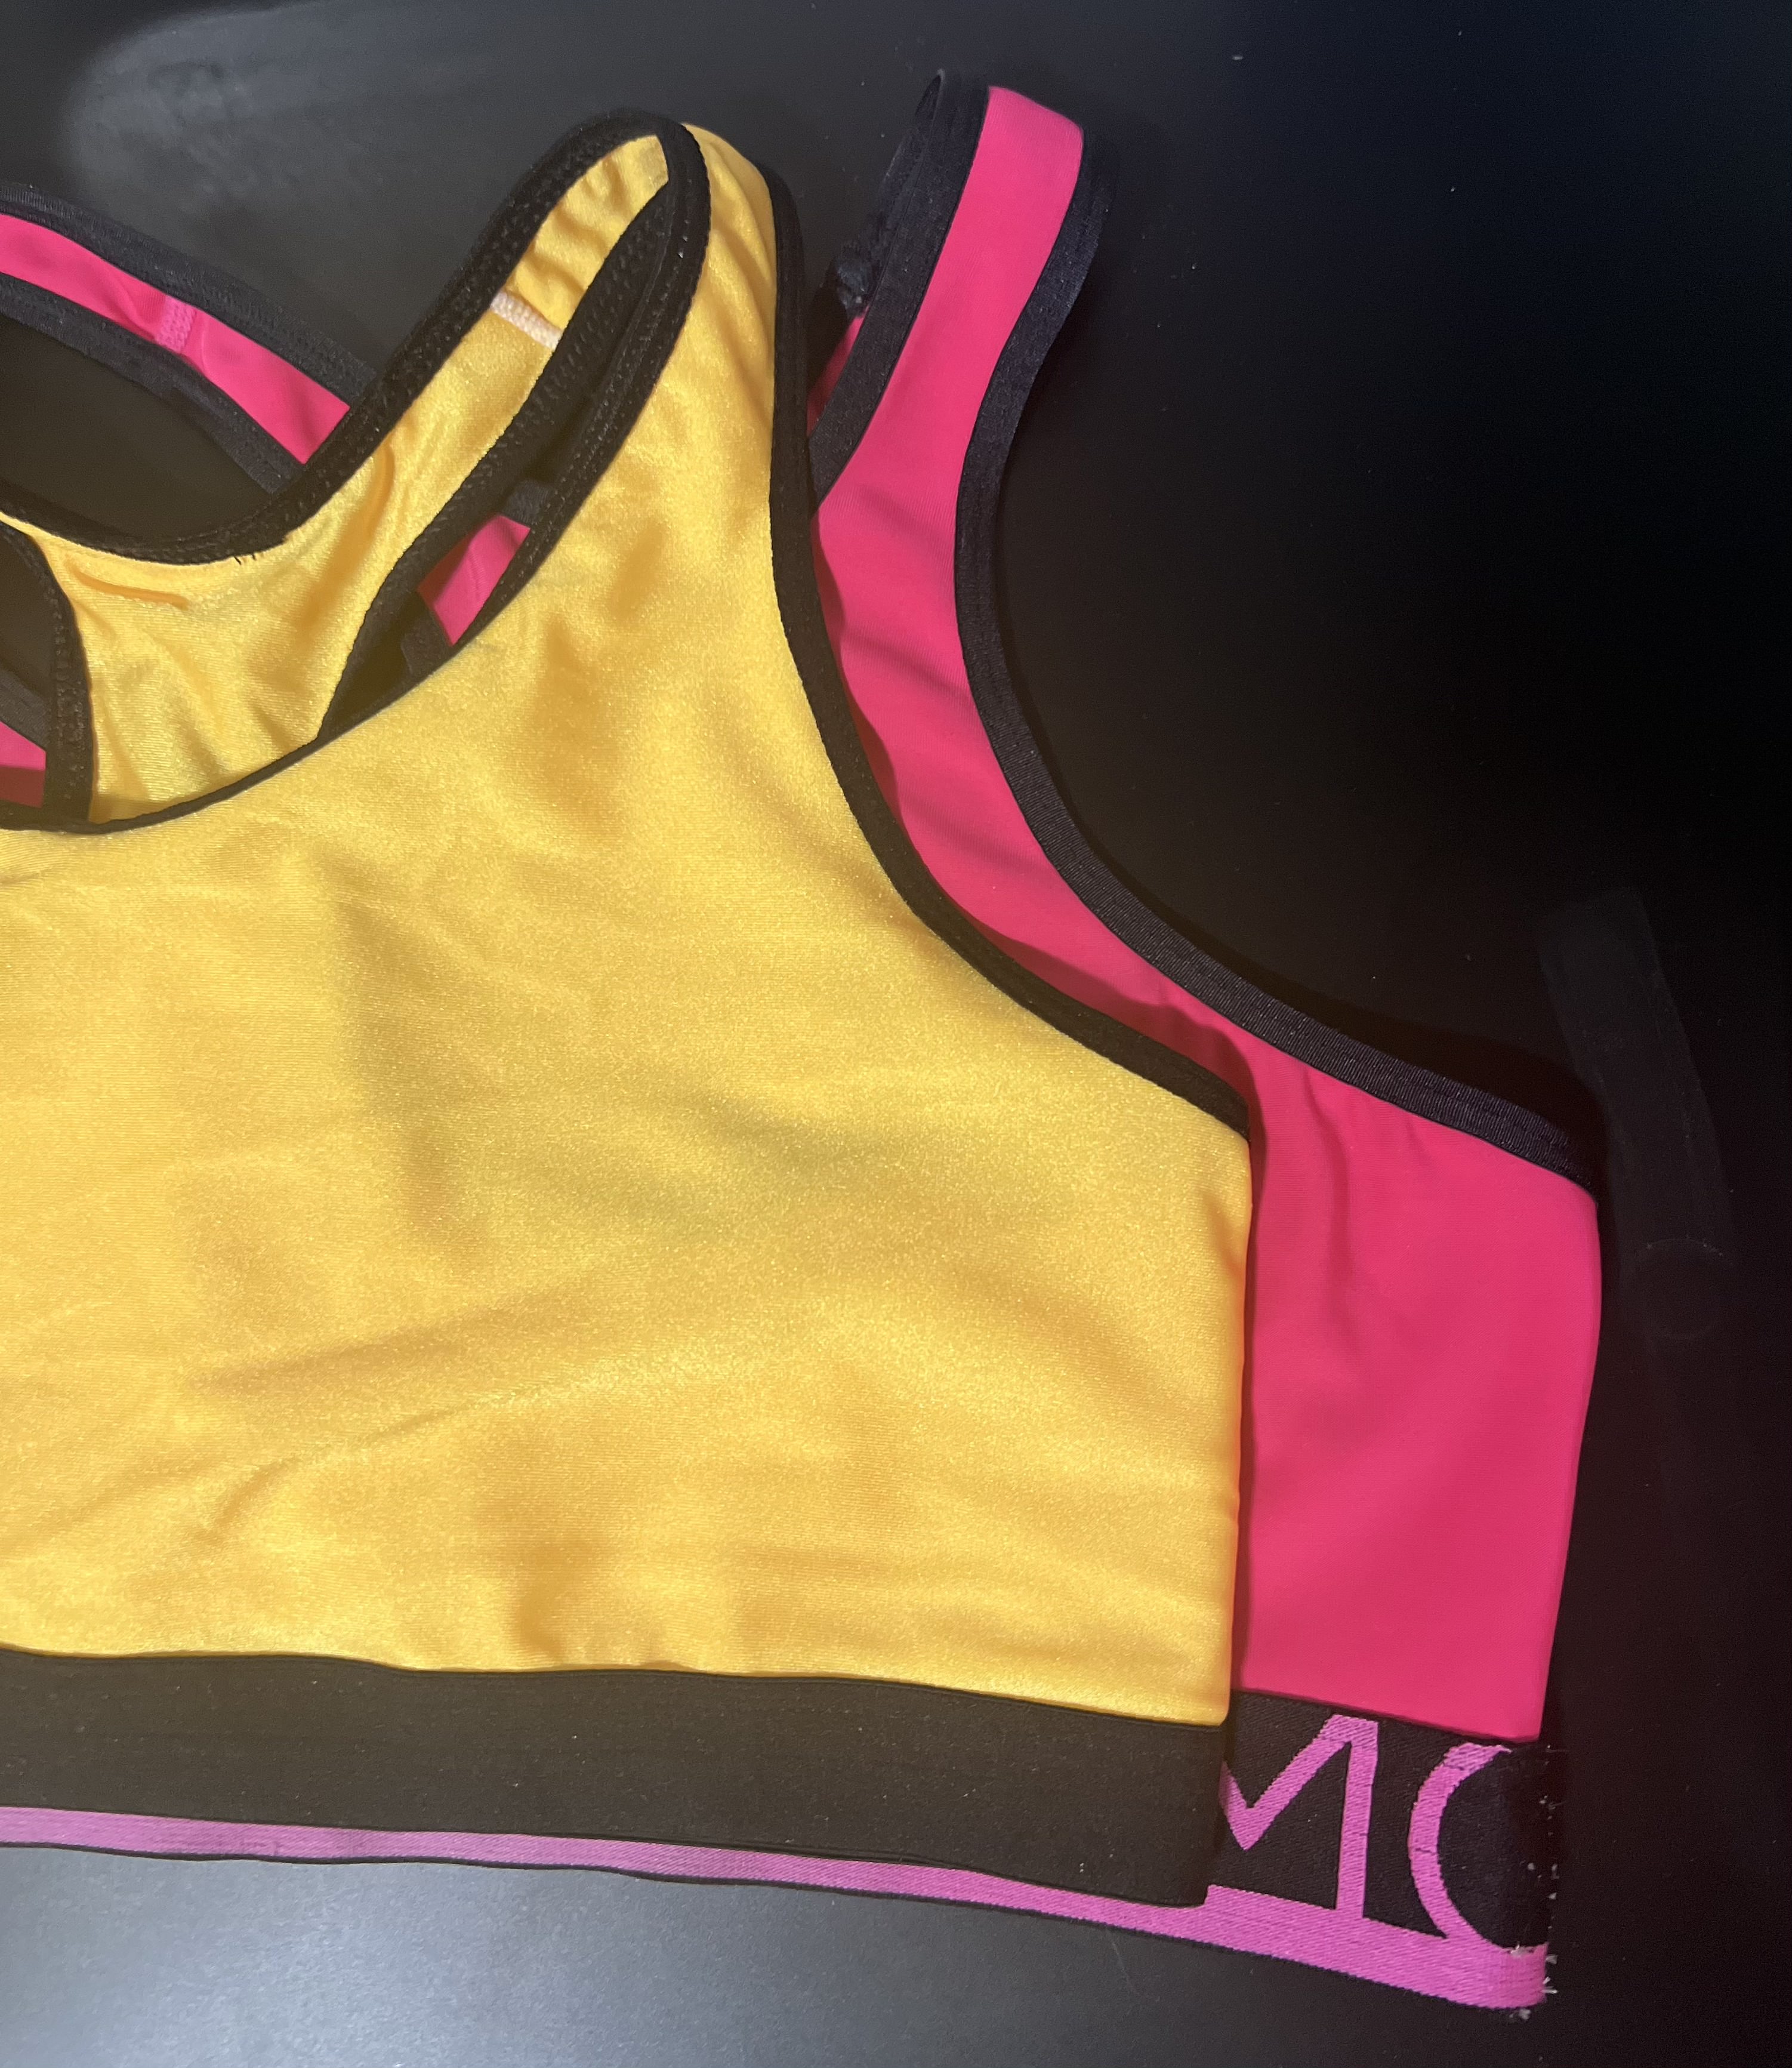
Sit Back and Admire
Trying to achieve Factory finishes can be intimidating. This is why I like to work through a garment and copy how it should be sewn to get comfortable with techniques like these. Fold Over Elastic is definitely an industry standard but I recommend trying it out. Finishing your garment with FOE Fold Over Elastic will ensure your work looks just as good if not better than store-bought!
Did you enjoy this post? For more from Jacquline Terry head over to her website. LINK HERE