By Carol McKinney
"I eagerly took on the task of making my daughter's wedding gown and I want to share that journey with you.
Here is a little information about my background. My sewing skills are self-taught. I took home economics in high school and what they taught me did not inspire me to make garments. I started going to Cosmetology school at 16 and received my license right before I graduated high school. I did not go to college, but I have always had a passion for sewing. I started collecting book that taught me how to do what I wanted. I have never made the statement "I can't do that" unless it was something I physically could not do and I love the challenge.
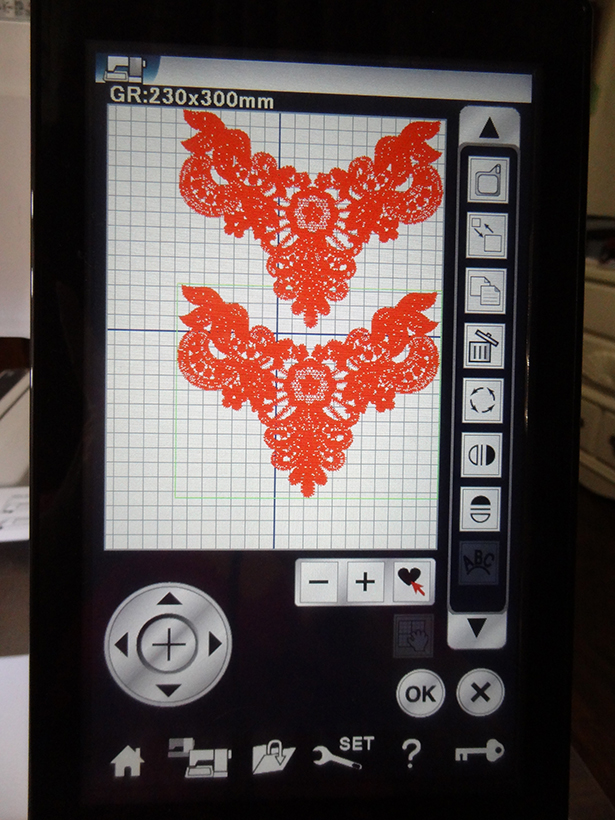
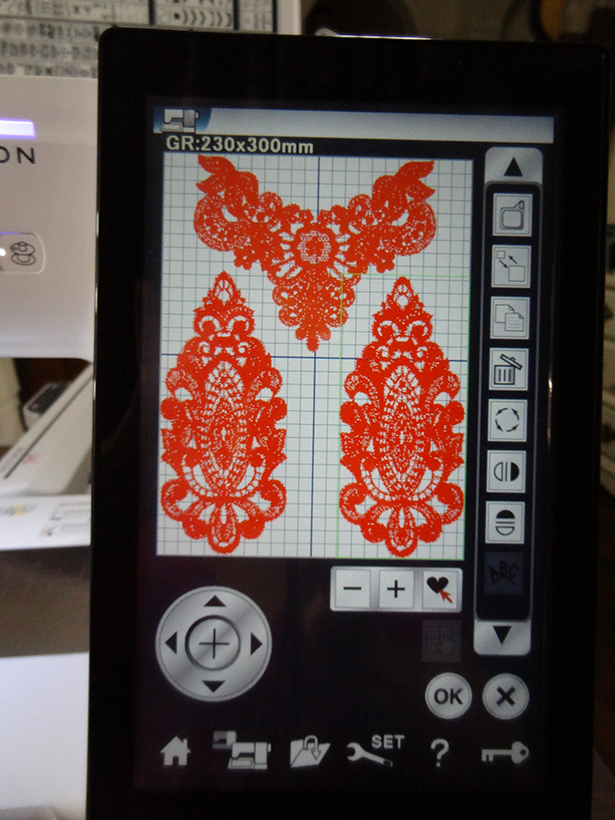
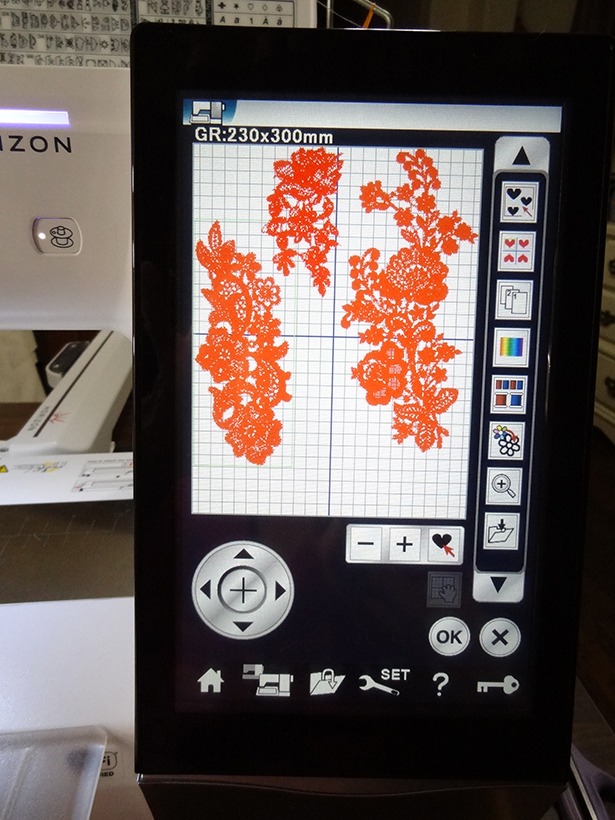
When I started this project, I was lucky enough to have the MC15000 and the MB4. Both machines made the lace and the lace designs I used were from John Deere. I went through at least 10 mini cones of white embroidery thread. (Get your local dealer to order it for you so that it all comes from the same manufacturer.) In addition, I also went through a lot of water soluble stabilizer.
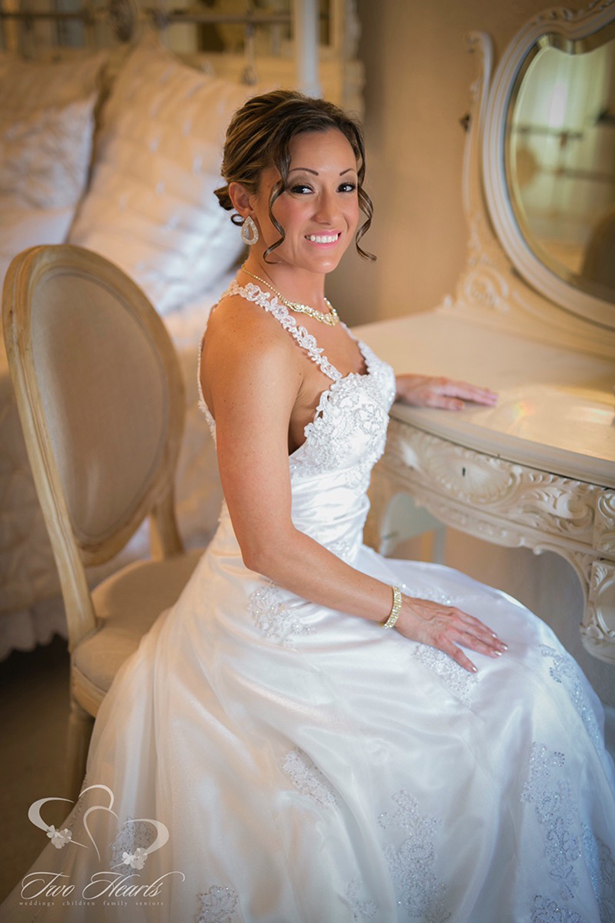
When it was time to make my daughter Kimberly's wedding dress, we started our wedding gown quest by making appointments with three bridal salons. Kim wasn't sure what style gown she wanted so this was the best way to make that decision. She tried them all and decided that fit-n-flare was the most flattering for her. Kimberly is a size 4, but being only 5' tall, ready-to-wear would require alterations. I do not do alterations!
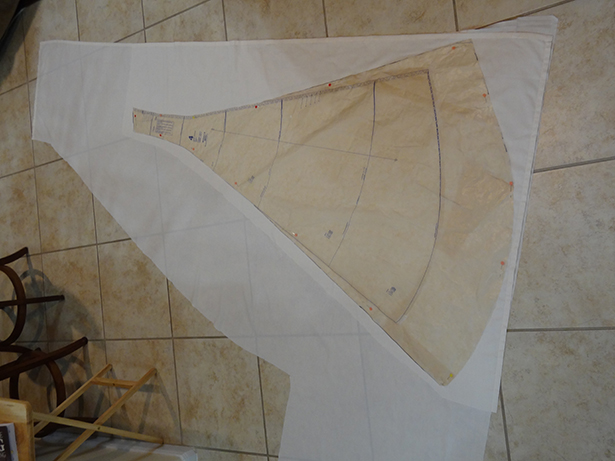
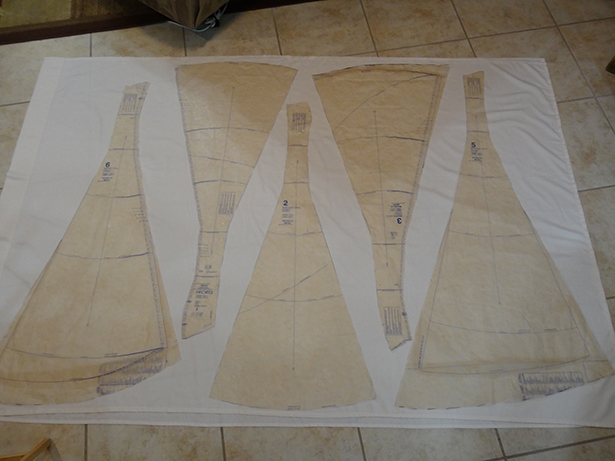
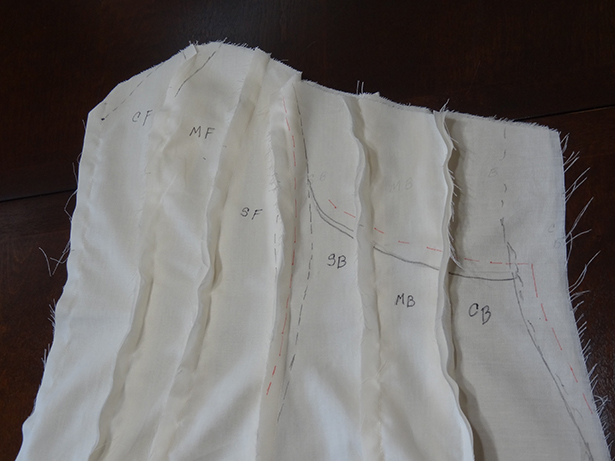
Now that we have a style, we selected a pattern with the right shape - McCall's 6701. I use the measurements on the flat pattern to decide which size to use, bust, waist and hips. I also made adjustments to the flat pattern to transform it into a wedding gown. I started by adding 10" to the length of the center back of the train. I tapered that line so that I was adding 6" to the length of the next seam line. Next, I added 2" to both vertical seams to increase the fullness.
I also added 2" of additional fullness to the vertical seams of the middle back piece. Then, I added the length to match the seam to the center back seam and tapered the added length to 3 1/2" at the next vertical seam.
I added 1 1/2" of fullness to both vertical seams of the side back piece. I then matched the new length of the seam that sews to the middle back piece and tapered it to 2 1/2" additional length to the next vertical seam.
Match the length of the side front seam that sews to the side back piece and taper the length to the original cutting line. I added 1" of fullness to that seam line but not to the other vertical seam. I did not make any changes to the middle and center front pattern pieces.
I made a muslin fitting gown. To be more exact, it is a sheet fitting gown. Three twin flat sheets were enough. I put it on her with the seams on the outside to fine tune the fitting and to mark the changes we wanted. Kimberly wanted the back of the gown cut down to her waist, so I marked this line on the muslin and the center front of the sweetheart neckline was moved down 1".
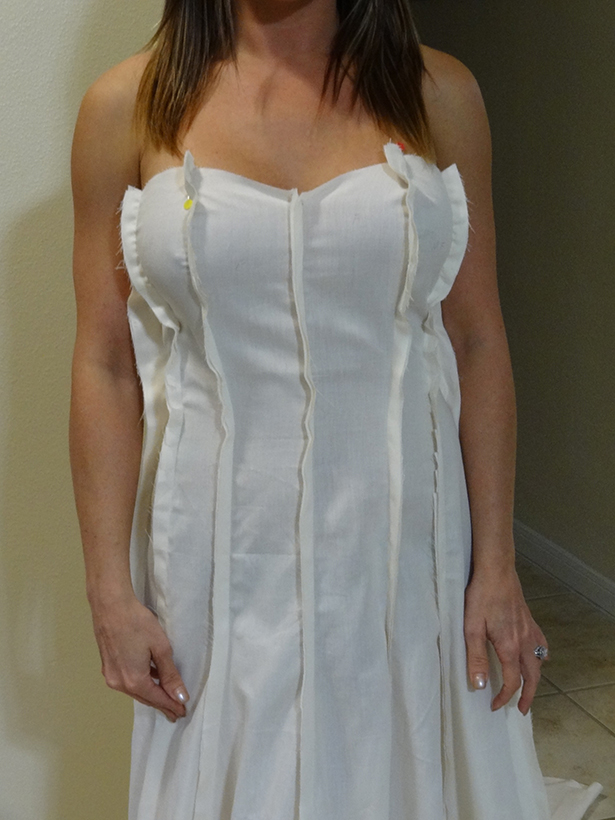
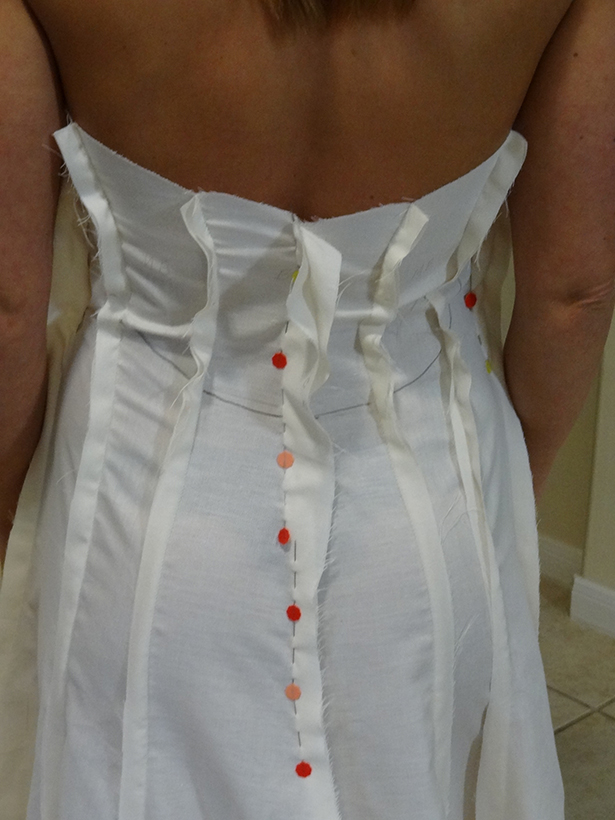
When we were satisfied with the fit, I took half of the gown apart and used it to cut the gown from the fashion fabric.
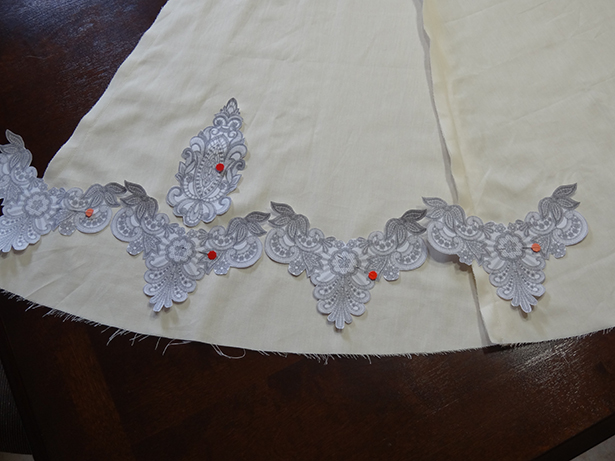
I went online to find lace designs that we both liked. Kimberly and I chose John Deere lace designs. These can be purchased individually for $2 each. We chose Lace Design 134; Lace Design 24; Vintage Lace 13; Vintage Lace 44 and Vintage Lace 40. I printed templates for each design. I was using Vintage Lace 134 and Vintage Lace 13 around the hem of the gown so I printed 4 templates of VL 134 to use for the layout so I would know how many pieces it would take to go around the hem.
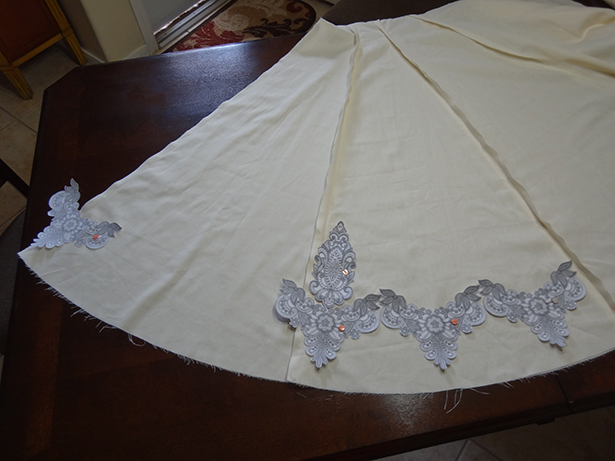
I was going to need 44 pieces of Vintage Lace 134 and Vintage Lace 13. I enlarged VL 13 to 120 and made 48 pieces to have as extras. Next, I used white sparkle organza and water soluble stabilizer in the hoop. If you do not have pre-wound bobbins, wind 10 at a time. I went through 10 mini cones of white embroidery thread and discovered that different brands of white have a little bit of a different shade. Learn from my experience. I used the GR Hoop and put multiple designs in it.
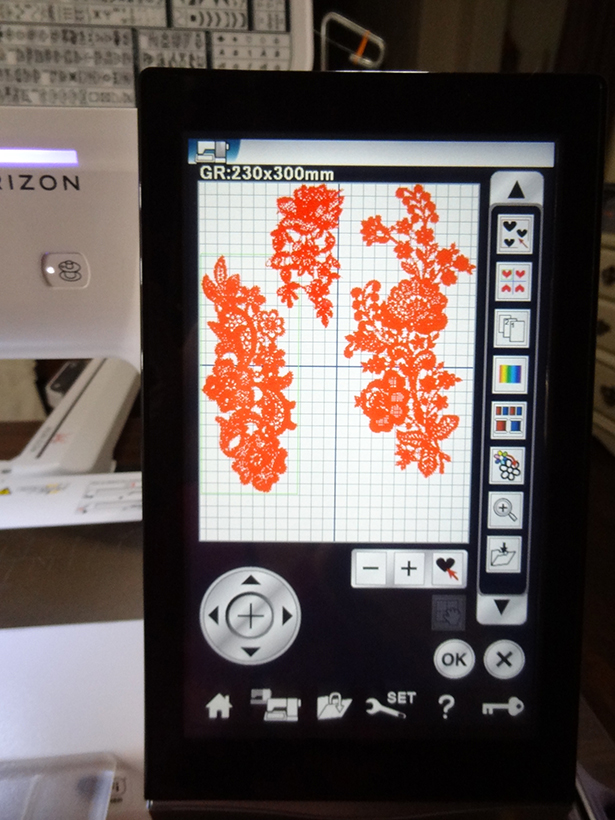
I needed a lot of lace so I ran my machine on a slow speed to get better results. After washing out the stabilizer, drying and pressing the lace, I used the Jenny Haskins heat cutting tool to cut away the extra organza. I love this look; it seals the fabric as it cuts.
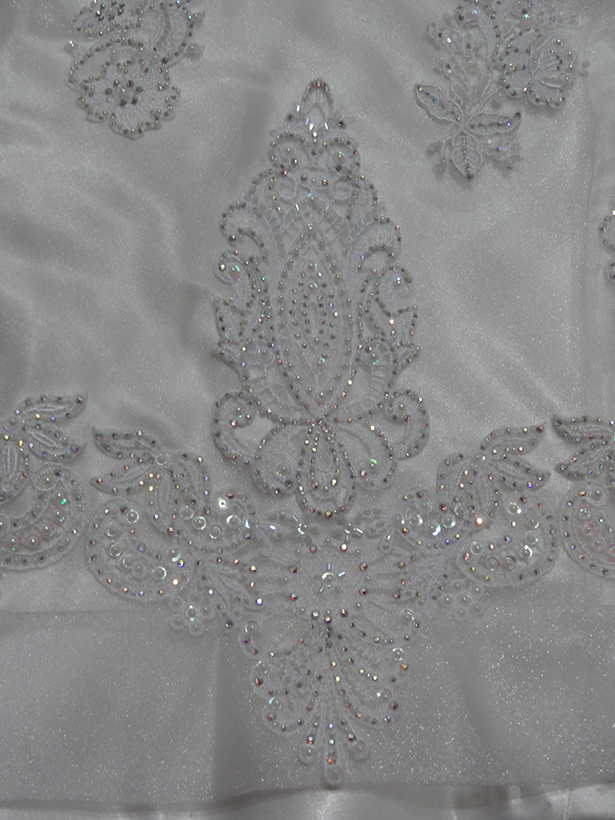
Next, I started beading the lace. I made templates for the crystals so I could iron them on all at once. I used crystal Ab size ss6 and ss10. I went through 10 packs of the ss6 with 1140 in each and eight packs of the ss10. I also used flat back pearls, seed beads and bugle beads. I took the easy way out and glued them on.
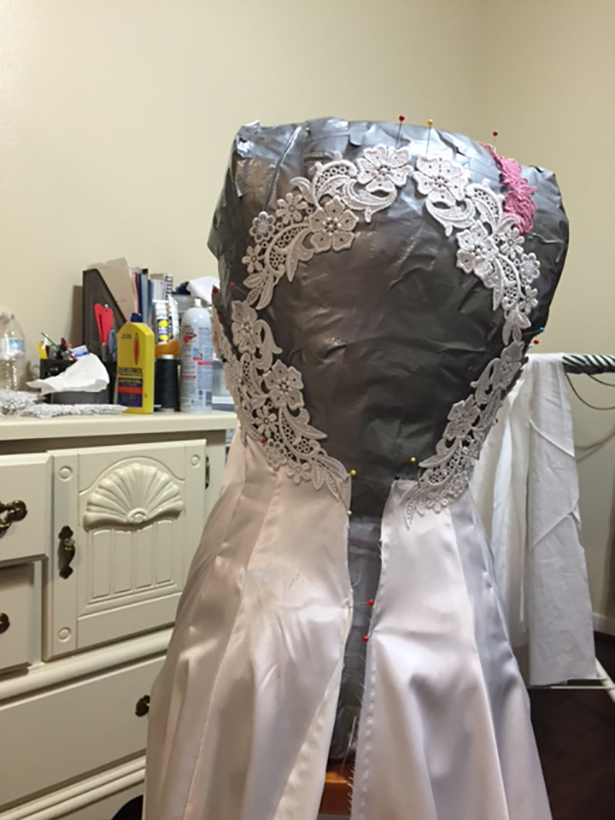
After beading all of the lace, I cut out the gown from the fashion fabric, lining and organza. After sewing them together and making sure they fit, I started placing the lace on the organza over the gown; pinning it in place and sewing it down free motion. I then adjusted the height of the foot to make it easier to accommodate sewing over the beads. I thought this would still be easier than beading the lace on the gown.
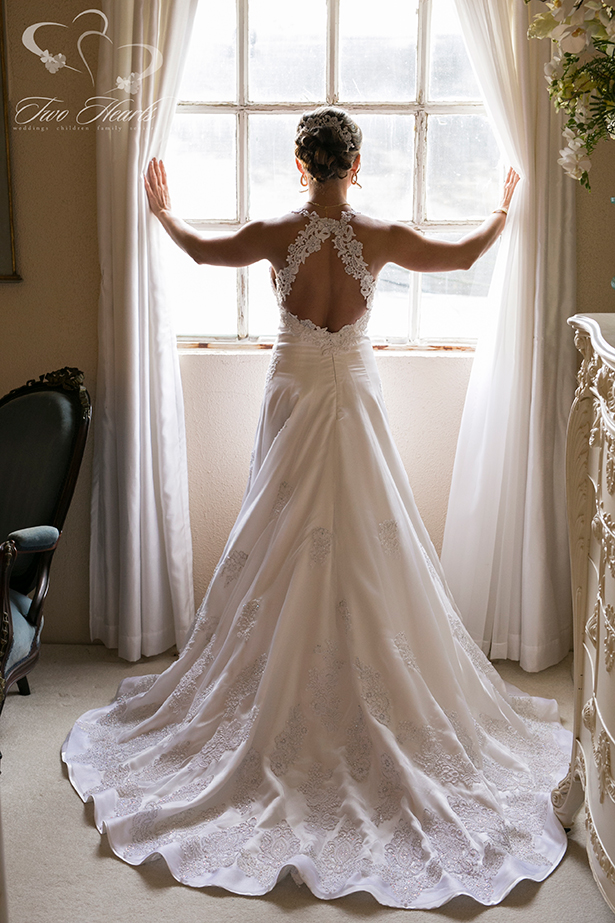
After trying on her gown, Kimberly decided that if she went strapless, she would be pulling on the strap of the gown all night. She found some pictures of gowns that had lace backs to give me an idea of what she was thinking.
To make their day even more special, I embroidered their names and the date and did some special sewing to the lining of the gown.
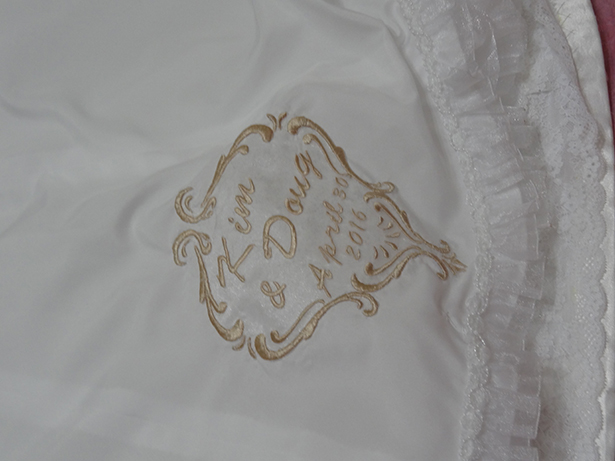
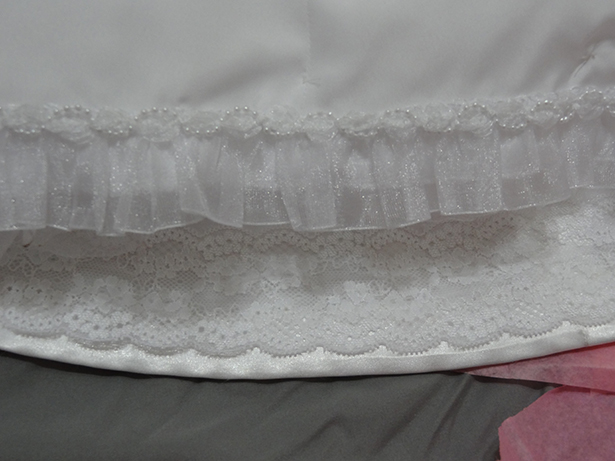
In addition, I made a wristlet and attached it to the hem of the train so that Kim could pick it up easily, move around and dance.
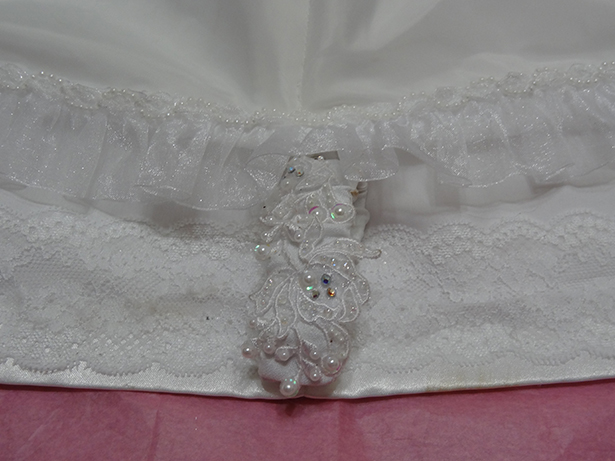
I also did some special finishing to the hem of the lining and the gown." - Janome Freelance Educator Carol McKinney
Congratulations to the newlyweds! Kimberly looked absolutely stunning.