Projects

Embroidered Camera Strap

Created By:

Trish McLaughlin

Skill Level: Intermediate

Ready to upgrade your camera strap? Add some embroidery! This camera strap features embroidery on top and optional quilting underneath. It is finished with leather (or faux!) ends and webbing for a professional look.

Janome Supplies Required

You will need:


  • Exterior Fabric (10" x 28")
  • Leather/Faux Leather
  • 1/2" Webbing (or width of your strap adjusters)
  • Camera Strap Adjusters (Mine are from my old camera strap, but you can find them on etsy!)
  • Batting (optional if quilting)
  • Spray Adhesive
  • Wax Paper


Choosing Your Embroidery


My finished strap will be 2" wide, and the design I chose is 1 3/4" wide. (length is 4 3/4")


When choosing a design, look for smaller designs, specifically "border" designs to find longer, smaller embroidery files.


Looking for this design? Find it at embroiderydesigns.com ("vintage daisy border")


Instructions

Make Your Strap!


  1. Cut fabric 10" x 28", mark center point along length
  2. Add stabilizer to fabric (I'm using tear away)
  3. Hoop Fabric about 2" from top


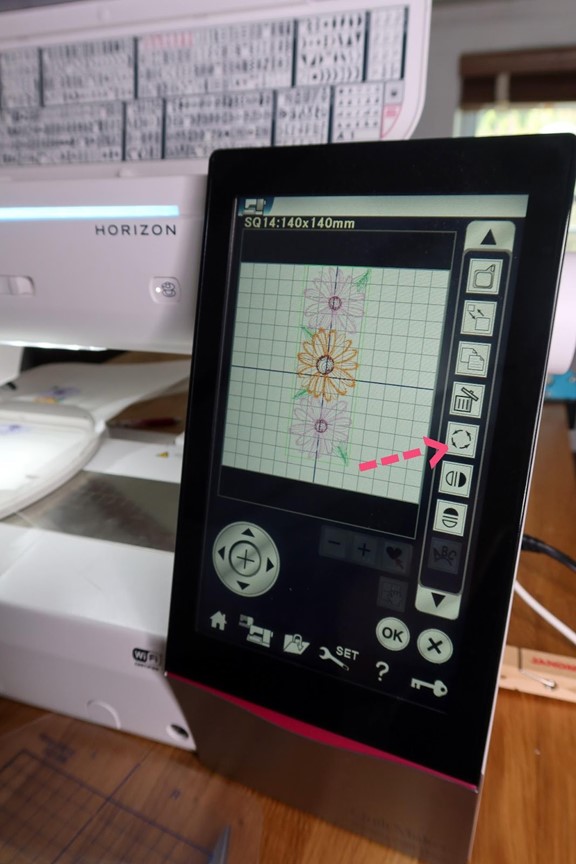
4. Embroider design! Machine shown here is the Janome Quilt Maker Memory Craft 15000, Hoop SQ 14. (I chose to embroider each section individually, but you can double the embroidery with a larger hoop)


5. Once embroidery is complete, remove from hoop.

6. With a fabric pencil or water soluble tool, mark line right after stitched embroidery for placement of next design.

7. Re-Hoop Fabric.

8. If using this embroidery design or similar, flip embroidery 180 degrees. For opposite colors on your finished strap, switch colors on your design. Embroider design!

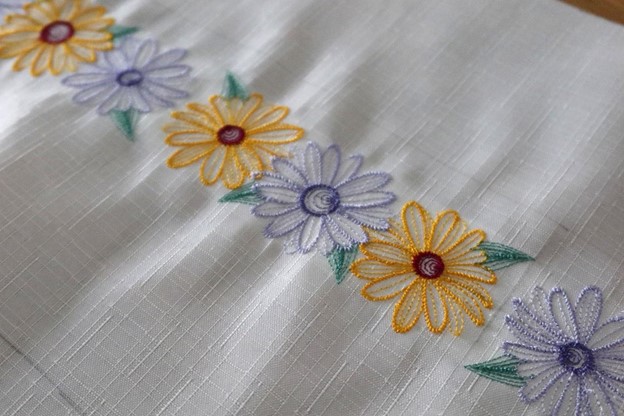
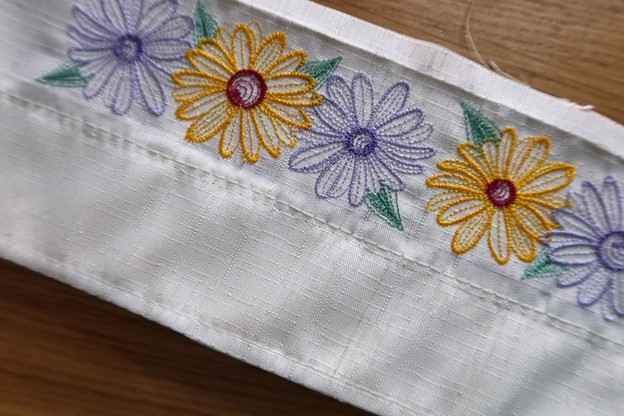
9. Continue embroidery several times. My design was done 5 times, making my embroidery about 24 1/2".

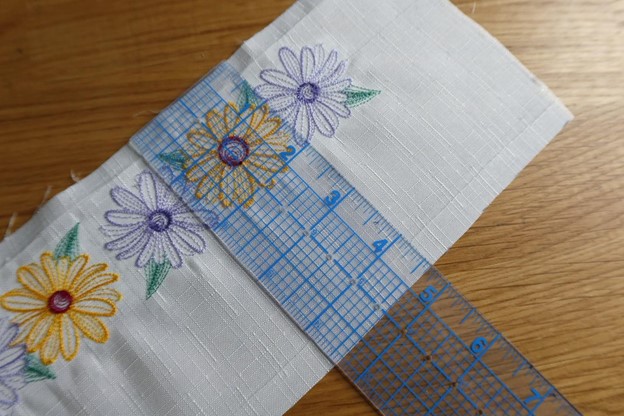
10. Cut excess fabric to create strap. (I am sewing with 3/8" seam allowance.) Measure and mark 1/2" from one side of embroidery. On the other side of embroidery, measure 1/8" and take note of this total length. This will be the fold line of your strap. To determine full width, double this measurement.

EX: My design is 1 3/4" wide. I measured 1/2" from one side, and cut. from this cut line, I measured to the design plus 1/8", bringing my width to 2 1/4". I doubled this to get my full width of 4 5/8" - which is where I cut the other side of my fabric.

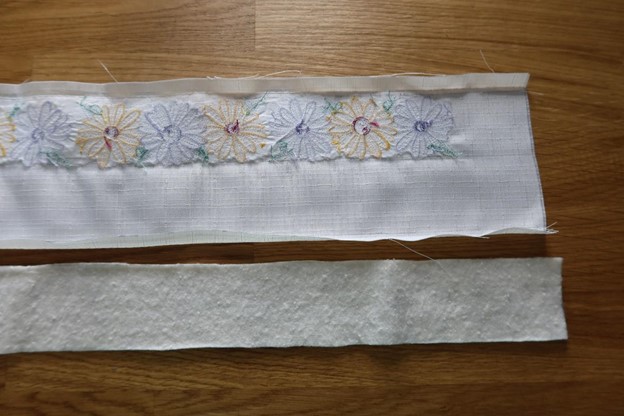
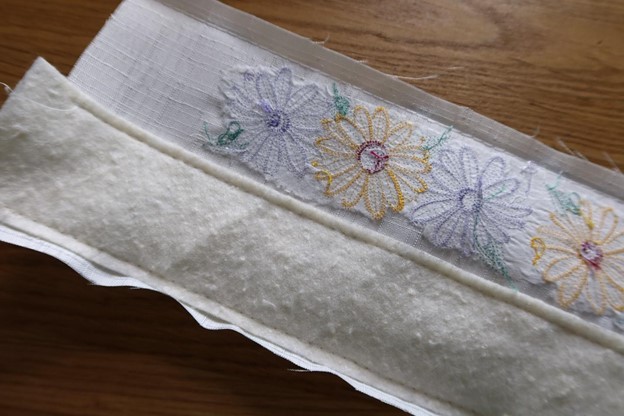
11. Baste stitching lines for 3/8" seam allowance, or iron seam allowance to mark.

12. Optional: add batting and quilt! I added 2" of batting, lining it up to the fold line and the seam allowance line. Baste batting in place. To help with quilting the under edge of my strap, I basted my batting at the fold line to mark how much of the strap to quilt.

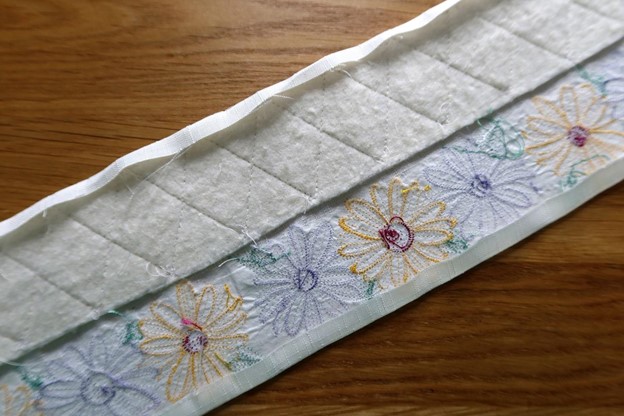
13. Stitch! I marked 1" diagonal lines to create diamond stitching lines, but have fun with stitching!

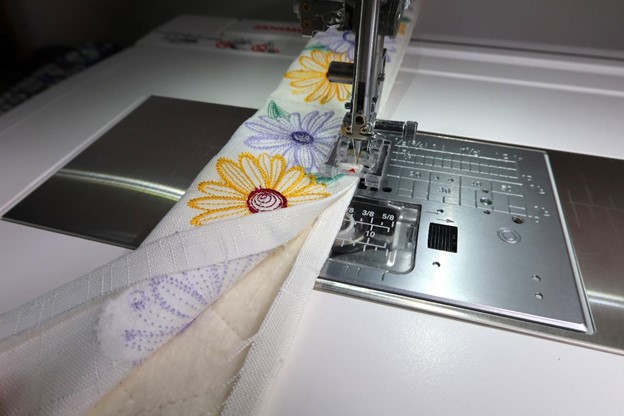
14. Once you've quilted, iron seam allowance down once again. Remove Basting stitches.

15. Top stitch seam closed, top stitch folded edge as well.

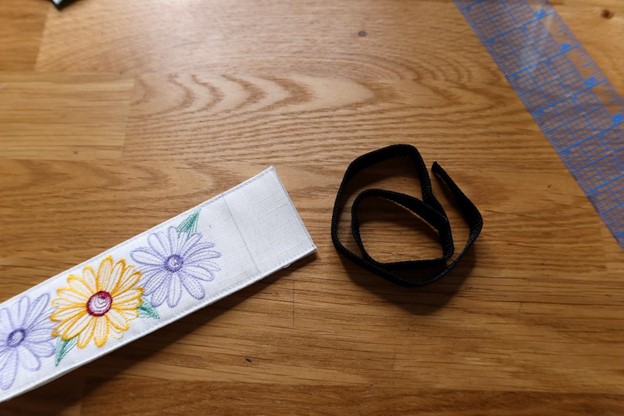
16. Mark 1/2" from end of embroidery. Cut 15" of webbing for each end.

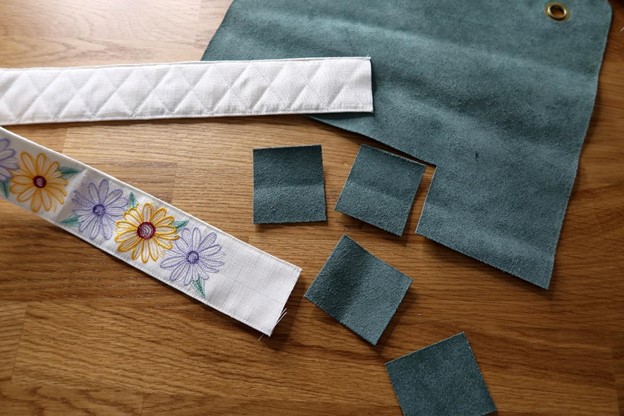
17. Cut 4 rectangles out of leather/faux leather with one side measuring 2" and the other 1/4" Wider than the width of the strap. (mine are 2 1/4" x 2")

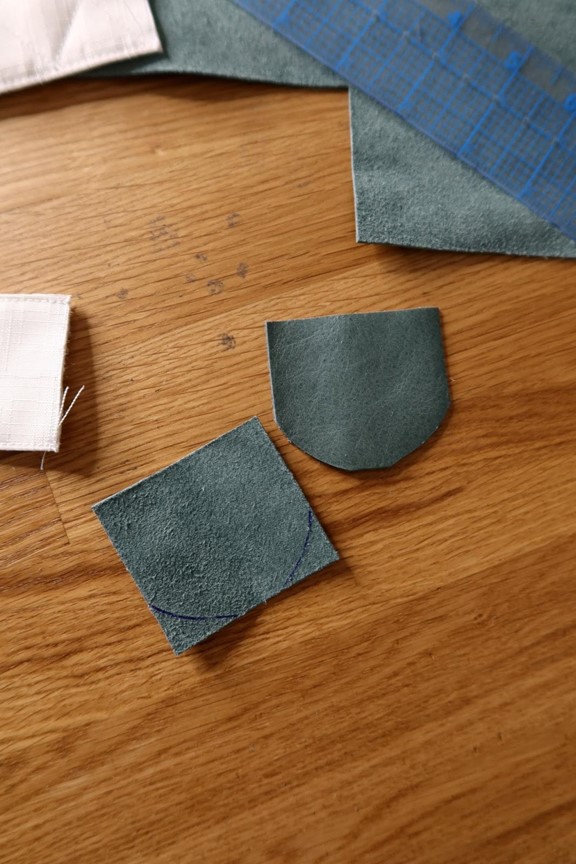
18. Curve edges, leaving 1/2" (or width of webbing) flat on bottom of square.


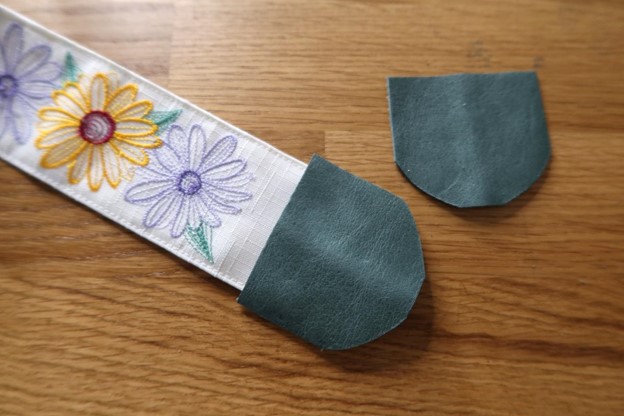
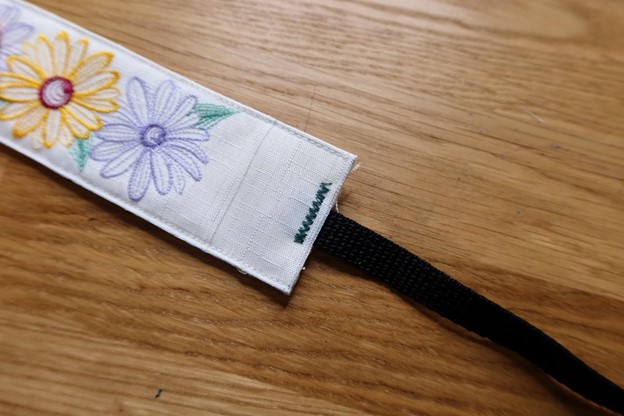
19. Test length of strap. Line end of leather ends with line drawn in step 16. If strap length peeks out from end, trim strap.

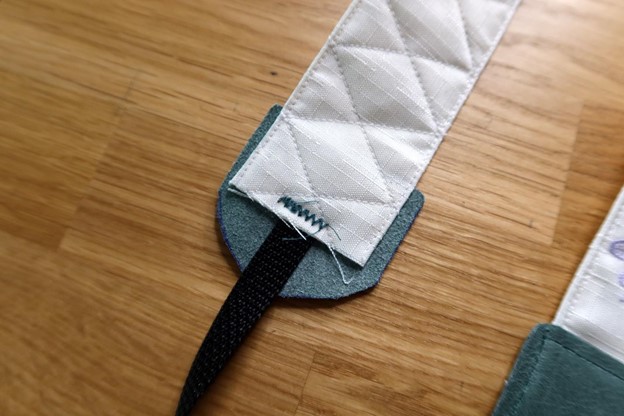
20. Tuck one end of webbing into end of strap and secure with a zig zag stitch.

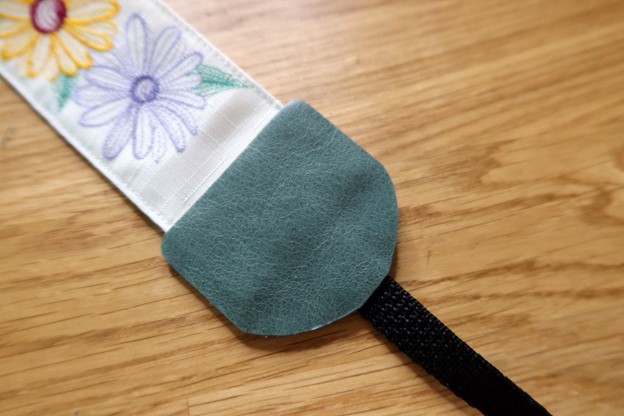
21. Line up leather ends with drawn line, spray adhesive on wrong side of leather to temporarily attach.

22. Spray adhesive on second leather end and stack on top of strap, creating a sandwich, with right sides facing out.

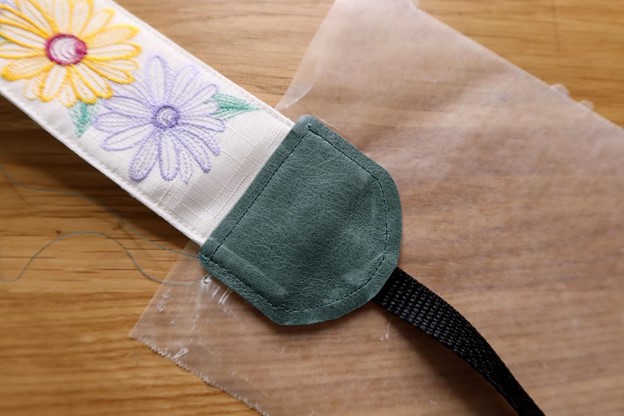
23. Stitch around leather end. Tip: Stitch leather with wax paper under strap end to prevent marks on underside. pull wax paper away from stitching once complete.

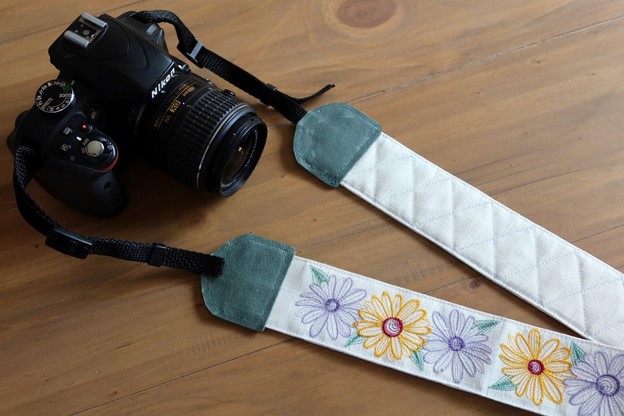
24. Attach strap adjusters from original camera strap and you are done!


Hope you enjoyed this project!!

To find out more about Trishstitched follow the link here to her webpage.


Everyone is Talking about Embroidered Camera Strap
Reviews


Tako
Beautiful
Wednesday, November 23, 2016

cpindzola
Around the Table Dresden Placemats
Saturday, December 17, 2016

I like the concept, but the directions are "sloppy." Nowhere in the supply list does it mention the felt or the batting (how much?). Also, I would never use a high loft batting in a placemat, or a table runner, as I think that it would be too unstable for a glass. The next time I make these, I will cut out the batting (I use flannel) and spray baste it to the wrong side of the Dresden plate before I put the Dresden plate on the felt to cut out. I have not yet washed the finished placemat, and am hoping that the single layer of felt does not curl up, or become distorted after washing/drying.
Txmaid
Fun Great Gift!
Tuesday, February 21, 2017

MargieARK
Teatime Quilted Tablecloth
Friday, February 24, 2017

I made this today but your cutting directions need to be changed. You only need 4 of color 1 and color 3 4.5 squares for the triangles. Also the inner border, you only need 2 cuts as WOF is long enough to cut each in half to fit the sides.
MickelSews
Great Machine
Wednesday, August 30, 2017

I've had this machine for only a week now. I bought it used from a lady who makes her own clothes, but she no longer needed the machine. During the purchase, she noted that she is almost sad that it's better to give it away because of how well the machine performed. (I also bought it along side a computerized machine of another brand.} She demoed the machine for us, showing it worked and gave us everything (including the box it came in!) She took amazing care of this machine. I have used it a few times now, and the directions for threading were easy to follow (albeit my hands are quite large so the lower looper was a pain, but that is no fault to the machine or brand.) And I recommend this machine to anyone who wants to learn to serge and wants a machine that can grow with them. I will happily use this machine time and time again.
rvstan
S9 Review
Sunday, February 25, 2018

I love, love, love my S9! It's sews and embroiders beautifully and it's simplicity of use amazes me. I would recommend this machine for both a beginner and an experienced seamstress. If I would ask anything of Janome it would be to upgrade the programming to run a larger hoop size. I understand that it can't get much wider but there is most definitely room for it to go longer. That is the only limitation of this machine.
pjmnana
PJMNana
Monday, February 26, 2018

I purchased a Memorycraft 15000 a few years ago and it was the best purchase I ever made! This machine can do just about anything you would would ever want! I love the capability of using the Acuedit app to set up my embroidery pattern on my Ipad and then download it to the machine! I love how my embroidery looks upon completion and I love all the good lighting it has to light up your workspace. That way you don’t need to worry about where to set up your machine. It also has plenty of room to do machine embroidery on any size quilts! There are many decorative stitches from which to choose that are outstanding! It’s hard to choose which one to use! There are so many great features it is hard to decide what I love the most. If you want to buy only one machine to last a lifetime, I would recommend this one!
KLWash
S9 Review
Sunday, February 24, 2019

The S9 is amazing. I learned to sew by hand when I was just 5 and in my grandmothers way as she was quilting. I took seeing classes in high school until they would no longer let me sign up. The S9 makes me appreciate my current skills as well as motivate me to want to learn more. This machine is awesome.
SewSueMe2002
Horizon Memory Craft 15000
Thursday, November 19, 2020

My Janome Horizon Memory Craft 15000 is fantastic! I love, love, love this machine! When I came across the Eye for and Eye embroidery design today, I wanted to make it. However, the embroidery file is missing. Nothing downloads when I select the download button. Please help!
Jillfmischo
Treat Bag fun!
Monday, August 16, 2021

I made the Halloween treat bag for my new granddaughter and I’m sure it will last for years. No embroidery machine so I appliquéd the lettering. Need a little more skirt fabric for a better gathered look, and I used thin double-bias tape for the skirt hem, over edge stitch on skirt sides. I’m pleased with my results!
elenaz
Very helpful tutorial
Wednesday, October 25, 2023

I want to say thank you for teaching me this method of applique. I was able to do it with a small letters. This method is the best so far from all of those I've seen and tried.
plonkar
So useful
Thursday, November 30, 2023

I'd like to express my gratitude for teaching me this appliqué method. I successfully applied it with small letters, and, so far, it's the most effective among all the methods I've seen and tried.

DEALERS
The TWO Closest Dealers to you are:
196 Boston Post Road , Orange CT, 06477
203-878-1654
19 PUTNAM AVENUE , PORT CHESTER NY, 10573
914-934-2934
Find Additional Dealers