Projects

Heart Star Block

Created By:

Meredith Daniel

Skill Level: Intermediate

I created this Heart Star Block just for you! Quilt blocks are such a useful thing to have stored away in your creative library as they can be used in such a variety of ways. Of course, this block can be repeated to make a quilt, but it can also be used in bags, pillows, or wall hangings. Its the perfect block for Valentine’s Day, and I hope you will enjoy creating with it! 

Janome Supplies Required

Materials Needed:

Three fabrics, less than a 1/4 yard for each

Basic tools, like ruler, rotary cutter, and mat

Coordinating thread


Instructions

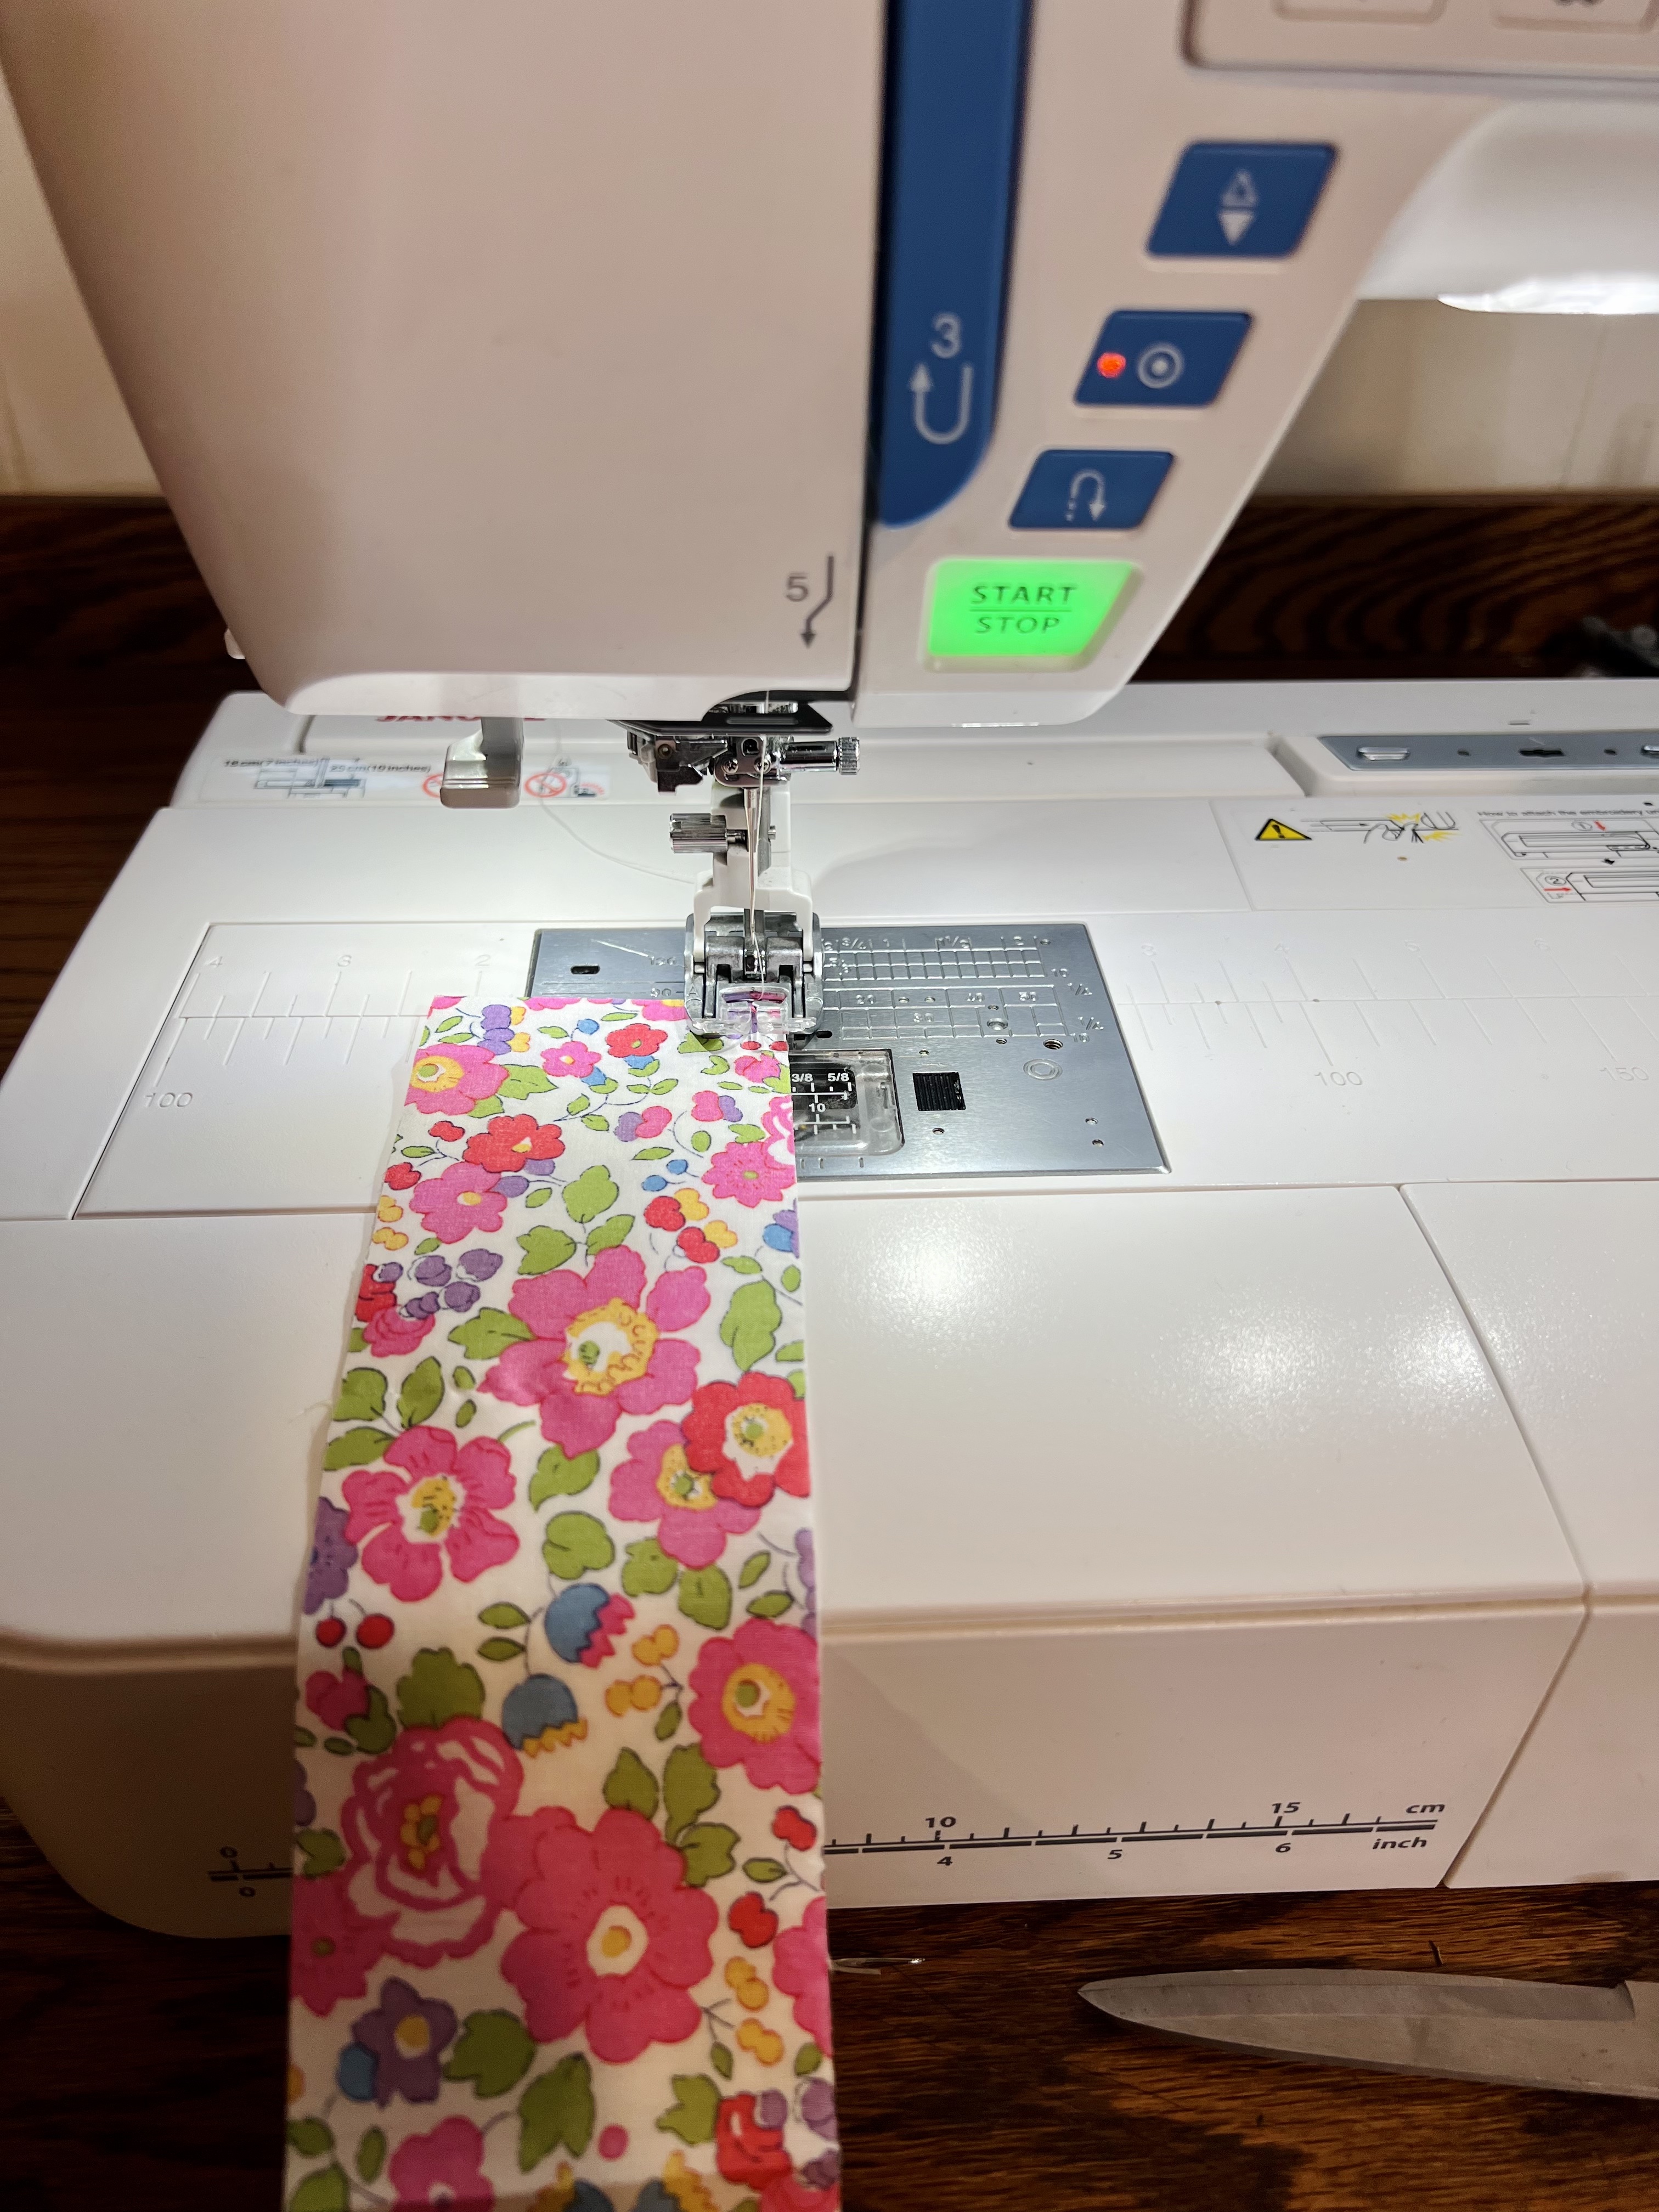
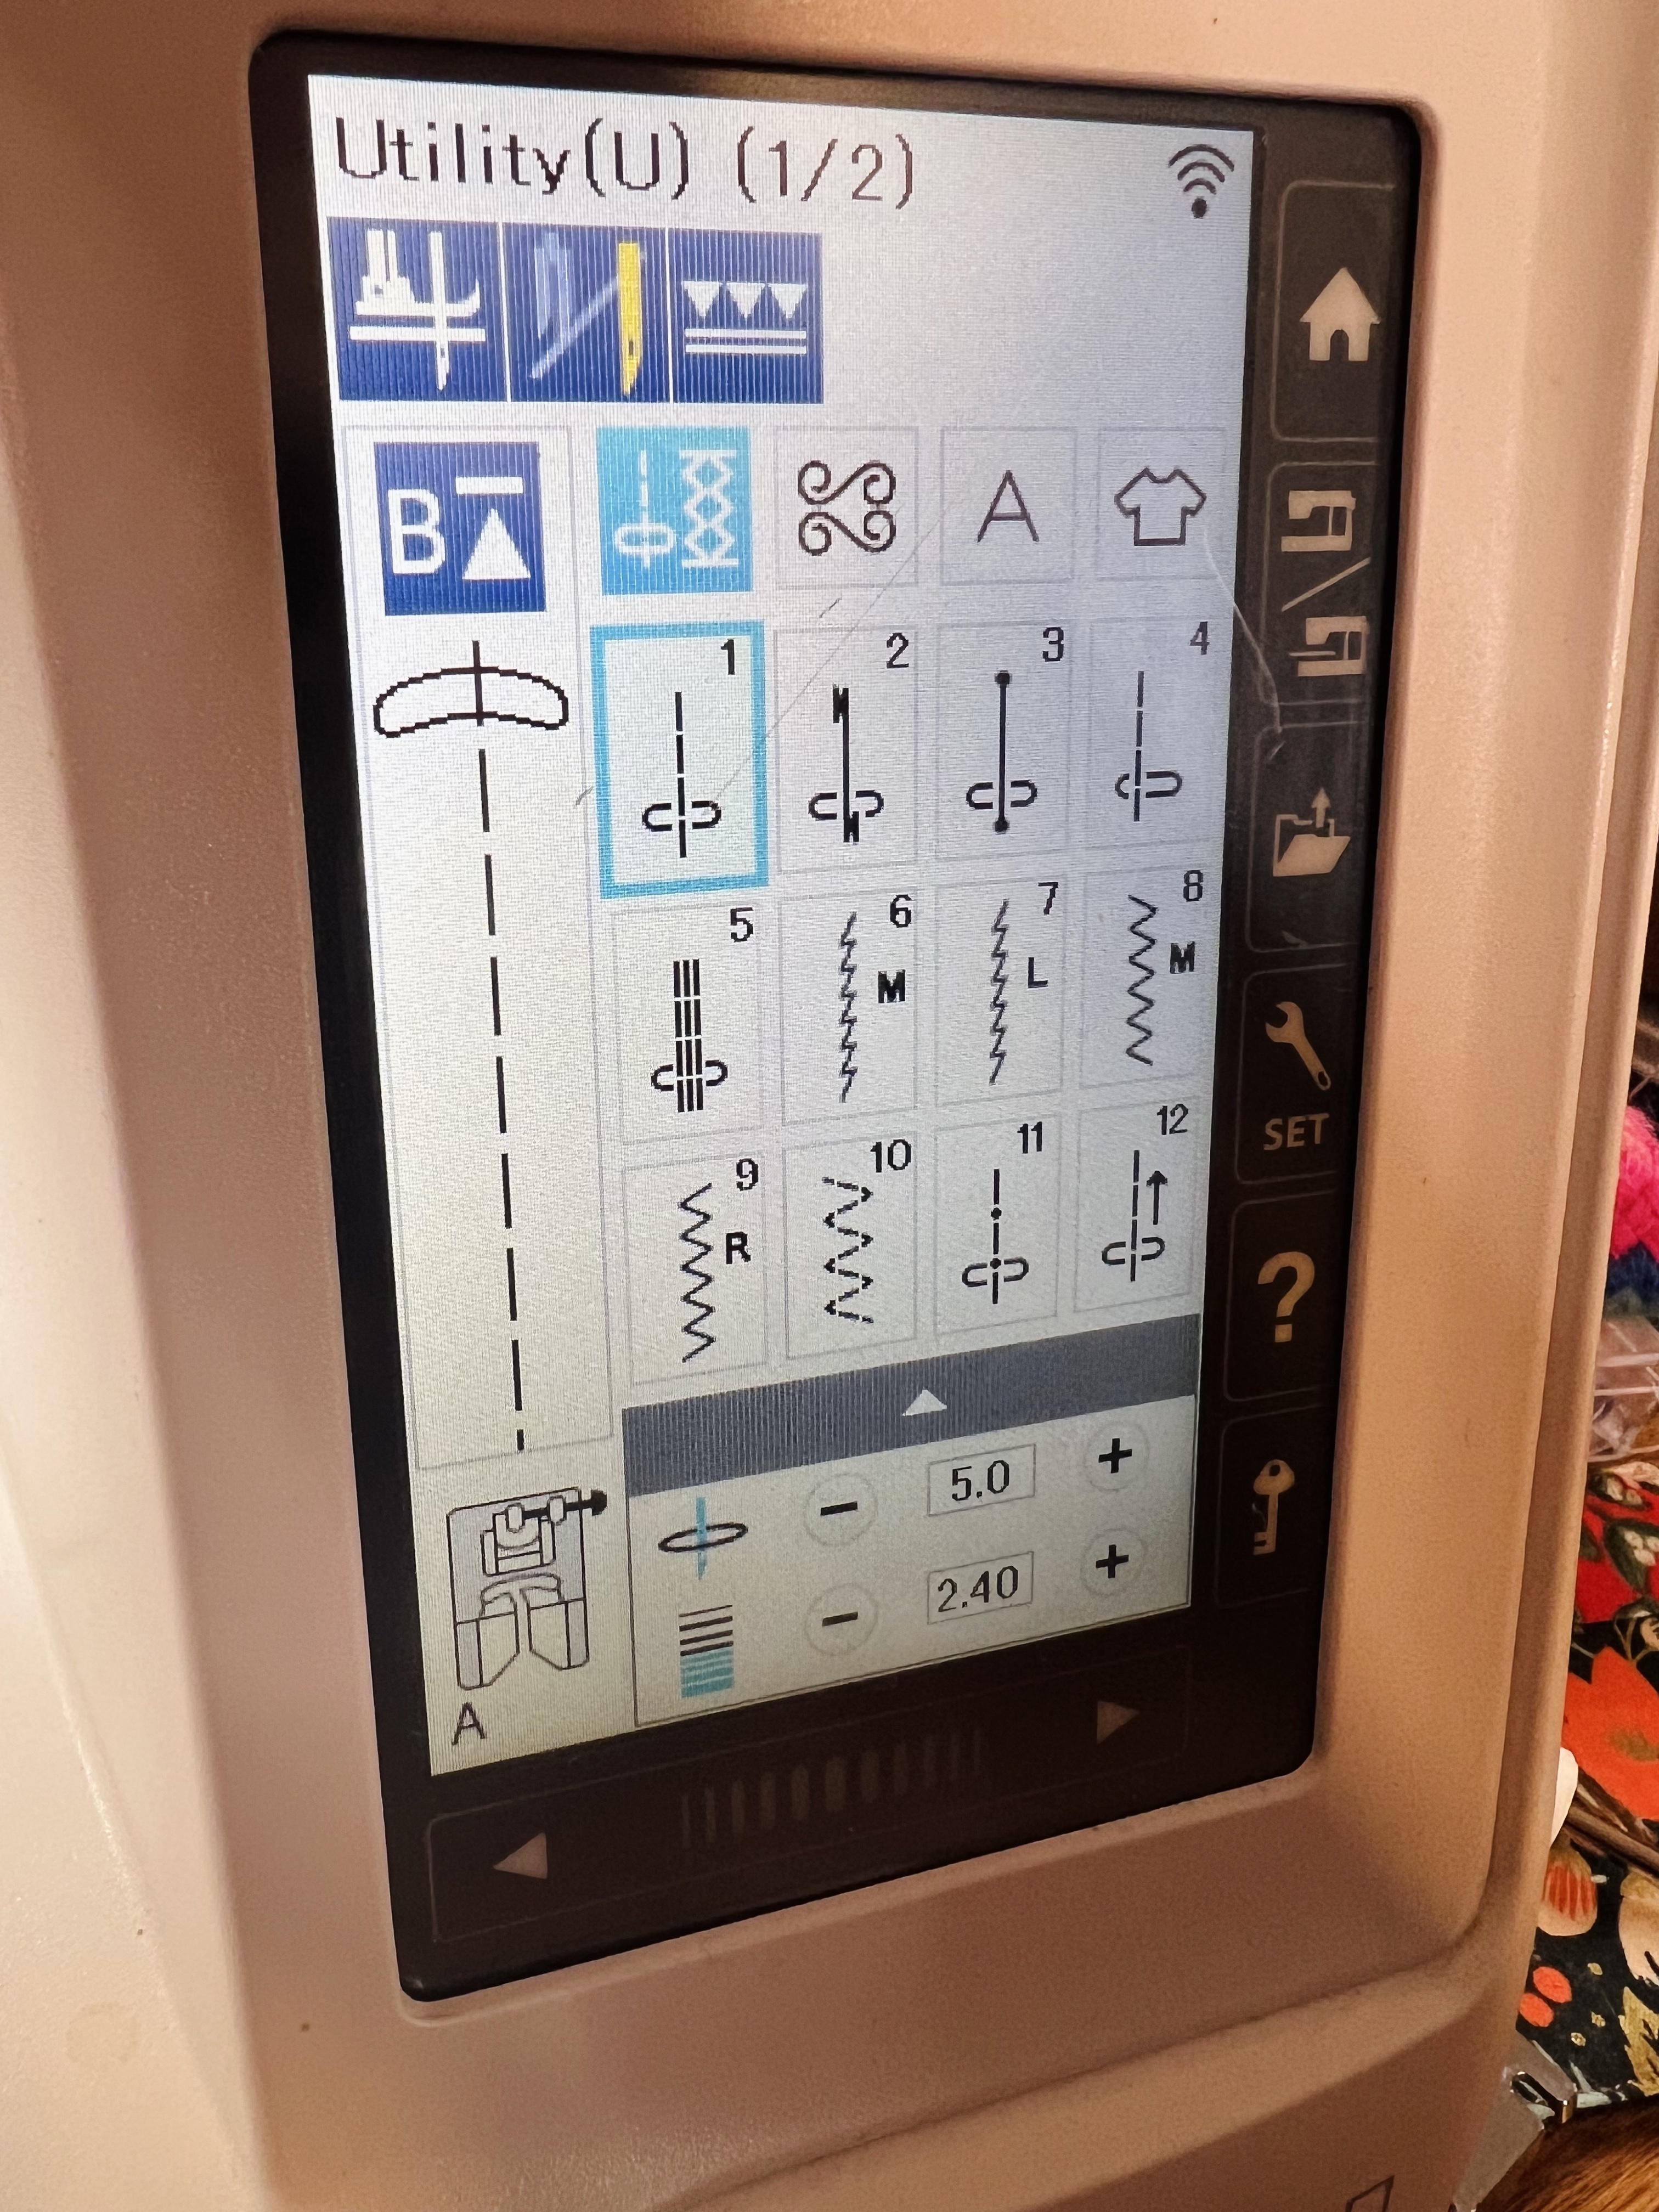
I sewed this block on my Skyline S9 with the AcuFeed engaged. 
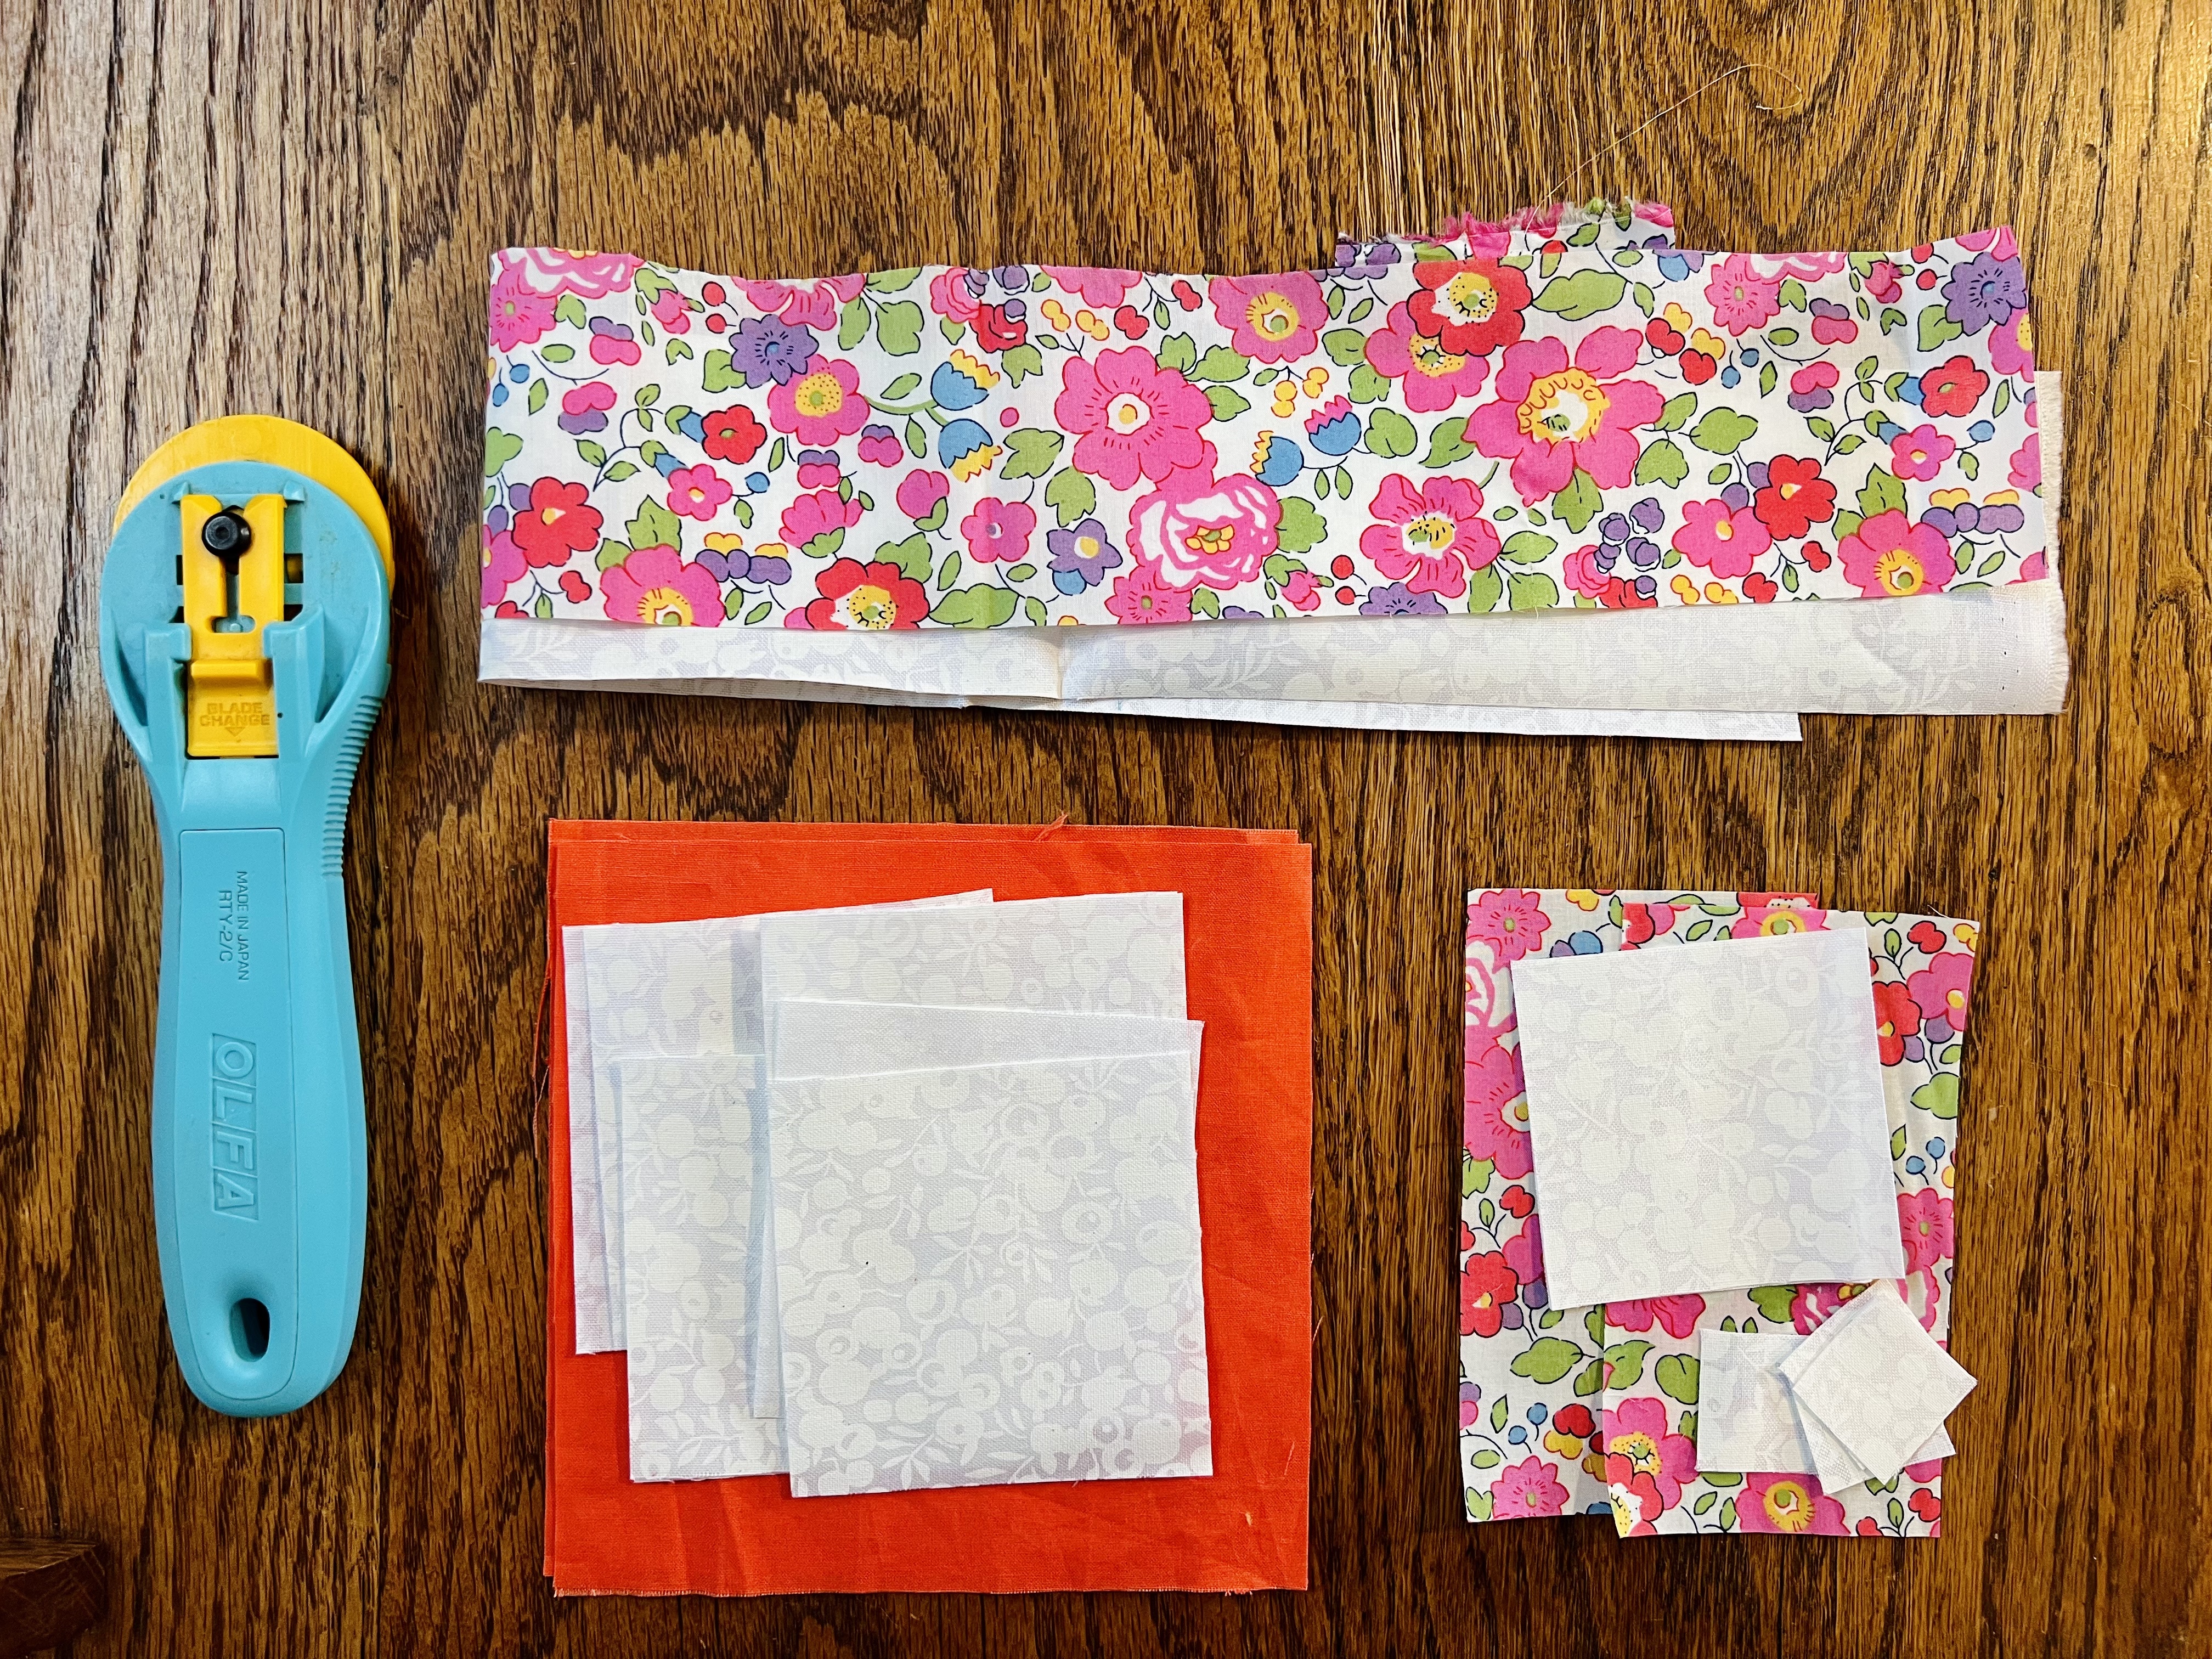
Cut the following

for the corner blocks:

Fabric A: 2.5x20”

Fabric B: 2.5x20”

for the star points:

Fabric A: (8) 3x3”

Fabric C: (2) 5 3/8 x 5 3/8”

for the heart block:

Fabric A: (2) 2.5x2.5”

    (4) 1.25x1.25’

Fabric B: (2) 2.5x4.5”


Step 1: Make the corner blocks


Place the 2.5x20” strips right sides together, and sew a 1/4” seam along the long side. Press the seam toward the darker fabric. 


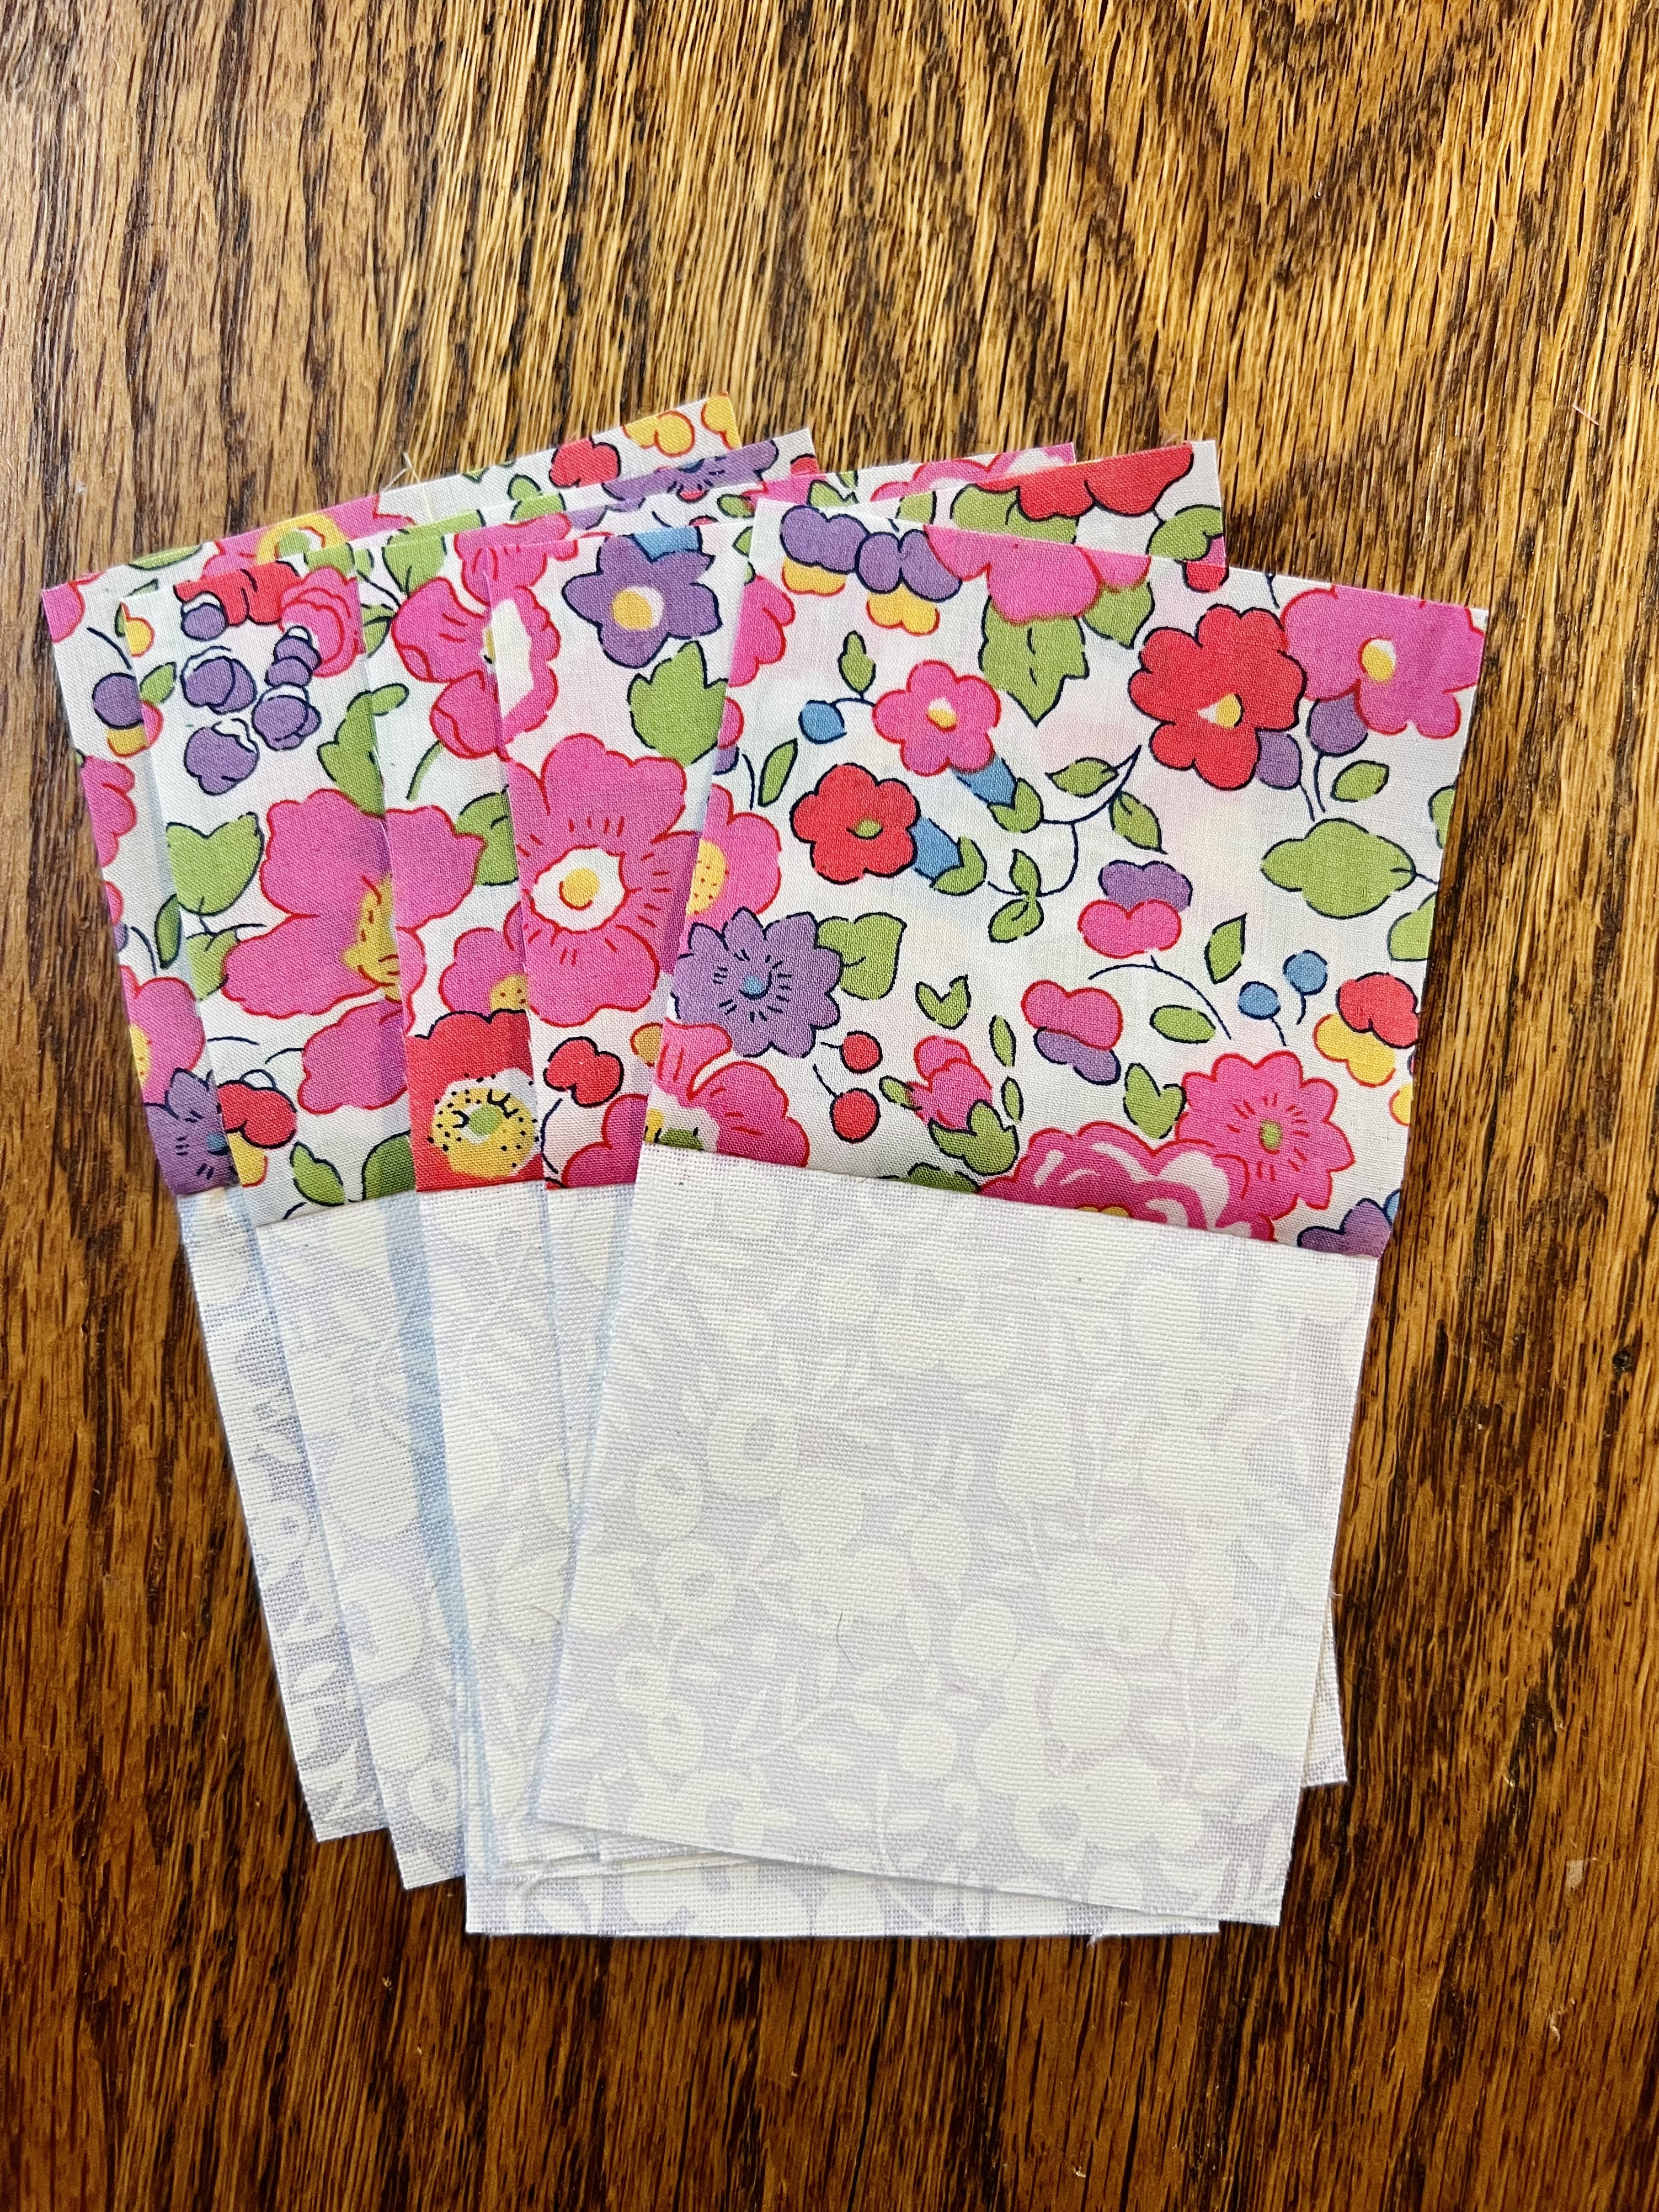
Cut the strip into 8 2.5” sections. 


Sew into square units. You should have two of each of the below orientations:


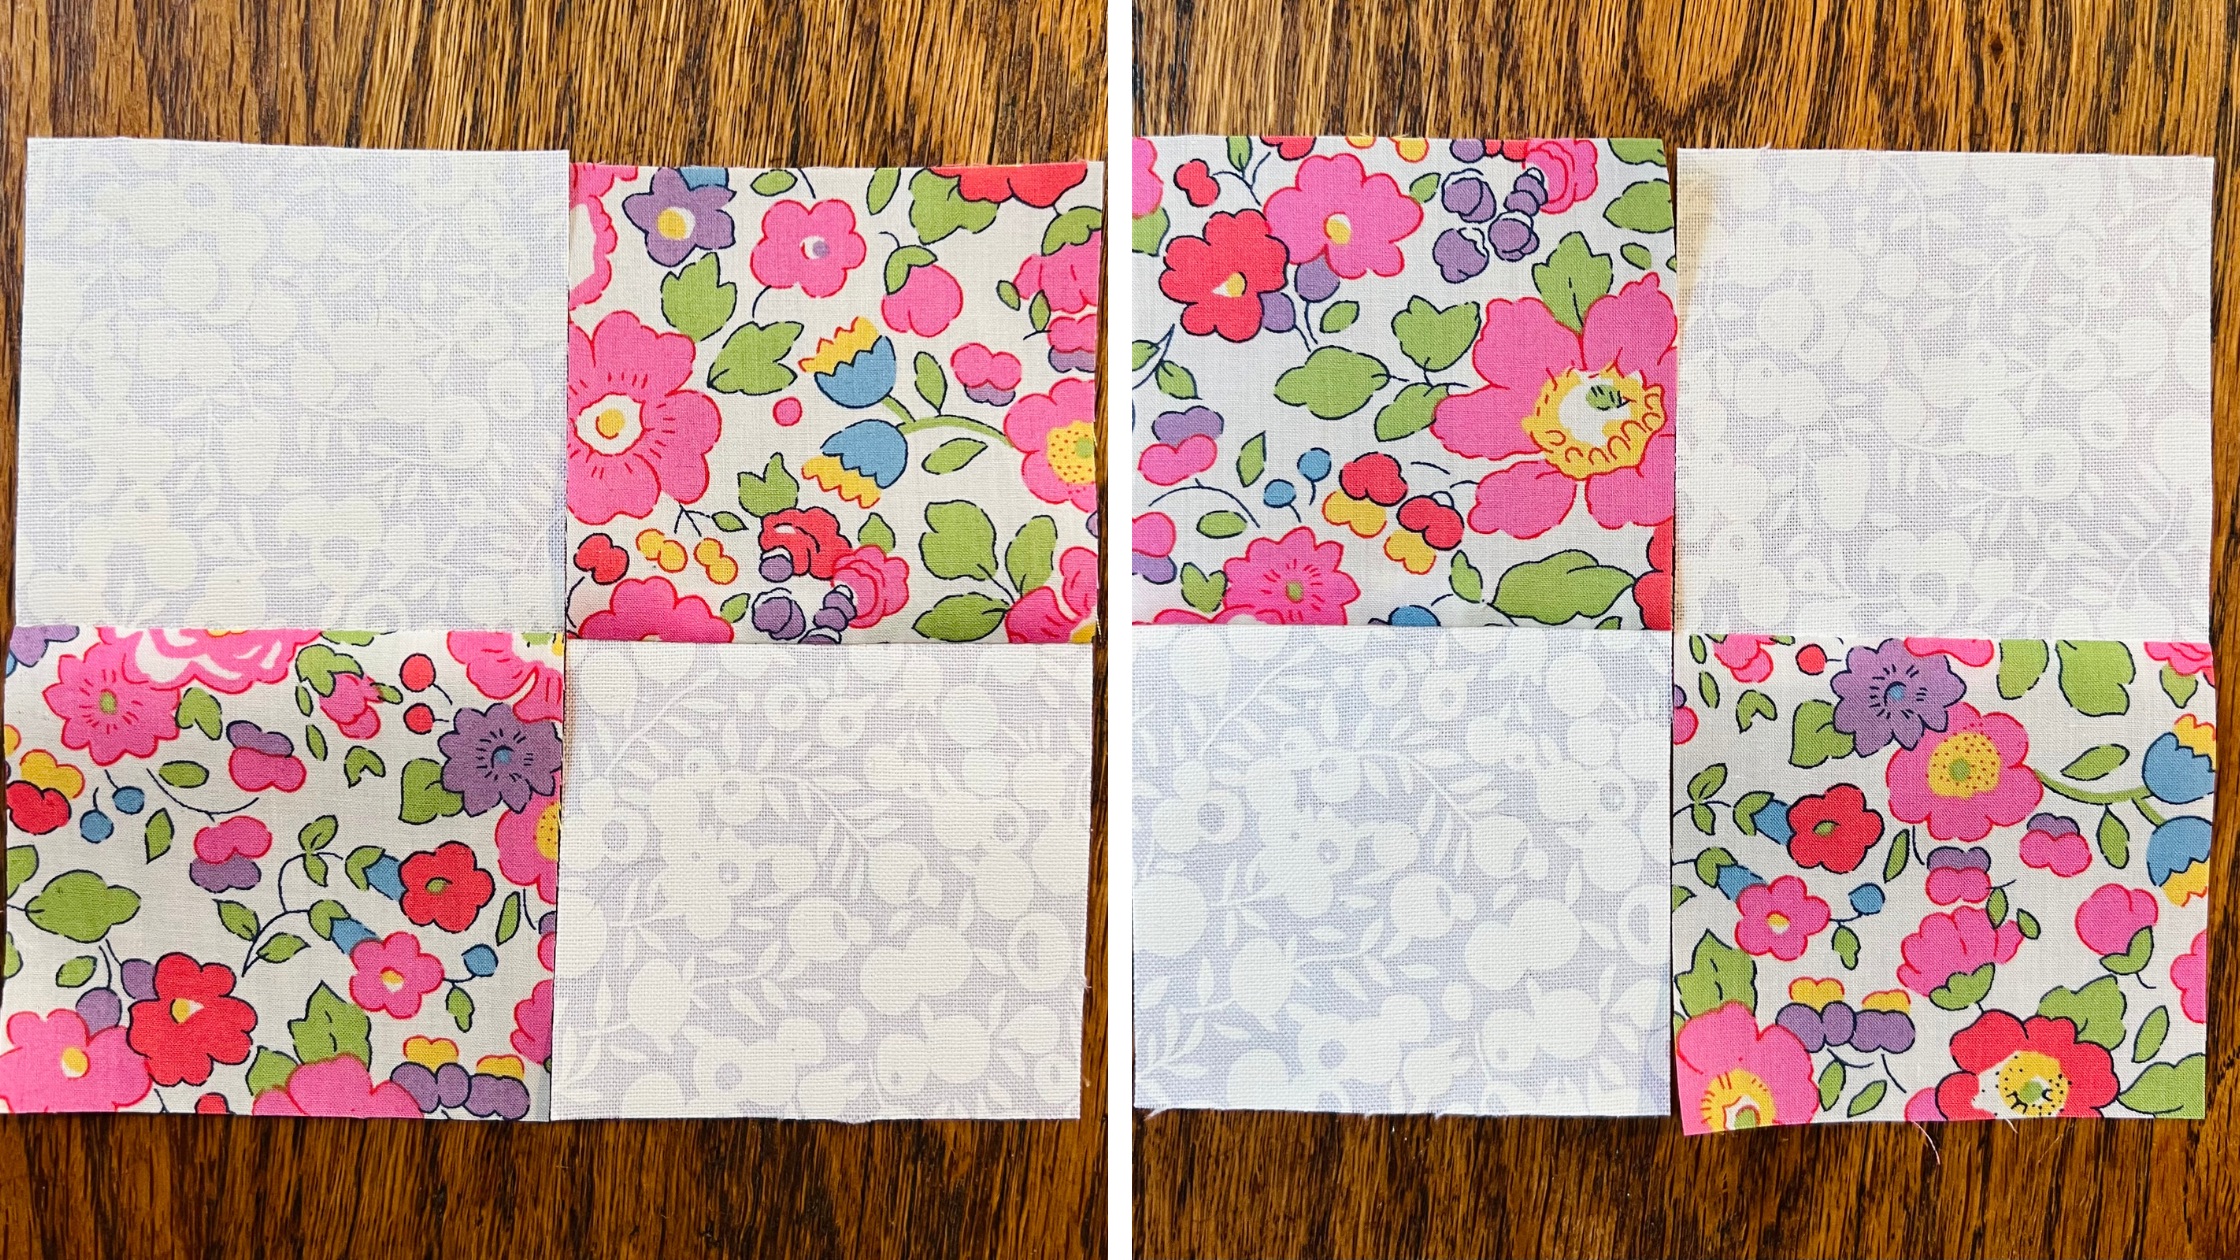
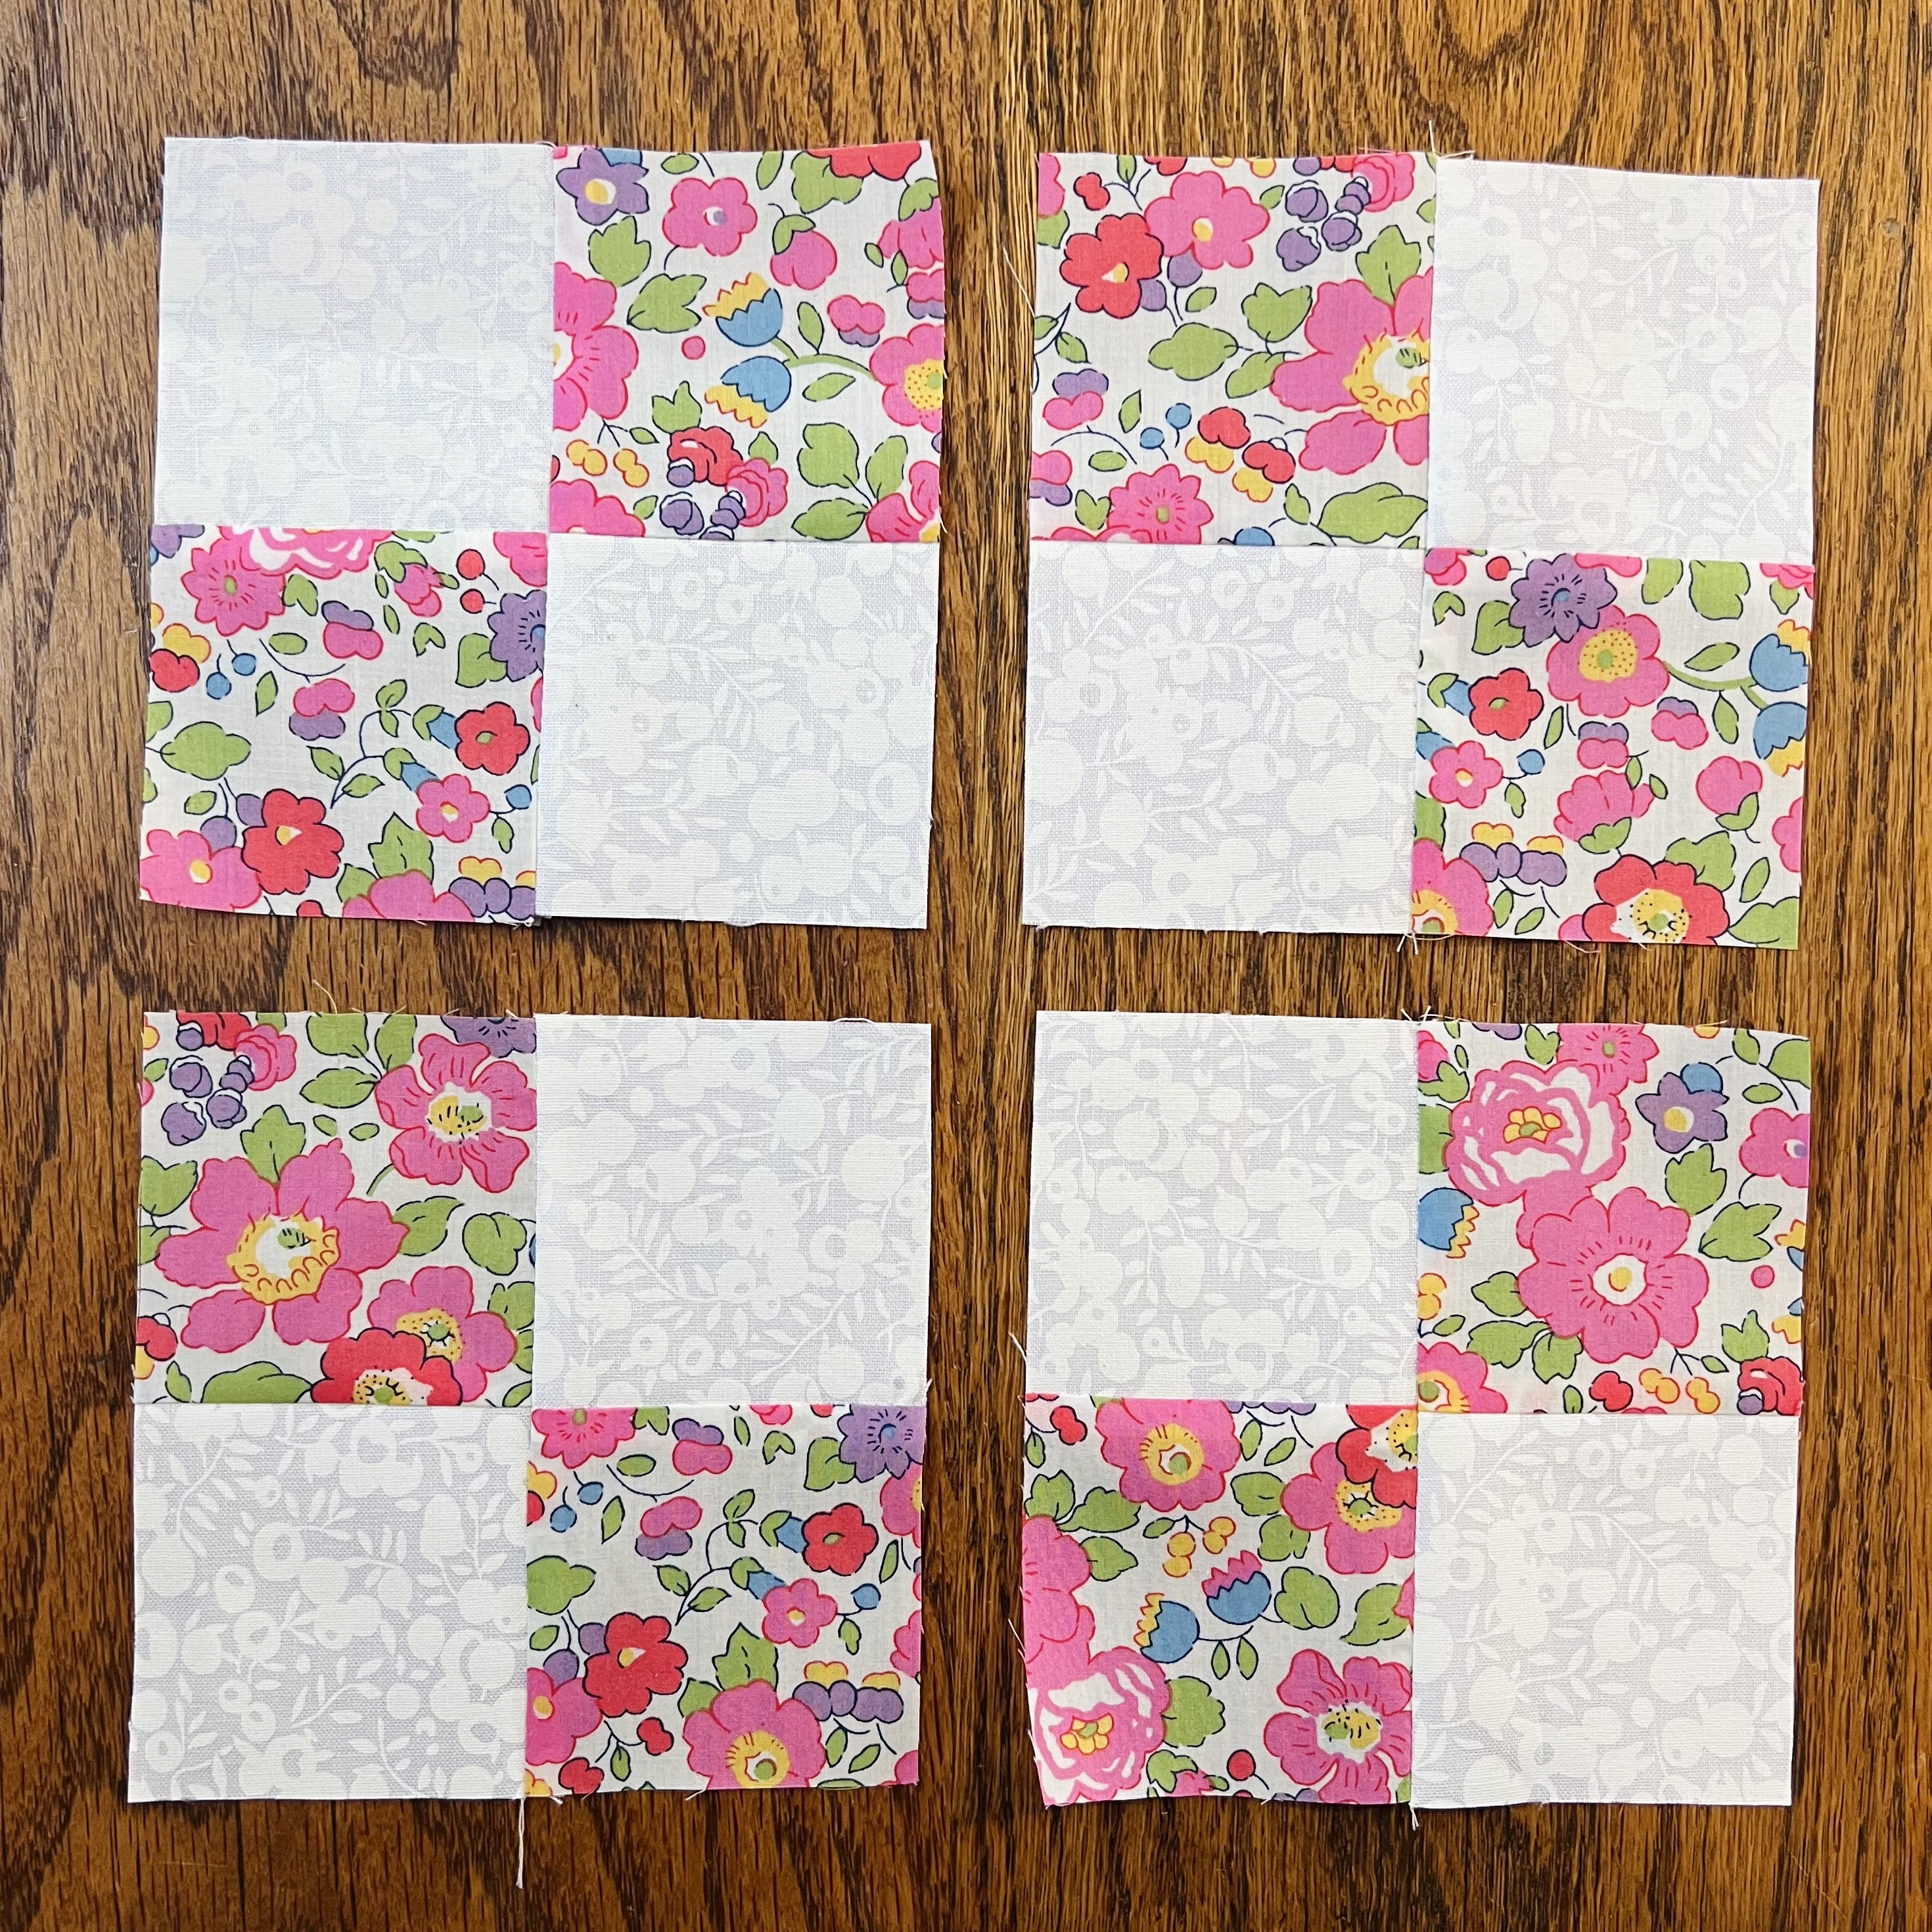
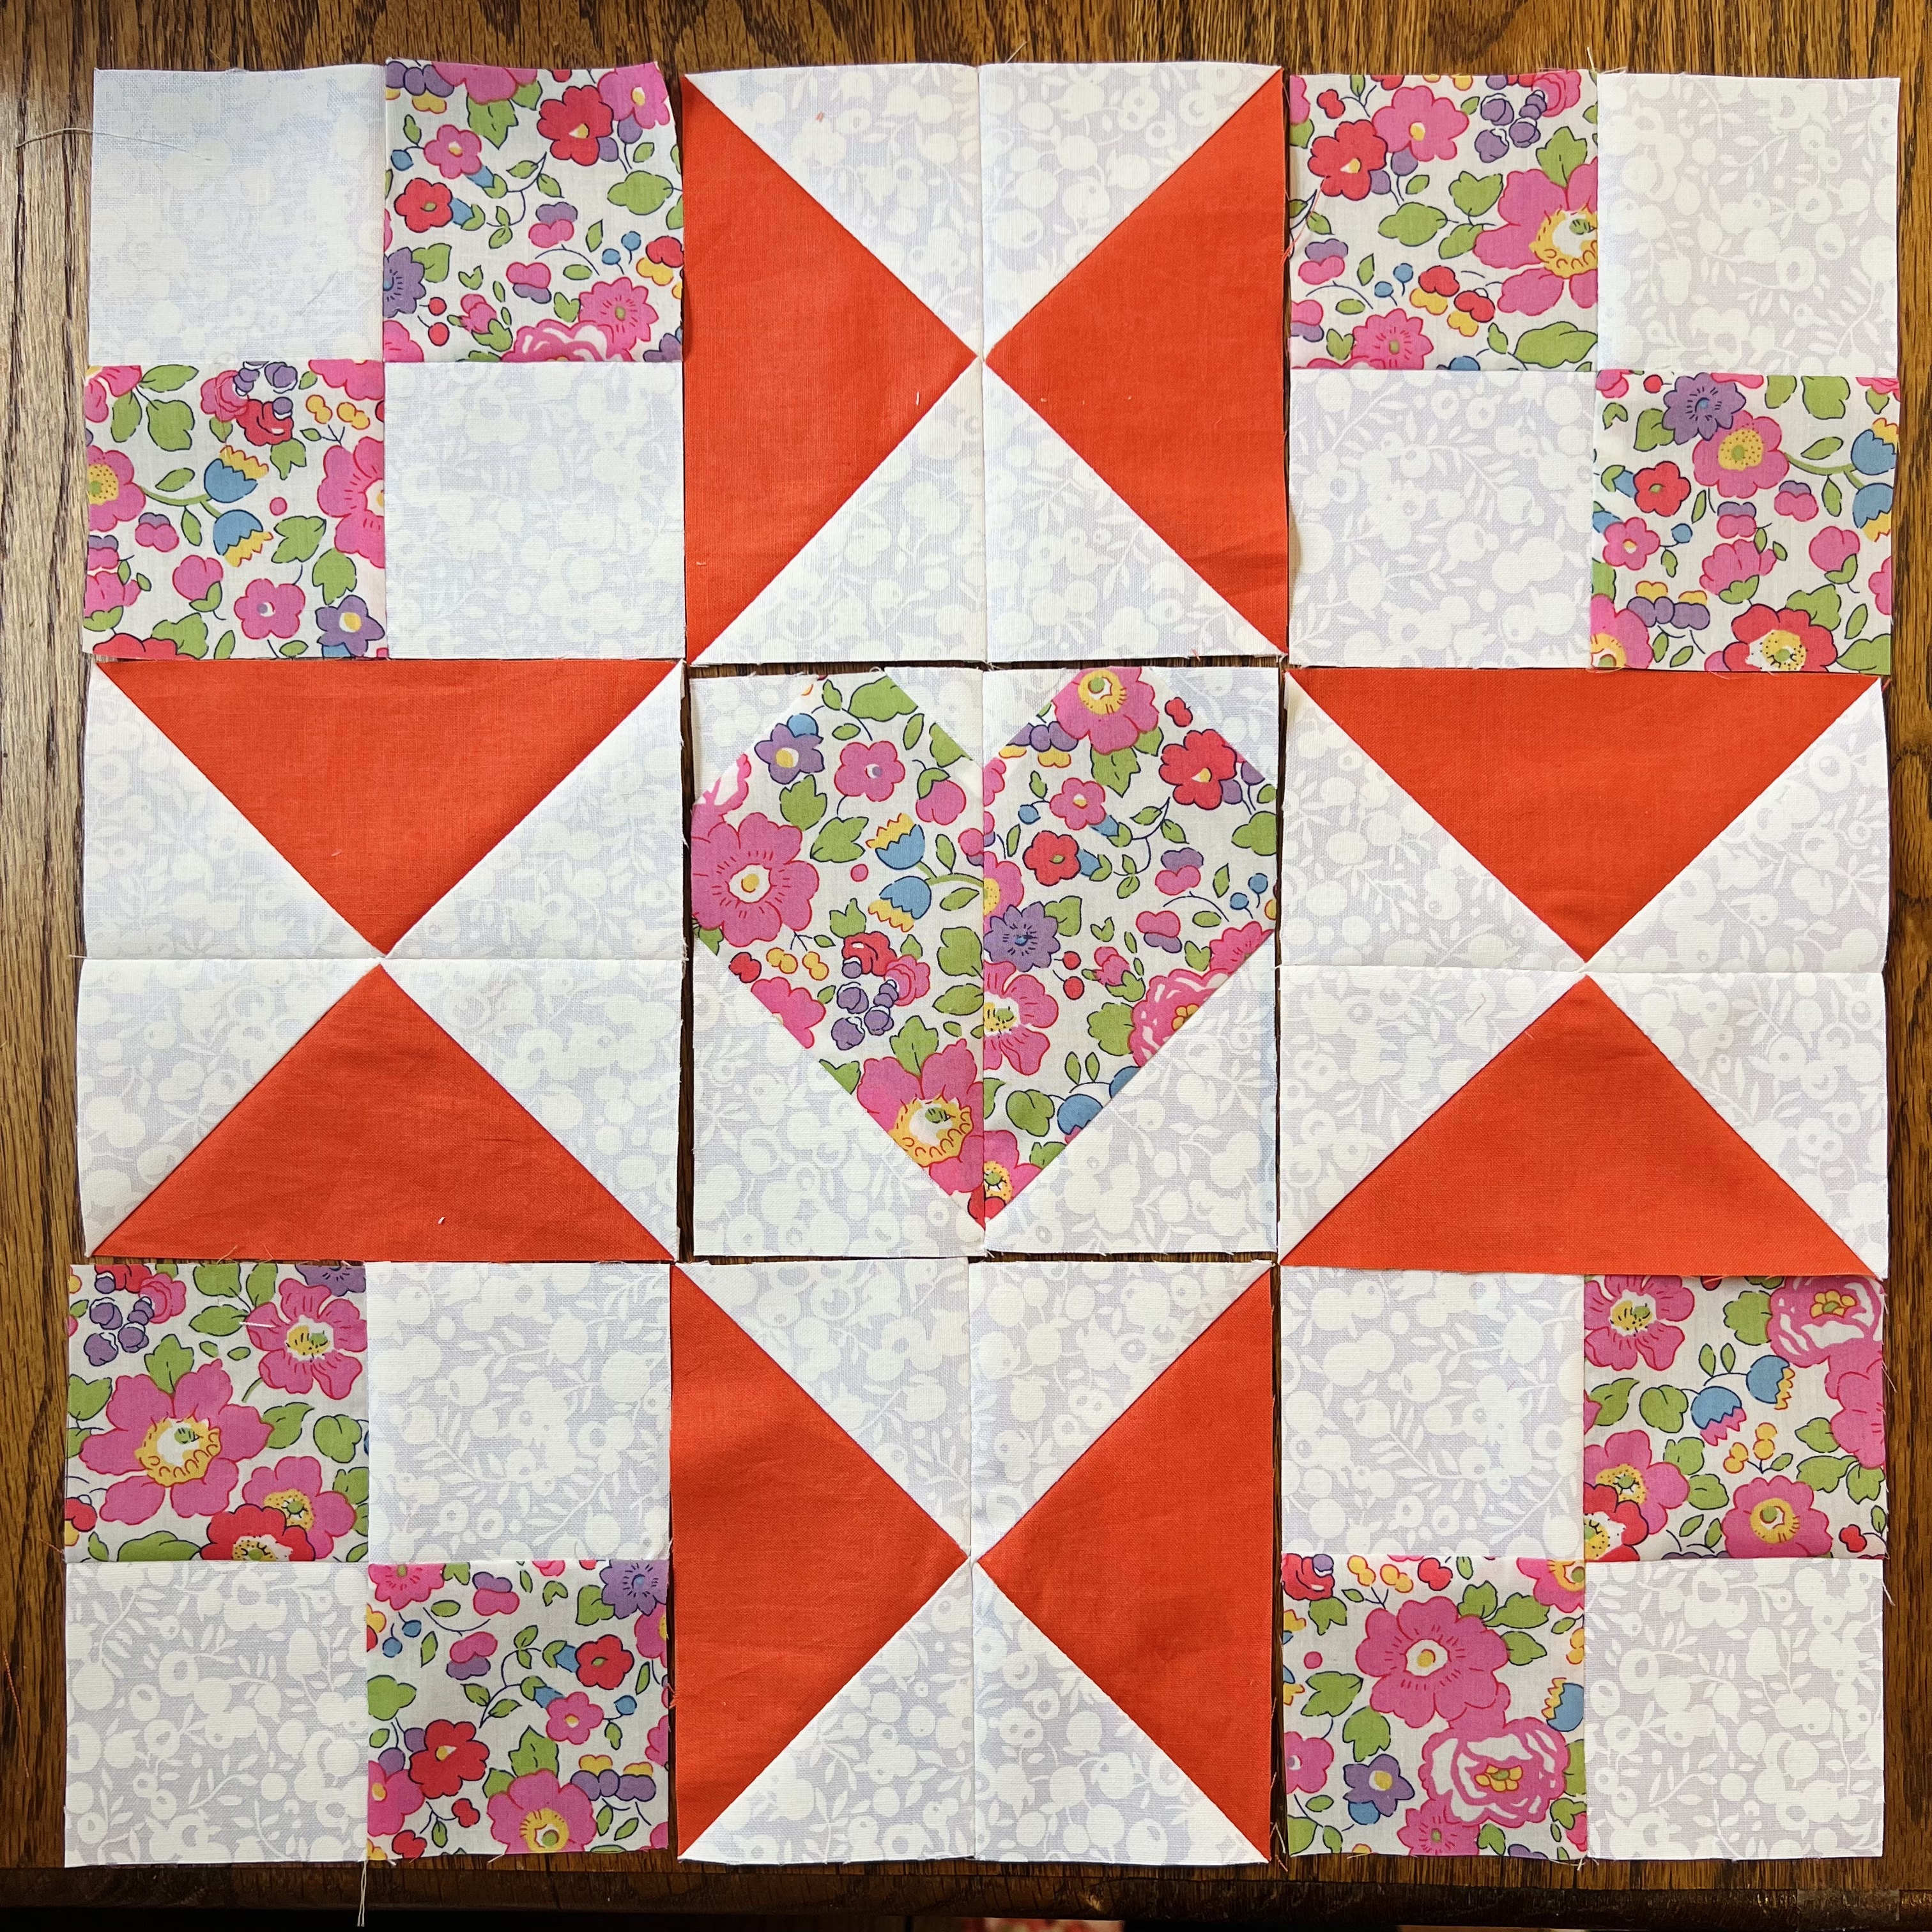
Here is what your finished corner sections should look like:


Step 2: Make the star points


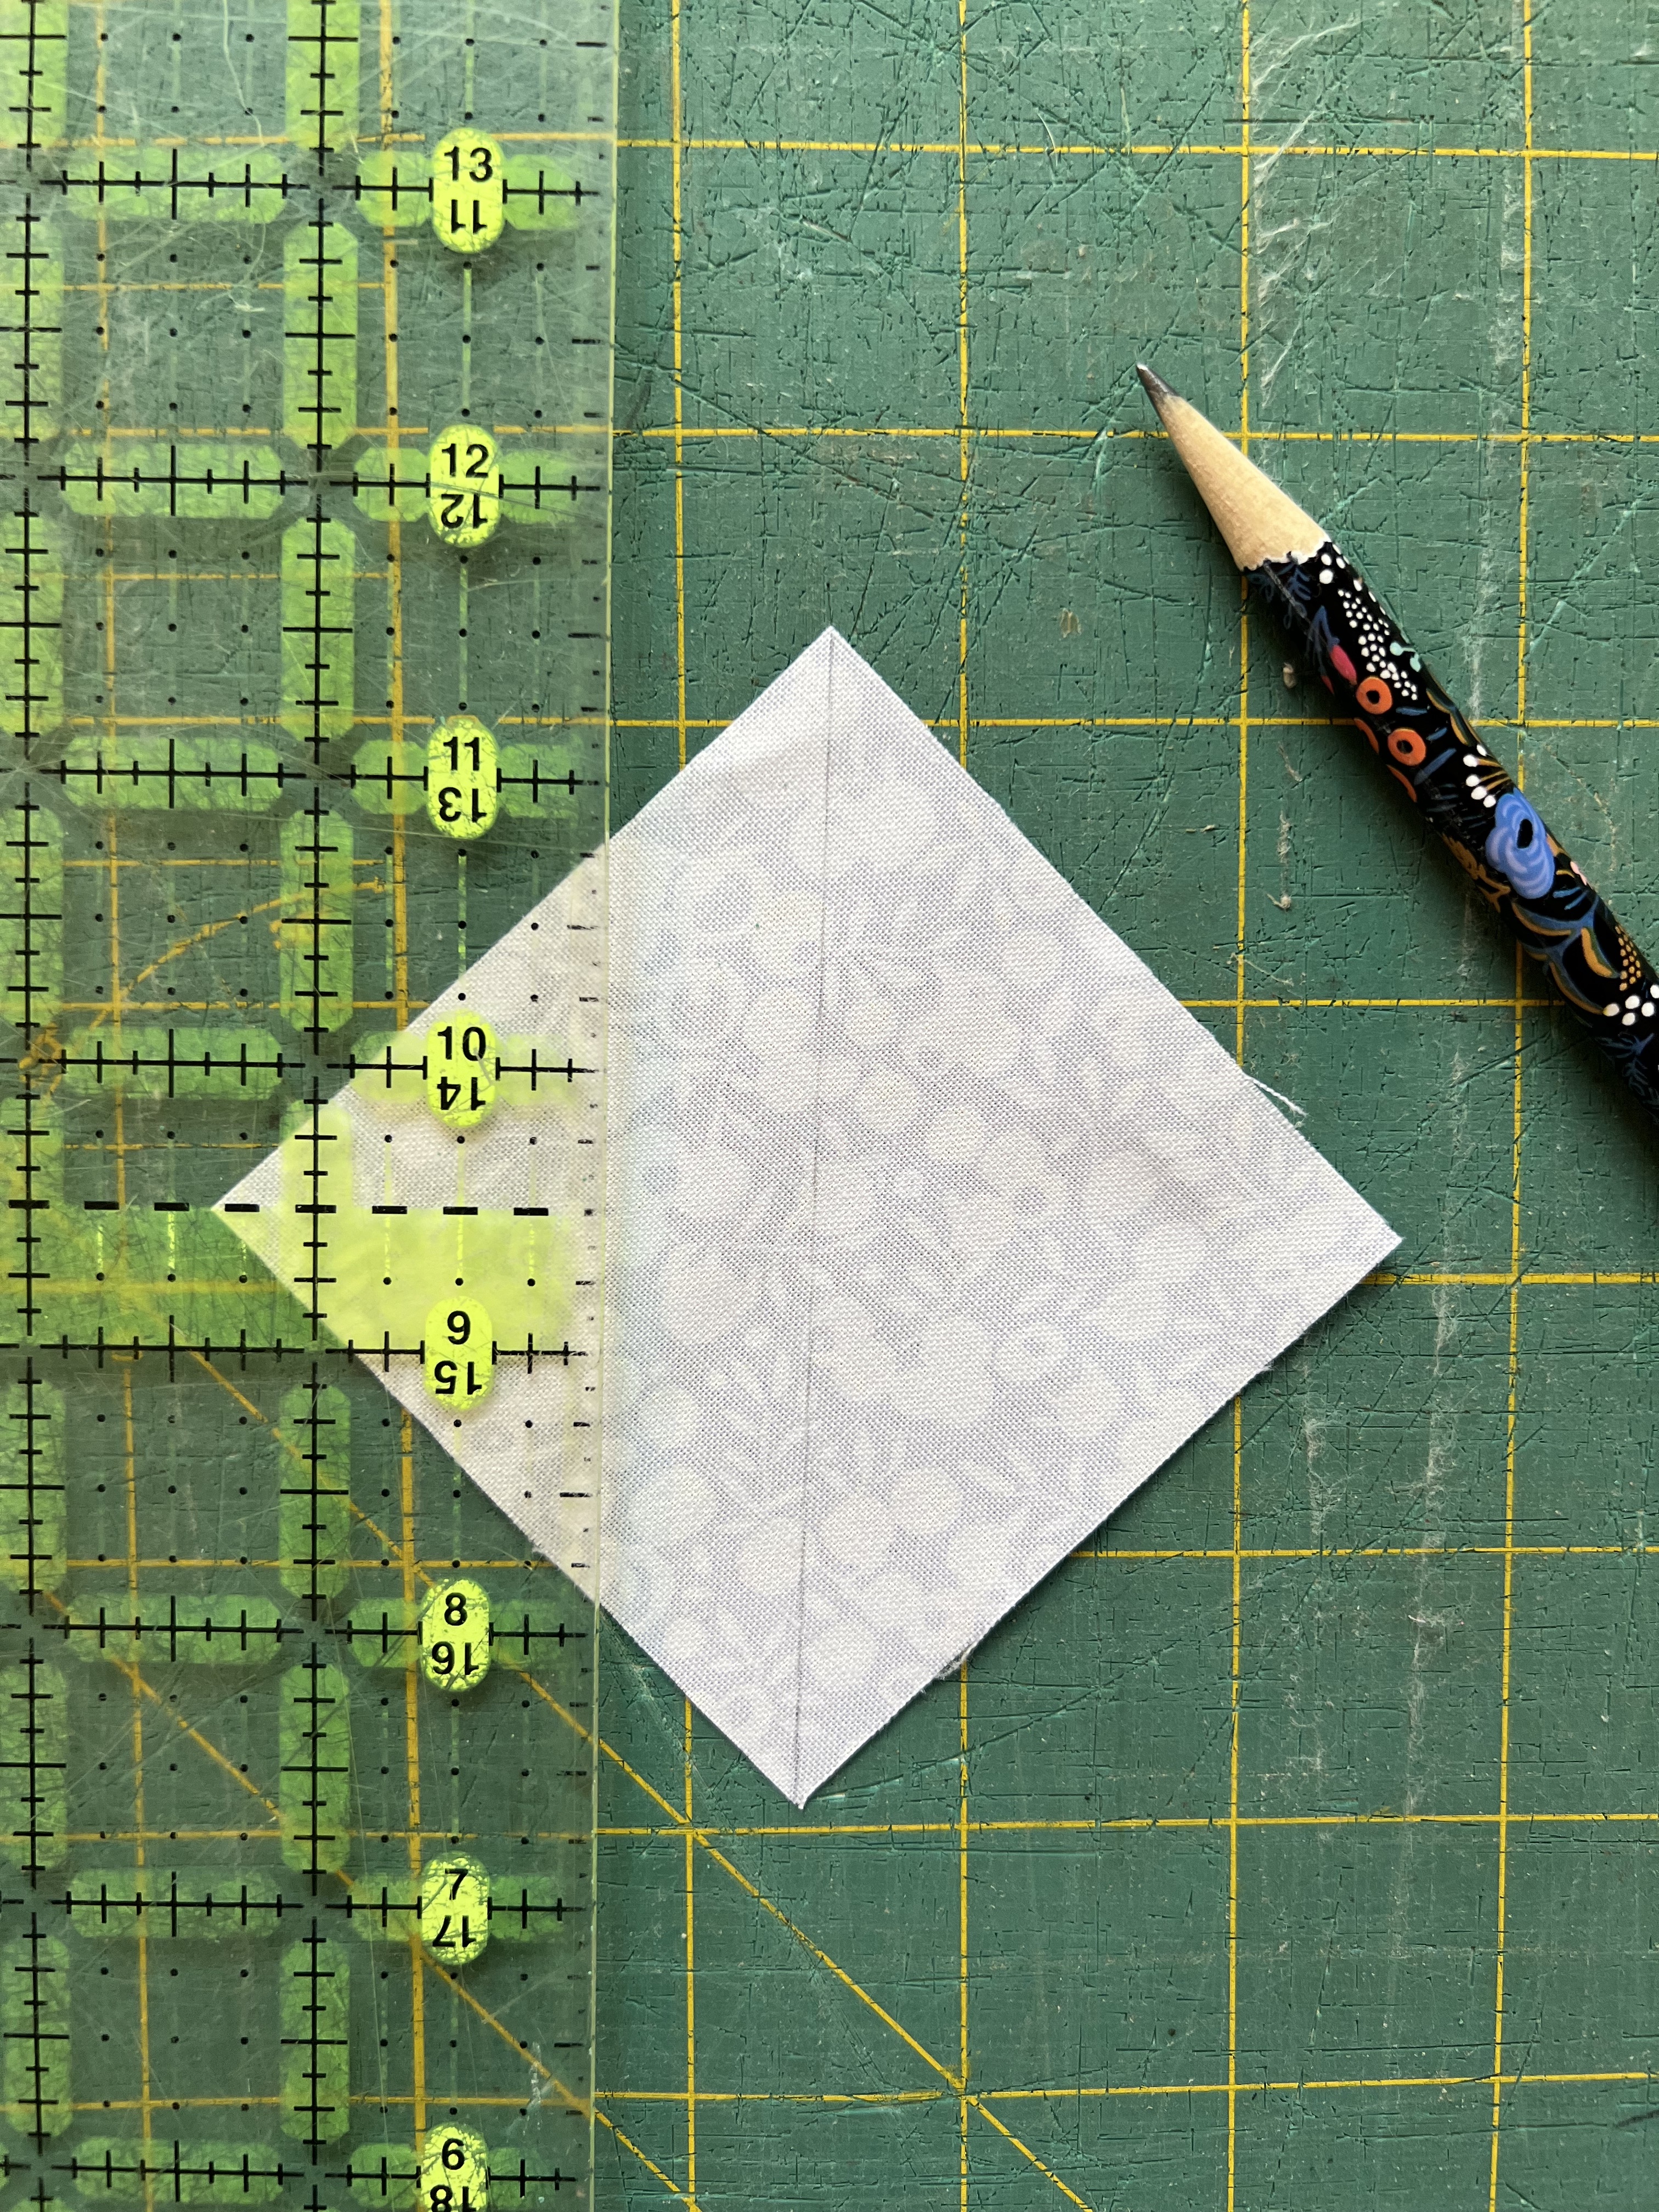
Mark lines through the center on the wrong side of your Fabric A pieces like so:


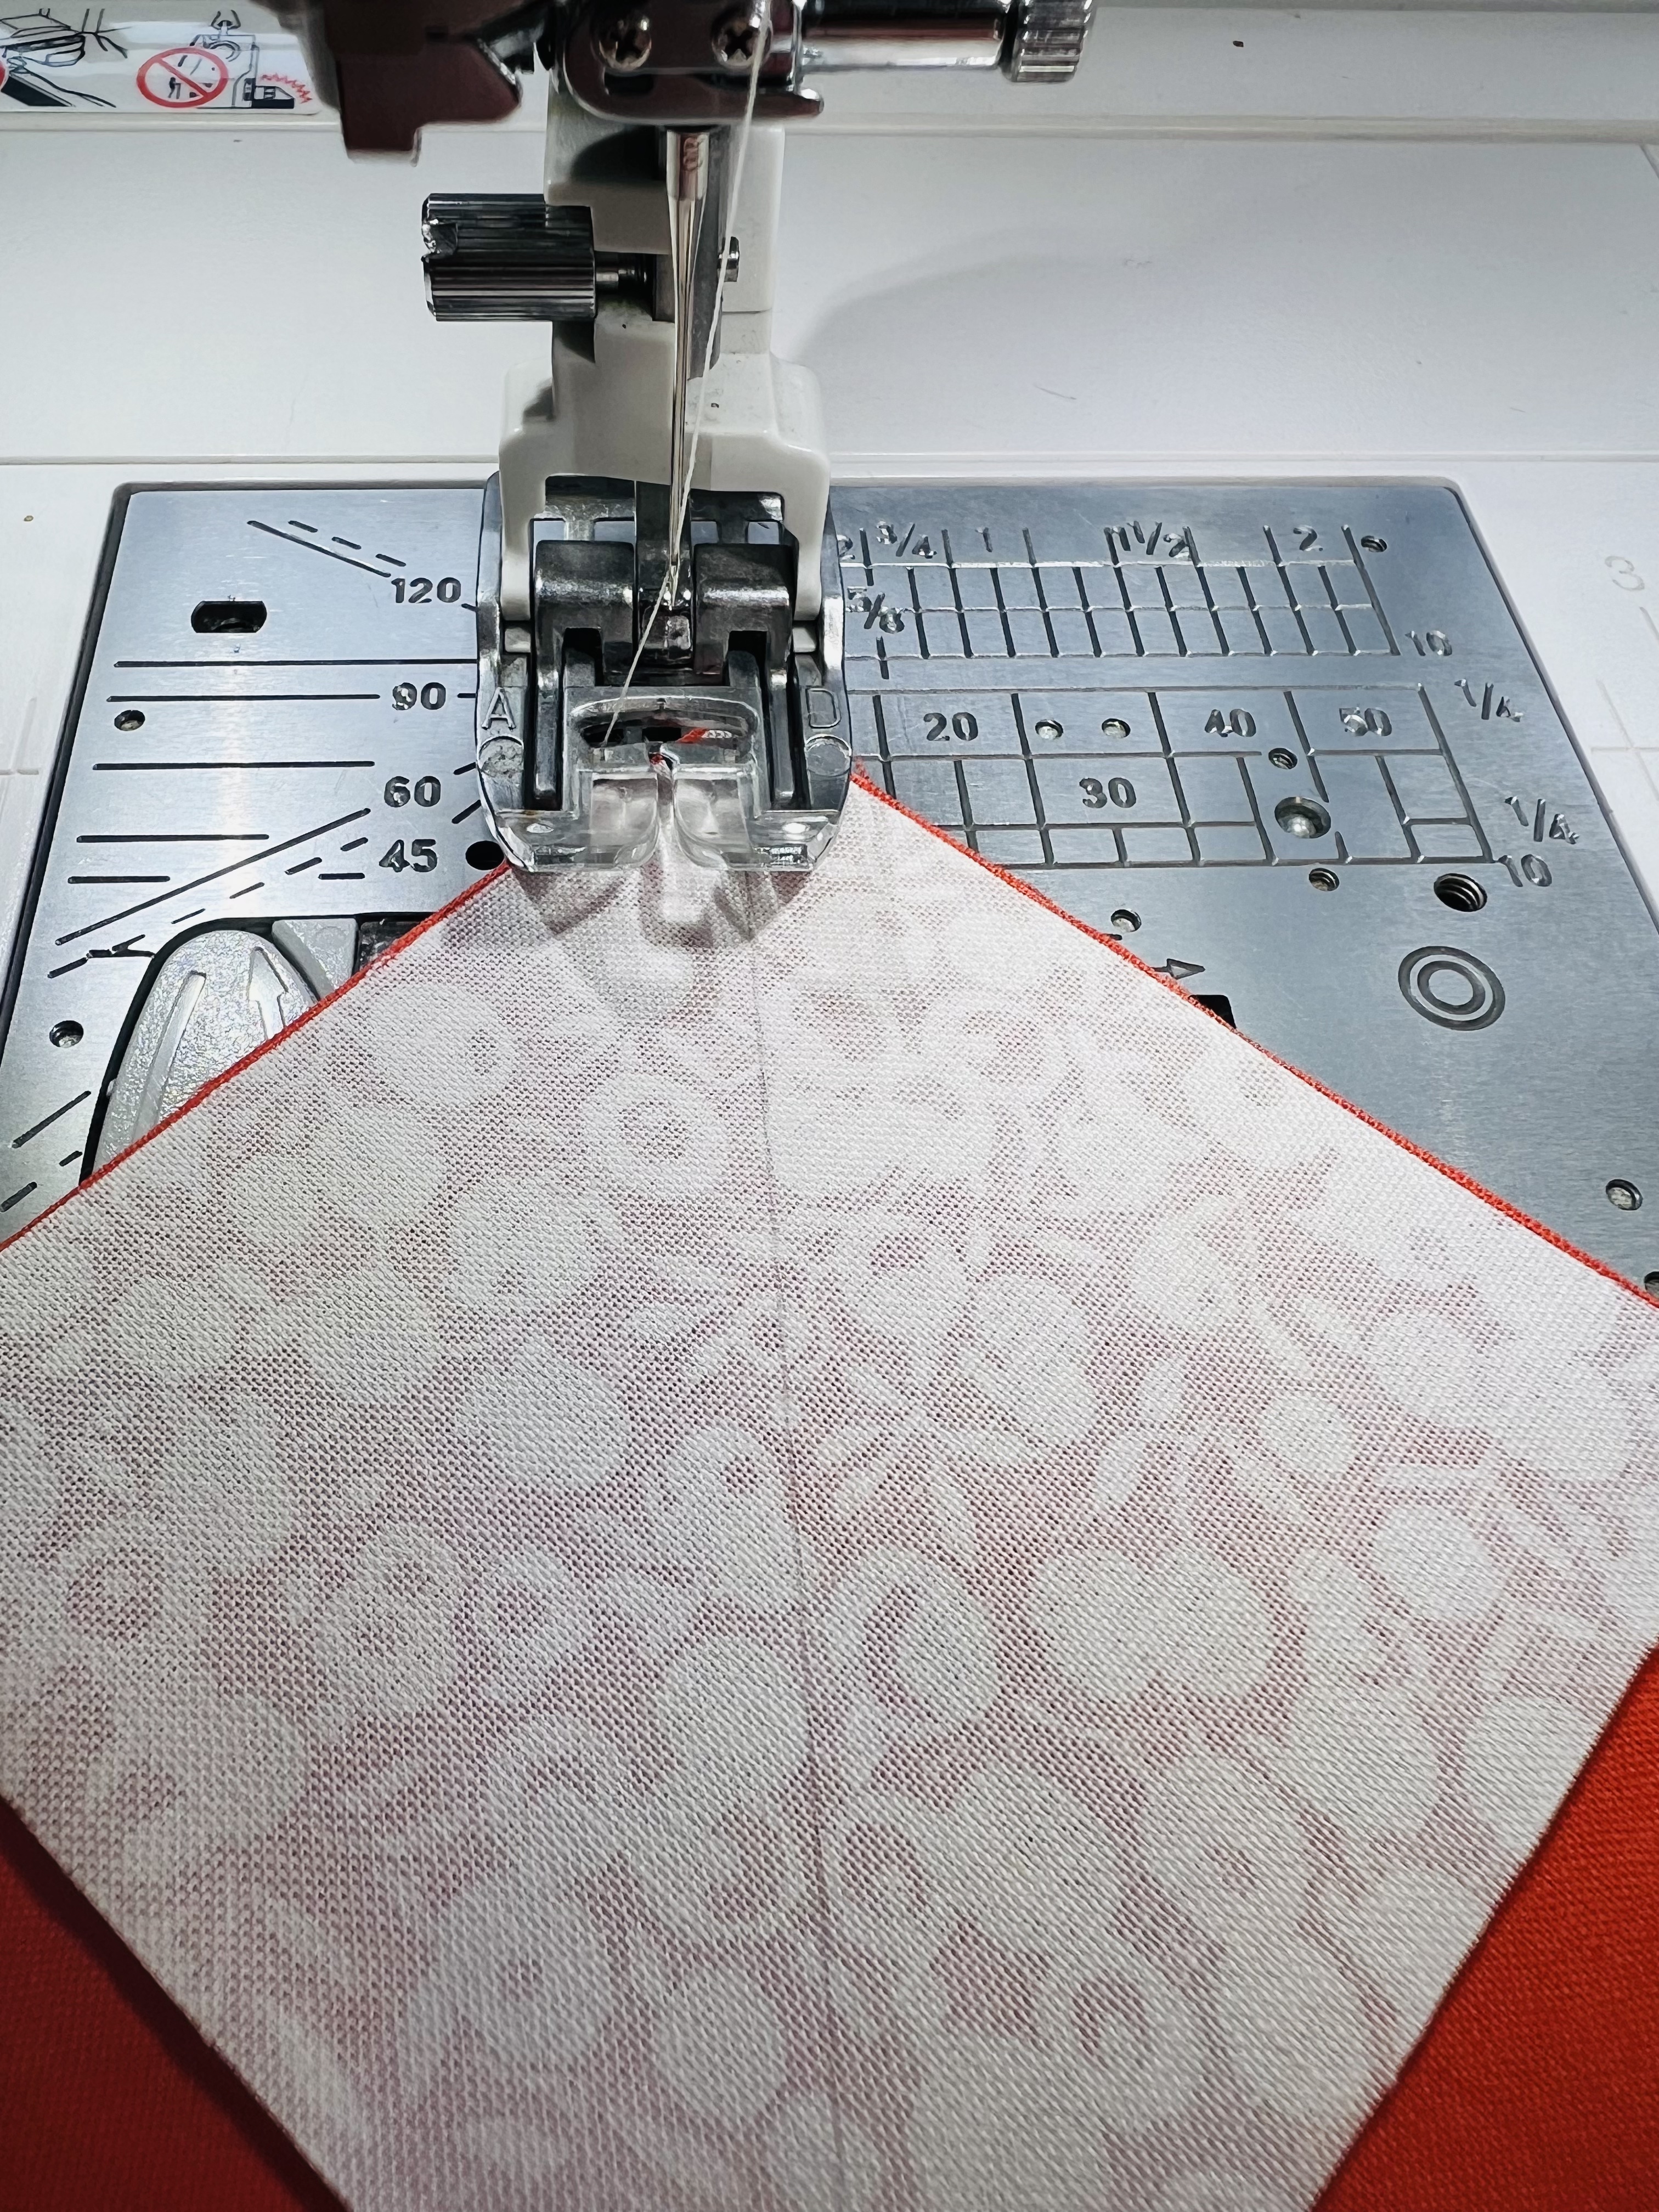
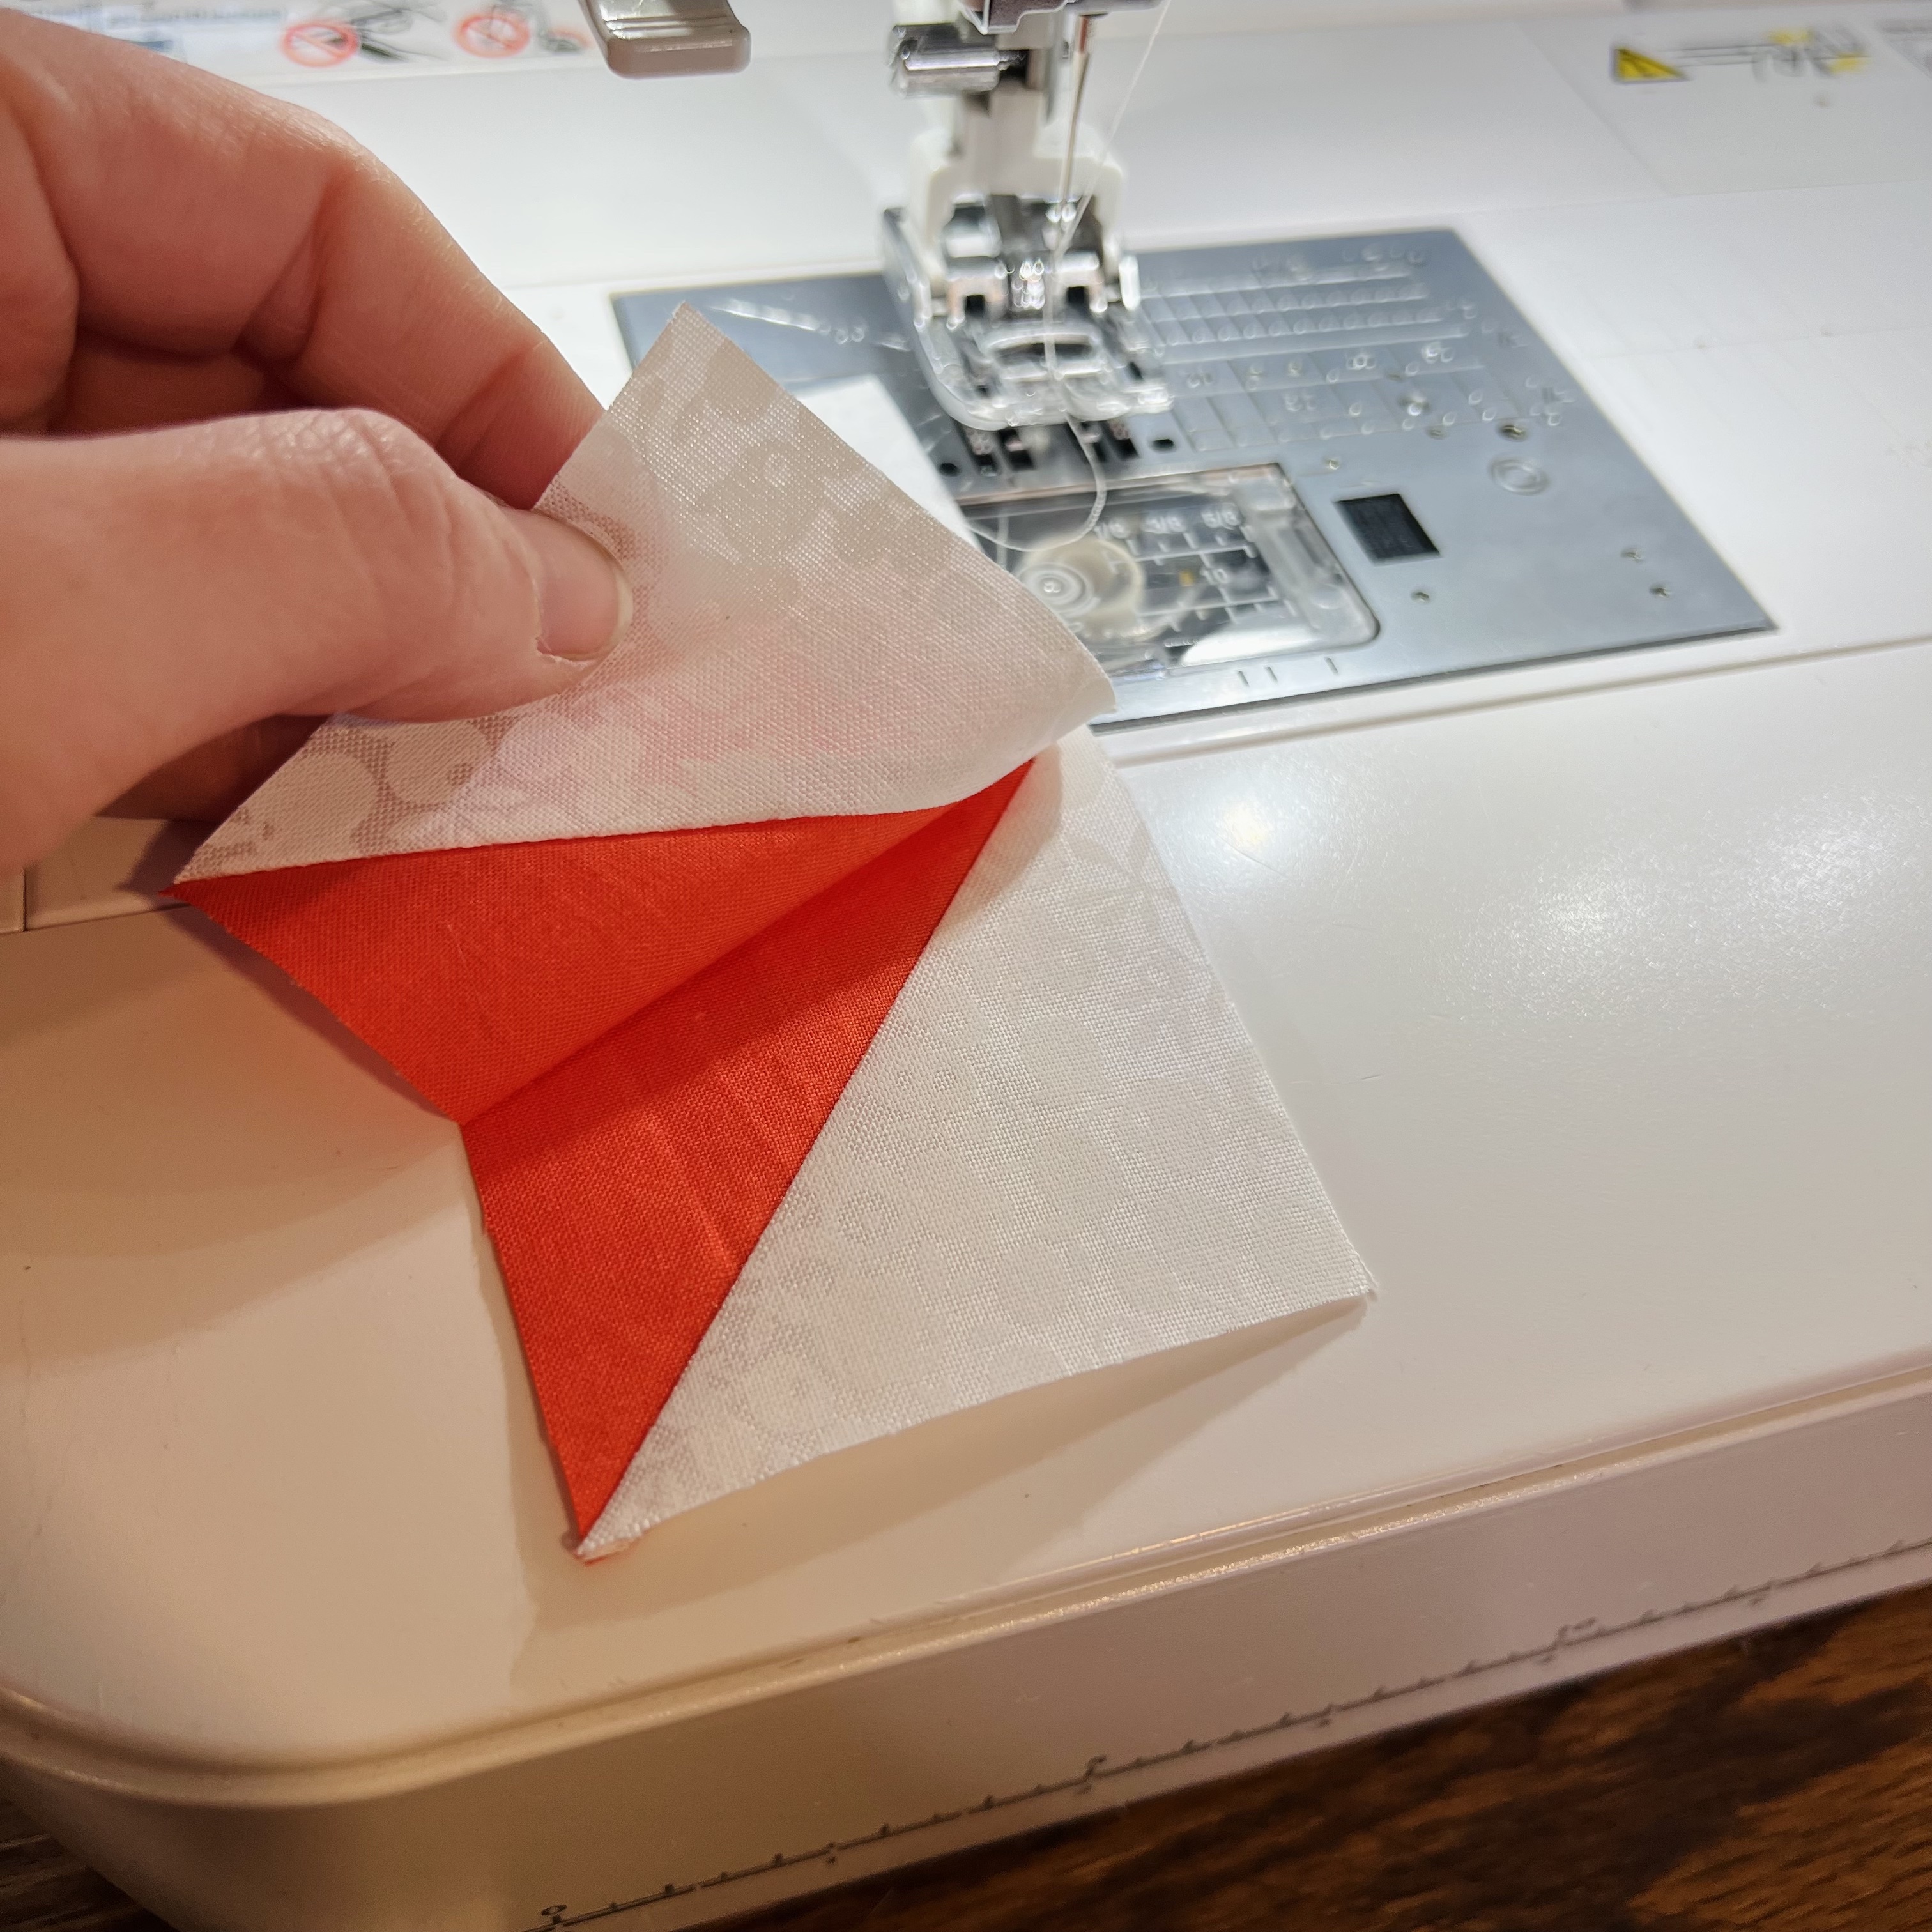
Place 2 Fabric A squares right side down on the Fabric C square, just inside of the larger square. You don’t want it to be quite flush. See photo below. 


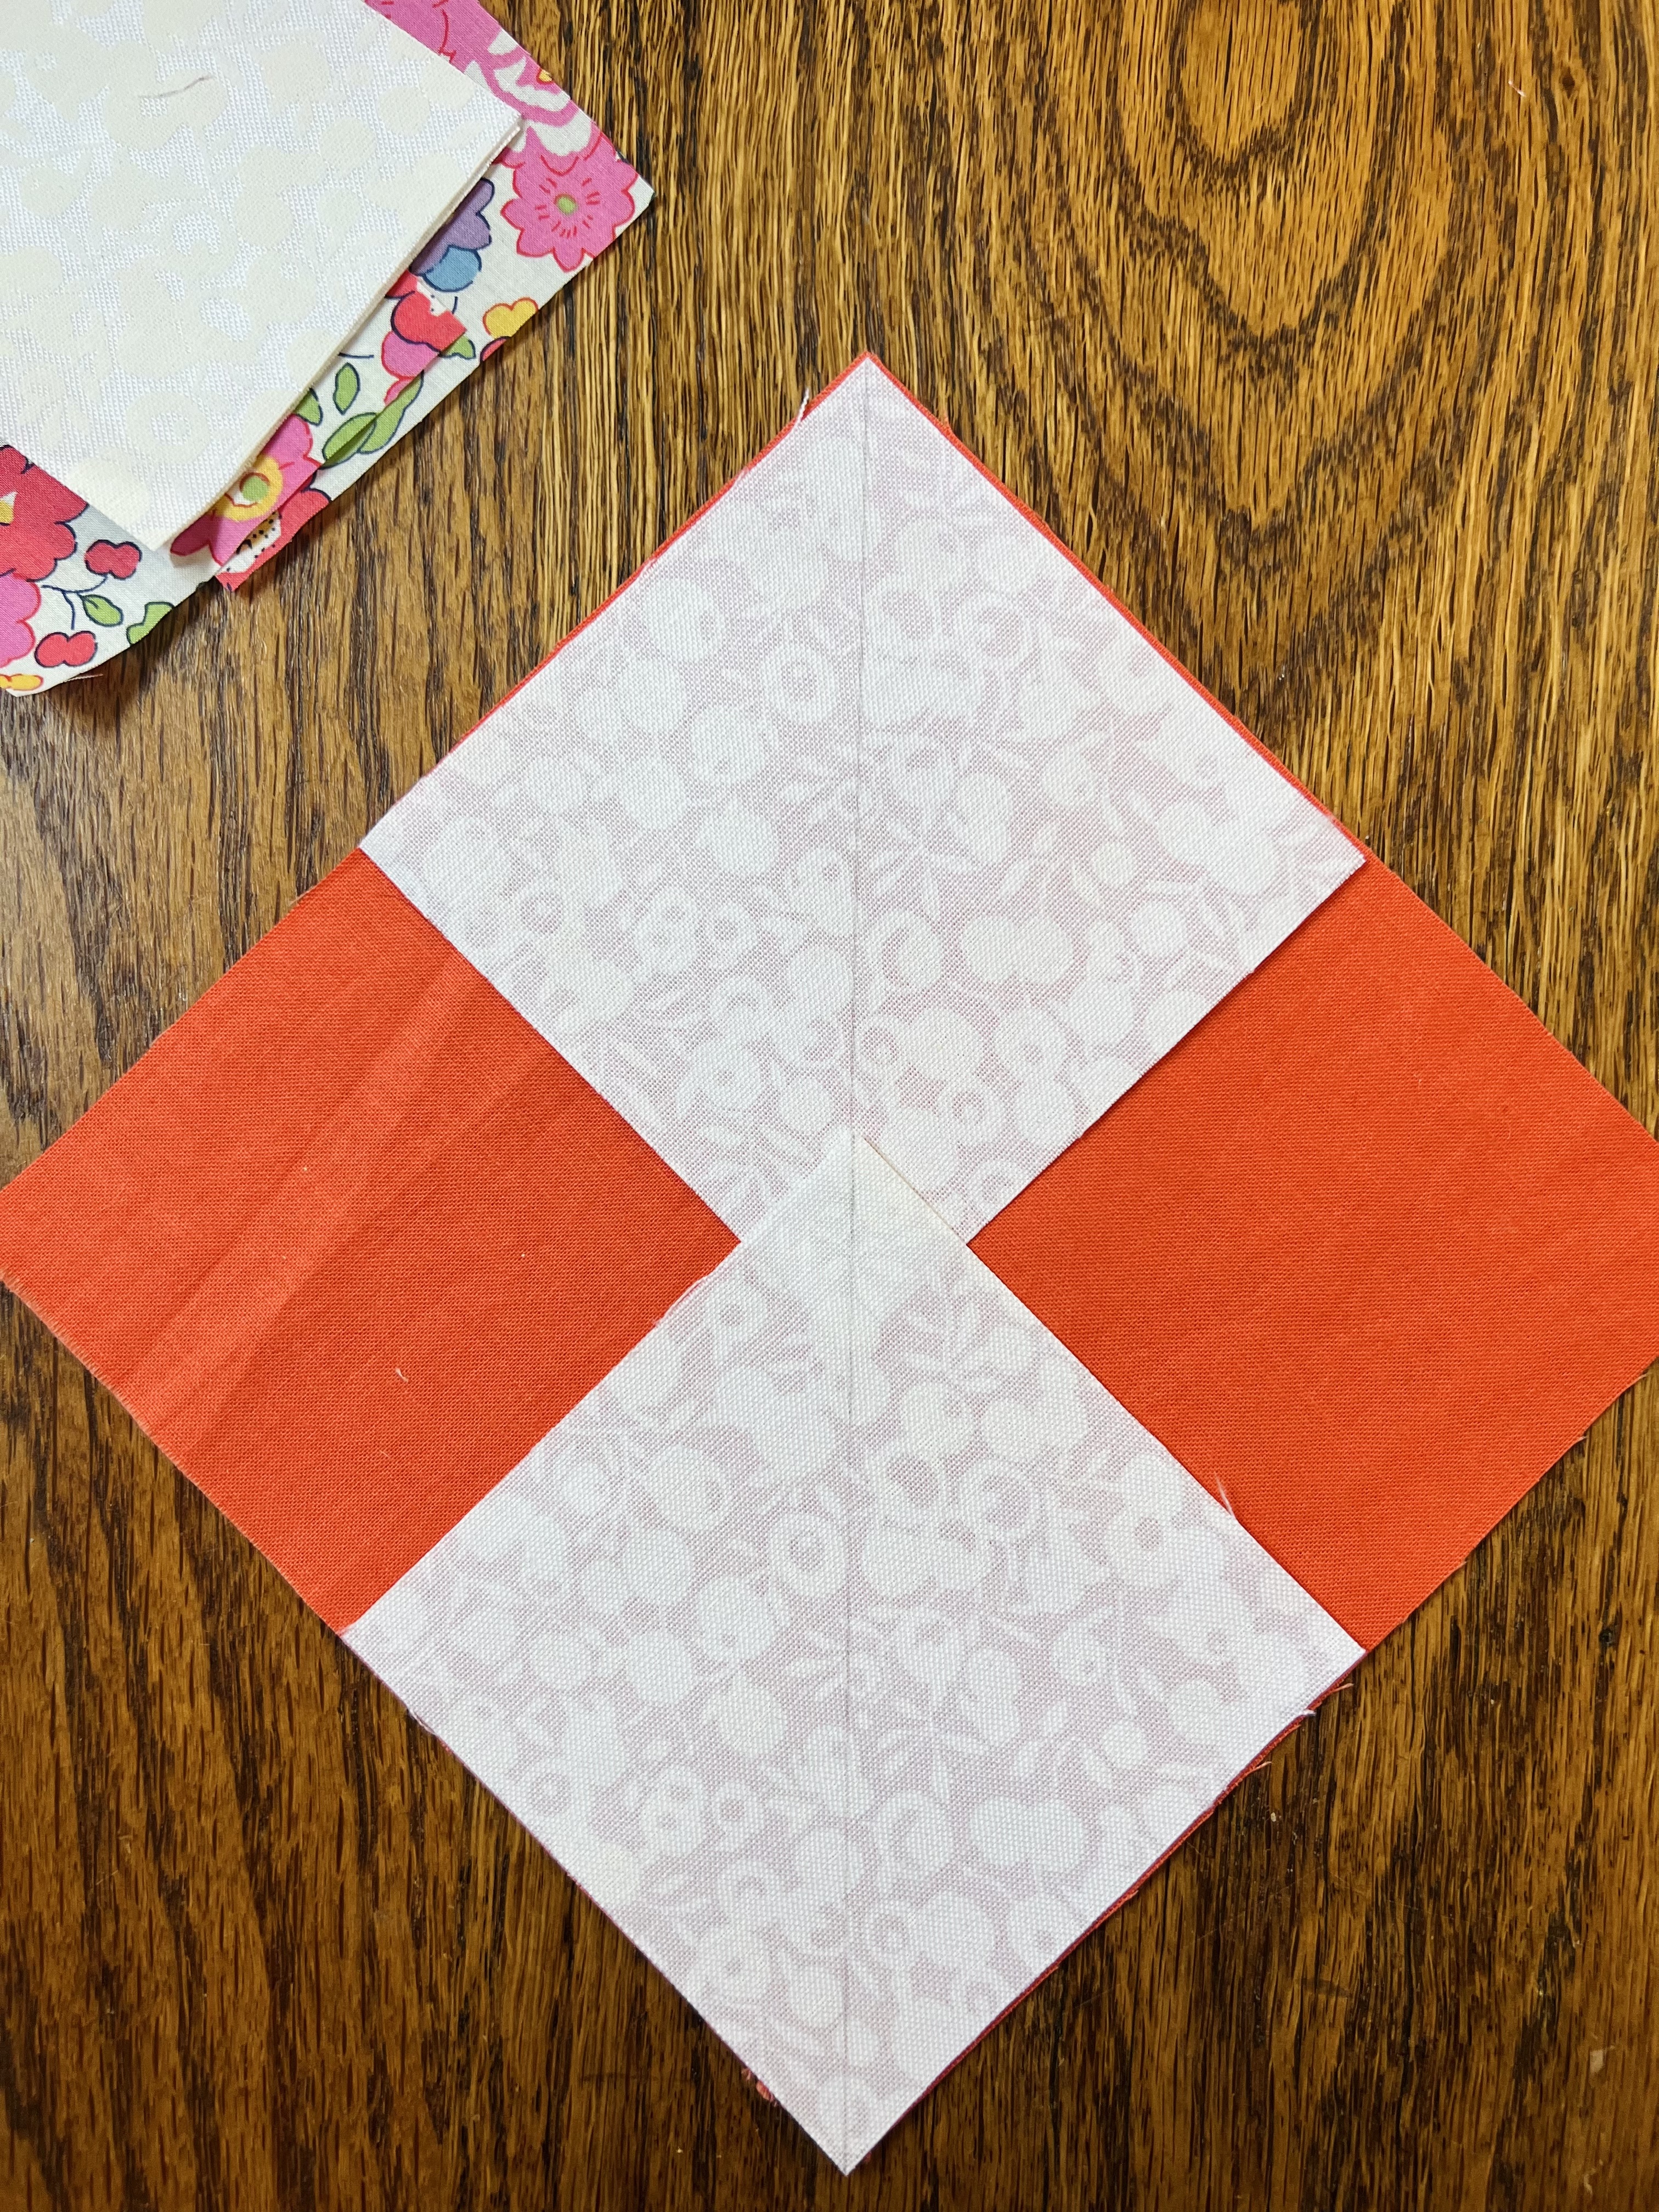
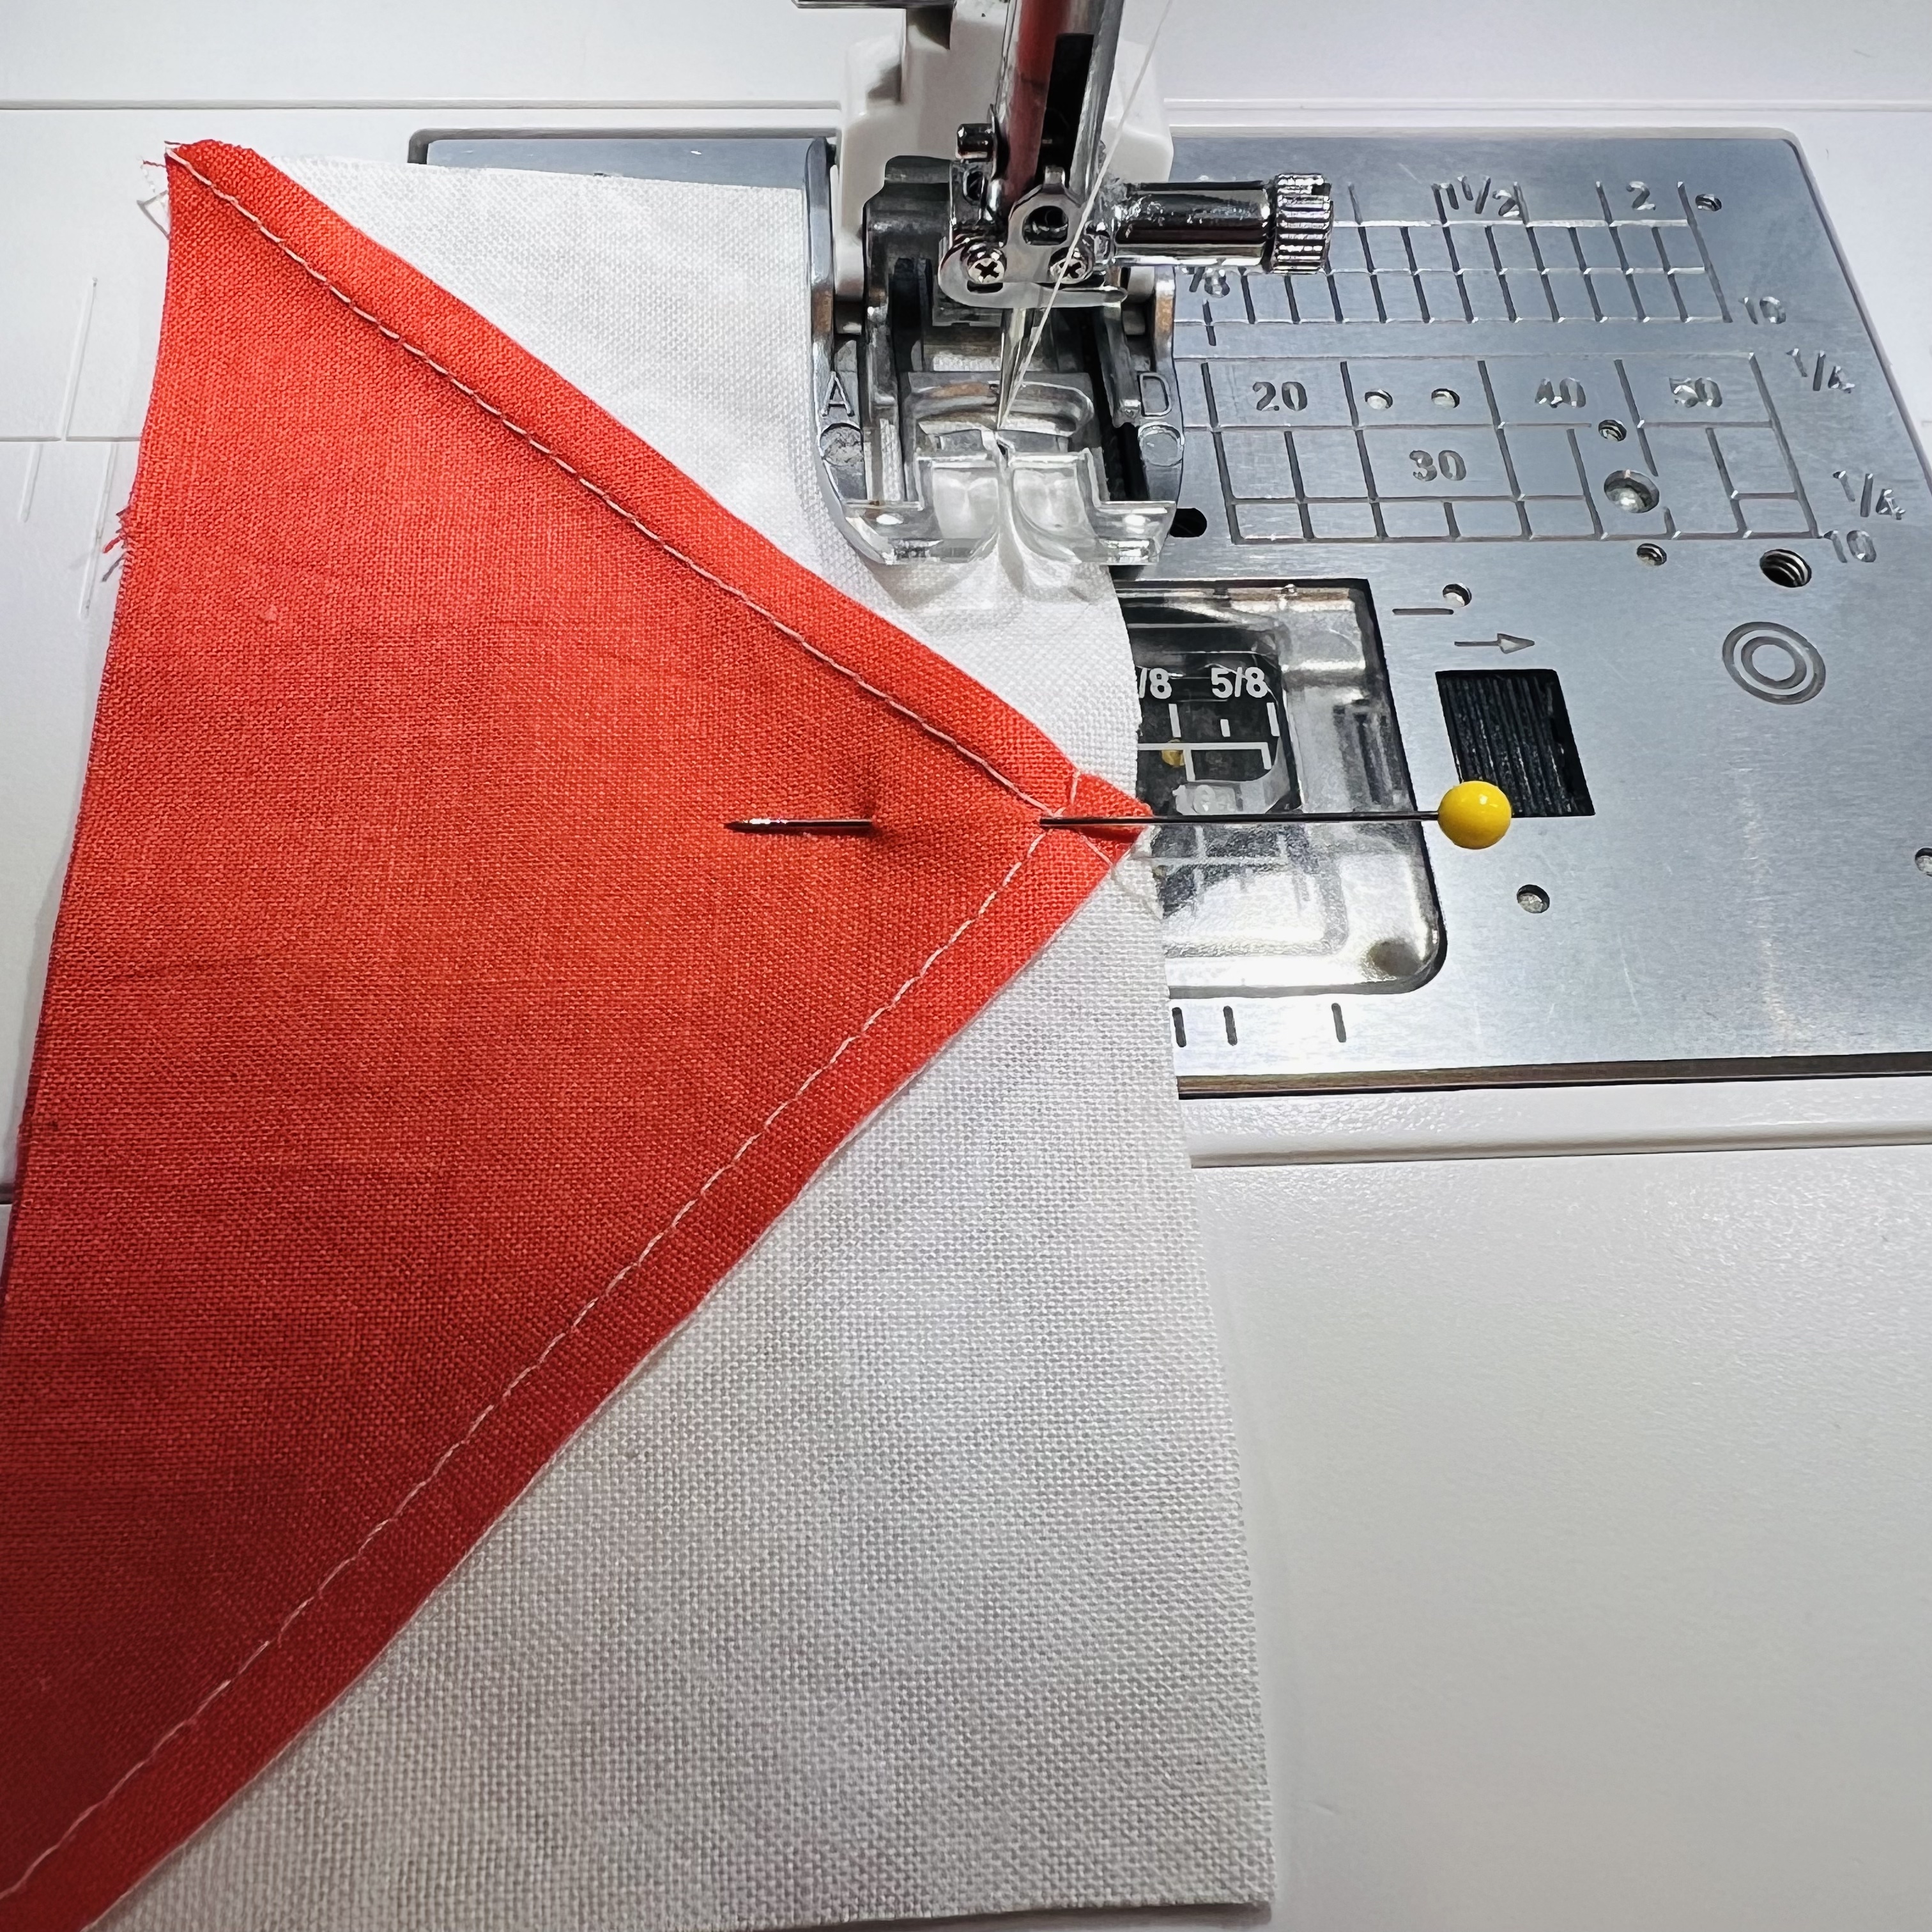
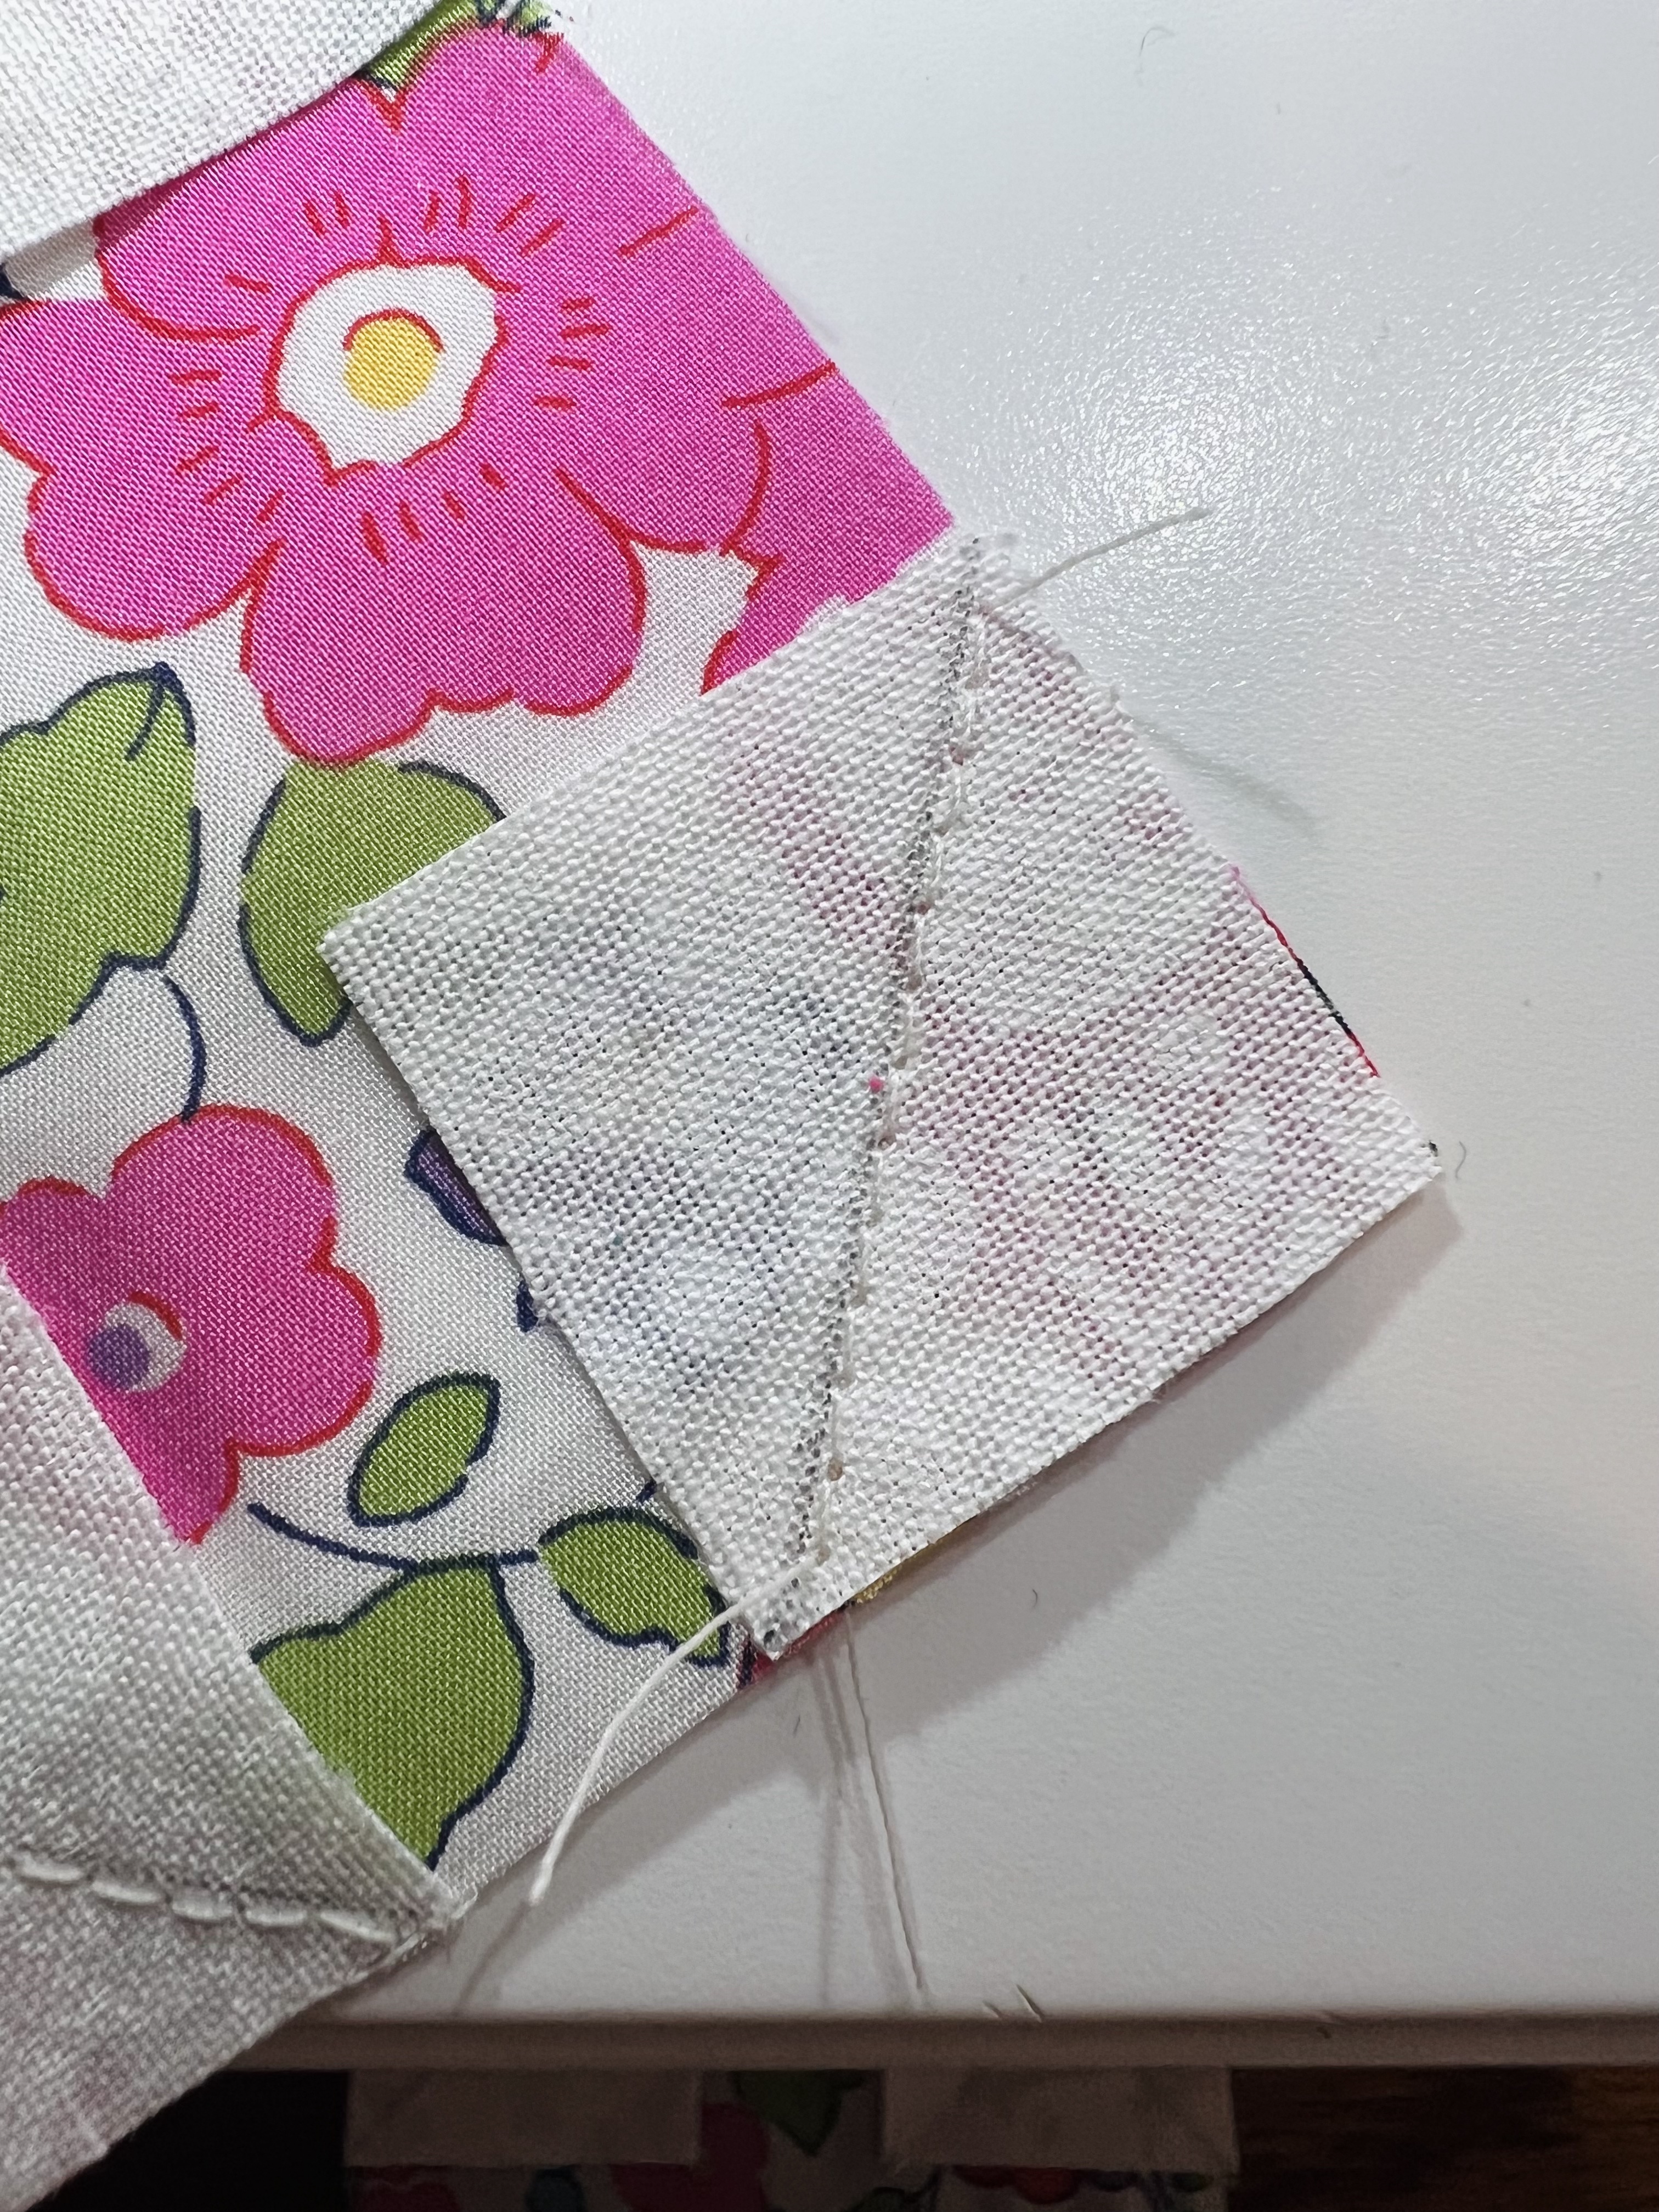
Sew a scant 1/4” seam beside the lines you marked on either side. To sew a scant seam, you can move your needle over slightly. On my machine, 4.5 is the center position, so I moved the needle over to 5, and that gave me a perfect scant seam. Once you sew down one side, turn the square around, and sew down the other side. Repeat with the second square. 


Cut along the marked line. 


Press all pieces with Fabric A going away from Fabric C. 


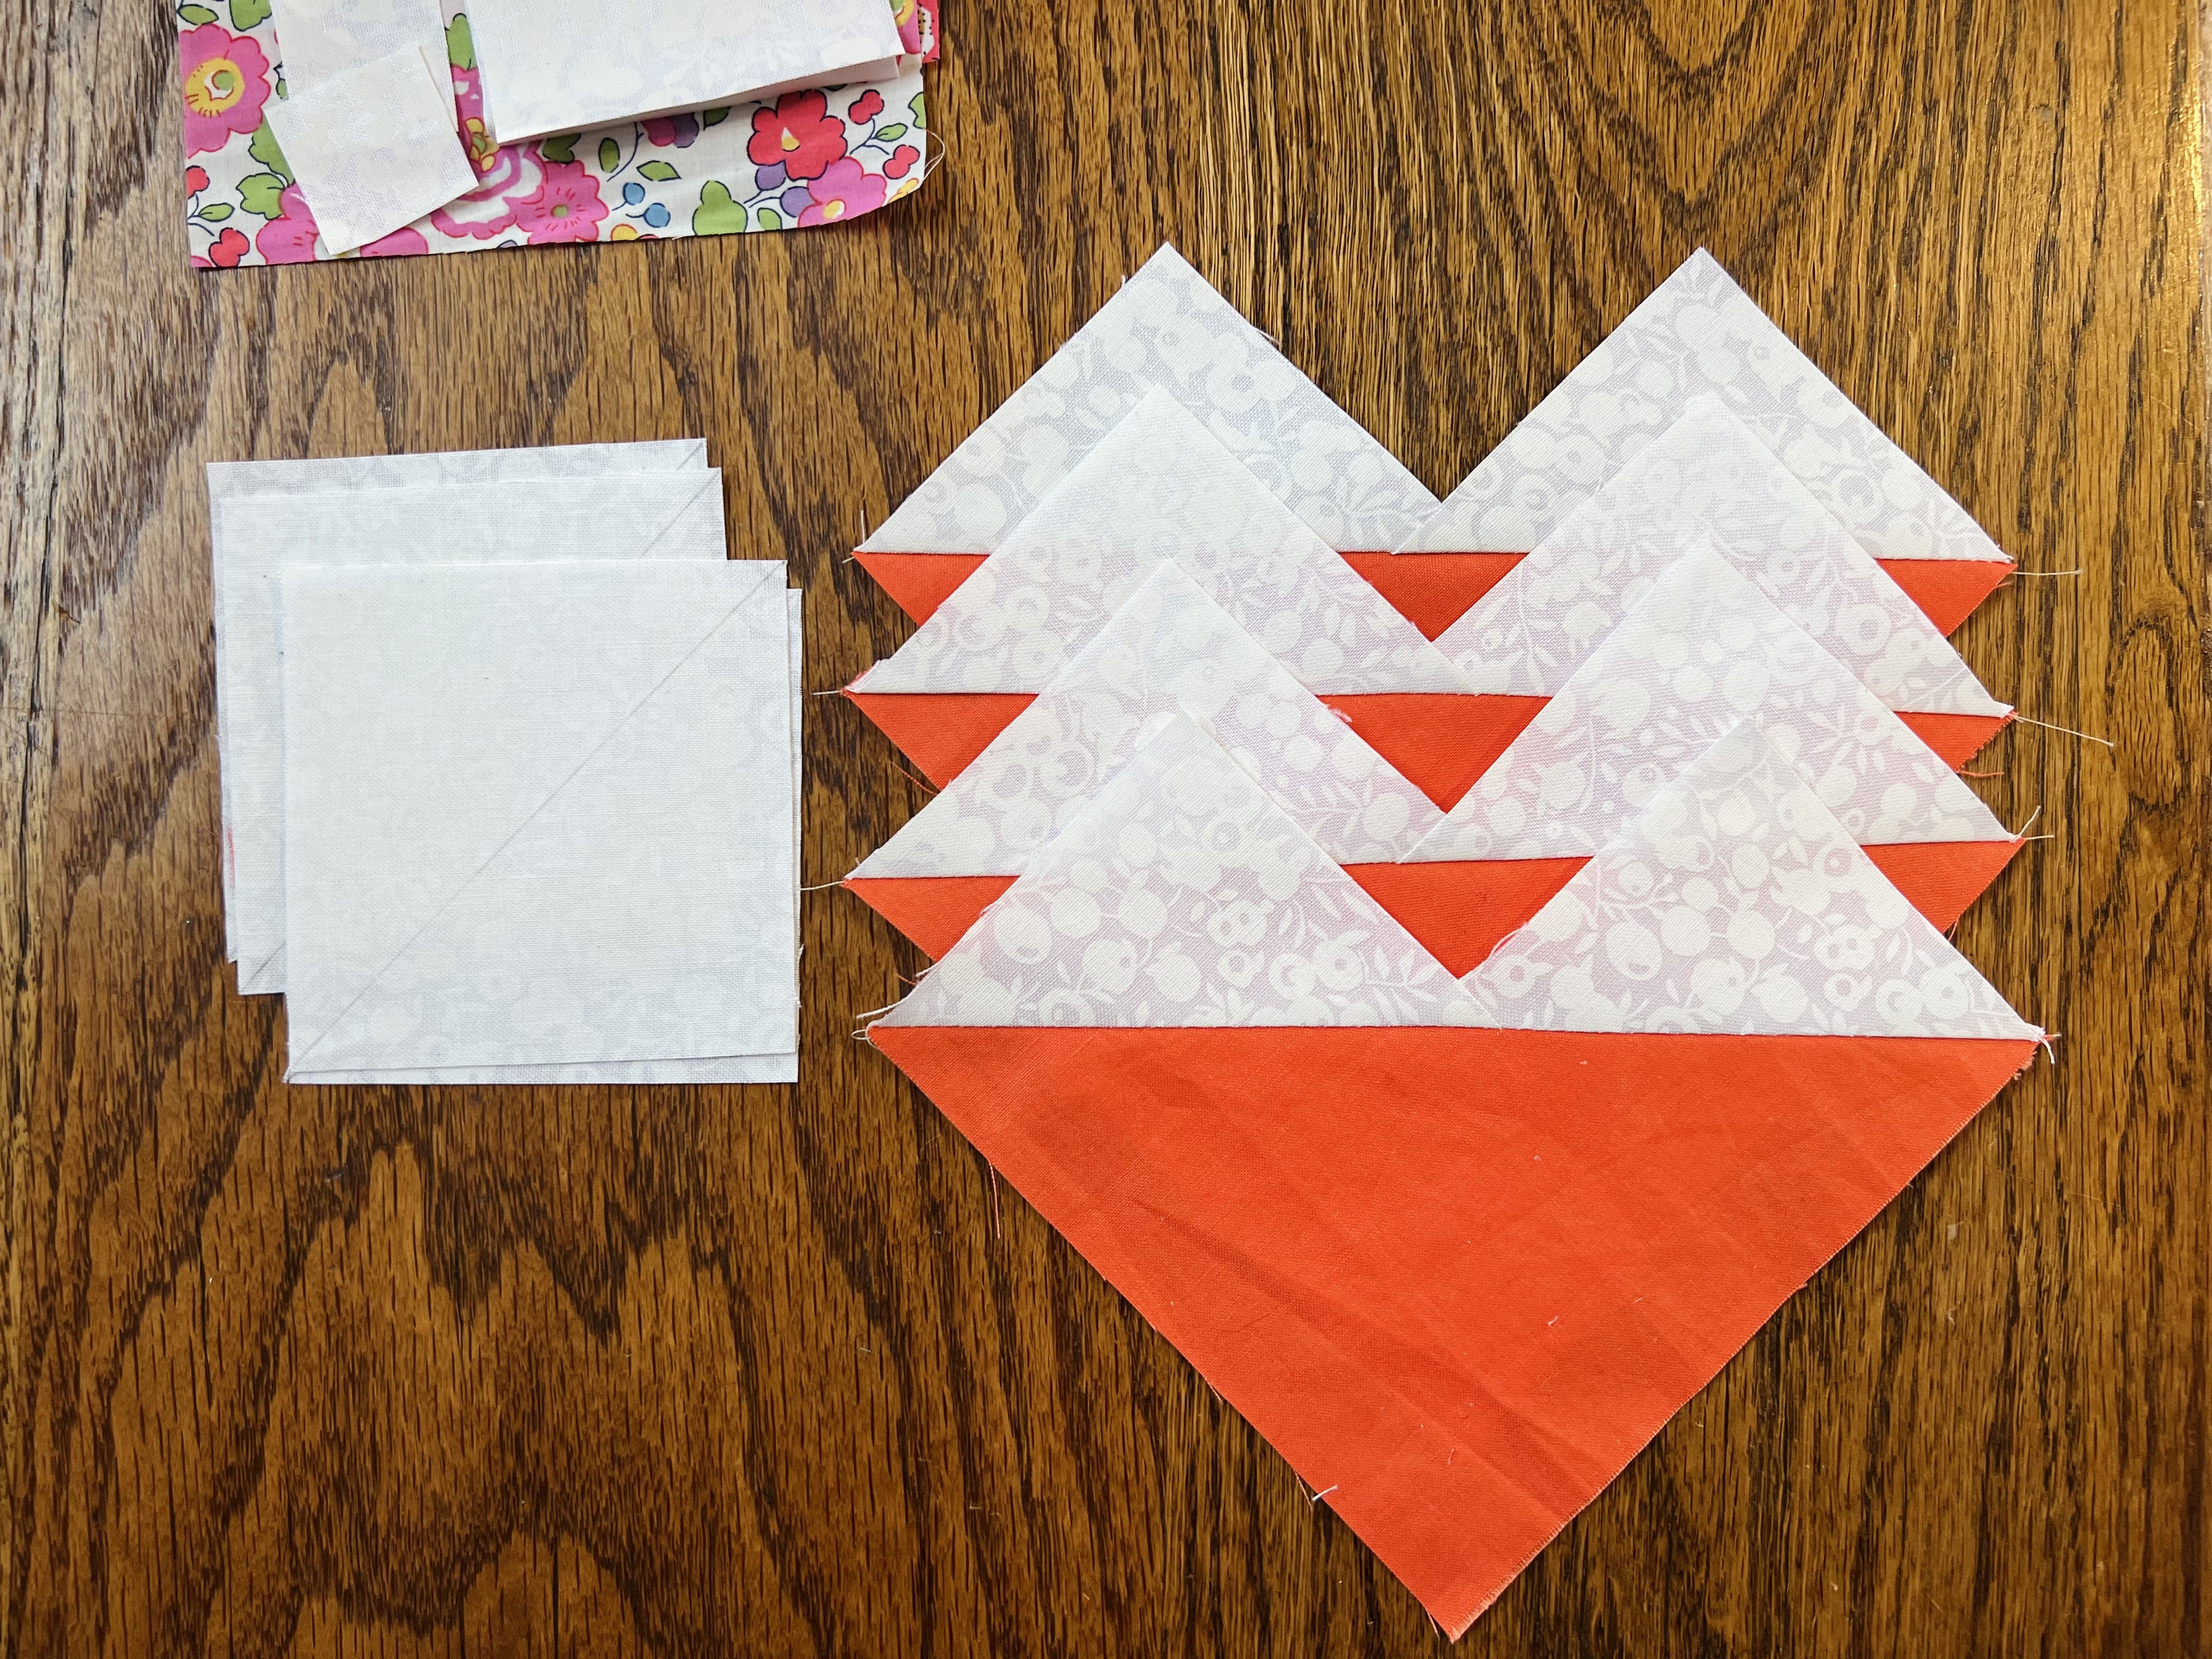
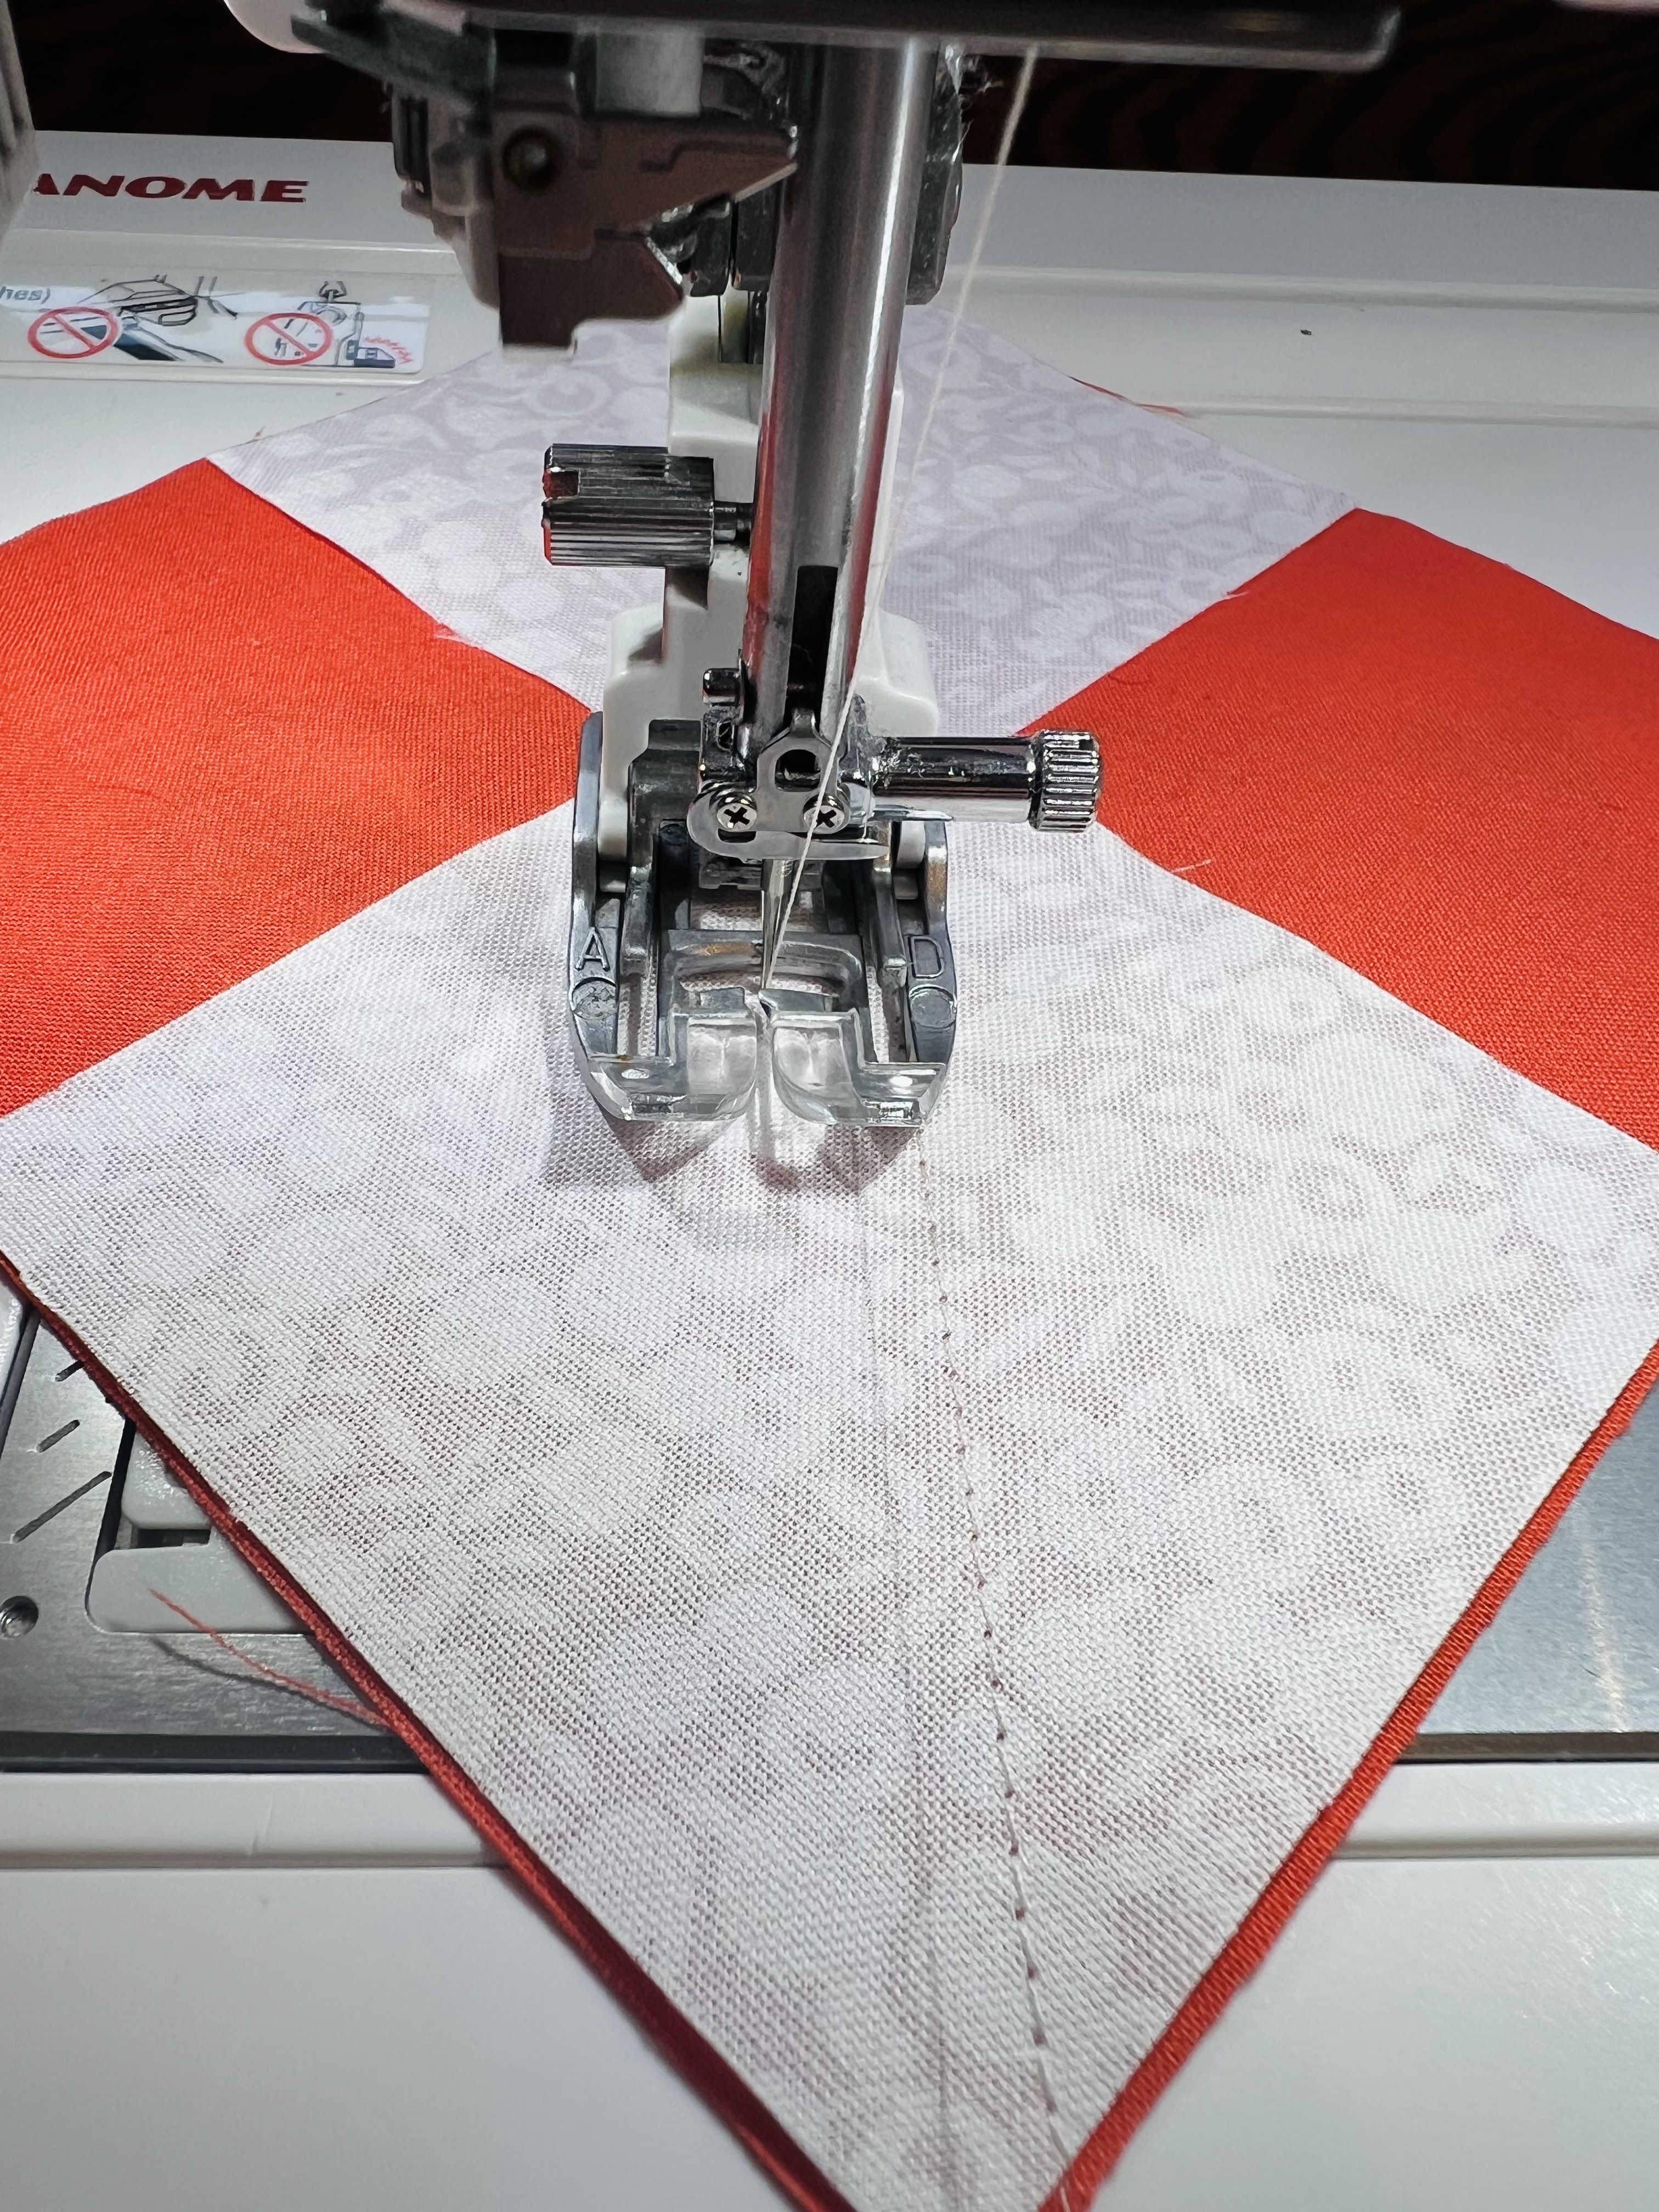
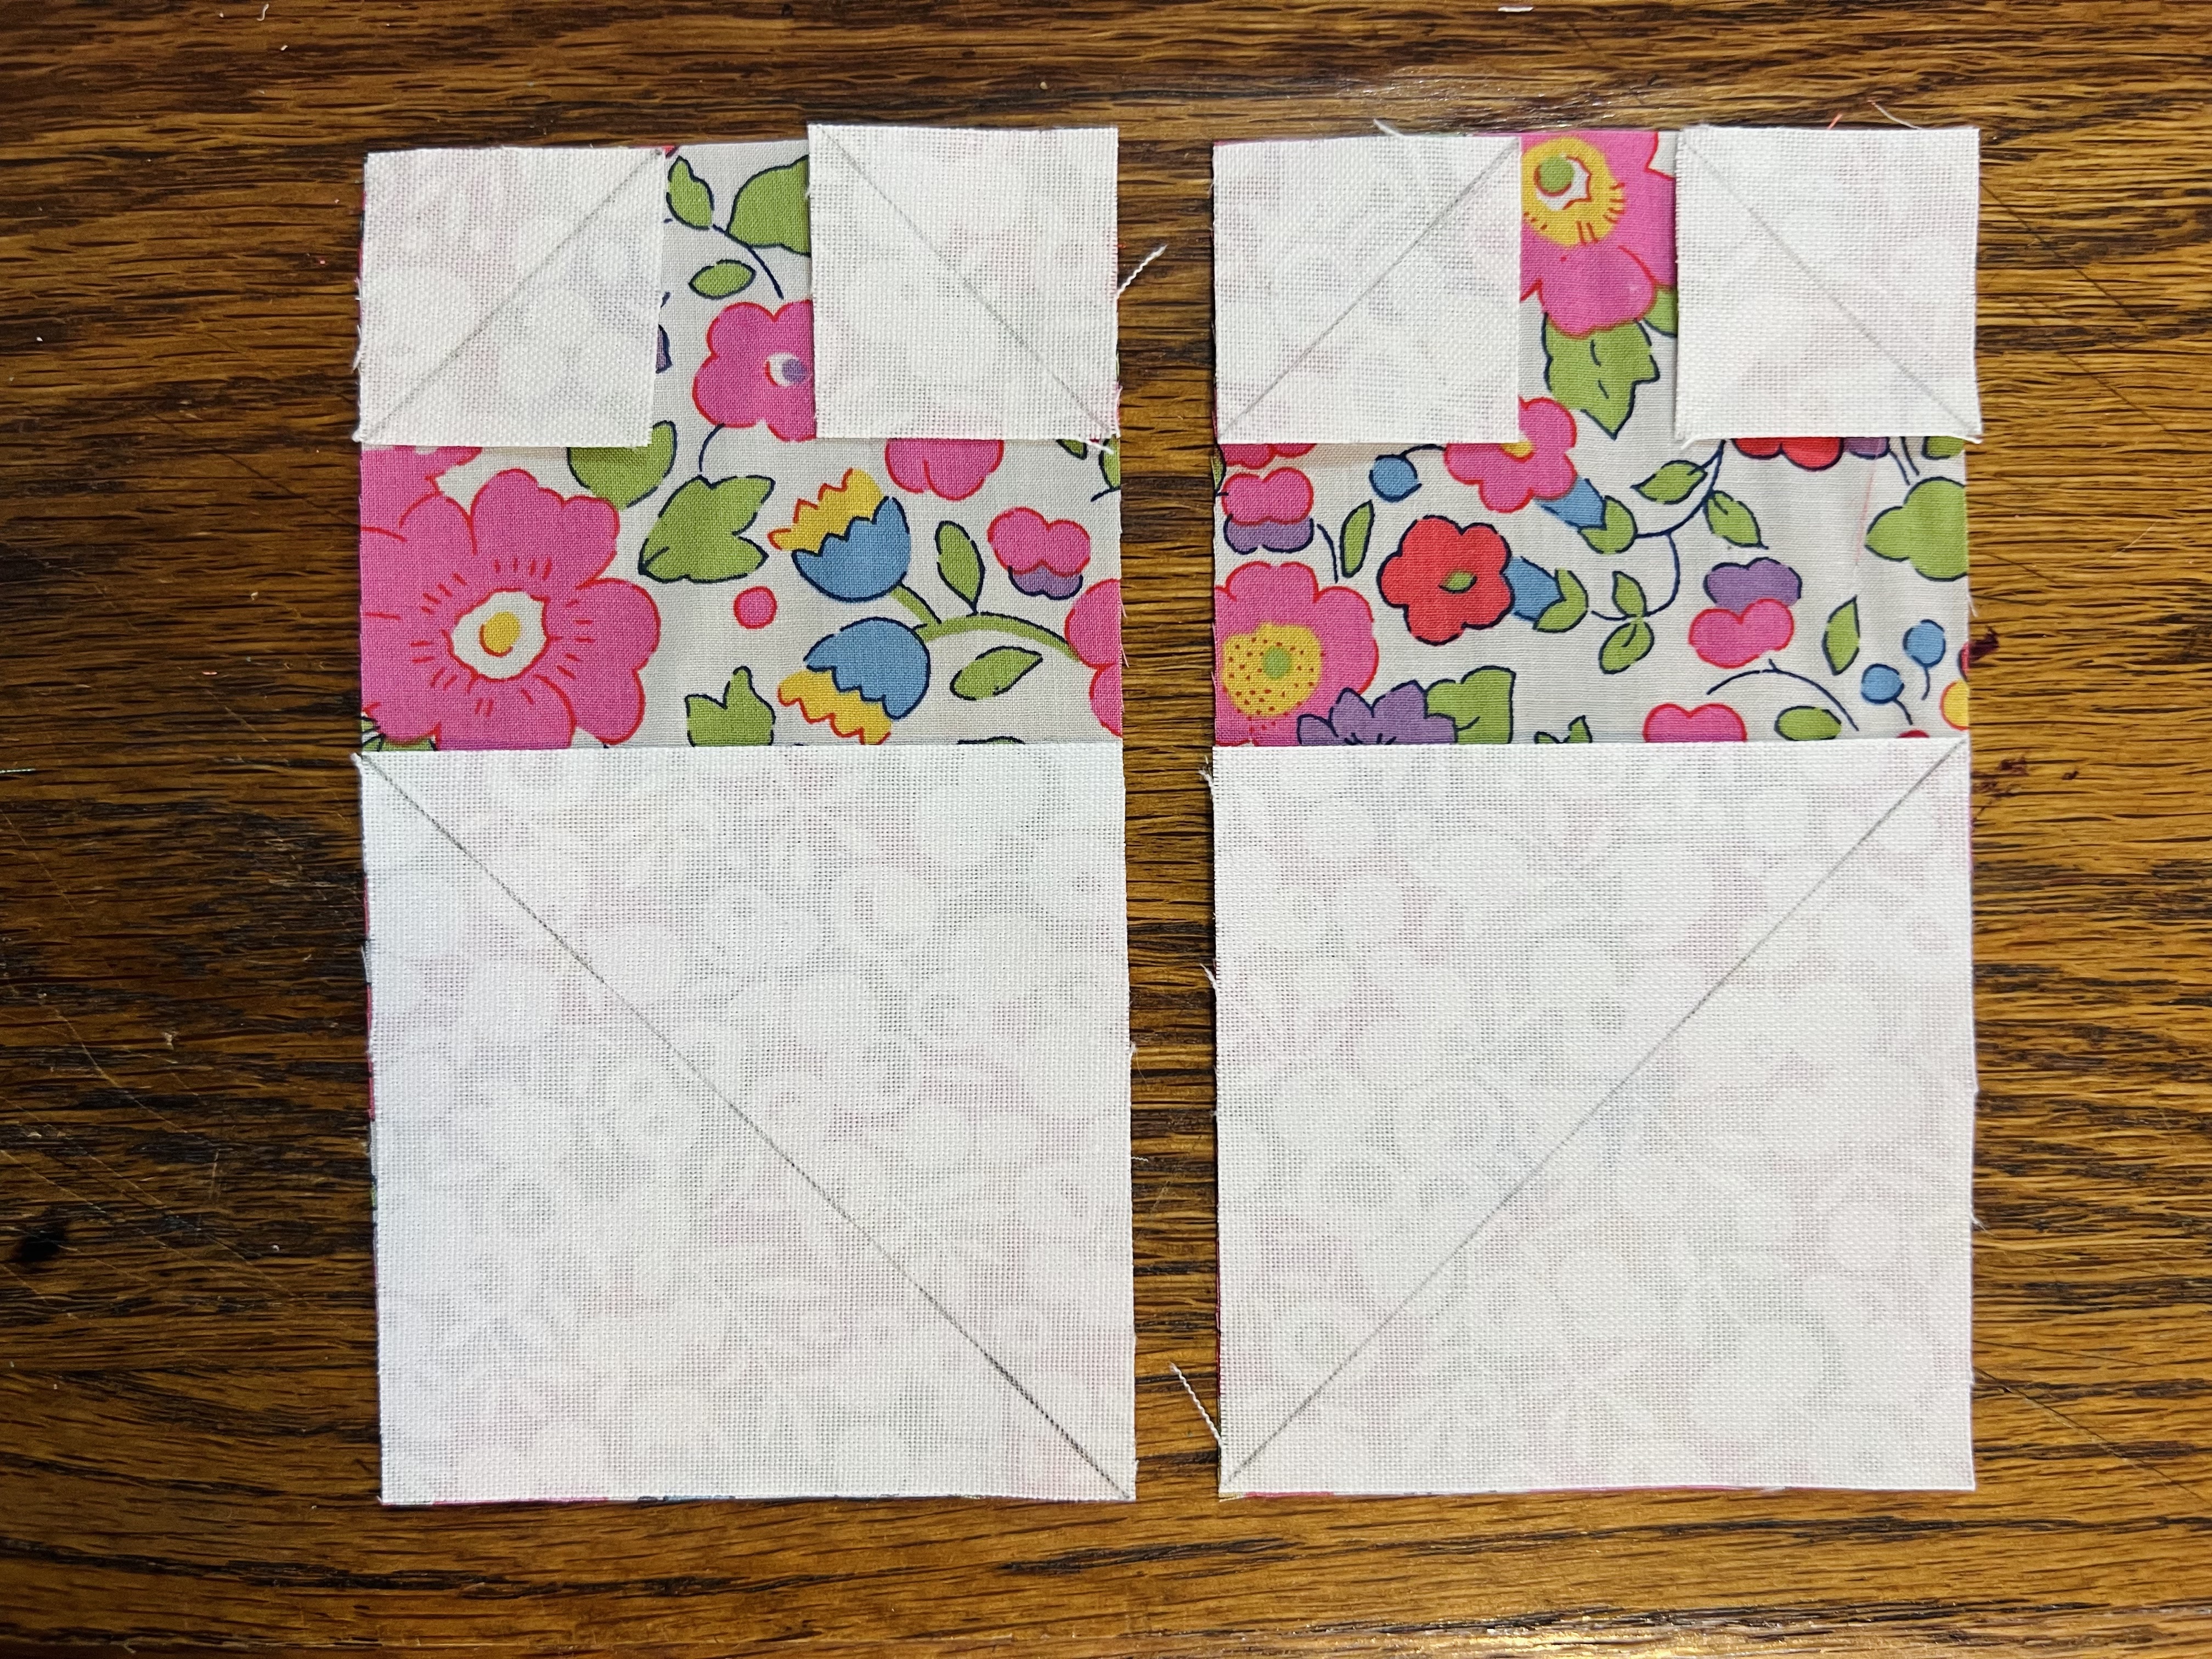
Align remaining small squares onto the four pieces you pressed as pictured: 


Sew on each side of the marked lines with a scant 1/4” seam. 

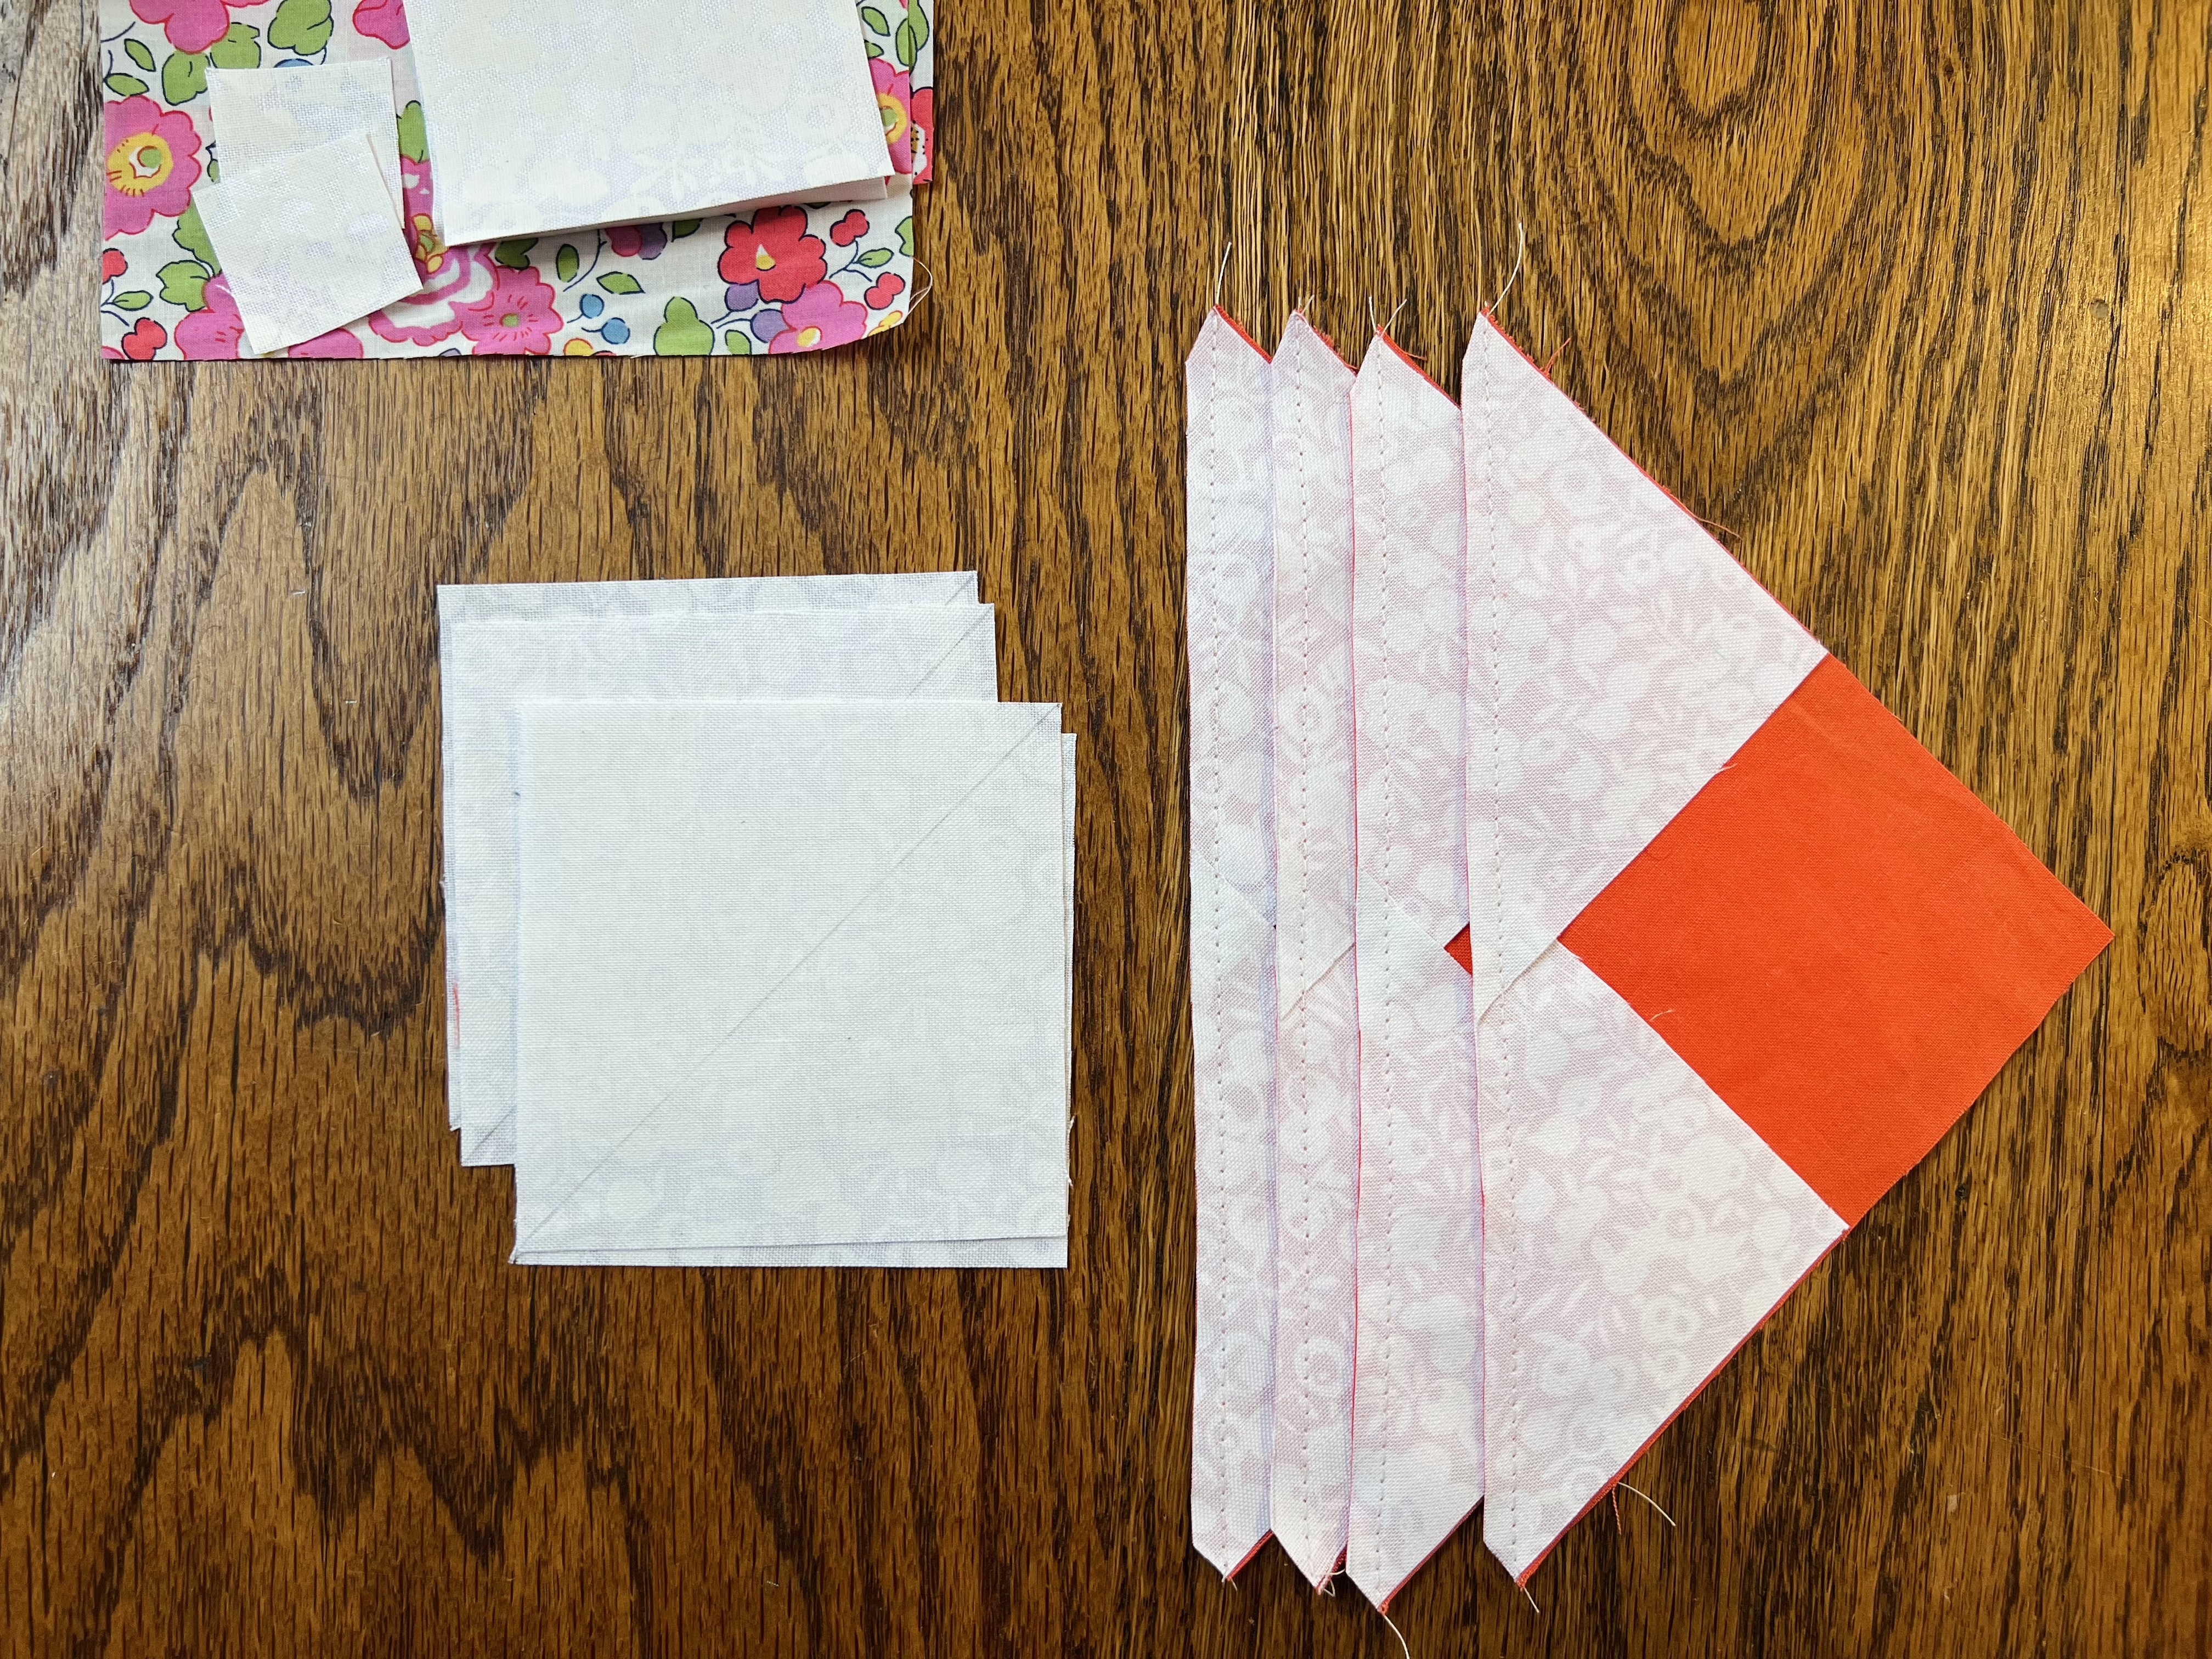
Cut along lines, and press. 


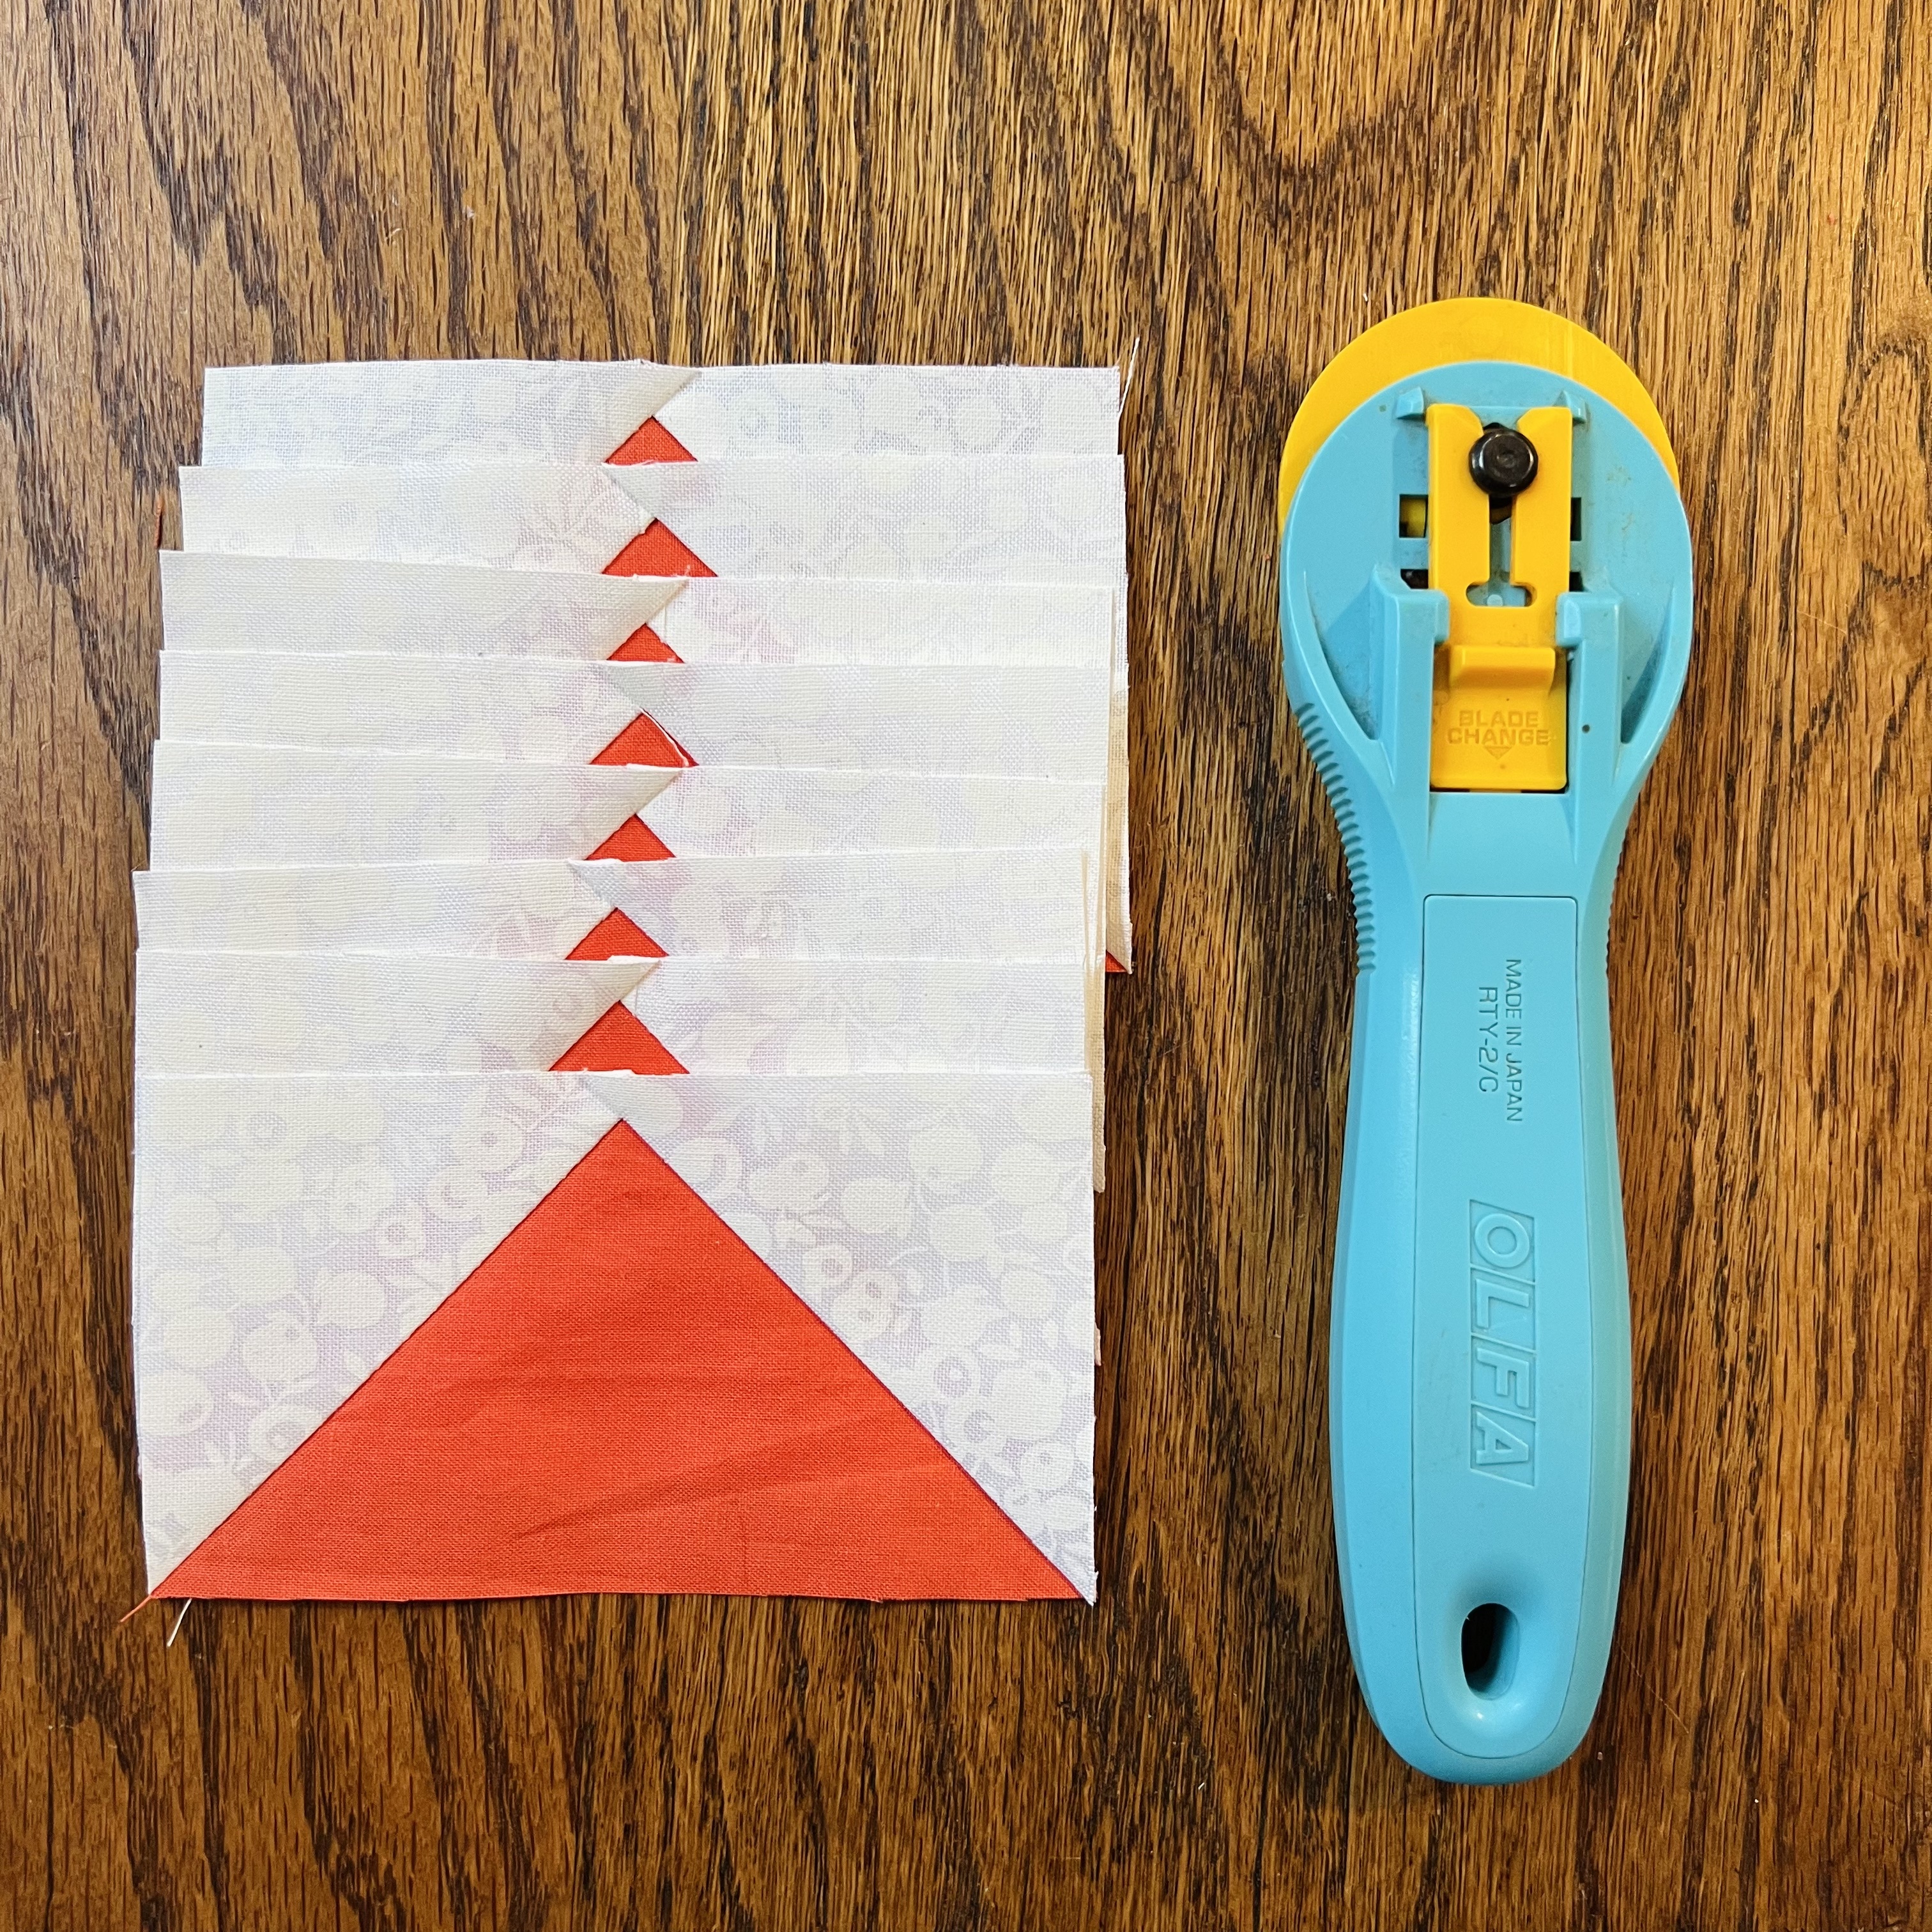
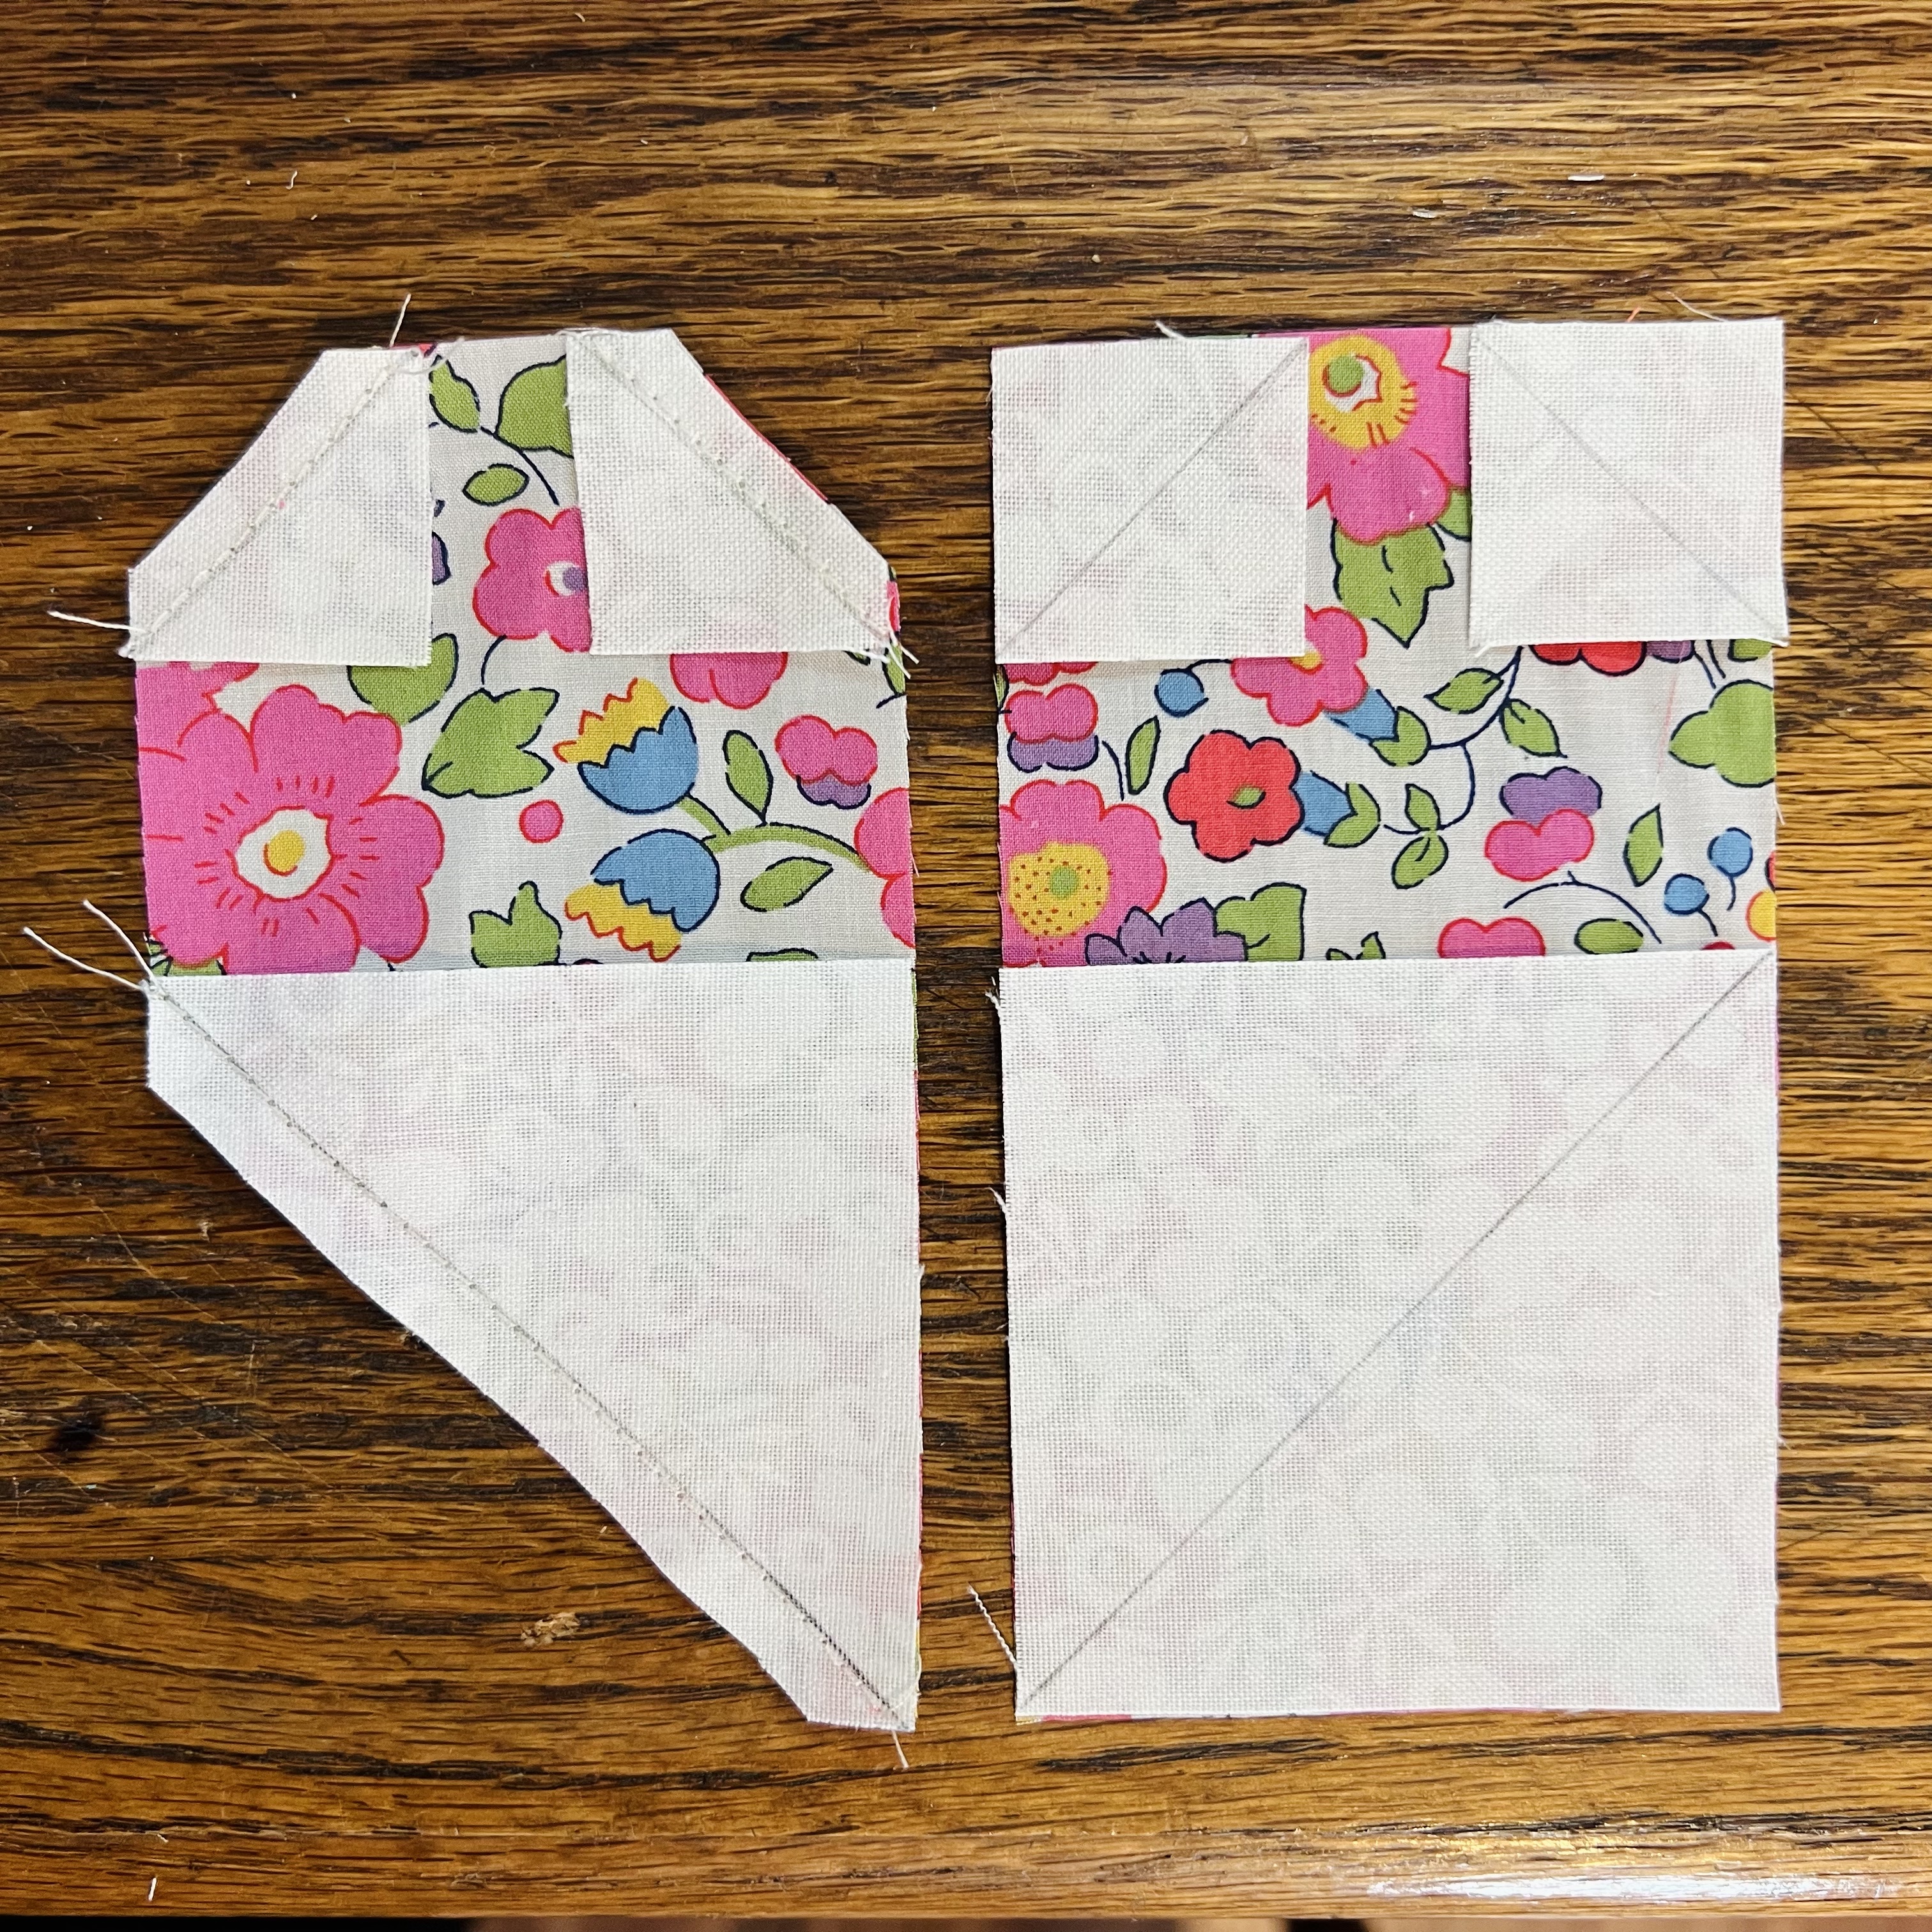
Flying geese, which are what these units are at this point, are made perfect by trimming, so don’t be tempted to skip this step! Trim your blocks to exactly 2.5x4.5” using your rotary cutter and ruler. 


Finally, place geese units right sides together, so that the points meet. Sew all four units so that you have four star point blocks. Press seam open. 


Step 3: Make the heart block


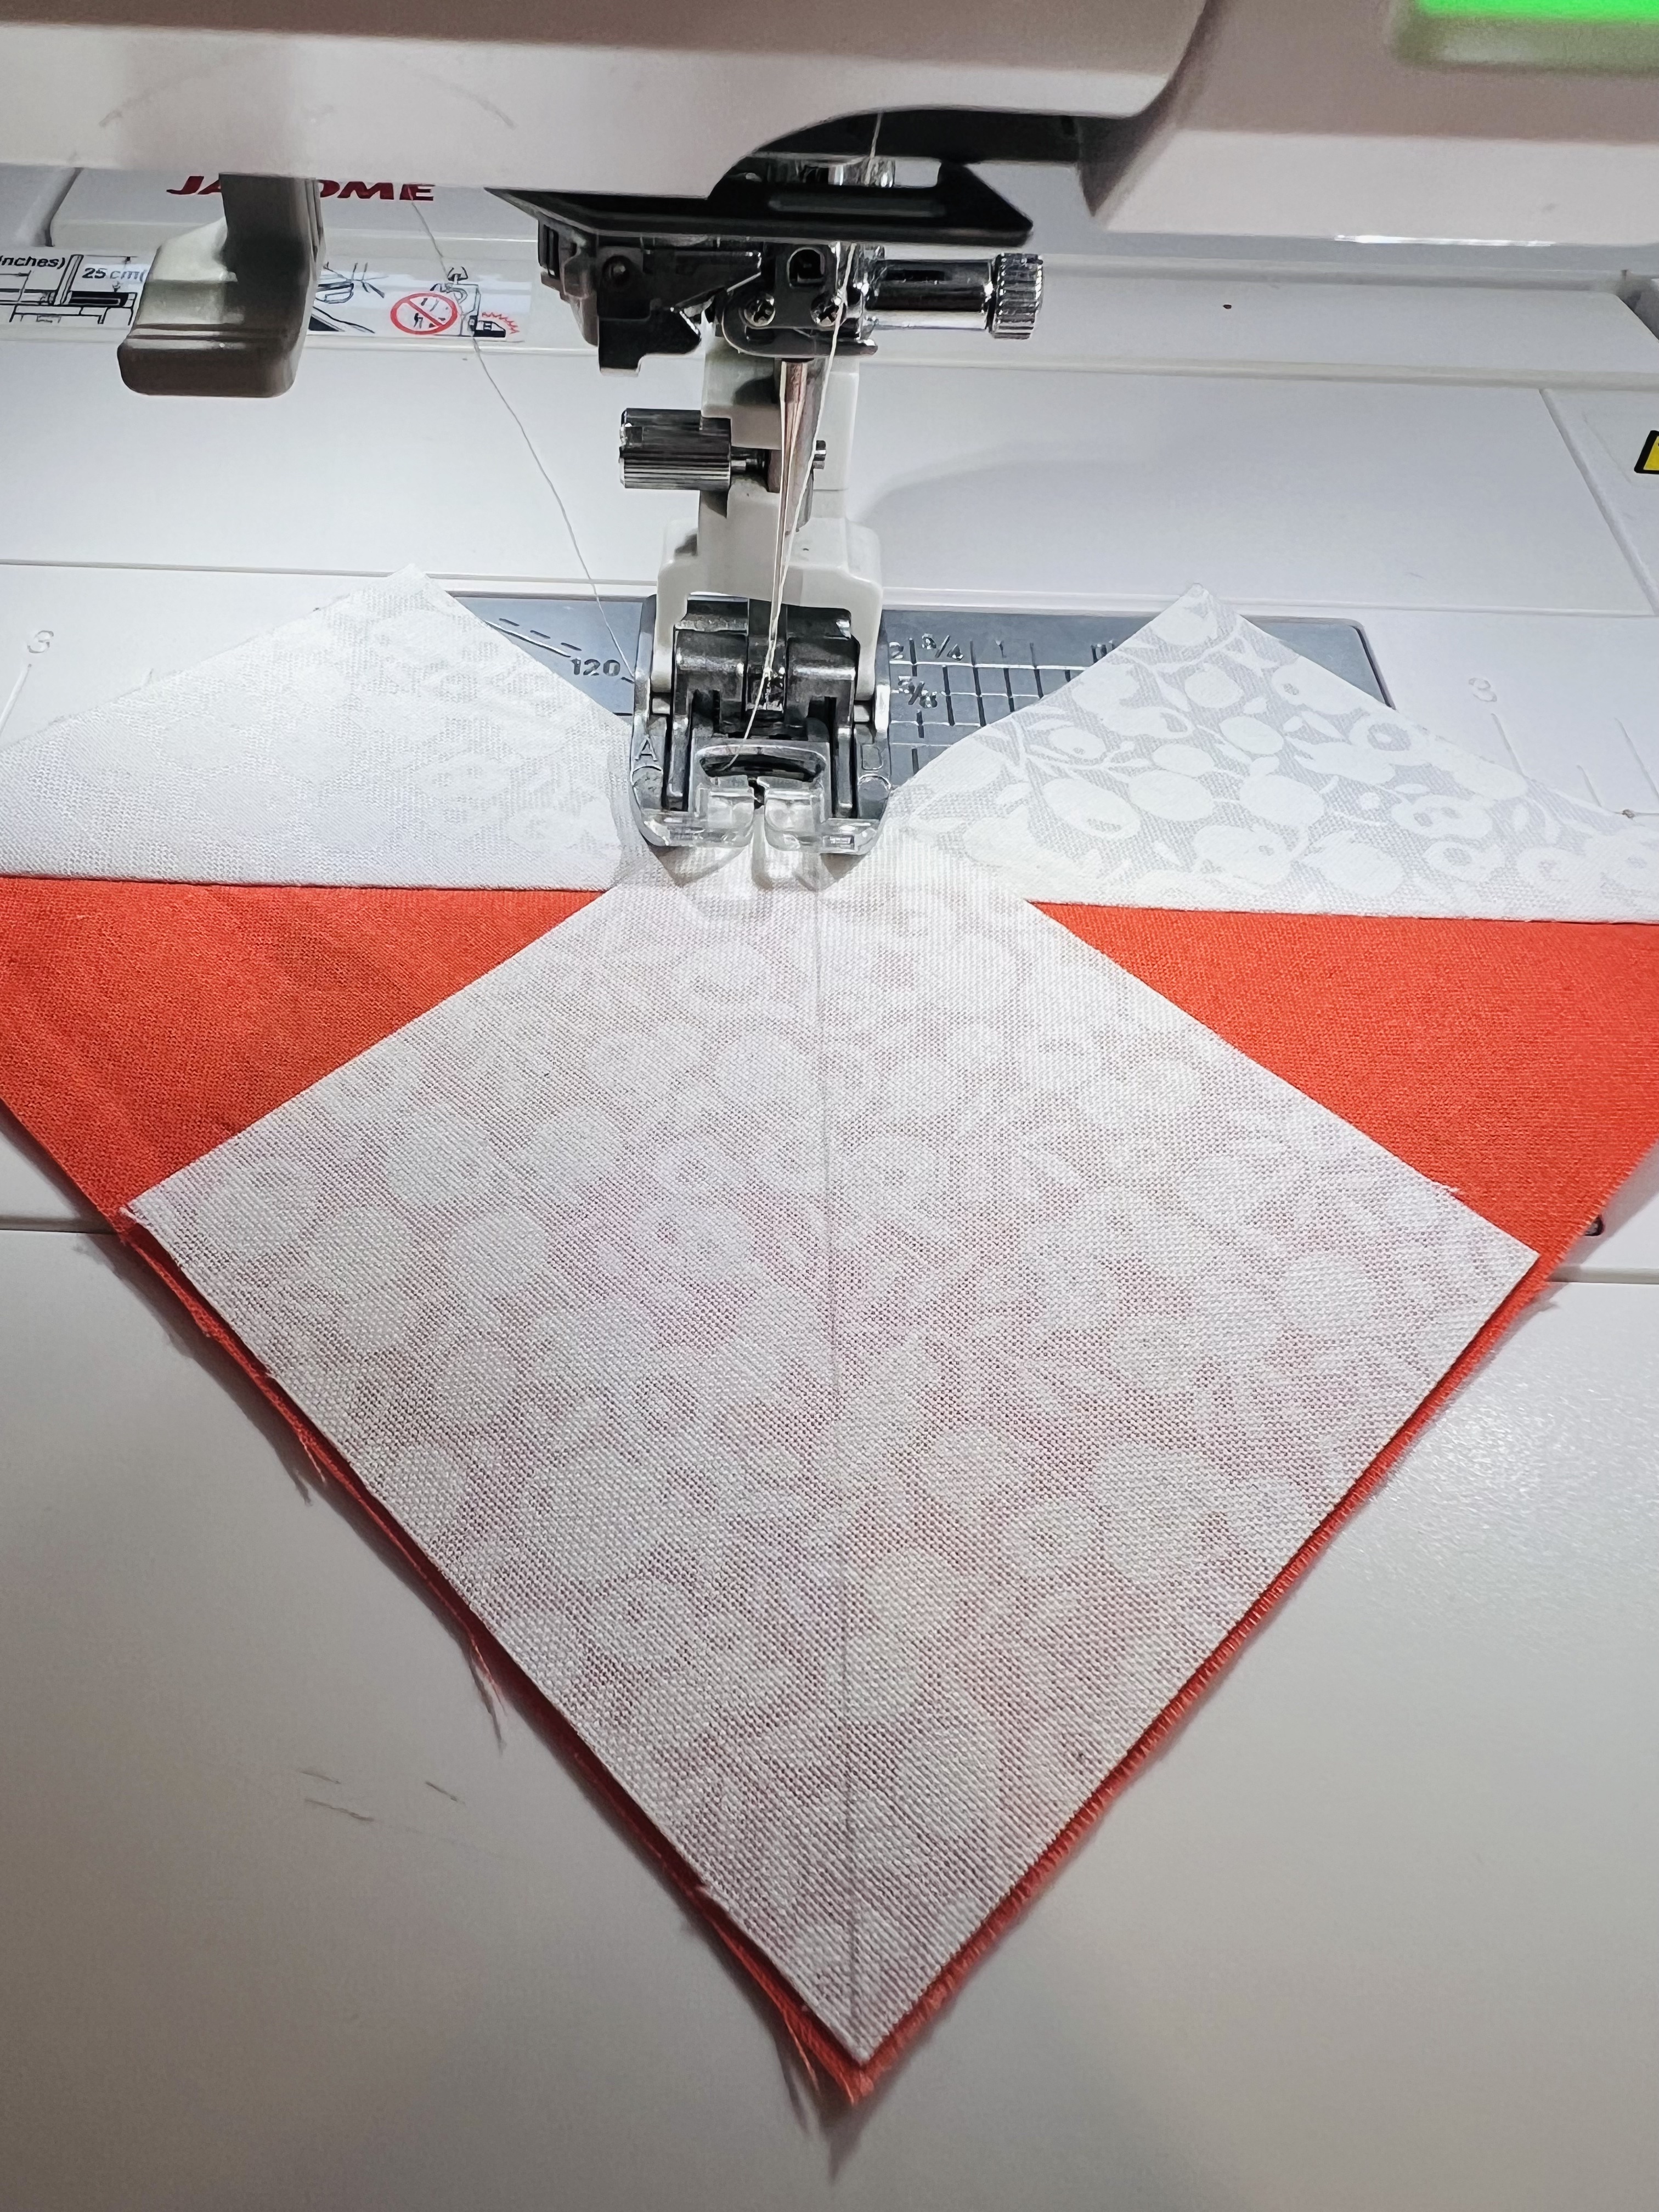
Mark each square, the large and small ones, with lines centered diagonally as you did with the star points before. These will be a bit different because the line you are marking is your stitch line, so mark very carefully. 


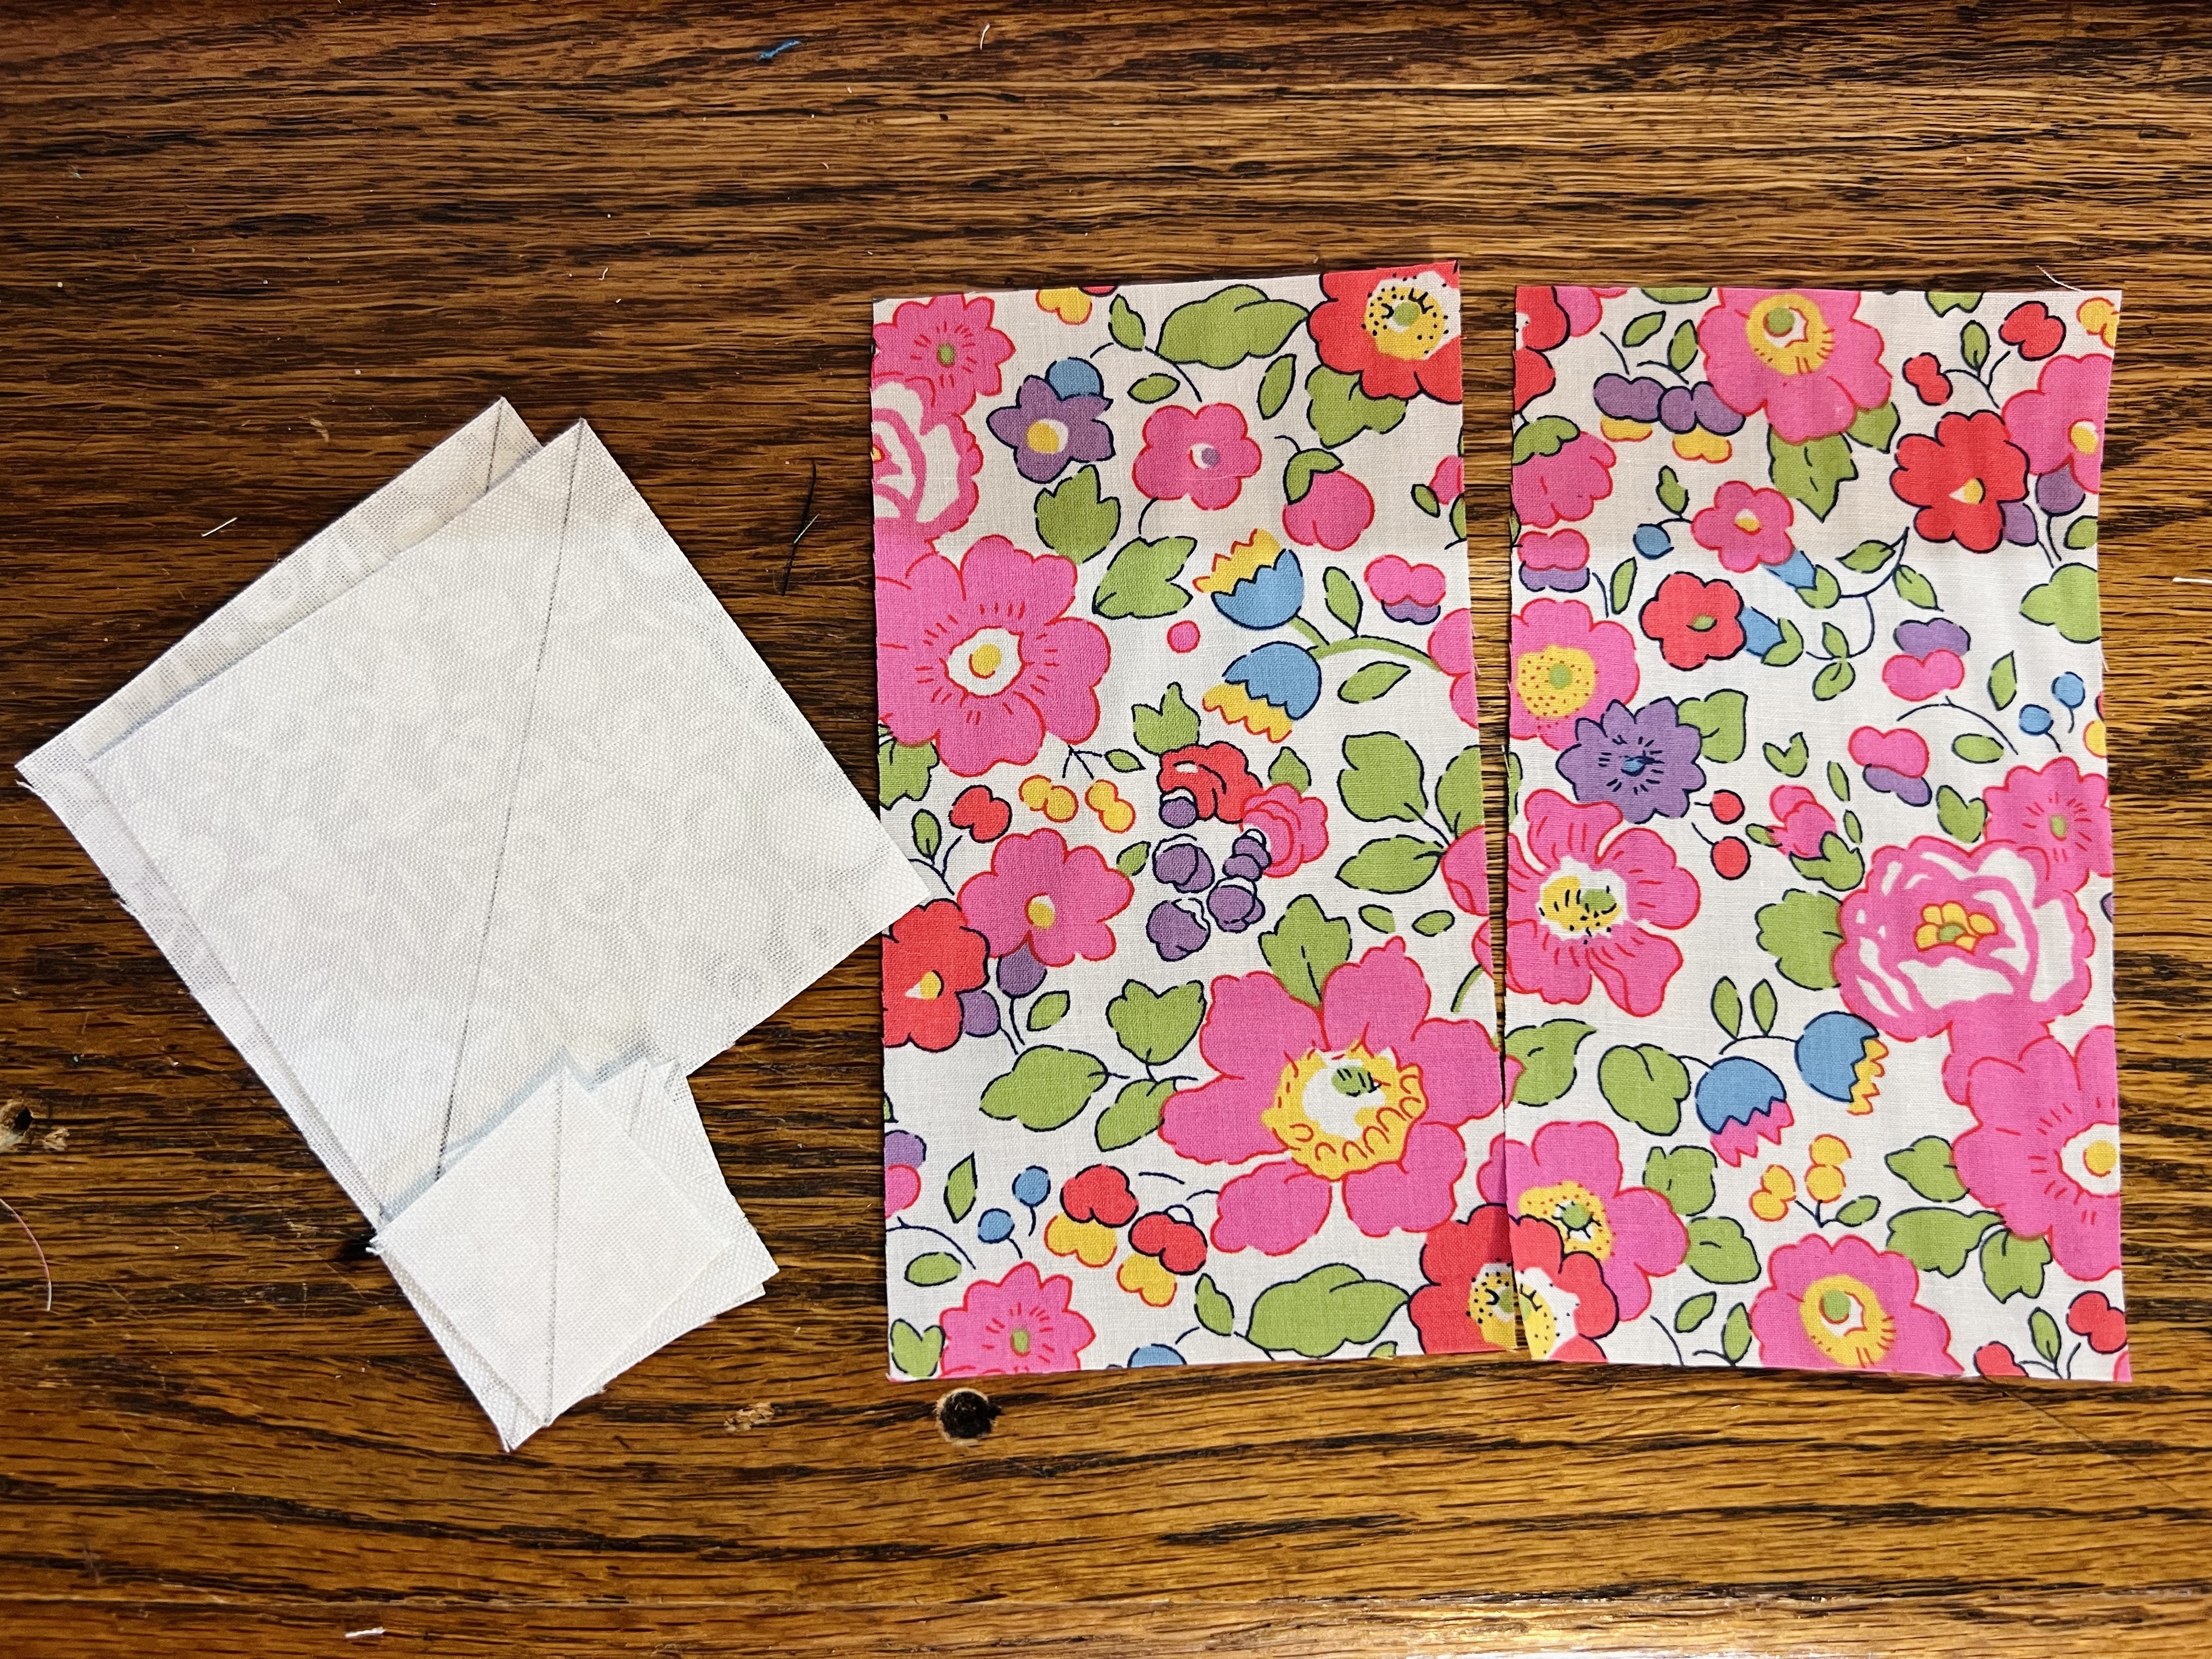
You will be stitching your Fabric A down to the Fabric B in this orientation (see photo below):


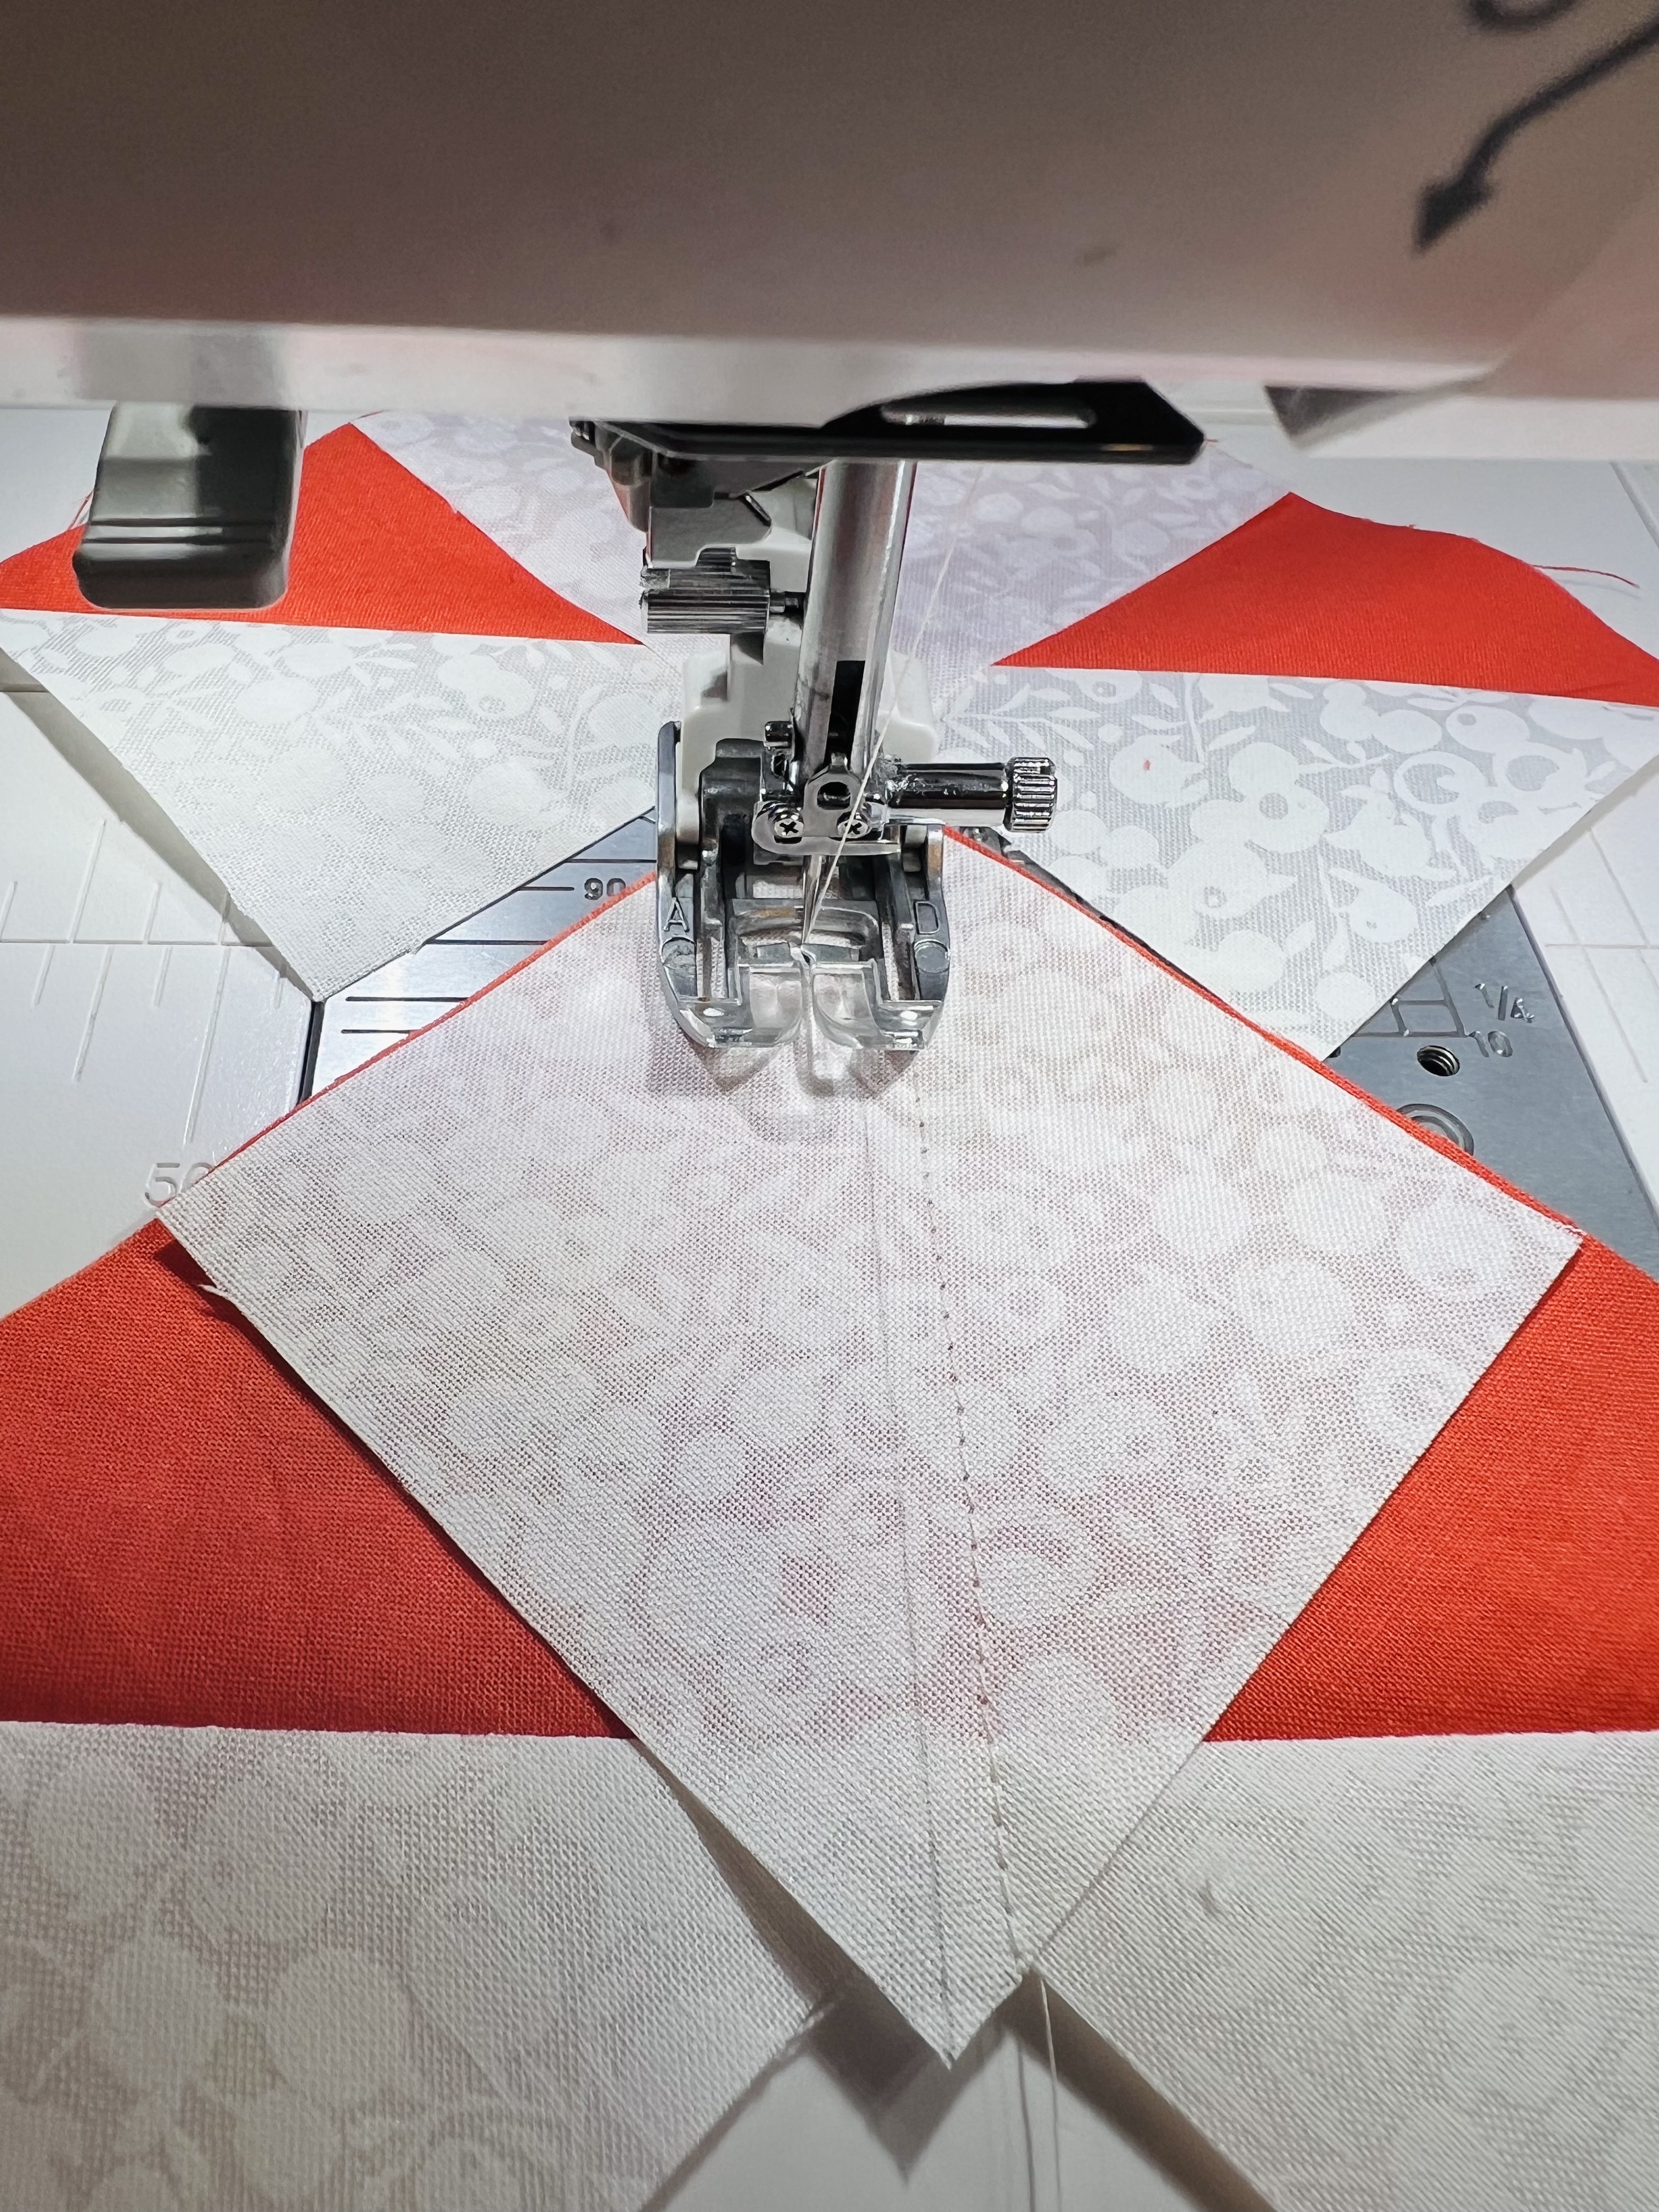
Stitch along the lines, and then trim seam down to 1/4”. 


Press. 


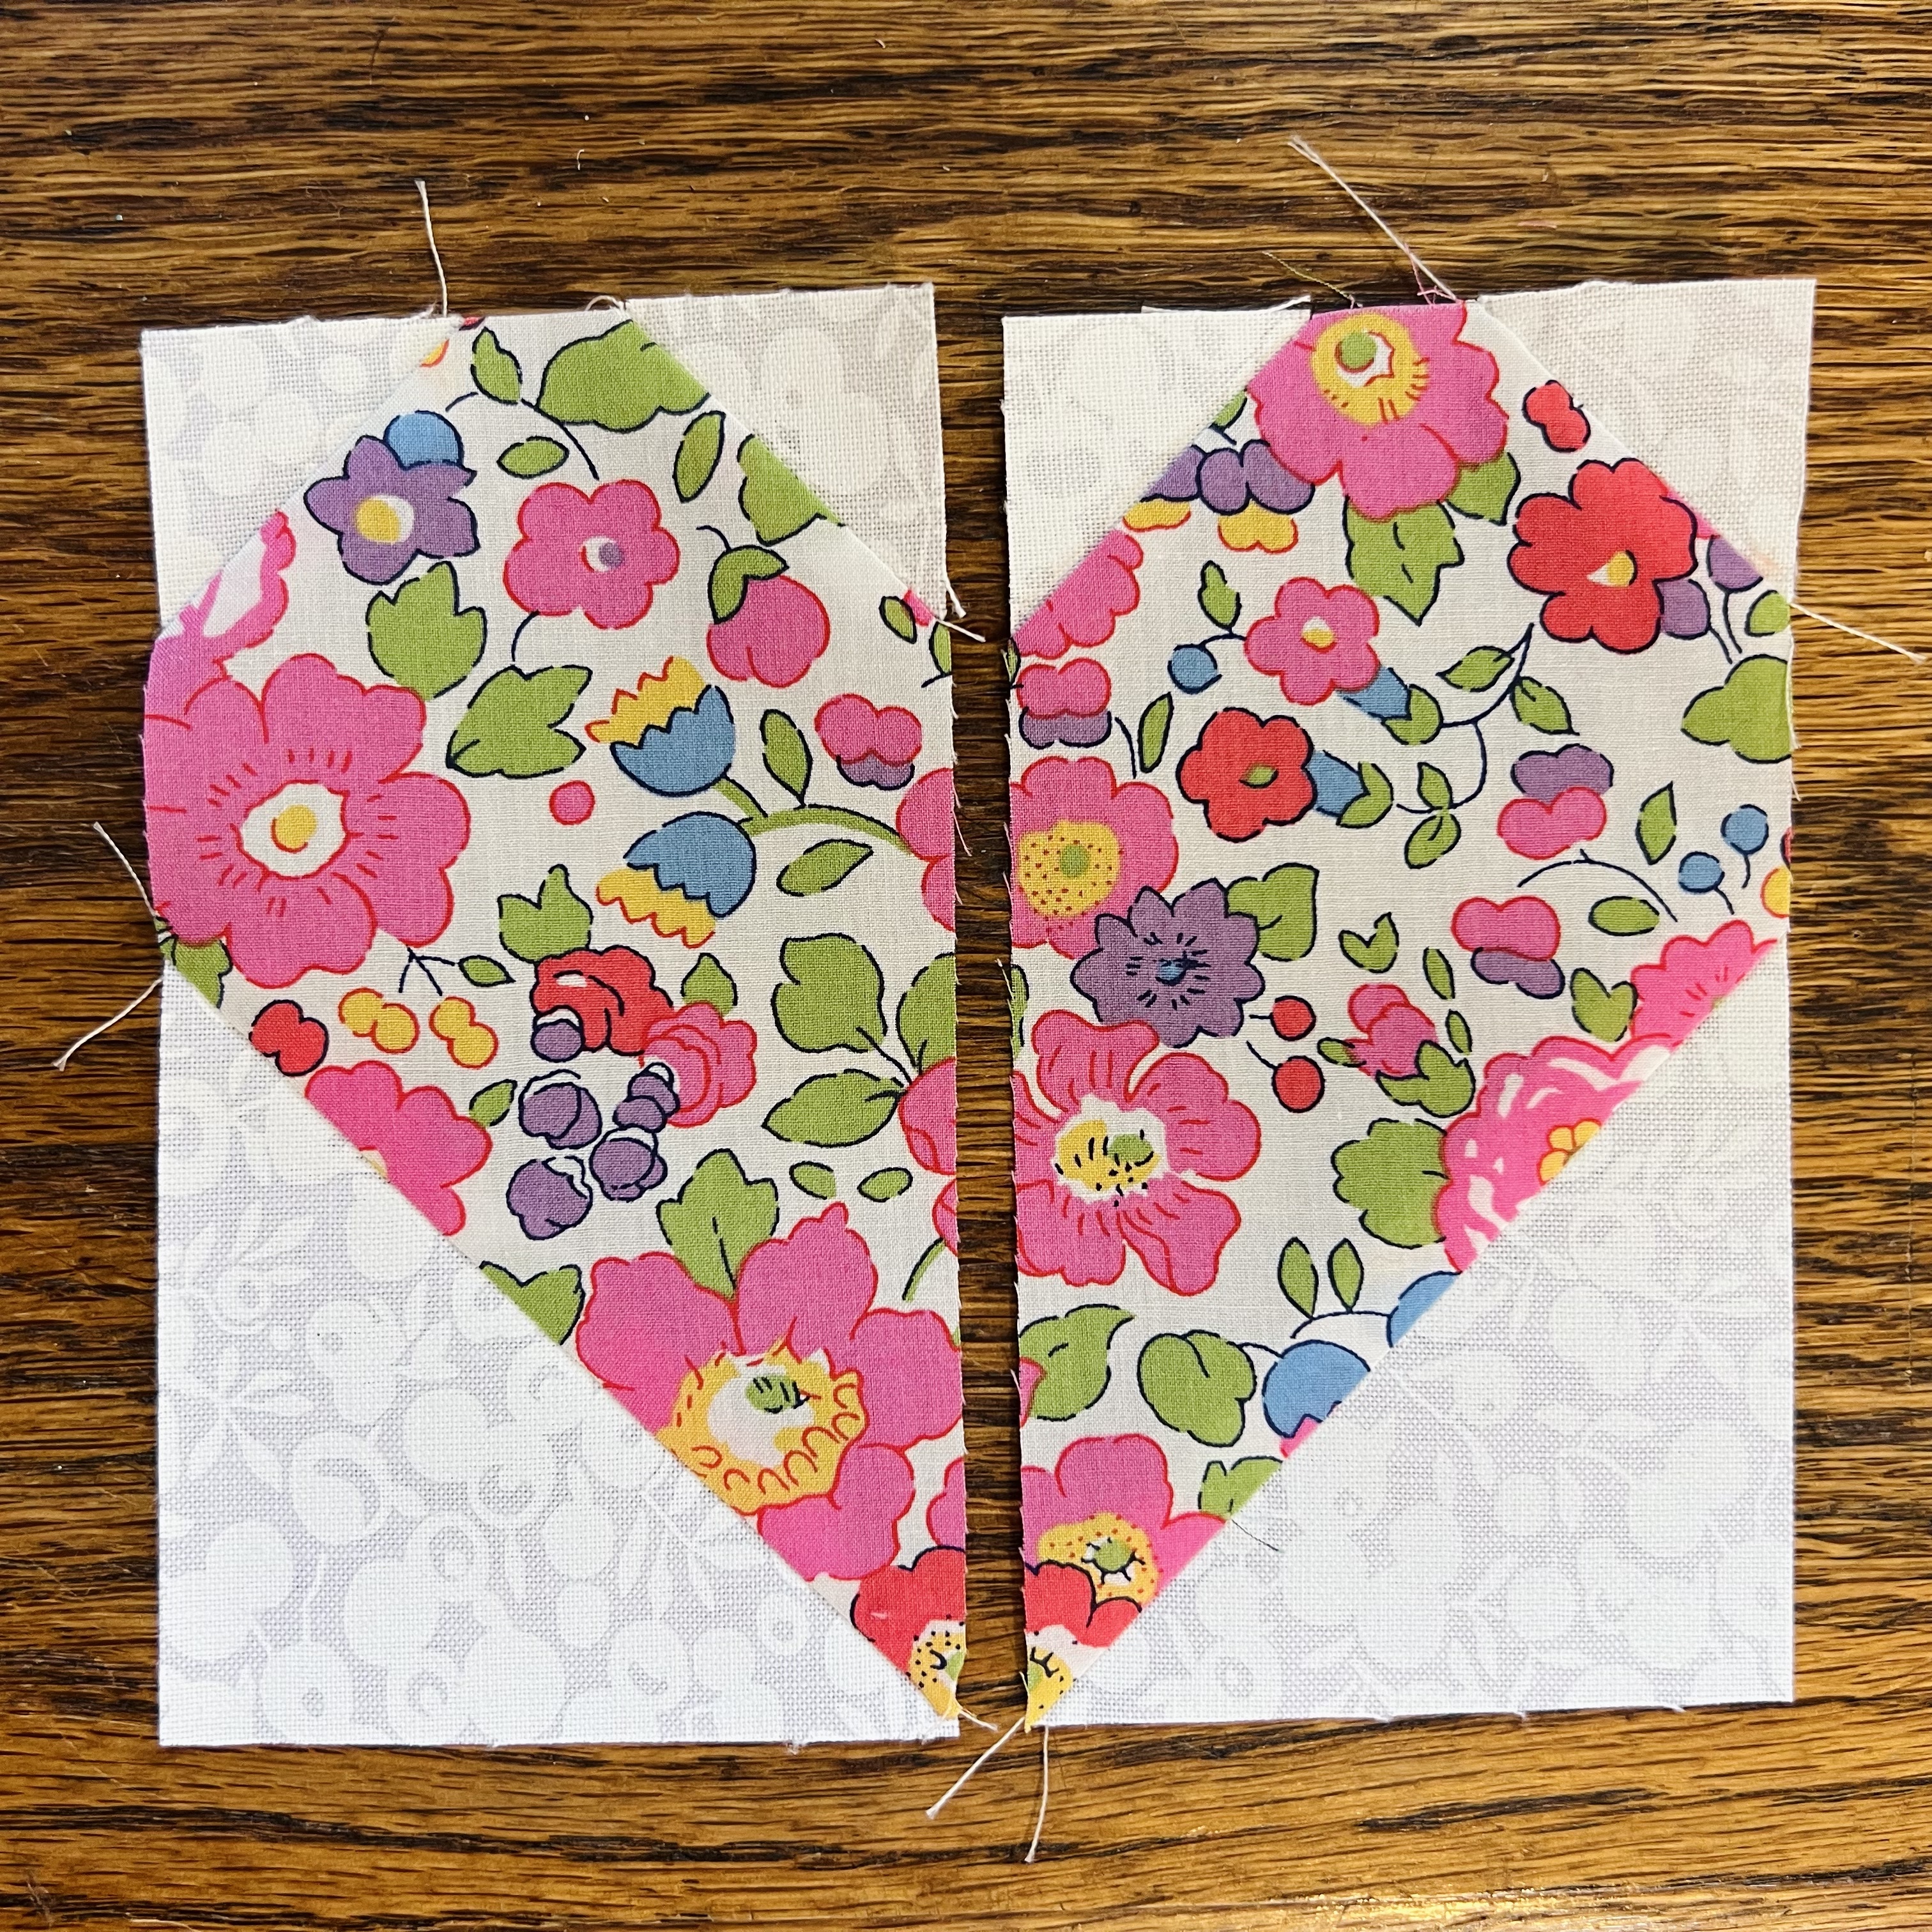
Place heart halves right sides together and stitch with 1/4” seam. 


Press open. 


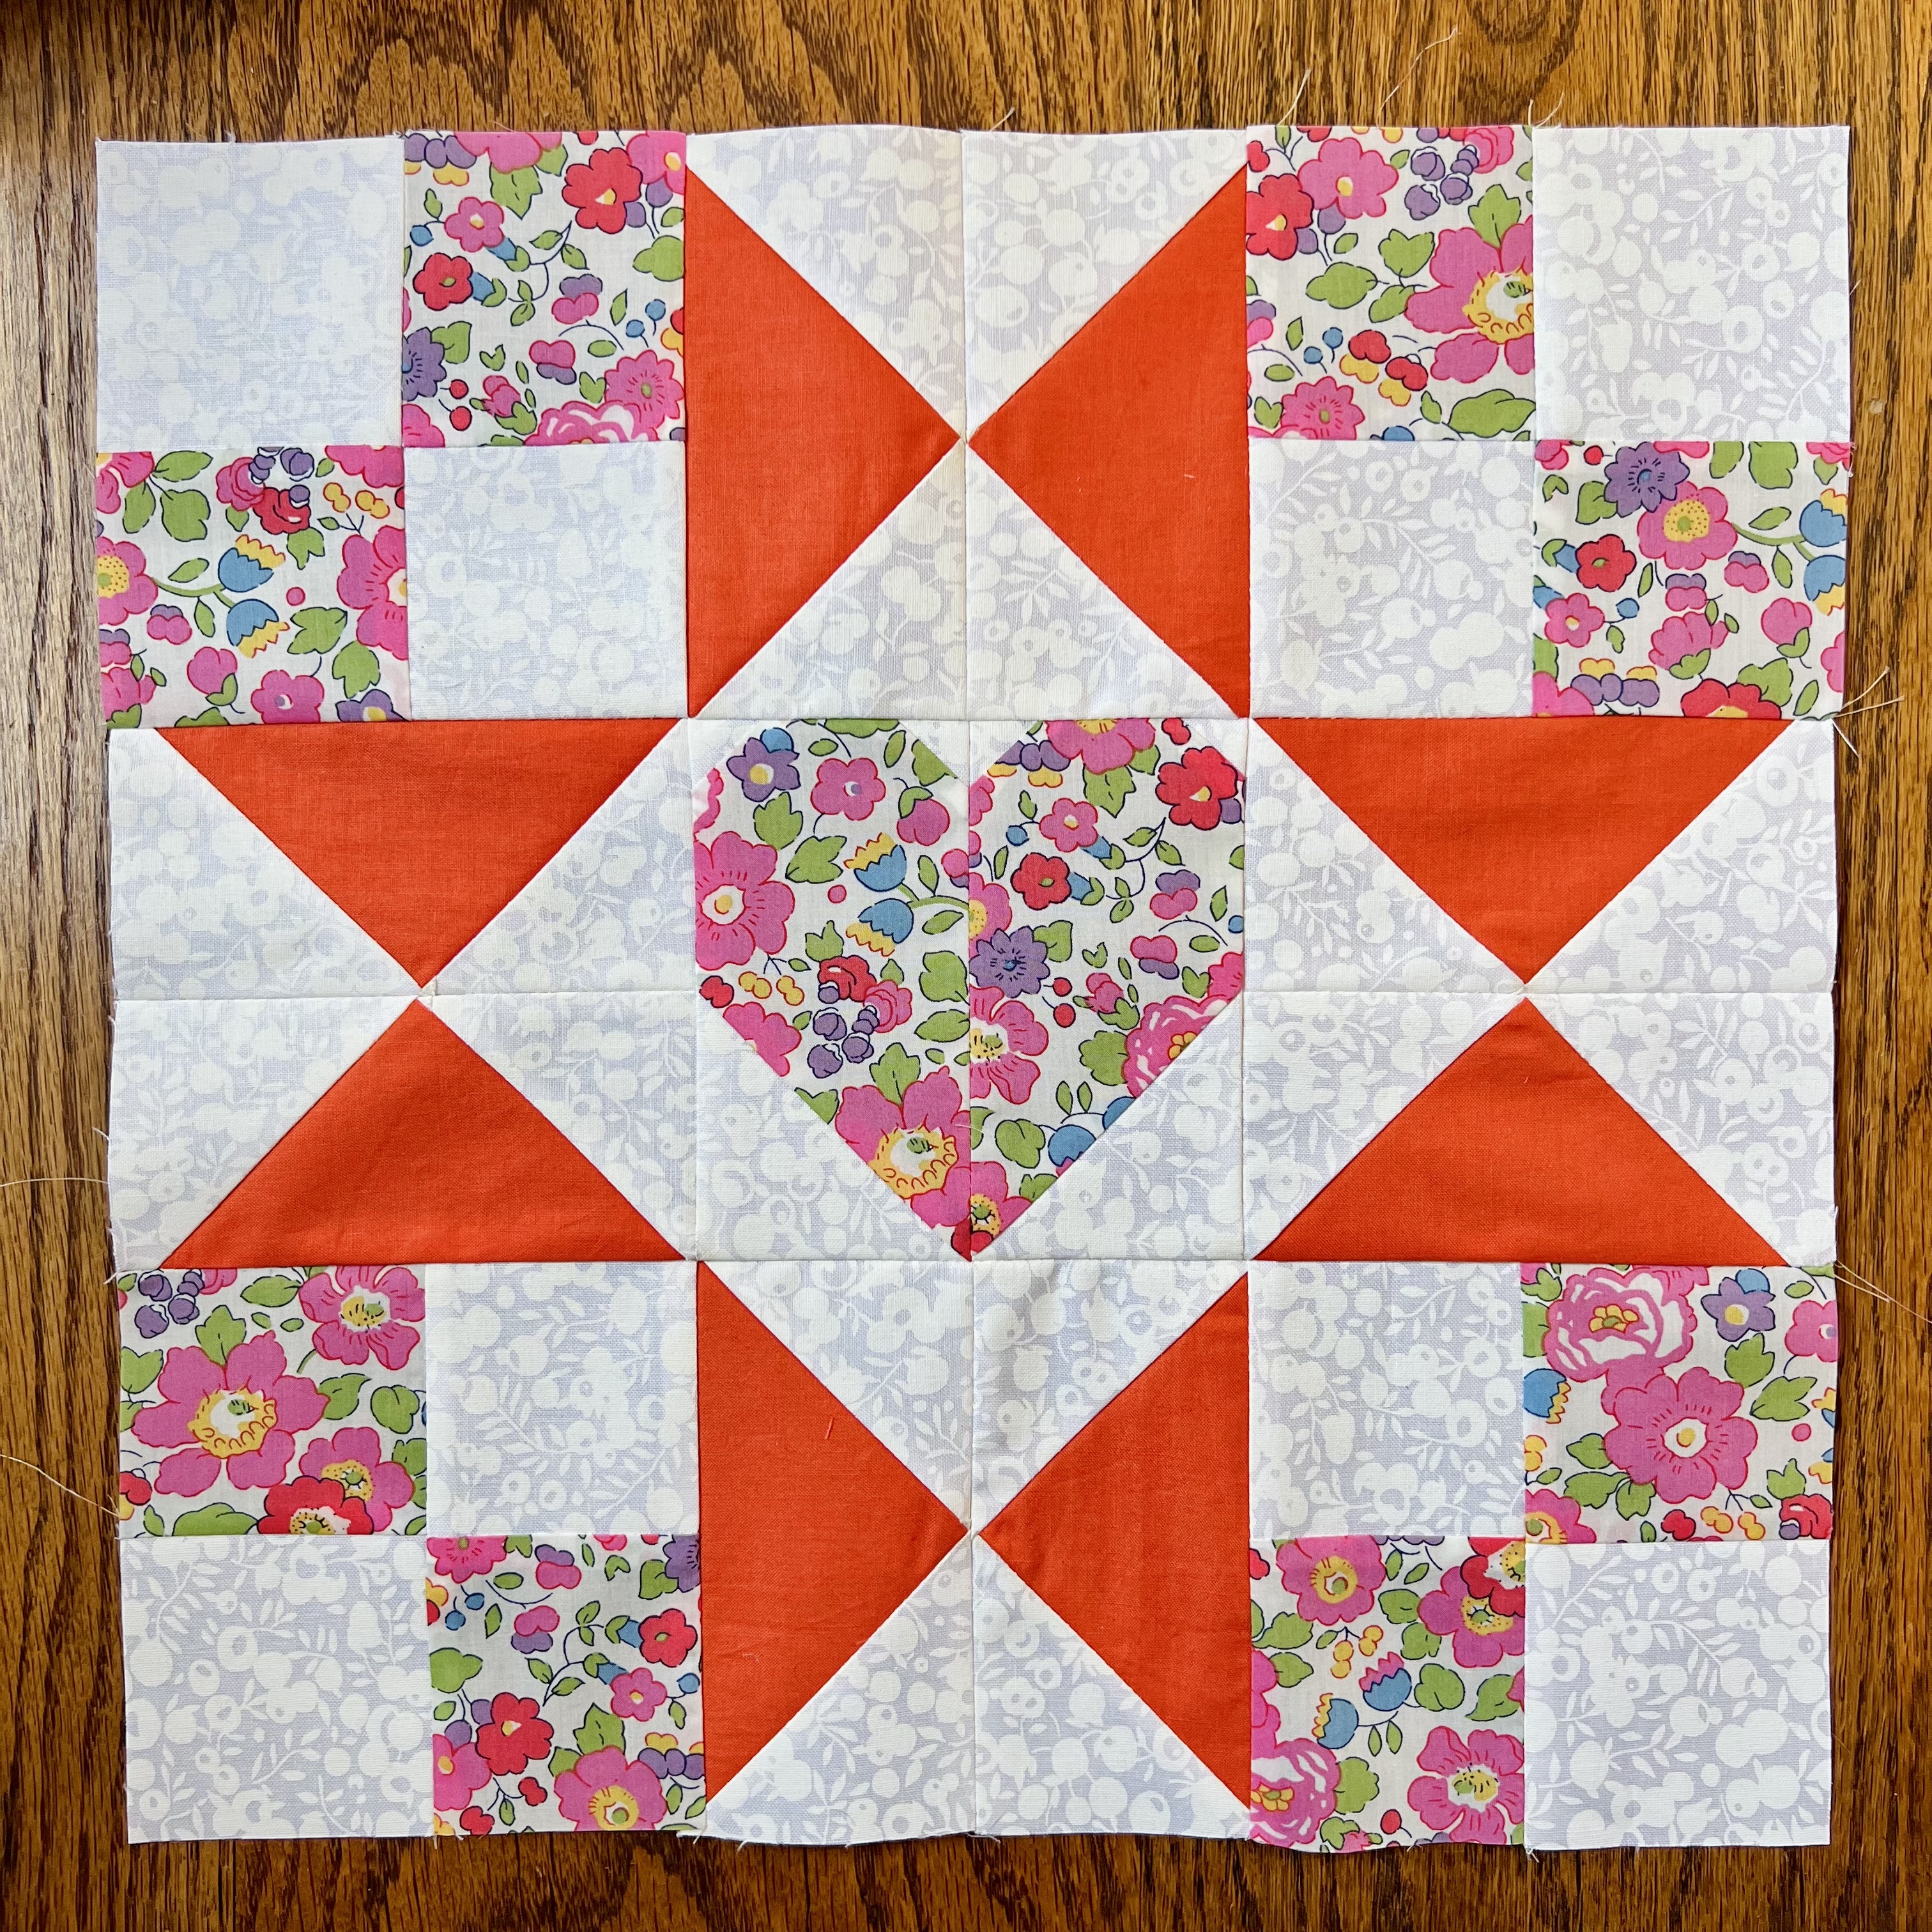
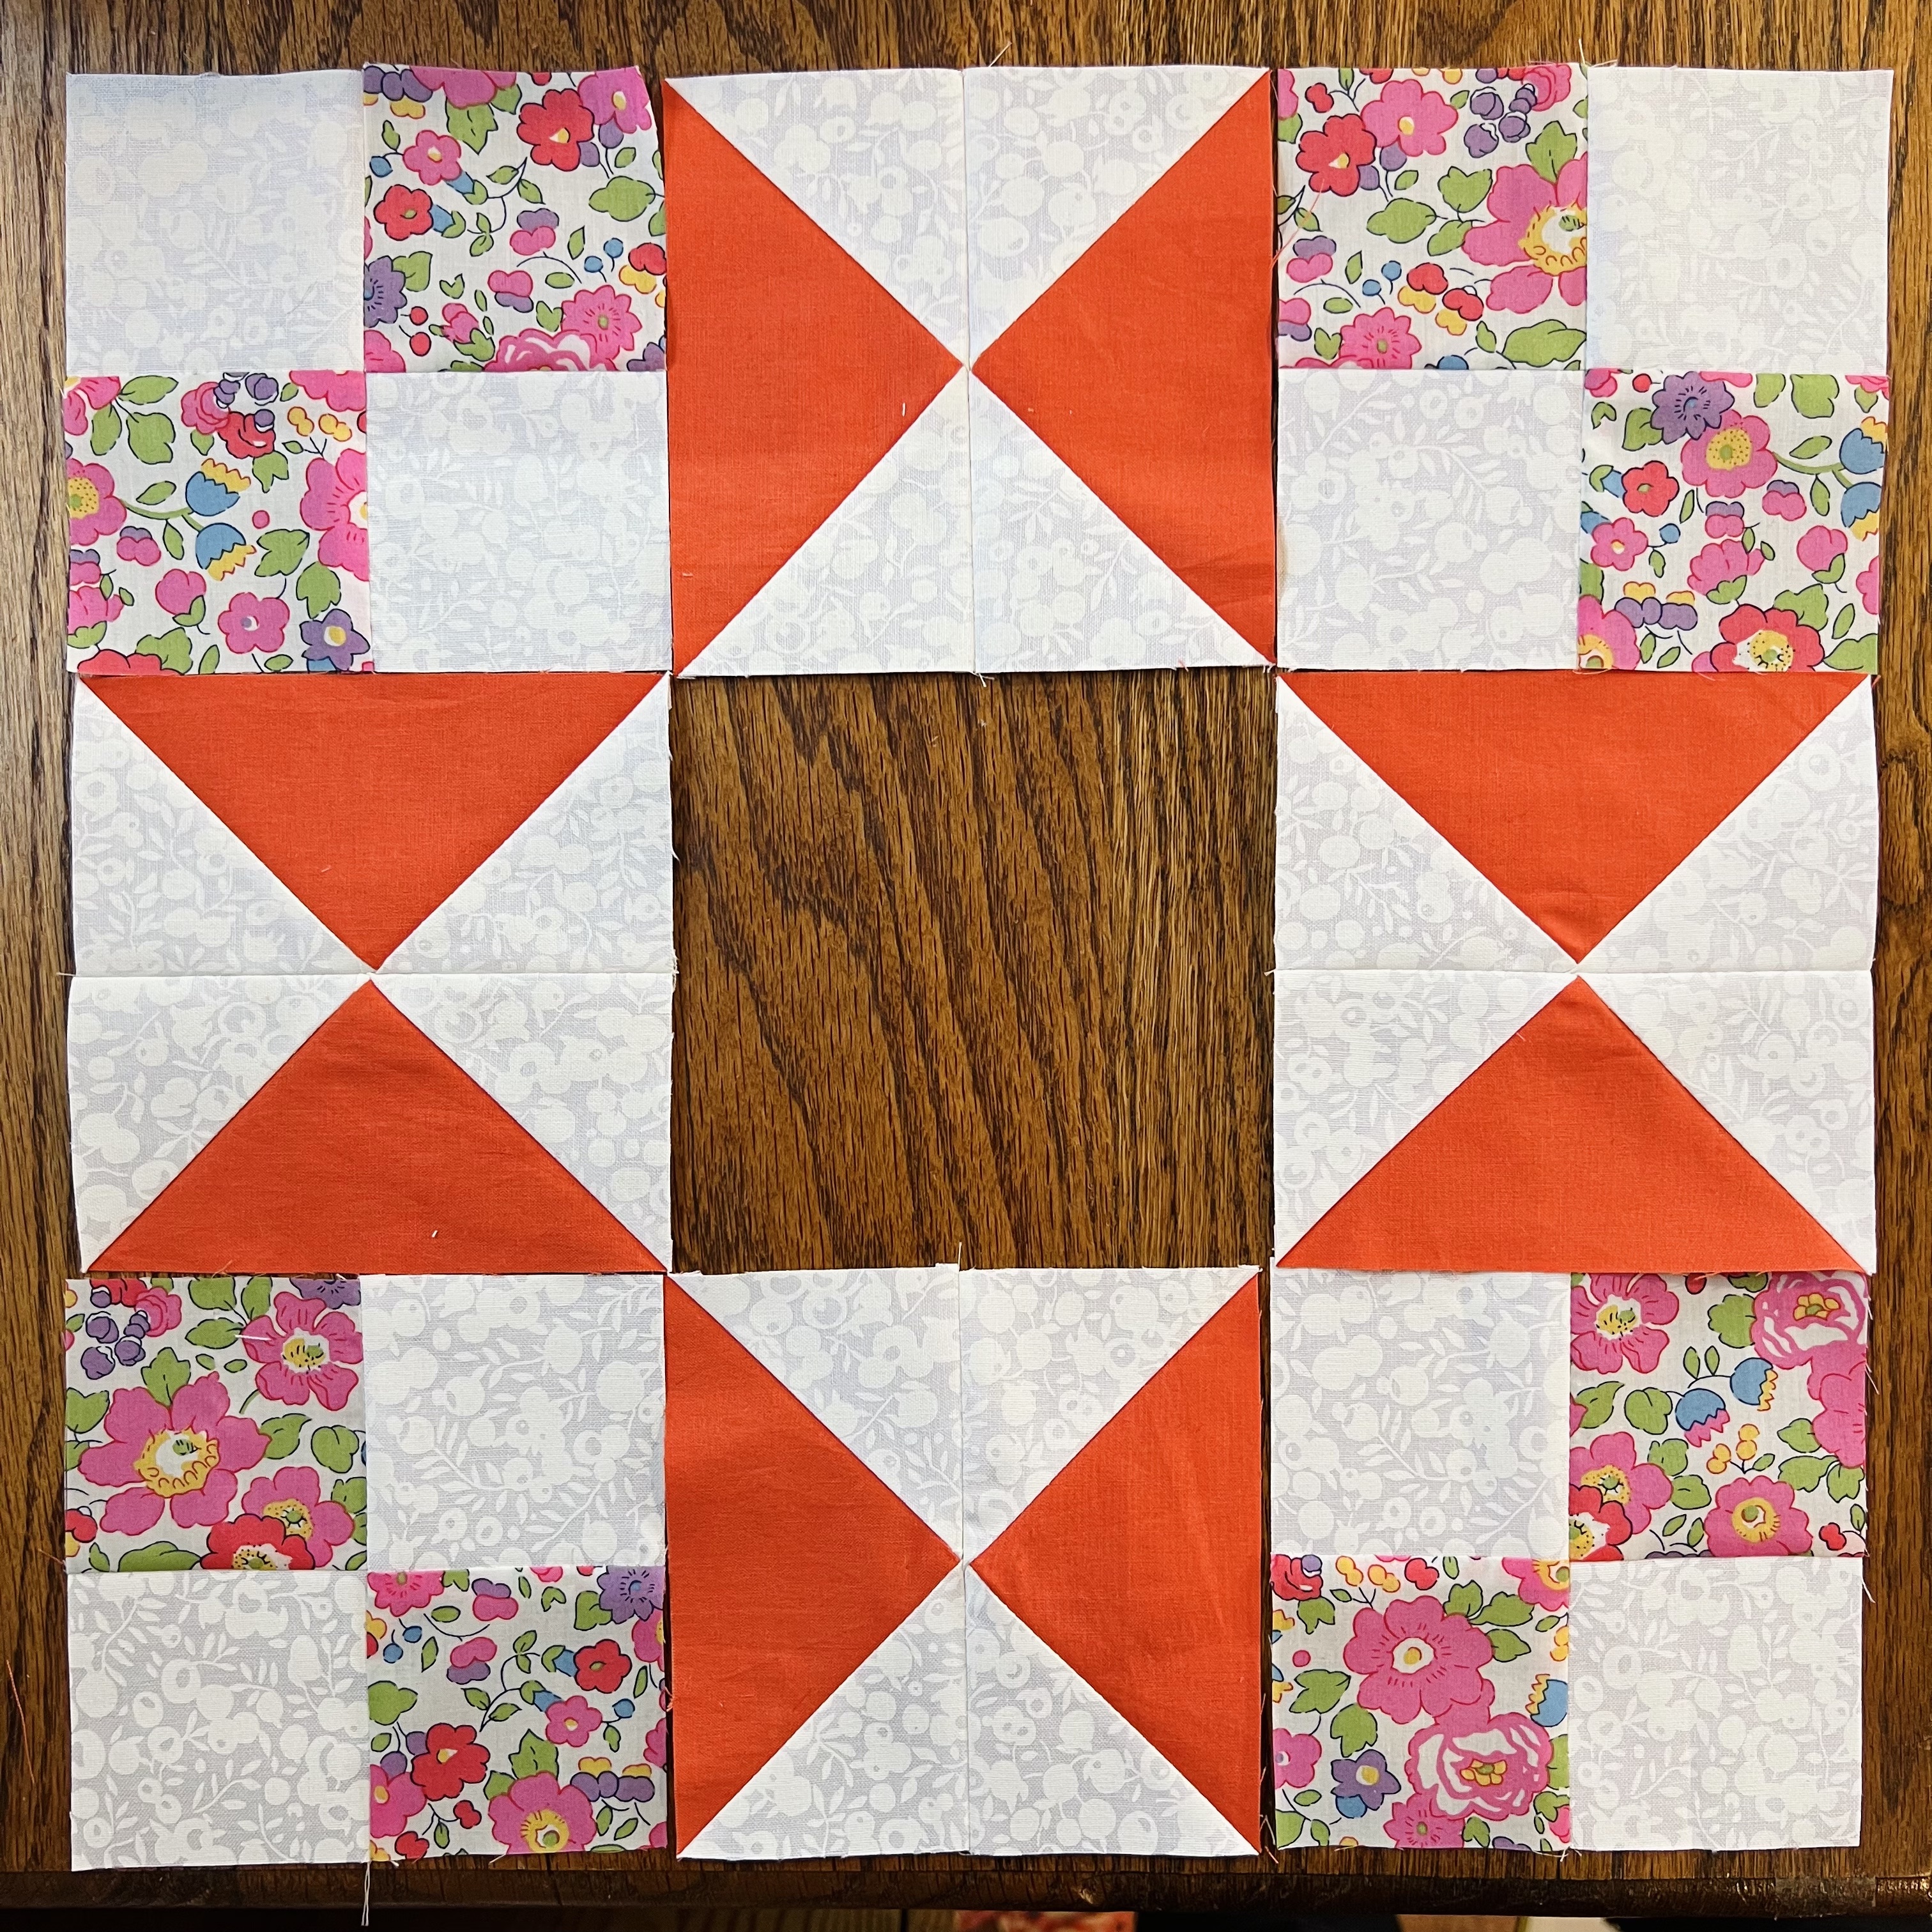
You have now completed all of the components of your Heart Star Block and now we will assemble.


Step 4: Assemble block


Stitch your block together one row at a time. First you will sew the corner, star points, then corner with 1/4” seam. 


Next you will repeat with the middle and bottom rows. 


Finally, stitch the rows together with 1/4” seams. 


You are finished! This block can be used in just about anything, from quilts, to table runners, to pillows. Its very versatile, and I’m excited to see what you create! 


Everyone is Talking about Heart Star Block
Reviews


Tako
Beautiful
Wednesday, November 23, 2016

cpindzola
Around the Table Dresden Placemats
Saturday, December 17, 2016

I like the concept, but the directions are "sloppy." Nowhere in the supply list does it mention the felt or the batting (how much?). Also, I would never use a high loft batting in a placemat, or a table runner, as I think that it would be too unstable for a glass. The next time I make these, I will cut out the batting (I use flannel) and spray baste it to the wrong side of the Dresden plate before I put the Dresden plate on the felt to cut out. I have not yet washed the finished placemat, and am hoping that the single layer of felt does not curl up, or become distorted after washing/drying.
Txmaid
Fun Great Gift!
Tuesday, February 21, 2017

MargieARK
Teatime Quilted Tablecloth
Friday, February 24, 2017

I made this today but your cutting directions need to be changed. You only need 4 of color 1 and color 3 4.5 squares for the triangles. Also the inner border, you only need 2 cuts as WOF is long enough to cut each in half to fit the sides.
MickelSews
Great Machine
Wednesday, August 30, 2017

I've had this machine for only a week now. I bought it used from a lady who makes her own clothes, but she no longer needed the machine. During the purchase, she noted that she is almost sad that it's better to give it away because of how well the machine performed. (I also bought it along side a computerized machine of another brand.} She demoed the machine for us, showing it worked and gave us everything (including the box it came in!) She took amazing care of this machine. I have used it a few times now, and the directions for threading were easy to follow (albeit my hands are quite large so the lower looper was a pain, but that is no fault to the machine or brand.) And I recommend this machine to anyone who wants to learn to serge and wants a machine that can grow with them. I will happily use this machine time and time again.
rvstan
S9 Review
Sunday, February 25, 2018

I love, love, love my S9! It's sews and embroiders beautifully and it's simplicity of use amazes me. I would recommend this machine for both a beginner and an experienced seamstress. If I would ask anything of Janome it would be to upgrade the programming to run a larger hoop size. I understand that it can't get much wider but there is most definitely room for it to go longer. That is the only limitation of this machine.
pjmnana
PJMNana
Monday, February 26, 2018

I purchased a Memorycraft 15000 a few years ago and it was the best purchase I ever made! This machine can do just about anything you would would ever want! I love the capability of using the Acuedit app to set up my embroidery pattern on my Ipad and then download it to the machine! I love how my embroidery looks upon completion and I love all the good lighting it has to light up your workspace. That way you don’t need to worry about where to set up your machine. It also has plenty of room to do machine embroidery on any size quilts! There are many decorative stitches from which to choose that are outstanding! It’s hard to choose which one to use! There are so many great features it is hard to decide what I love the most. If you want to buy only one machine to last a lifetime, I would recommend this one!
KLWash
S9 Review
Sunday, February 24, 2019

The S9 is amazing. I learned to sew by hand when I was just 5 and in my grandmothers way as she was quilting. I took seeing classes in high school until they would no longer let me sign up. The S9 makes me appreciate my current skills as well as motivate me to want to learn more. This machine is awesome.
SewSueMe2002
Horizon Memory Craft 15000
Thursday, November 19, 2020

My Janome Horizon Memory Craft 15000 is fantastic! I love, love, love this machine! When I came across the Eye for and Eye embroidery design today, I wanted to make it. However, the embroidery file is missing. Nothing downloads when I select the download button. Please help!
Jillfmischo
Treat Bag fun!
Monday, August 16, 2021

I made the Halloween treat bag for my new granddaughter and I’m sure it will last for years. No embroidery machine so I appliquéd the lettering. Need a little more skirt fabric for a better gathered look, and I used thin double-bias tape for the skirt hem, over edge stitch on skirt sides. I’m pleased with my results!
elenaz
Very helpful tutorial
Wednesday, October 25, 2023

I want to say thank you for teaching me this method of applique. I was able to do it with a small letters. This method is the best so far from all of those I've seen and tried.
plonkar
So useful
Thursday, November 30, 2023

I'd like to express my gratitude for teaching me this appliqué method. I successfully applied it with small letters, and, so far, it's the most effective among all the methods I've seen and tried.

DEALERS
The TWO Closest Dealers to you are:
1900 CENTRE ST , WEST ROXBURY MA, 02132
(617)323-6200
443 MOODY STREET , WALTHAM MA, 02453
781-893-3331
Find Additional Dealers