Projects

Holiday Cooking Apron

Created By:

Laurel Ryan 

Skill Level: Beginner

This is a great apron for the holidays! No around the neck ties, so your neck wont get pulled forward. And lots of options for pockets! Super quick and easy to sew up!

Fabric and Notions Required

Fabric

Scissors

Sewing Machine

Thread

Iron

Instructions

1) Cut the following

Fabric A- Cut (1) 27” wide x 25” tall rectangle for the front of the apron.

Fabric B - Cut (1) 10” x 27“ Pocket.

Fabric C - Cut (1) 27” wide by 25” tall rectangle for the apron lining.

Fabric D - Cut (2) 2 1/2" x 75" and (2) 2 1/2" x 3 1/2" strips for the ties and loops.

Extra width and height may be added for those of the taller variety.

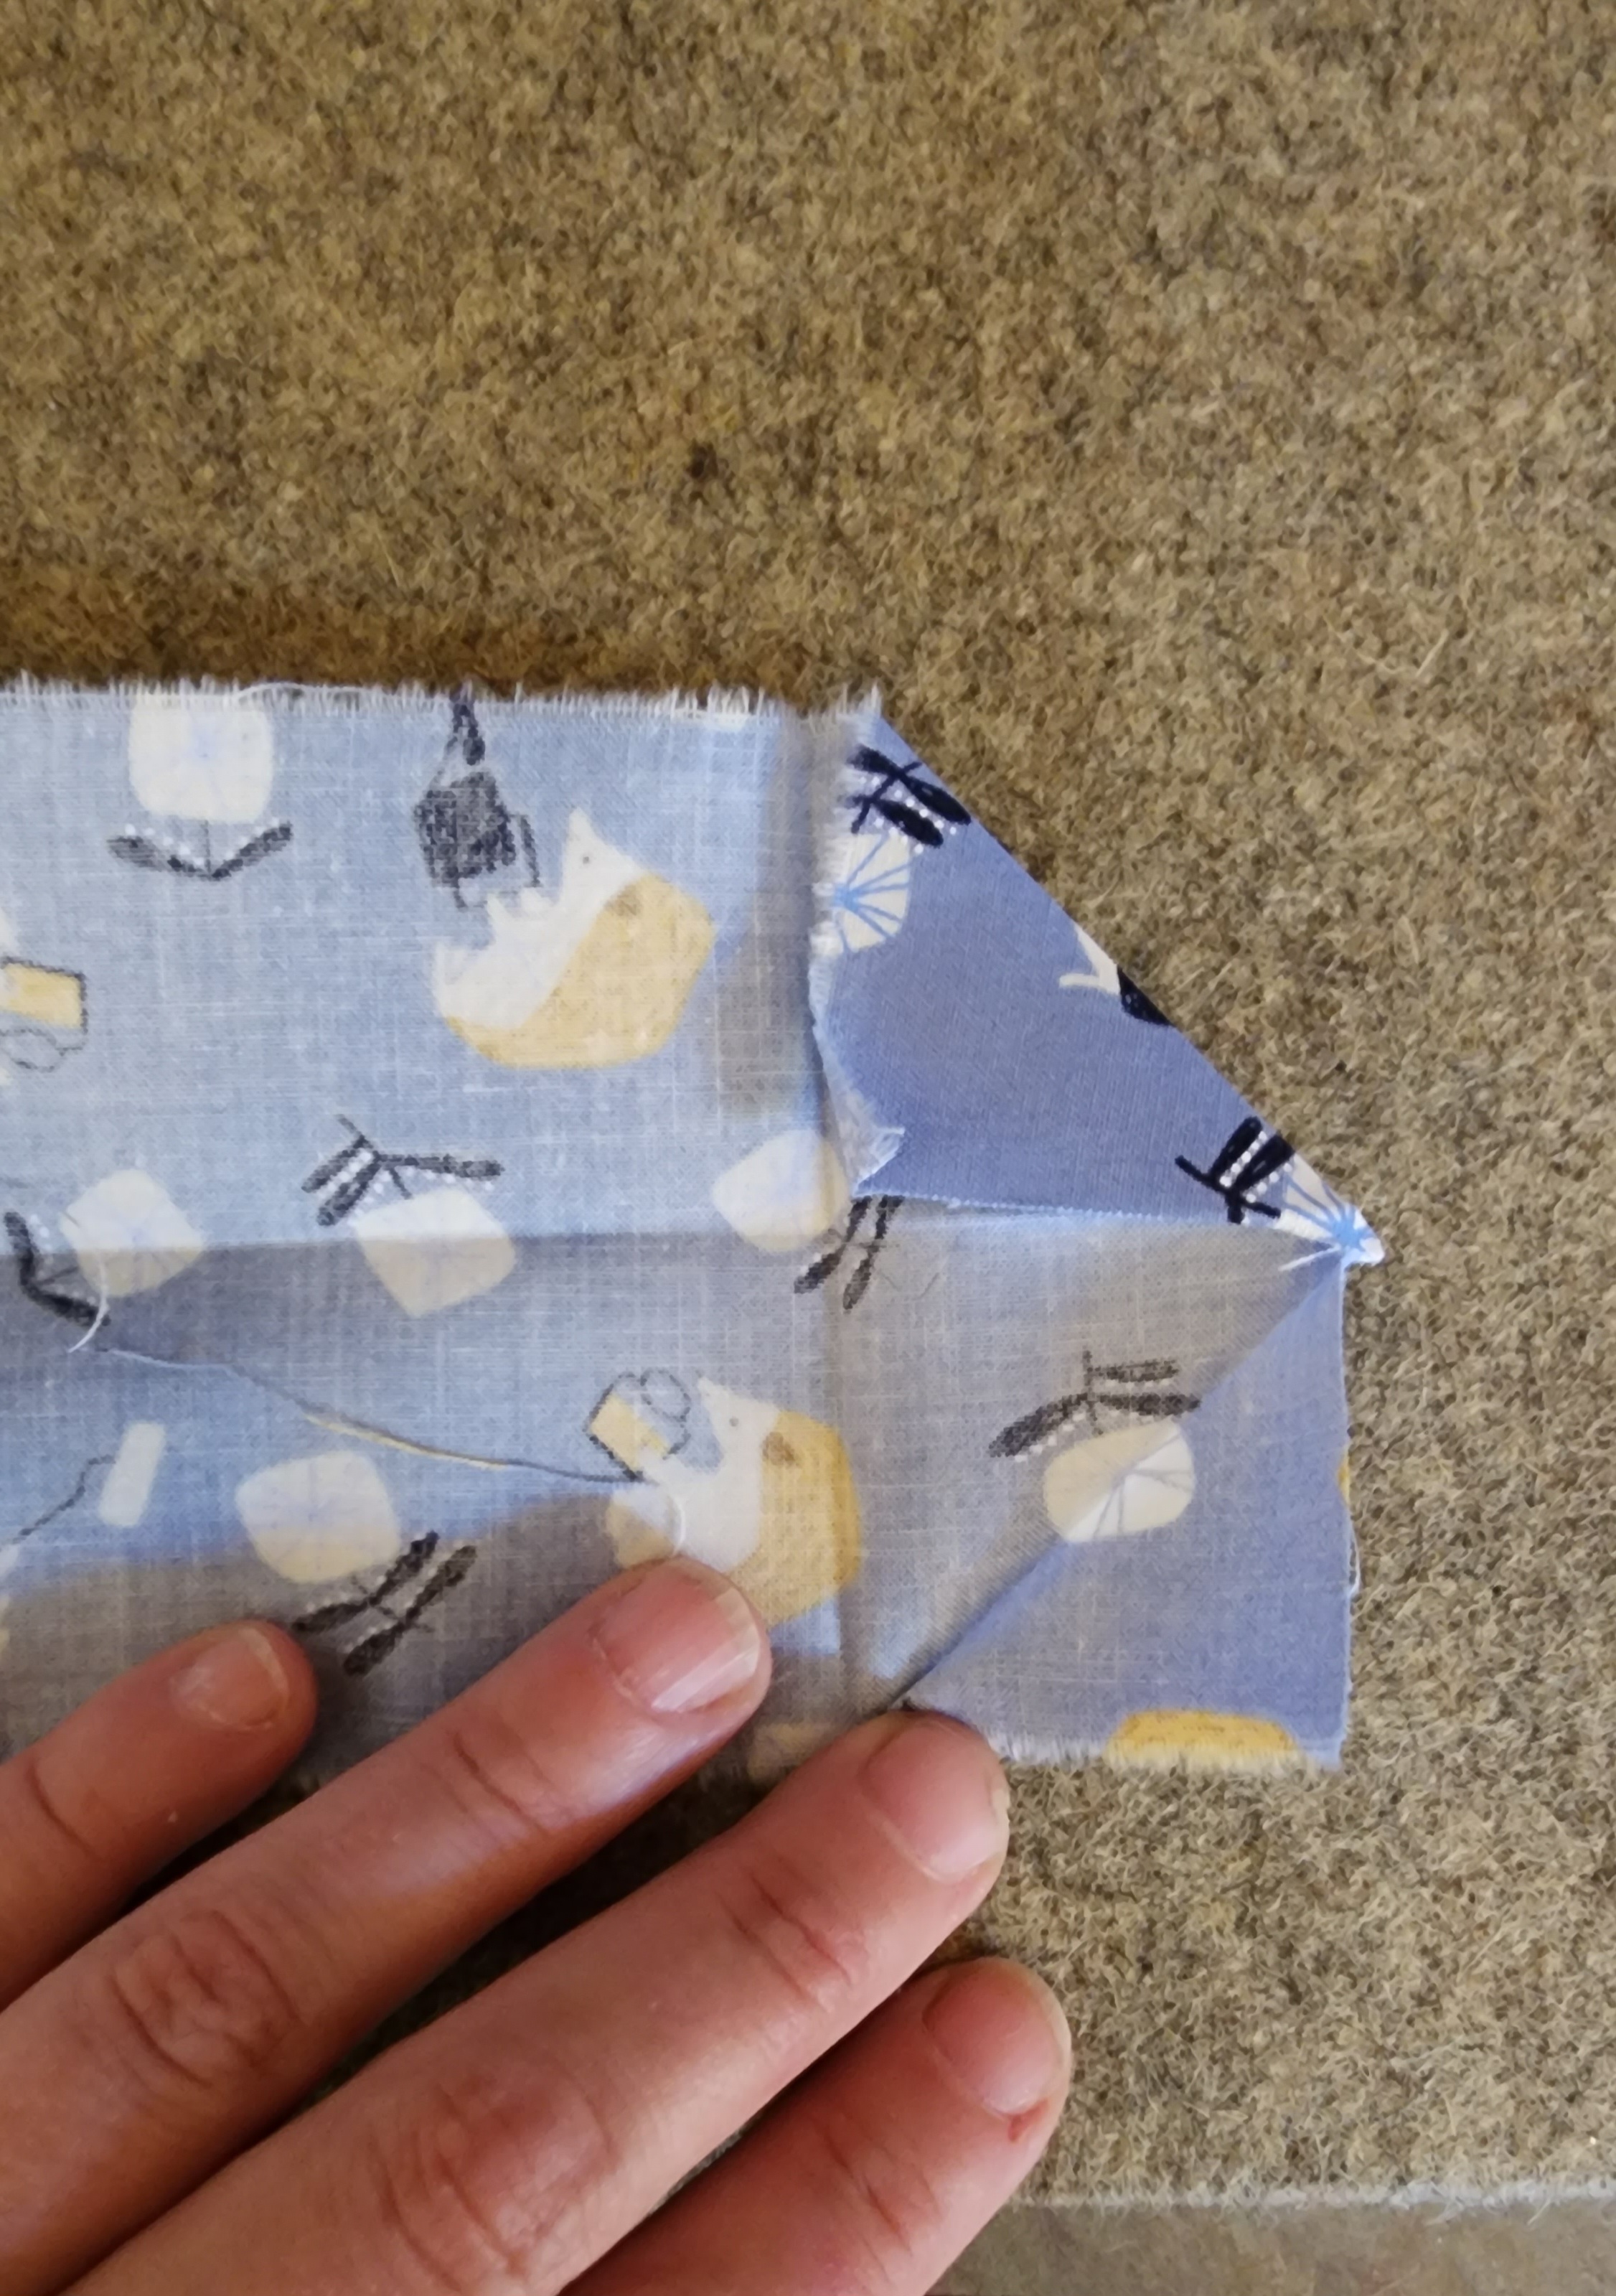
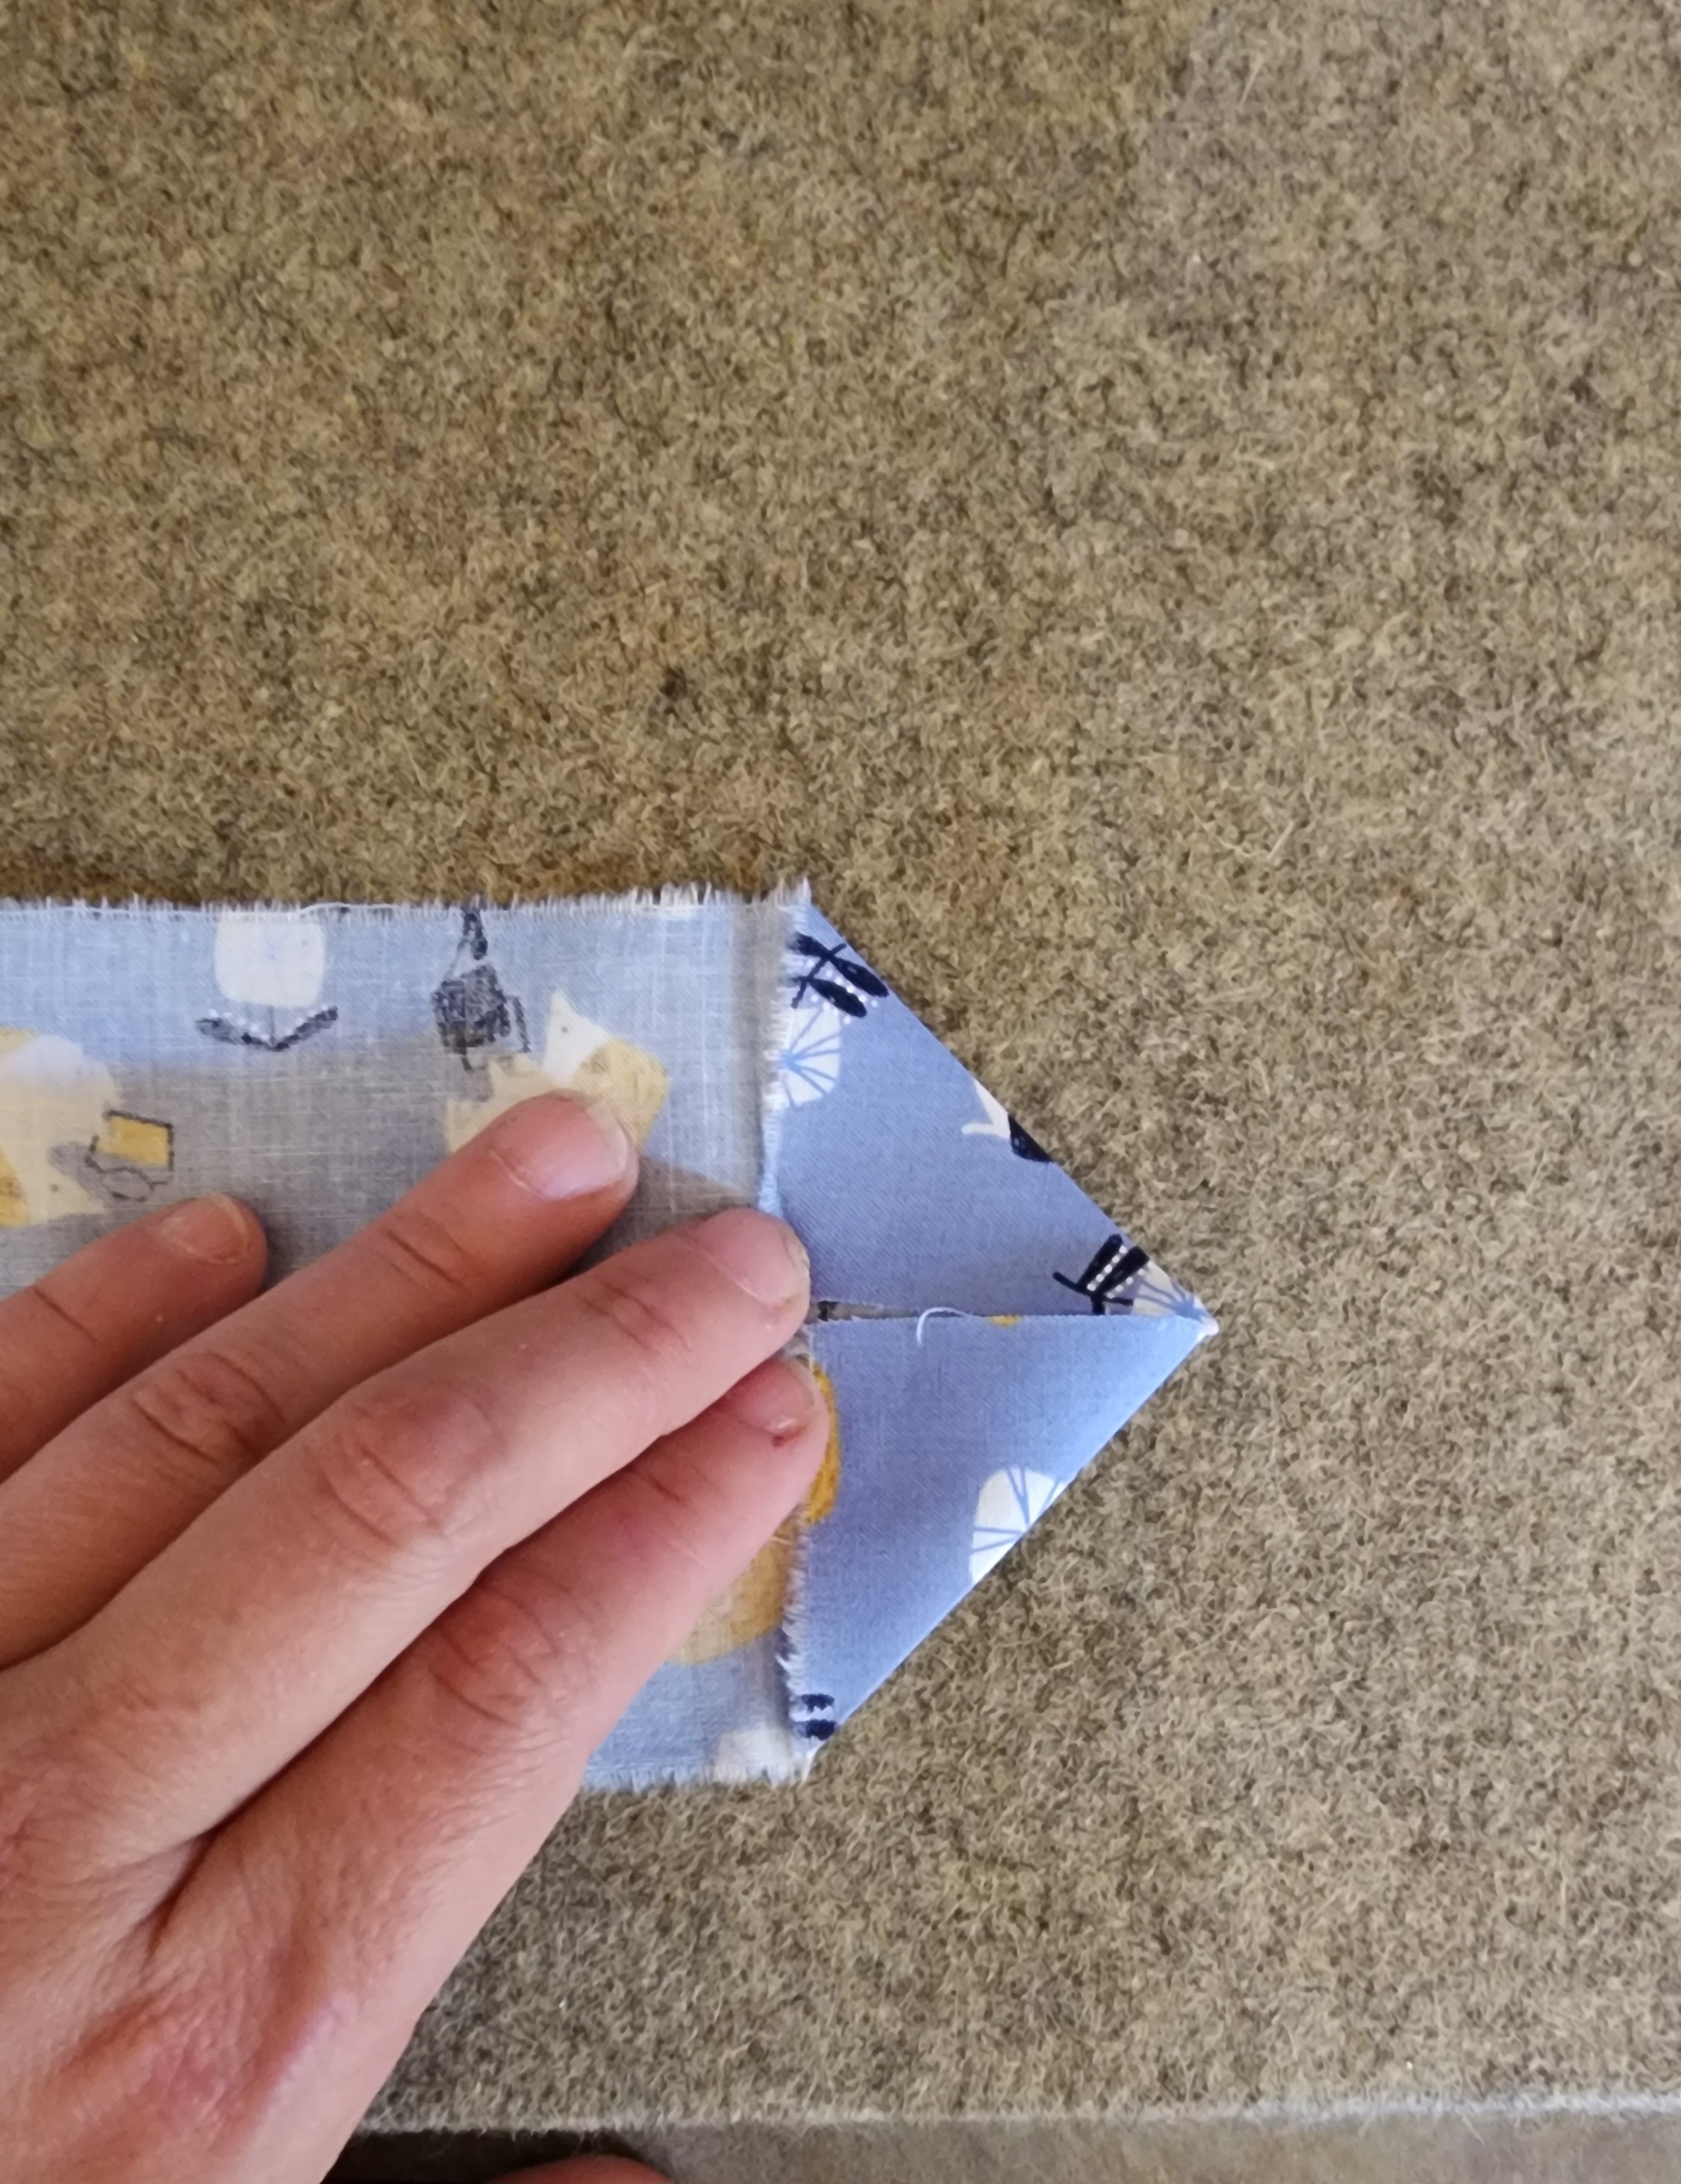
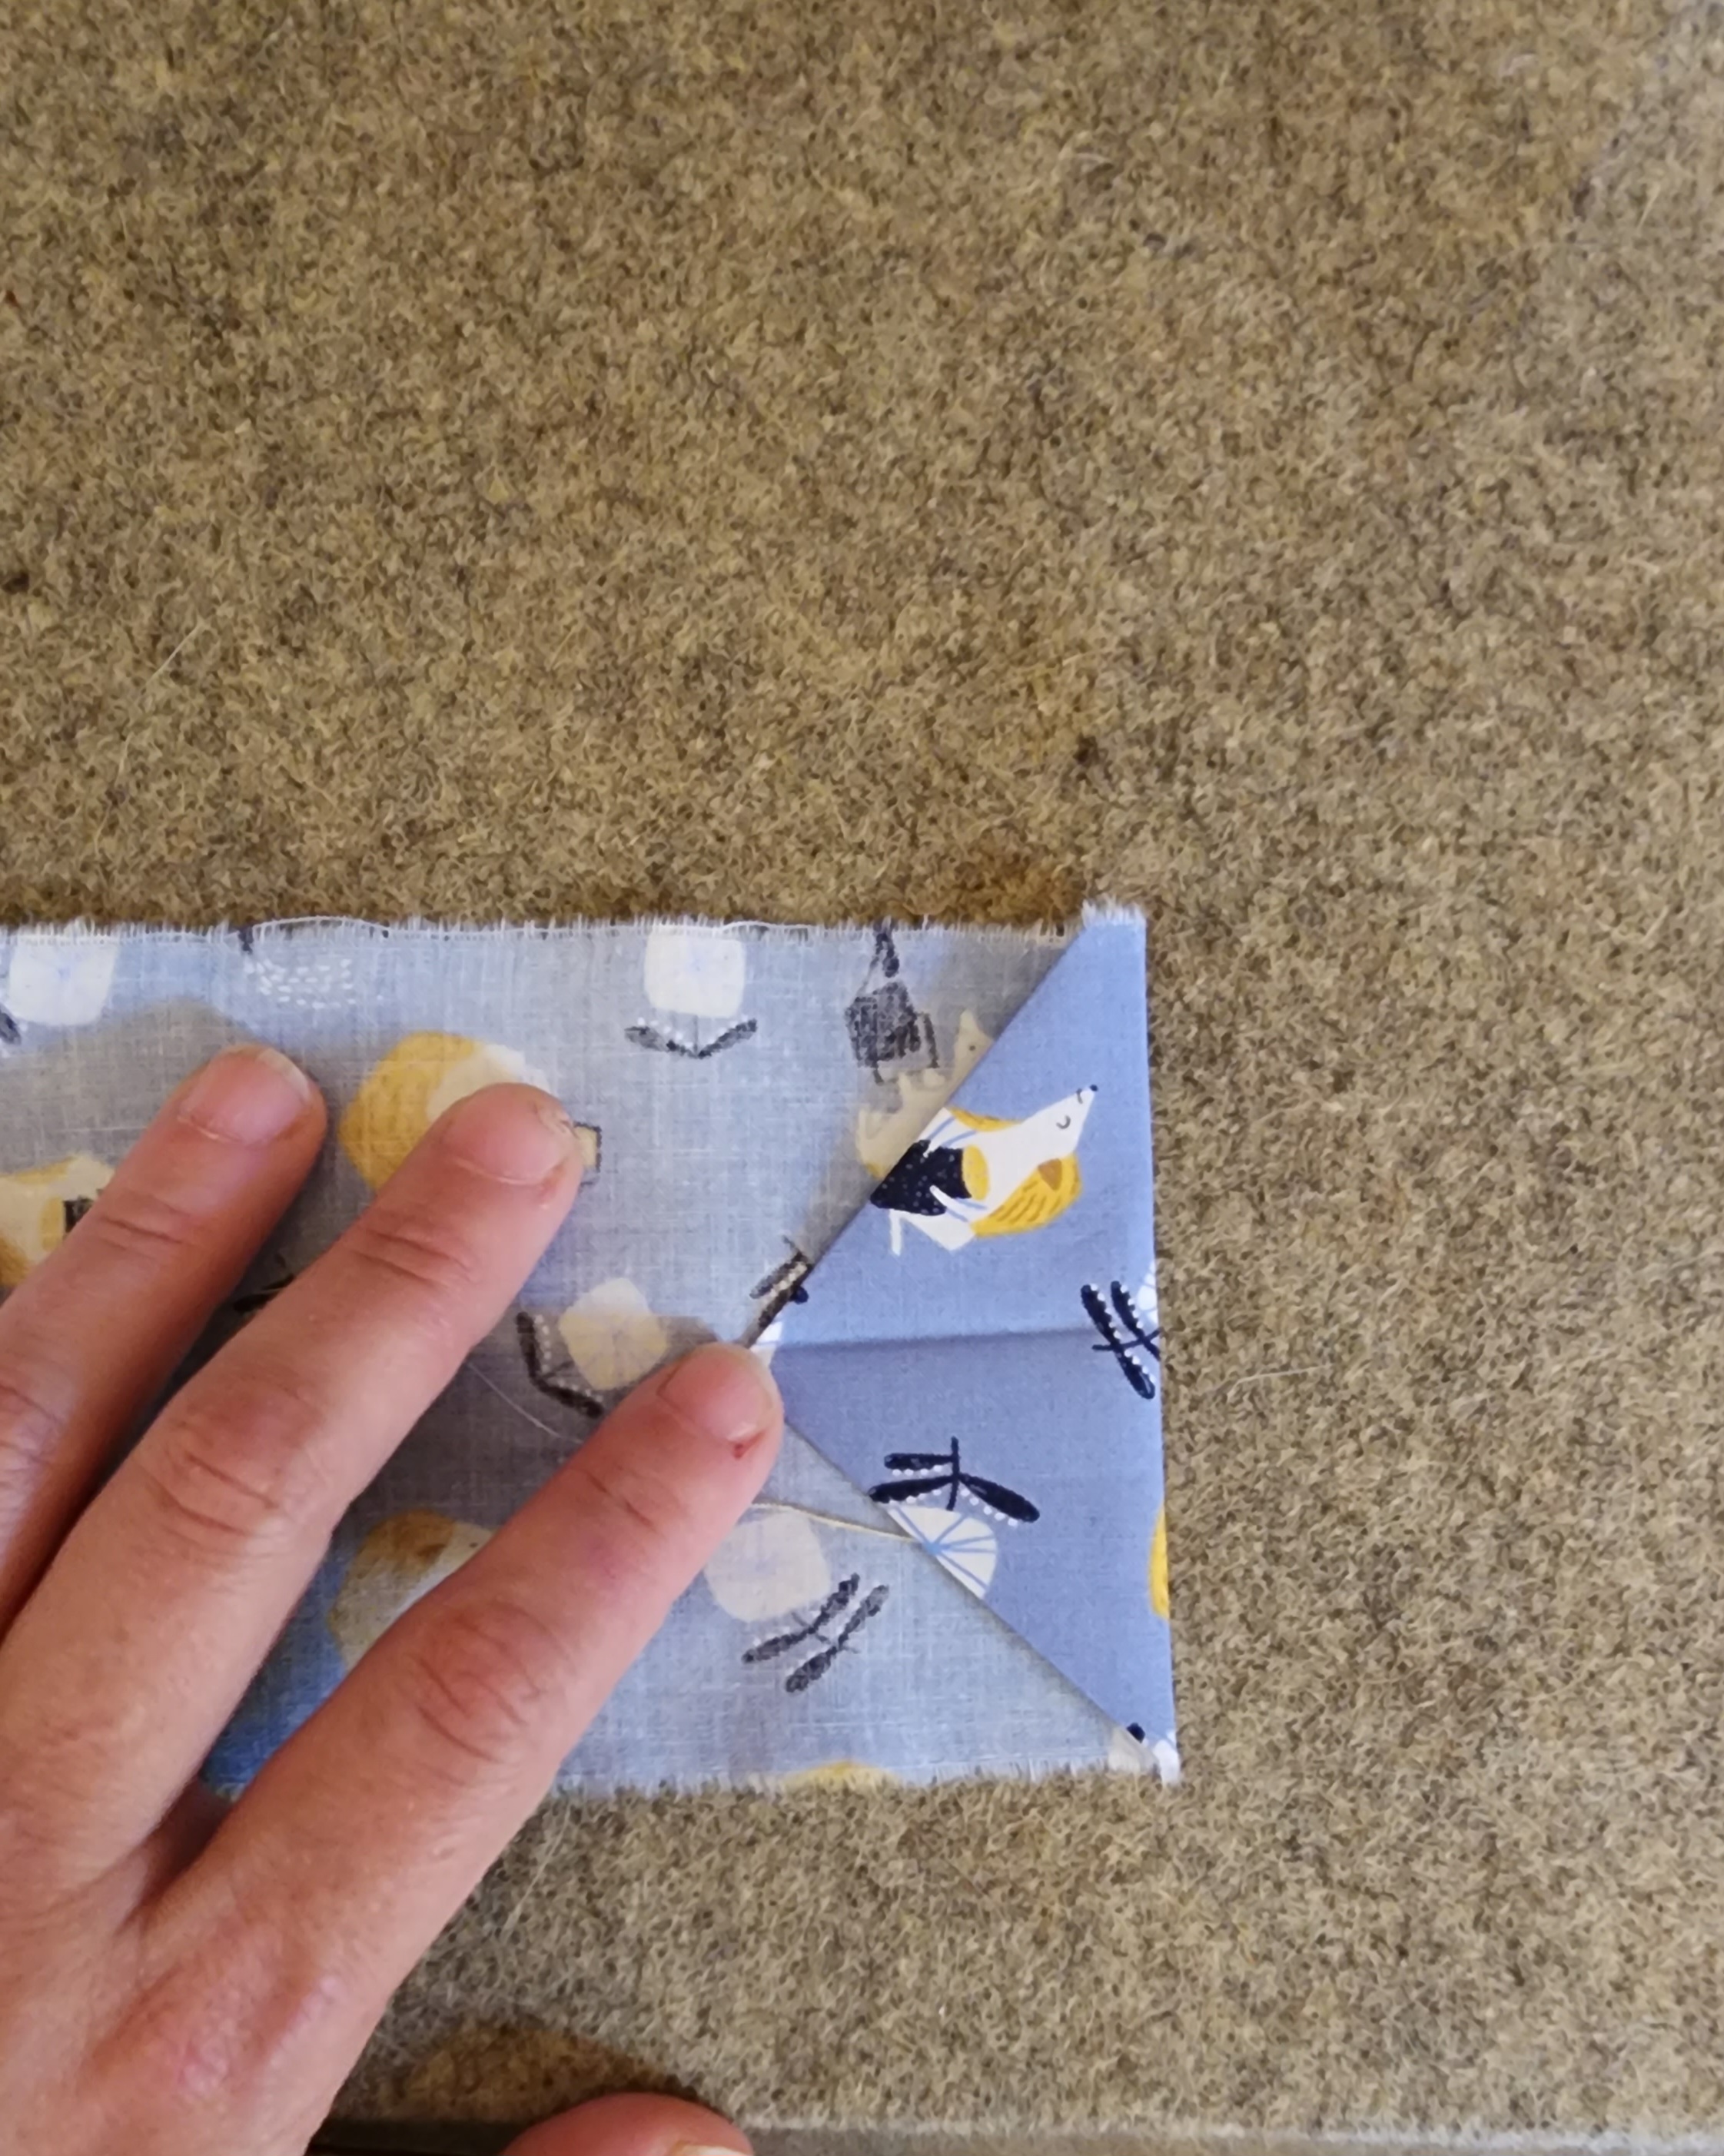
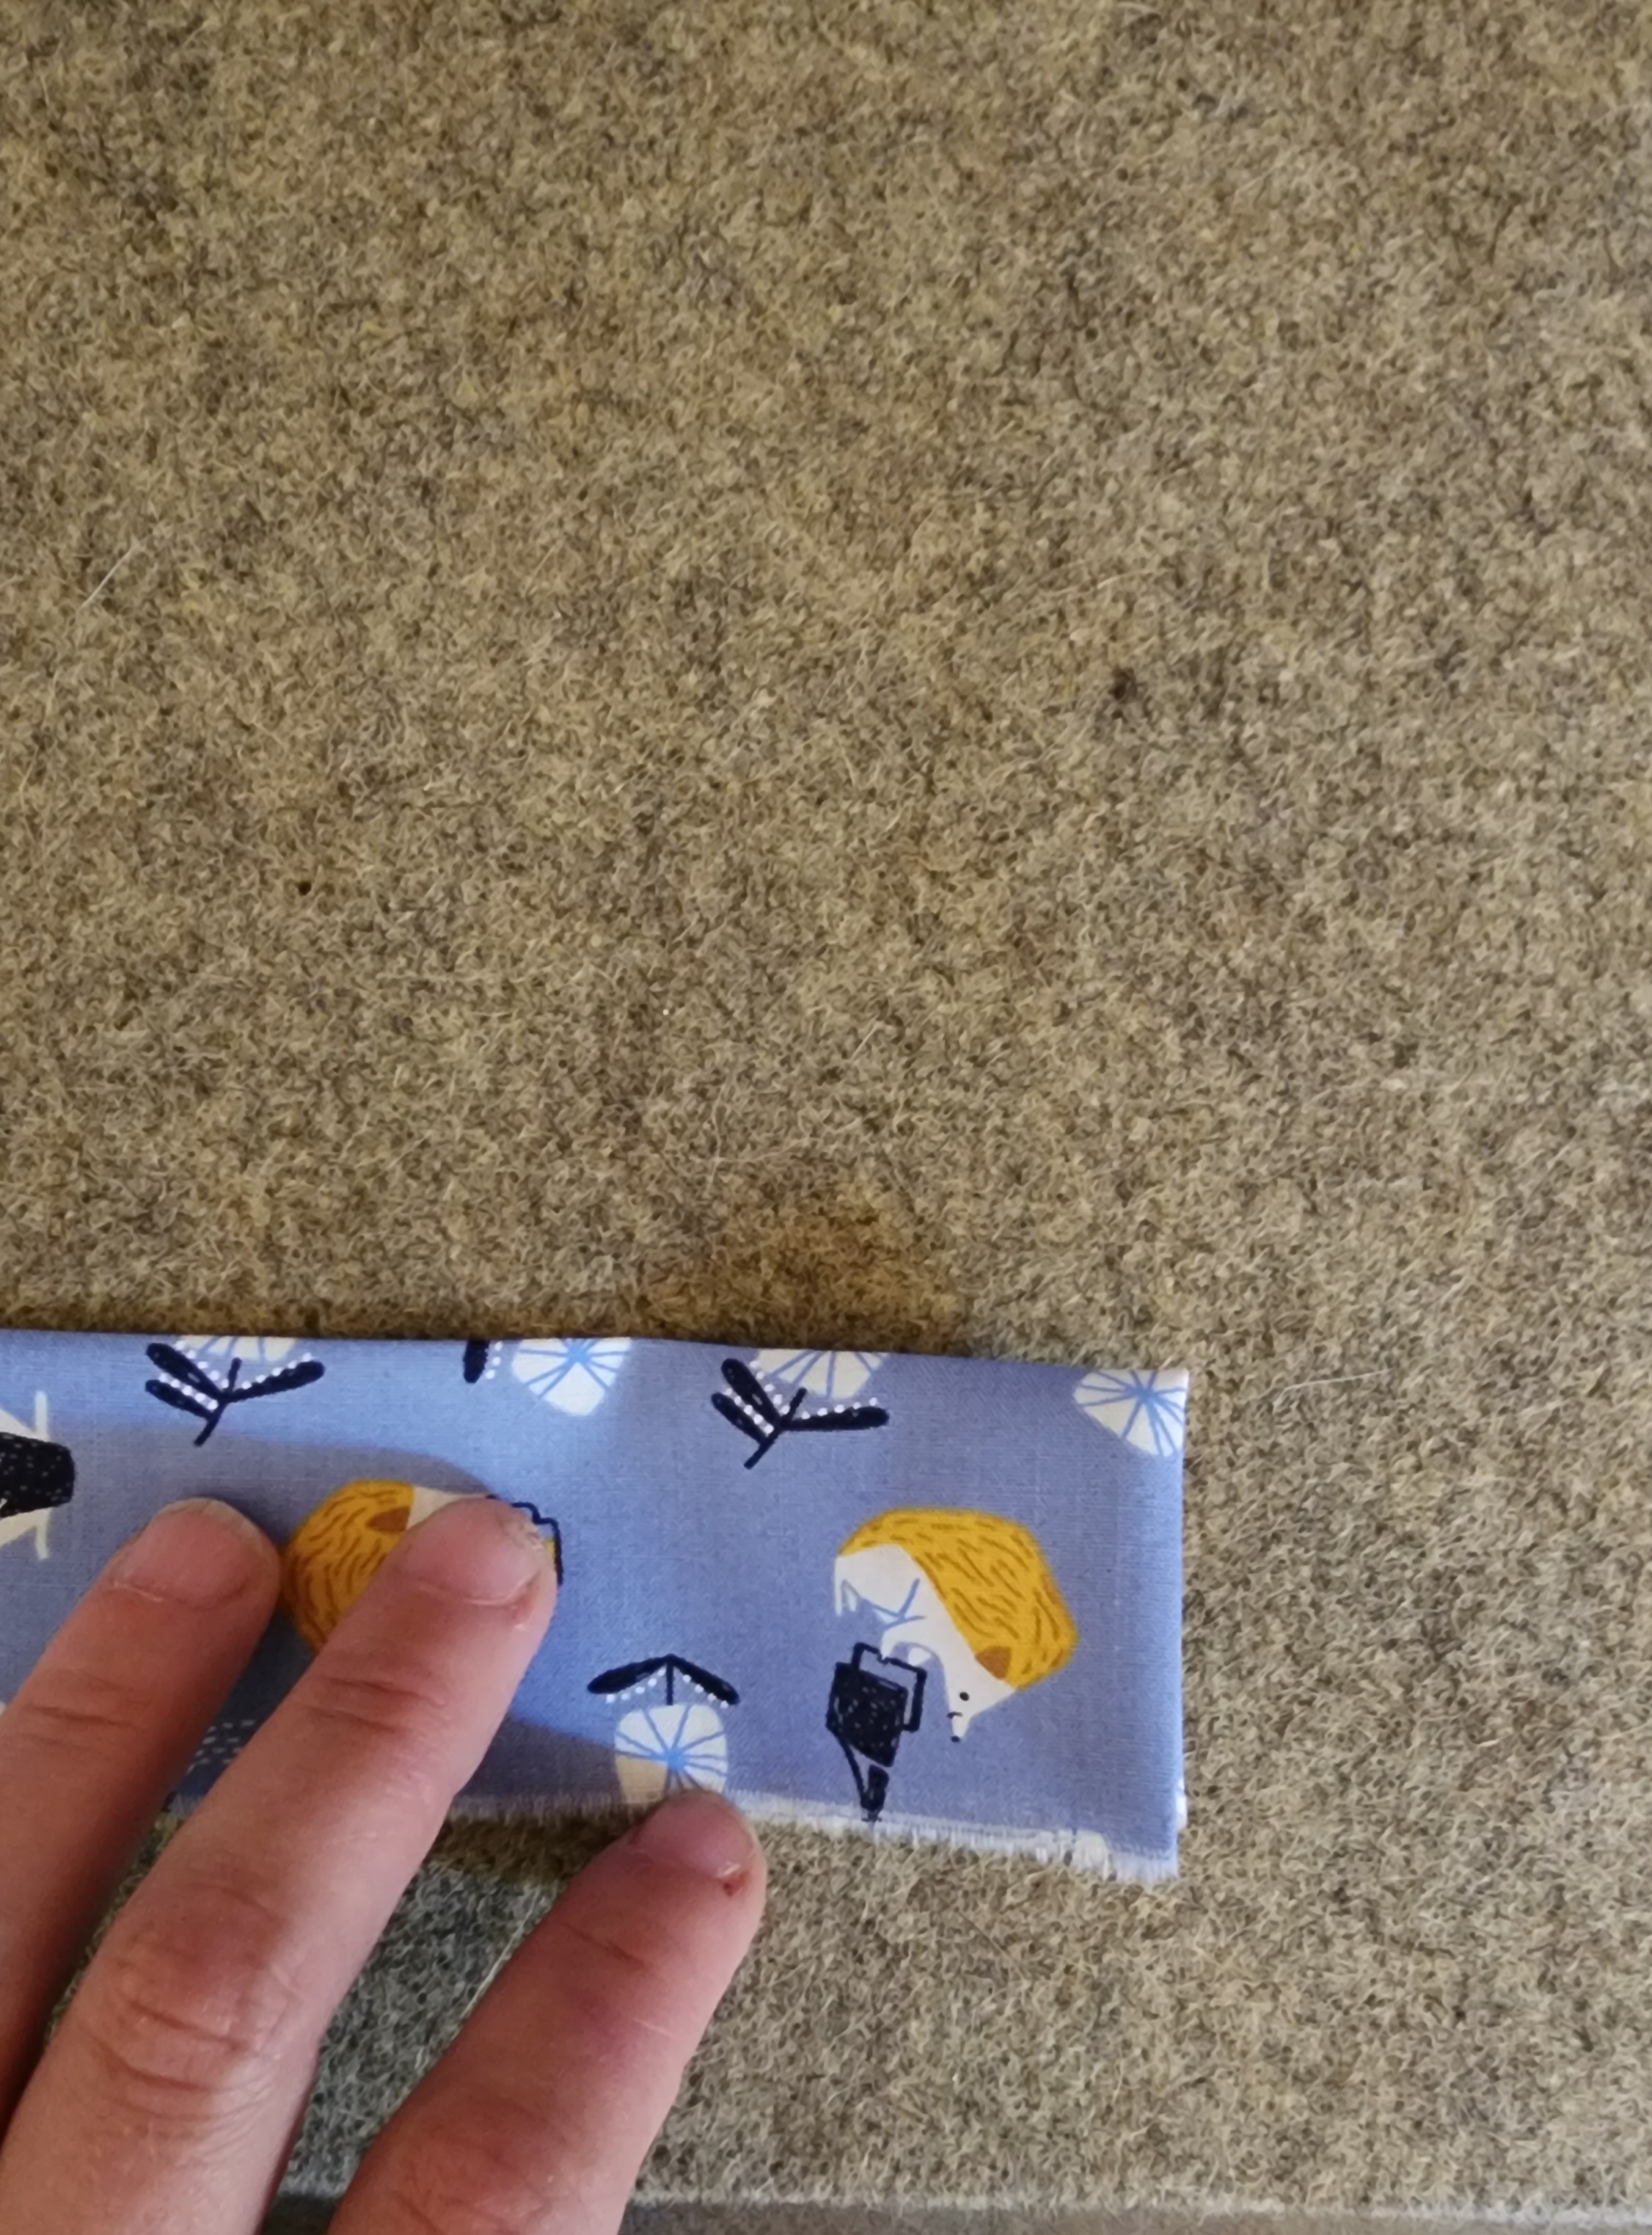
1) With your (2) 2 1/2" x 75" tie strips and (2) 2 1/2" x 3 1/2" strips from your ties and loops fabric, use your iron and press strips in half along the length of each strip on each side, wrong sides together. On just the 75” strips, use your iron to turn and press 1/4"along the length of each strip on each side. Press the corners in and press a triangle on each half, as shown in the photo, then press the mitered end over to the back side of the strip. Do not do this end-folding step to the 3 1/2" strips. Press the 75“ strips in half widthwise, then sew close to the edge to secure, being sure to catch both sides with your needle. With the 3 1/2” strips fold and press in half, wrong sides together, width ways.

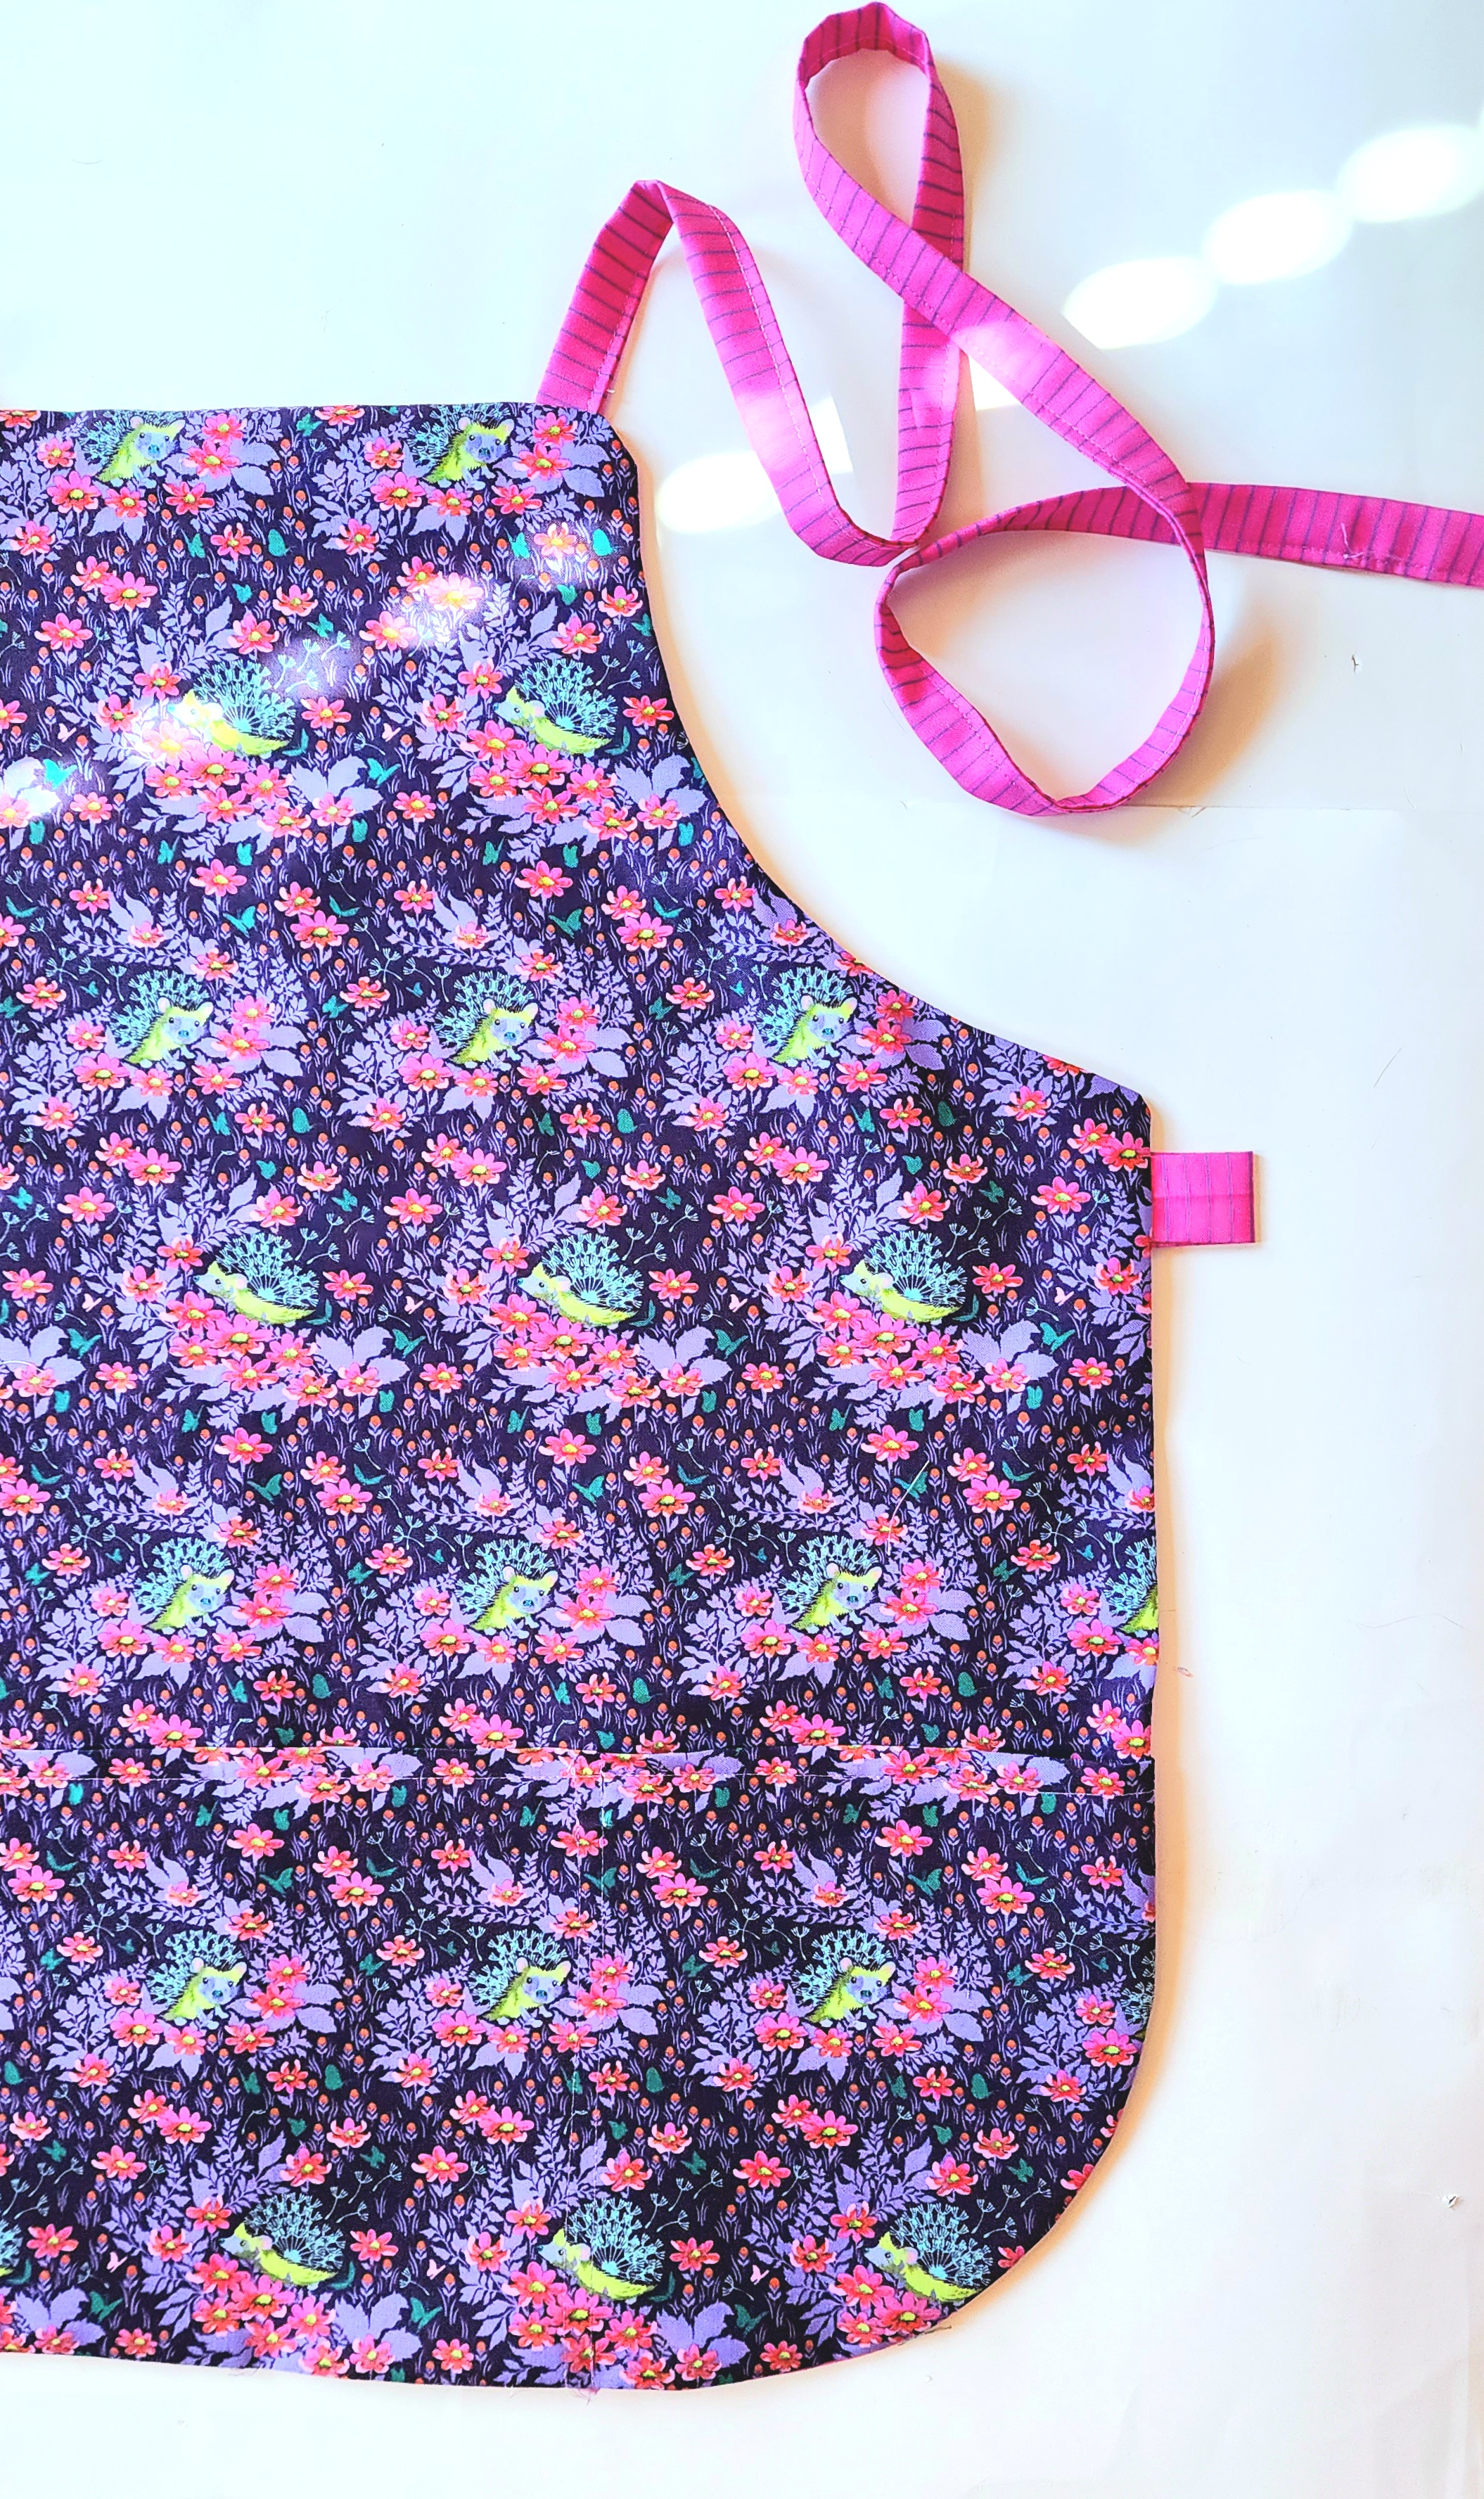
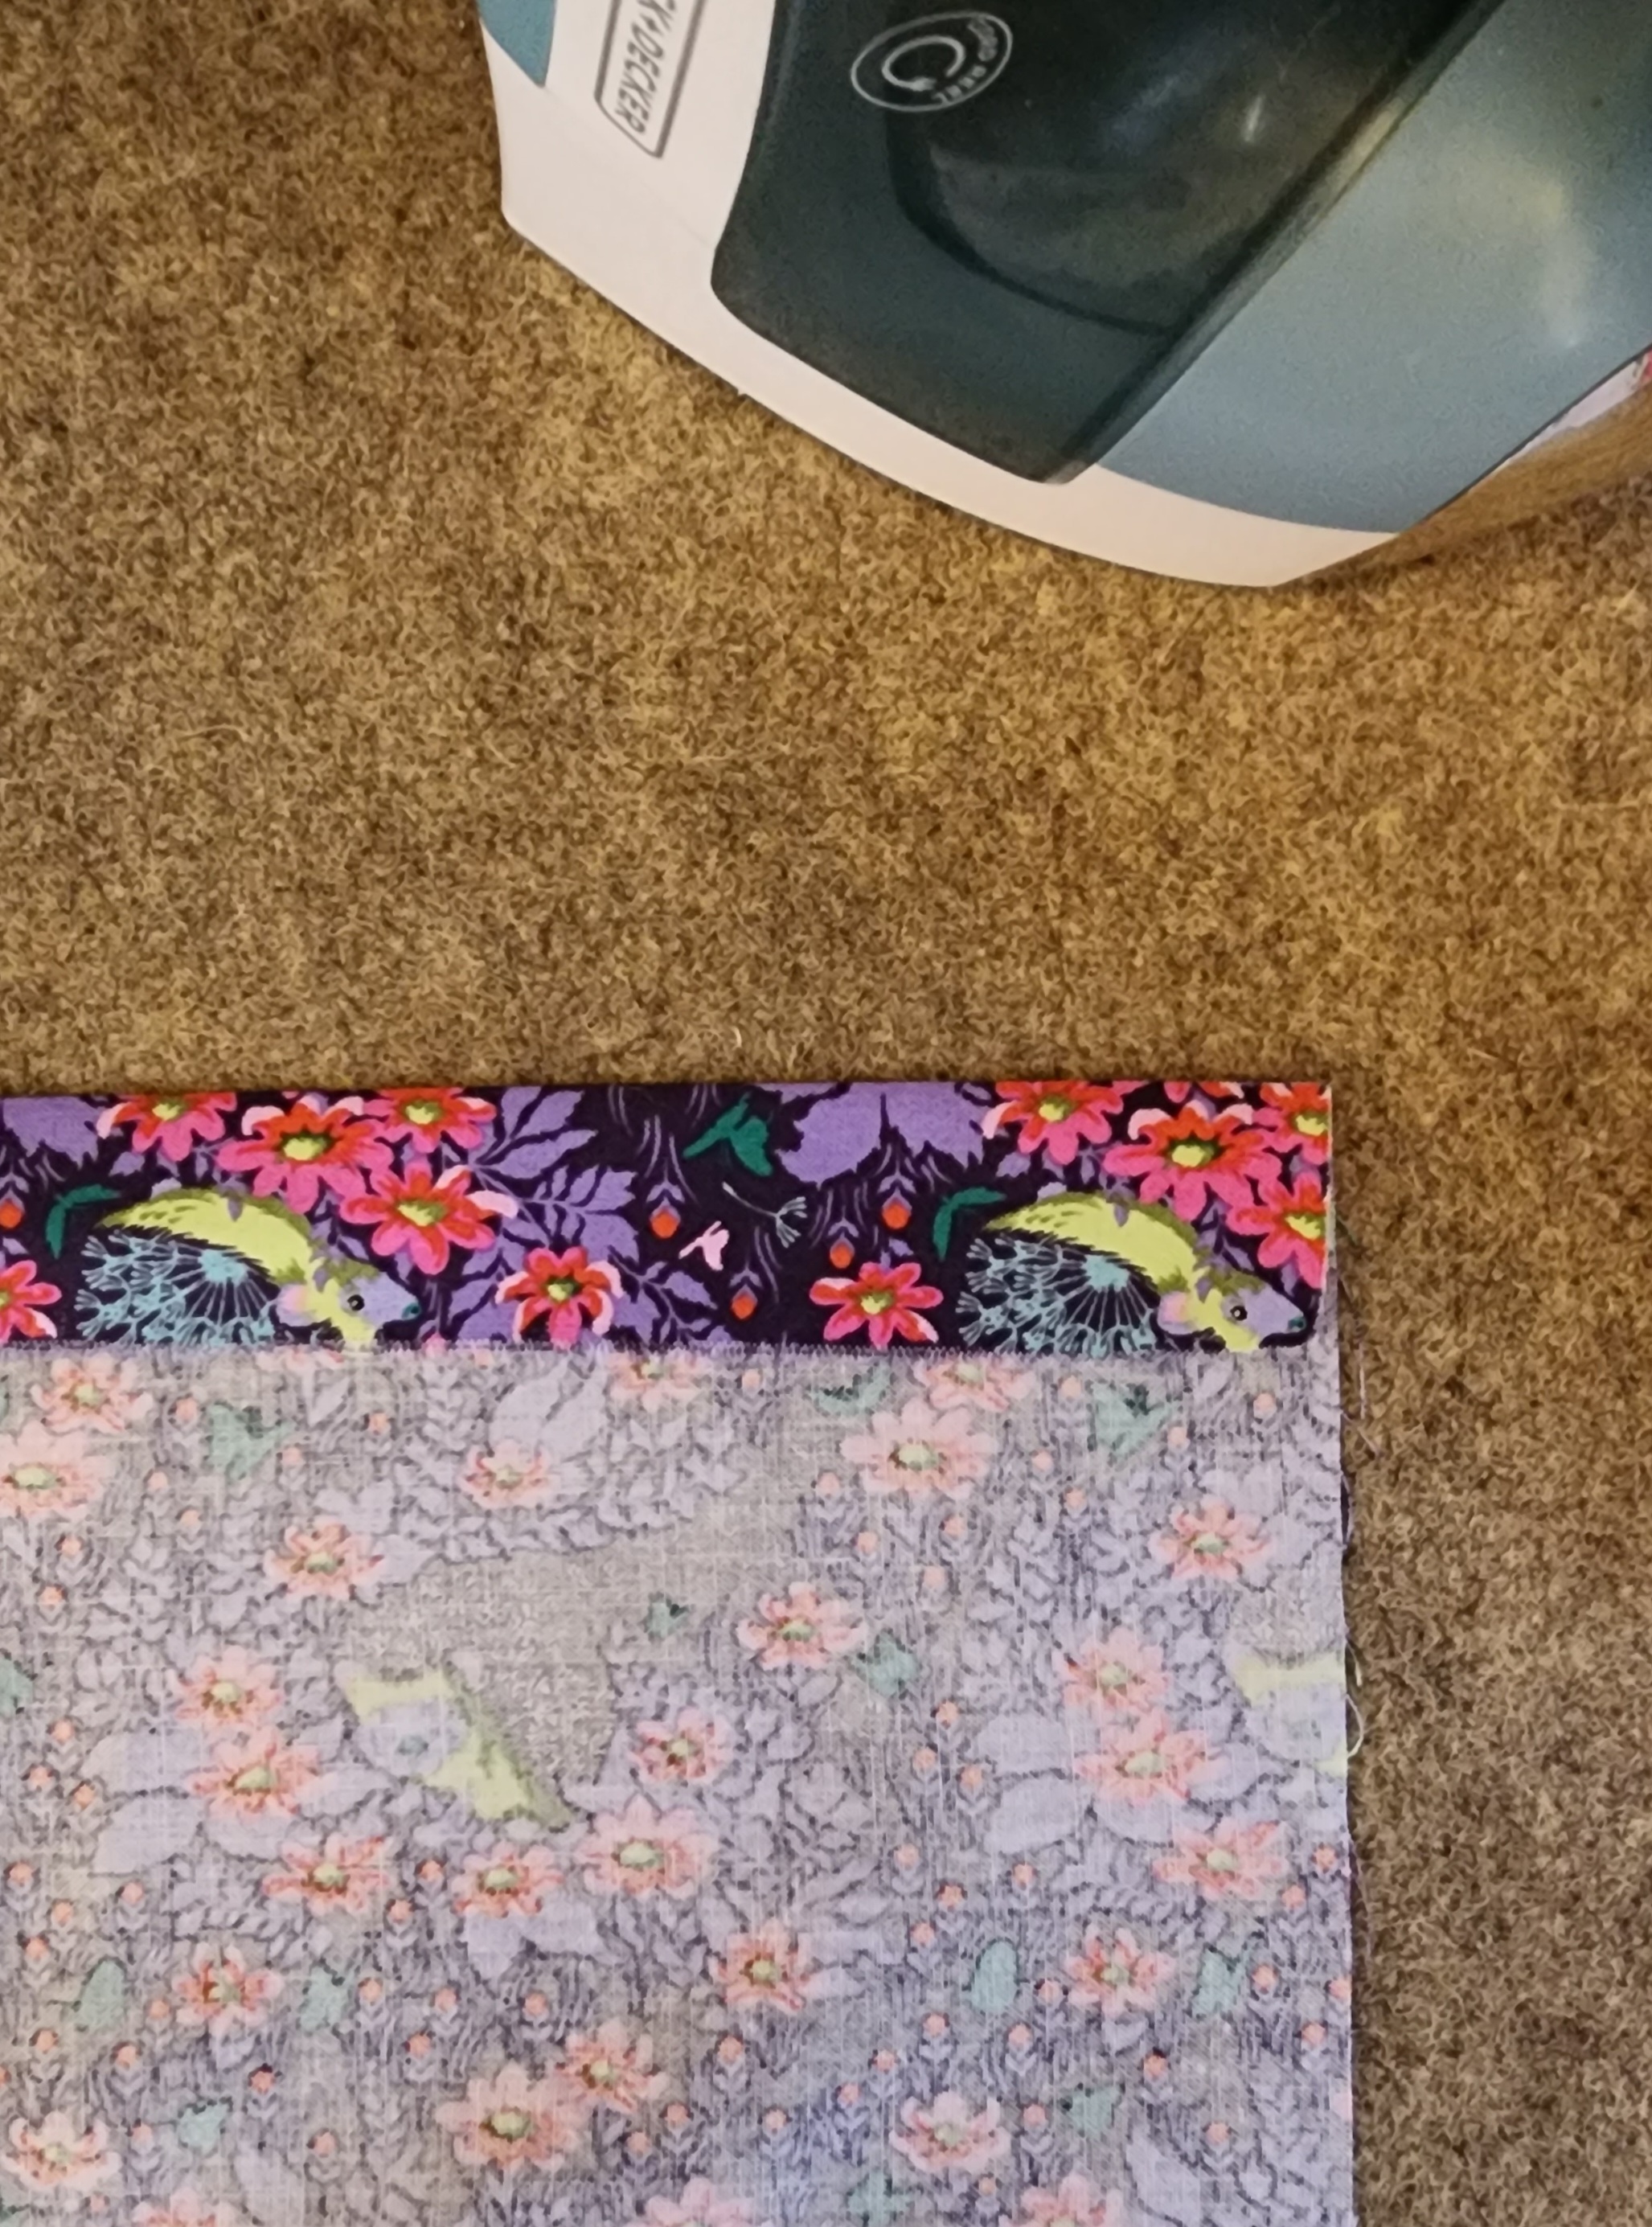
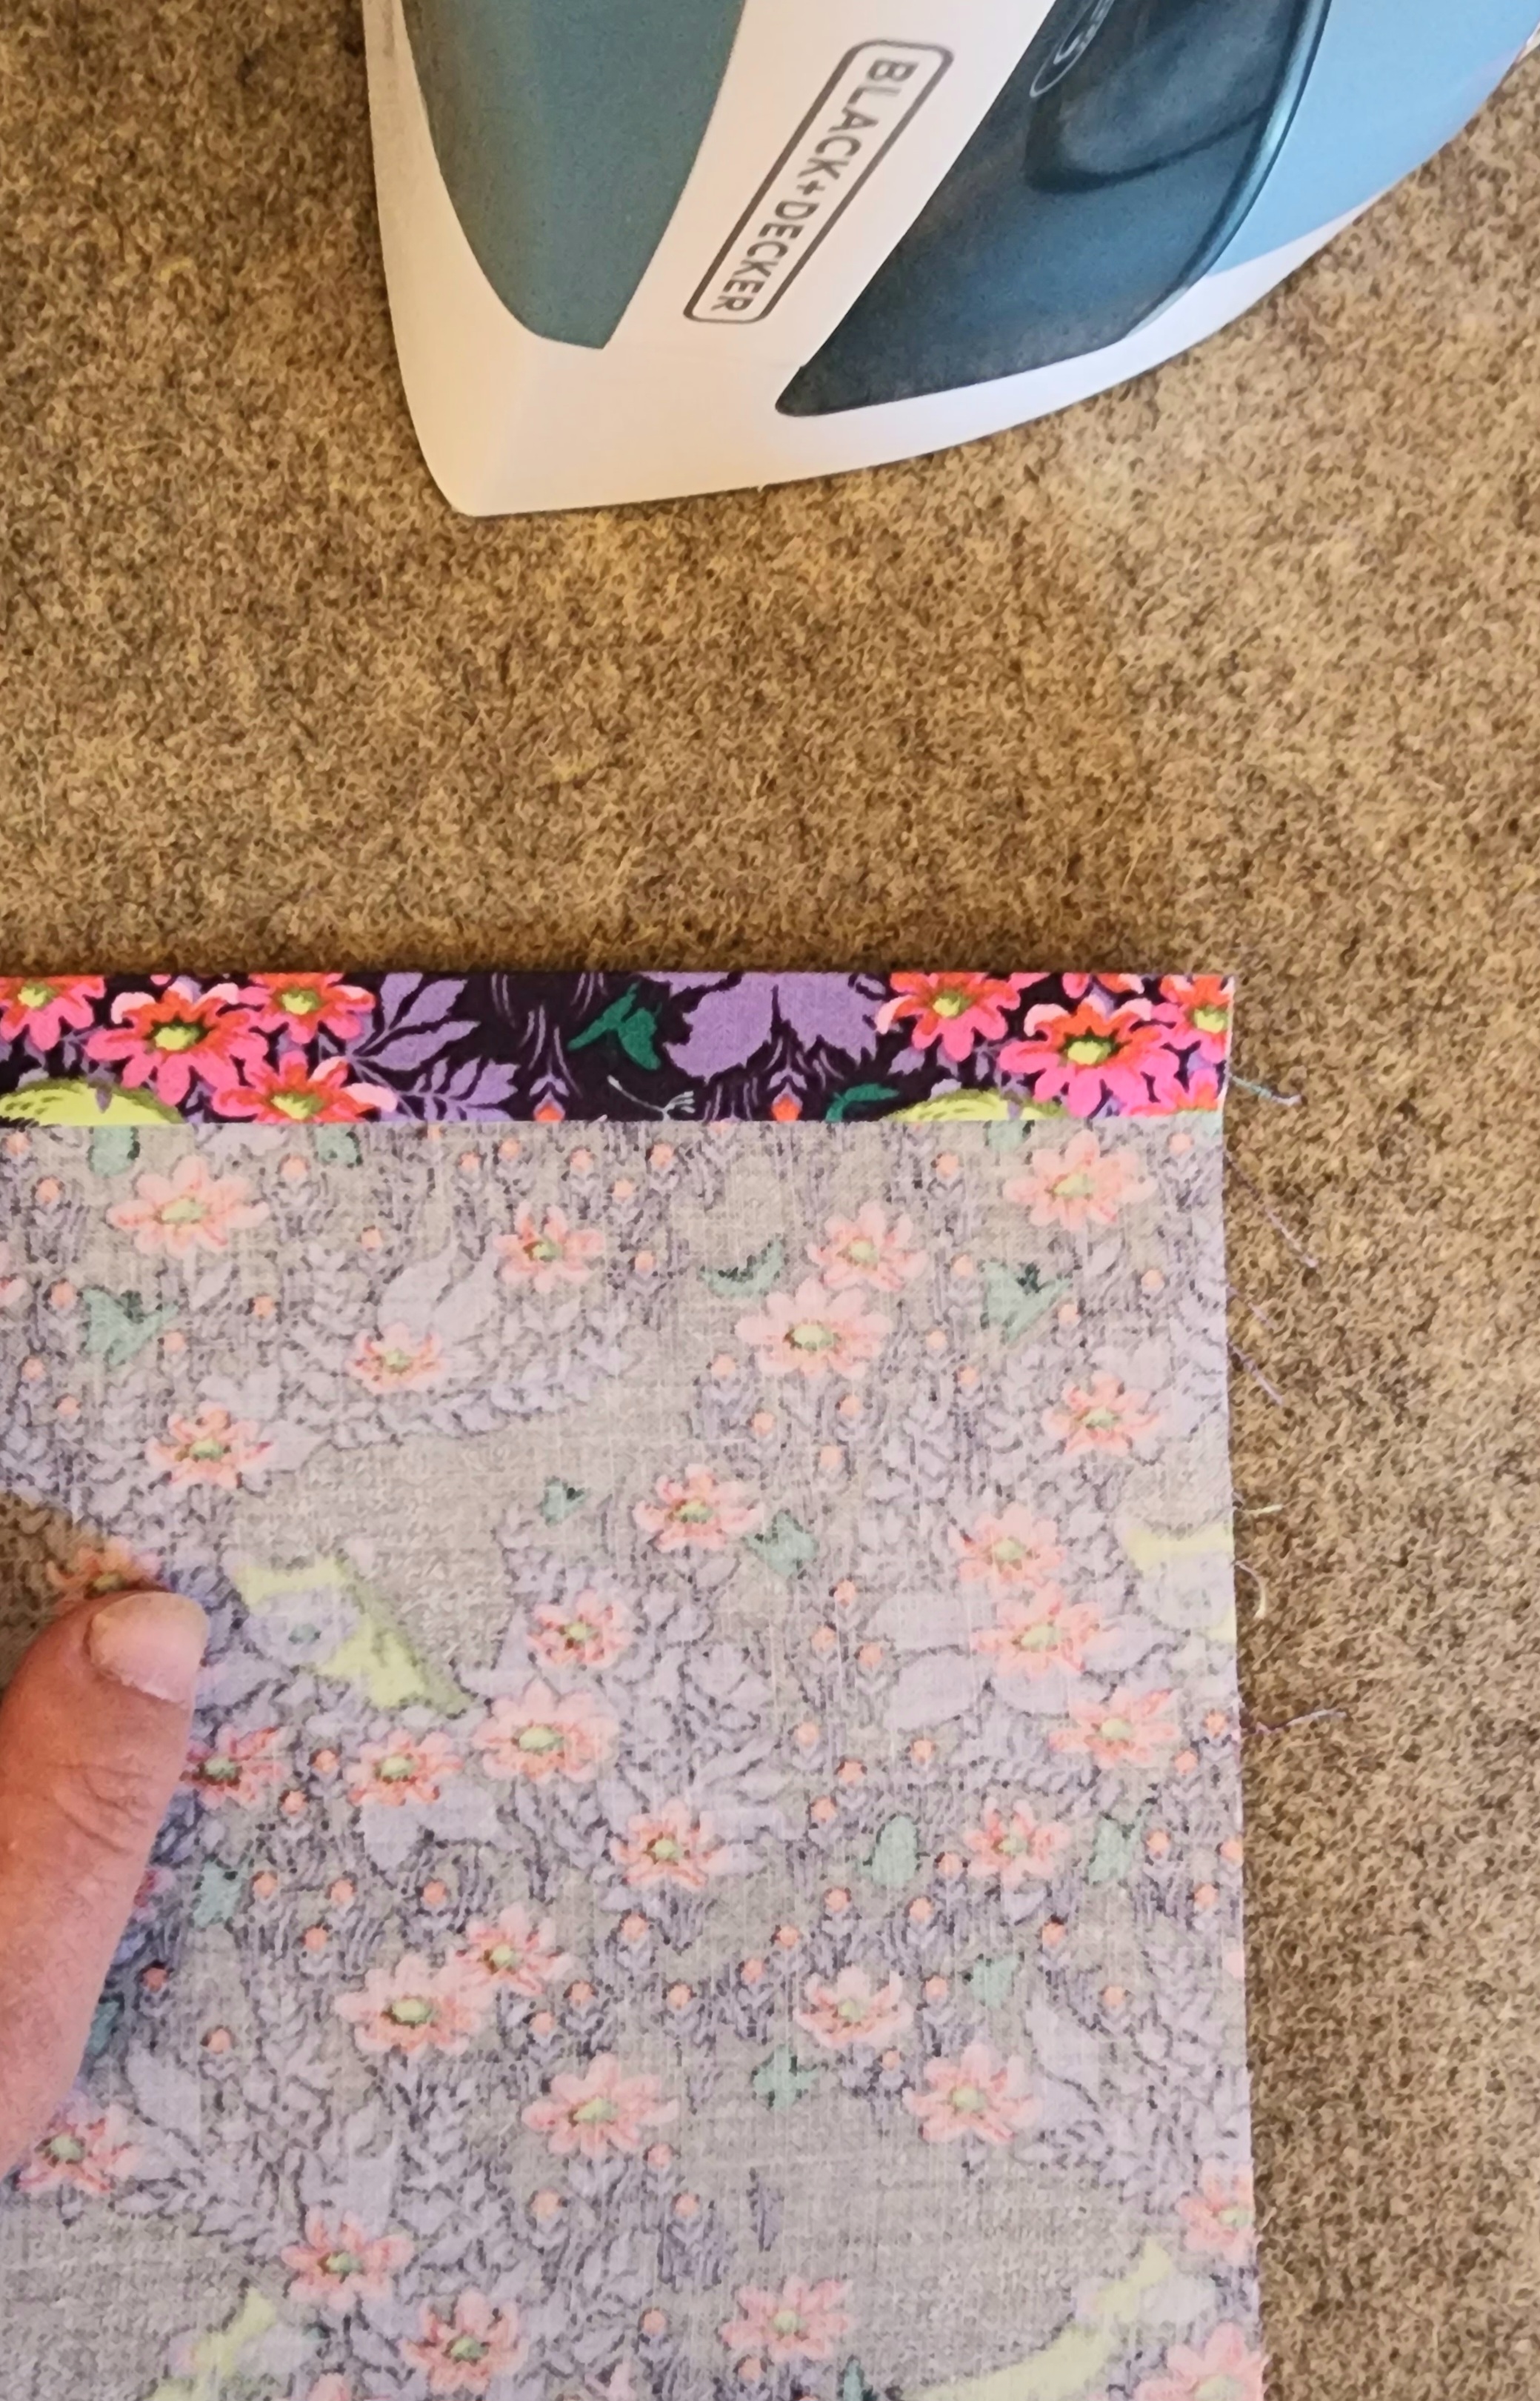
2) With your fabric B pocket, fold the top edge strip 1/2” to the wrong side and press. Fold to the wrong side again 1/4” and press flat. Topstitch close to the bottom hem to secure in place.

3) Place your Fabric B Pocket right side down on the bottom edge of the right side of fabric C, baste stitch into palce if needed. Add pocket segments. I added three pockets to mine, One large enough to fit acell phone and one small enough to hold a few utinsiles.

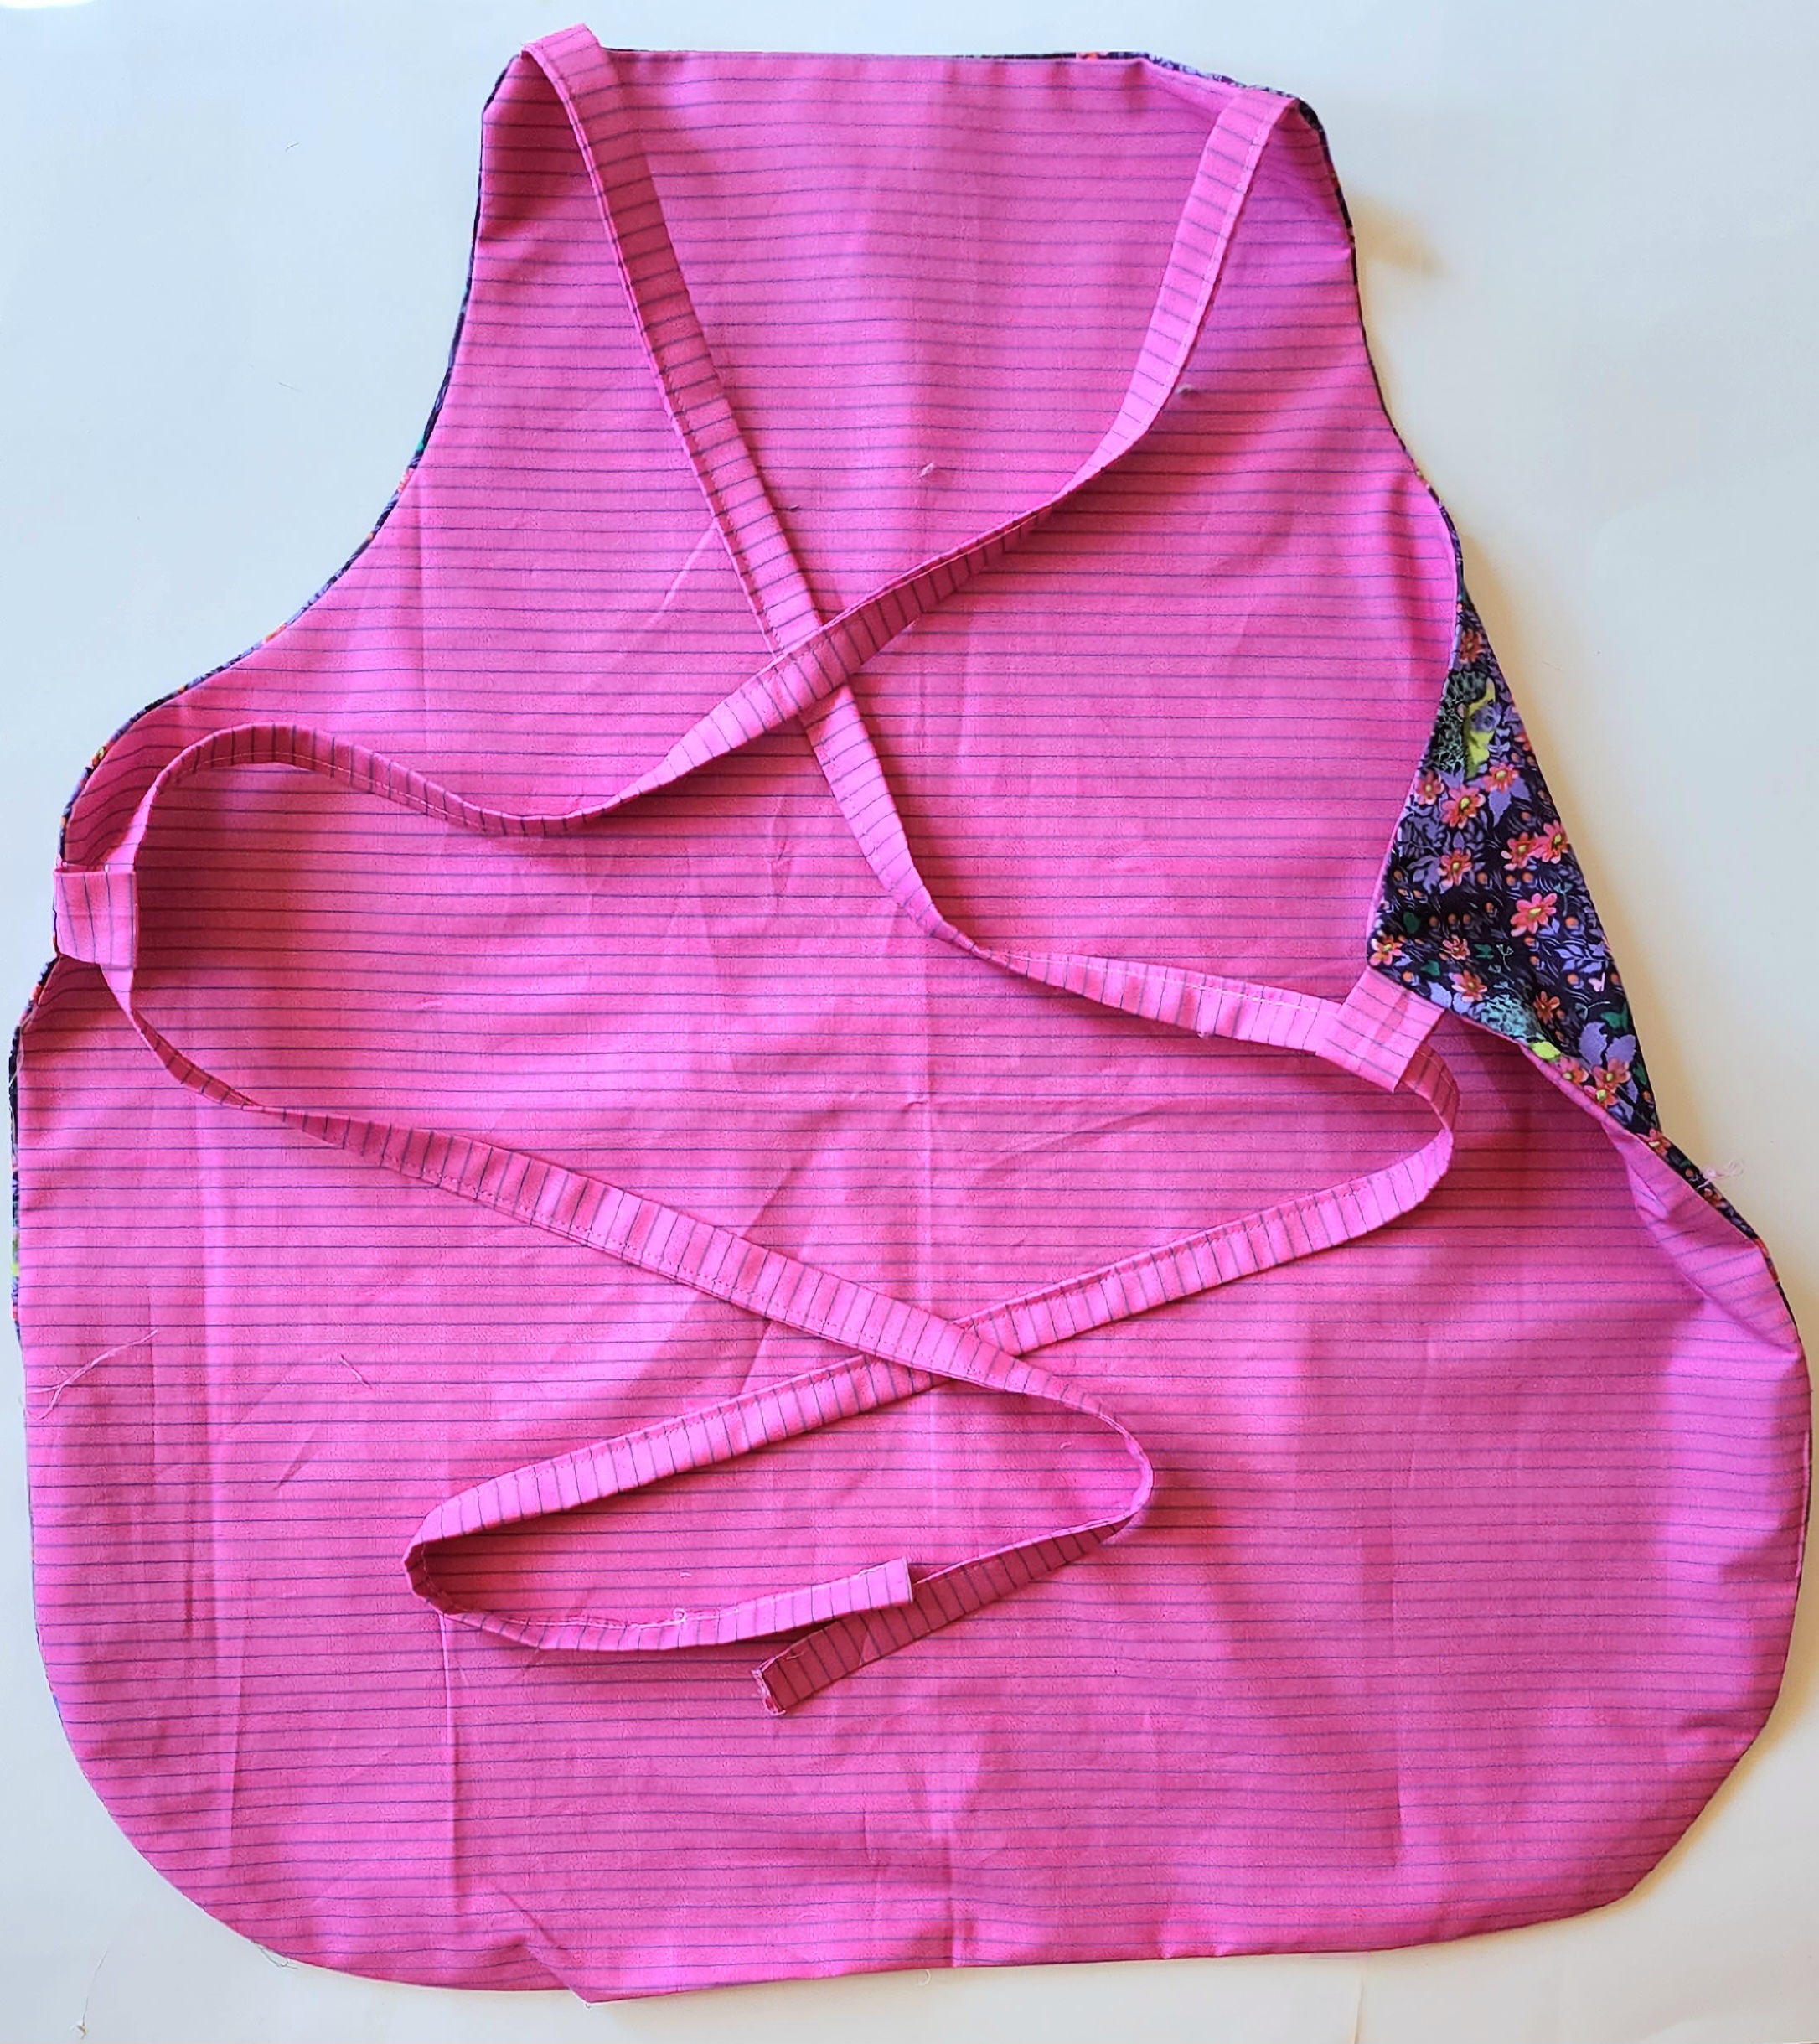
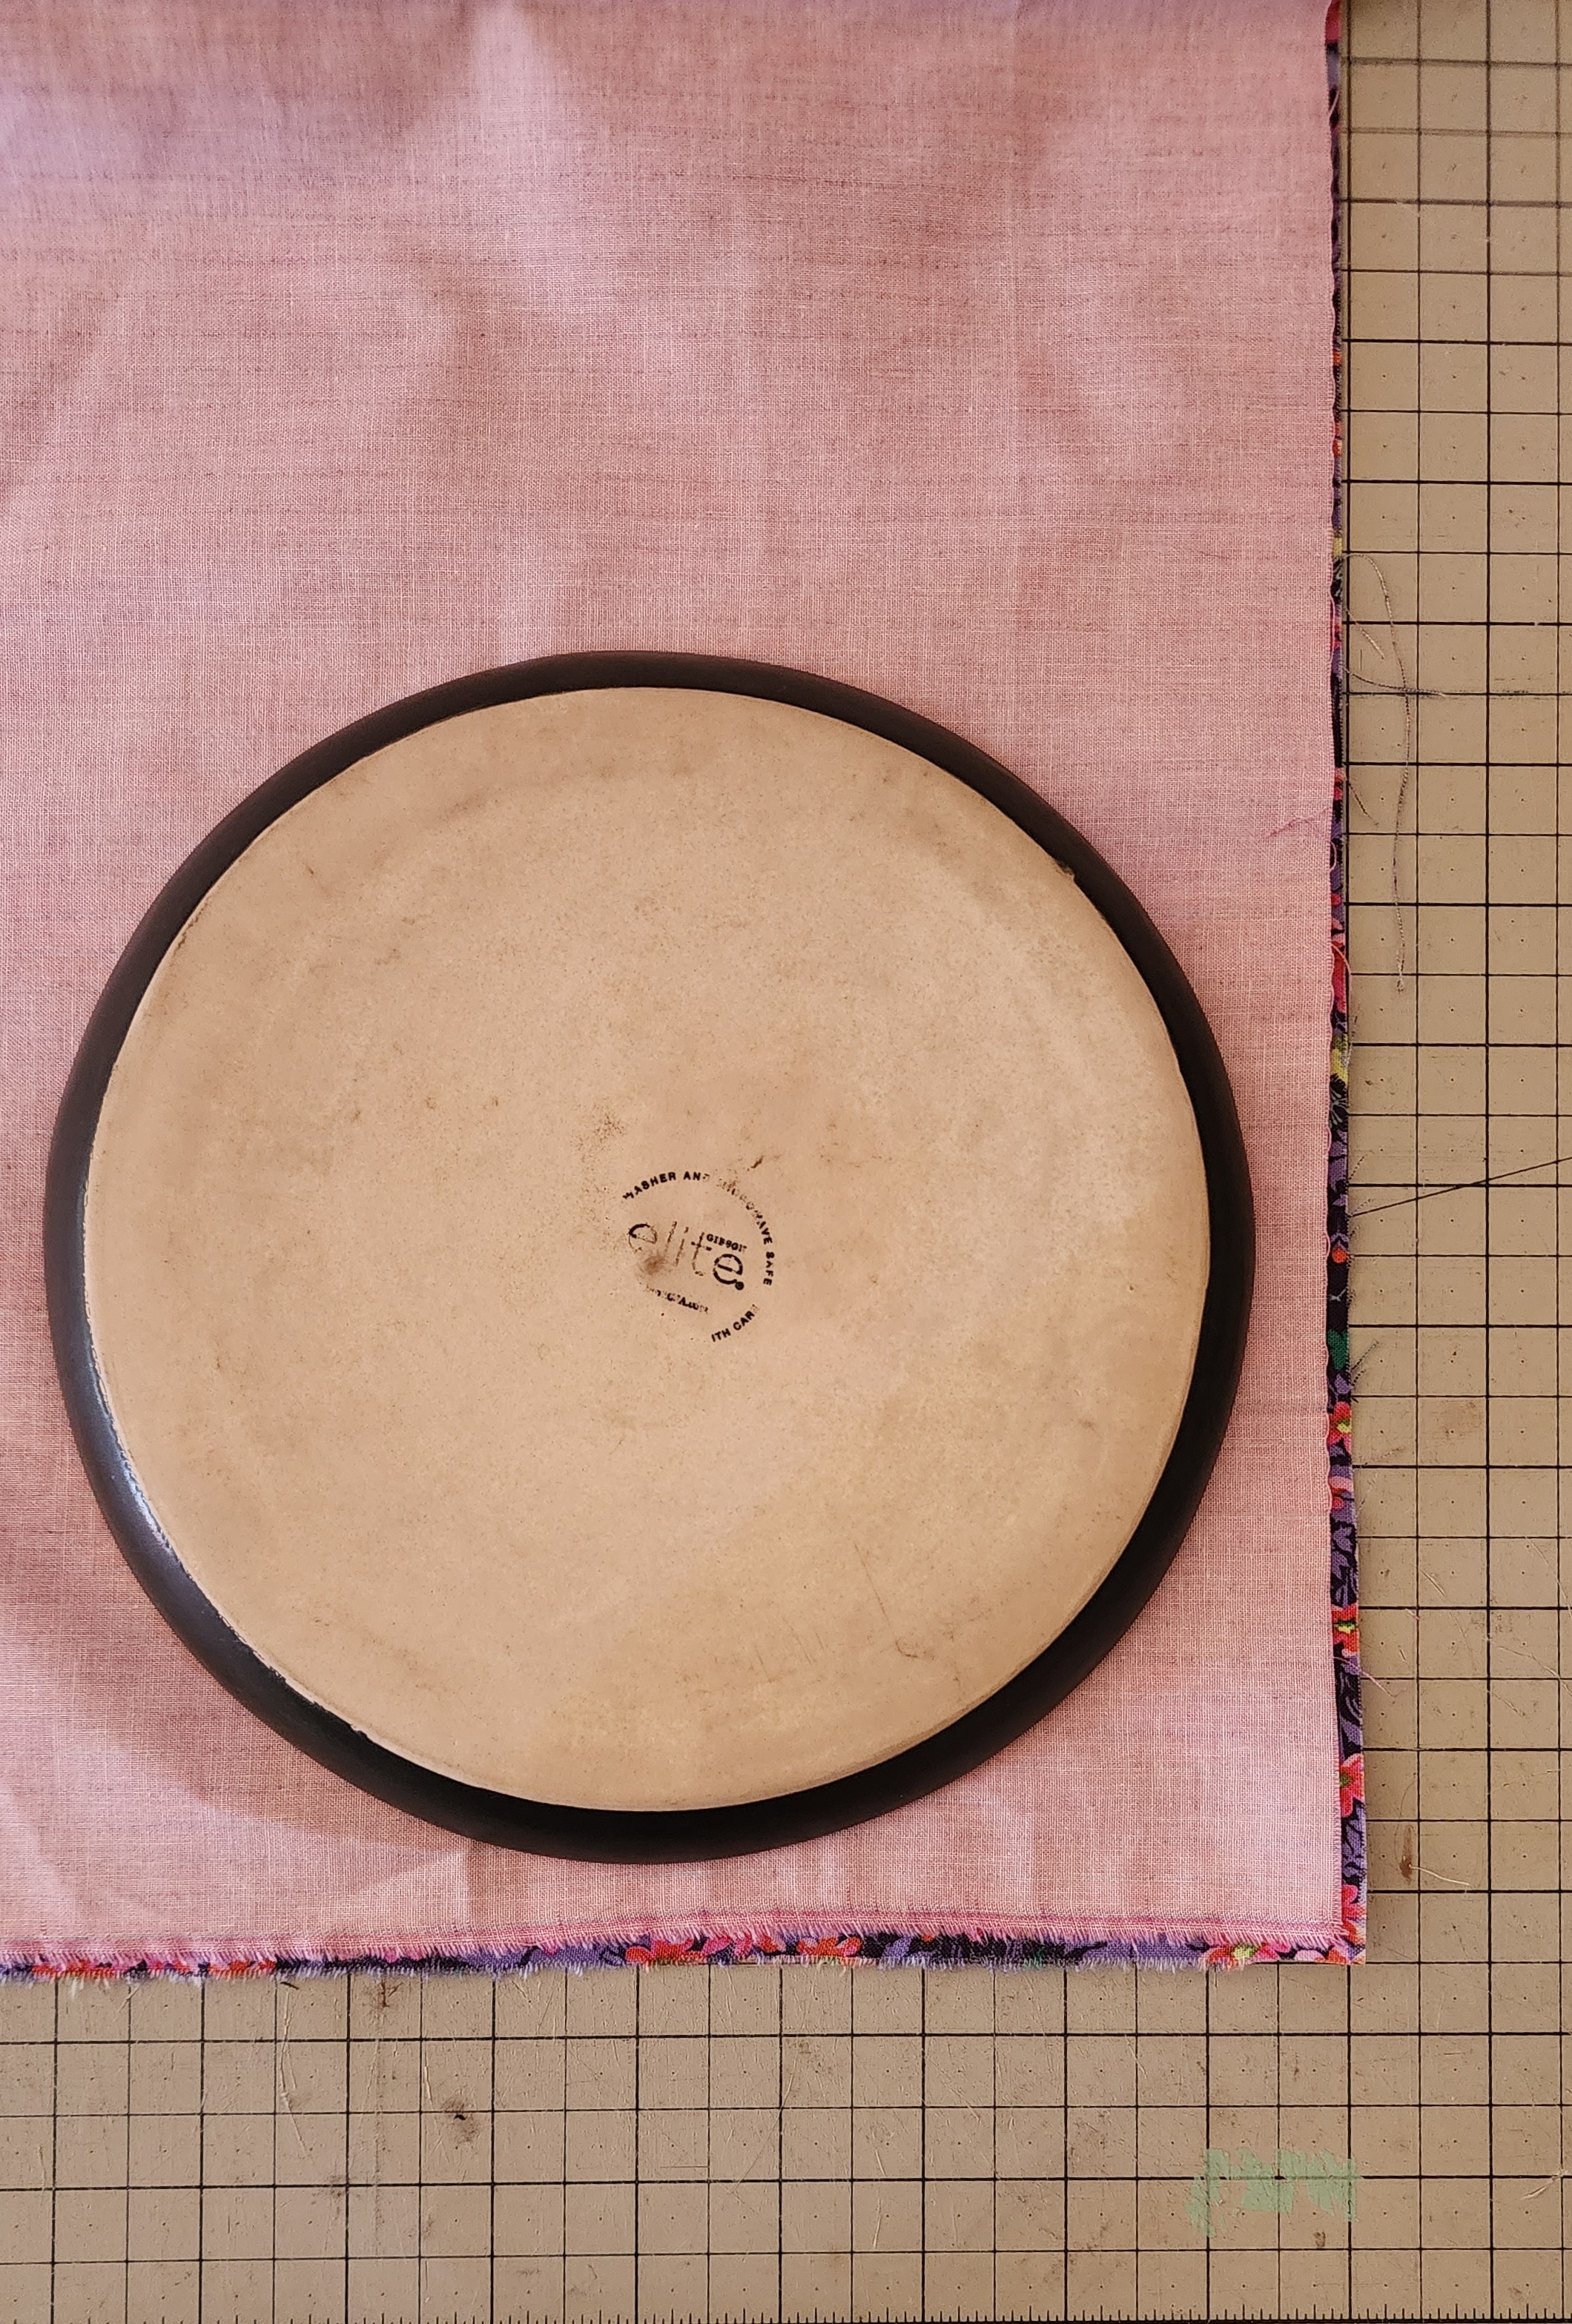
4) Fold fabric A rectangle in half lengthwise, right sides out. Mark the edge of the fabric as shown with the arrows. Draw lines as shown.


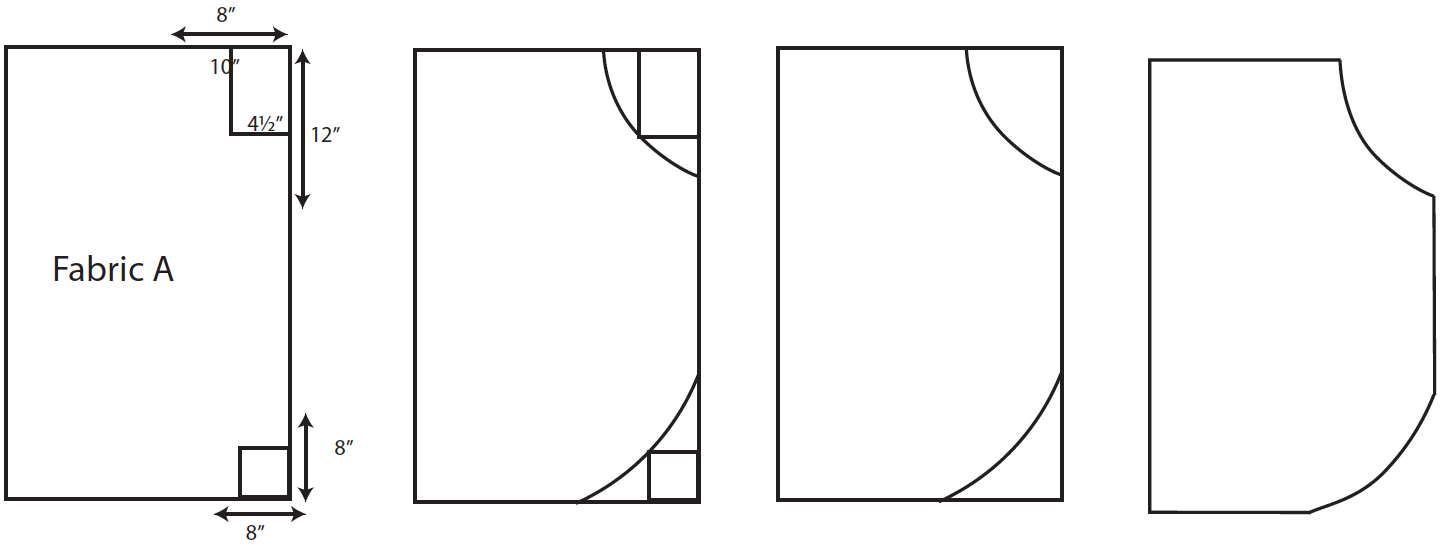
1) Draw a smooth curve for the armhole from the mark on the top to the corner of the dashed lines and to the mark 12” down the side. Repeat for the bottom corner.

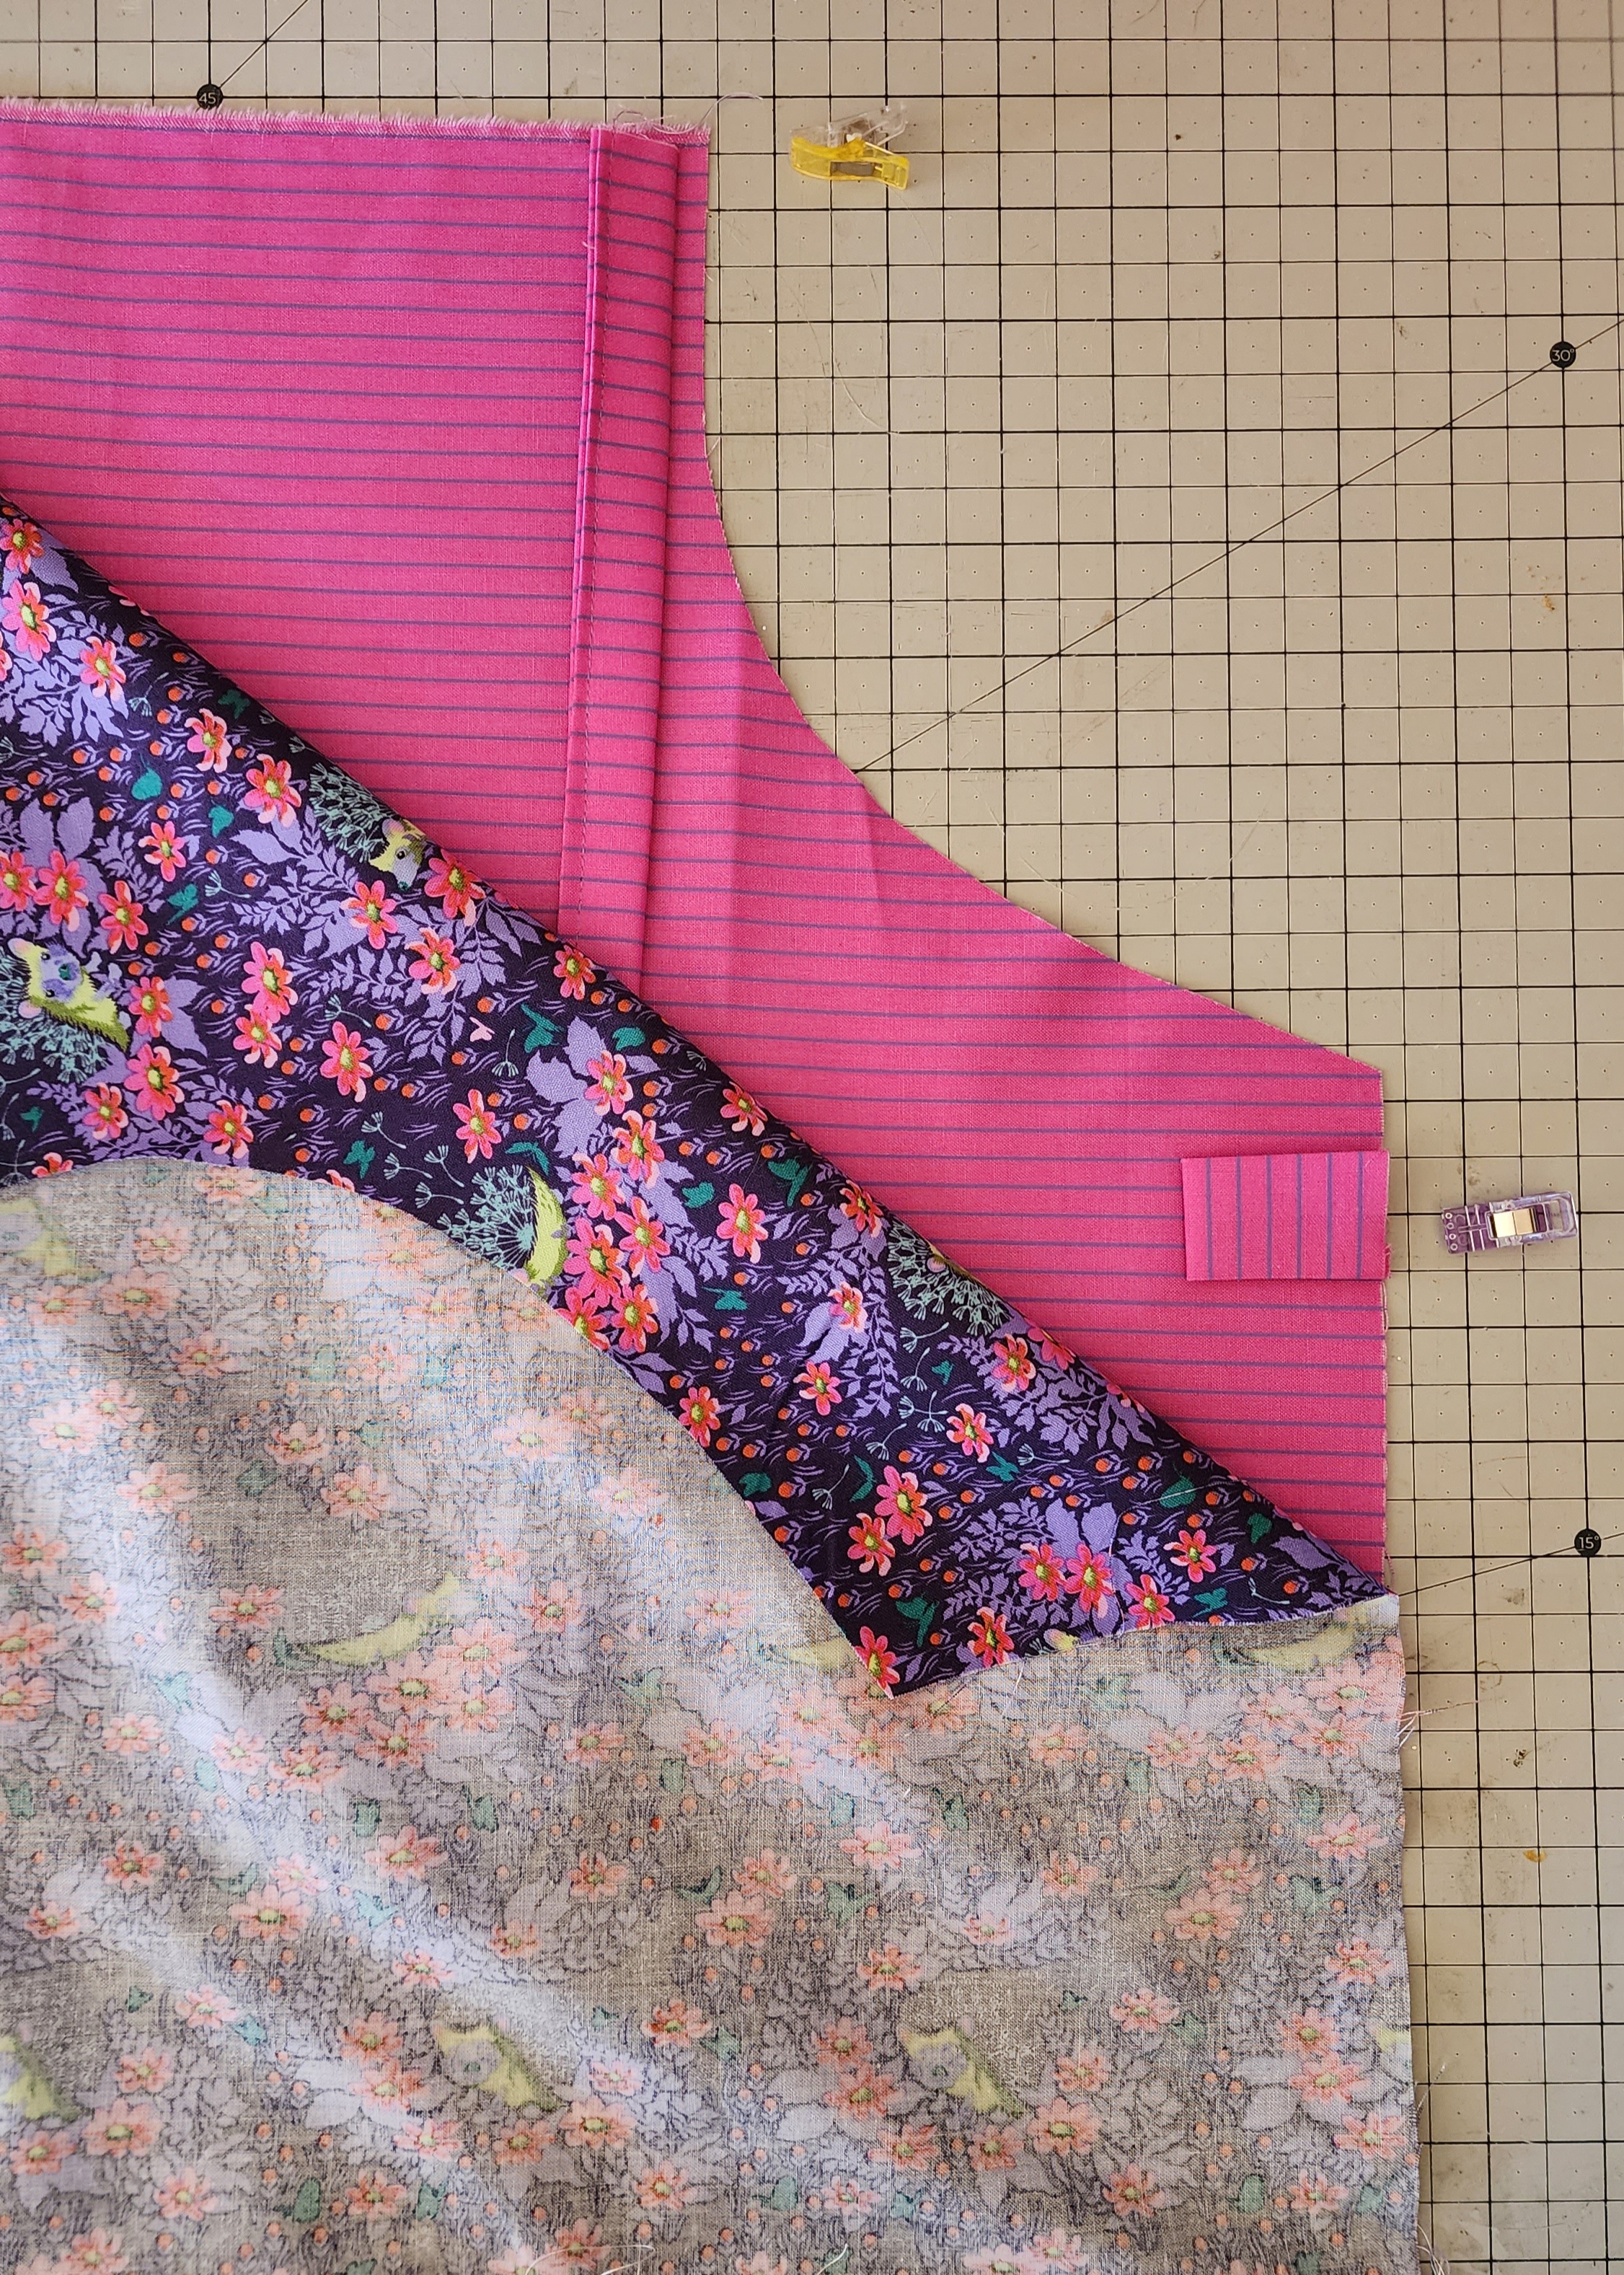
2) Cut the armhole and bottom curve. For both the front fabric and the lining fabric.

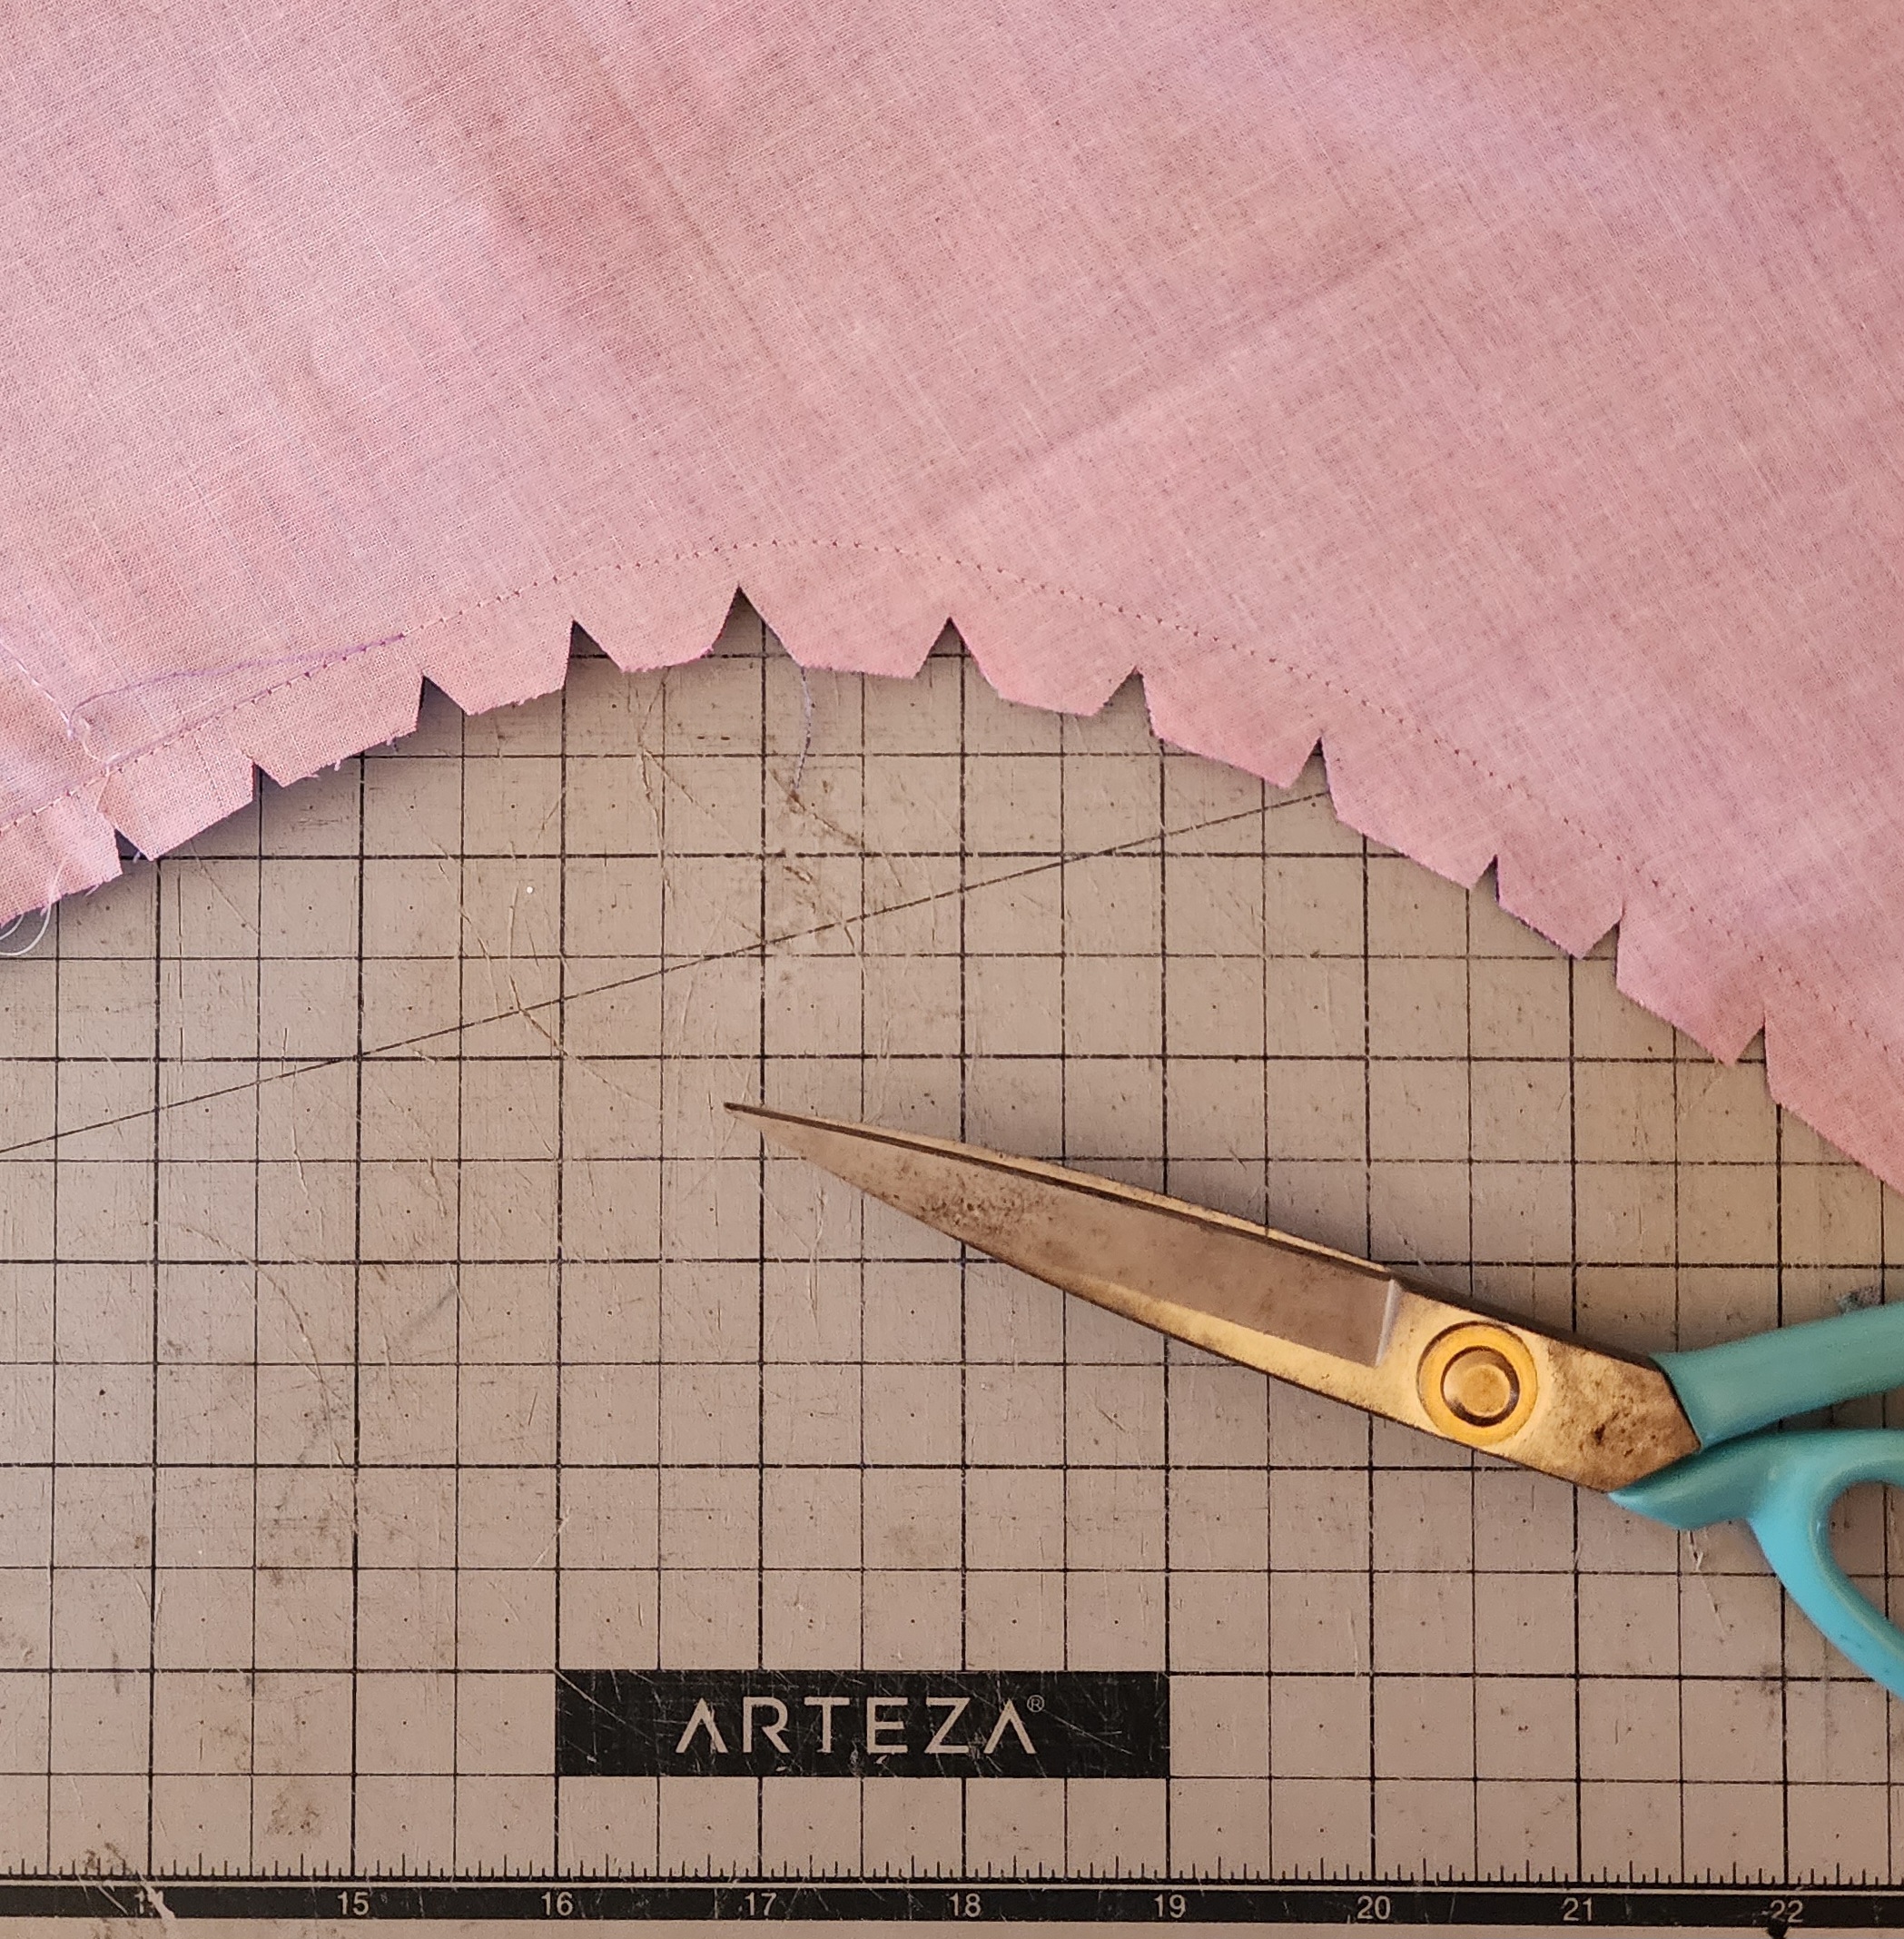
3) Notch your curved pieces for flatter seams.

4) Place the apron front and backing right sides together, take your 3 ó" strips and fold them in half. Tuck and pin one 1/4" down on either side of the armpit point so that the loop is on the inside of the apron.

5) Now, take your 50" strips and align the raw edge end 3/8" from the top corner on either side of the top of your apron. Pin in place, and be sure the tails are tucked inside the apron and will not be in your way while sewing the edge seam of the apron.

6) With your two apron pieces right sides together. With a 1/2 seam allowance, stitch across the top edge and around the sides and bottom edges of the apon front. Leaving a 4” gap to turn apron right side out.

7) Grade the seam allowances to reduce bulk. Do not trim seam allowances to less than 1/4.

8) Turn apron right sides out. Press seams flat. Topstitch around the edge of the entire apron, ensuring to close the 4” gap. And enjoy that apron! Get some holiday baking done!

Everyone is Talking about Holiday Cooking Apron
Reviews


Tako
Beautiful
Wednesday, November 23, 2016

cpindzola
Around the Table Dresden Placemats
Saturday, December 17, 2016

I like the concept, but the directions are "sloppy." Nowhere in the supply list does it mention the felt or the batting (how much?). Also, I would never use a high loft batting in a placemat, or a table runner, as I think that it would be too unstable for a glass. The next time I make these, I will cut out the batting (I use flannel) and spray baste it to the wrong side of the Dresden plate before I put the Dresden plate on the felt to cut out. I have not yet washed the finished placemat, and am hoping that the single layer of felt does not curl up, or become distorted after washing/drying.
Txmaid
Fun Great Gift!
Tuesday, February 21, 2017

MargieARK
Teatime Quilted Tablecloth
Friday, February 24, 2017

I made this today but your cutting directions need to be changed. You only need 4 of color 1 and color 3 4.5 squares for the triangles. Also the inner border, you only need 2 cuts as WOF is long enough to cut each in half to fit the sides.
MickelSews
Great Machine
Wednesday, August 30, 2017

I've had this machine for only a week now. I bought it used from a lady who makes her own clothes, but she no longer needed the machine. During the purchase, she noted that she is almost sad that it's better to give it away because of how well the machine performed. (I also bought it along side a computerized machine of another brand.} She demoed the machine for us, showing it worked and gave us everything (including the box it came in!) She took amazing care of this machine. I have used it a few times now, and the directions for threading were easy to follow (albeit my hands are quite large so the lower looper was a pain, but that is no fault to the machine or brand.) And I recommend this machine to anyone who wants to learn to serge and wants a machine that can grow with them. I will happily use this machine time and time again.
rvstan
S9 Review
Sunday, February 25, 2018

I love, love, love my S9! It's sews and embroiders beautifully and it's simplicity of use amazes me. I would recommend this machine for both a beginner and an experienced seamstress. If I would ask anything of Janome it would be to upgrade the programming to run a larger hoop size. I understand that it can't get much wider but there is most definitely room for it to go longer. That is the only limitation of this machine.
pjmnana
PJMNana
Monday, February 26, 2018

I purchased a Memorycraft 15000 a few years ago and it was the best purchase I ever made! This machine can do just about anything you would would ever want! I love the capability of using the Acuedit app to set up my embroidery pattern on my Ipad and then download it to the machine! I love how my embroidery looks upon completion and I love all the good lighting it has to light up your workspace. That way you don’t need to worry about where to set up your machine. It also has plenty of room to do machine embroidery on any size quilts! There are many decorative stitches from which to choose that are outstanding! It’s hard to choose which one to use! There are so many great features it is hard to decide what I love the most. If you want to buy only one machine to last a lifetime, I would recommend this one!
KLWash
S9 Review
Sunday, February 24, 2019

The S9 is amazing. I learned to sew by hand when I was just 5 and in my grandmothers way as she was quilting. I took seeing classes in high school until they would no longer let me sign up. The S9 makes me appreciate my current skills as well as motivate me to want to learn more. This machine is awesome.
SewSueMe2002
Horizon Memory Craft 15000
Thursday, November 19, 2020

My Janome Horizon Memory Craft 15000 is fantastic! I love, love, love this machine! When I came across the Eye for and Eye embroidery design today, I wanted to make it. However, the embroidery file is missing. Nothing downloads when I select the download button. Please help!
Jillfmischo
Treat Bag fun!
Monday, August 16, 2021

I made the Halloween treat bag for my new granddaughter and I’m sure it will last for years. No embroidery machine so I appliquéd the lettering. Need a little more skirt fabric for a better gathered look, and I used thin double-bias tape for the skirt hem, over edge stitch on skirt sides. I’m pleased with my results!
elenaz
Very helpful tutorial
Wednesday, October 25, 2023

I want to say thank you for teaching me this method of applique. I was able to do it with a small letters. This method is the best so far from all of those I've seen and tried.
plonkar
So useful
Thursday, November 30, 2023

I'd like to express my gratitude for teaching me this appliqué method. I successfully applied it with small letters, and, so far, it's the most effective among all the methods I've seen and tried.

DEALERS
The TWO Closest Dealers to you are:
196 Boston Post Road , Orange CT, 06477
203-878-1654
19 PUTNAM AVENUE , PORT CHESTER NY, 10573
914-934-2934
Find Additional Dealers