Projects

Mini Oven Mitt

Created By:

Trish McLaughlin of Trish Stitched

Skill Level: Intermediate

Ready to swap out an old tablecloth before a holiday party? Don’t toss it, make some new mini oven mitt’s instead! These oven mitts are quick to make, and cute to carry all your holiday dishes!

Janome Supplies Required

You will need: Exterior Fabric, lining fabric (I recommend both being 100% cotton or linen), batting, printed PDF pattern, along with general sewing supplies, serger optional.

Batting Note: I used Warm & Natural Cotton Batting to keep my oven mitts 100% cotton. These are for light heat use. There are many options for batting, including terry cloth, and old jeans! For more heat protection, you can use also use Insulated Batting!

I'm sewing using the Janome AirThread2000D Serger, and Janome Memory Craft 15000

Instructions

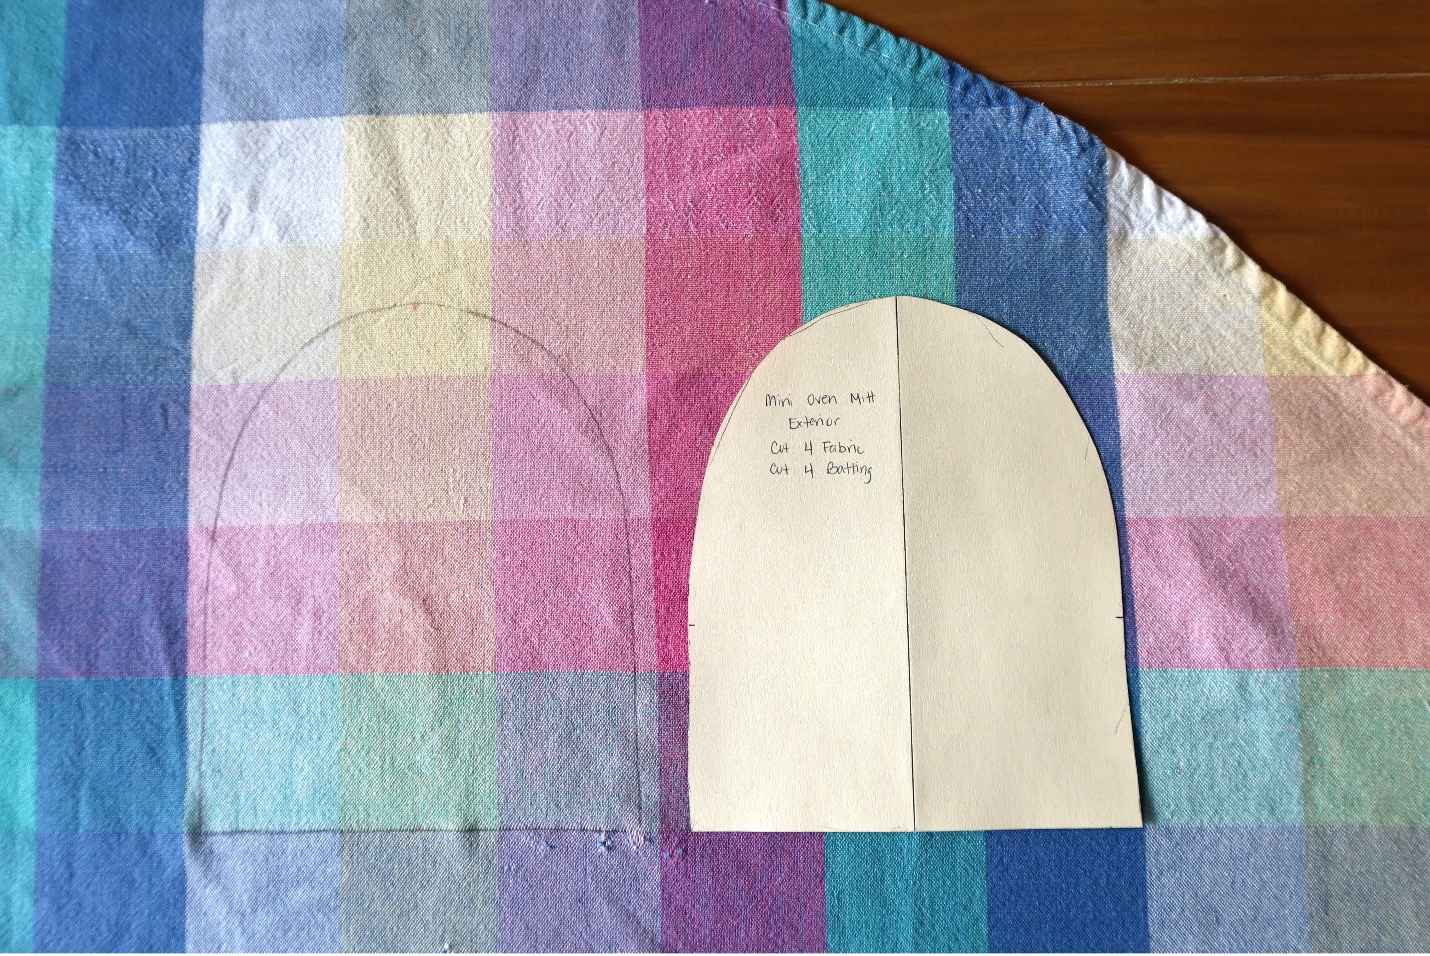
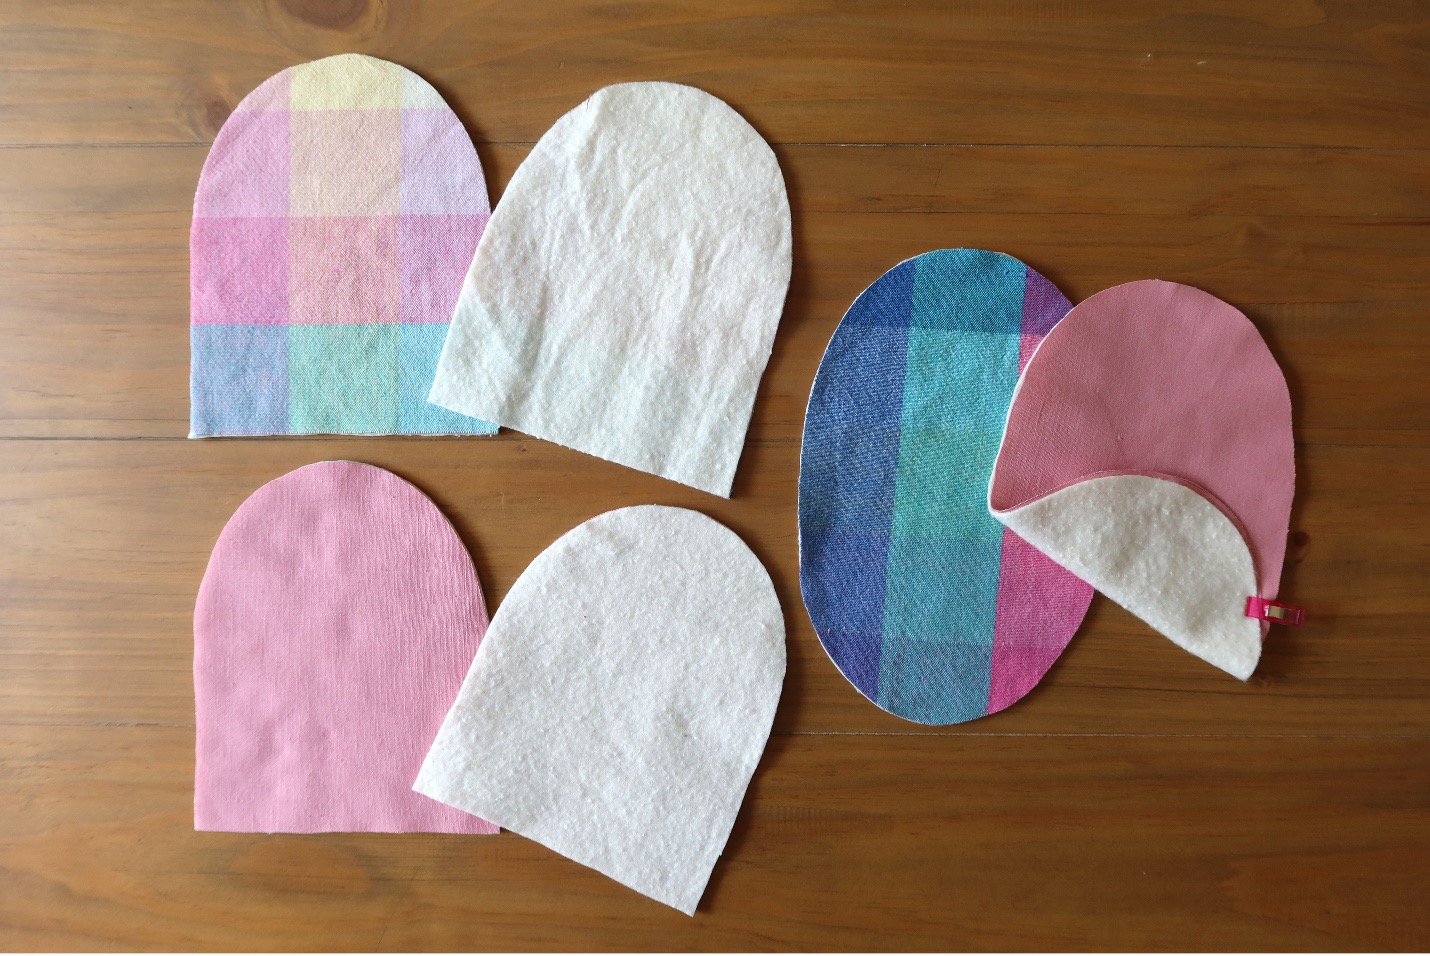
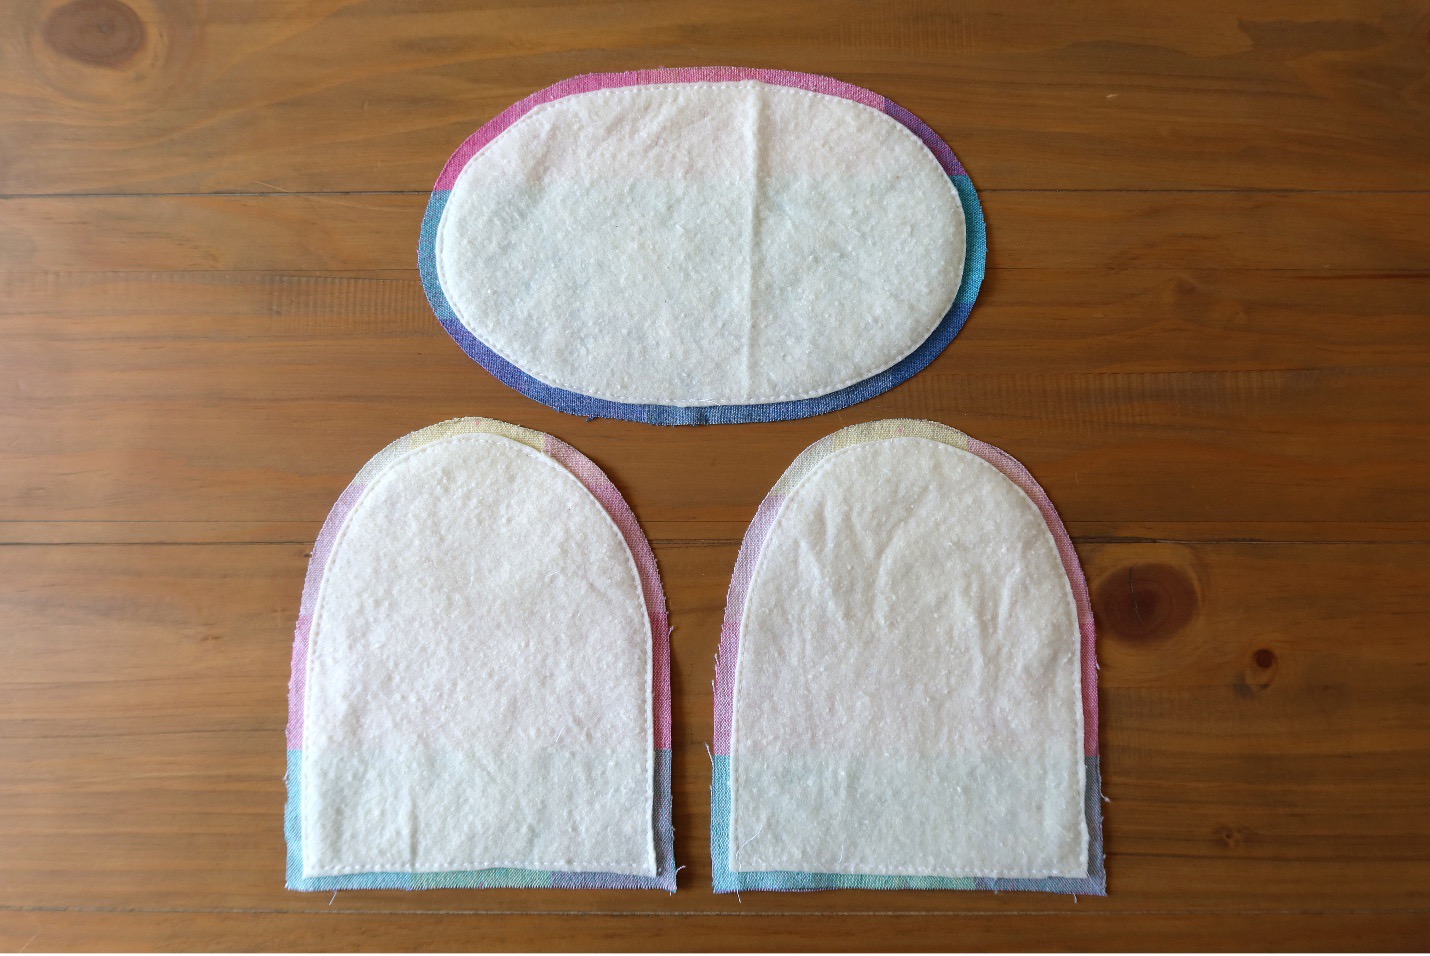
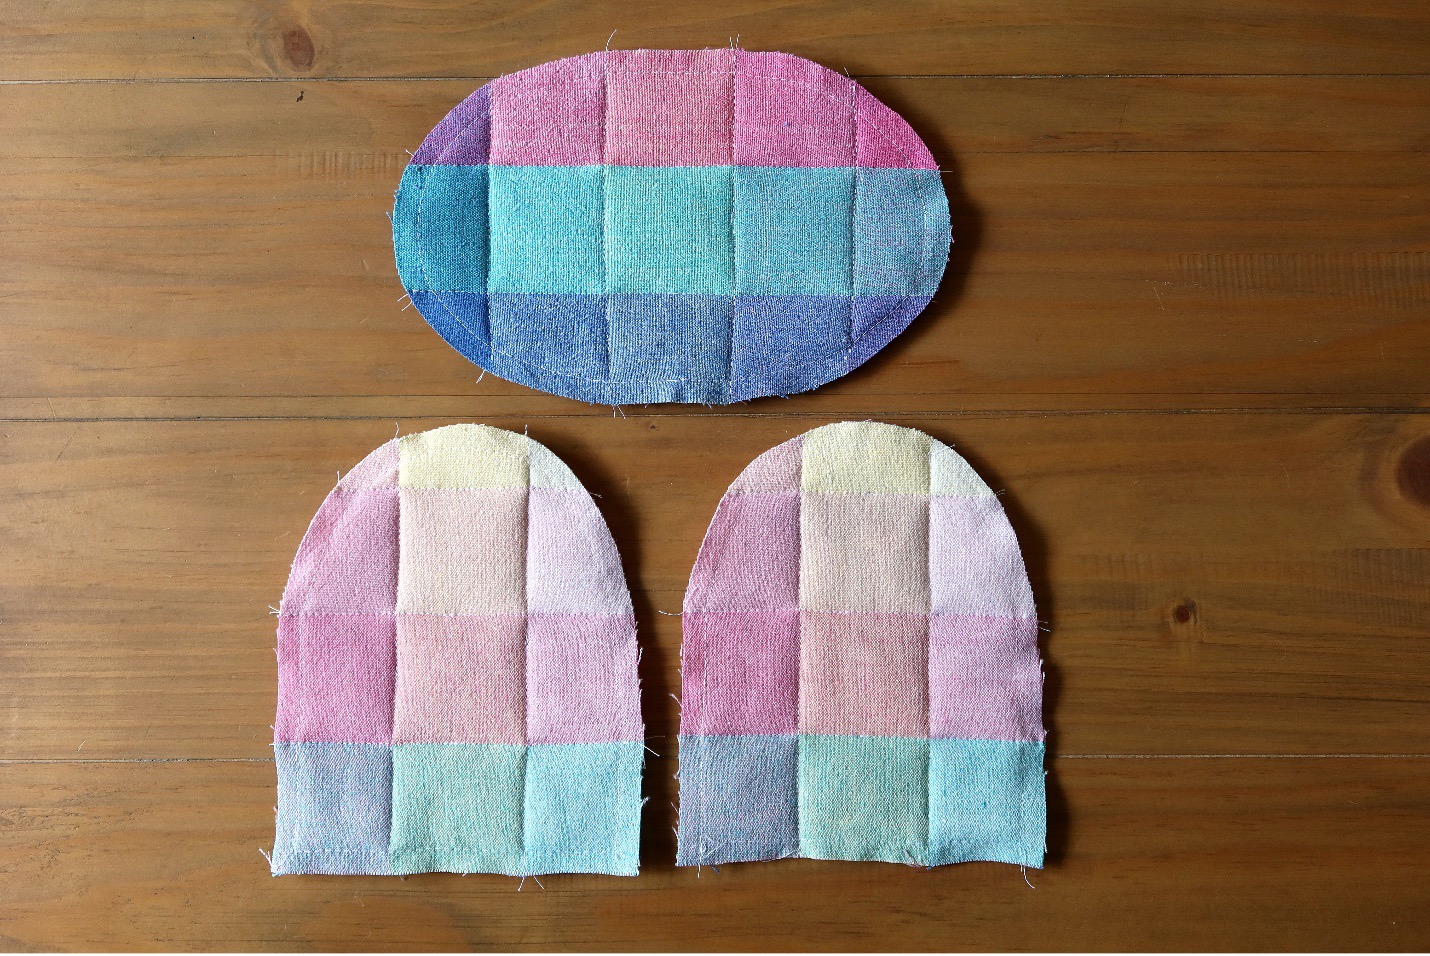
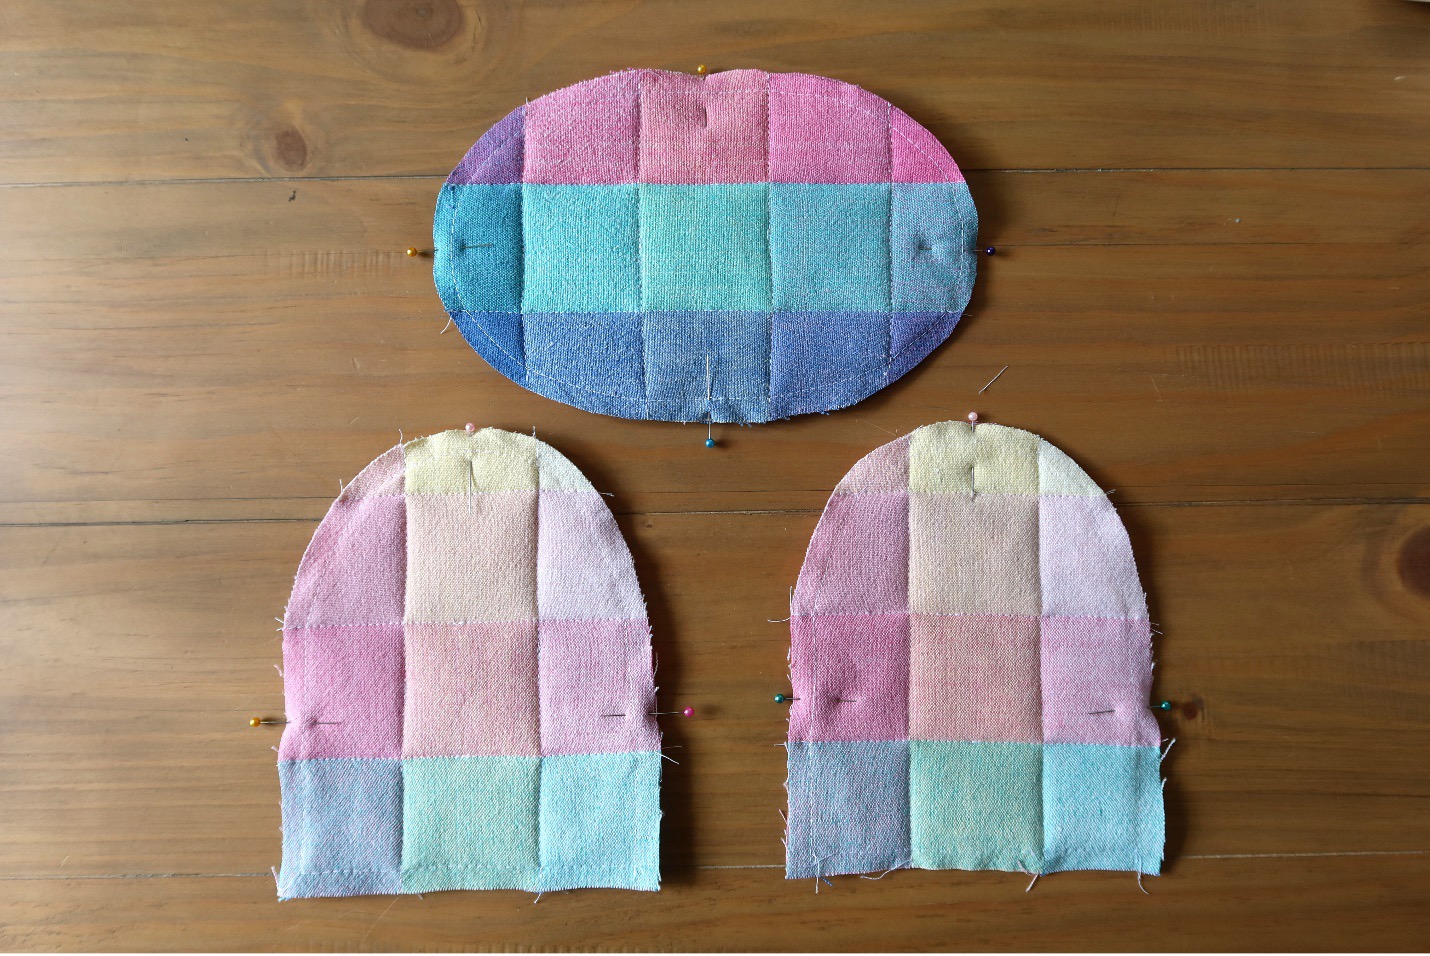
CLICK HERE to Print out the PDF pattern pieces. Print at 100% and measure the included 1” square to check pattern sizing. Cut out fabric pieces. If using patterned or striped fabric, cut two identical exterior pieces for matching sides. (TIP: I like to print or transfer my pattern pieces on cardstock to make it easier to trace out on fabric!)


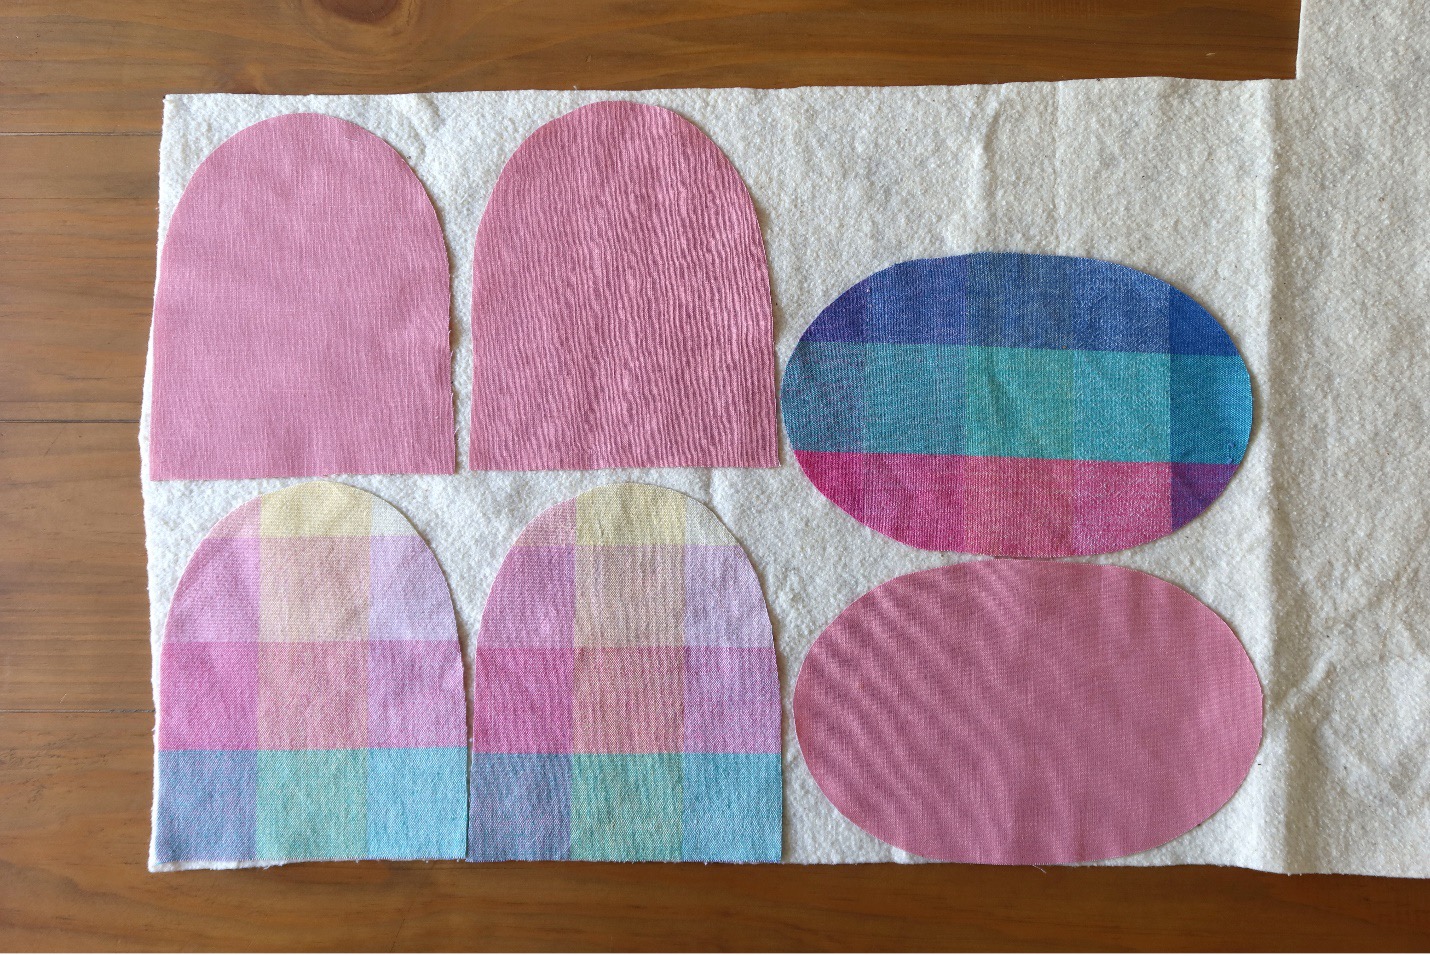
Cut batting with fabric pieces on top (I find this fits the pieces better than cutting from the pattern piece)


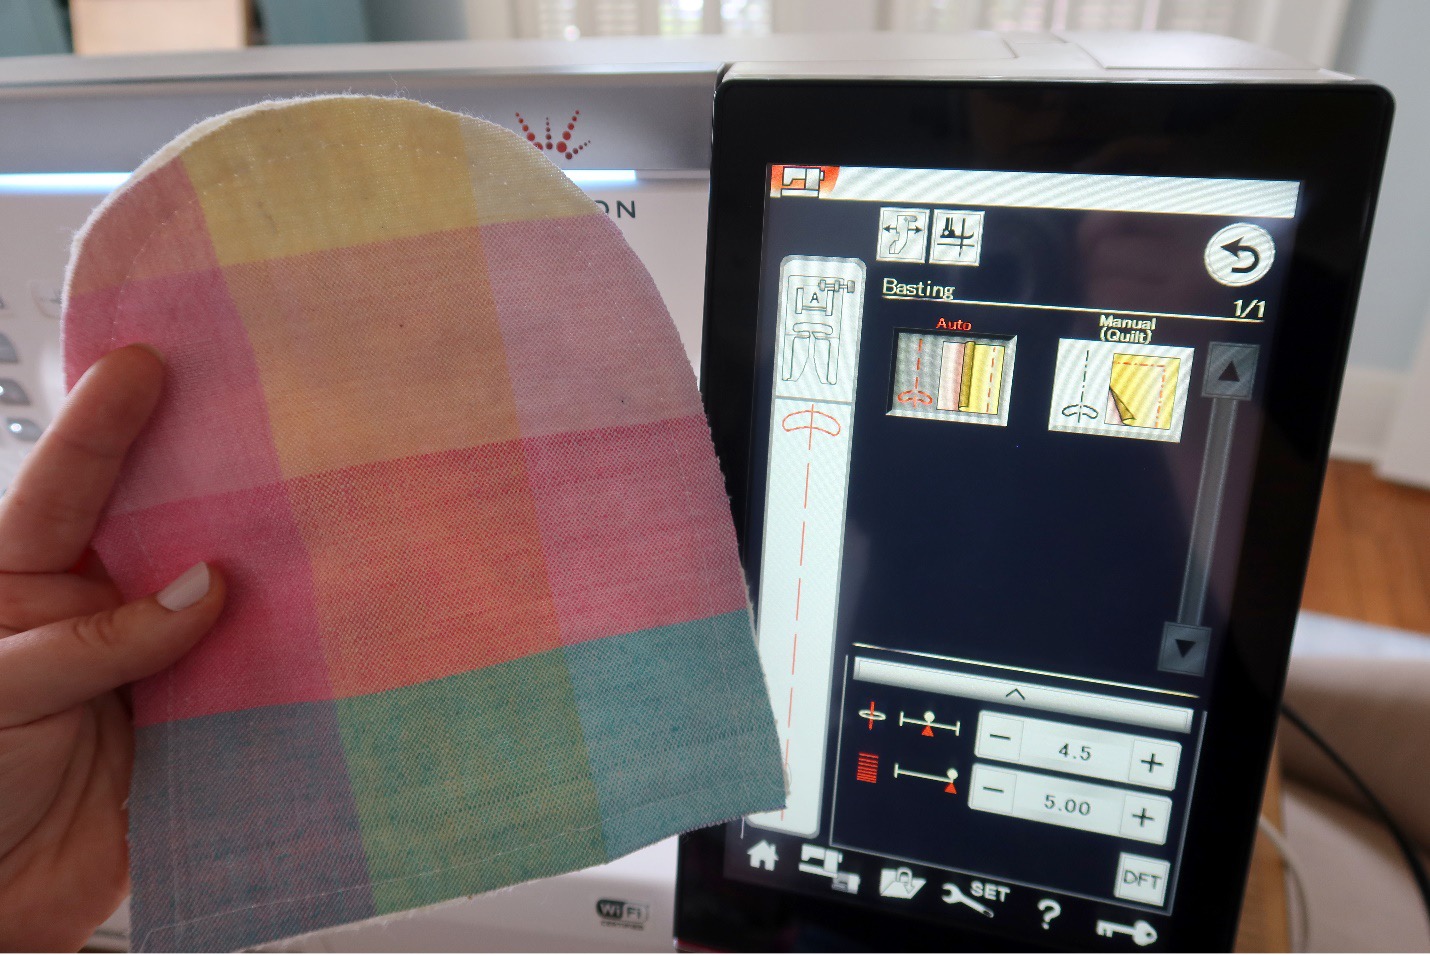
Baste each piece to batting at 3/8”.


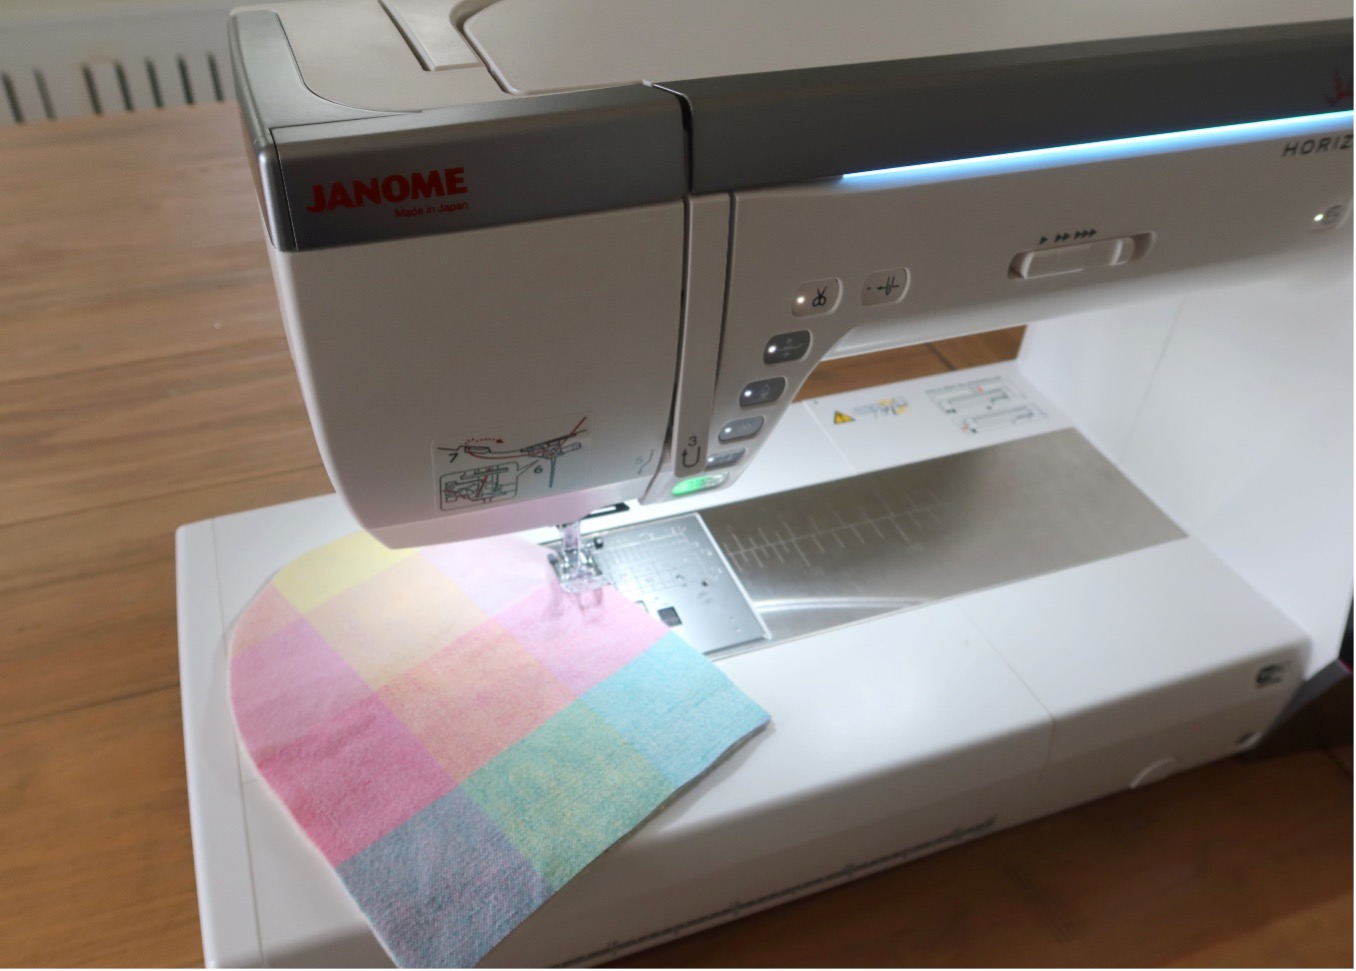
Trim only batting on each piece, close but not through stitching. This will give the pot holder a better shape when turning right side out.


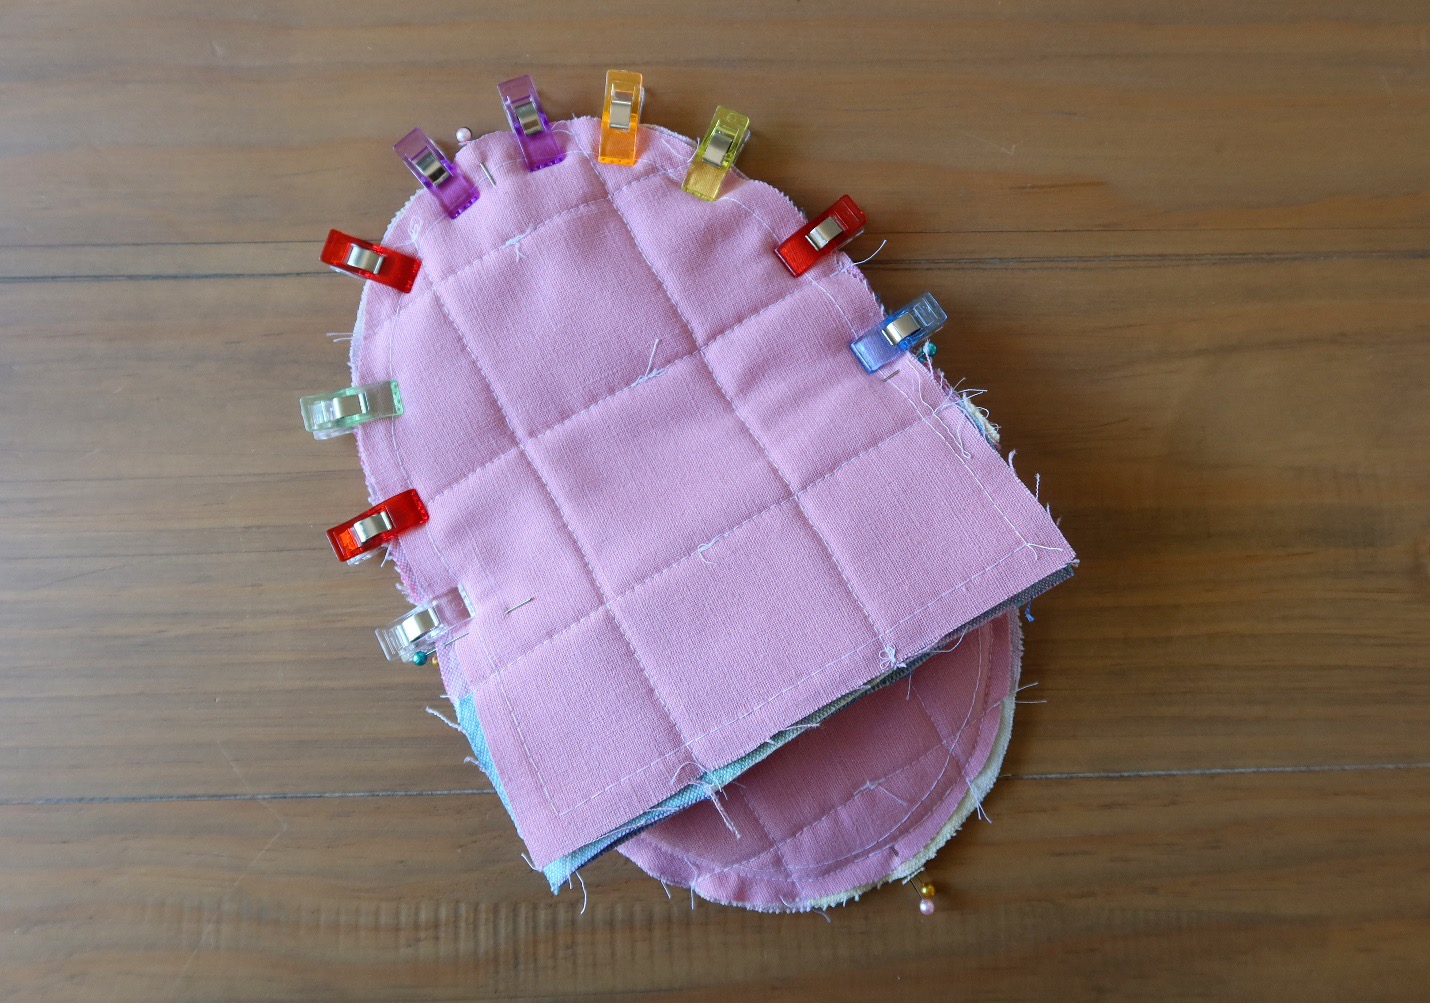
Pin exteriors main and lining, wrong sides together. Repeat for center pieces.


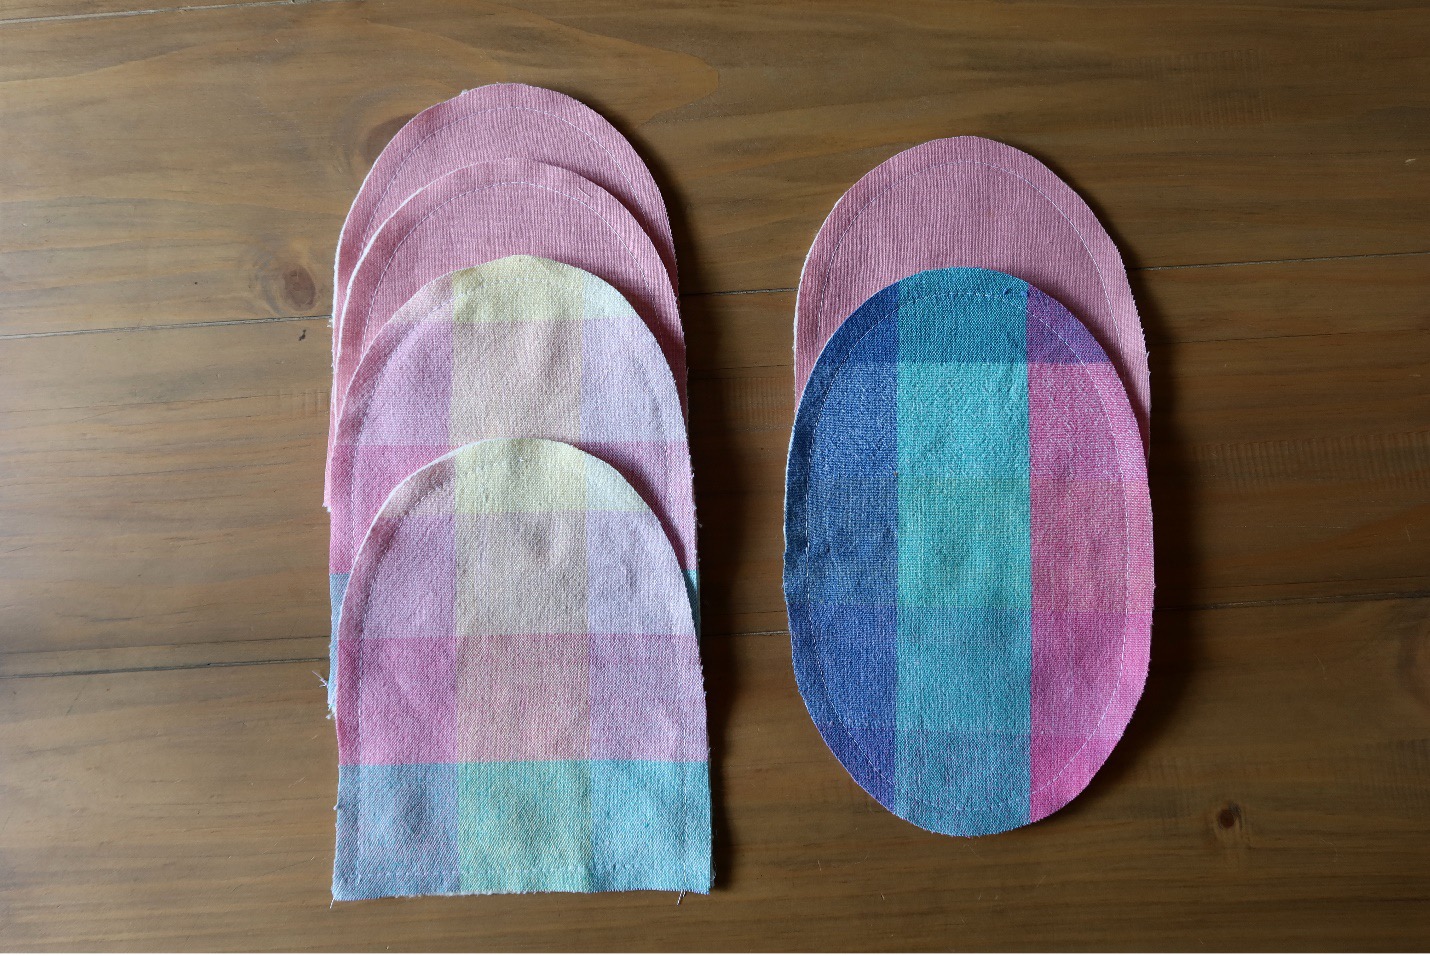
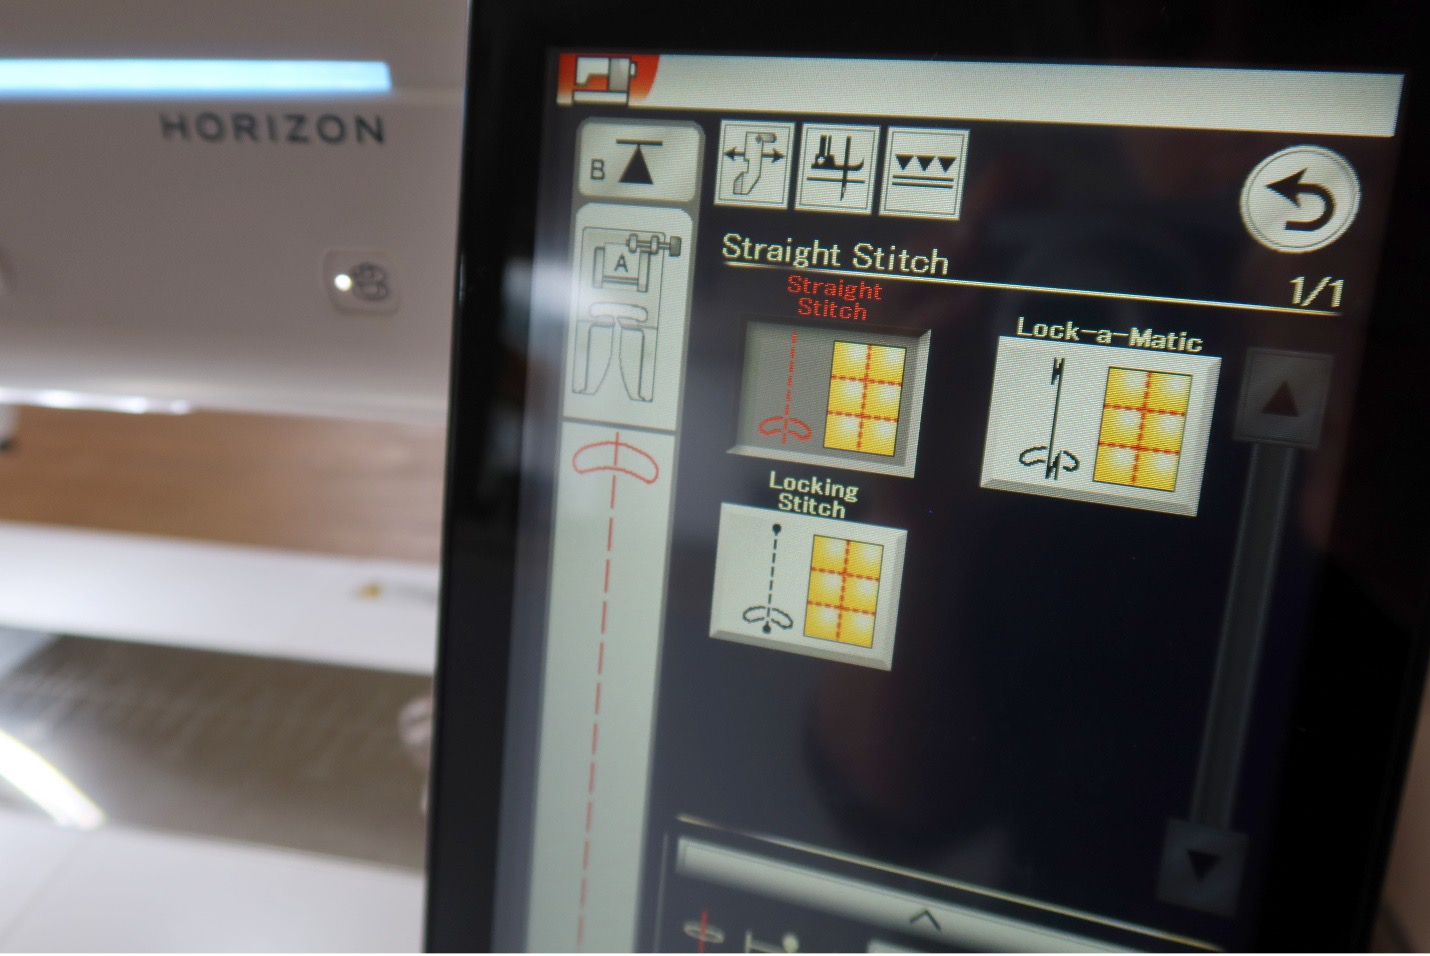
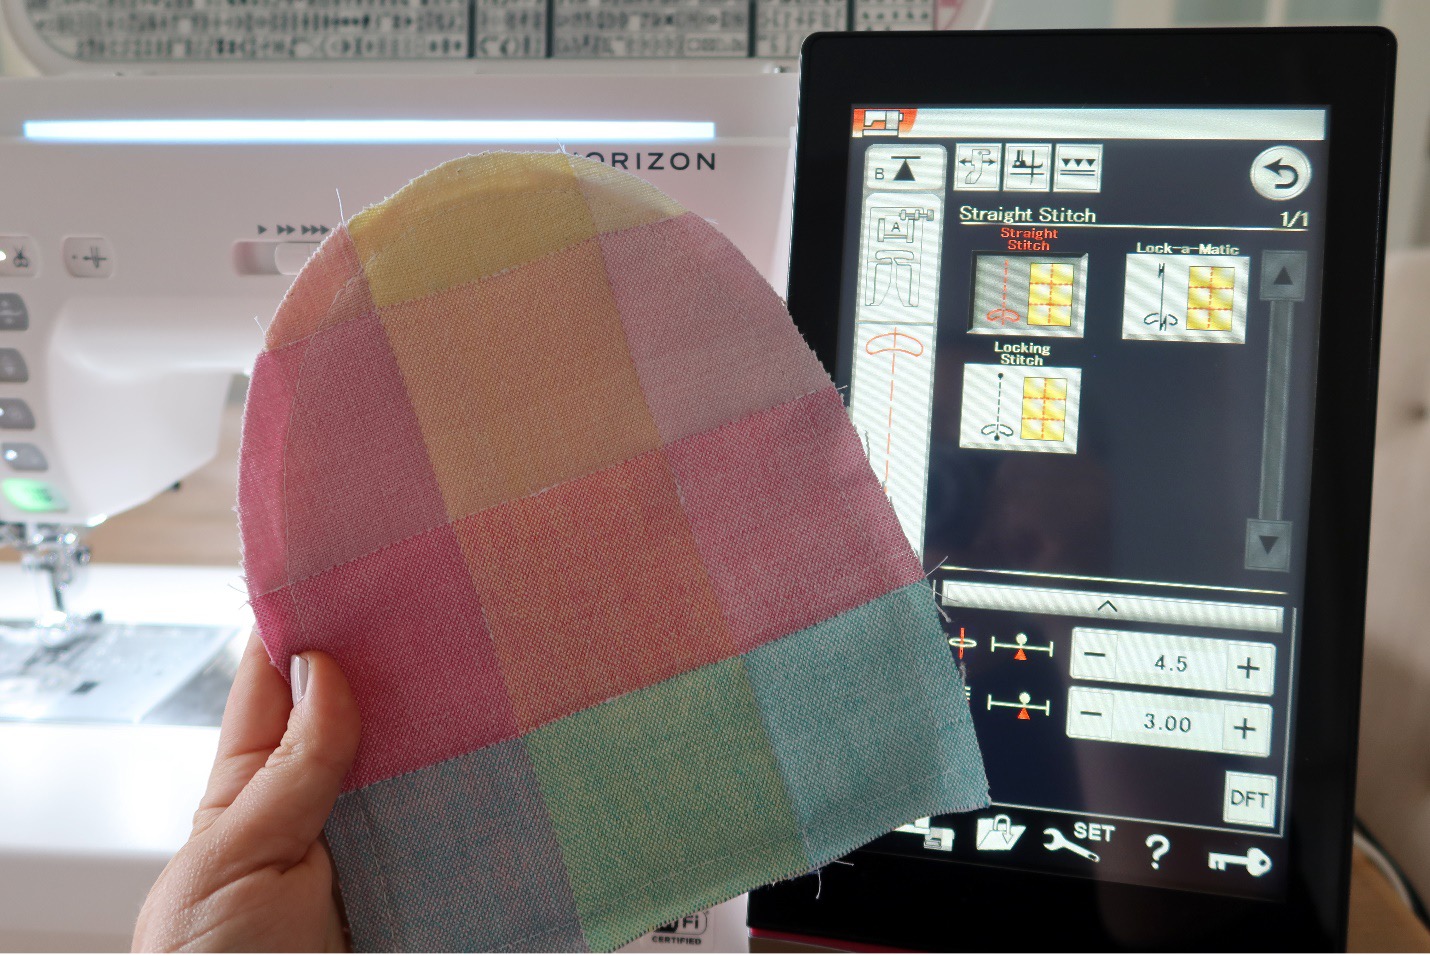
Quilt linings to main pieces on your machine. With the plaid design of my fabric, I followed the natural lines in the fabric. You can quilt in many styles; square, diagonal, etc. I started in the center of each piece, backstitched, and continued. After quilting each piece, if you notice your fabric has stretched, trim with pattern piece.  (Optional: serge all raw edges. This can be done later, but it is much easier to serge now.)

TIP: Draw out your quilted design with a fabric marking tool and take your time quilting! Fabric can shift – but I find better results going slow and steady!


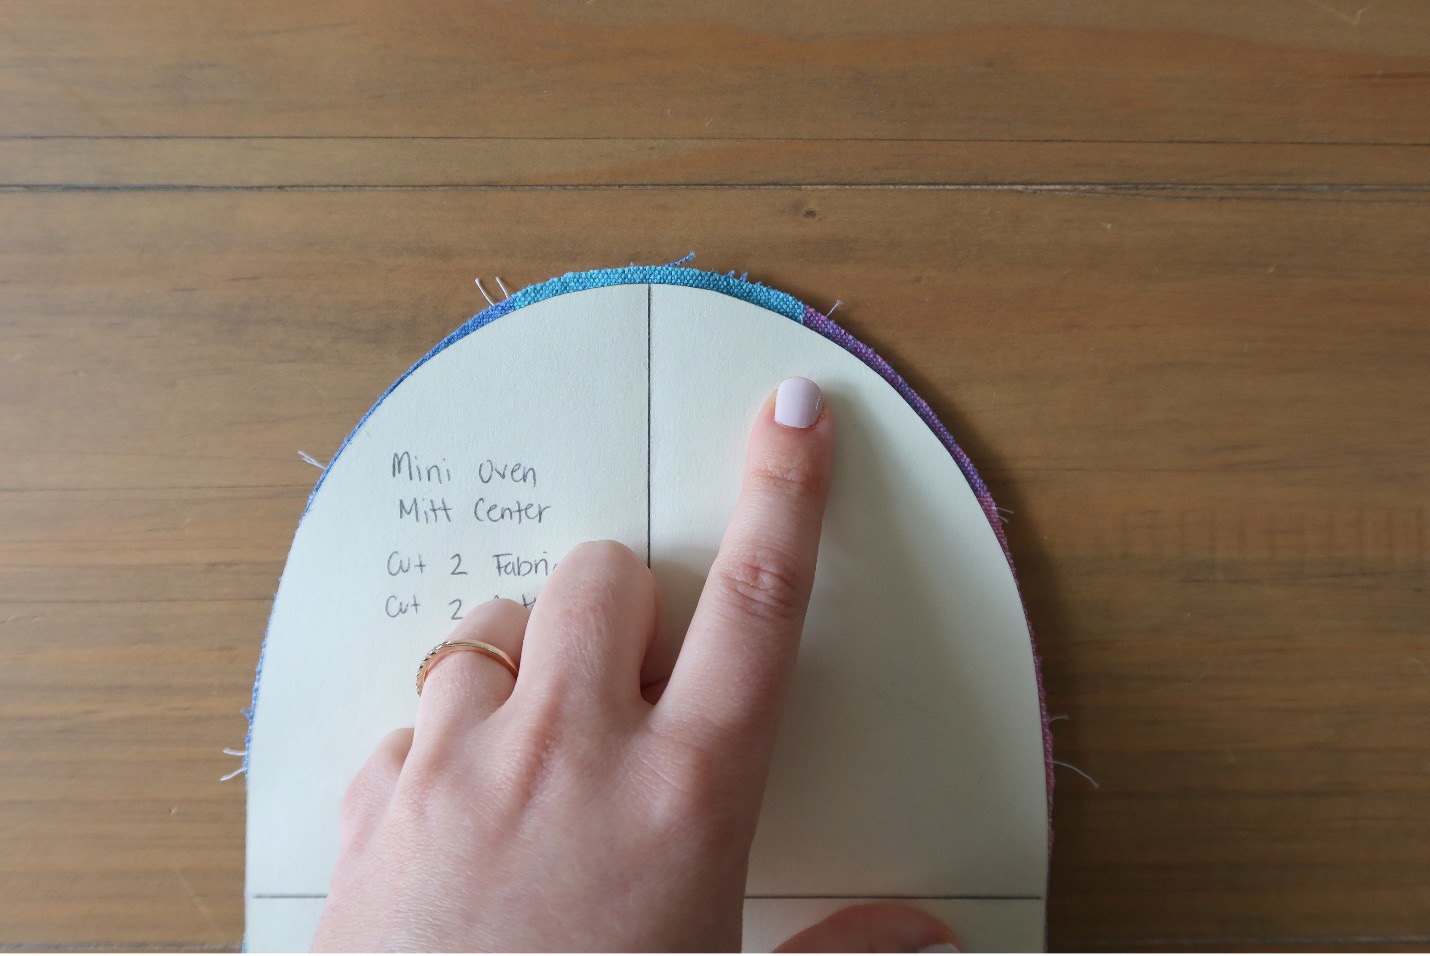
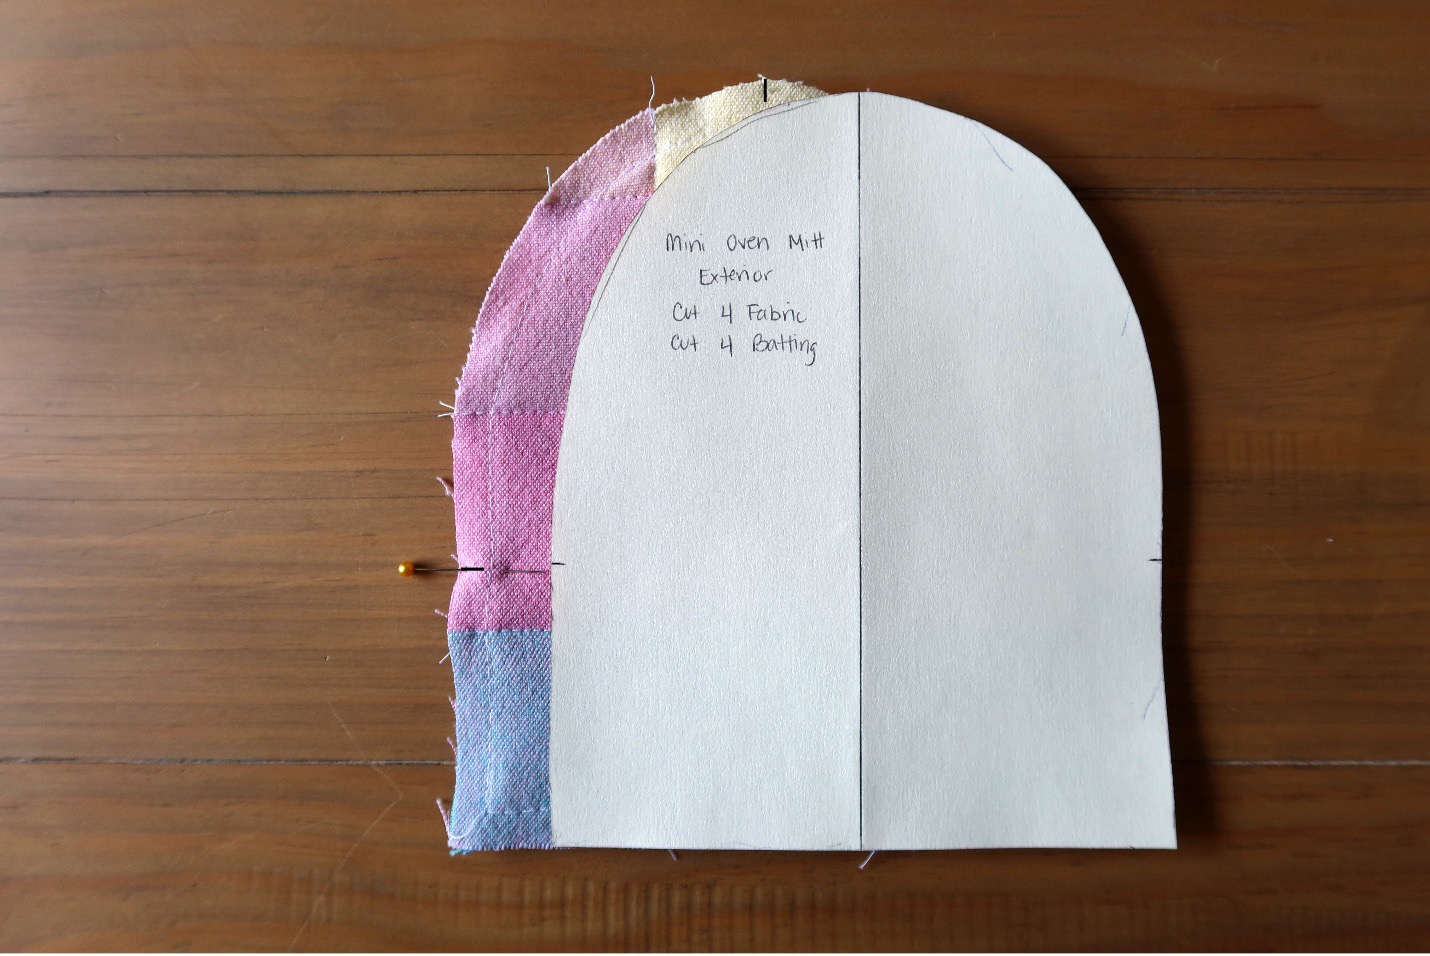
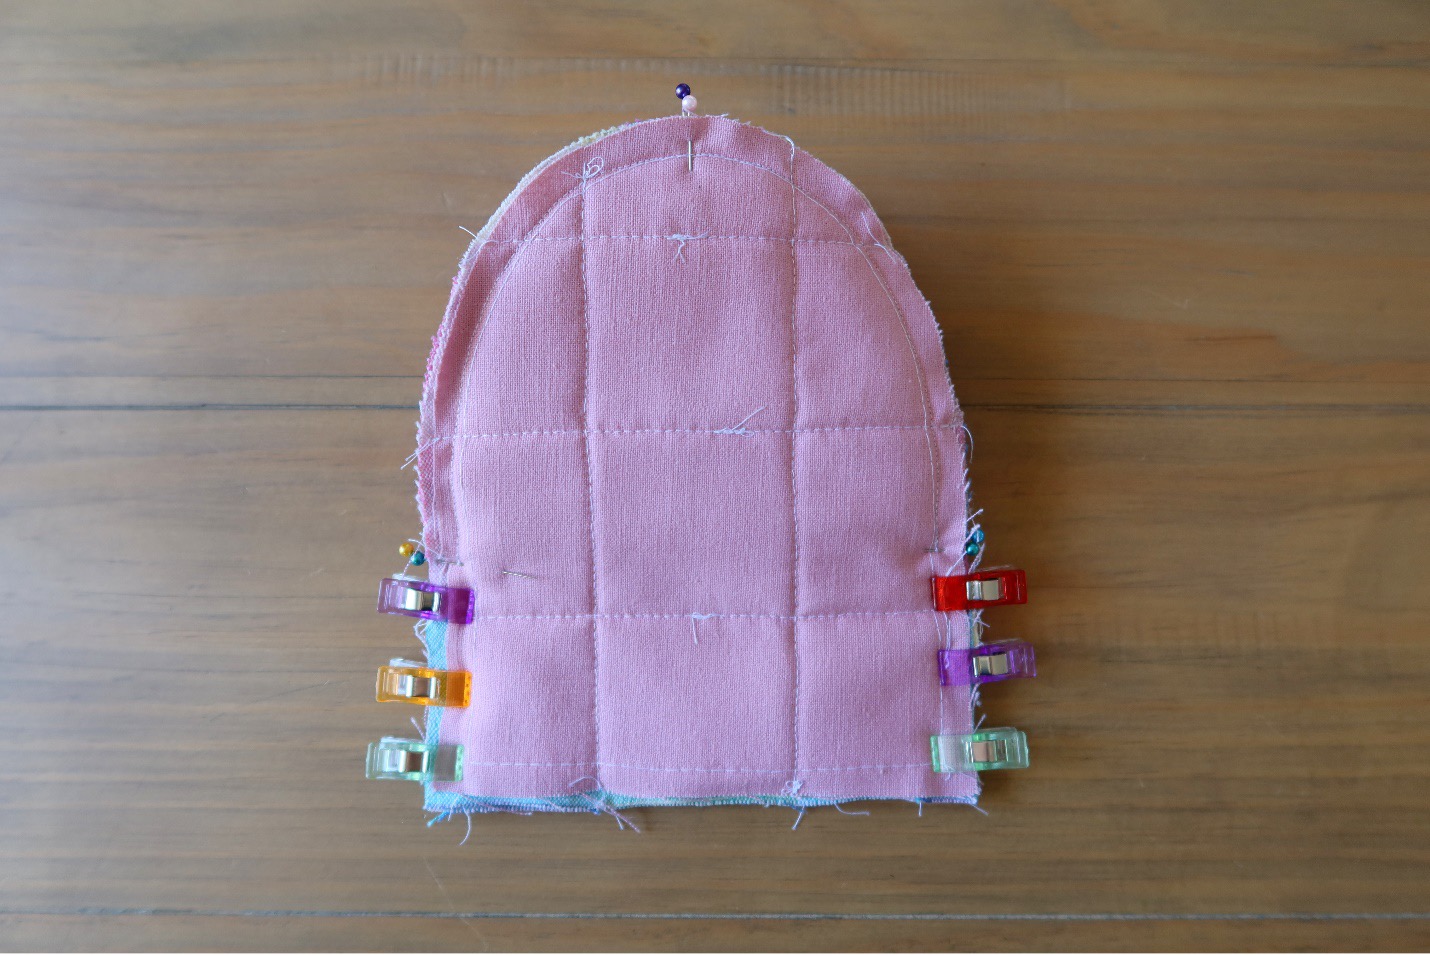
Using markings on pattern pieces, mark center points and side points. I use quilting pins at each point which is easier to see while sewing.


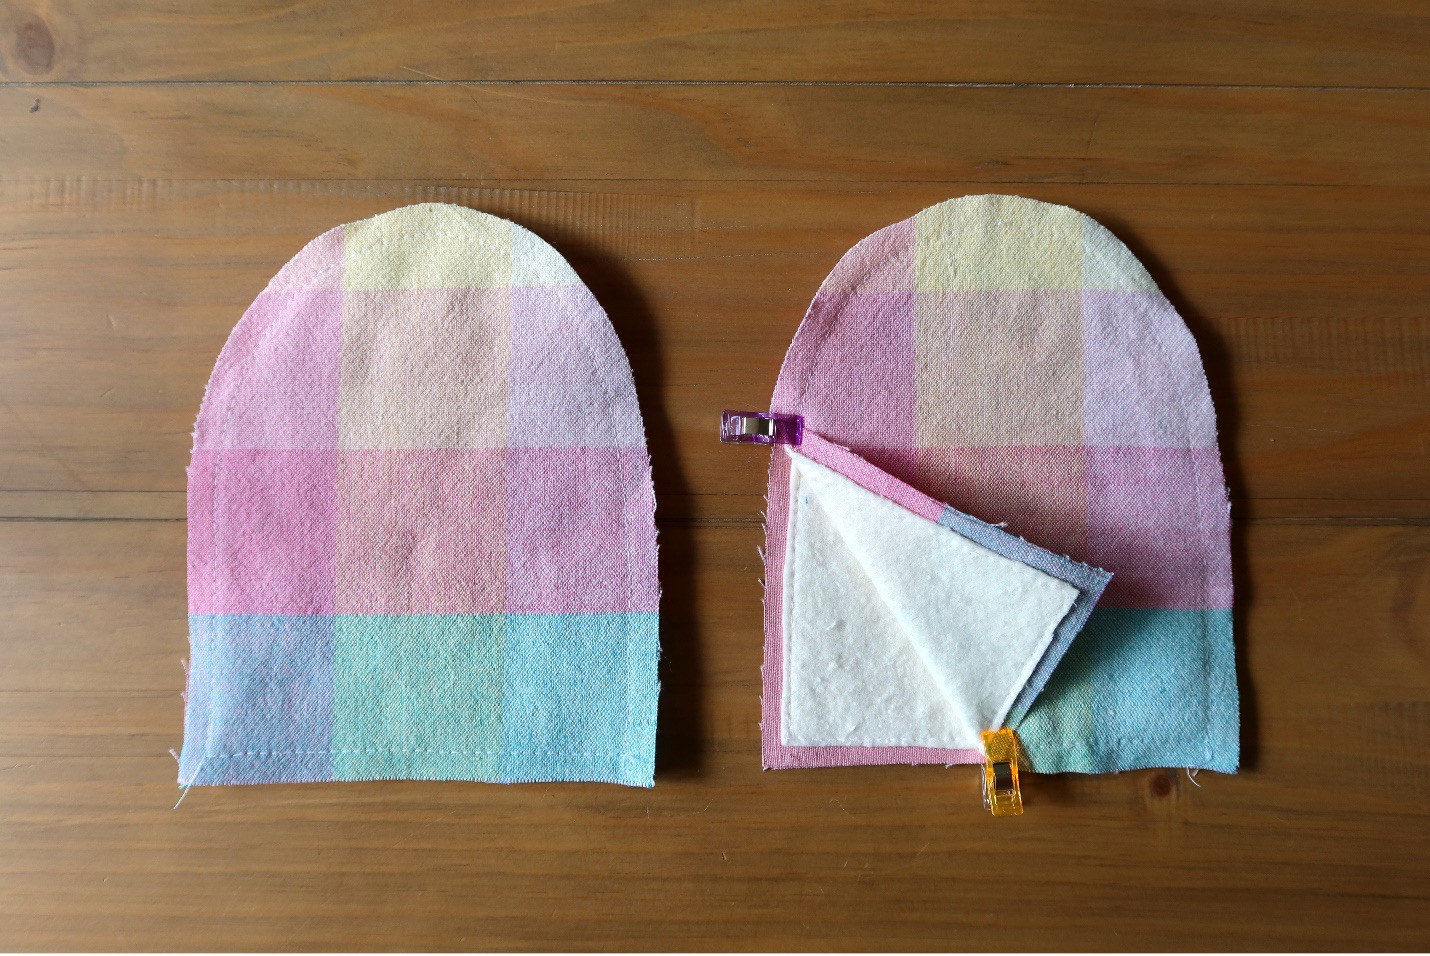
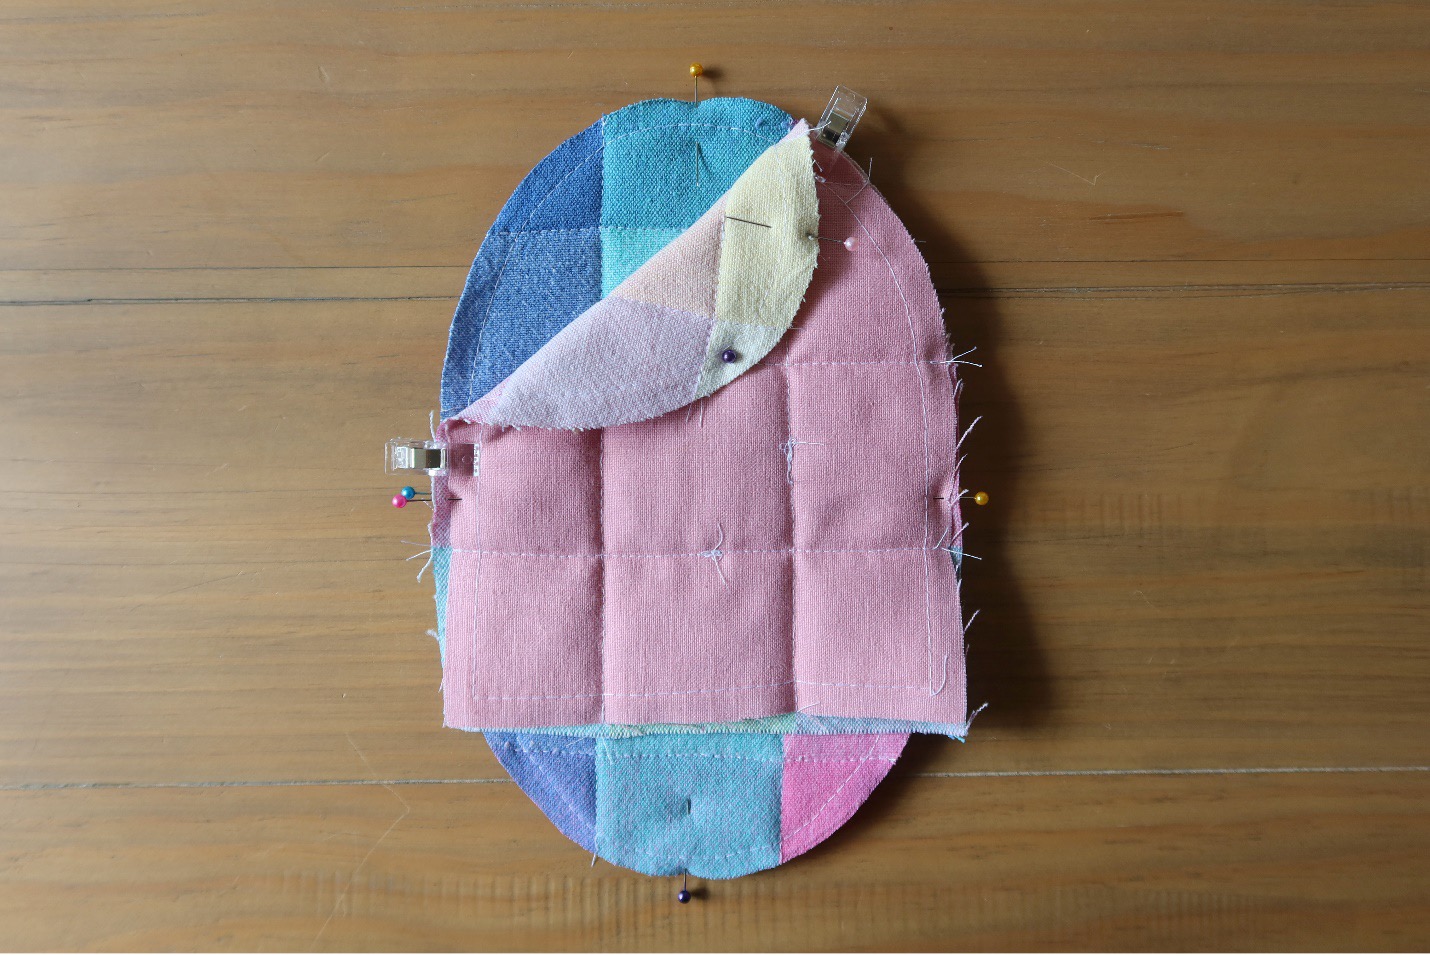
With mitt center piece right side up, lay one exterior mitt right side down matching top and side markings. (It’s ok if your lining doesn’t match up perfectly to your pieces, they will be hidden in the seam allowance.)

Stitch from side pin to side pin, reinforcing at each end. (3/8” seam allowance, following exterior fabric if lining isn’t perfectly matched)


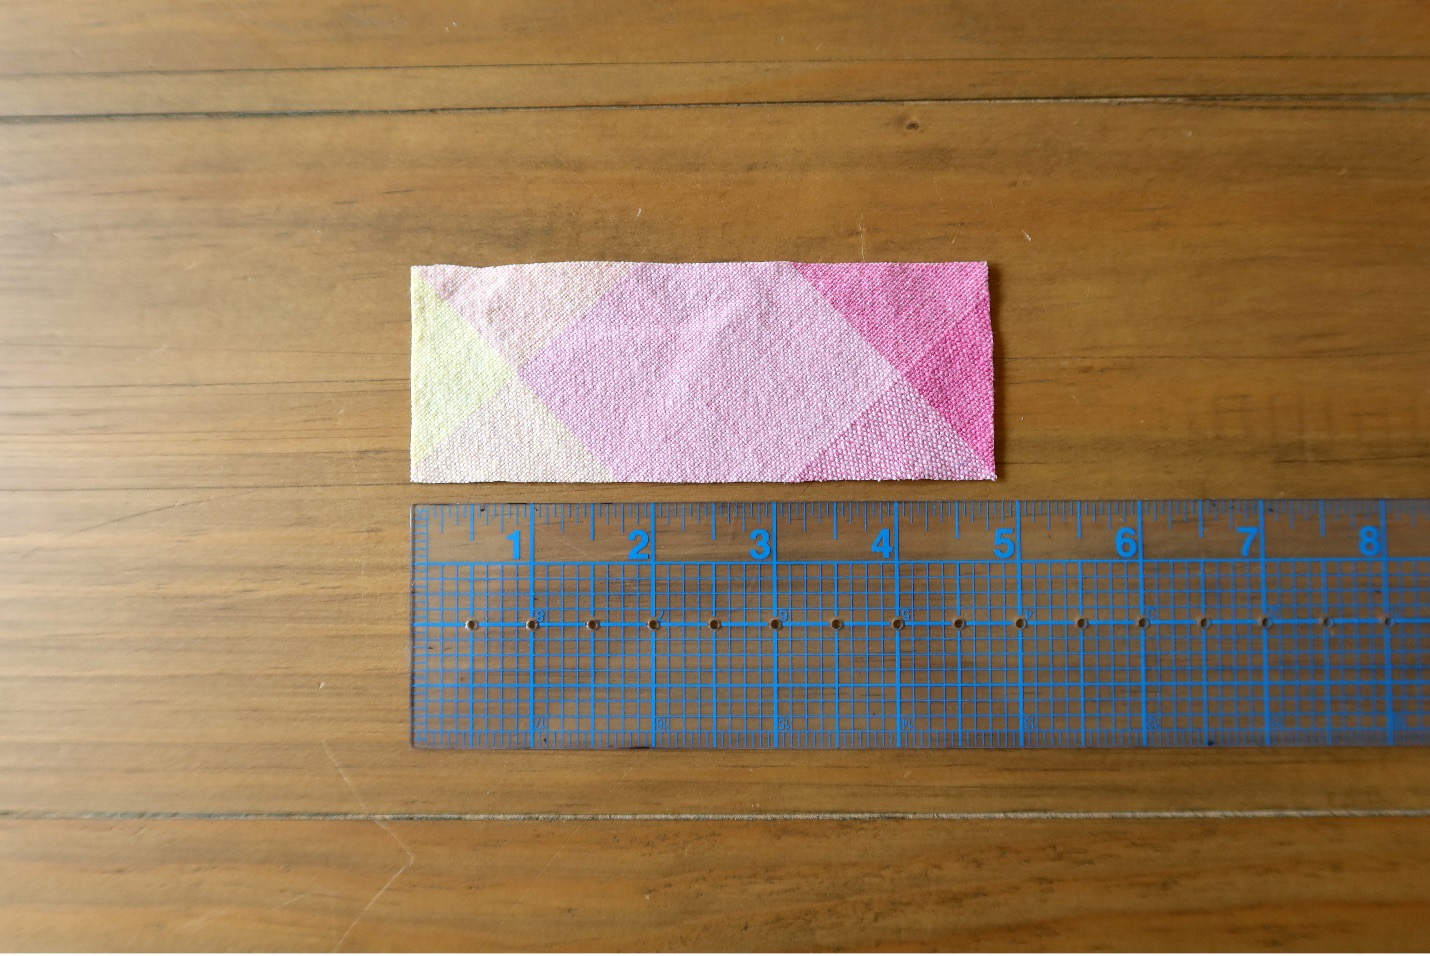
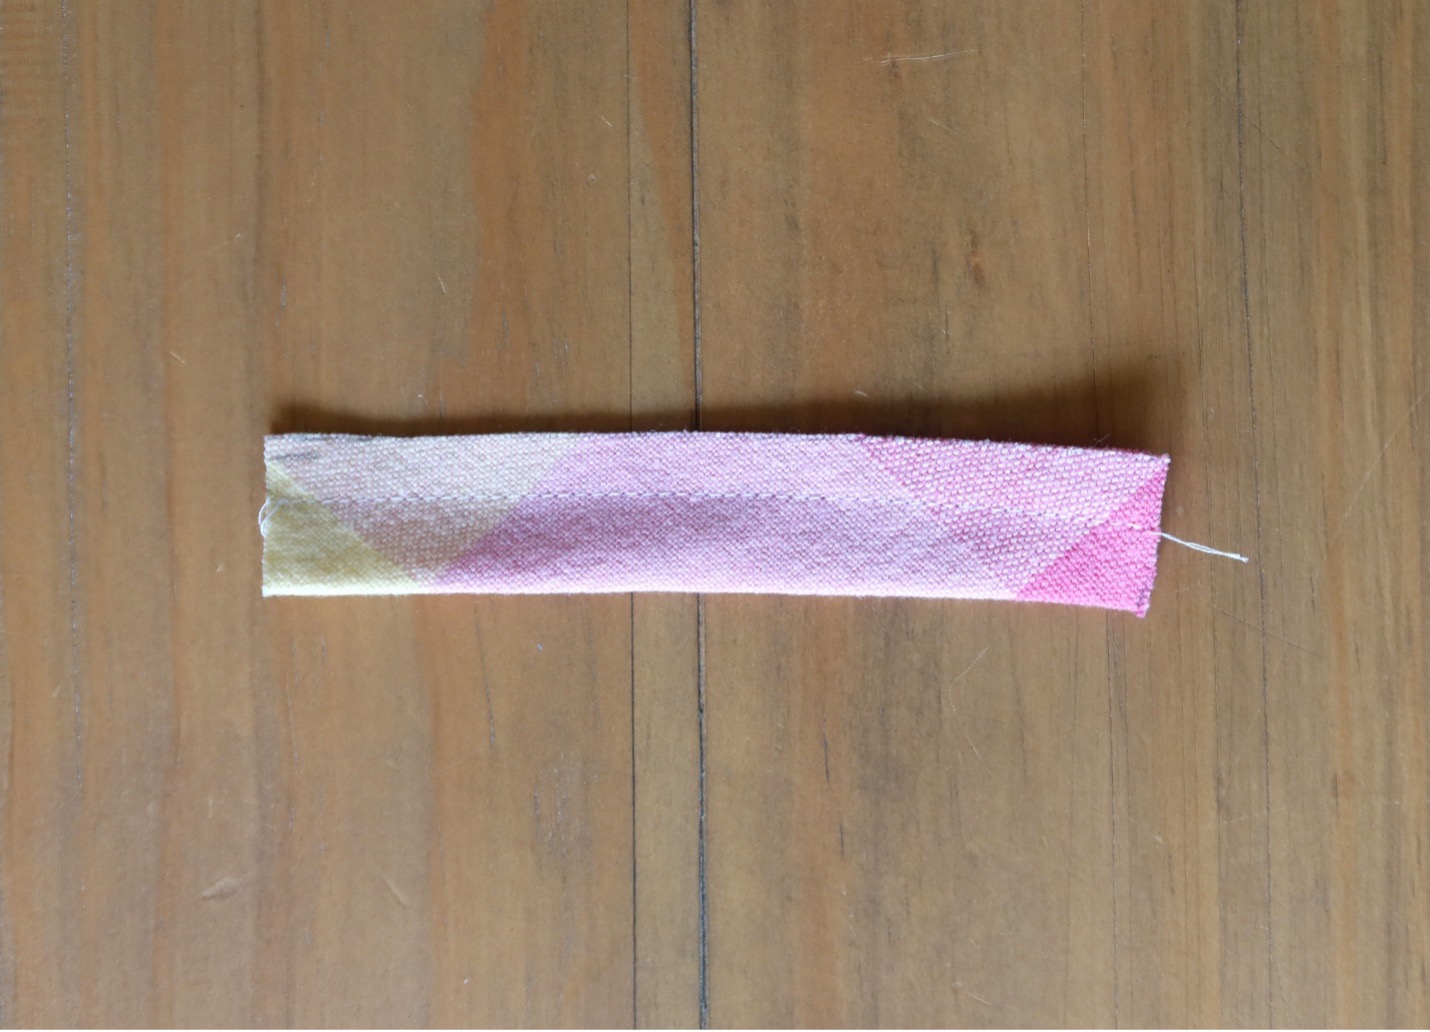
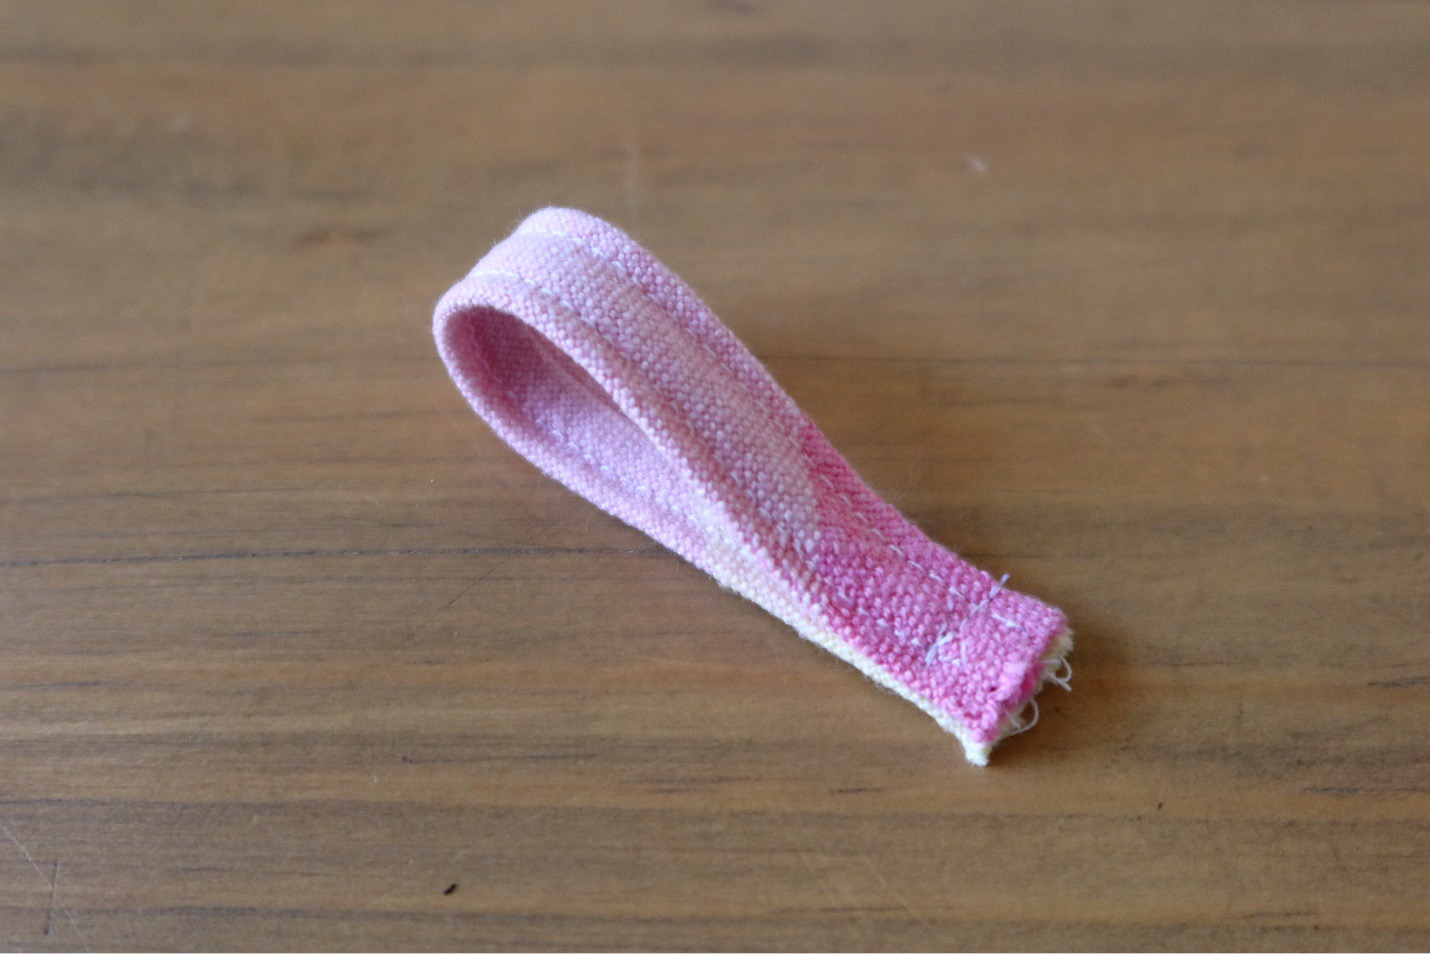
Next we are making a hanging loop! Cut fabric piece 4.75” x 1.75” for oven mitt side loop. Fold long sides, wrong sides together and stitch 3/8”. Trim seam allowance and turn piece right side out. Press seam so it lays in the center of the loop. Topstitch both sides, and fold short edges right sides together. Baste.


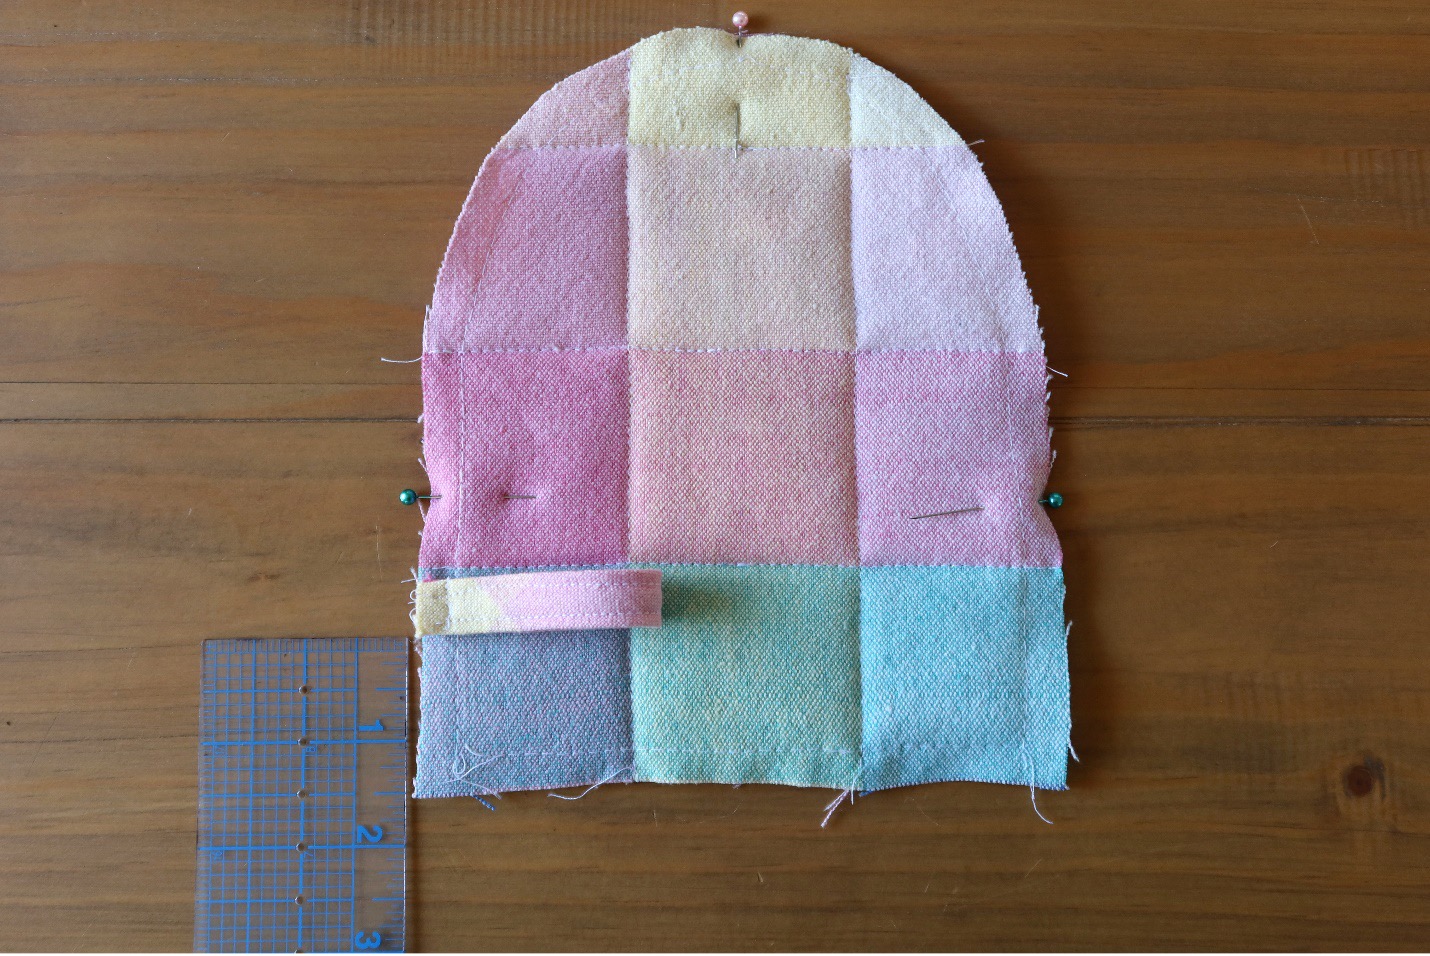
Mark 1.5” up from bottom of second mitt exterior. Pin loop and baste.


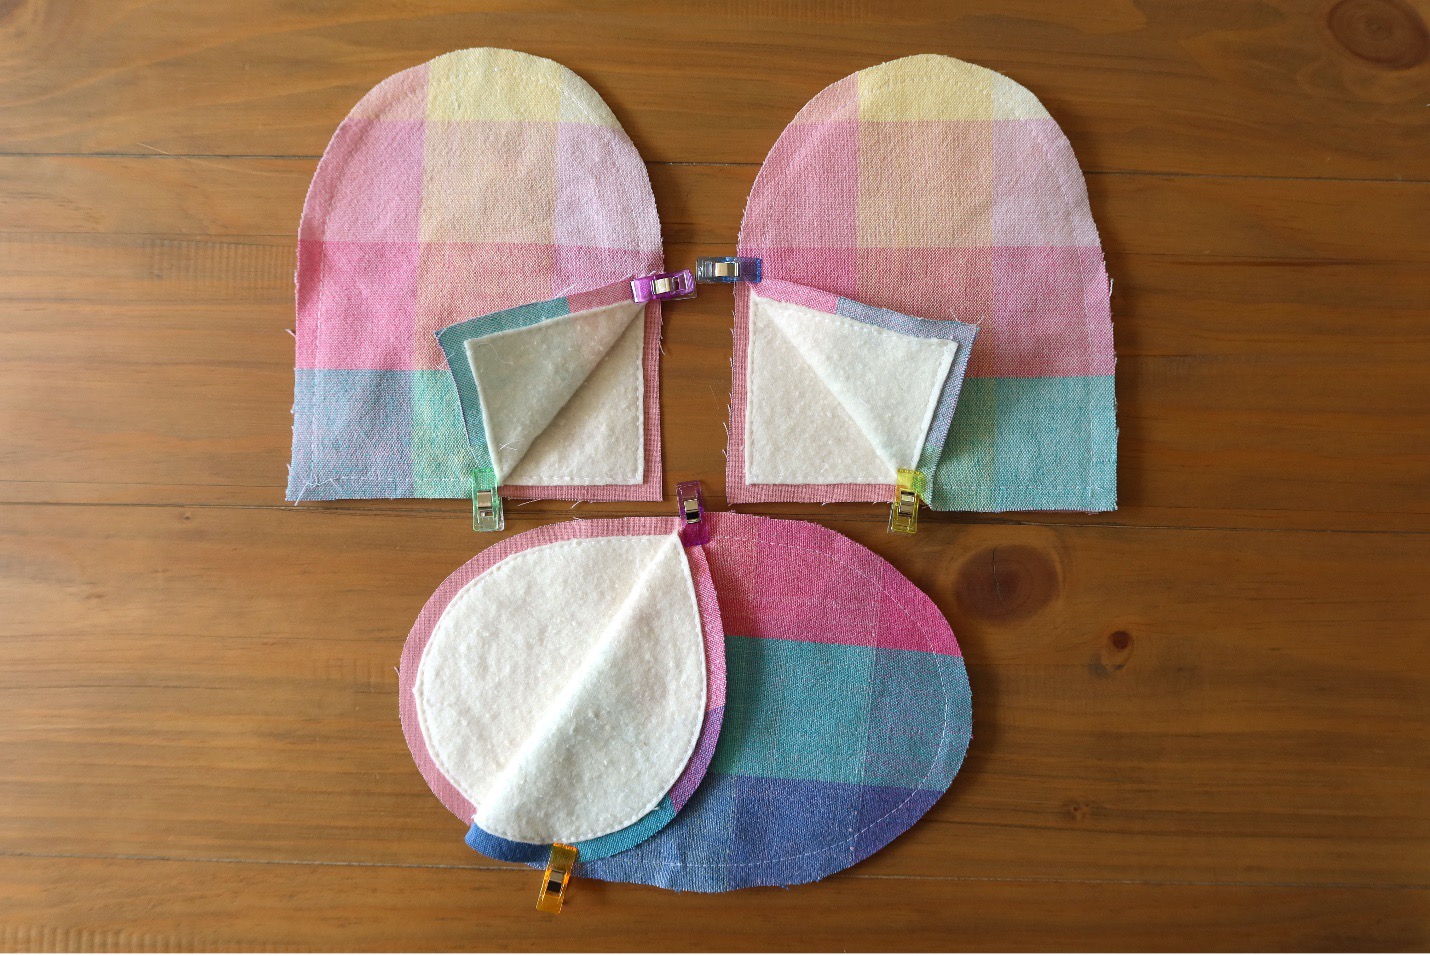
Moving back to the sewn center mitt, pin side with loop to mitt center, sewing pin to pin. Be sure to keep extra fabric from other side out of the way while sewing.


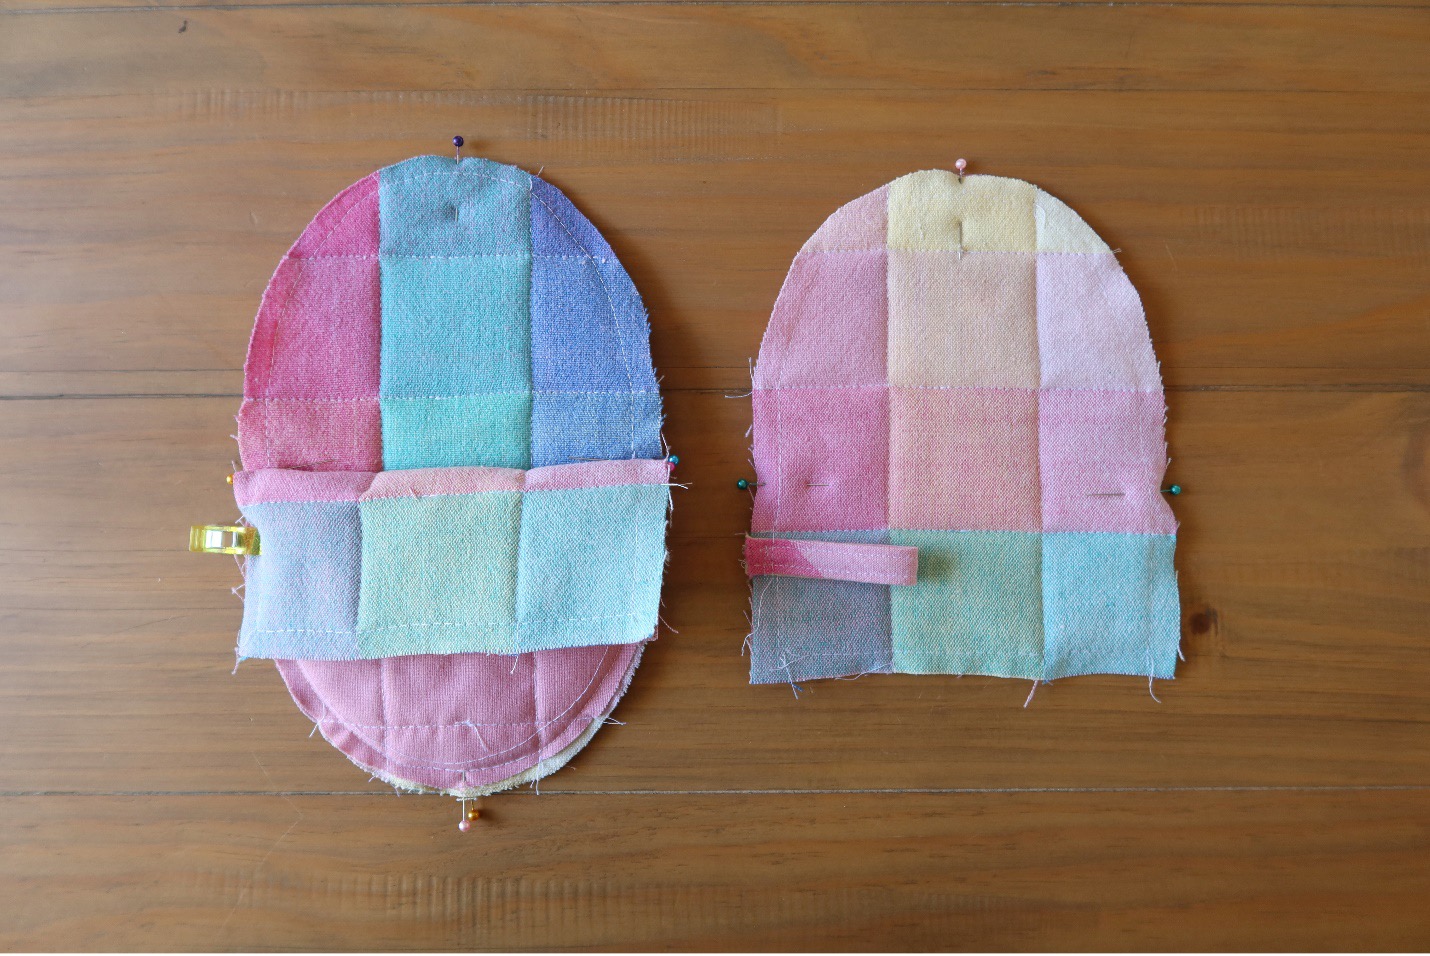
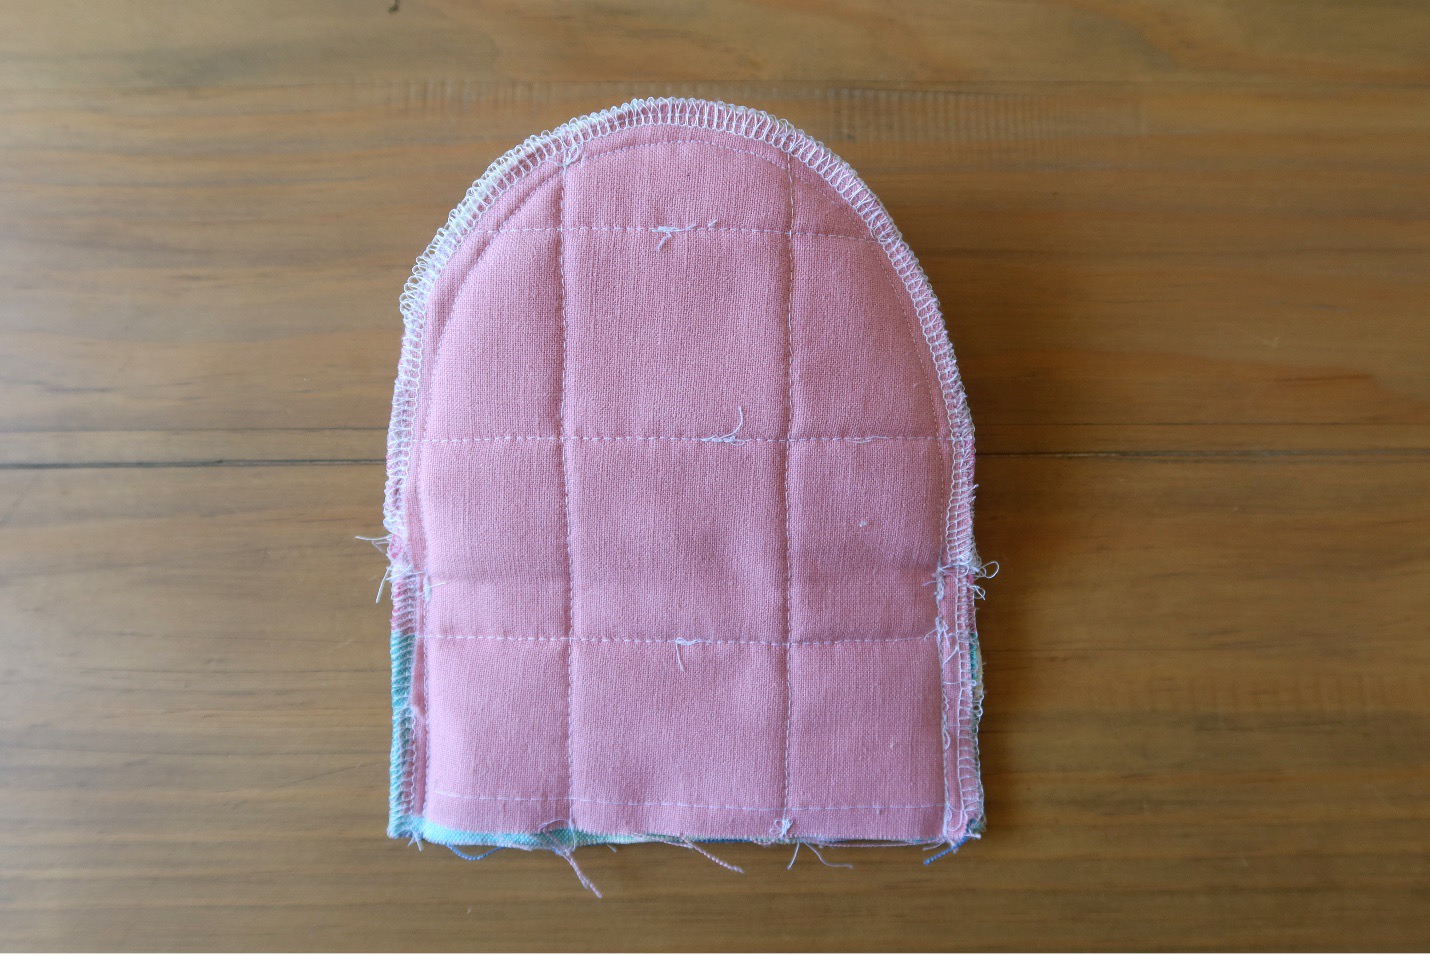
With center mitt folded wrong sides together, and the two exterior ends free, stitch exterior mitt right sides together from pins to end. Be sure your stitching line backs up directly to your other sewn line. If you didn’t serge edges before, you can also serge here. Serge or zig zag bottom edge.


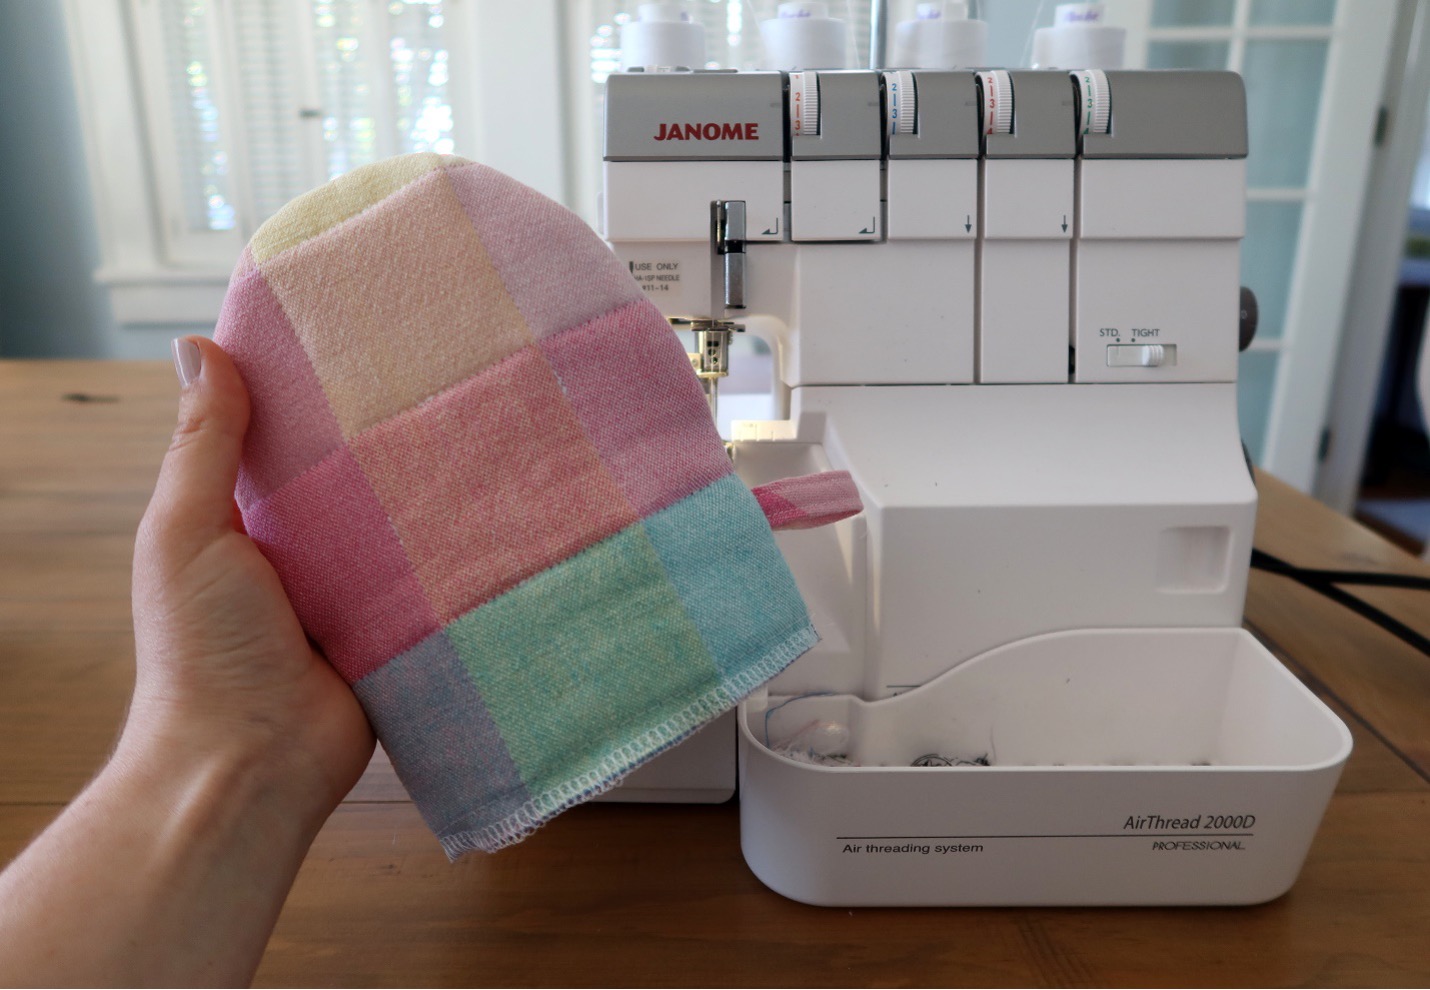
Turn mitt right sides out. Following original basting, fold serged edge up 3/8” to wrong side. Stitch at ¼” seam allowance.


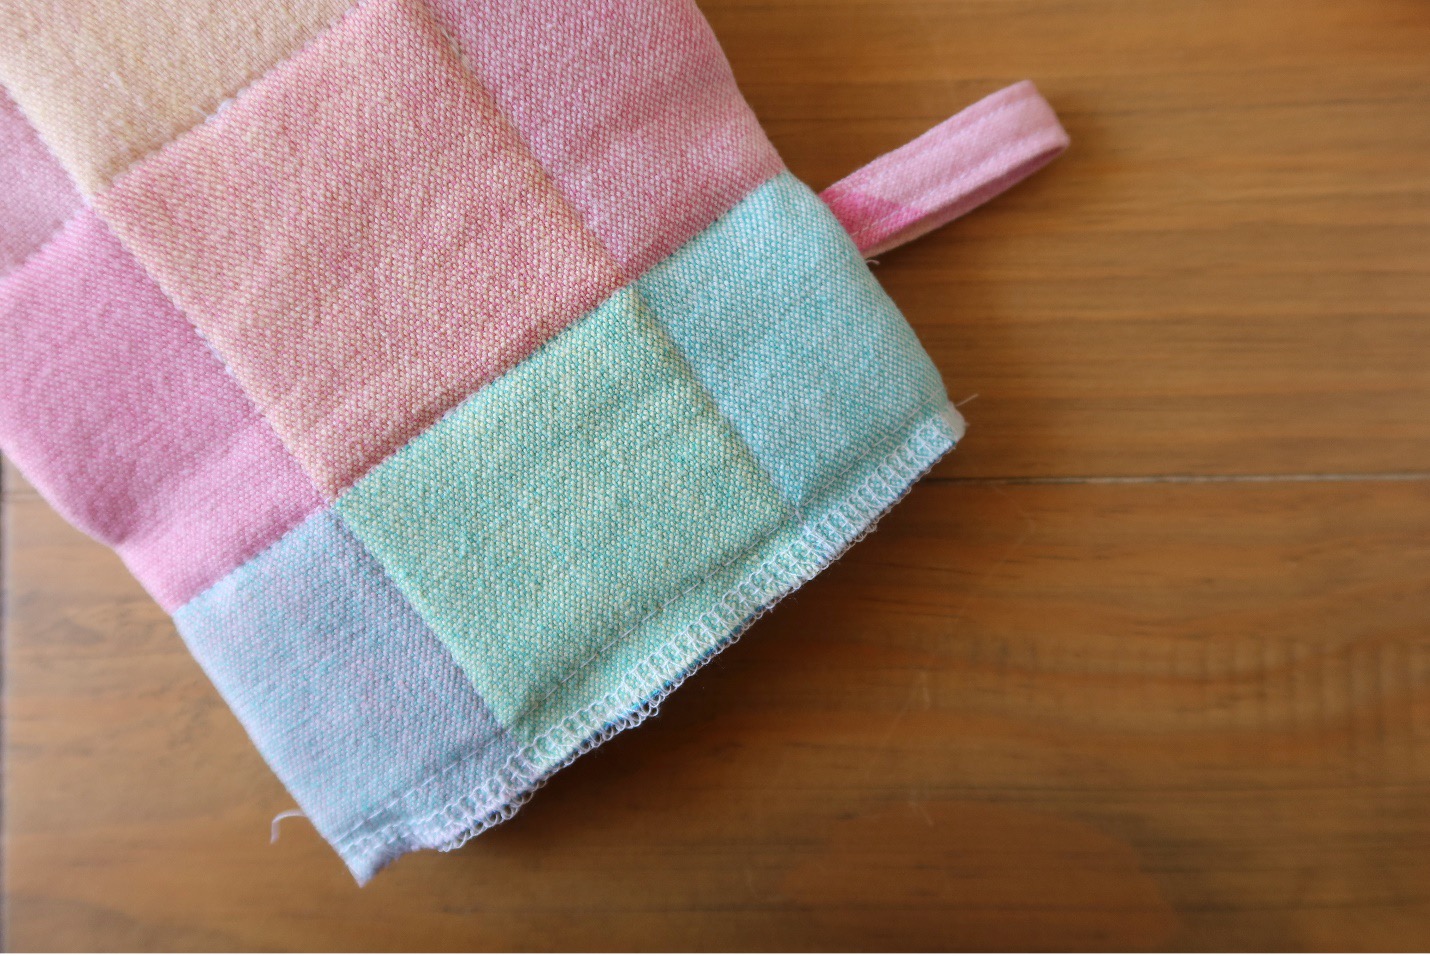
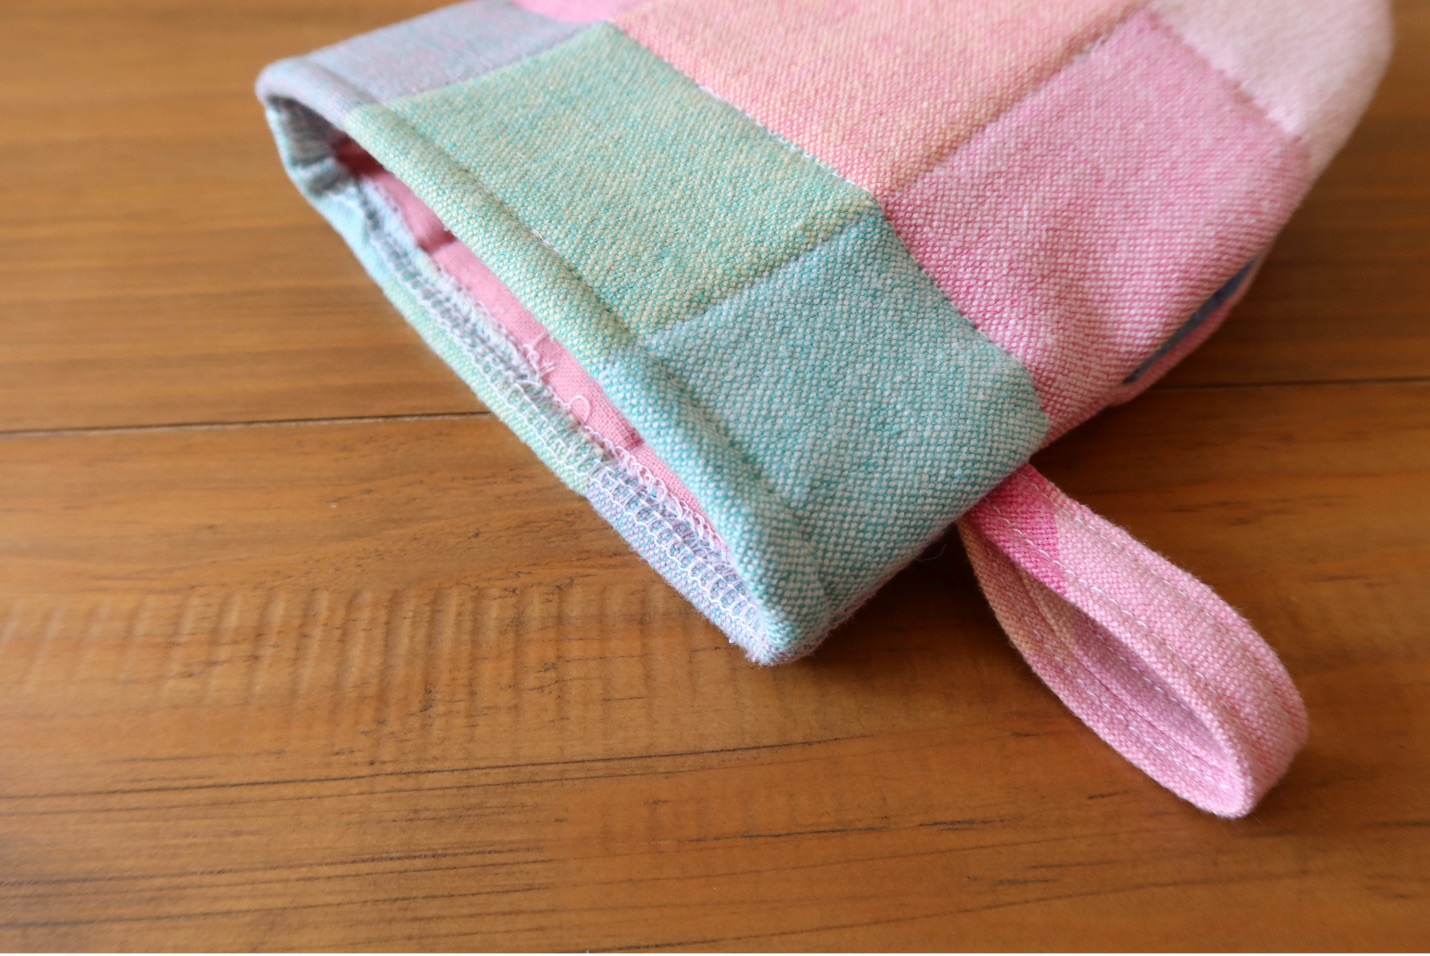
Finish mitt by removing any visible basting stitches.


Everyone is Talking about Mini Oven Mitt
Reviews


Tako
Beautiful
Wednesday, November 23, 2016

cpindzola
Around the Table Dresden Placemats
Saturday, December 17, 2016

I like the concept, but the directions are "sloppy." Nowhere in the supply list does it mention the felt or the batting (how much?). Also, I would never use a high loft batting in a placemat, or a table runner, as I think that it would be too unstable for a glass. The next time I make these, I will cut out the batting (I use flannel) and spray baste it to the wrong side of the Dresden plate before I put the Dresden plate on the felt to cut out. I have not yet washed the finished placemat, and am hoping that the single layer of felt does not curl up, or become distorted after washing/drying.
Txmaid
Fun Great Gift!
Tuesday, February 21, 2017

MargieARK
Teatime Quilted Tablecloth
Friday, February 24, 2017

I made this today but your cutting directions need to be changed. You only need 4 of color 1 and color 3 4.5 squares for the triangles. Also the inner border, you only need 2 cuts as WOF is long enough to cut each in half to fit the sides.
MickelSews
Great Machine
Wednesday, August 30, 2017

I've had this machine for only a week now. I bought it used from a lady who makes her own clothes, but she no longer needed the machine. During the purchase, she noted that she is almost sad that it's better to give it away because of how well the machine performed. (I also bought it along side a computerized machine of another brand.} She demoed the machine for us, showing it worked and gave us everything (including the box it came in!) She took amazing care of this machine. I have used it a few times now, and the directions for threading were easy to follow (albeit my hands are quite large so the lower looper was a pain, but that is no fault to the machine or brand.) And I recommend this machine to anyone who wants to learn to serge and wants a machine that can grow with them. I will happily use this machine time and time again.
rvstan
S9 Review
Sunday, February 25, 2018

I love, love, love my S9! It's sews and embroiders beautifully and it's simplicity of use amazes me. I would recommend this machine for both a beginner and an experienced seamstress. If I would ask anything of Janome it would be to upgrade the programming to run a larger hoop size. I understand that it can't get much wider but there is most definitely room for it to go longer. That is the only limitation of this machine.
pjmnana
PJMNana
Monday, February 26, 2018

I purchased a Memorycraft 15000 a few years ago and it was the best purchase I ever made! This machine can do just about anything you would would ever want! I love the capability of using the Acuedit app to set up my embroidery pattern on my Ipad and then download it to the machine! I love how my embroidery looks upon completion and I love all the good lighting it has to light up your workspace. That way you don’t need to worry about where to set up your machine. It also has plenty of room to do machine embroidery on any size quilts! There are many decorative stitches from which to choose that are outstanding! It’s hard to choose which one to use! There are so many great features it is hard to decide what I love the most. If you want to buy only one machine to last a lifetime, I would recommend this one!
KLWash
S9 Review
Sunday, February 24, 2019

The S9 is amazing. I learned to sew by hand when I was just 5 and in my grandmothers way as she was quilting. I took seeing classes in high school until they would no longer let me sign up. The S9 makes me appreciate my current skills as well as motivate me to want to learn more. This machine is awesome.
SewSueMe2002
Horizon Memory Craft 15000
Thursday, November 19, 2020

My Janome Horizon Memory Craft 15000 is fantastic! I love, love, love this machine! When I came across the Eye for and Eye embroidery design today, I wanted to make it. However, the embroidery file is missing. Nothing downloads when I select the download button. Please help!
Jillfmischo
Treat Bag fun!
Monday, August 16, 2021

I made the Halloween treat bag for my new granddaughter and I’m sure it will last for years. No embroidery machine so I appliquéd the lettering. Need a little more skirt fabric for a better gathered look, and I used thin double-bias tape for the skirt hem, over edge stitch on skirt sides. I’m pleased with my results!
elenaz
Very helpful tutorial
Wednesday, October 25, 2023

I want to say thank you for teaching me this method of applique. I was able to do it with a small letters. This method is the best so far from all of those I've seen and tried.
plonkar
So useful
Thursday, November 30, 2023

I'd like to express my gratitude for teaching me this appliqué method. I successfully applied it with small letters, and, so far, it's the most effective among all the methods I've seen and tried.

DEALERS
The TWO Closest Dealers to you are:
1900 CENTRE ST , WEST ROXBURY MA, 02132
(617)323-6200
443 MOODY STREET , WALTHAM MA, 02453
781-893-3331
Find Additional Dealers