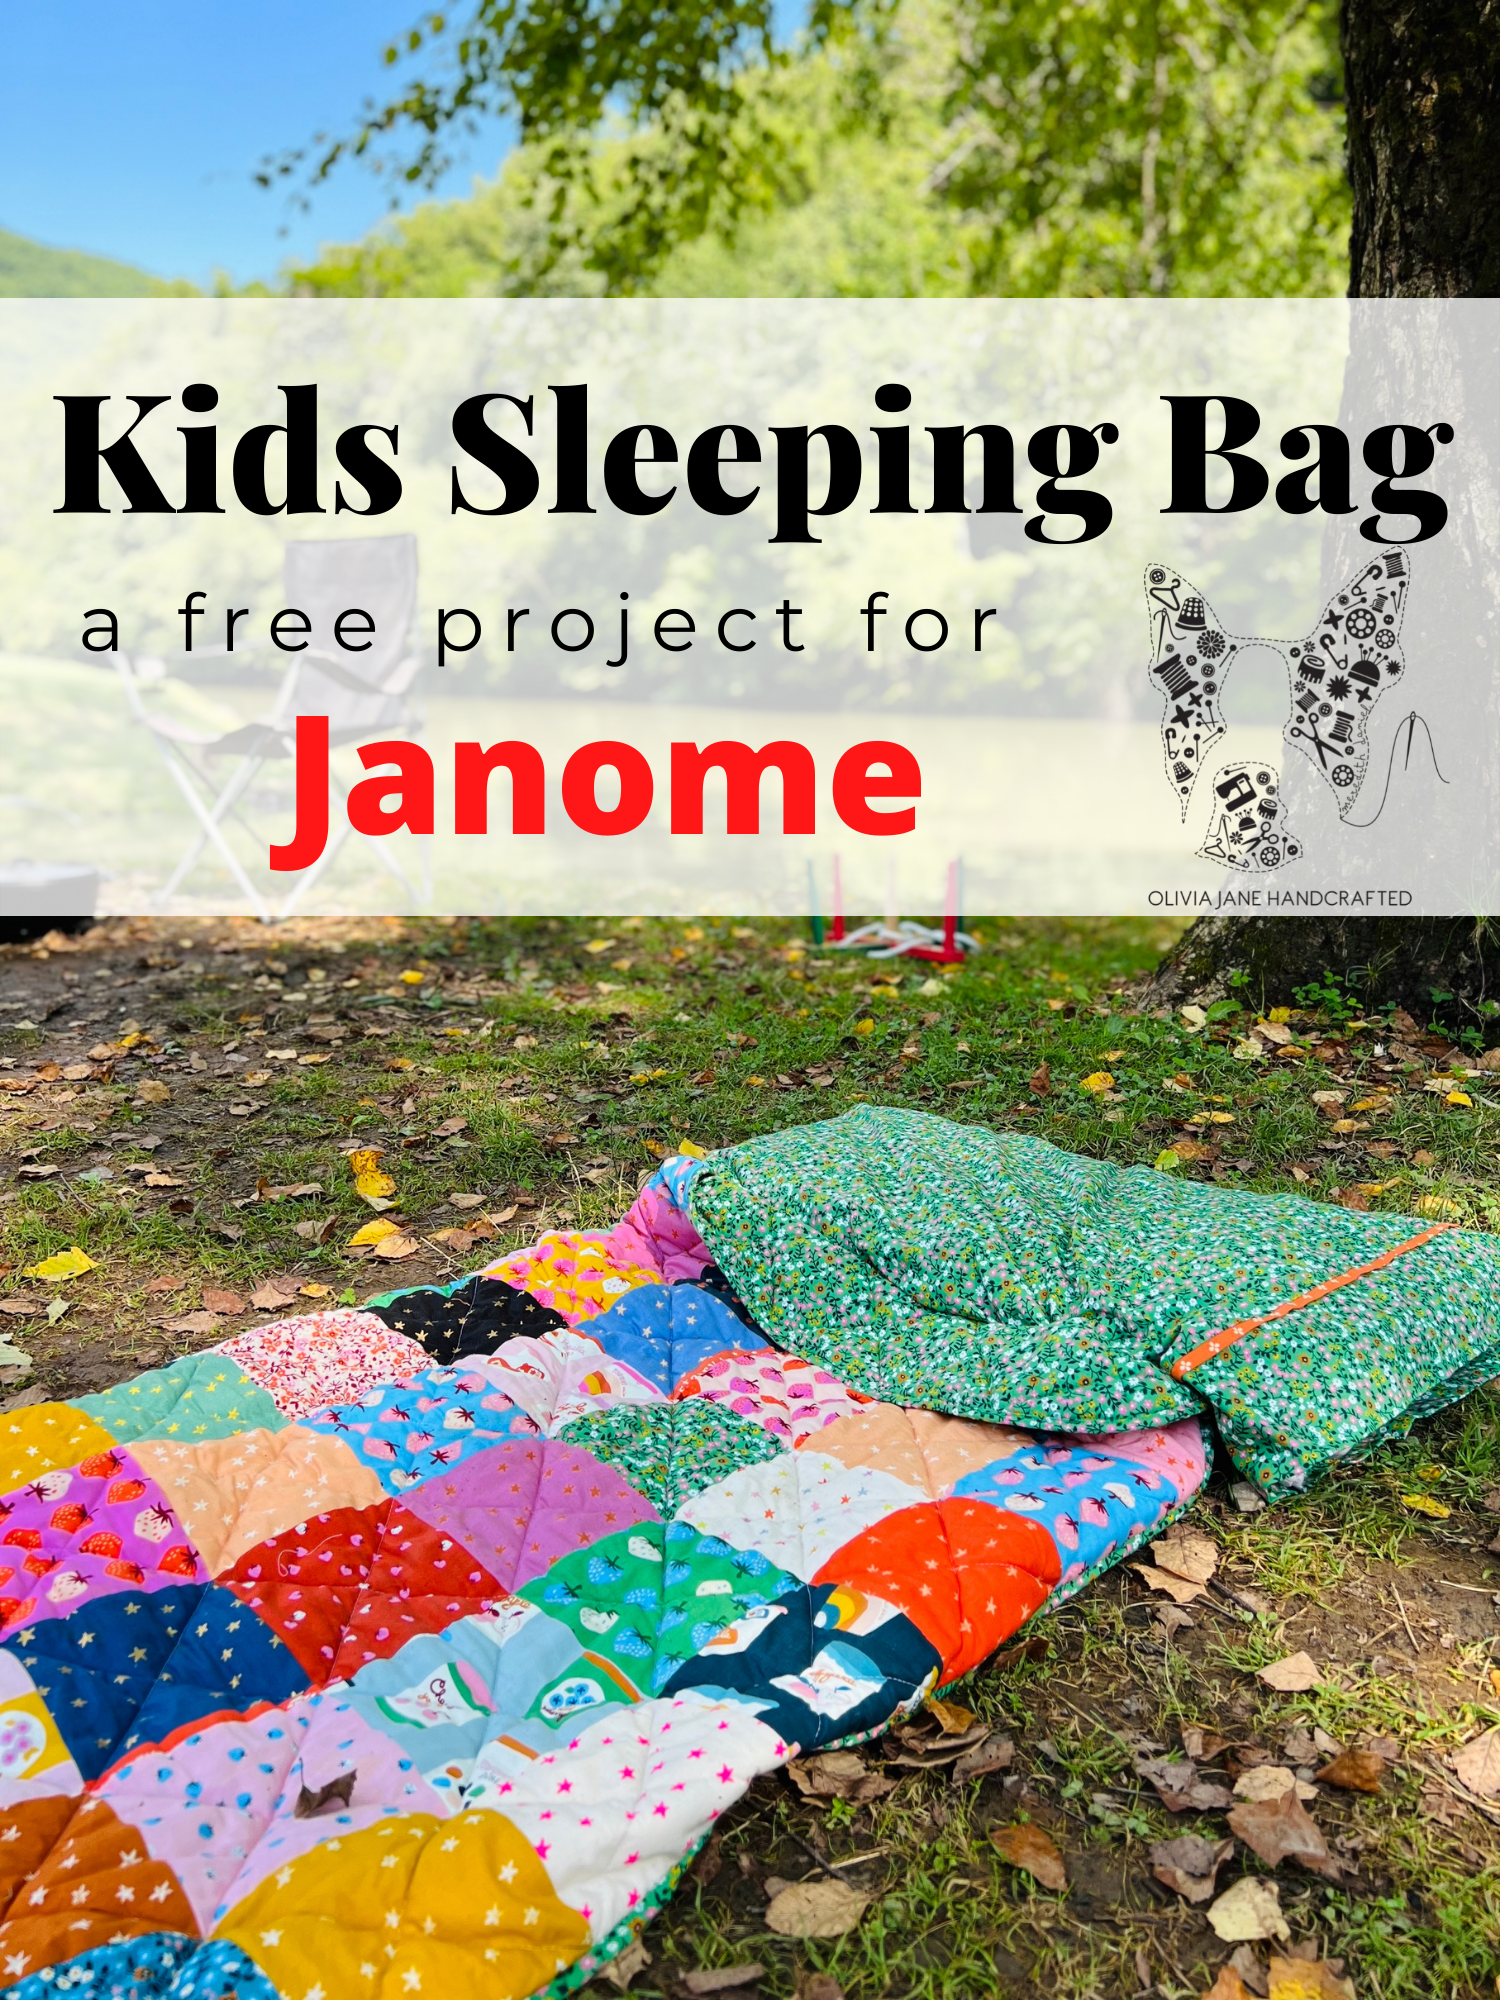
Today I have a super fun project to share with you! You know I am fond of taking utility items and making them pretty, and today's project does just that! I give you the most fun kids sleeping bag ever! Like many, Memorial Day weekend is when we kick off our family camping. I had purchased three sleeping bags for our older kids, but realized that the character themed sleeping bag that my youngest was using had been worn and was actually torn open in a few places. I knew we would need to remedy this, so I was glad for the opportunity to begin anew with a home sewn sleeping bag. 
this is important
Before I get into this project, I really need to make sure that you understand a few things. Sleeping bags and tents normally come with some sort of climate rating. Many folks believe these ratings come from an organization that requires a standard industry wide testing. In reality, these are just educated guesses from the individual manufacturers. There is no third party that has a set standard. You can make your sleeping bag with whatever materials you want, depending on the application. If you are just making for living room sleepovers, you can stick with materials you would use for a quilt like quilting cotton and cotton batting. If you are using for warm weather camping, you can also use these materials. If you do camping in cooler temps, I would recommend using a high loft wool batting and perhaps an additional thermal lining paired with a heavier fabric. We camp from Spring to Fall, so we need something that will keep us warm in cool weather, but not suffocatingly hot in the peak of summer. So I have chosen to pair quilting cotton with two layers of high loft wool batting, and I think it will serve my youngest well. If you choose to use a wool batting, do understand that you must treat it differently than cotton. I am using Hobbs Heirloom wool batting, and I called and spoke to the company prior to buying. They let me know that I couldn't iron it, and if it must be washed, it must be done with cool water on a delicate cycle. To dry, it should be blocked atop towels, and then when mostly dry, it can be put into the dryer on a NO HEAT fluff cycle. I know that sounds like a lot of maintenance, but if you consider sleeping bag care, it's really not much more involved than that. There are some major pros to wool- it is nearly weightless, and is excellent for keeping one warm in cold temperatures yet cool in warm weather. It won't crease unlike cottons. I did want a high loft batting that was made with natural fibers, and while this is considered high loft, it was barely loftier than Warm and Natural cotton batting. This led me to double layer it, which yielded the very result I wanted. Ultimately, this was the perfect choice for our sleeping bag, but do your research to find what works best for you. Now that I've written a full length introduction, why don't I tell you how to make this? I made this kids sleeping bag over the course of a few days because it is summertime, and I have four kids and can barely accomplish any singe task in only a day, so if you do have children, I would allow yourself a few afternoons to make this sleeping bag. If you have more time to yourself, you could make this in a day. I would say this is an intermediate project, and most of the process is akin to making a quilt. KIDS SLEEPING BAG
 INSTRUCTIONS
phase 1
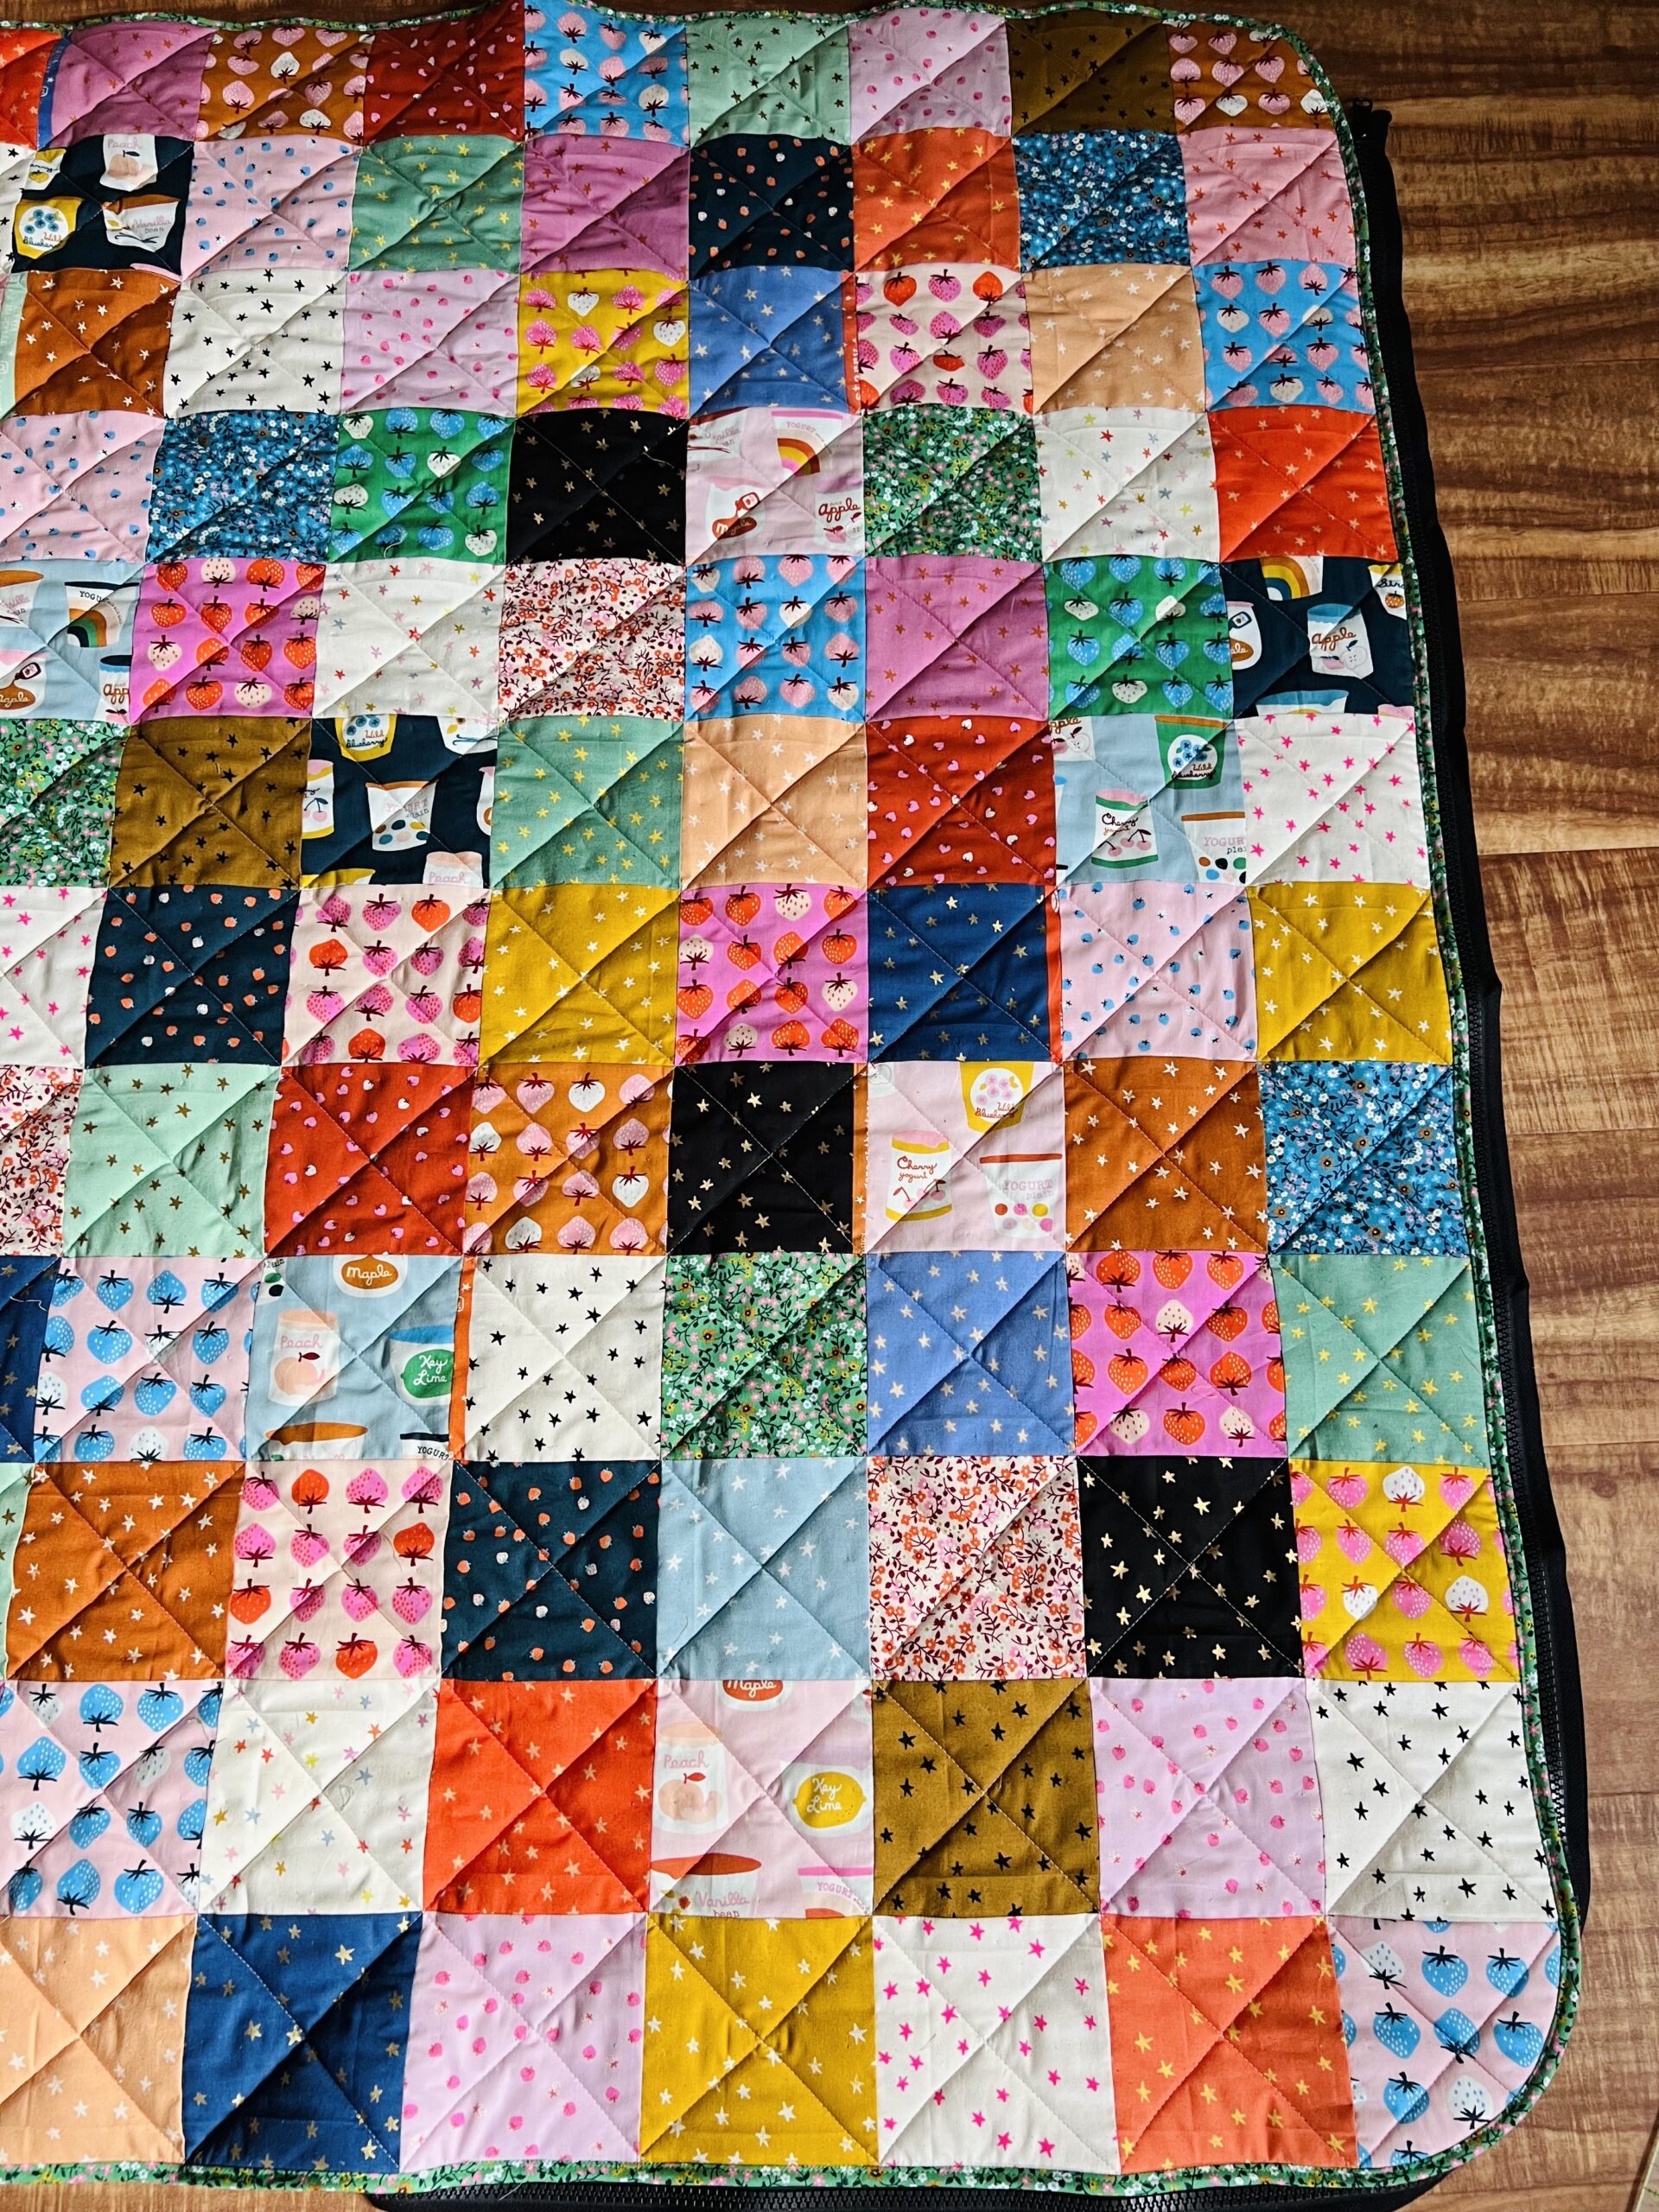
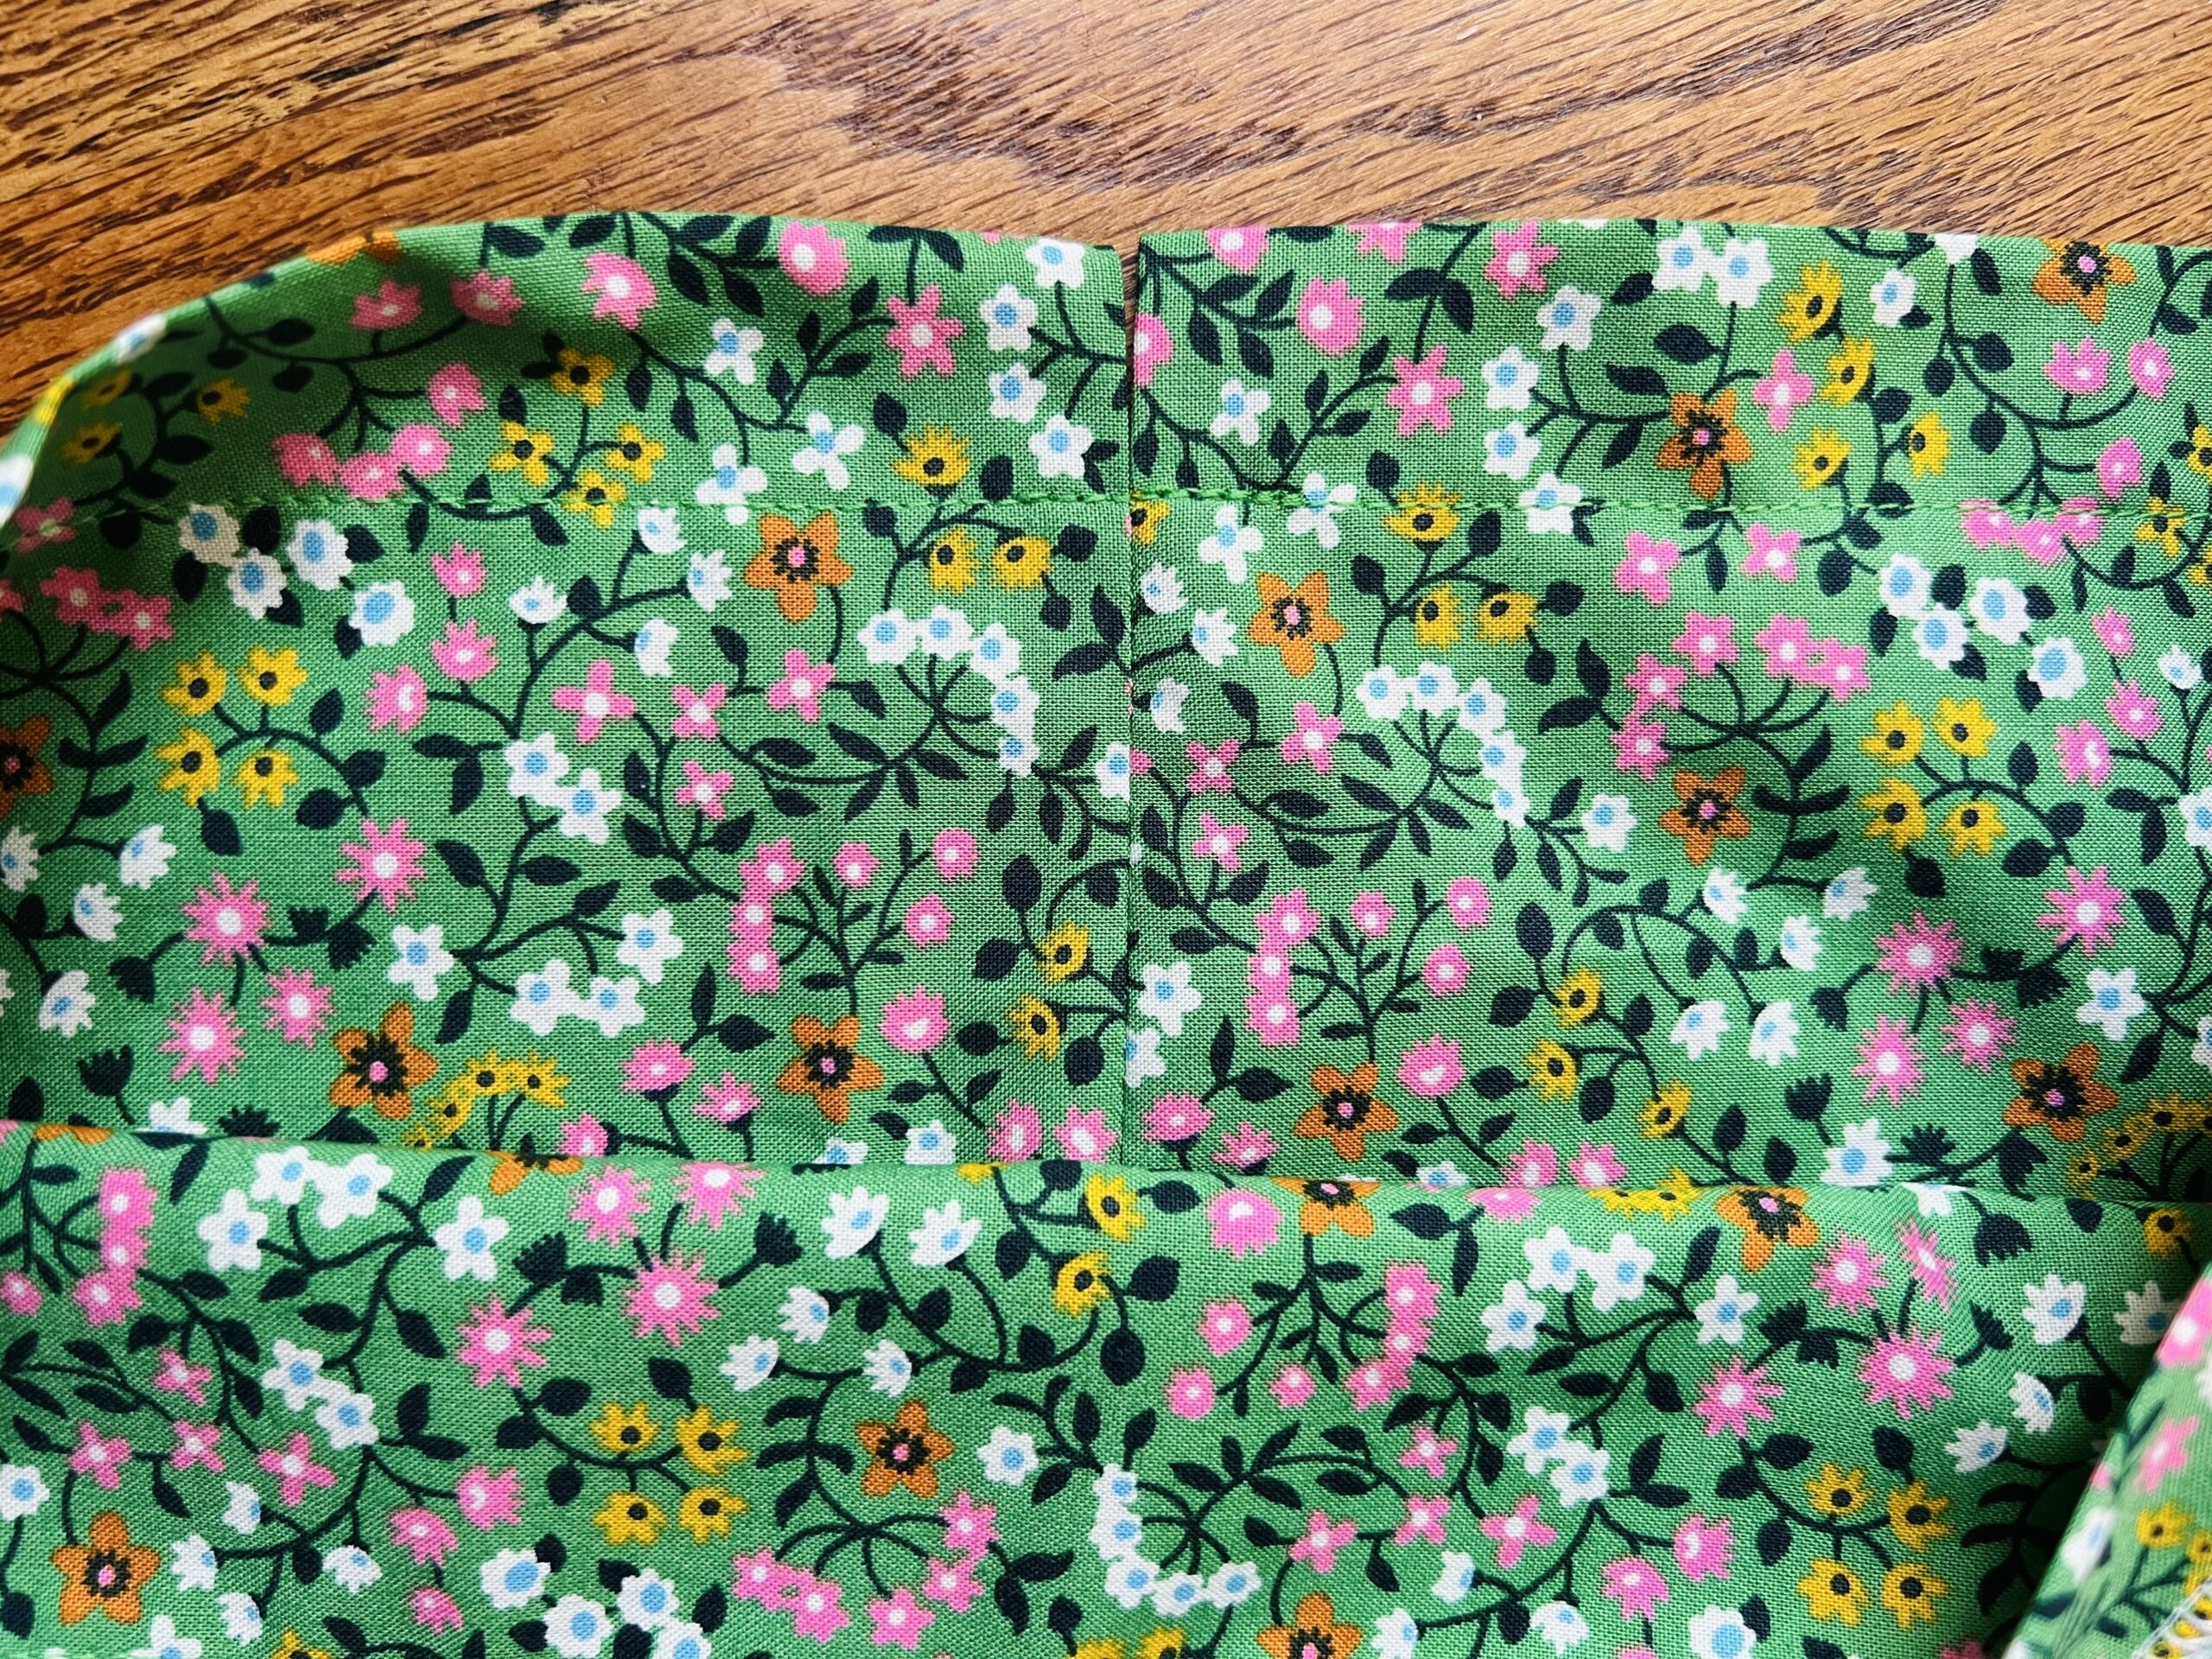
Cut your fabrics for the top, and assemble your fabrics to yield a 50 x 60" patchwork panel. I cut 120 5.5" squares and arranged them into 12 rows of 10 which gave me a 50.5 x 60.5" piece. I didn't trim the excess because it will be covered by the bias binding eventually. If you have made a quilt before, you will probably be familiar with this- that extra .5" is what you call the "unfinished" size. 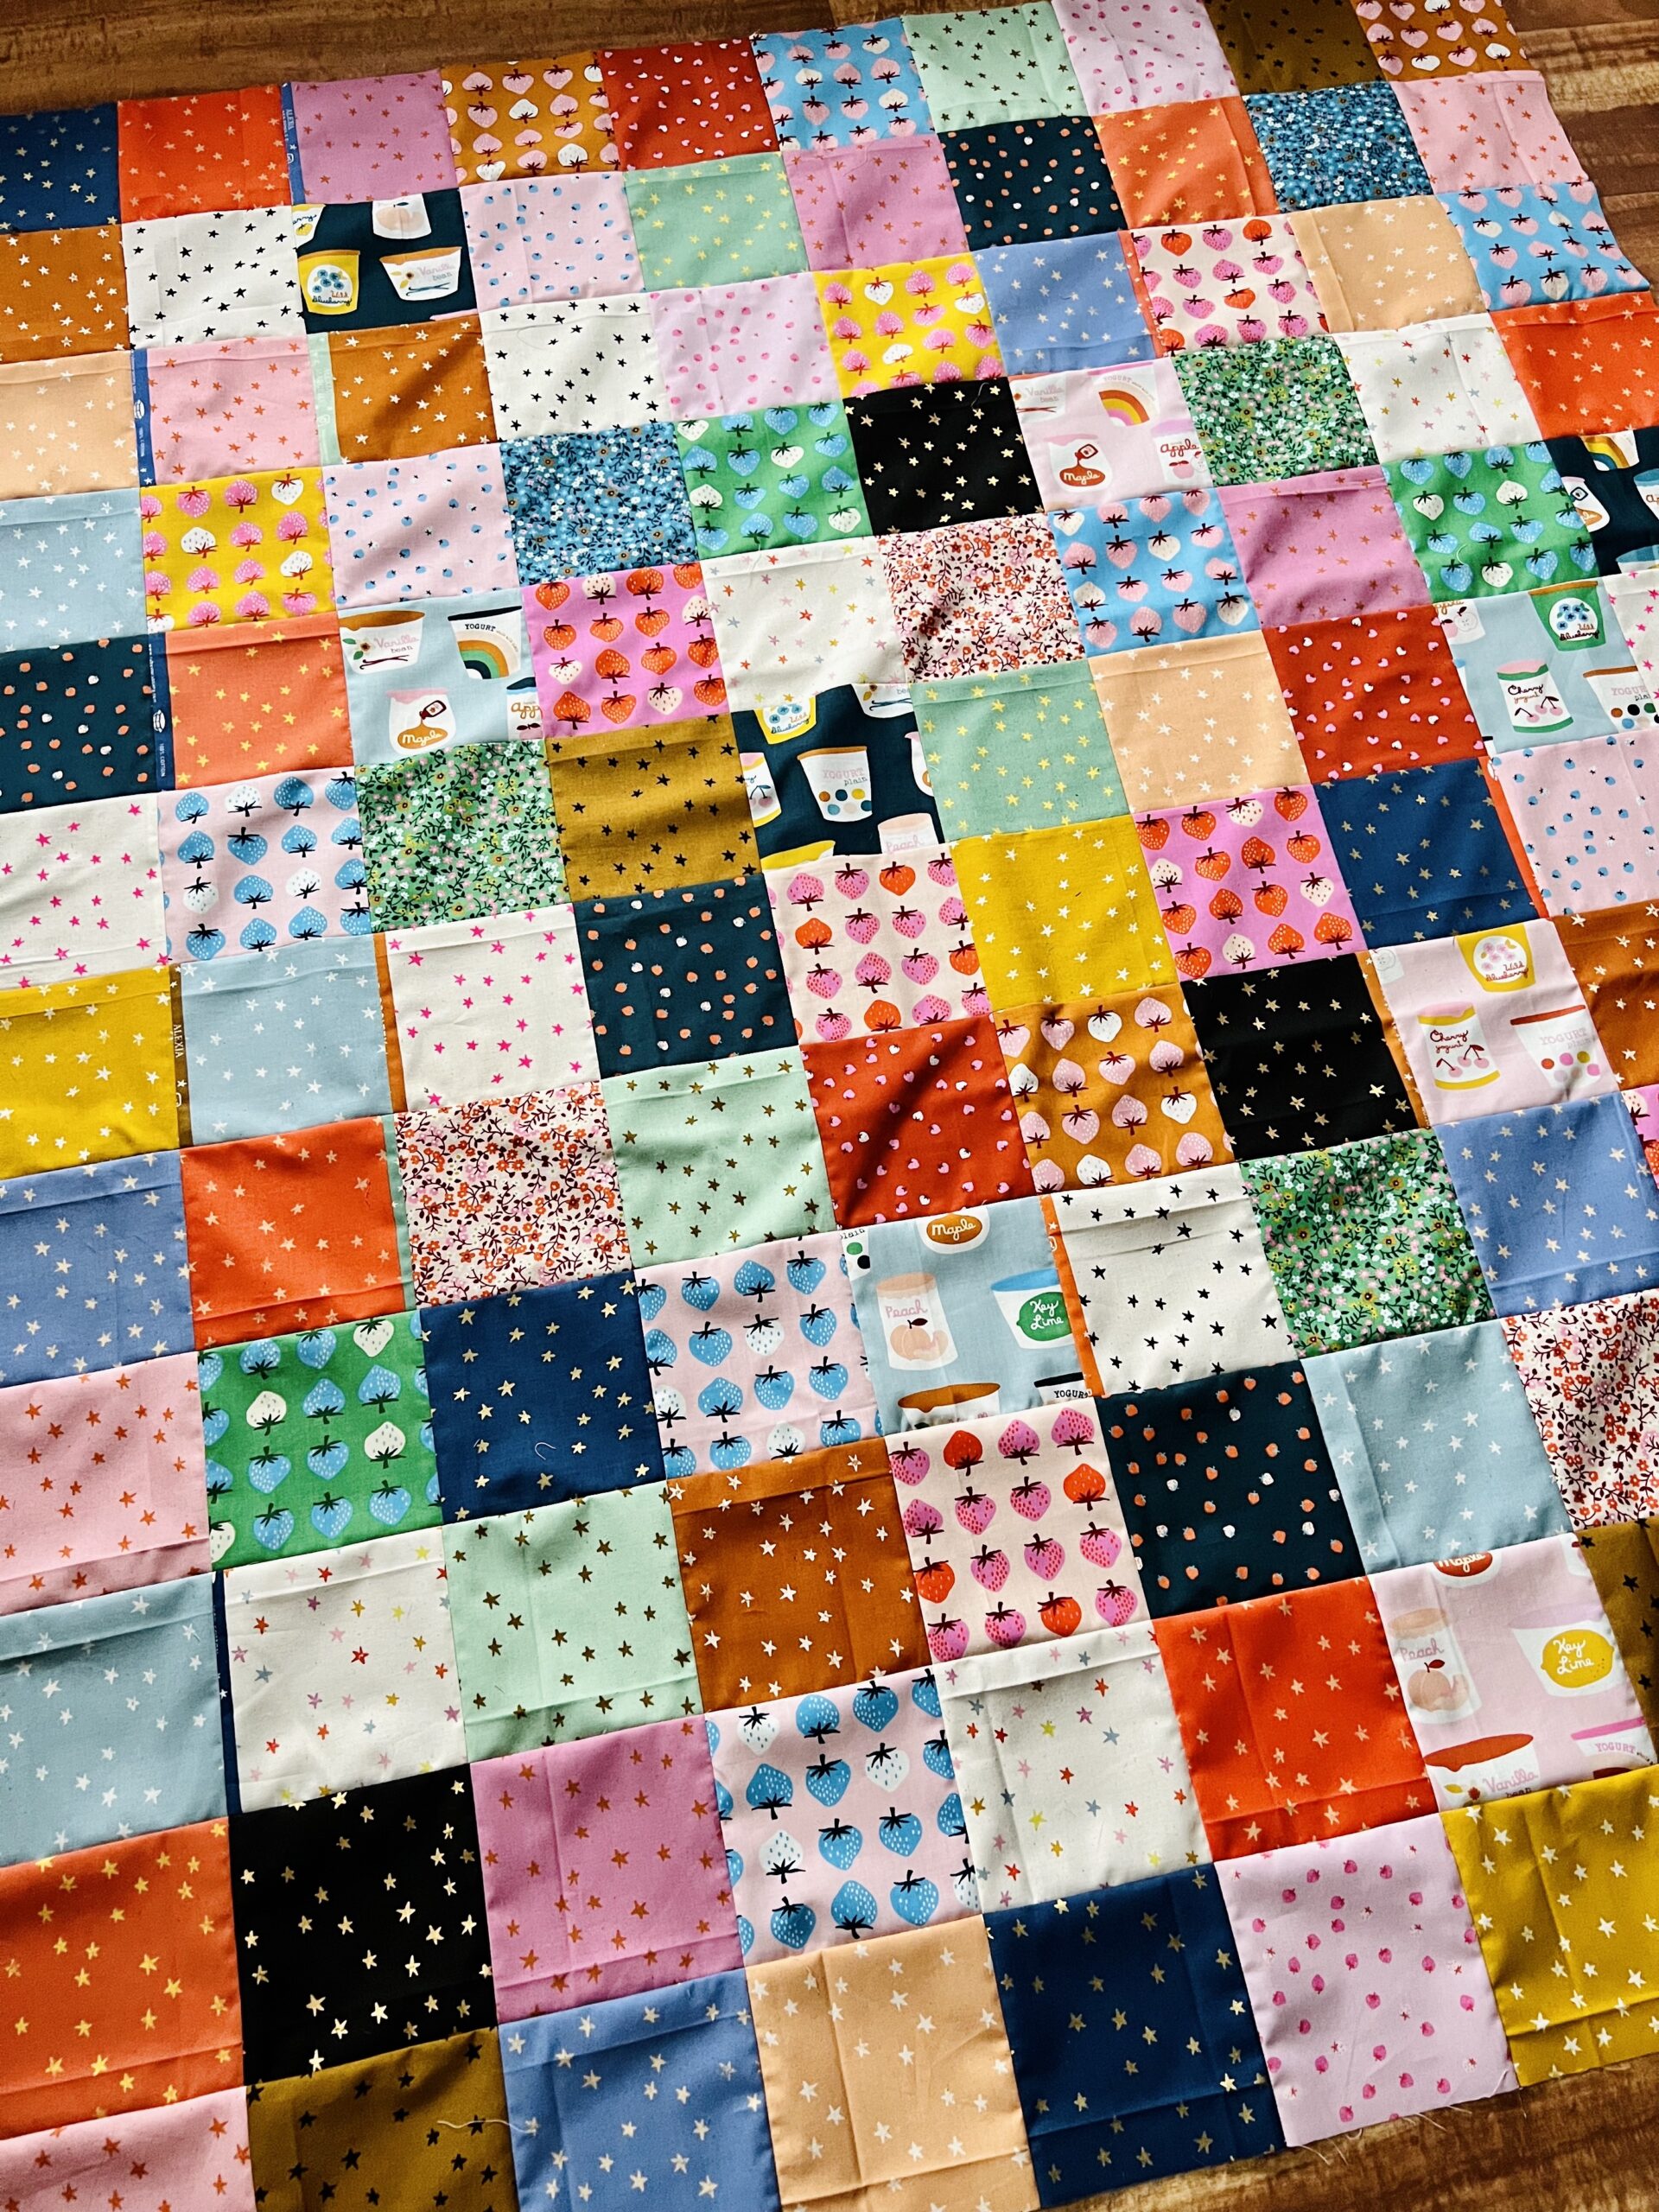 The inside of your sleeping bag will need to be a couple of inches larger on all sides to allow you to quilt it, so double over your lining and use the width of your outer sleeping bag as a cutting guide. The width of your two pieces should be about 54-56".
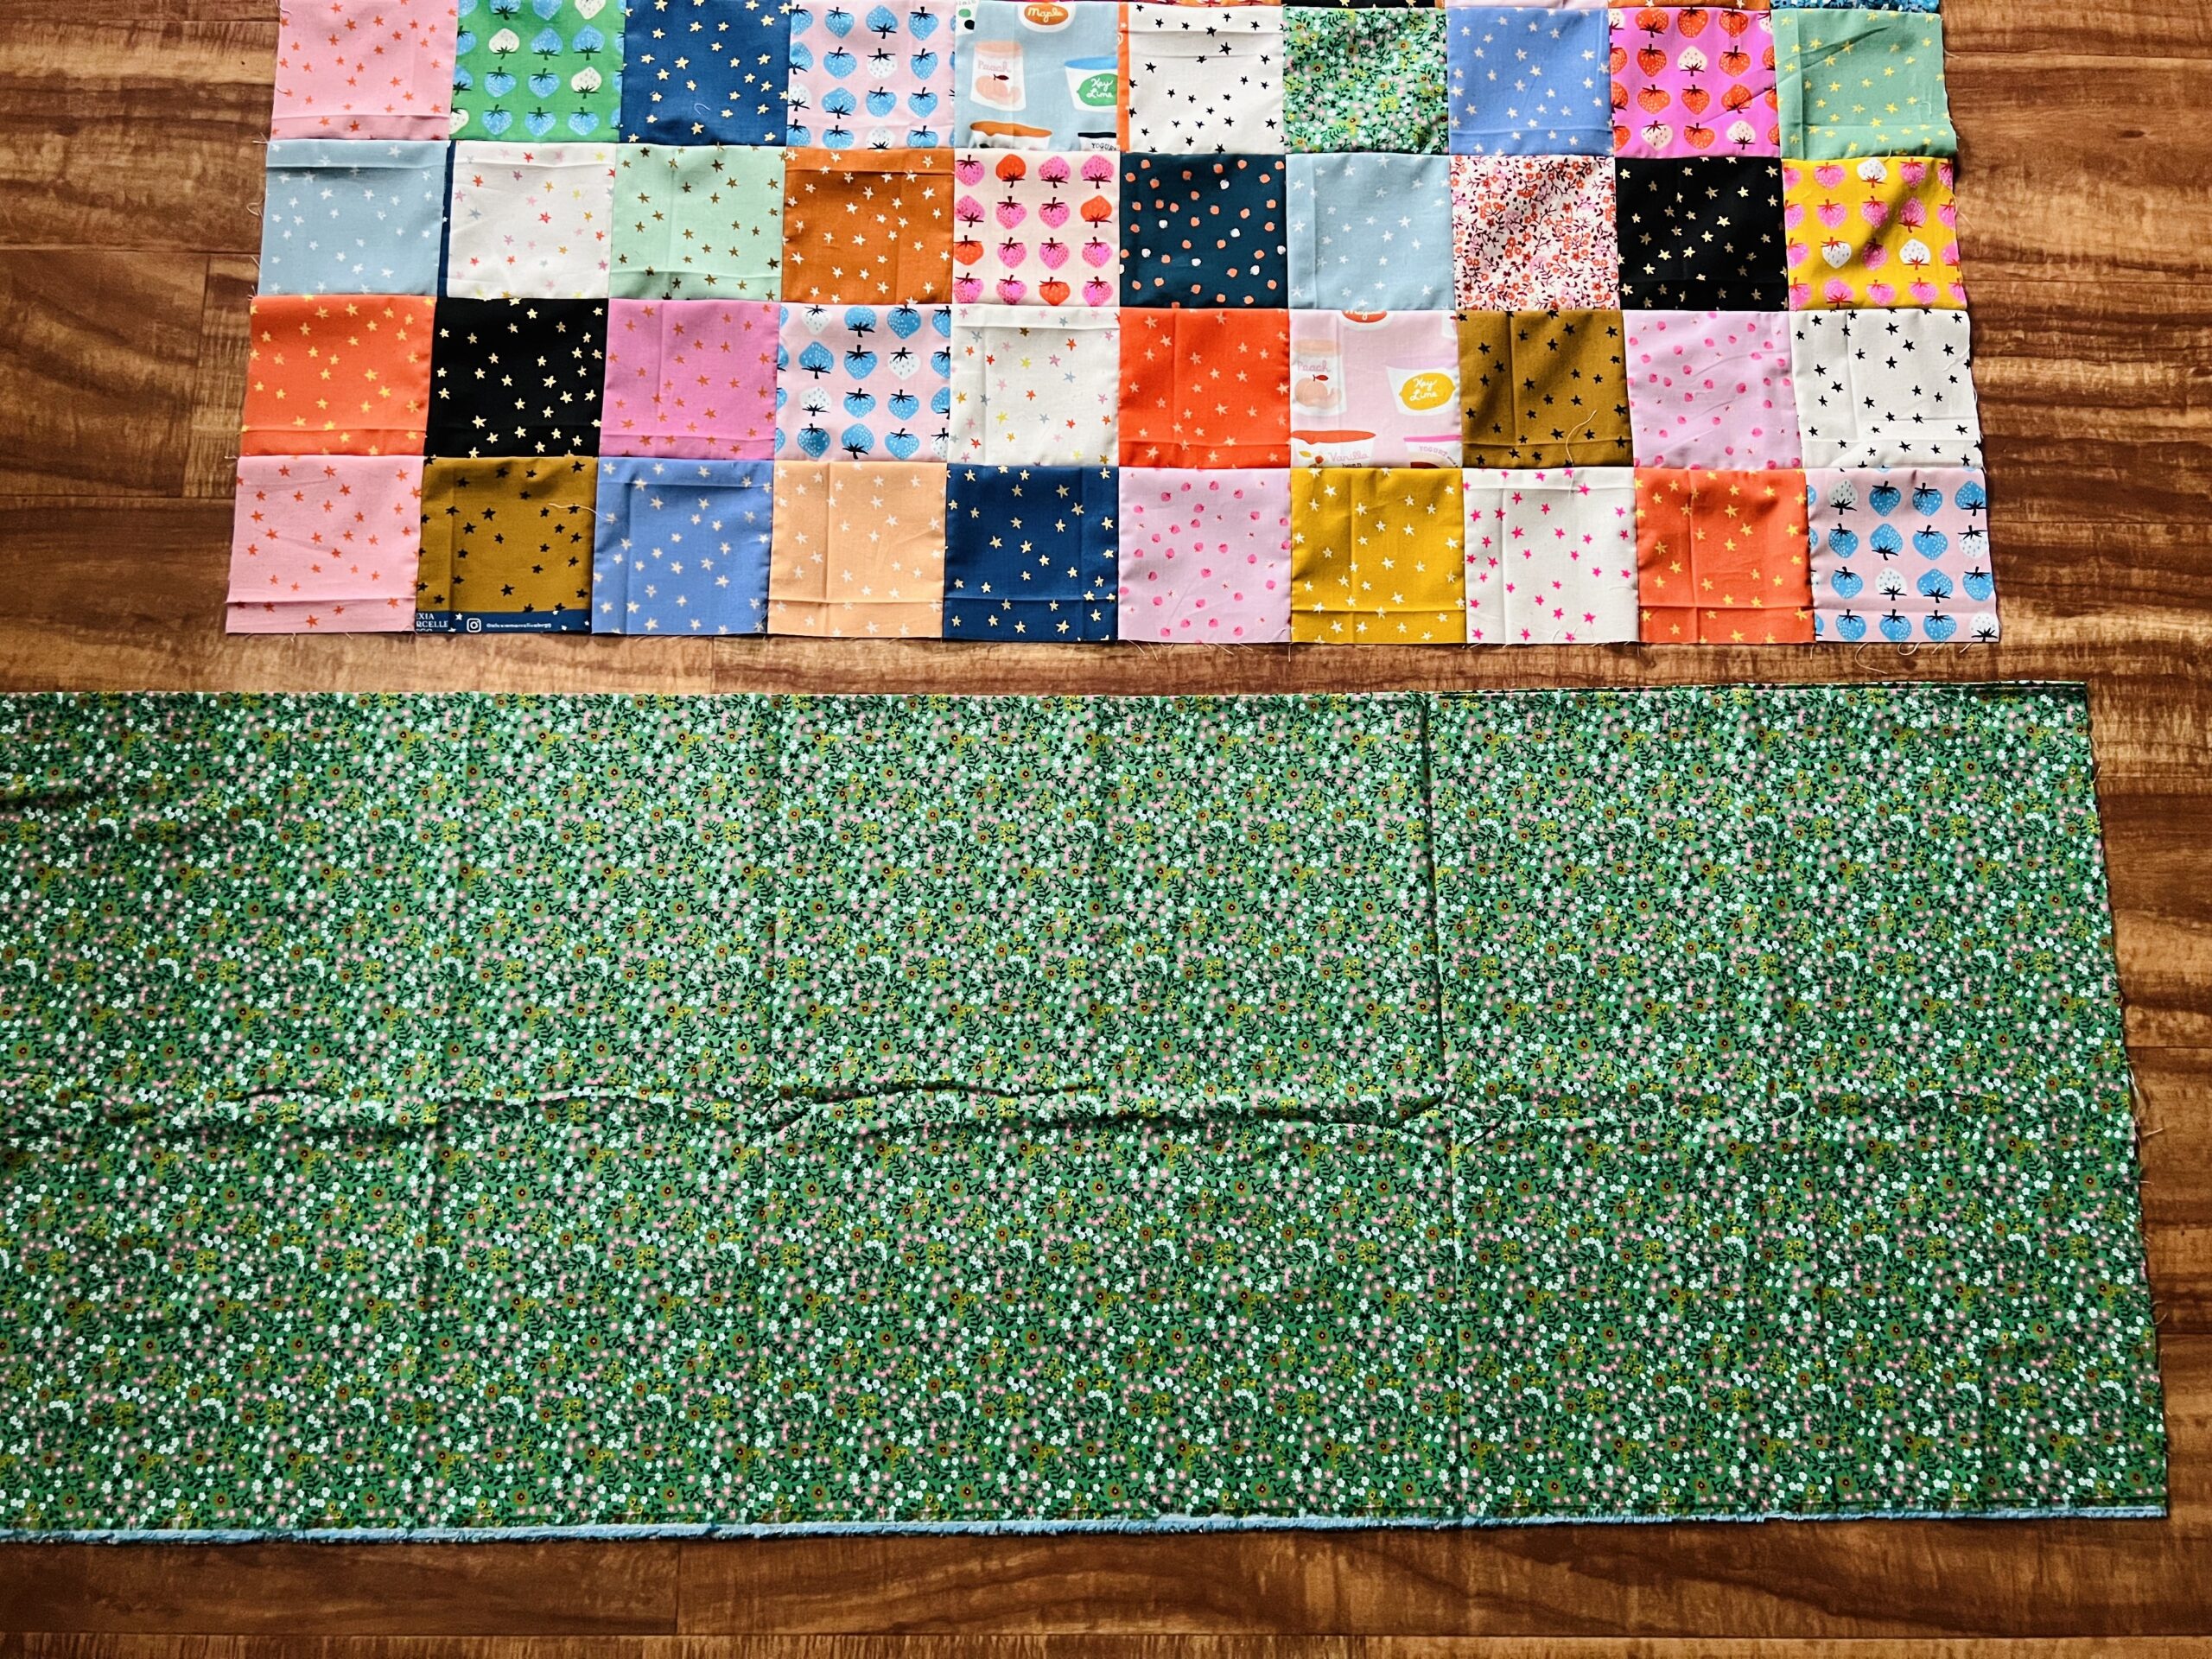 Sew them together along the 54" sides right sides together, and you will then have a piece that is approximately 54" x 82". Press the seam in one direction, and then place your patchwork panel atop the lining. Trim the lining so that it is just a few inches longer than the top and bottom of your patchwork panel. Place the patchwork panel aside for the moment.
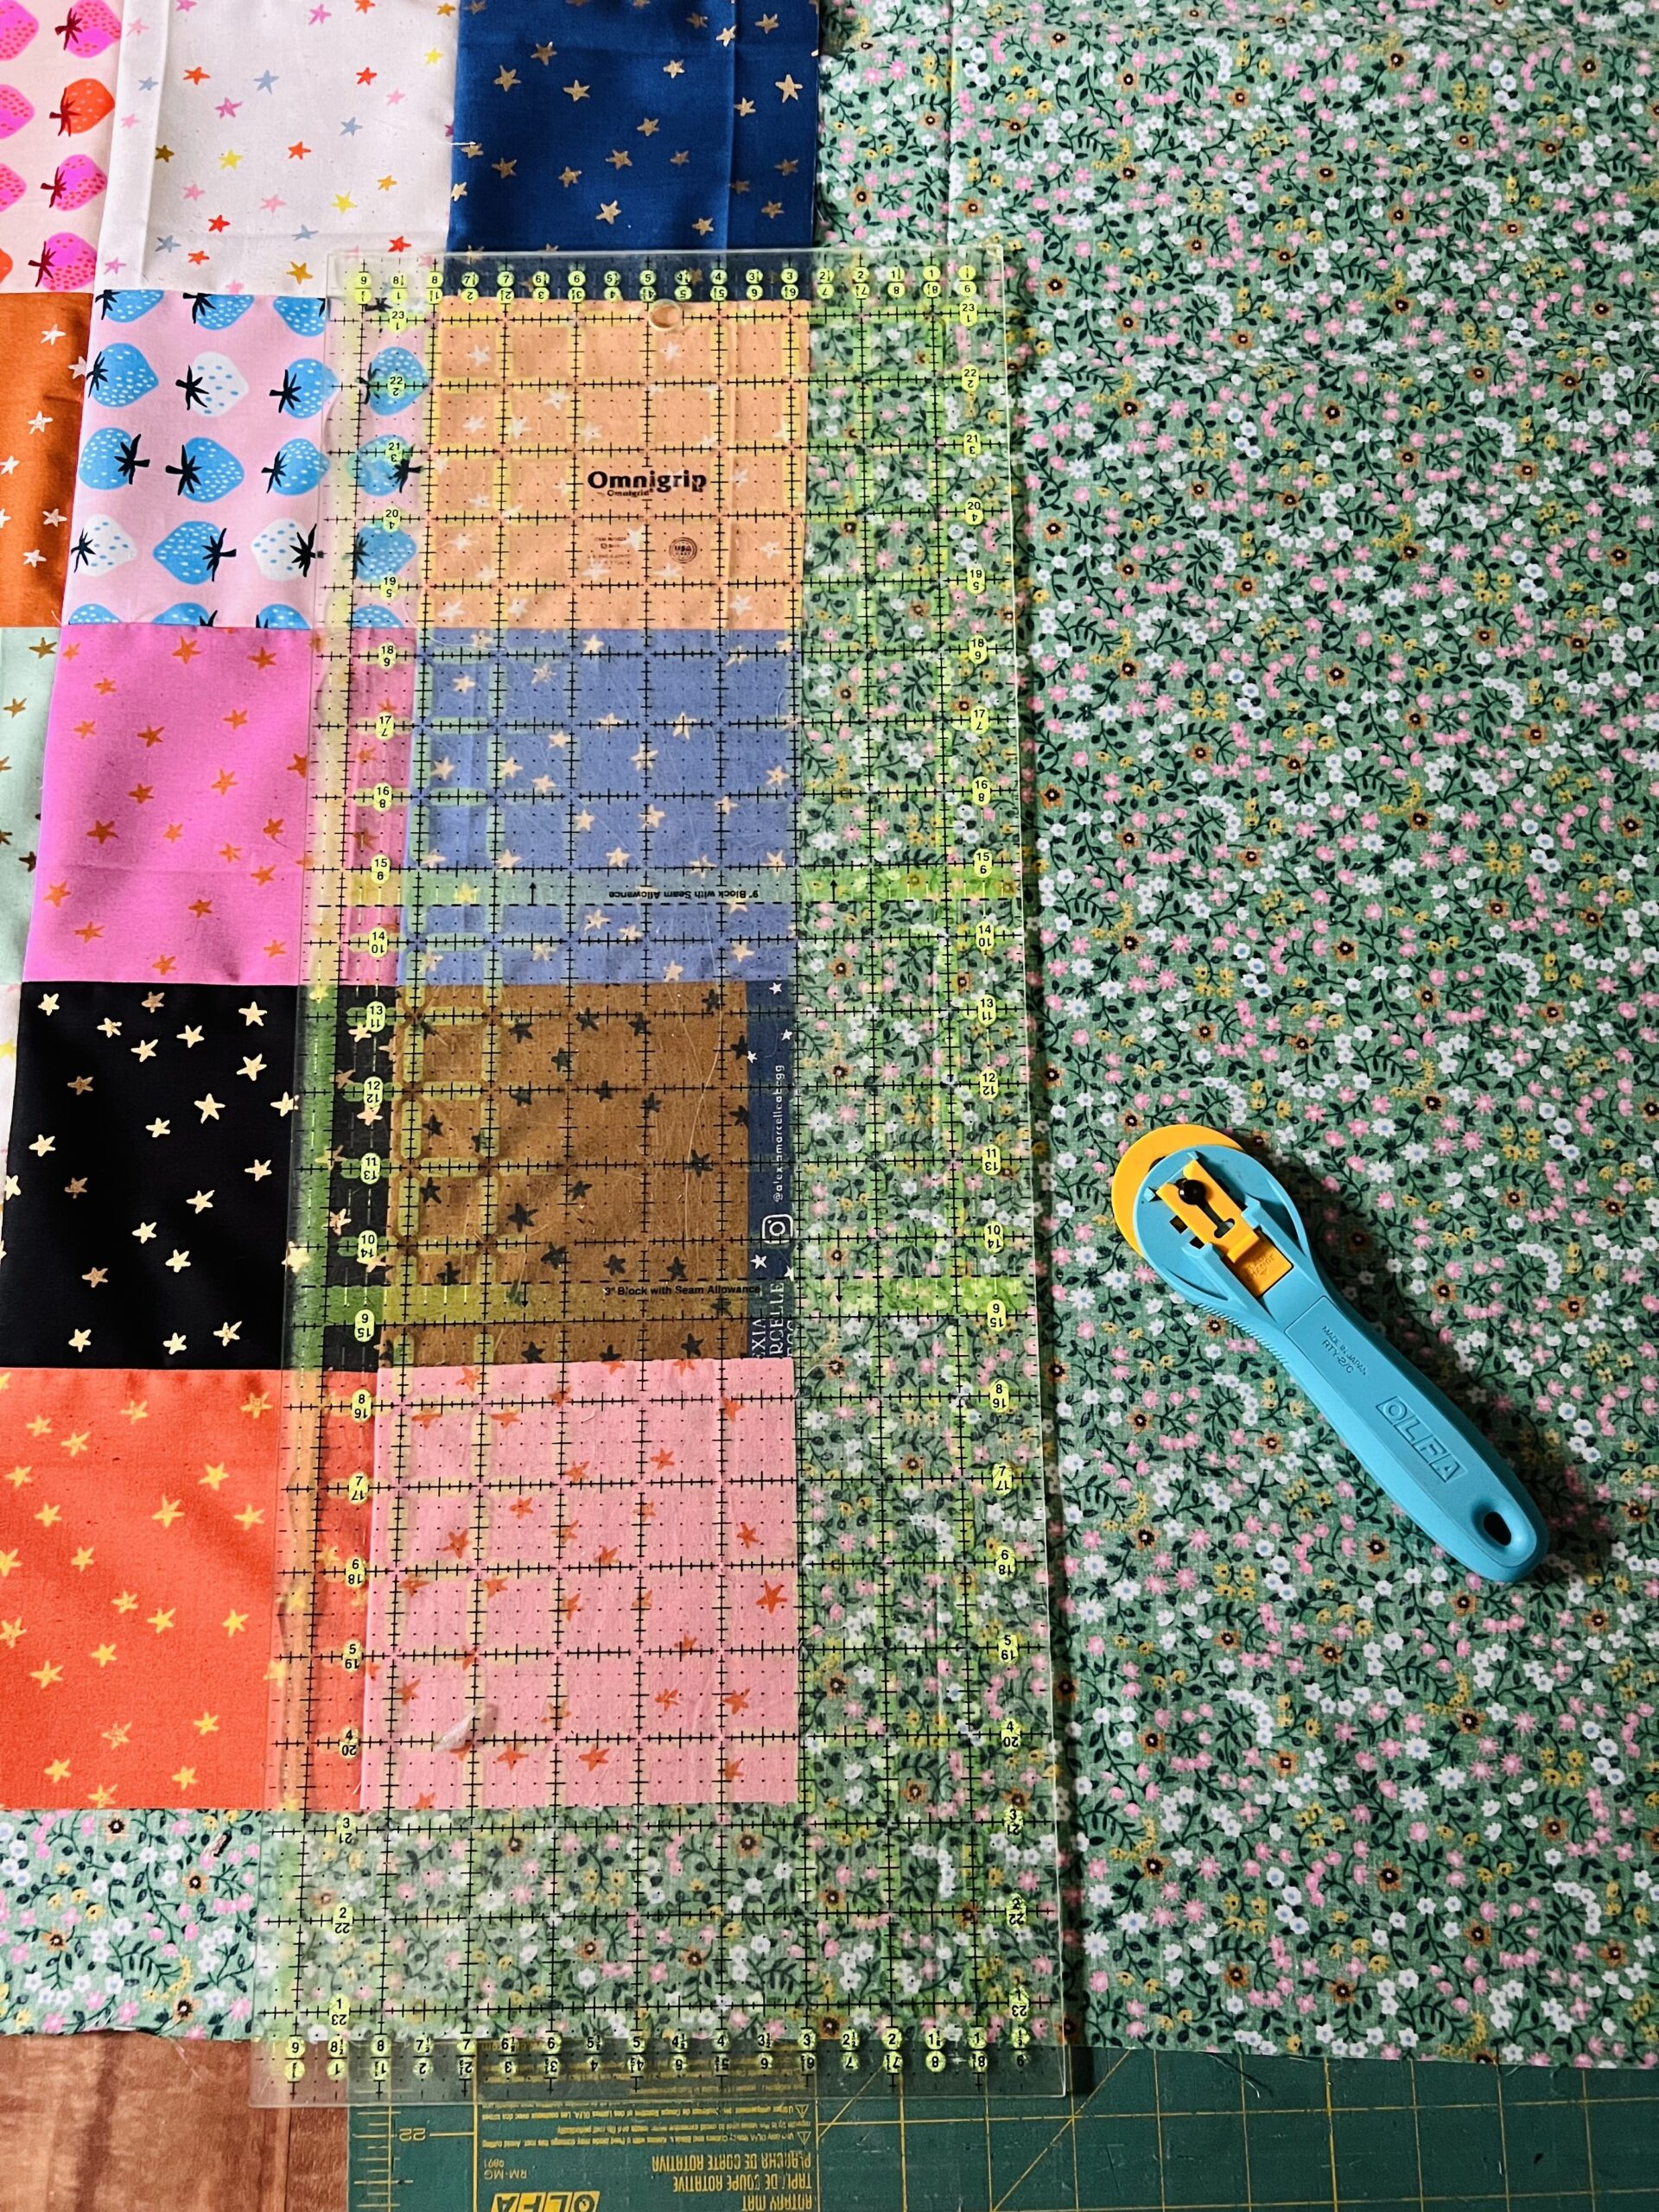 Trim your batting to about the same size as your lining piece. I just doubled over the batting I used and trimmed off the excess along the bottom. Place the lining right side down on the floor or whatever smooth, clean surface you have available. I like to use masking tape to keep it in place while I get my "quilt sandwich" intact. Layer your batting on top of the lining as evenly as you can, smoothing out any wrinkles. Remember if you are using wool, you can't iron it.
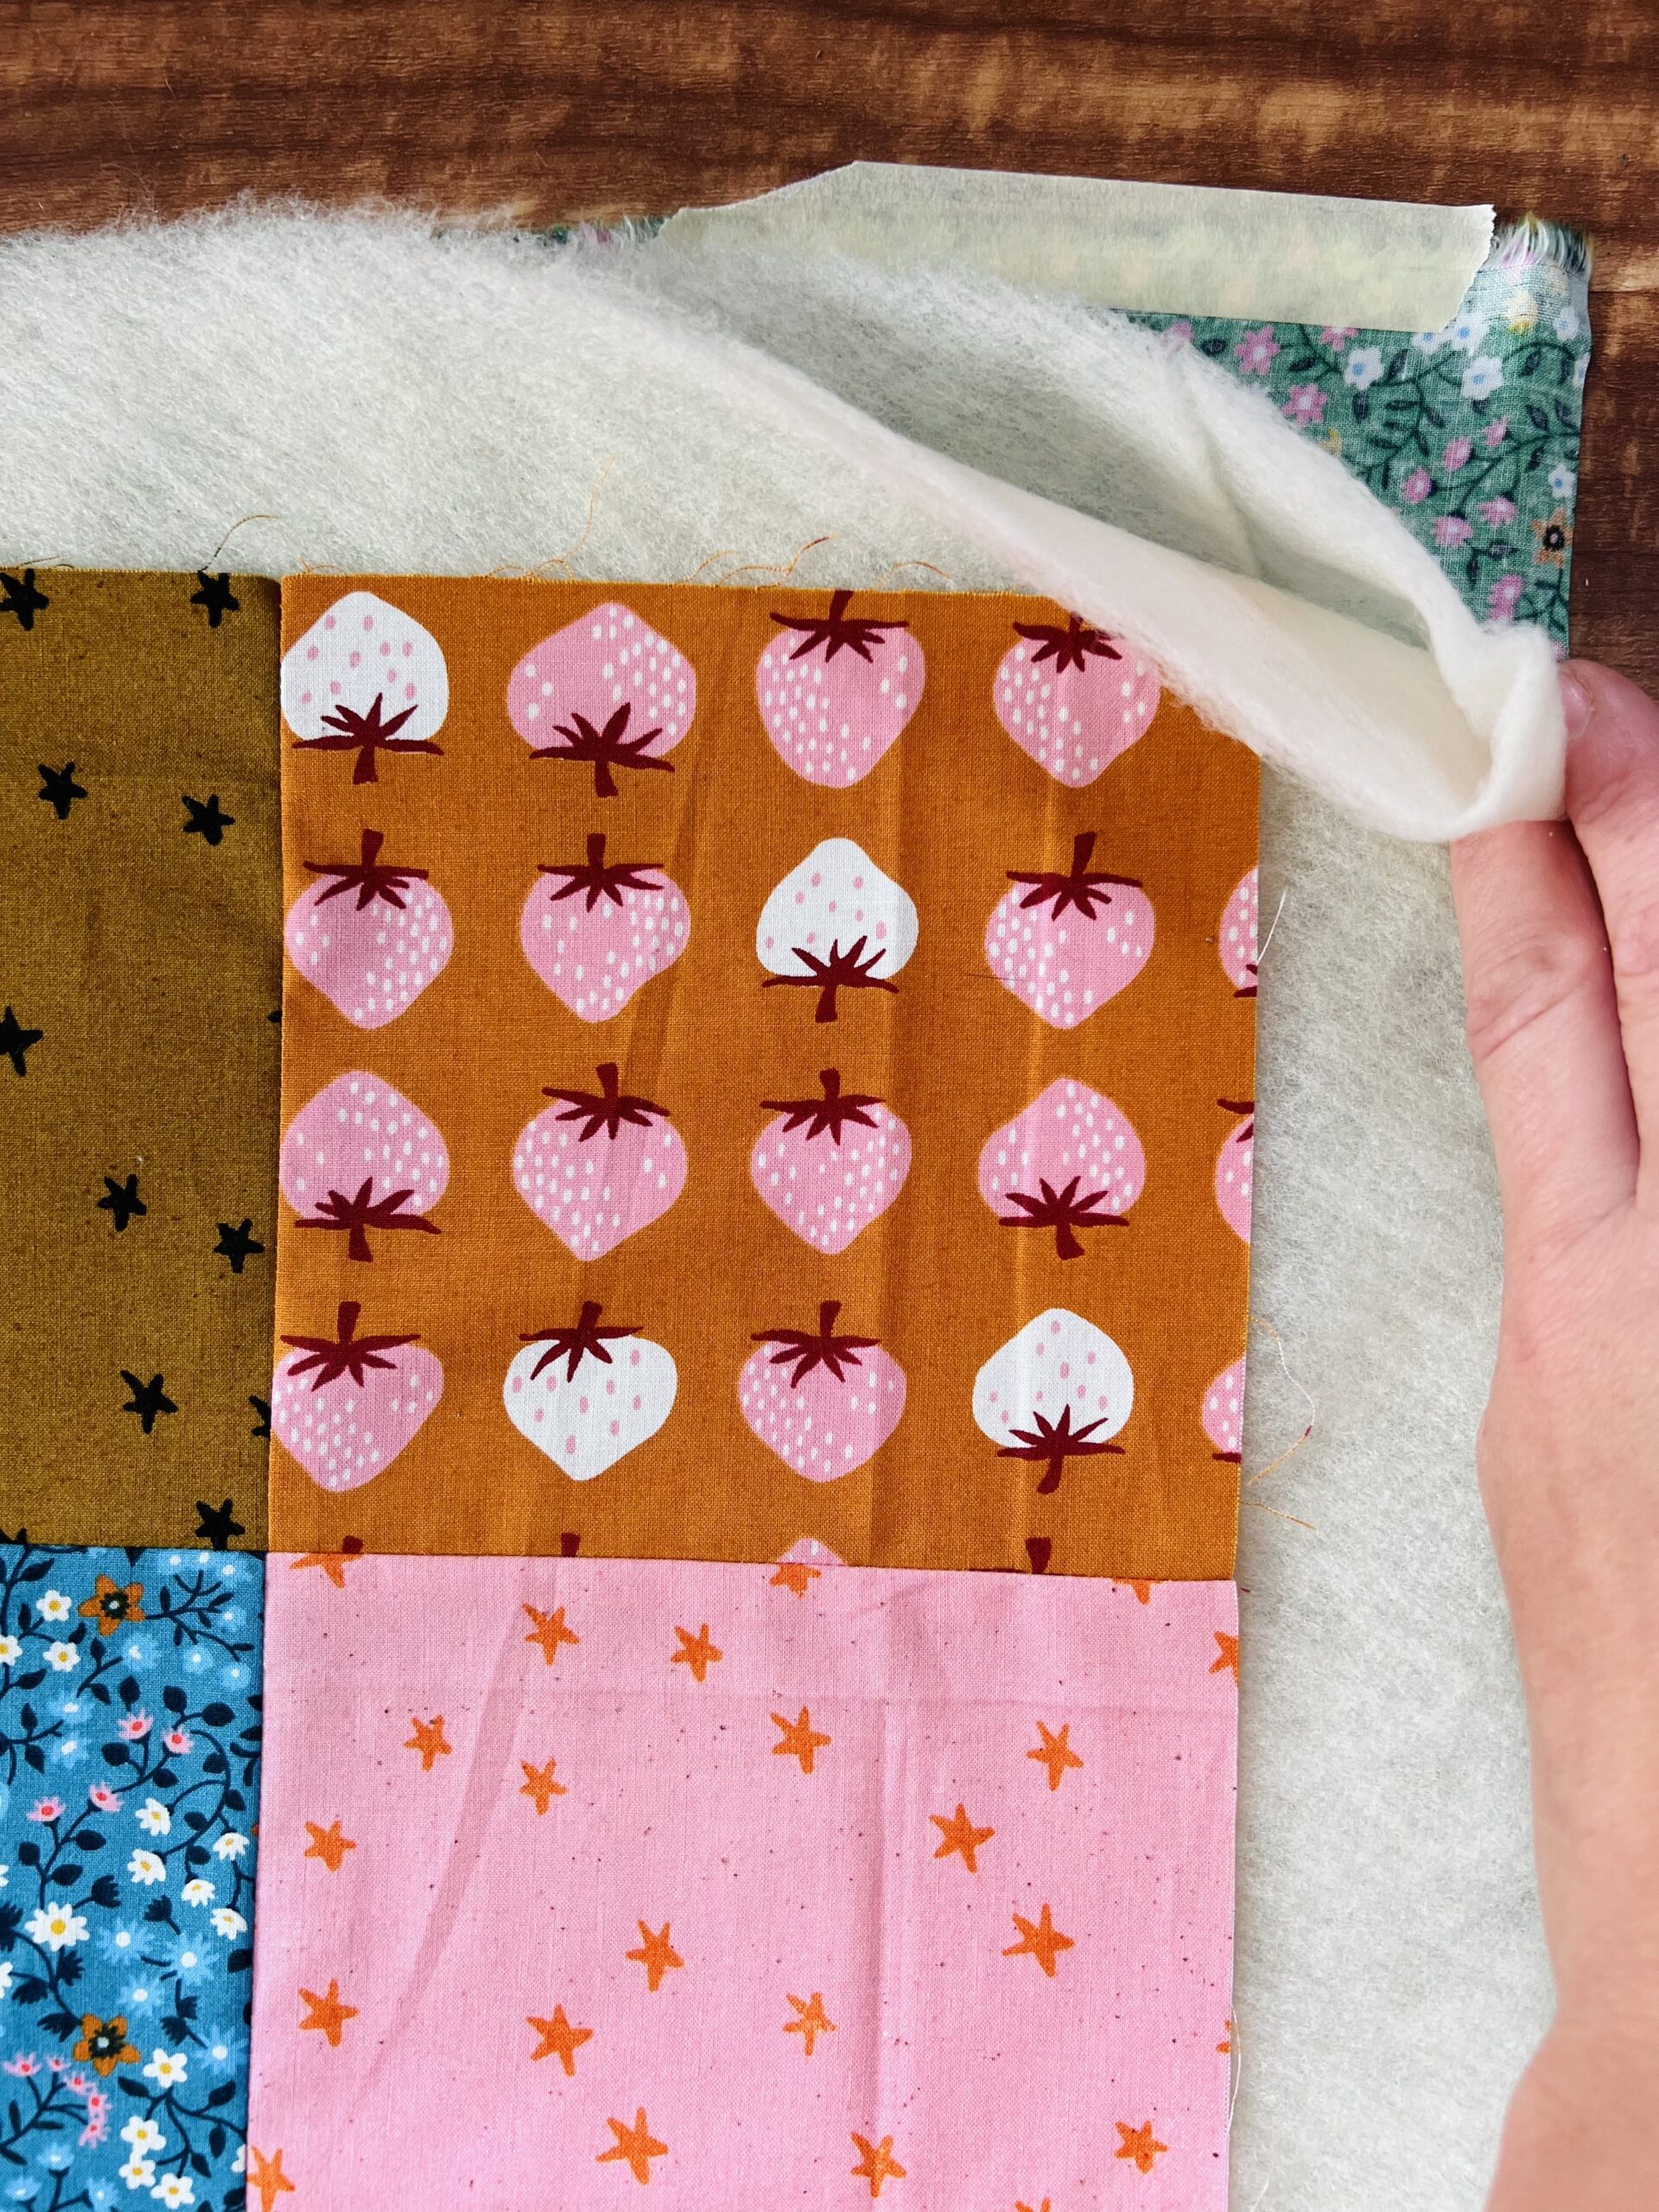 Finally, center that patchwork panel pretty side up so that you have a few inches around all four sides. Baste the quilt together using safety pins or your preferred method. If you are using a high loft batting, make sure you are basting thoroughly and do catch all the layers in the pins.
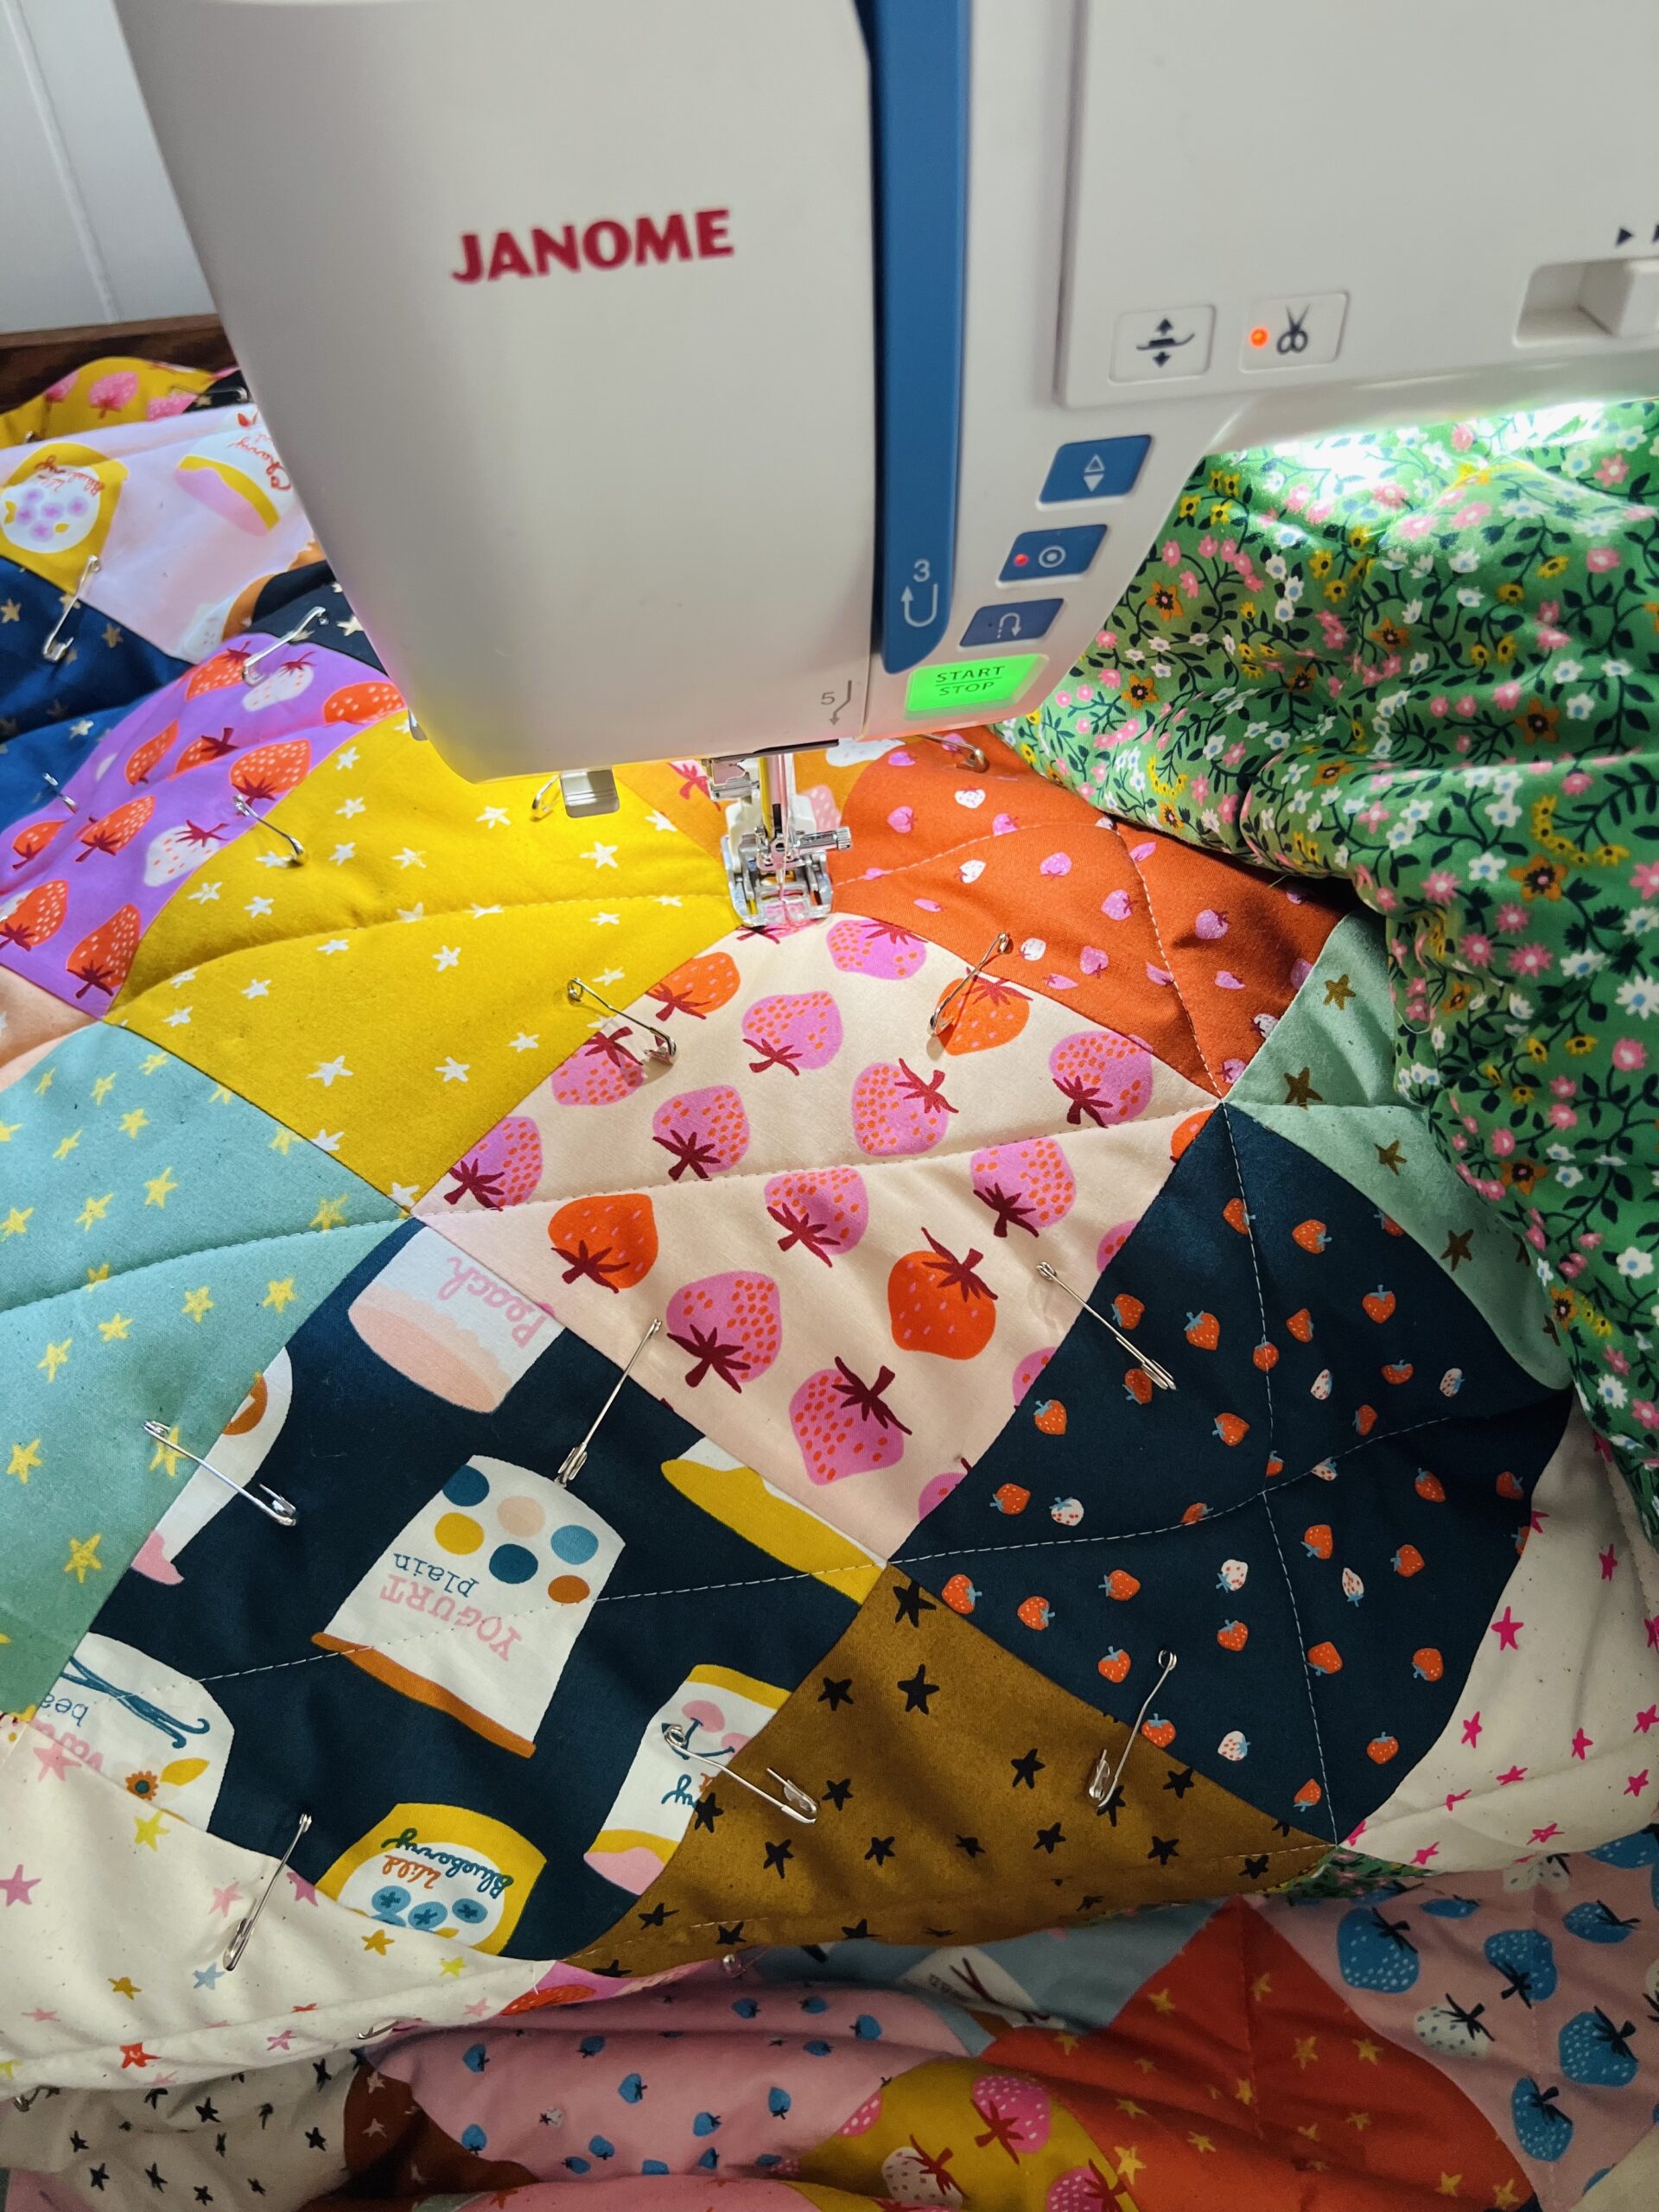
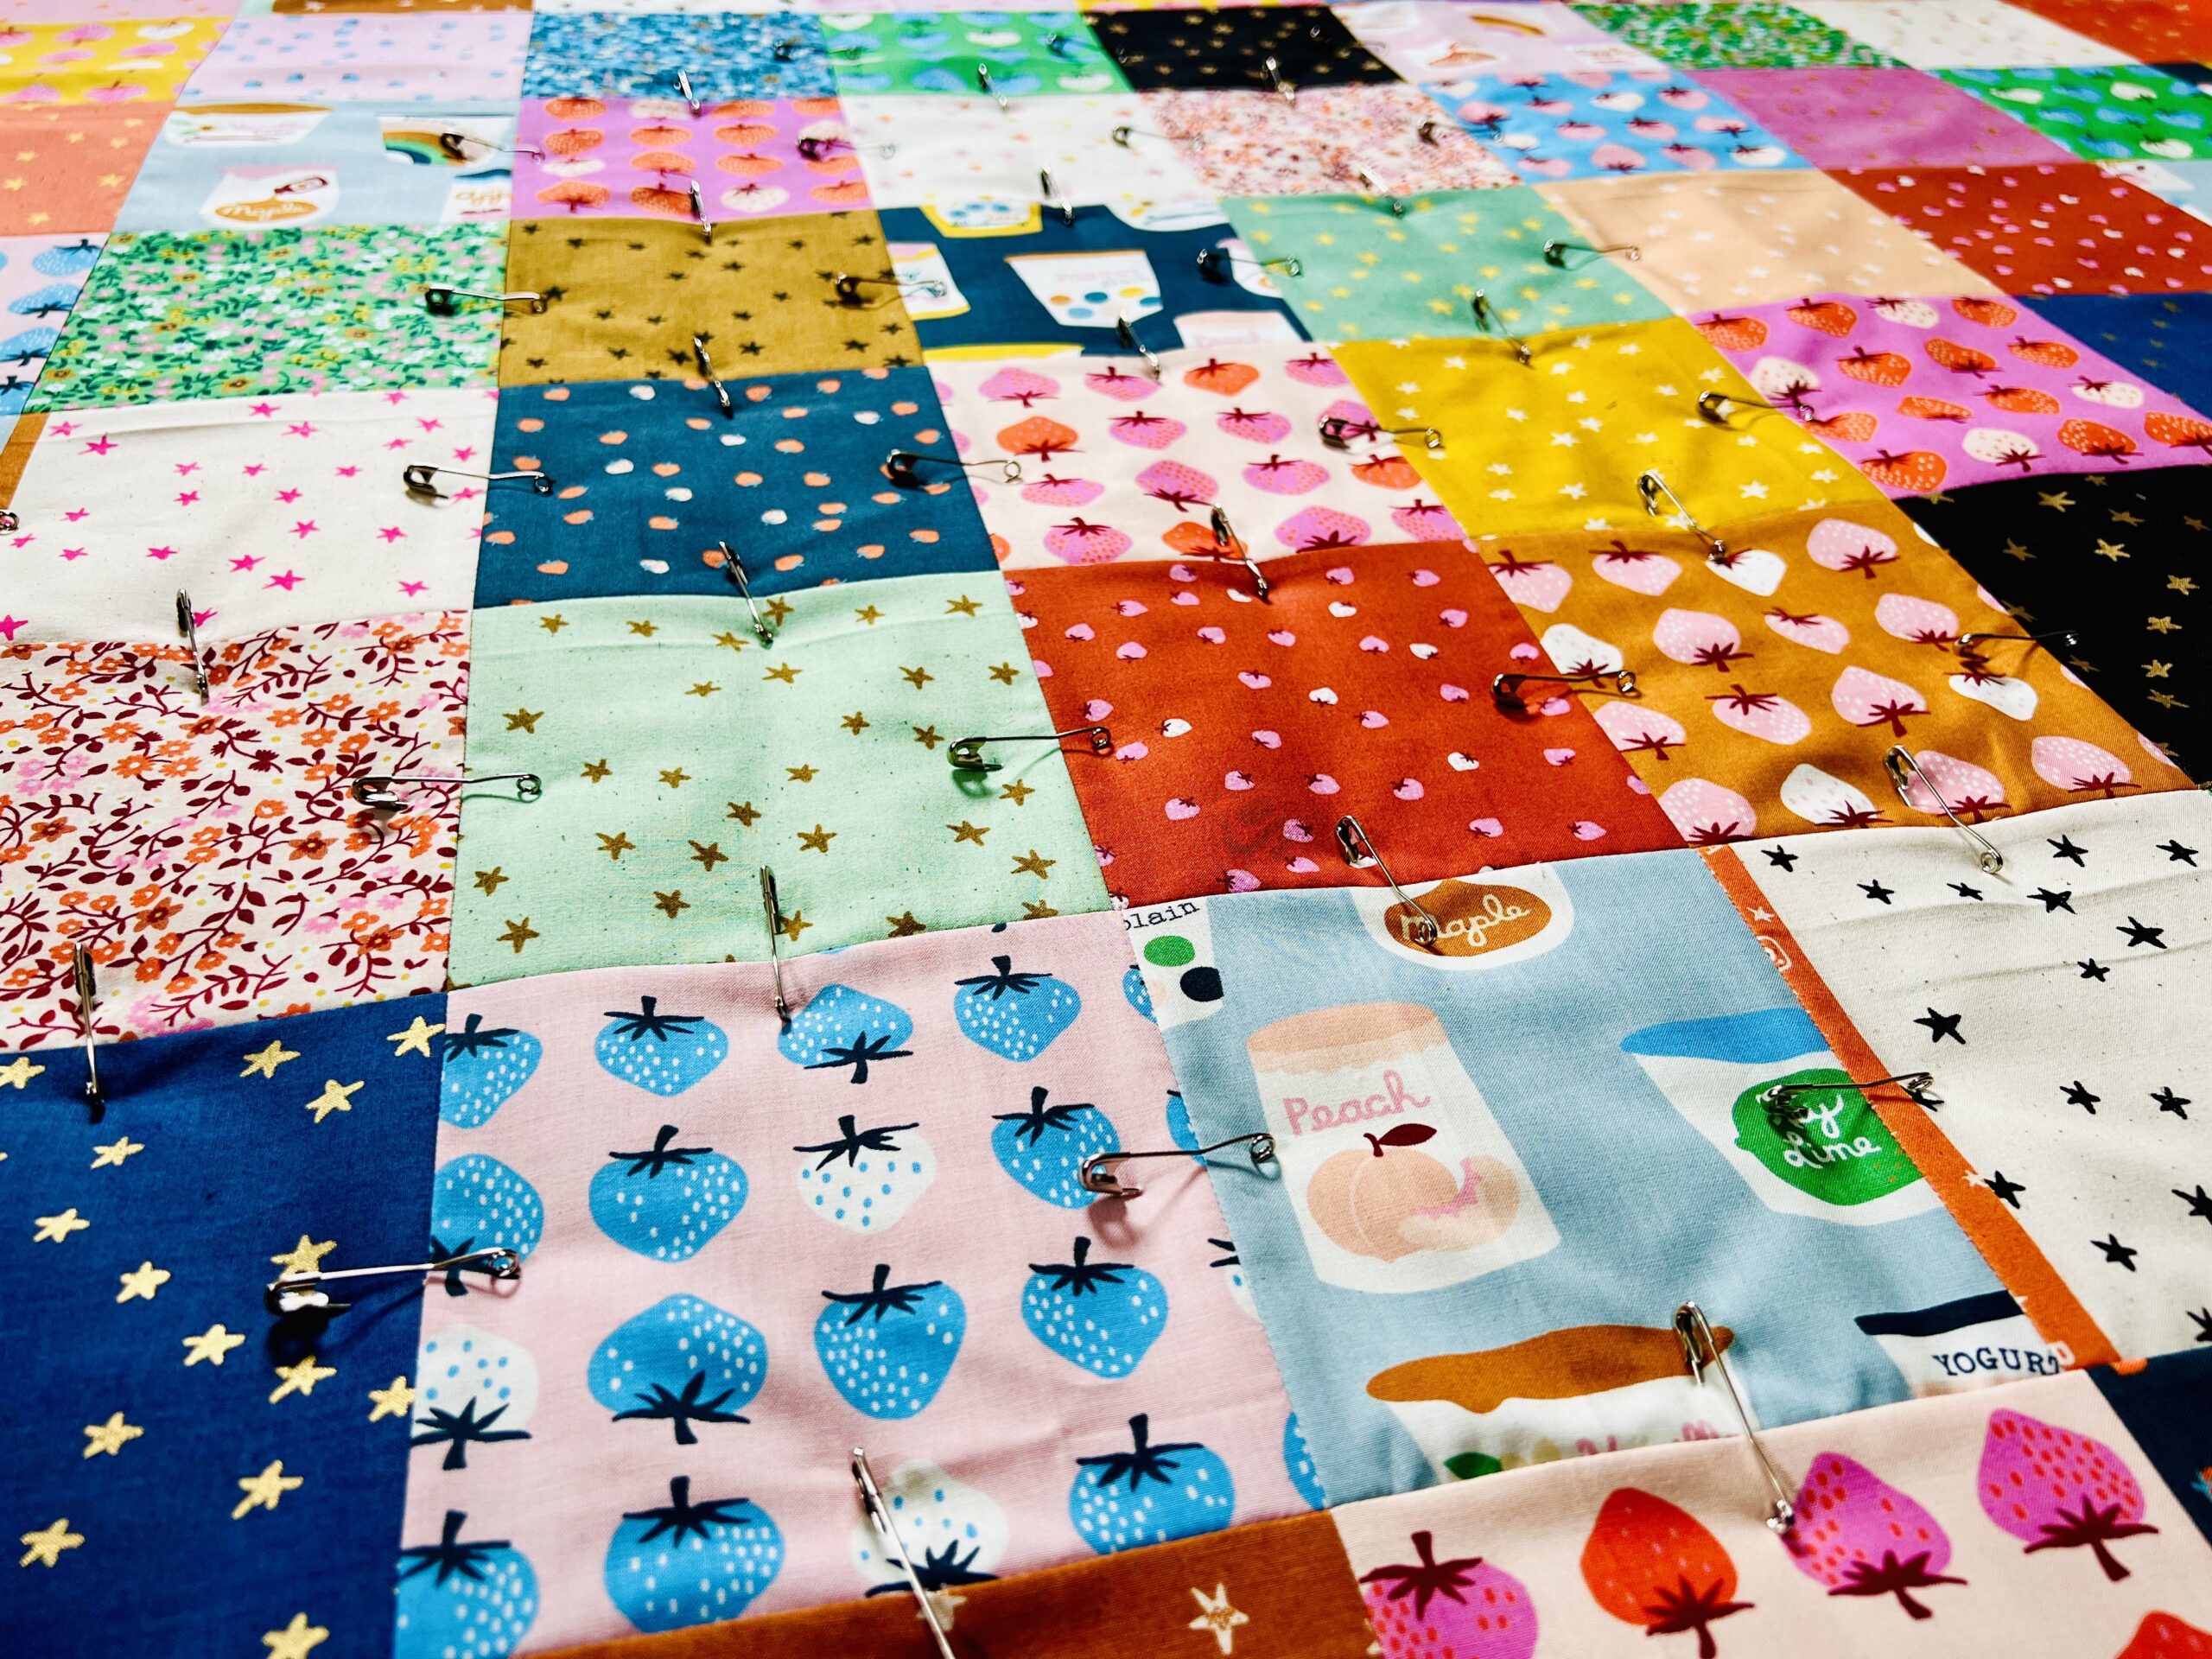 Remove masking tape from the lining and the floor, and prepare for quilting. I am quilting on my Skyline S9 using straight stitches and a walking foot, but feel free to do whatever sort of quilting that makes your heart sing whether that means free motion, sending it off to someone else to quilt, or even hand quilting. Don't forget to use coordinating thread in your bobbin!
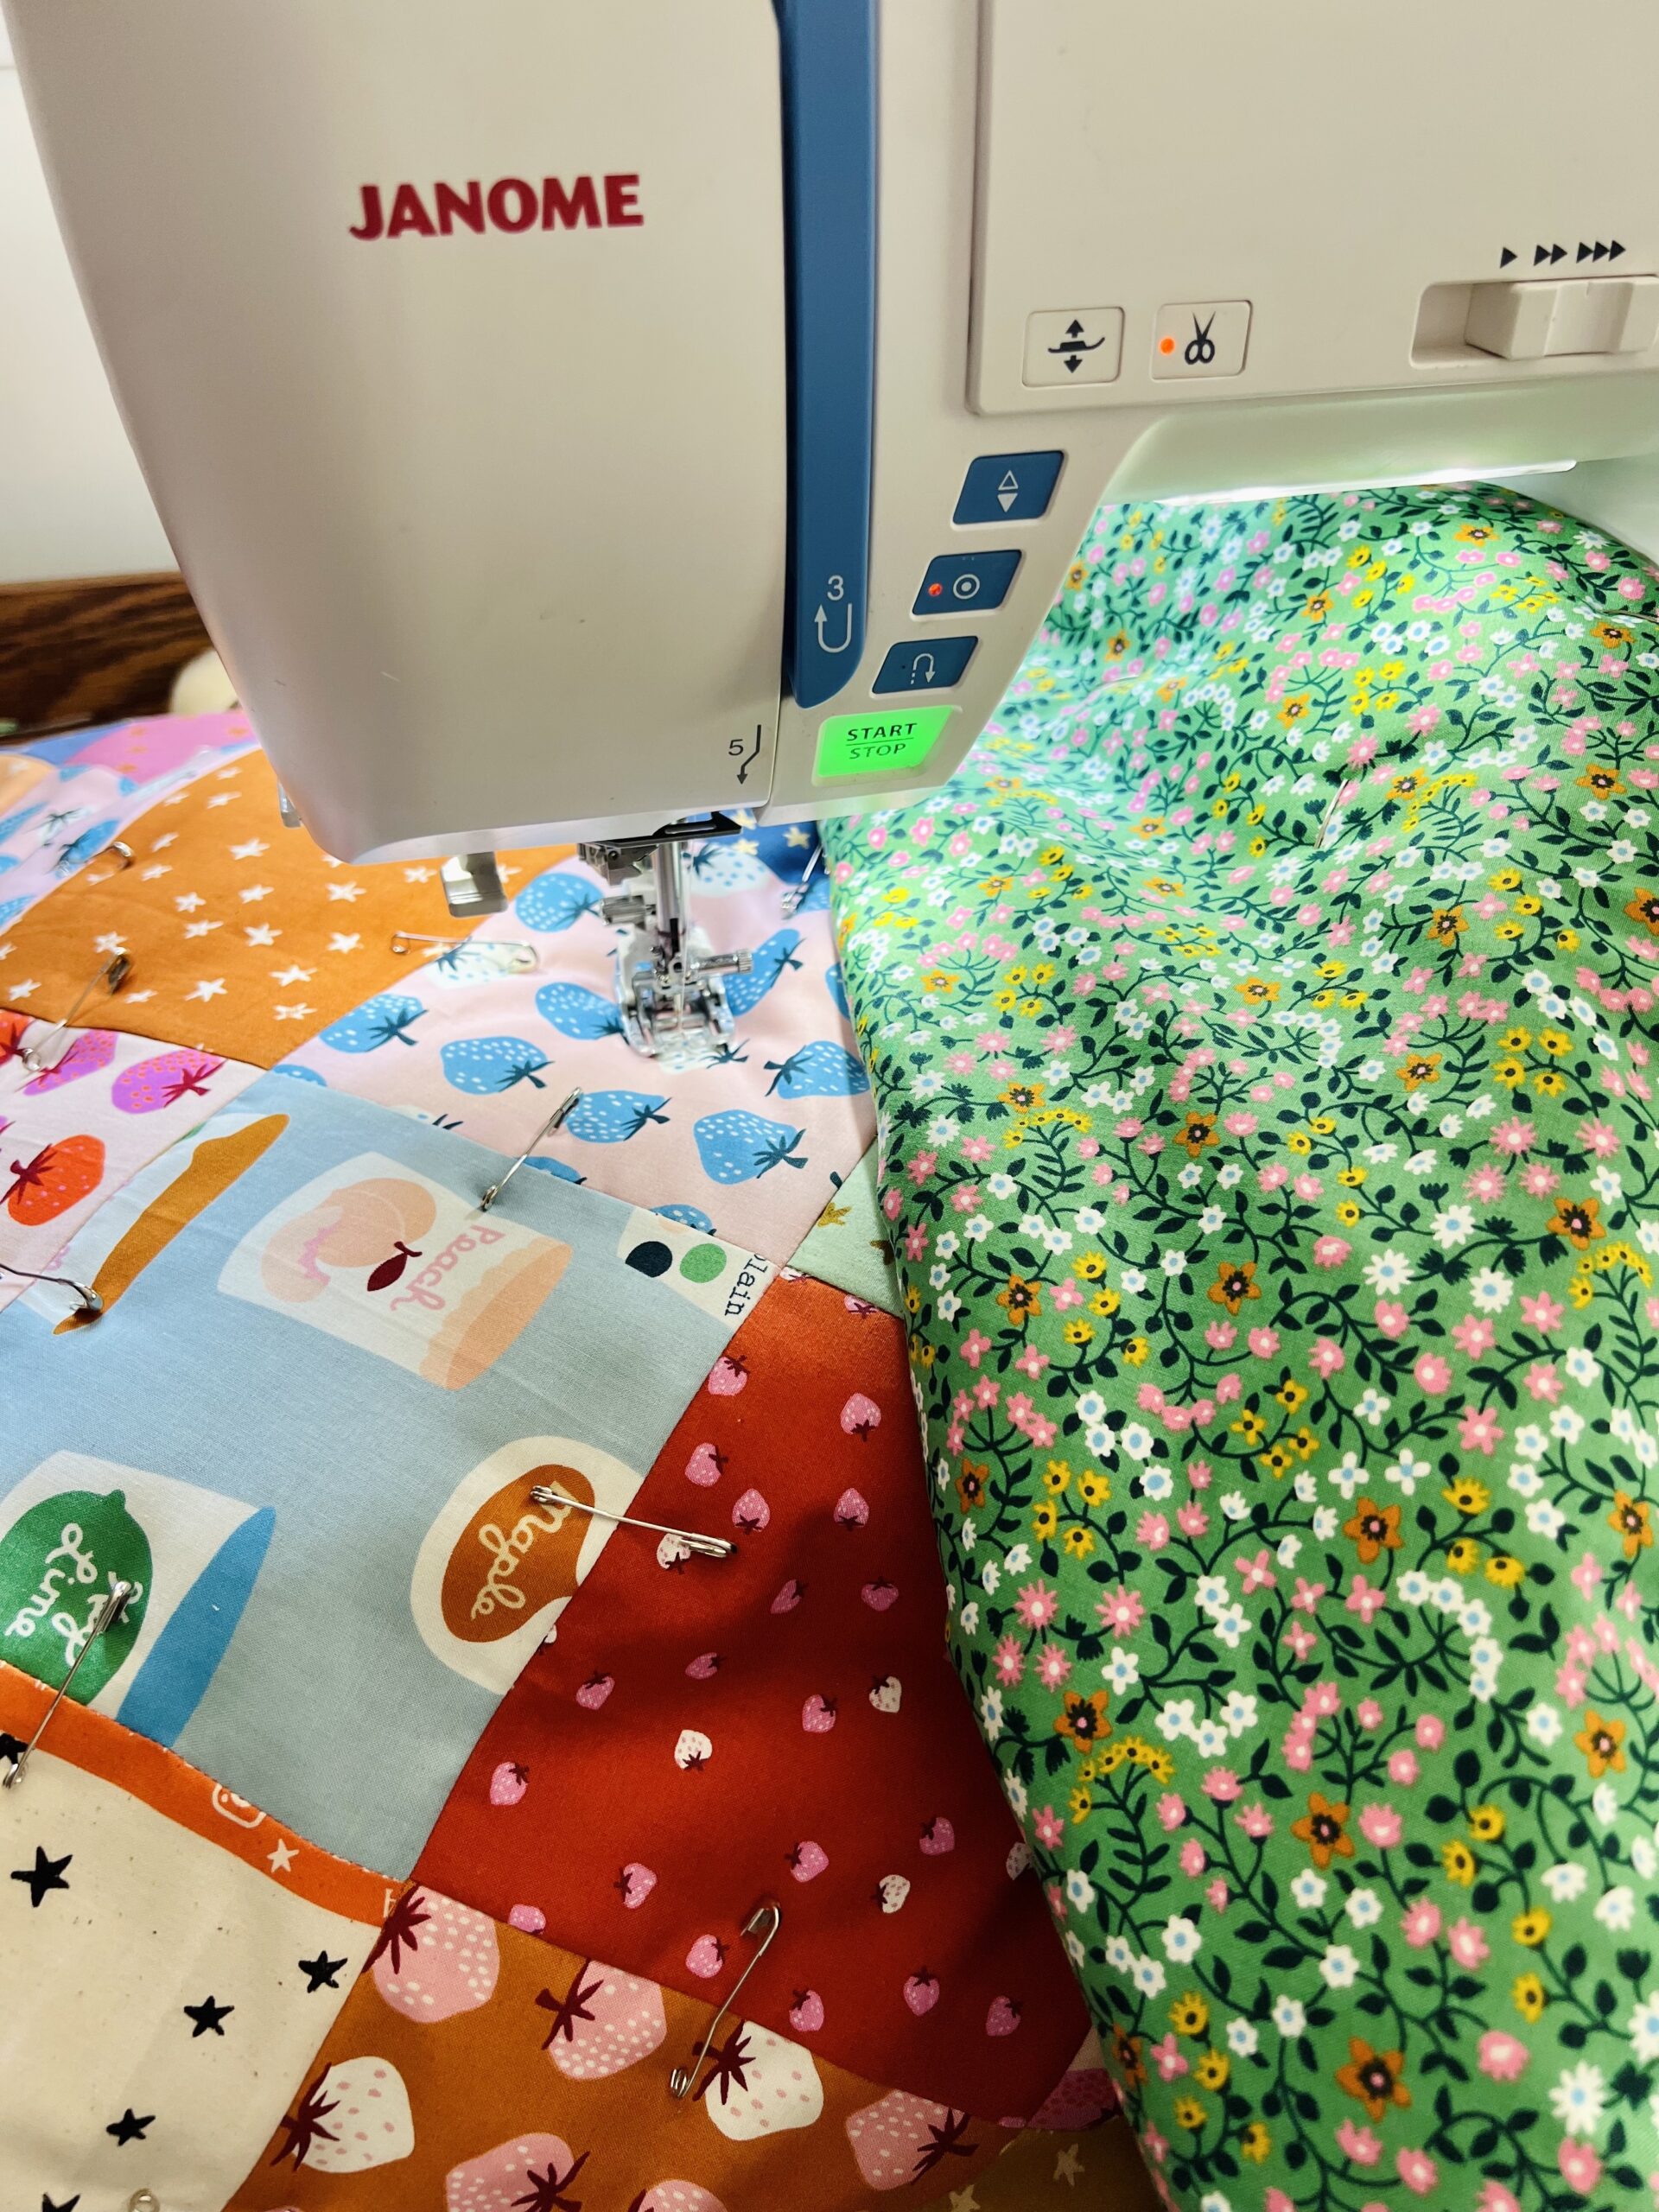
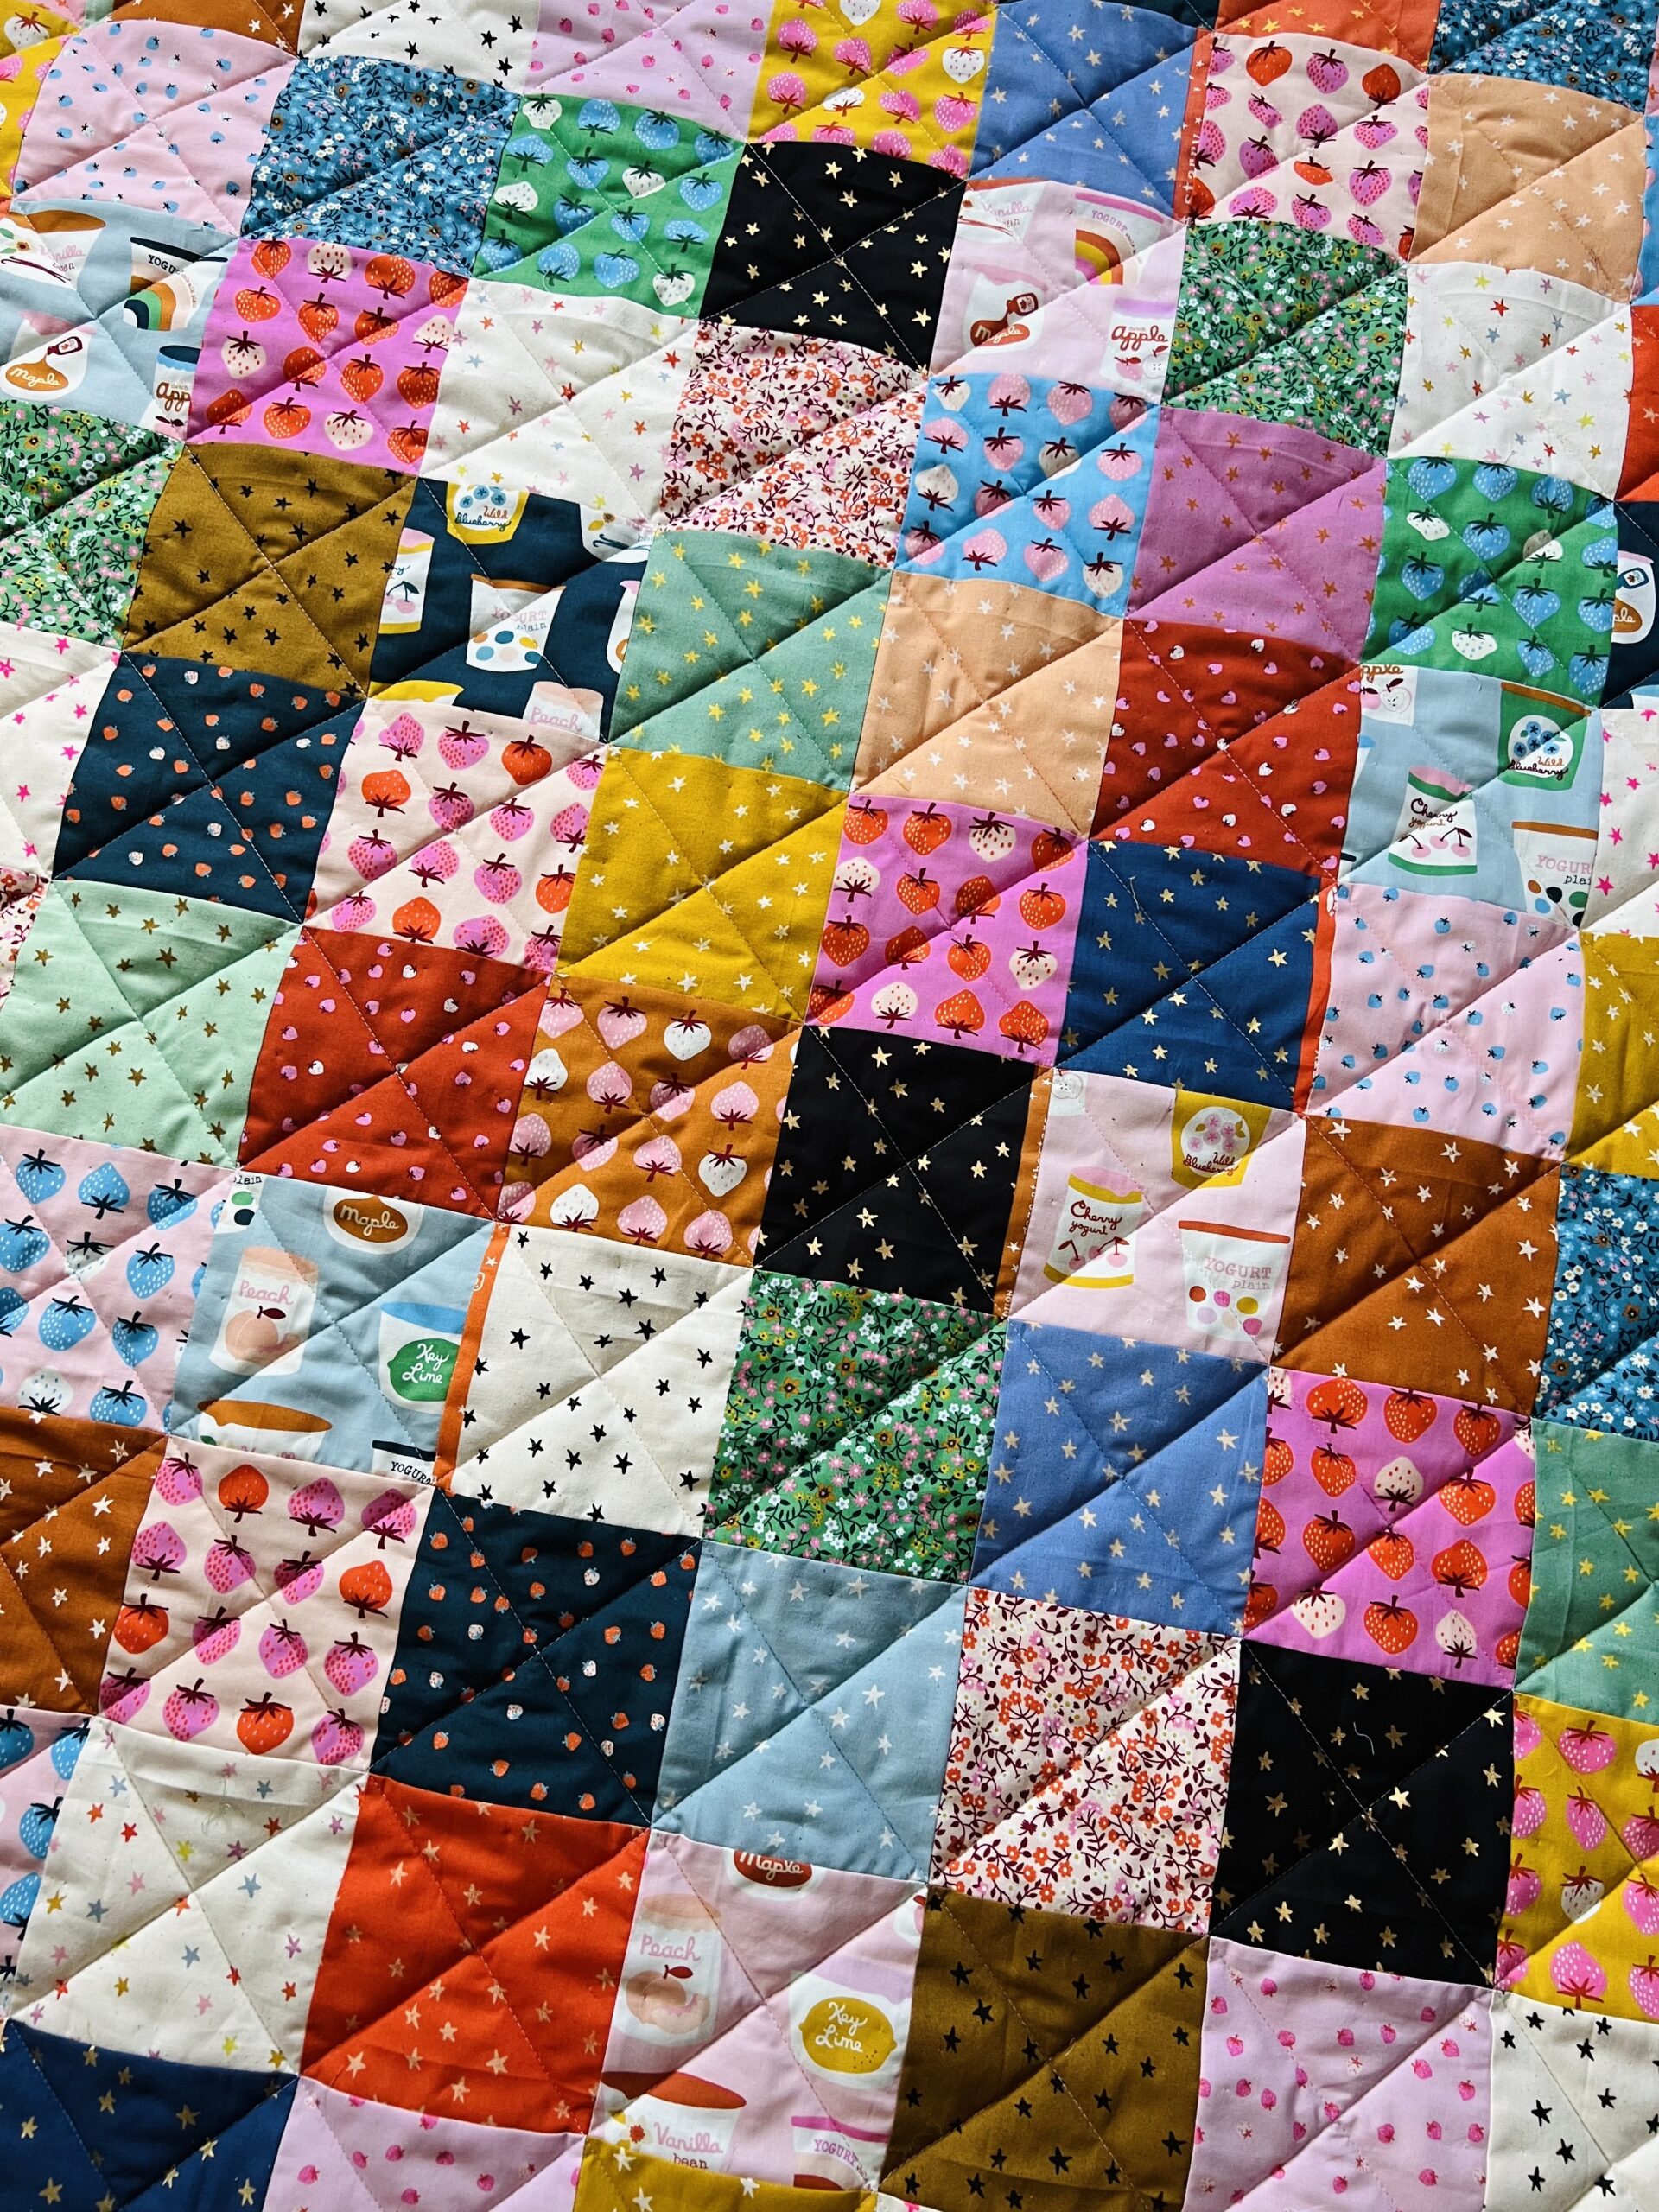
 This batting requires quilting with a space no greater than 3-4", so I used a basic cross hatch design over the squares. I love how they puffed up!
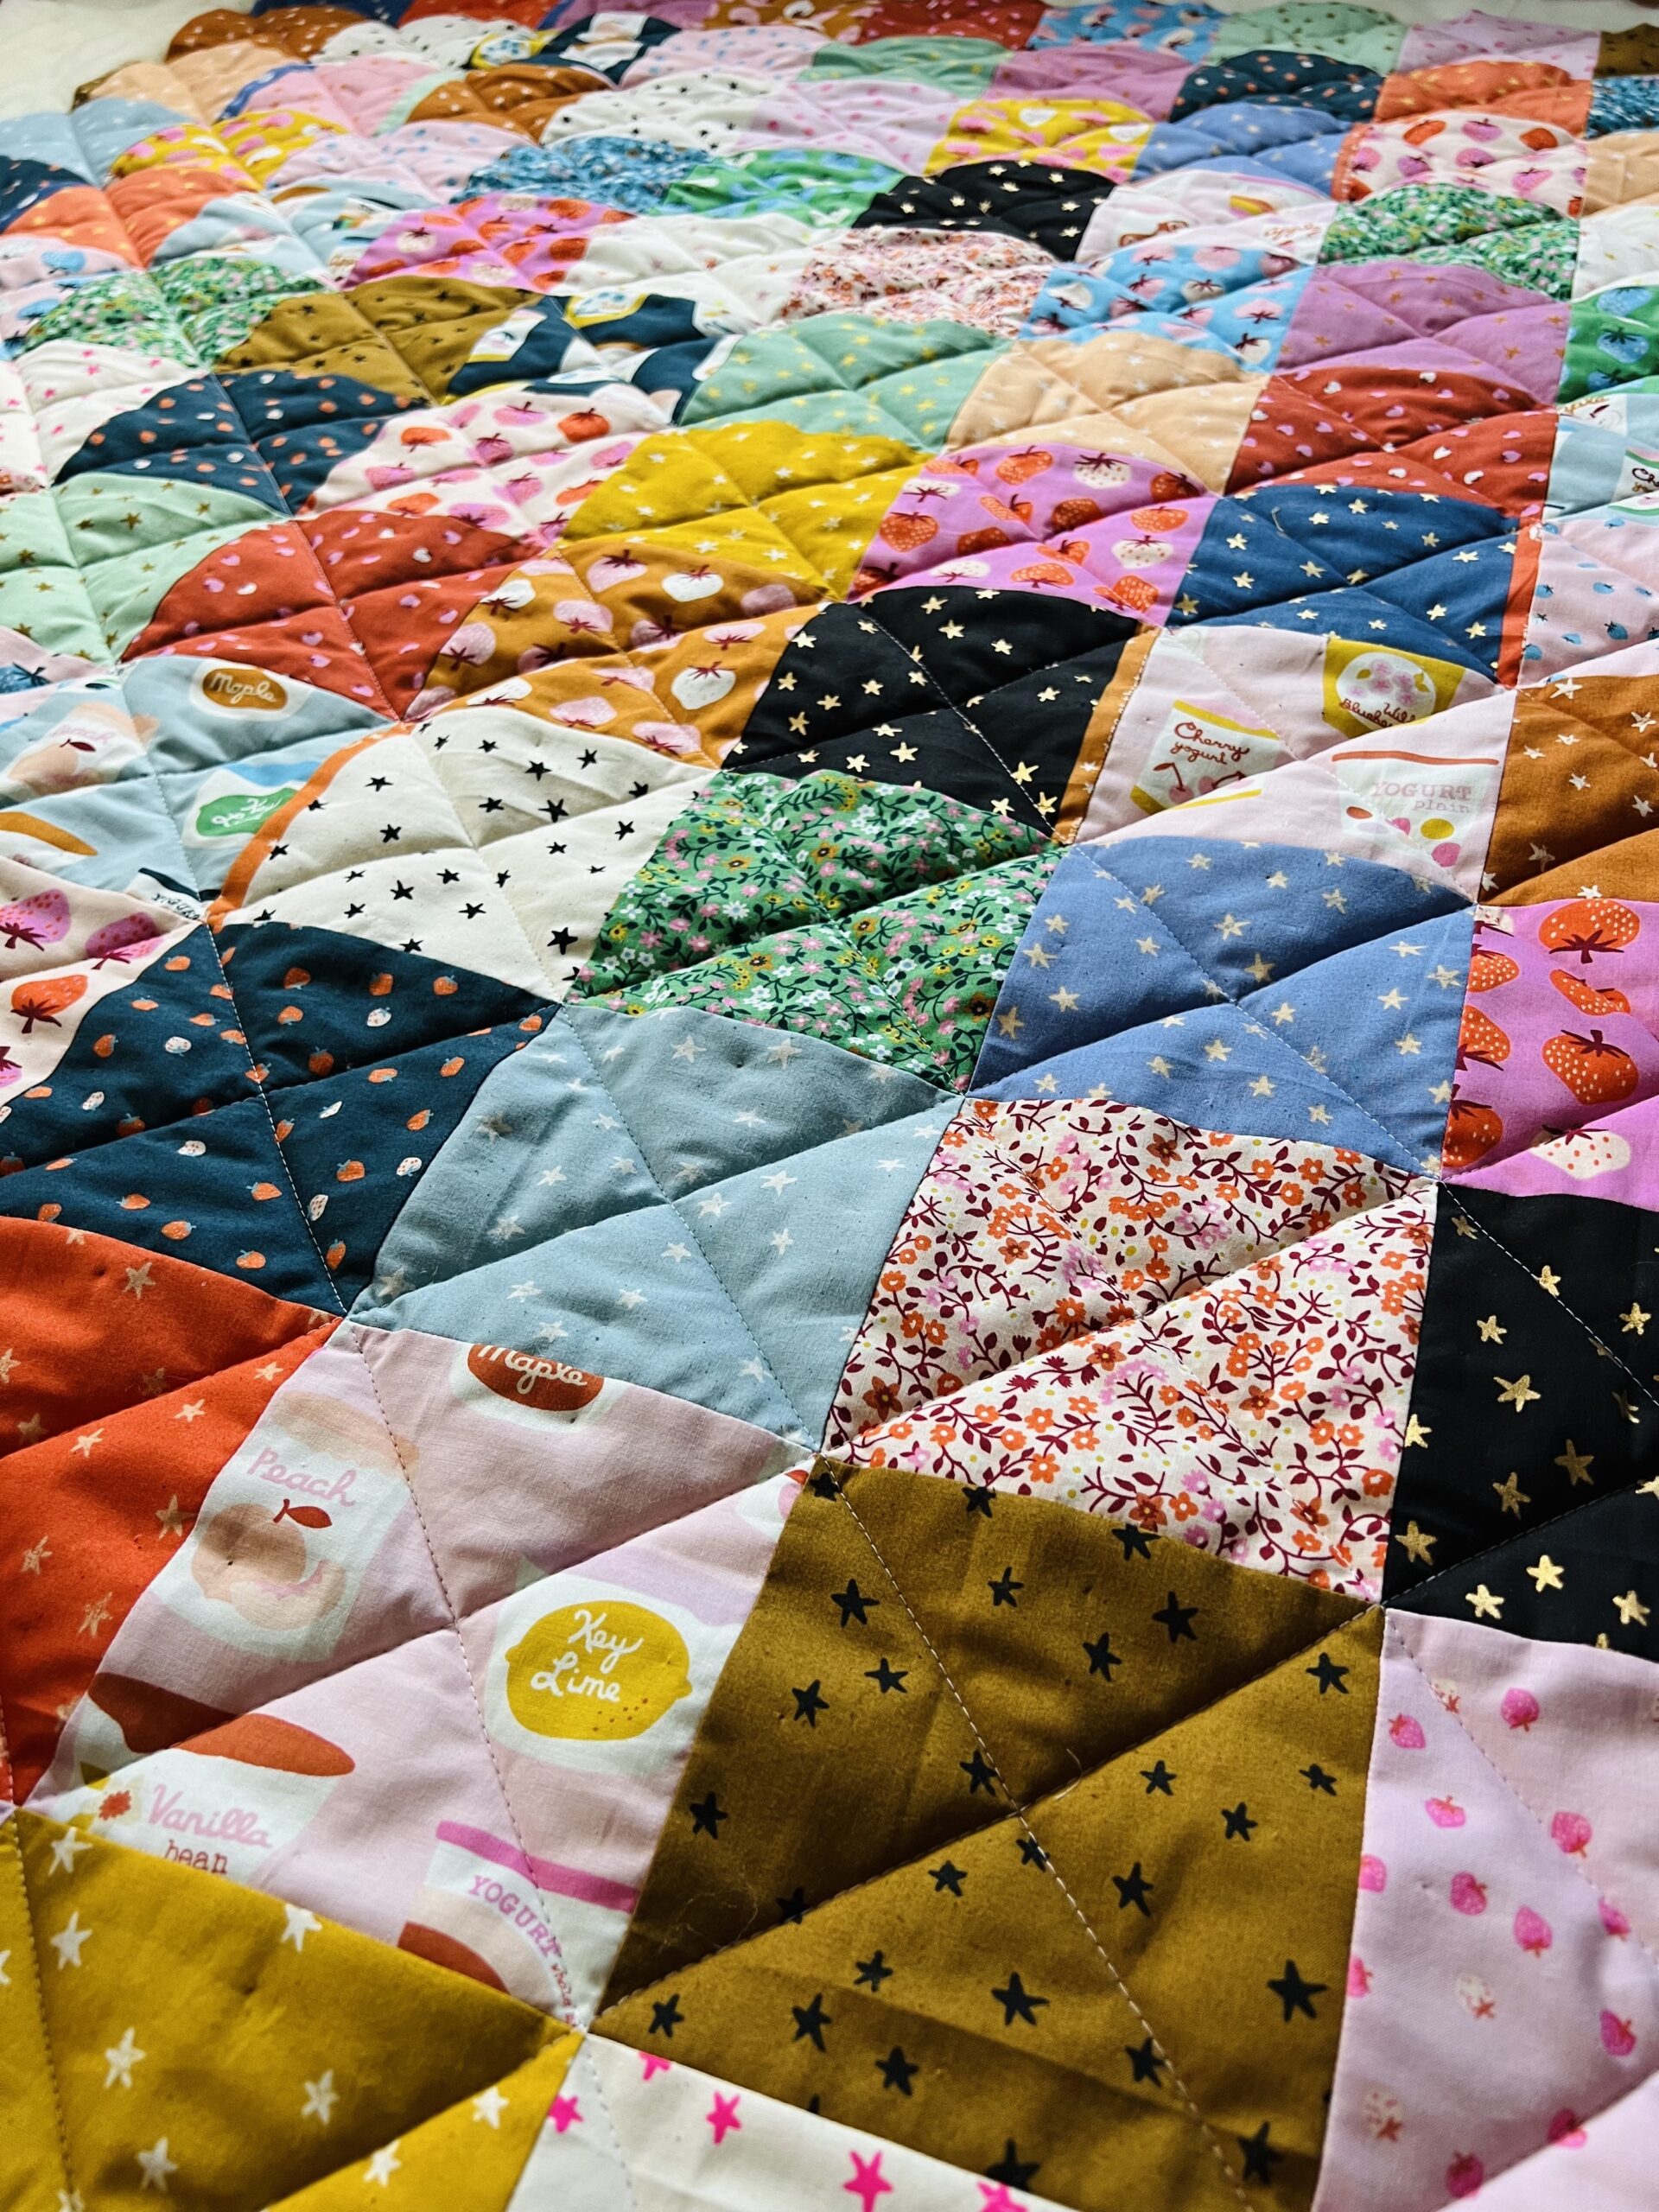
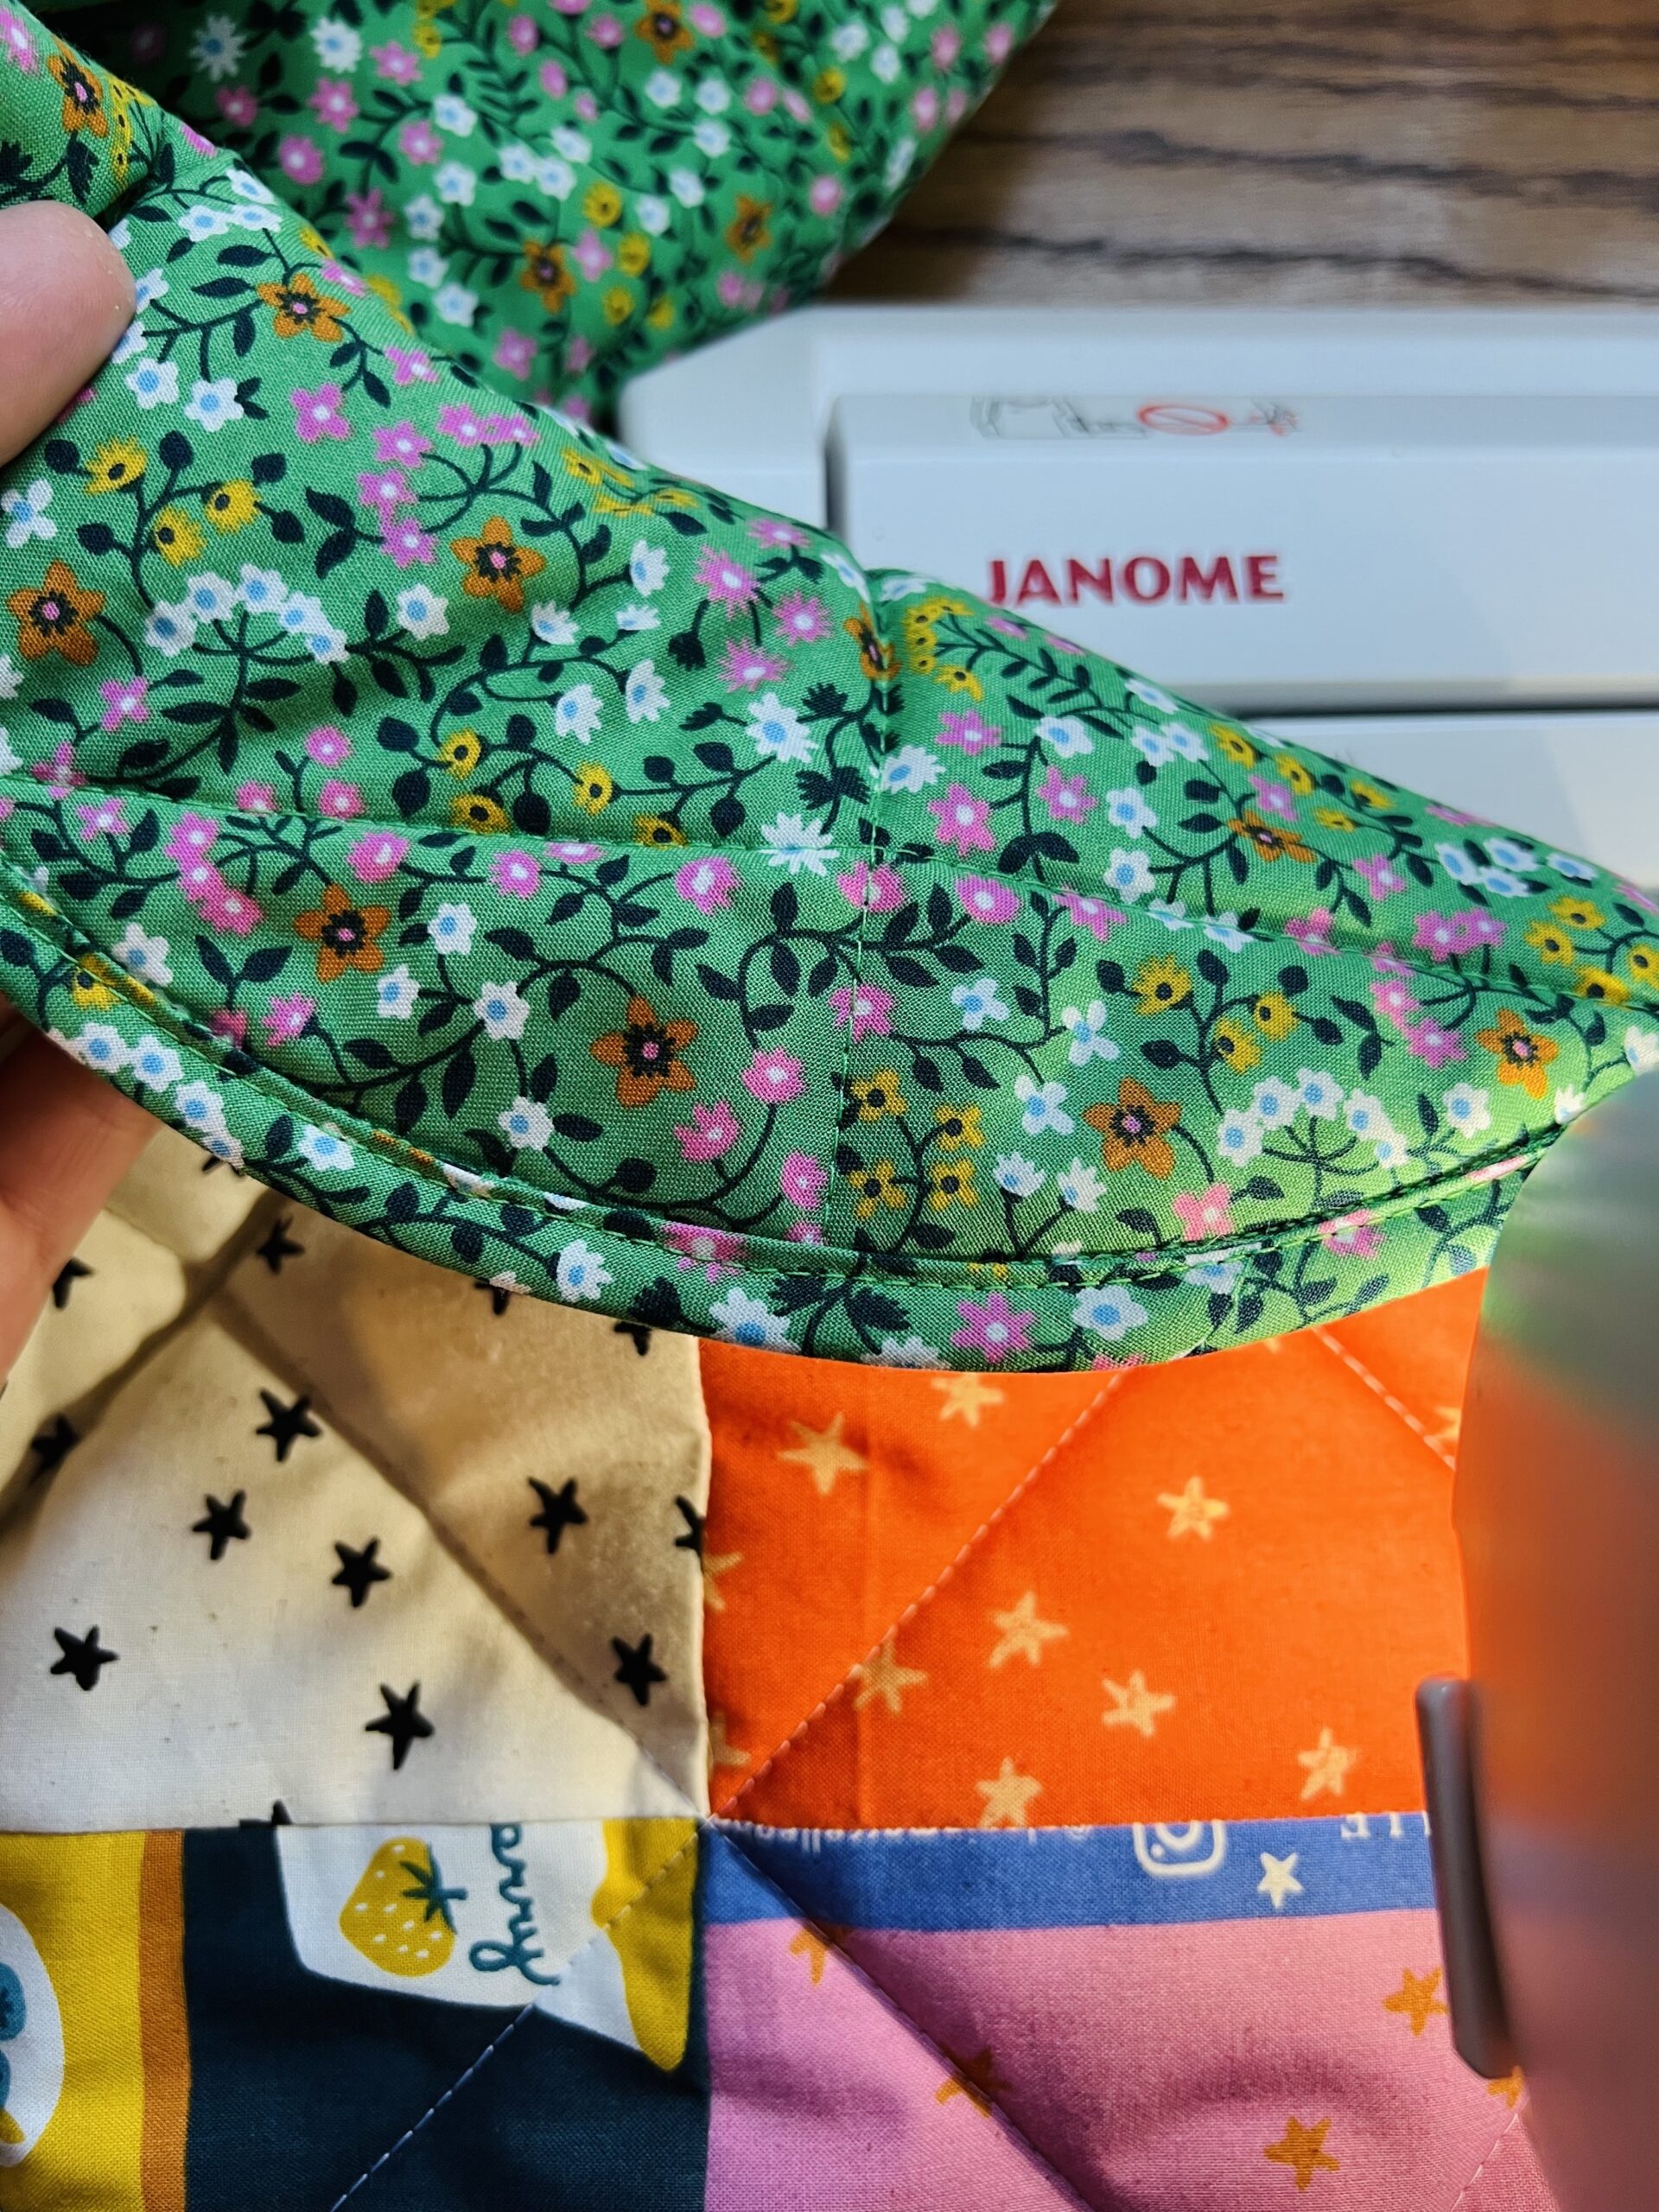
 Once you have completed your quilting, square up the sleeping bag. This doesn't mean cut it into a square- rather, place your sleeping bag edge atop your cutting mat. Using the ruler, cut along the edge of your quilt, making sure to cut a straight edge while also getting rid of the excess batting and lining. You should be left with a perfect rectangle.
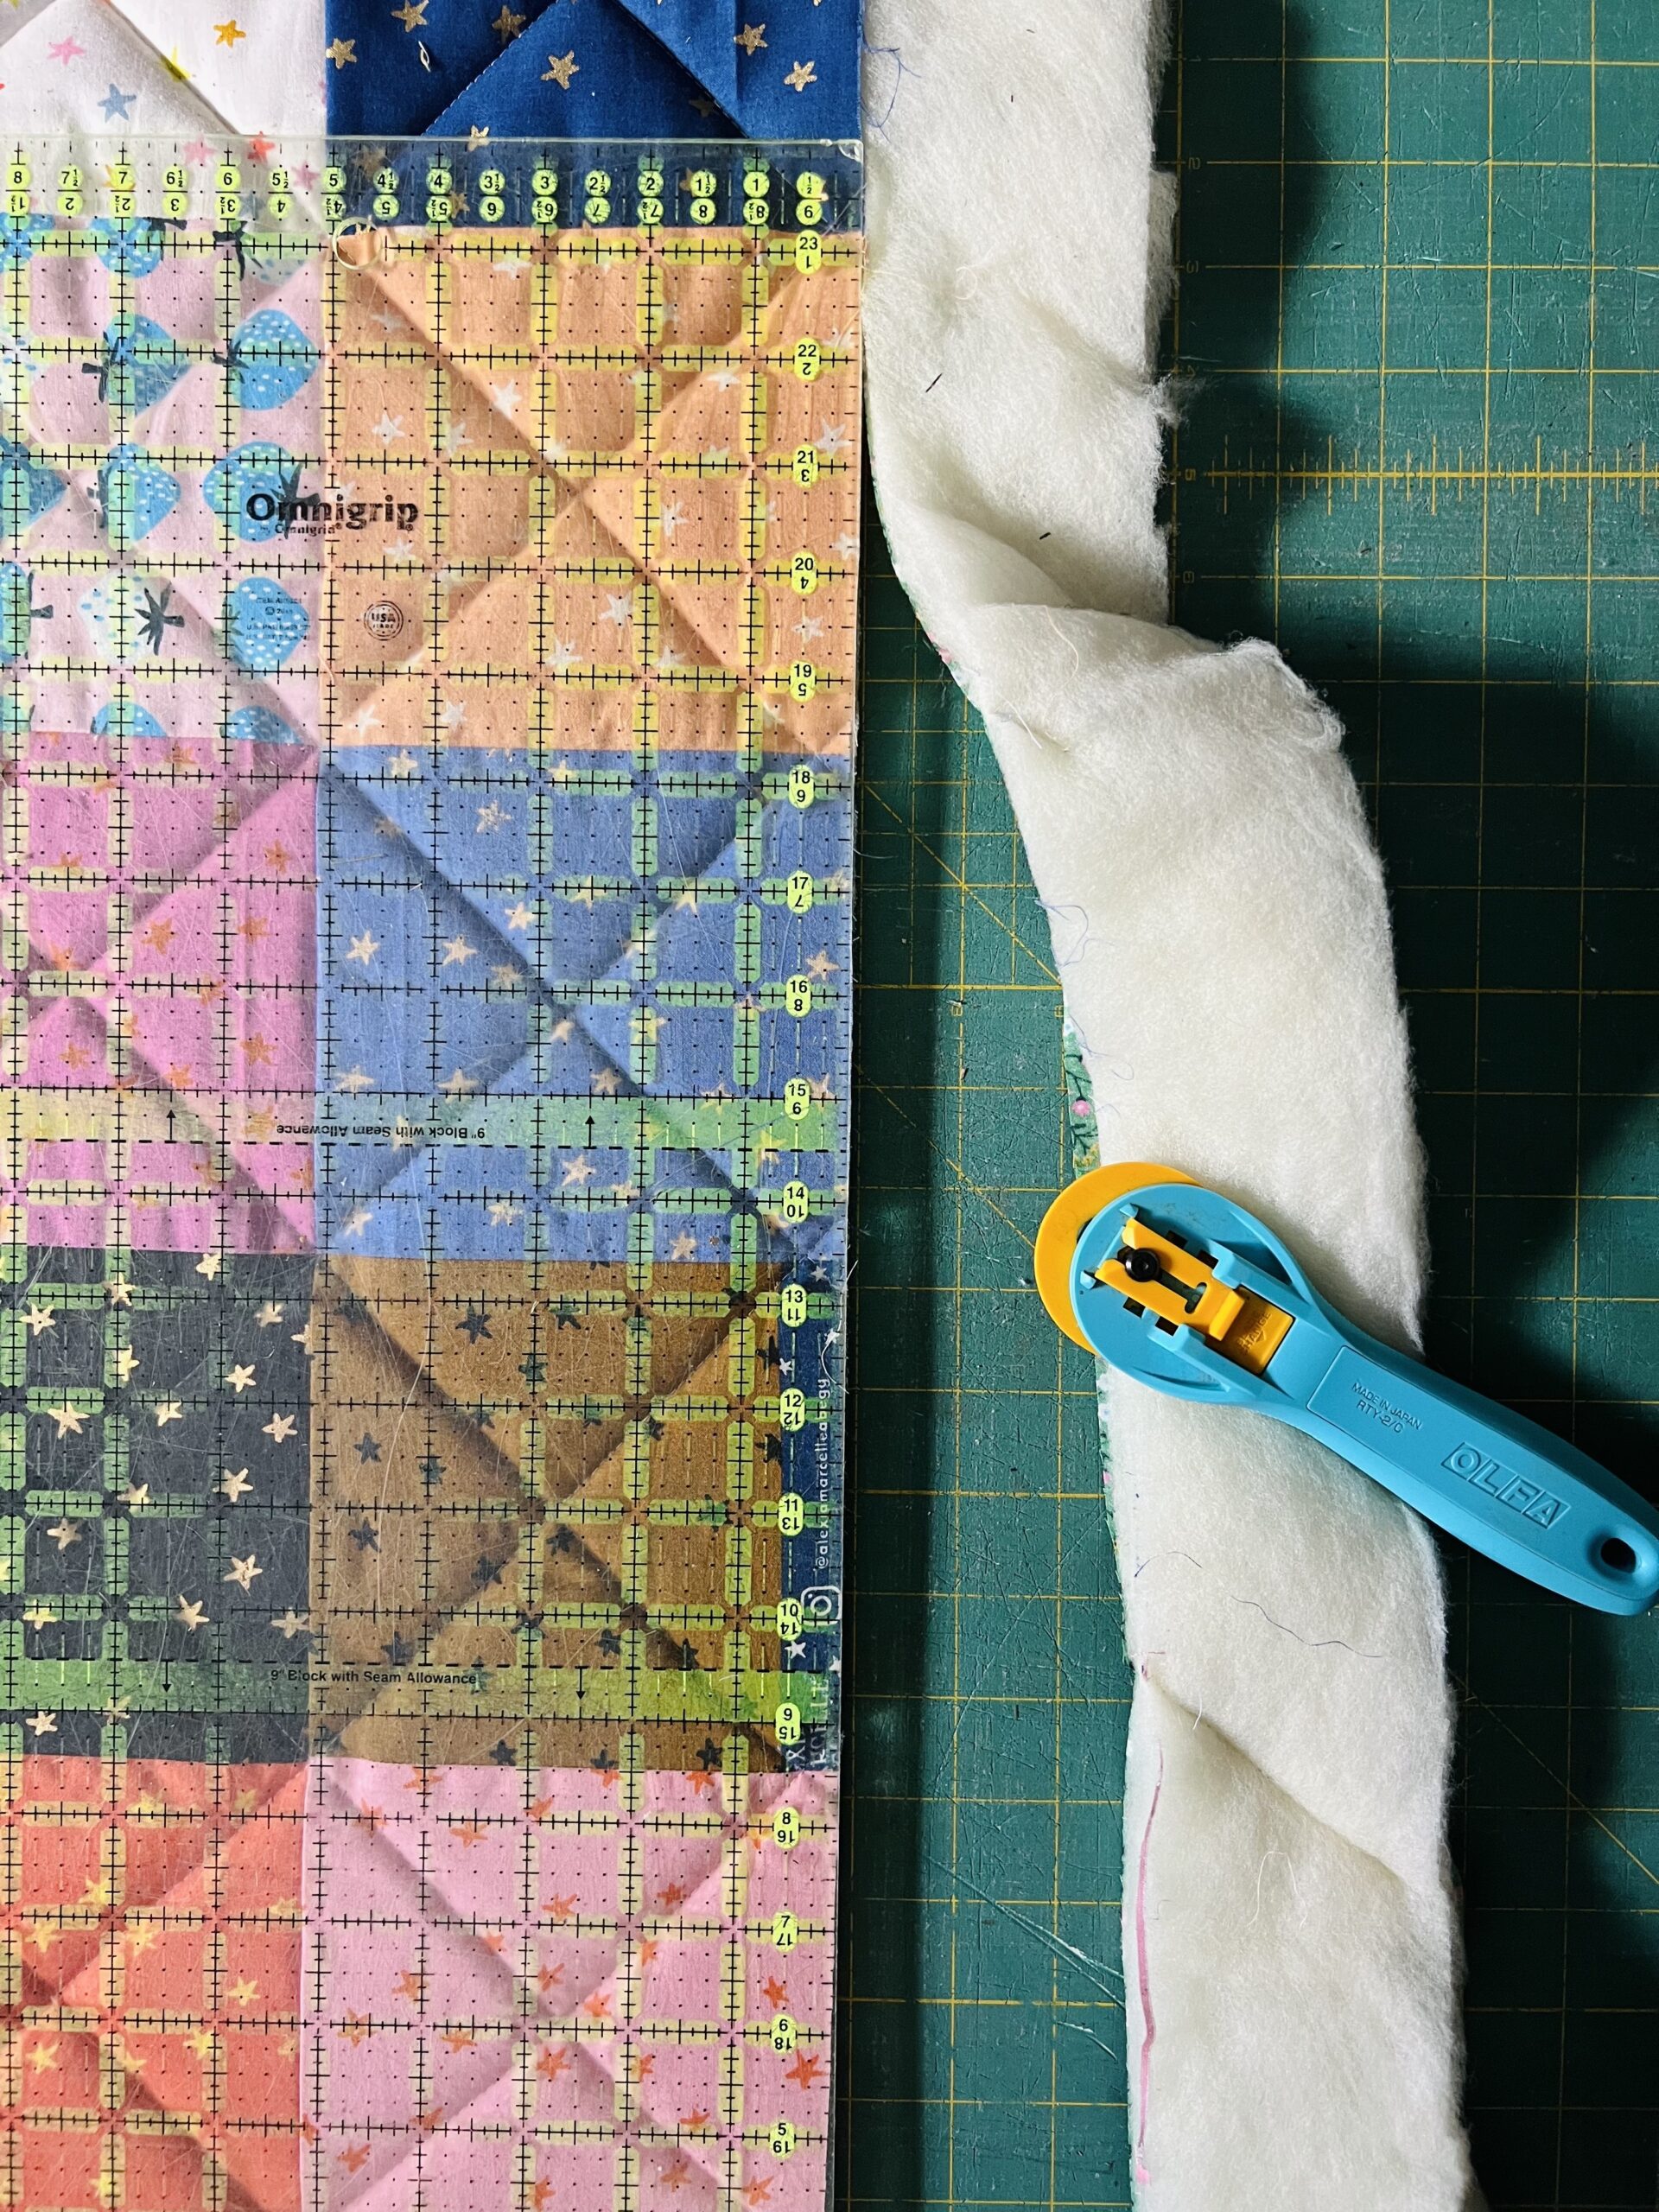 Grab something round like a plate, or in my case, a wastebasket. Line it up to a corner of your quilt, and mark the rounded edge. Use sharp fabric scissors to cut out rounded corners on all four corners of your sleeping bag. Set aside.
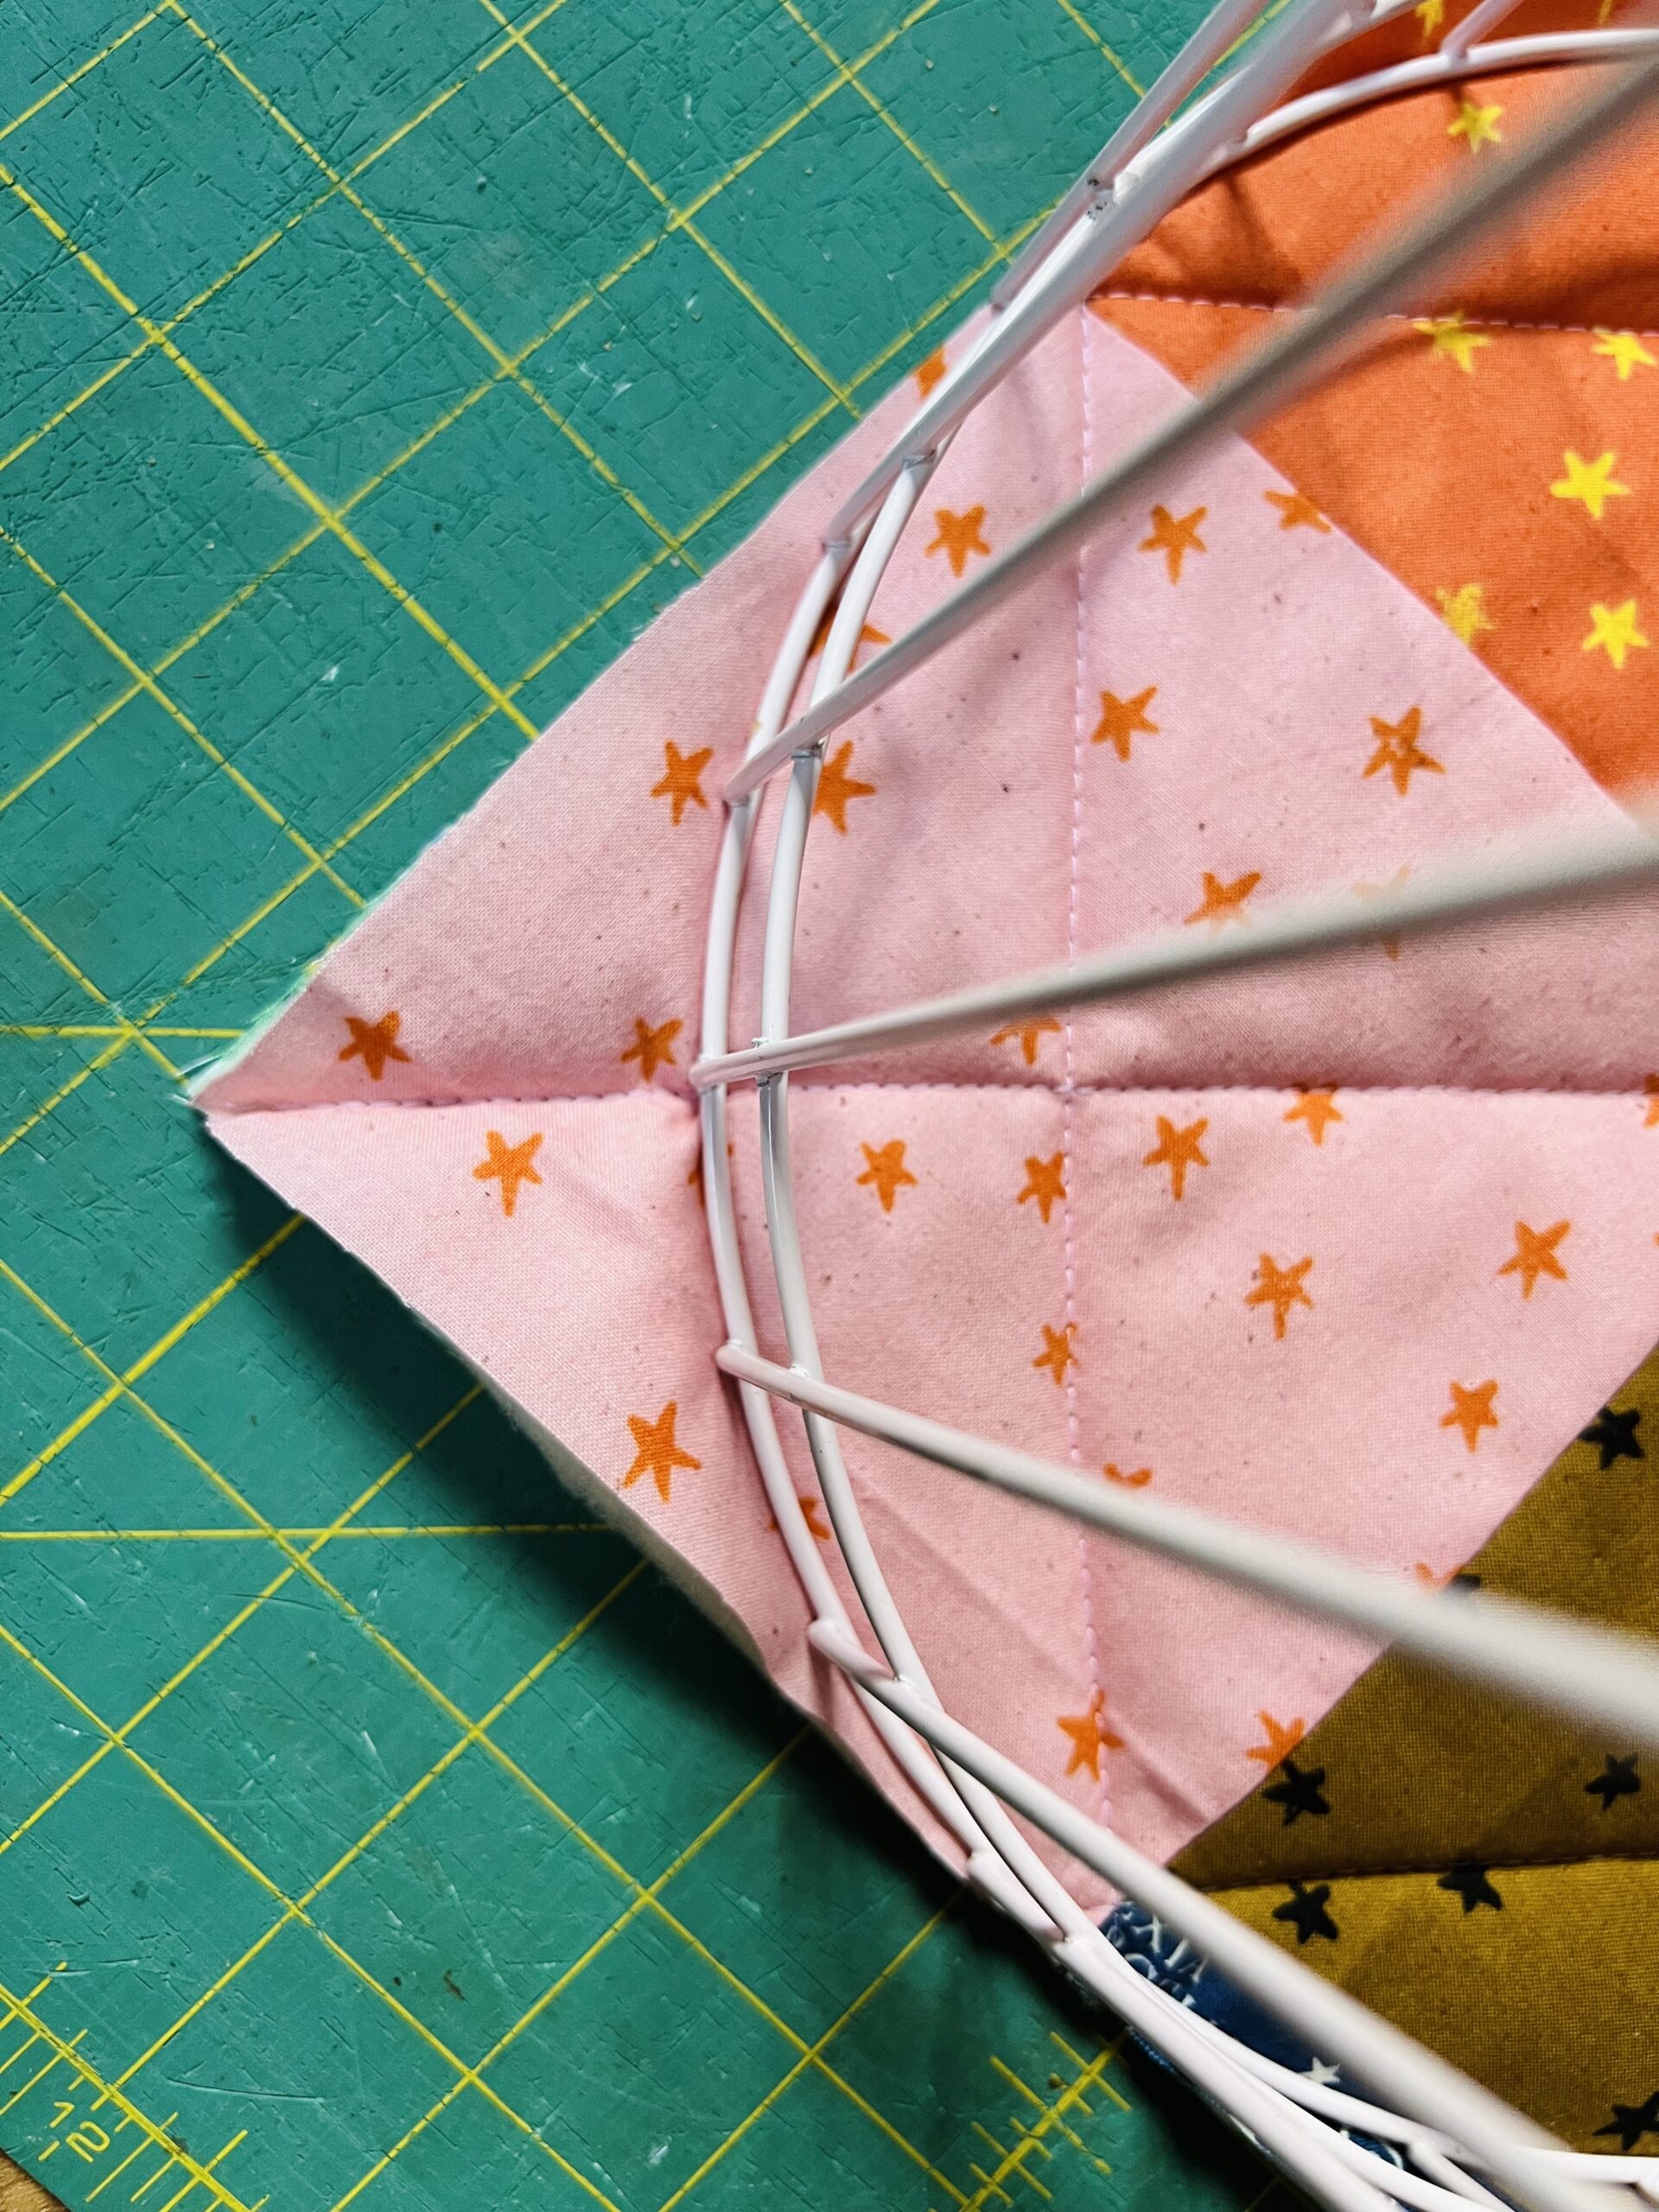
phase 2
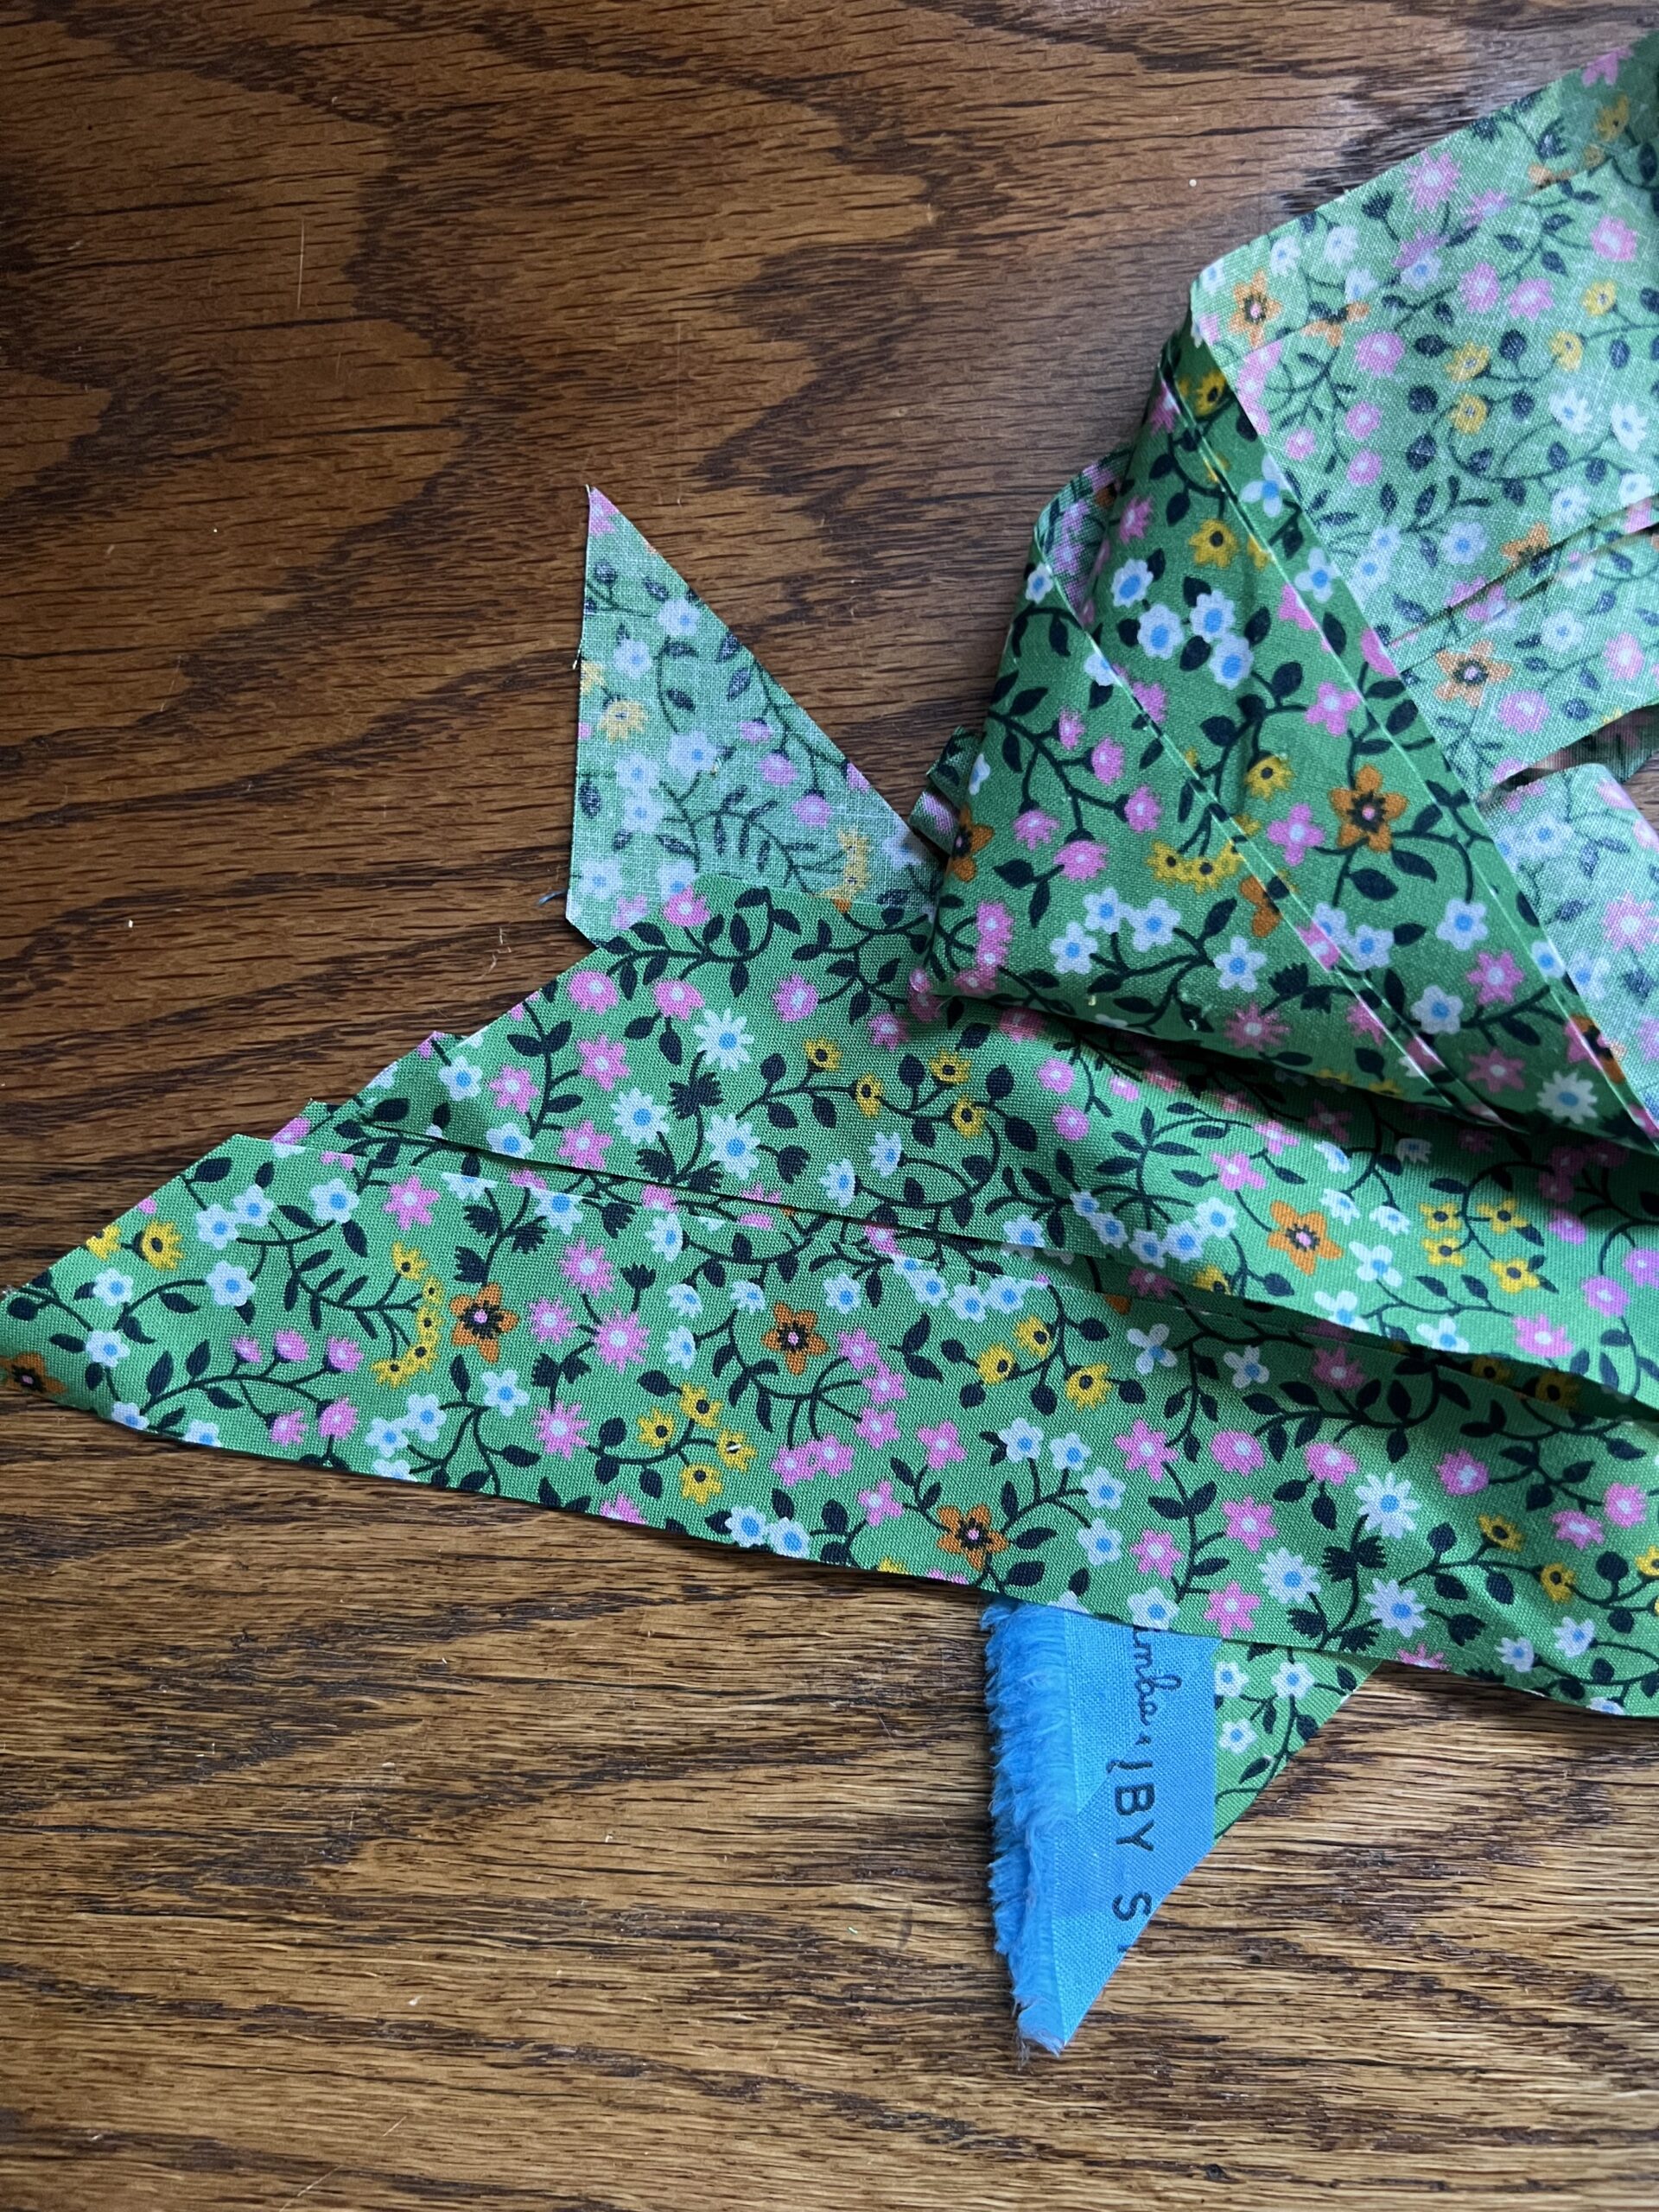
Now is a perfect time for a break, maybe some chocolate? Next we will make the bias binding, which if you are indeed making your own will take a little bit of time. I think its worth it, but if you are already prepared with premade binding, go ahead and move along to the next part, which is phase 3. Grab your binding fabric (I used the same fabric as the lining because I am obsessed with this green floral), and line it up straight on your cutting mat. My mat has 45° lines marked, which makes this super easy. If yours does not, just remember 45° is the perfect diagonal of 90° squares, so if you follow the corners of the squares on your mat, you should be able to find your 45° line. Cut along this line using your ruler and rotary cutter.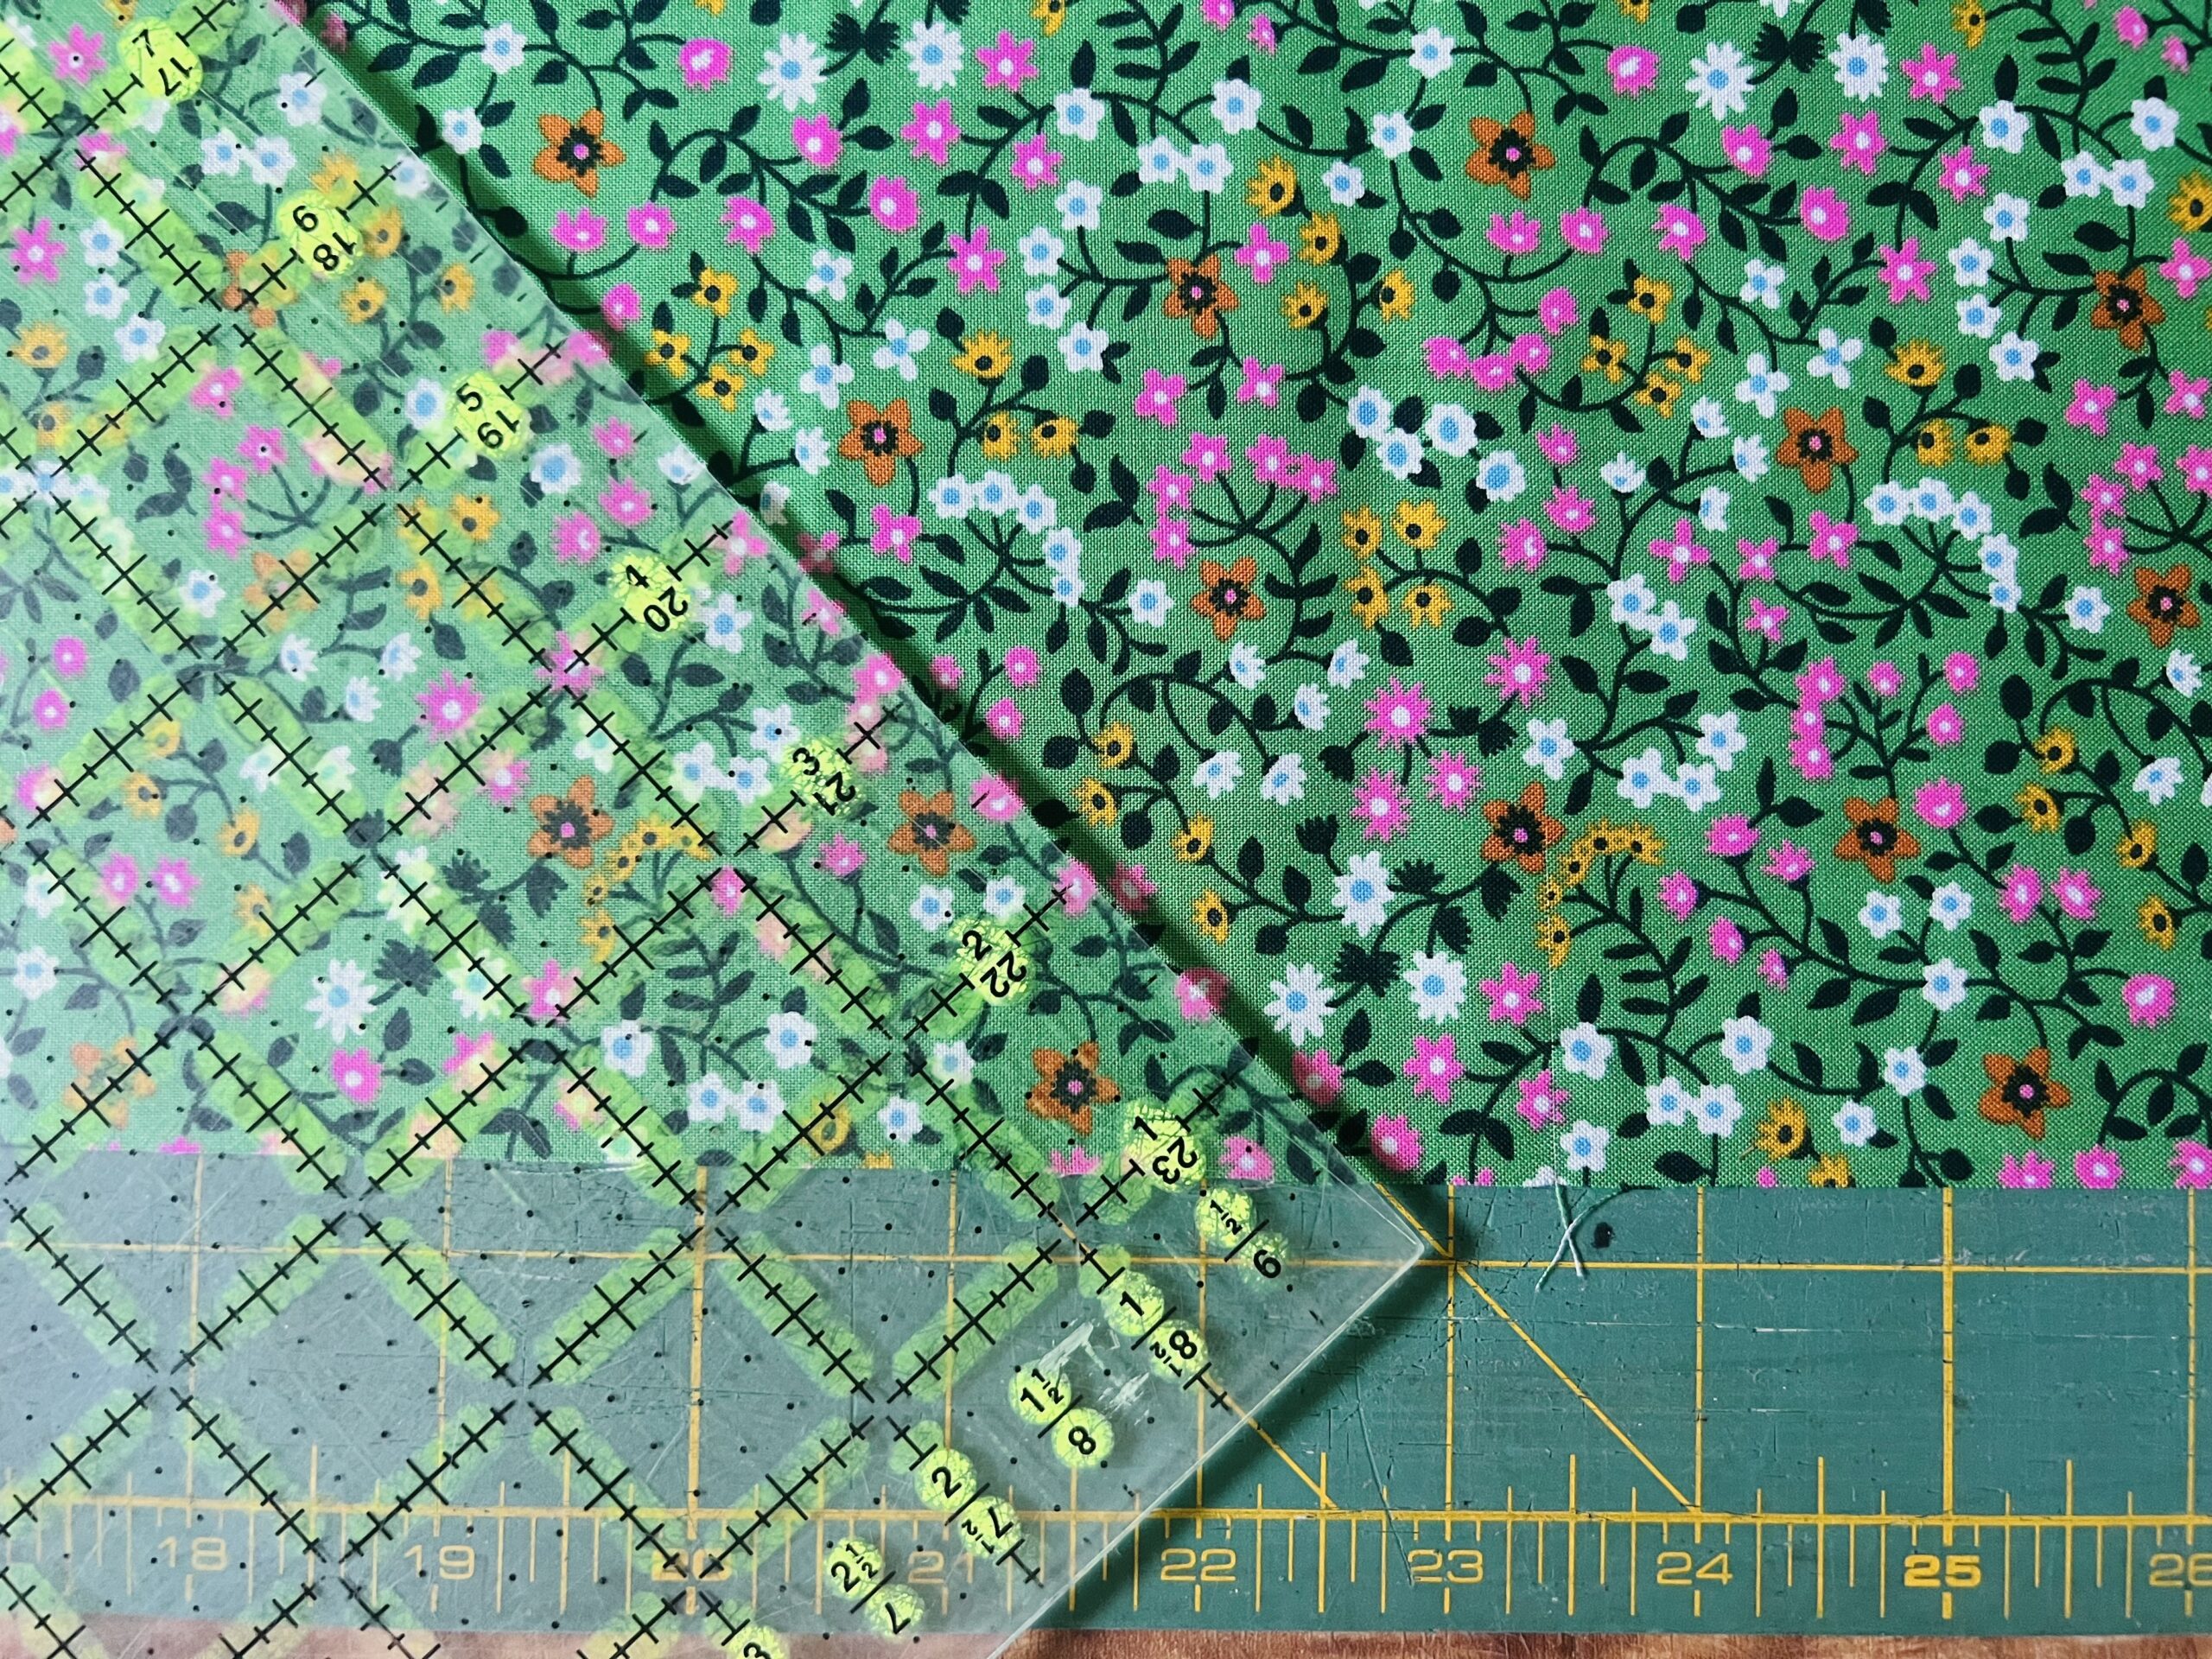 Next, cut enough 1.5" wide strips to yield at least 225" of bias binding. I think I cut 8 strips from my fabric which was about 30" along the diagonal. NOTE: you can cut thicker binding strips if you want. Mine is fairly narrow, and if you haven't used bias binding in the past, you may find it easier to cut 1.75-2" wide strips.
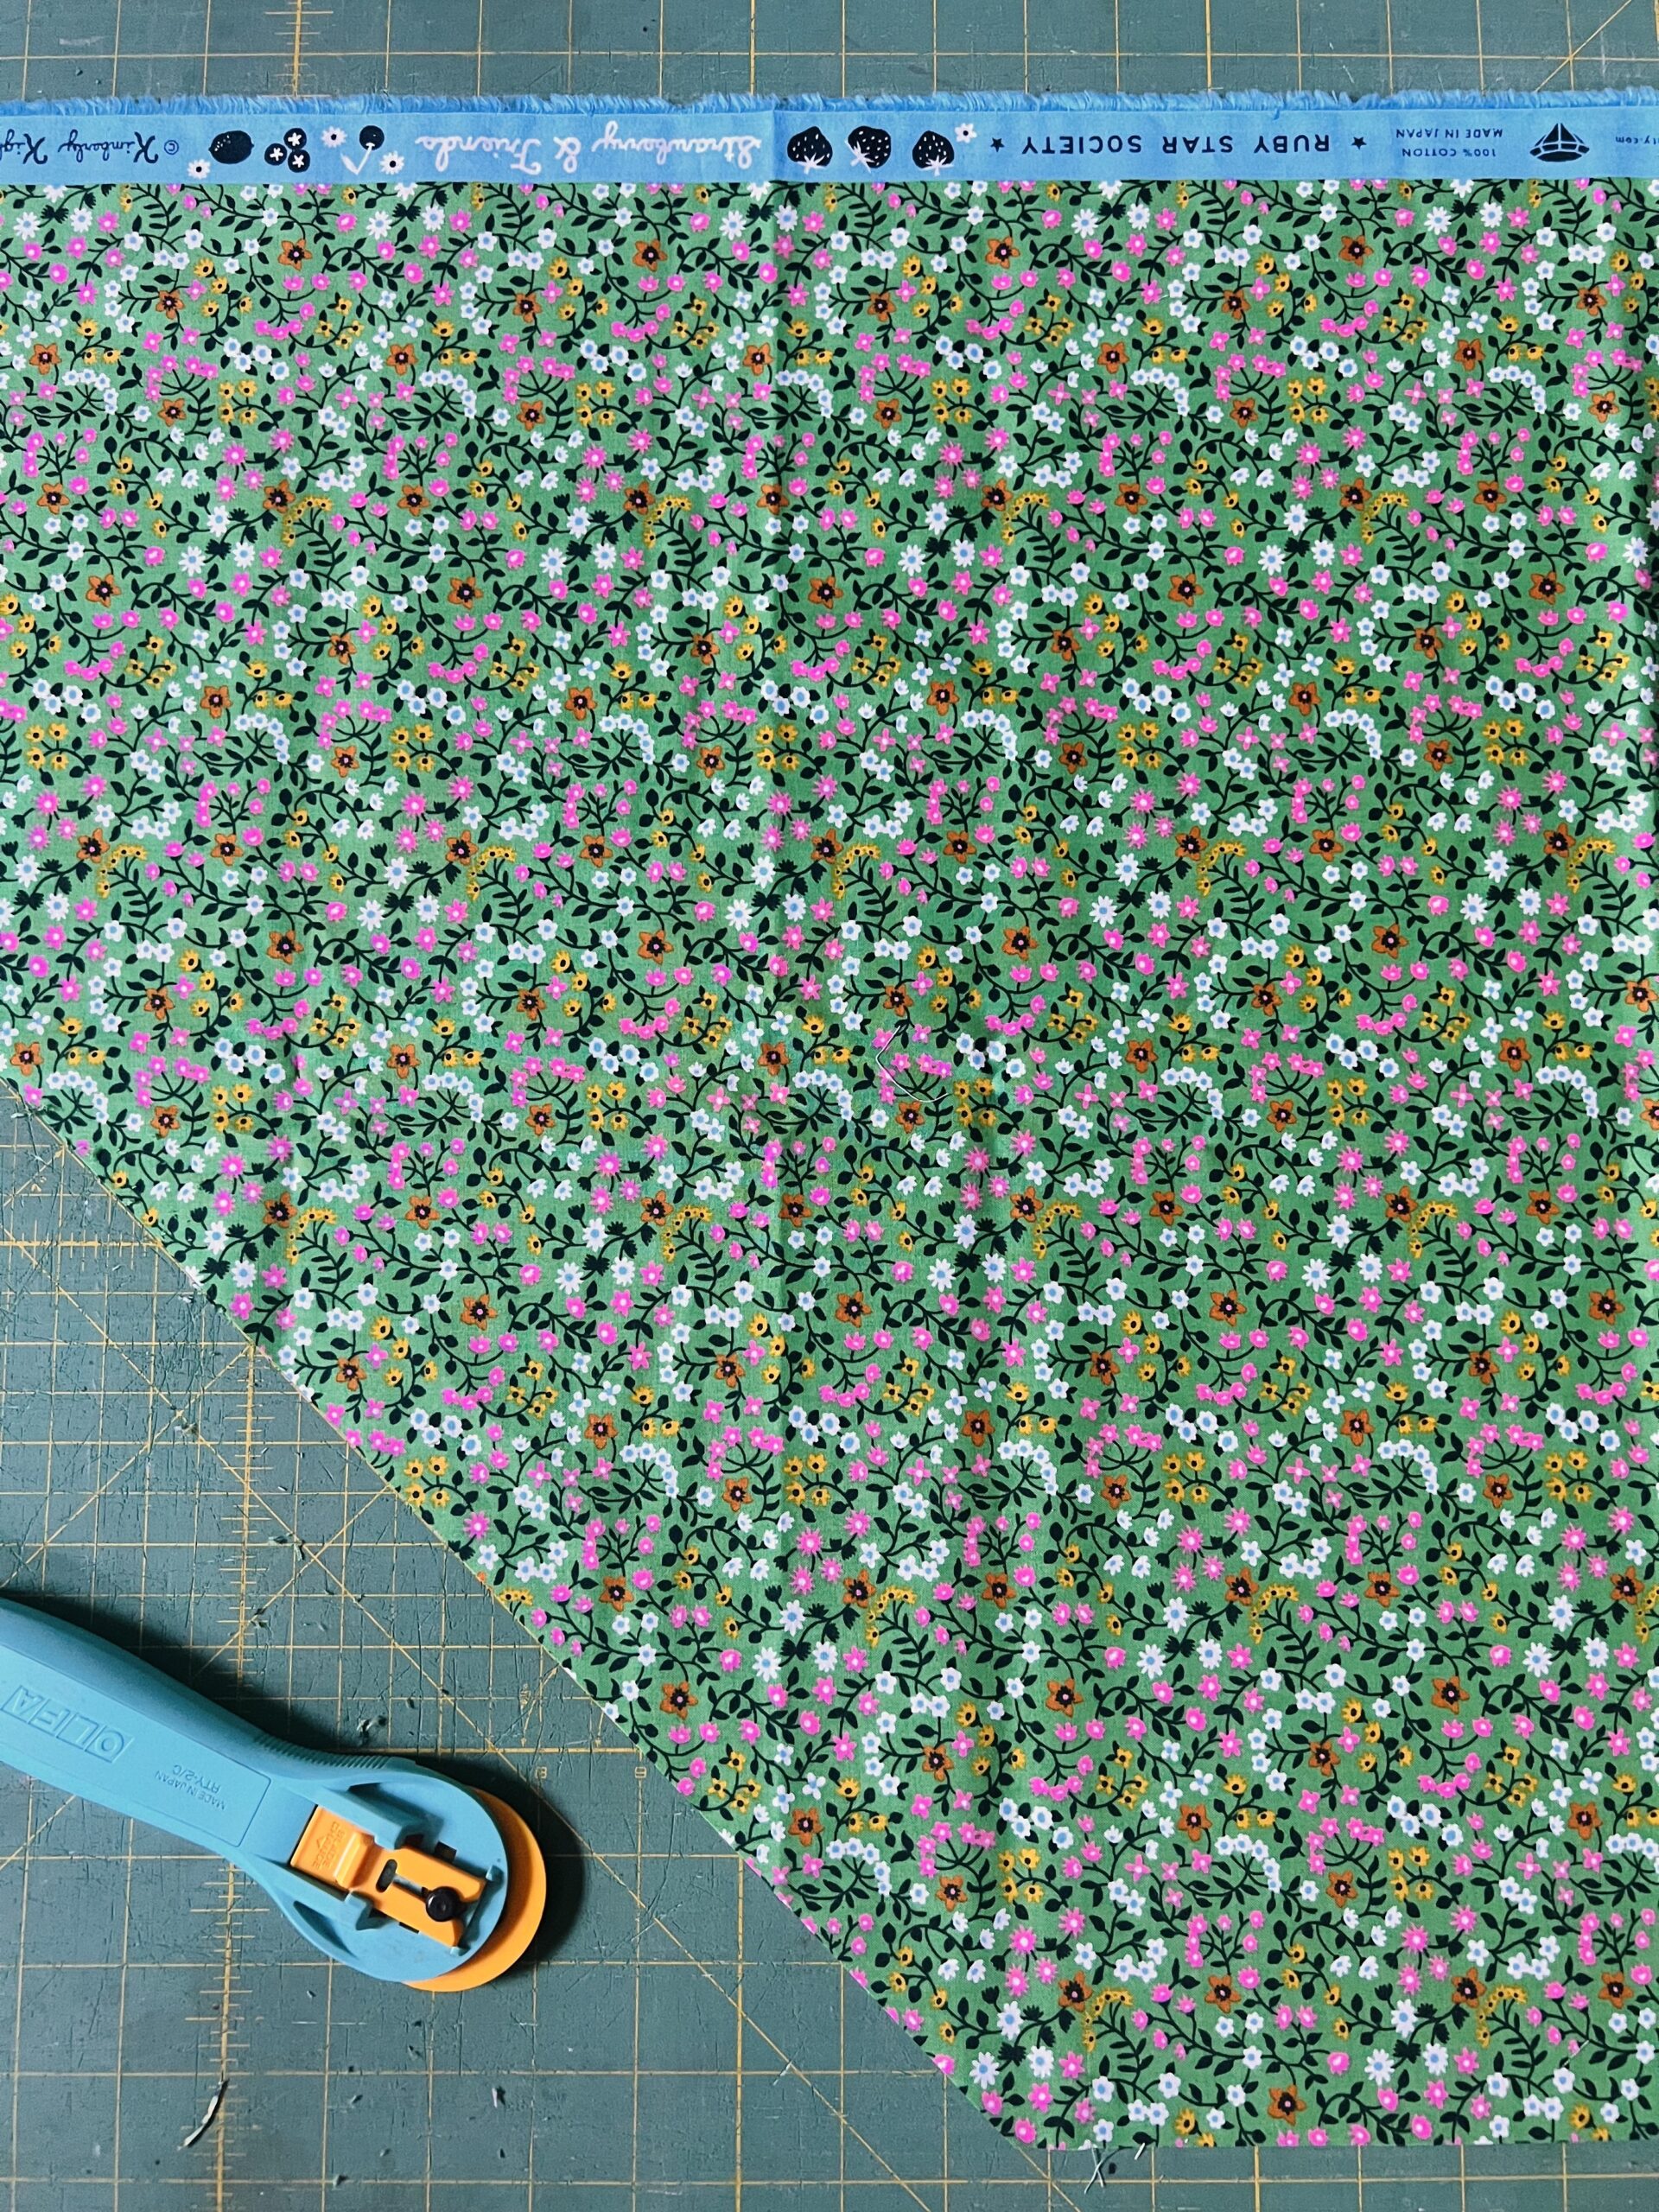
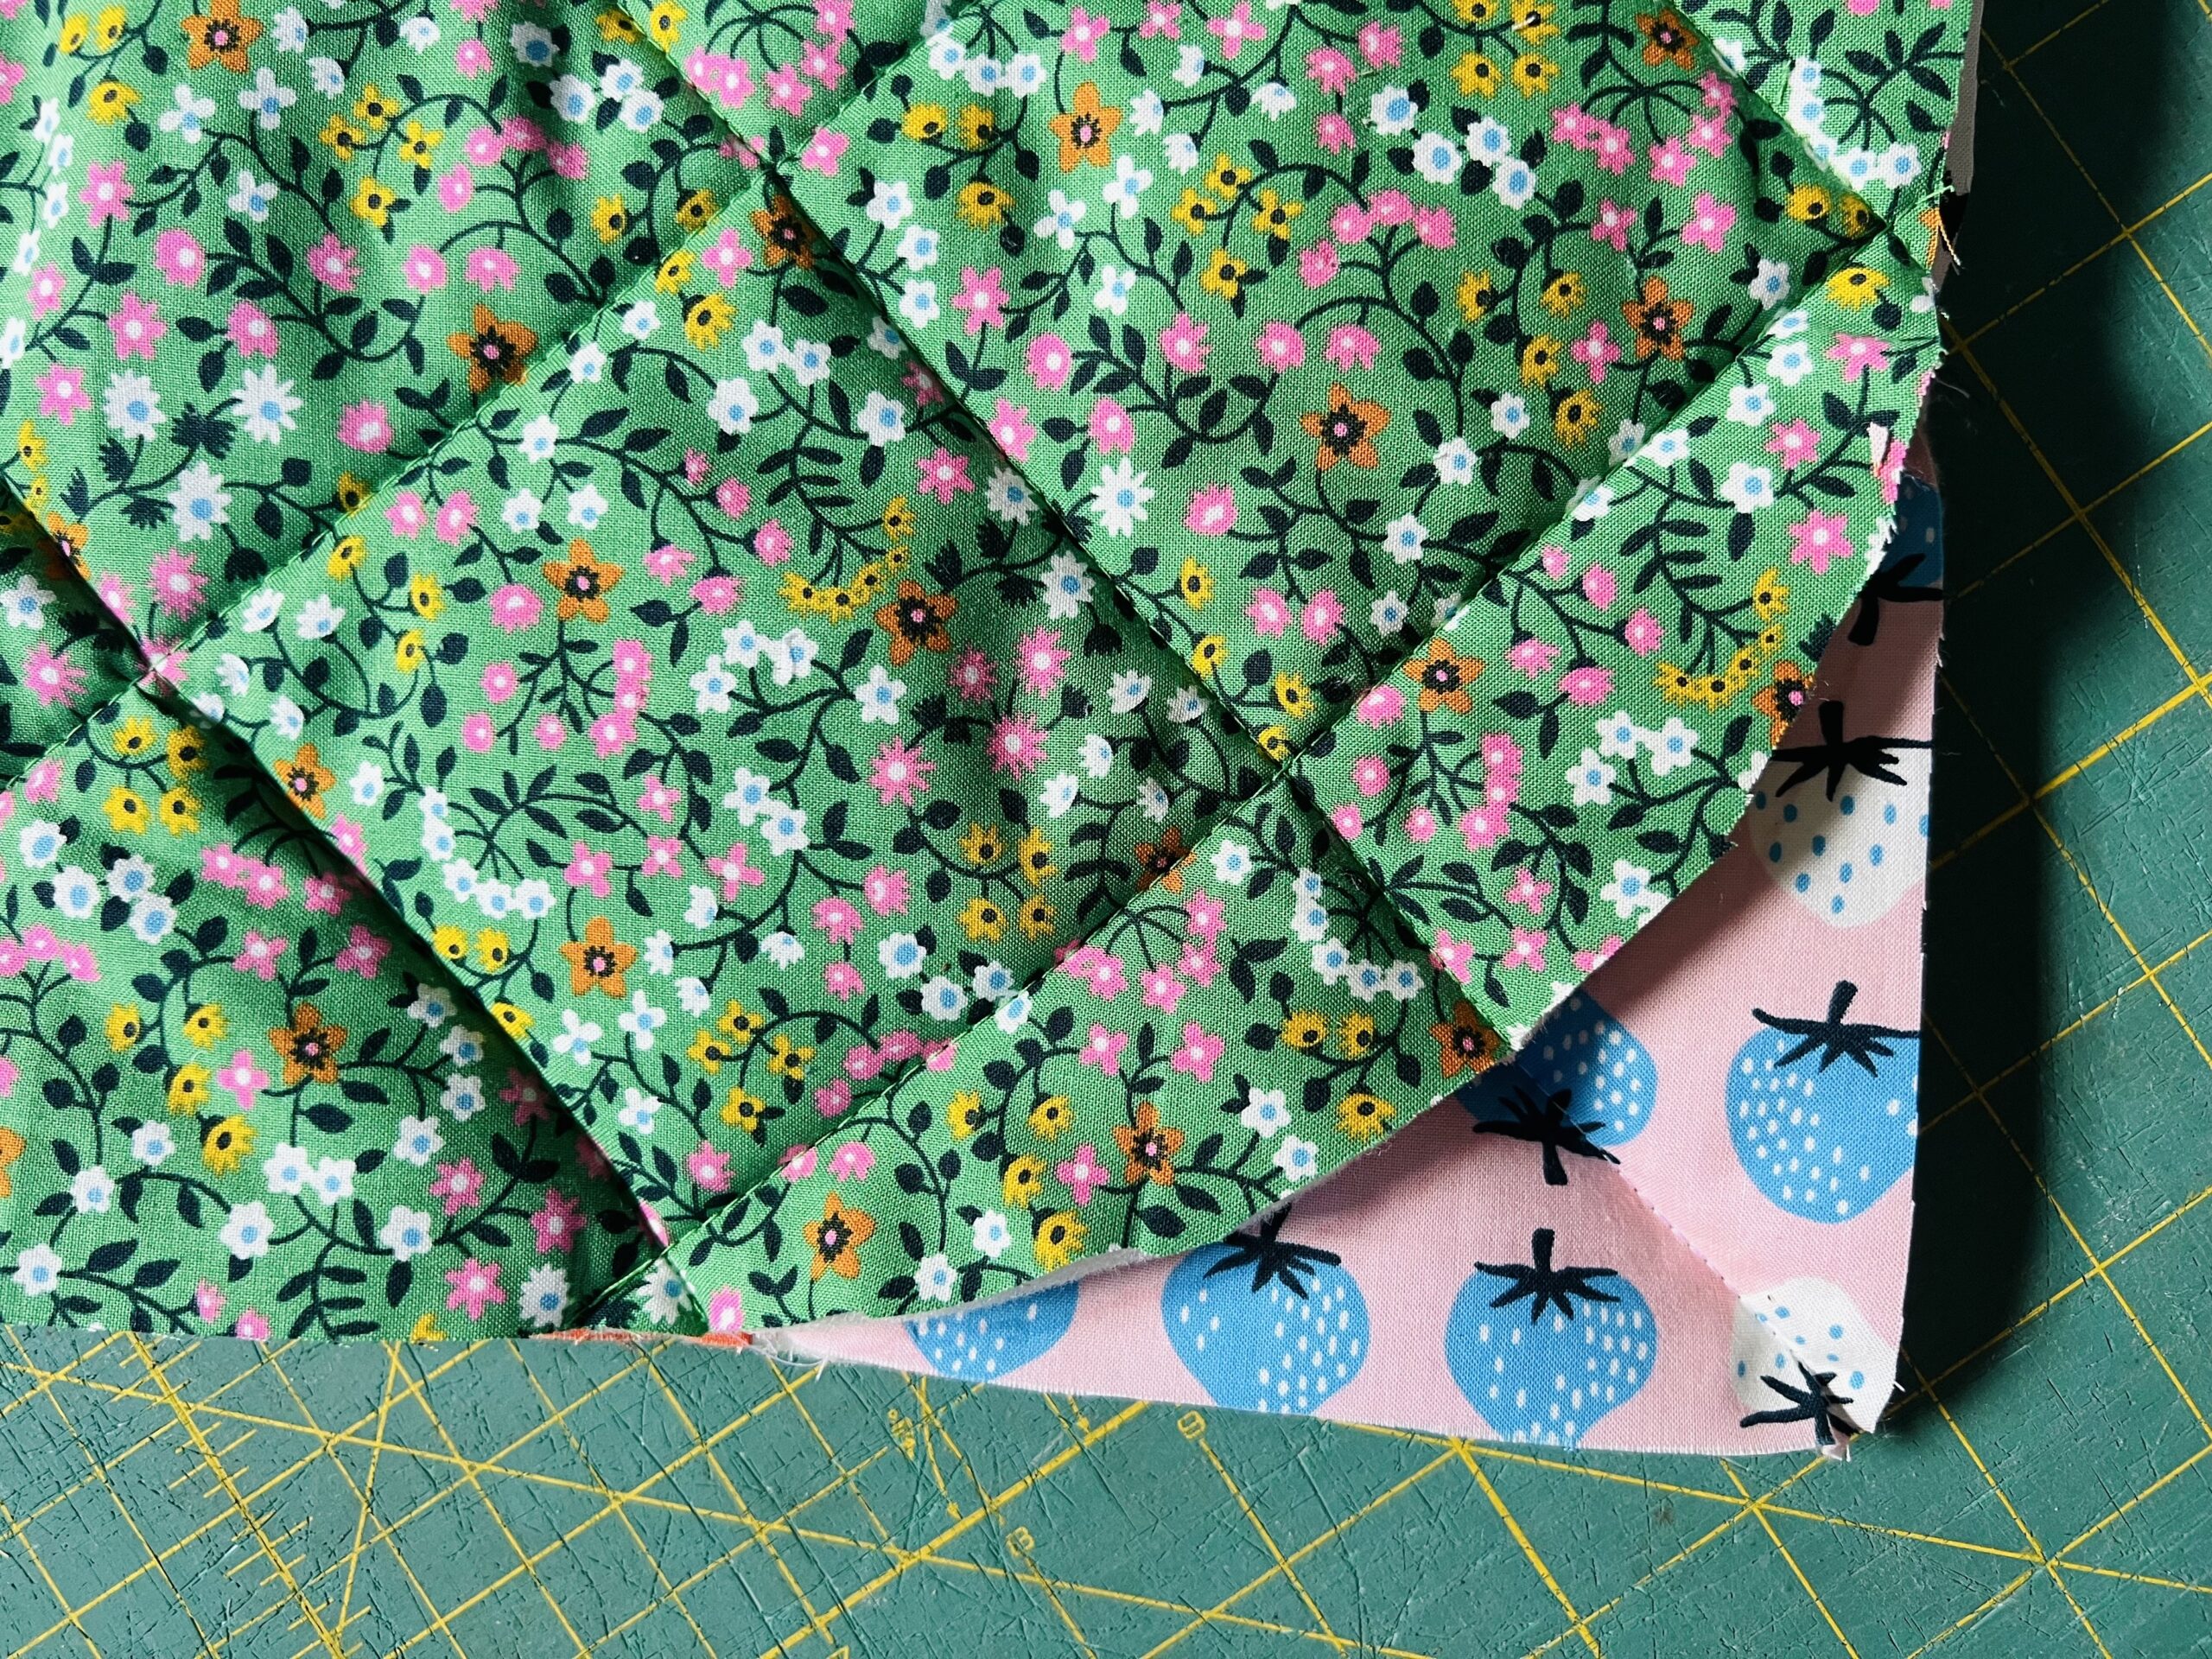
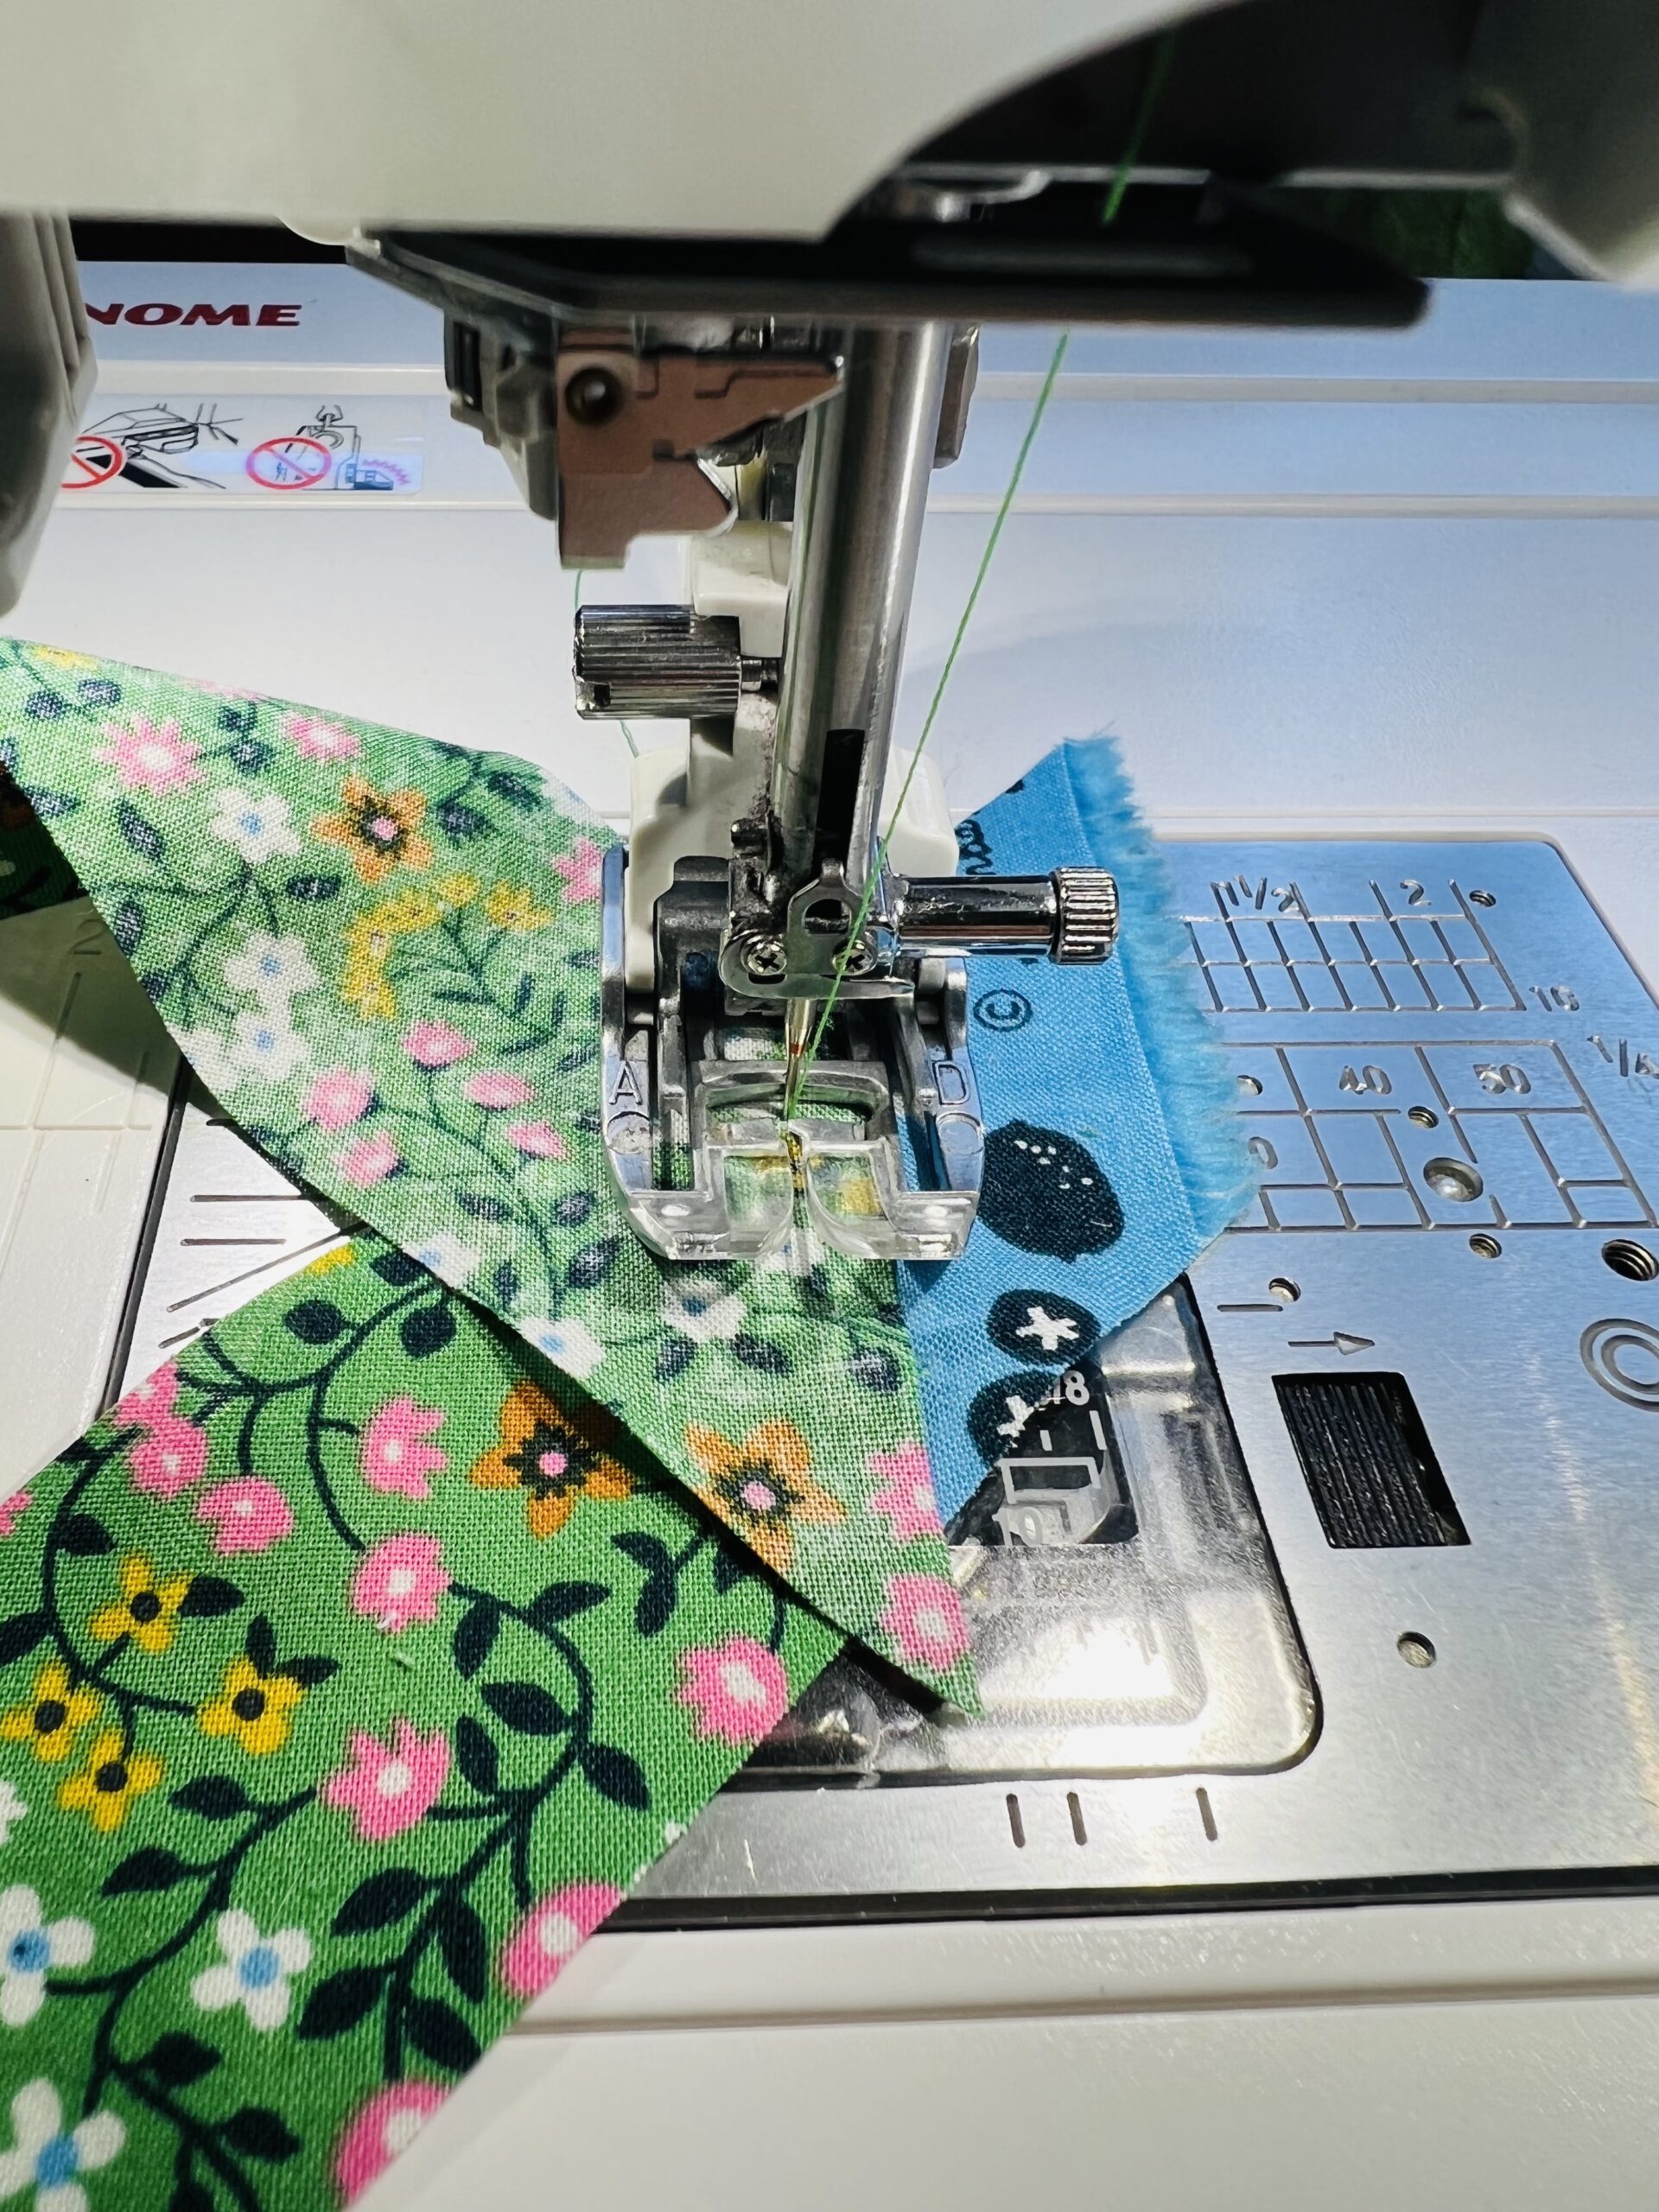
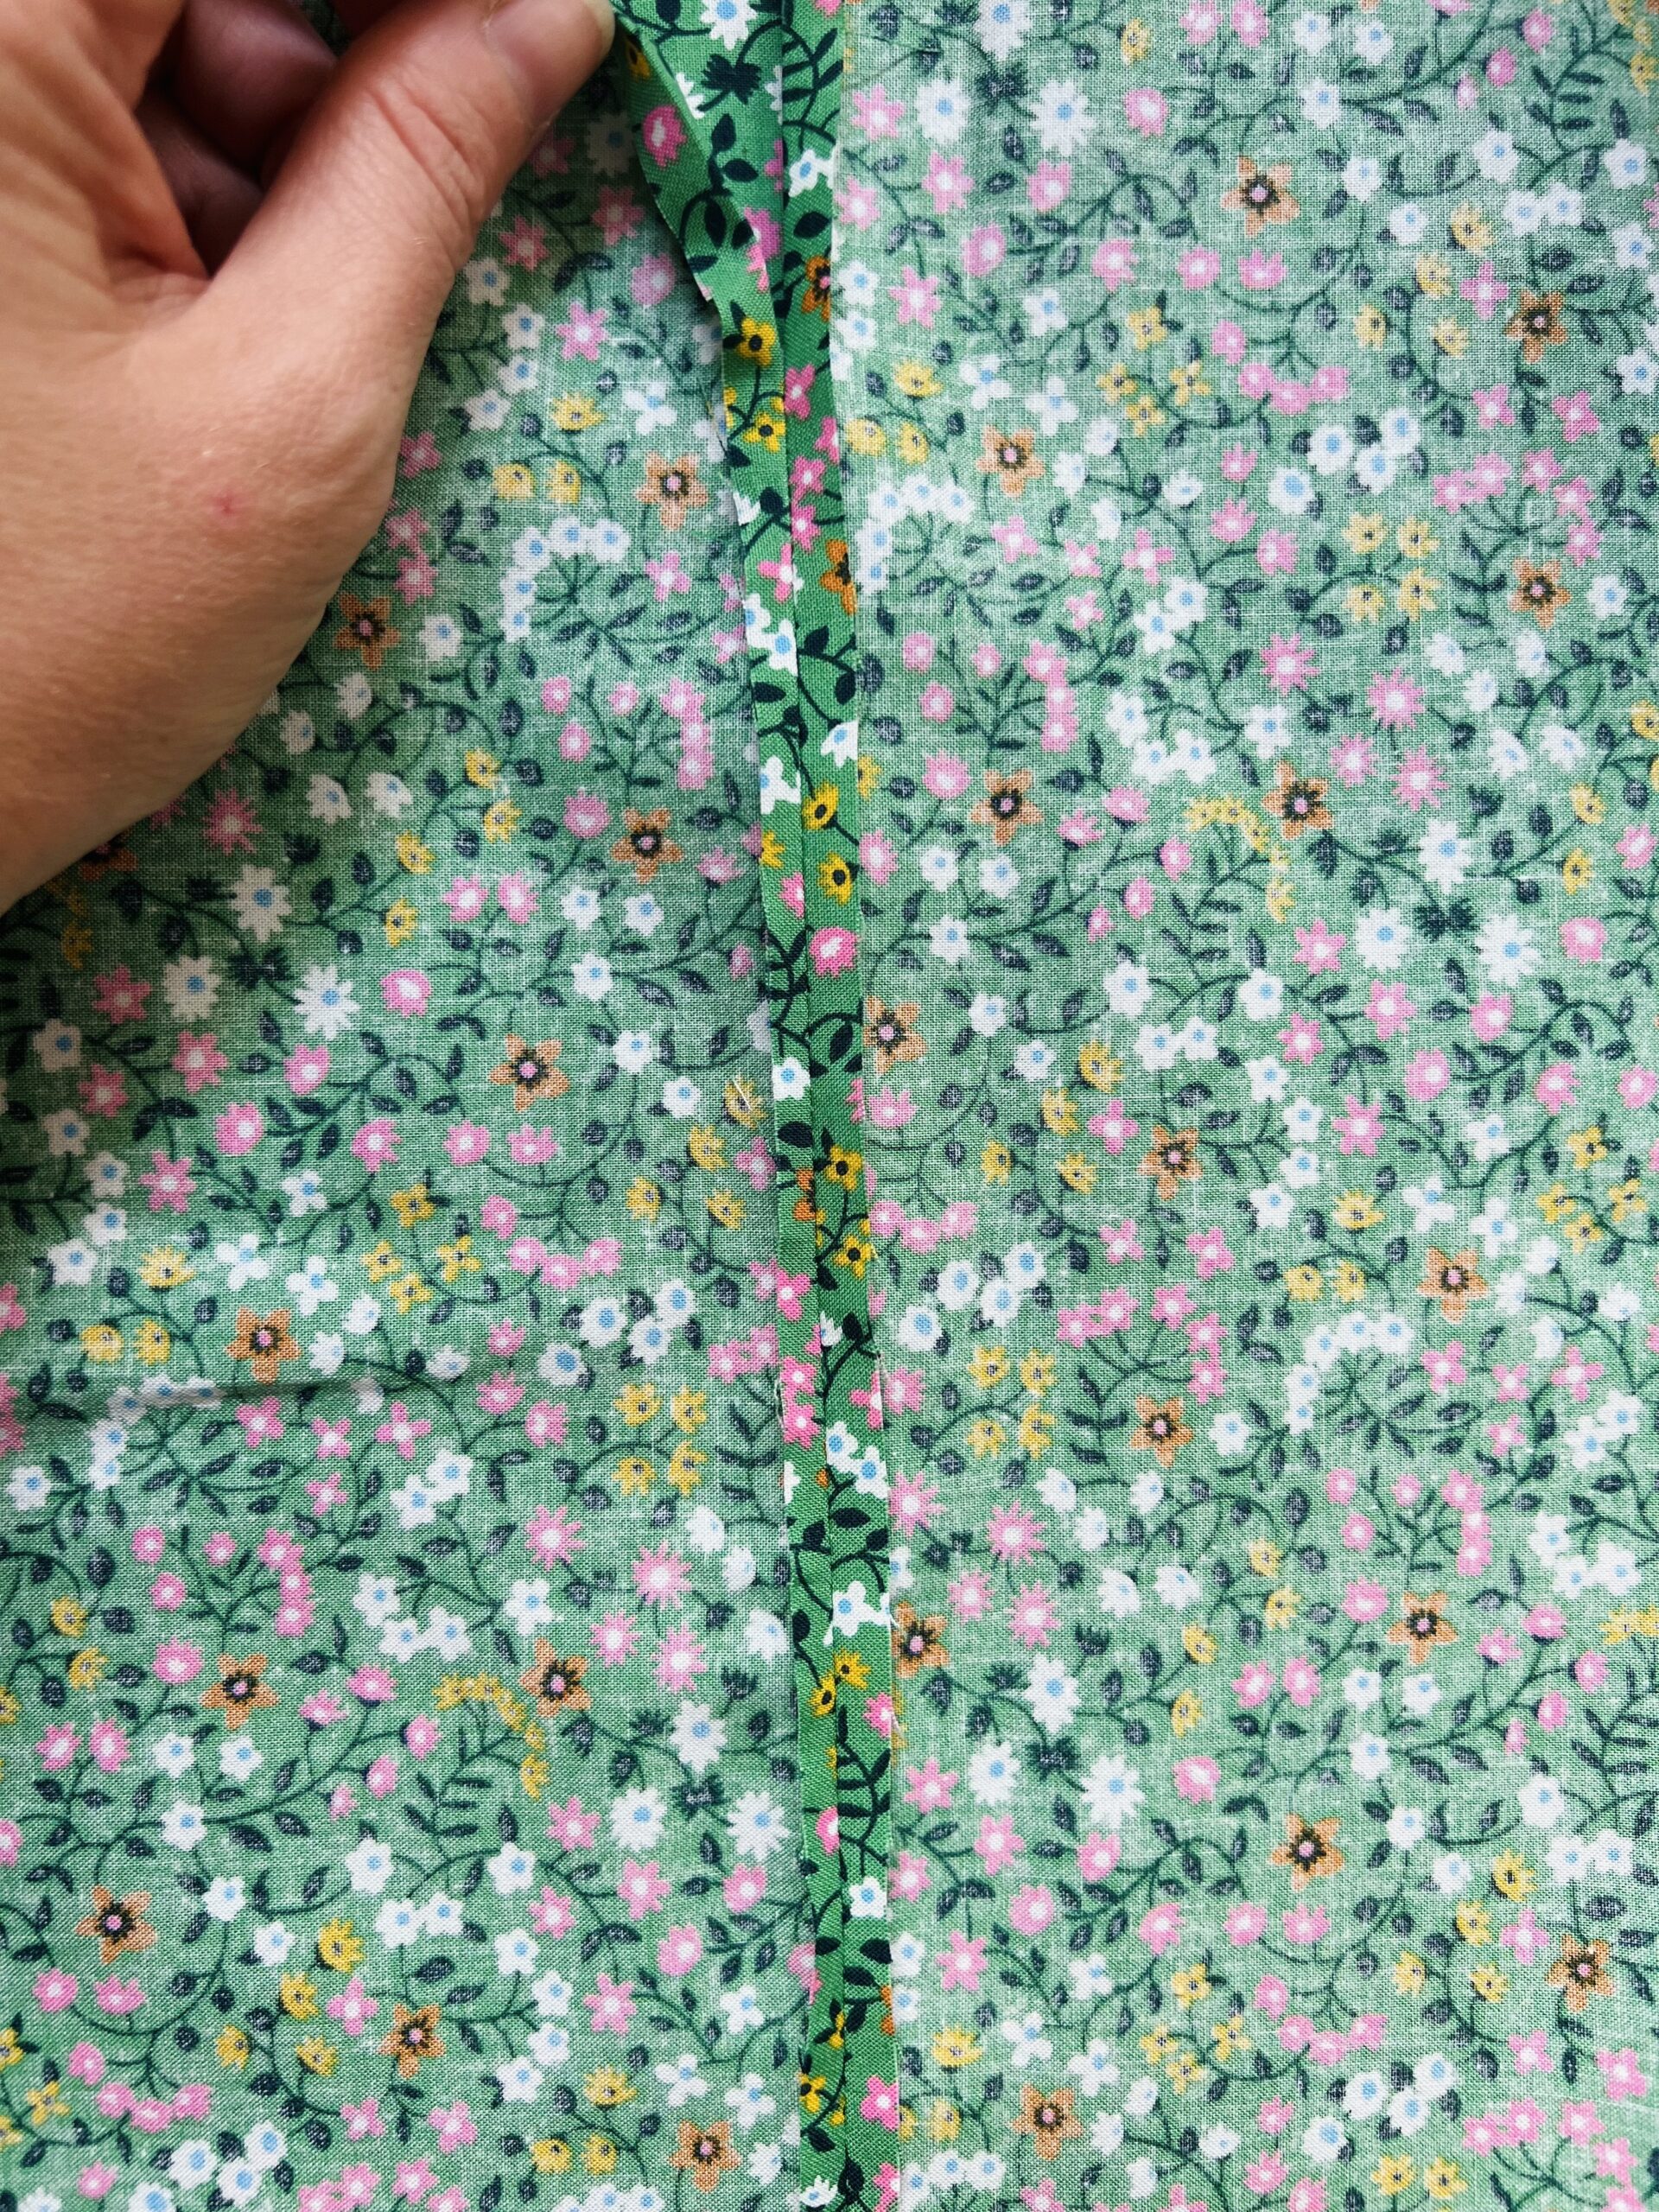
 Sew your strips together. I didn't cut the selvedge edge prior to cutting strips, so I treated the beginning of the selvedge color as the edge, and just cut it off after sewing. To do this properly, you will need to place the strip ends right sides together, with about 1/4" dog ears, and sew them together with a 1/4" seam allowance. See pictures below for reference.
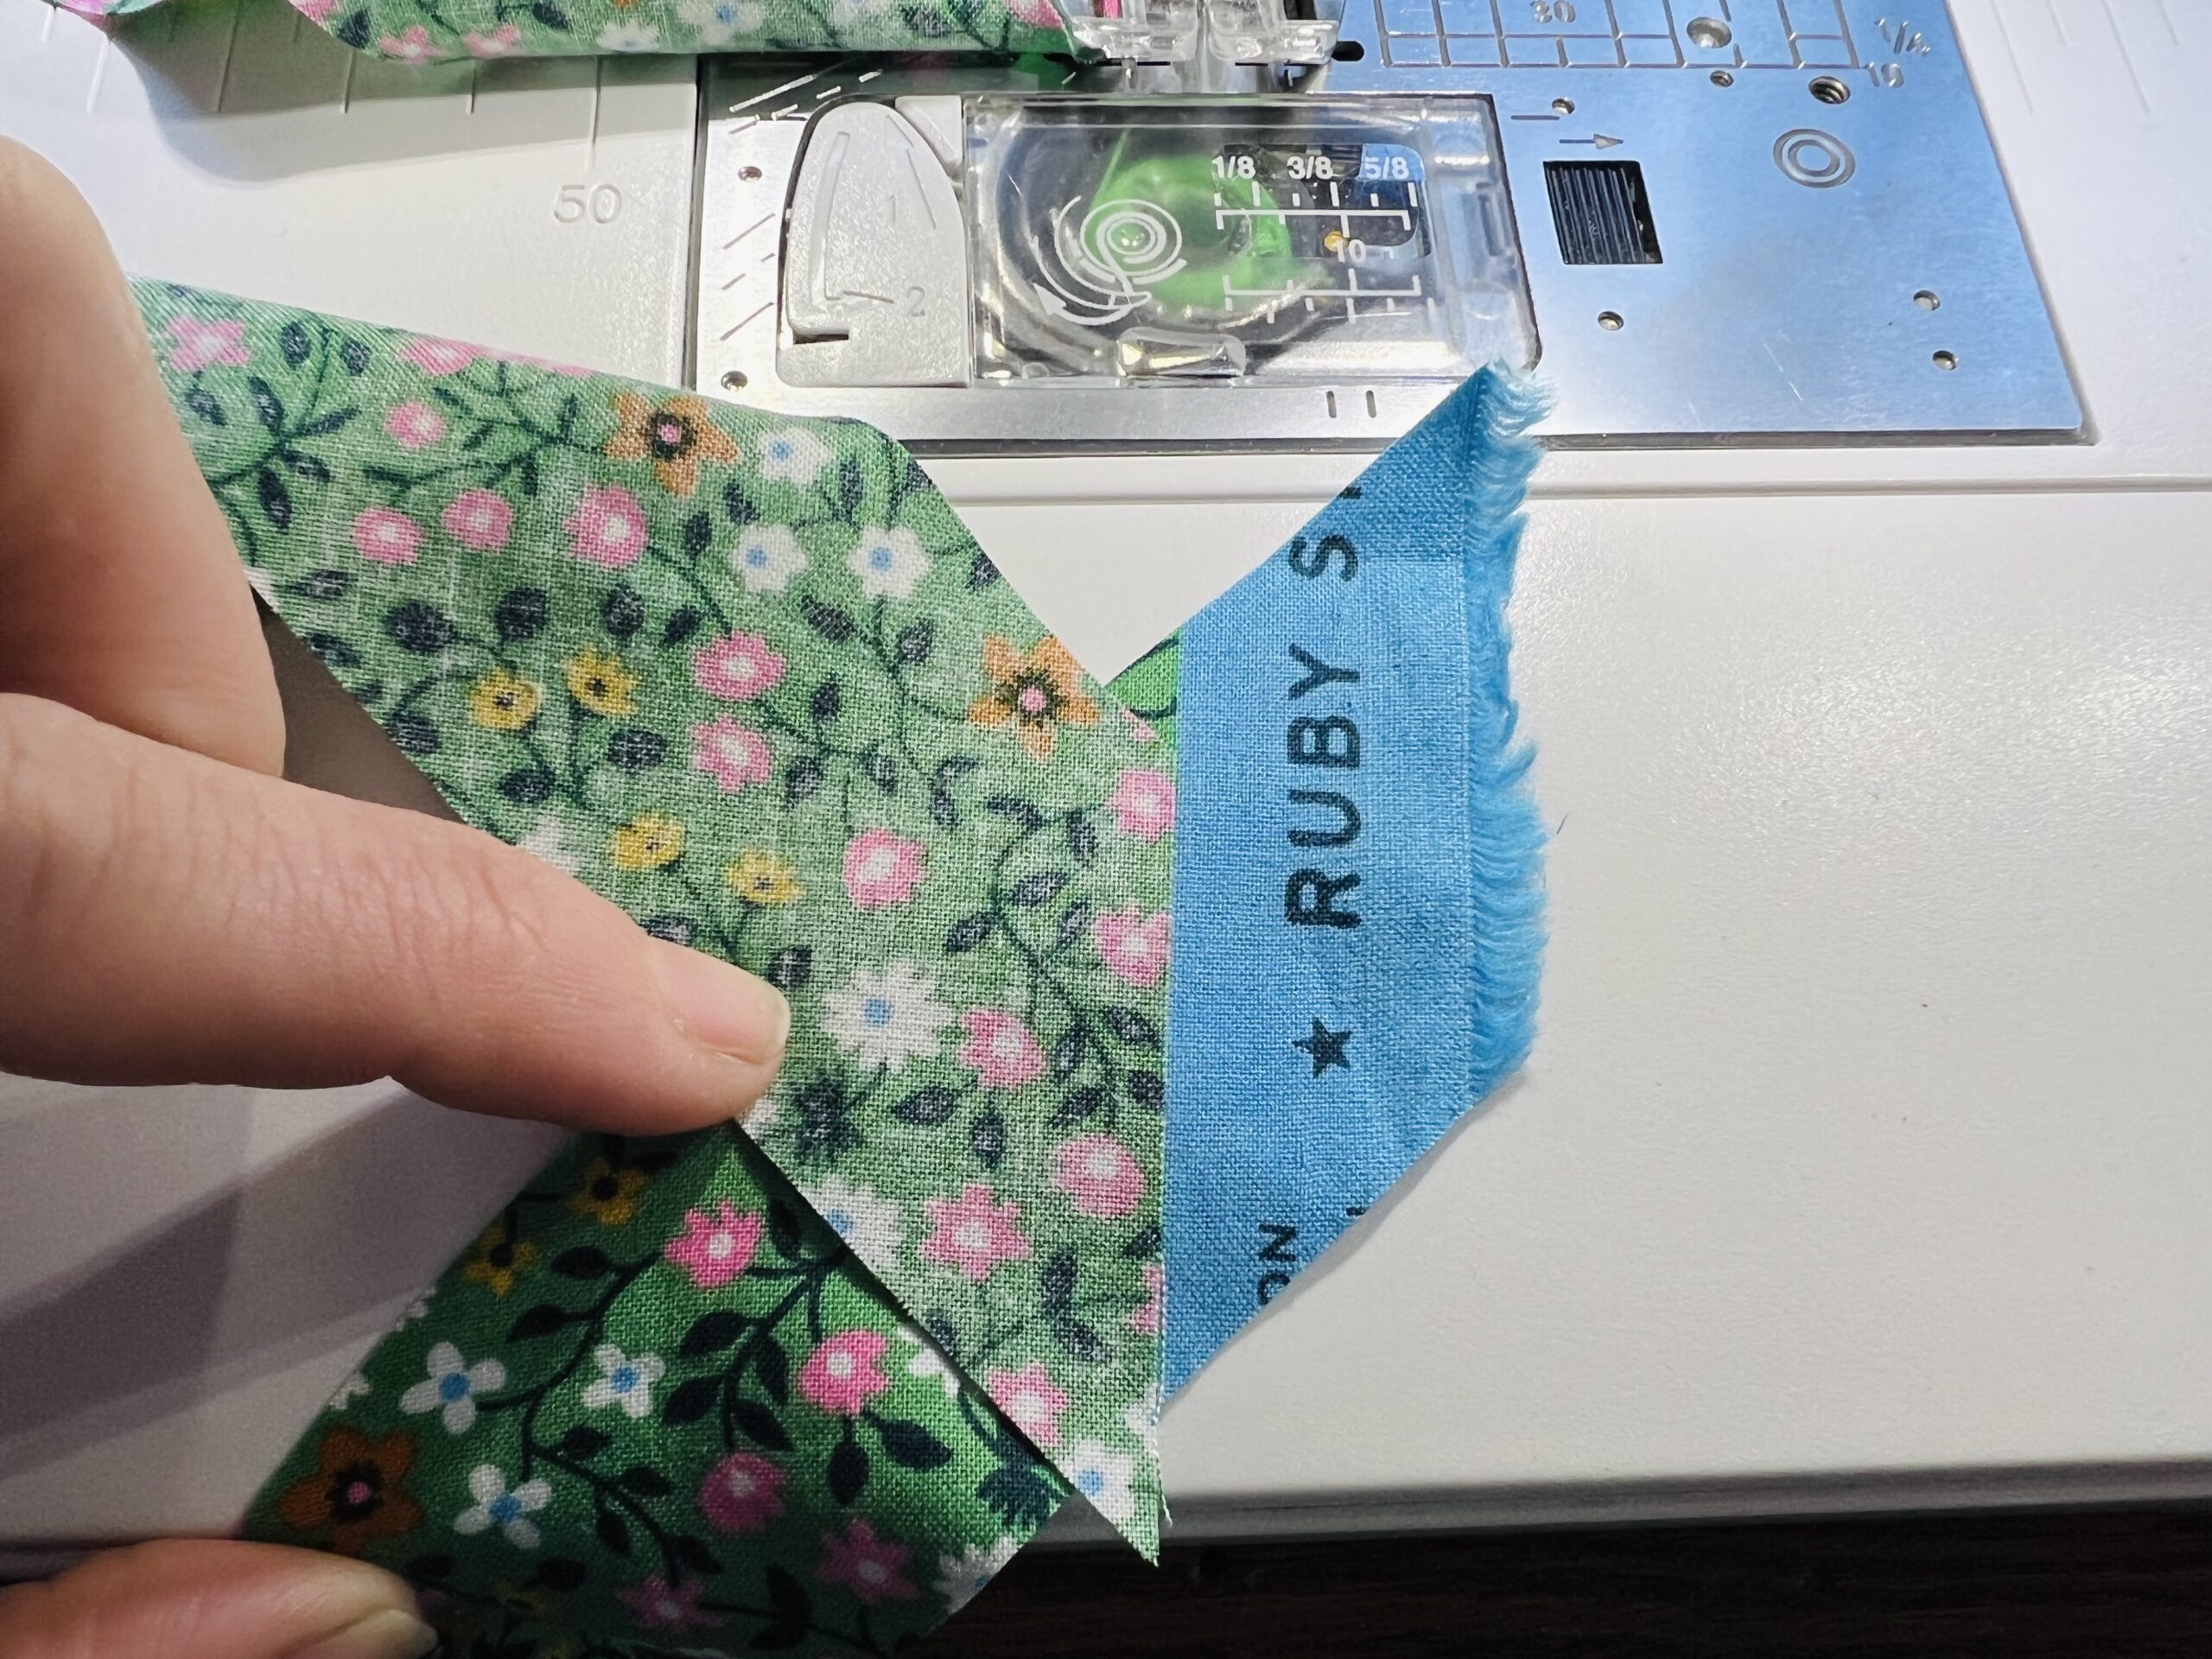
 Trim the dog ears, and the selvedge too if necessary.
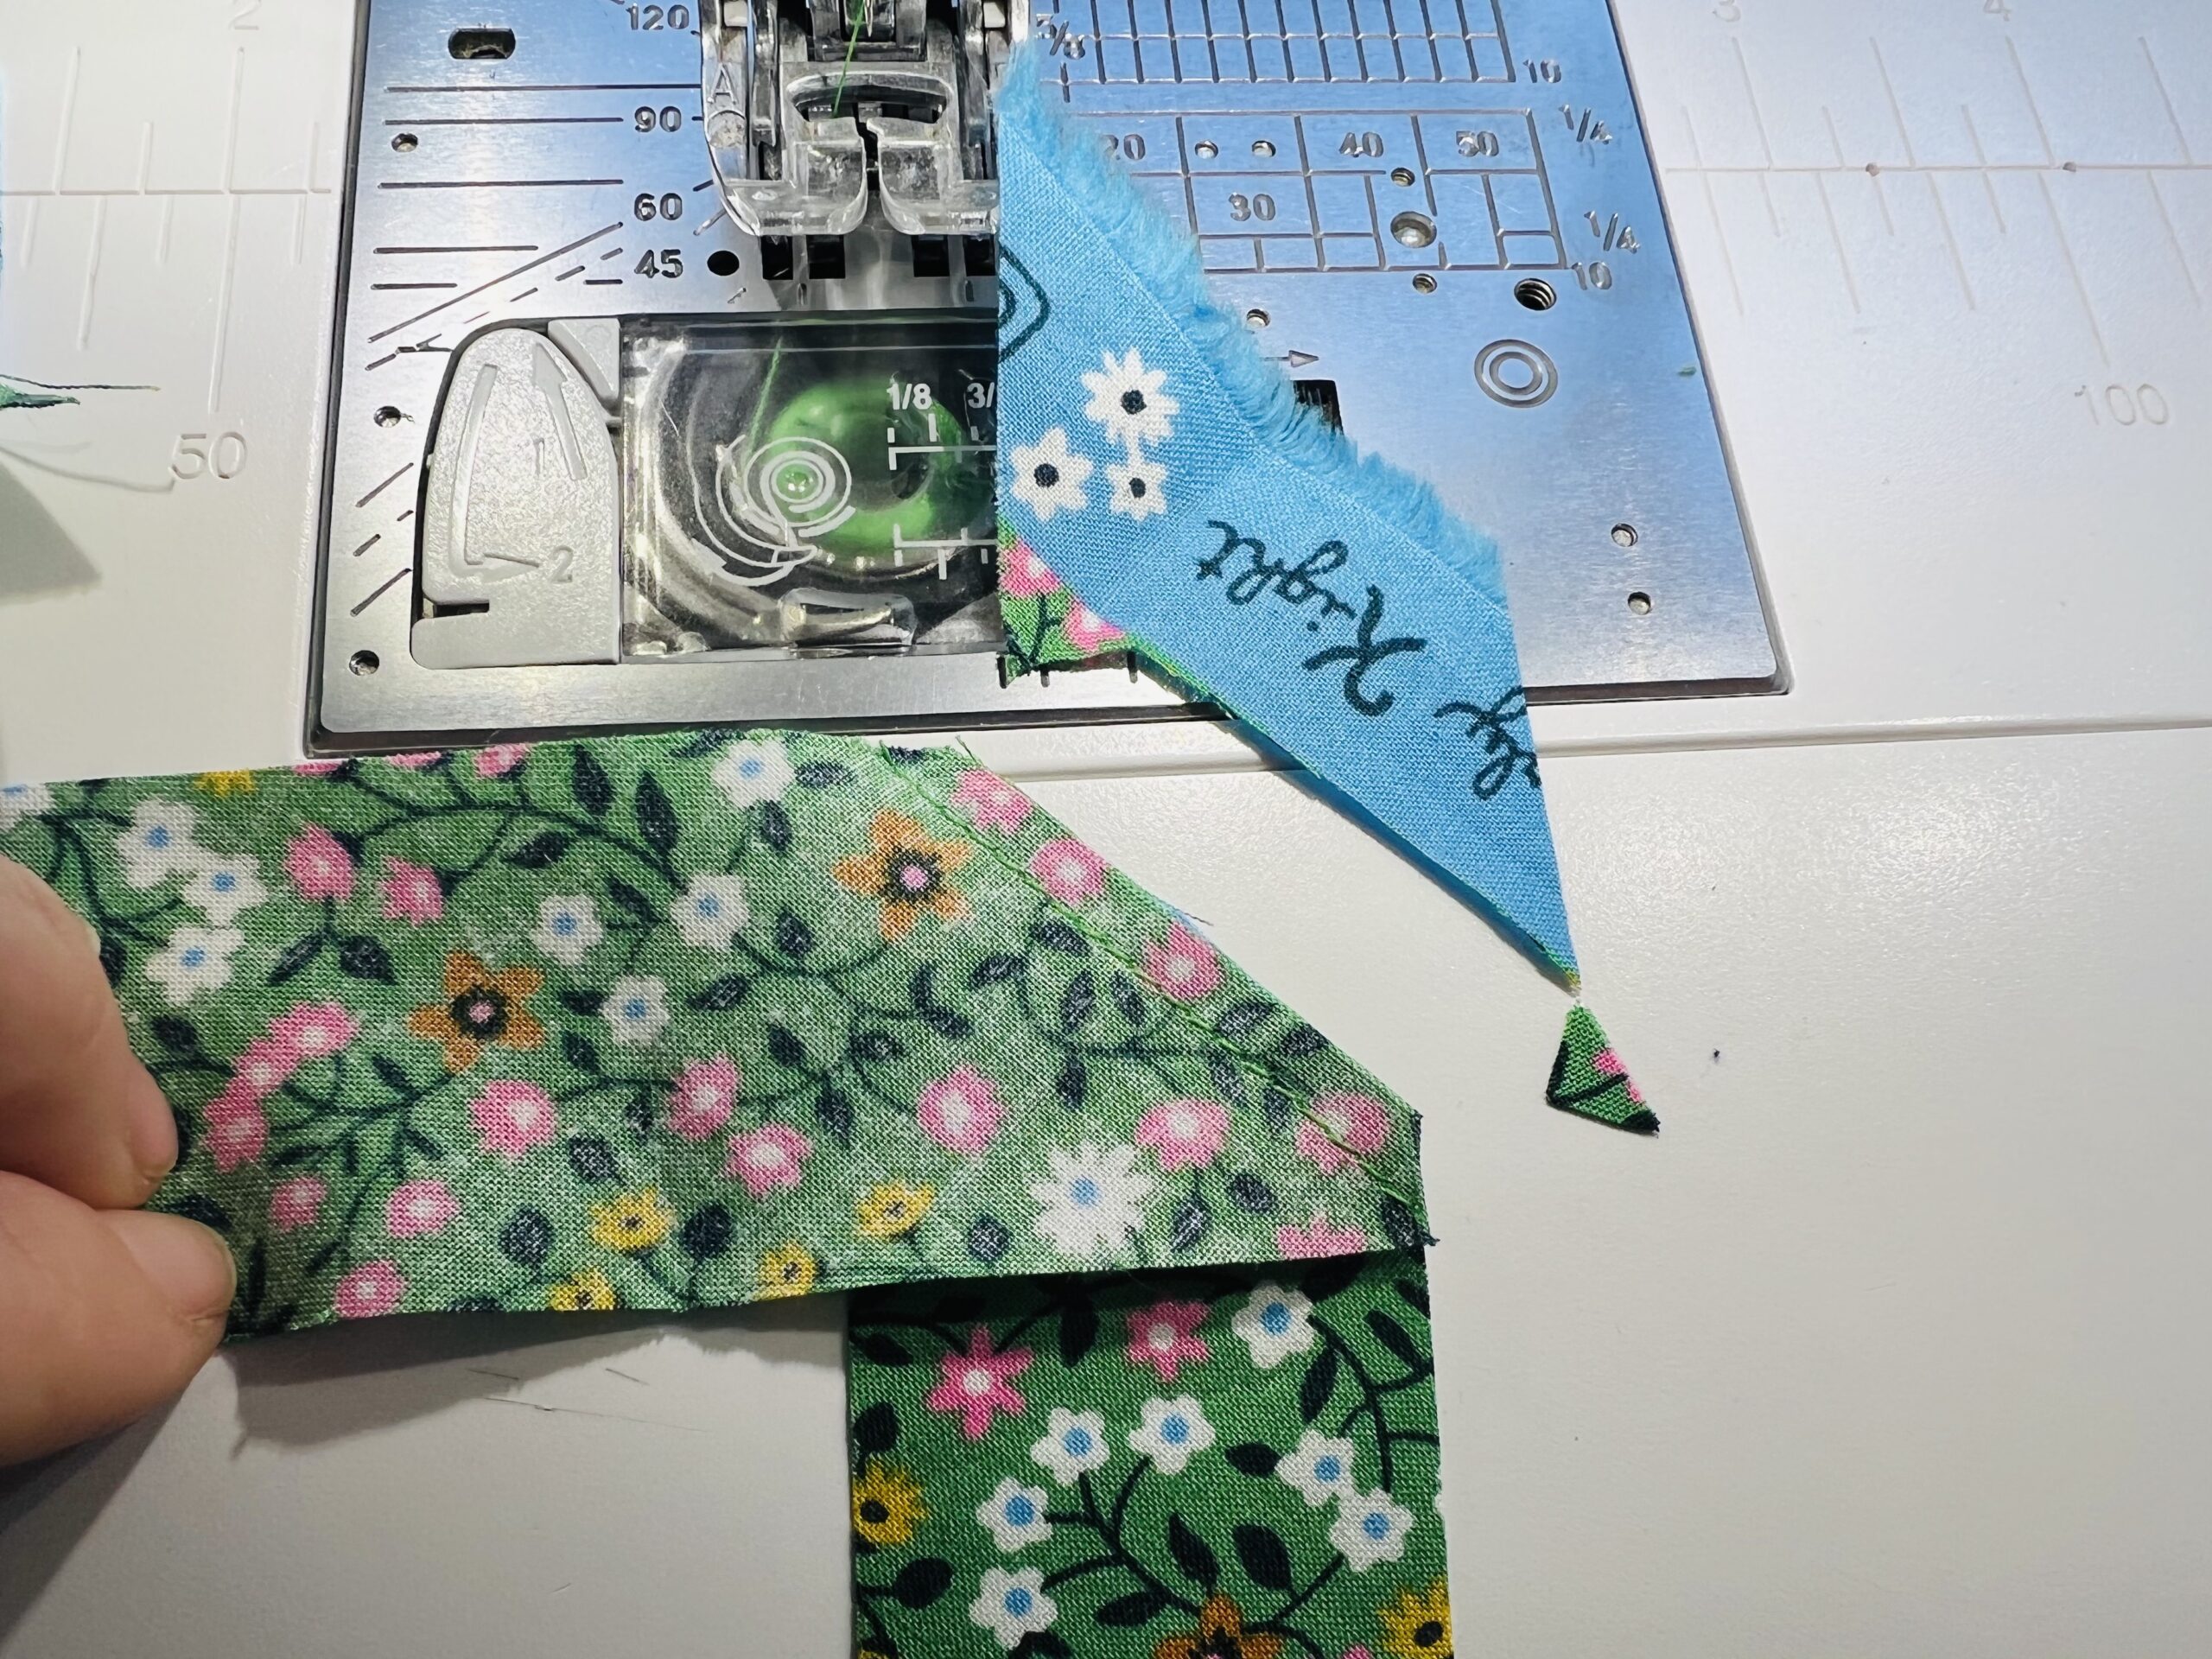 Press seams open, and then iron full length of bias tape in half lengthwise. Open, then fold the raw edges toward the center crease and press again. Fold so that raw edges are enclosed, and press again. Be patient and press neatly. This part will take a bit of time, so don't rush. Your bias tape should look like this:
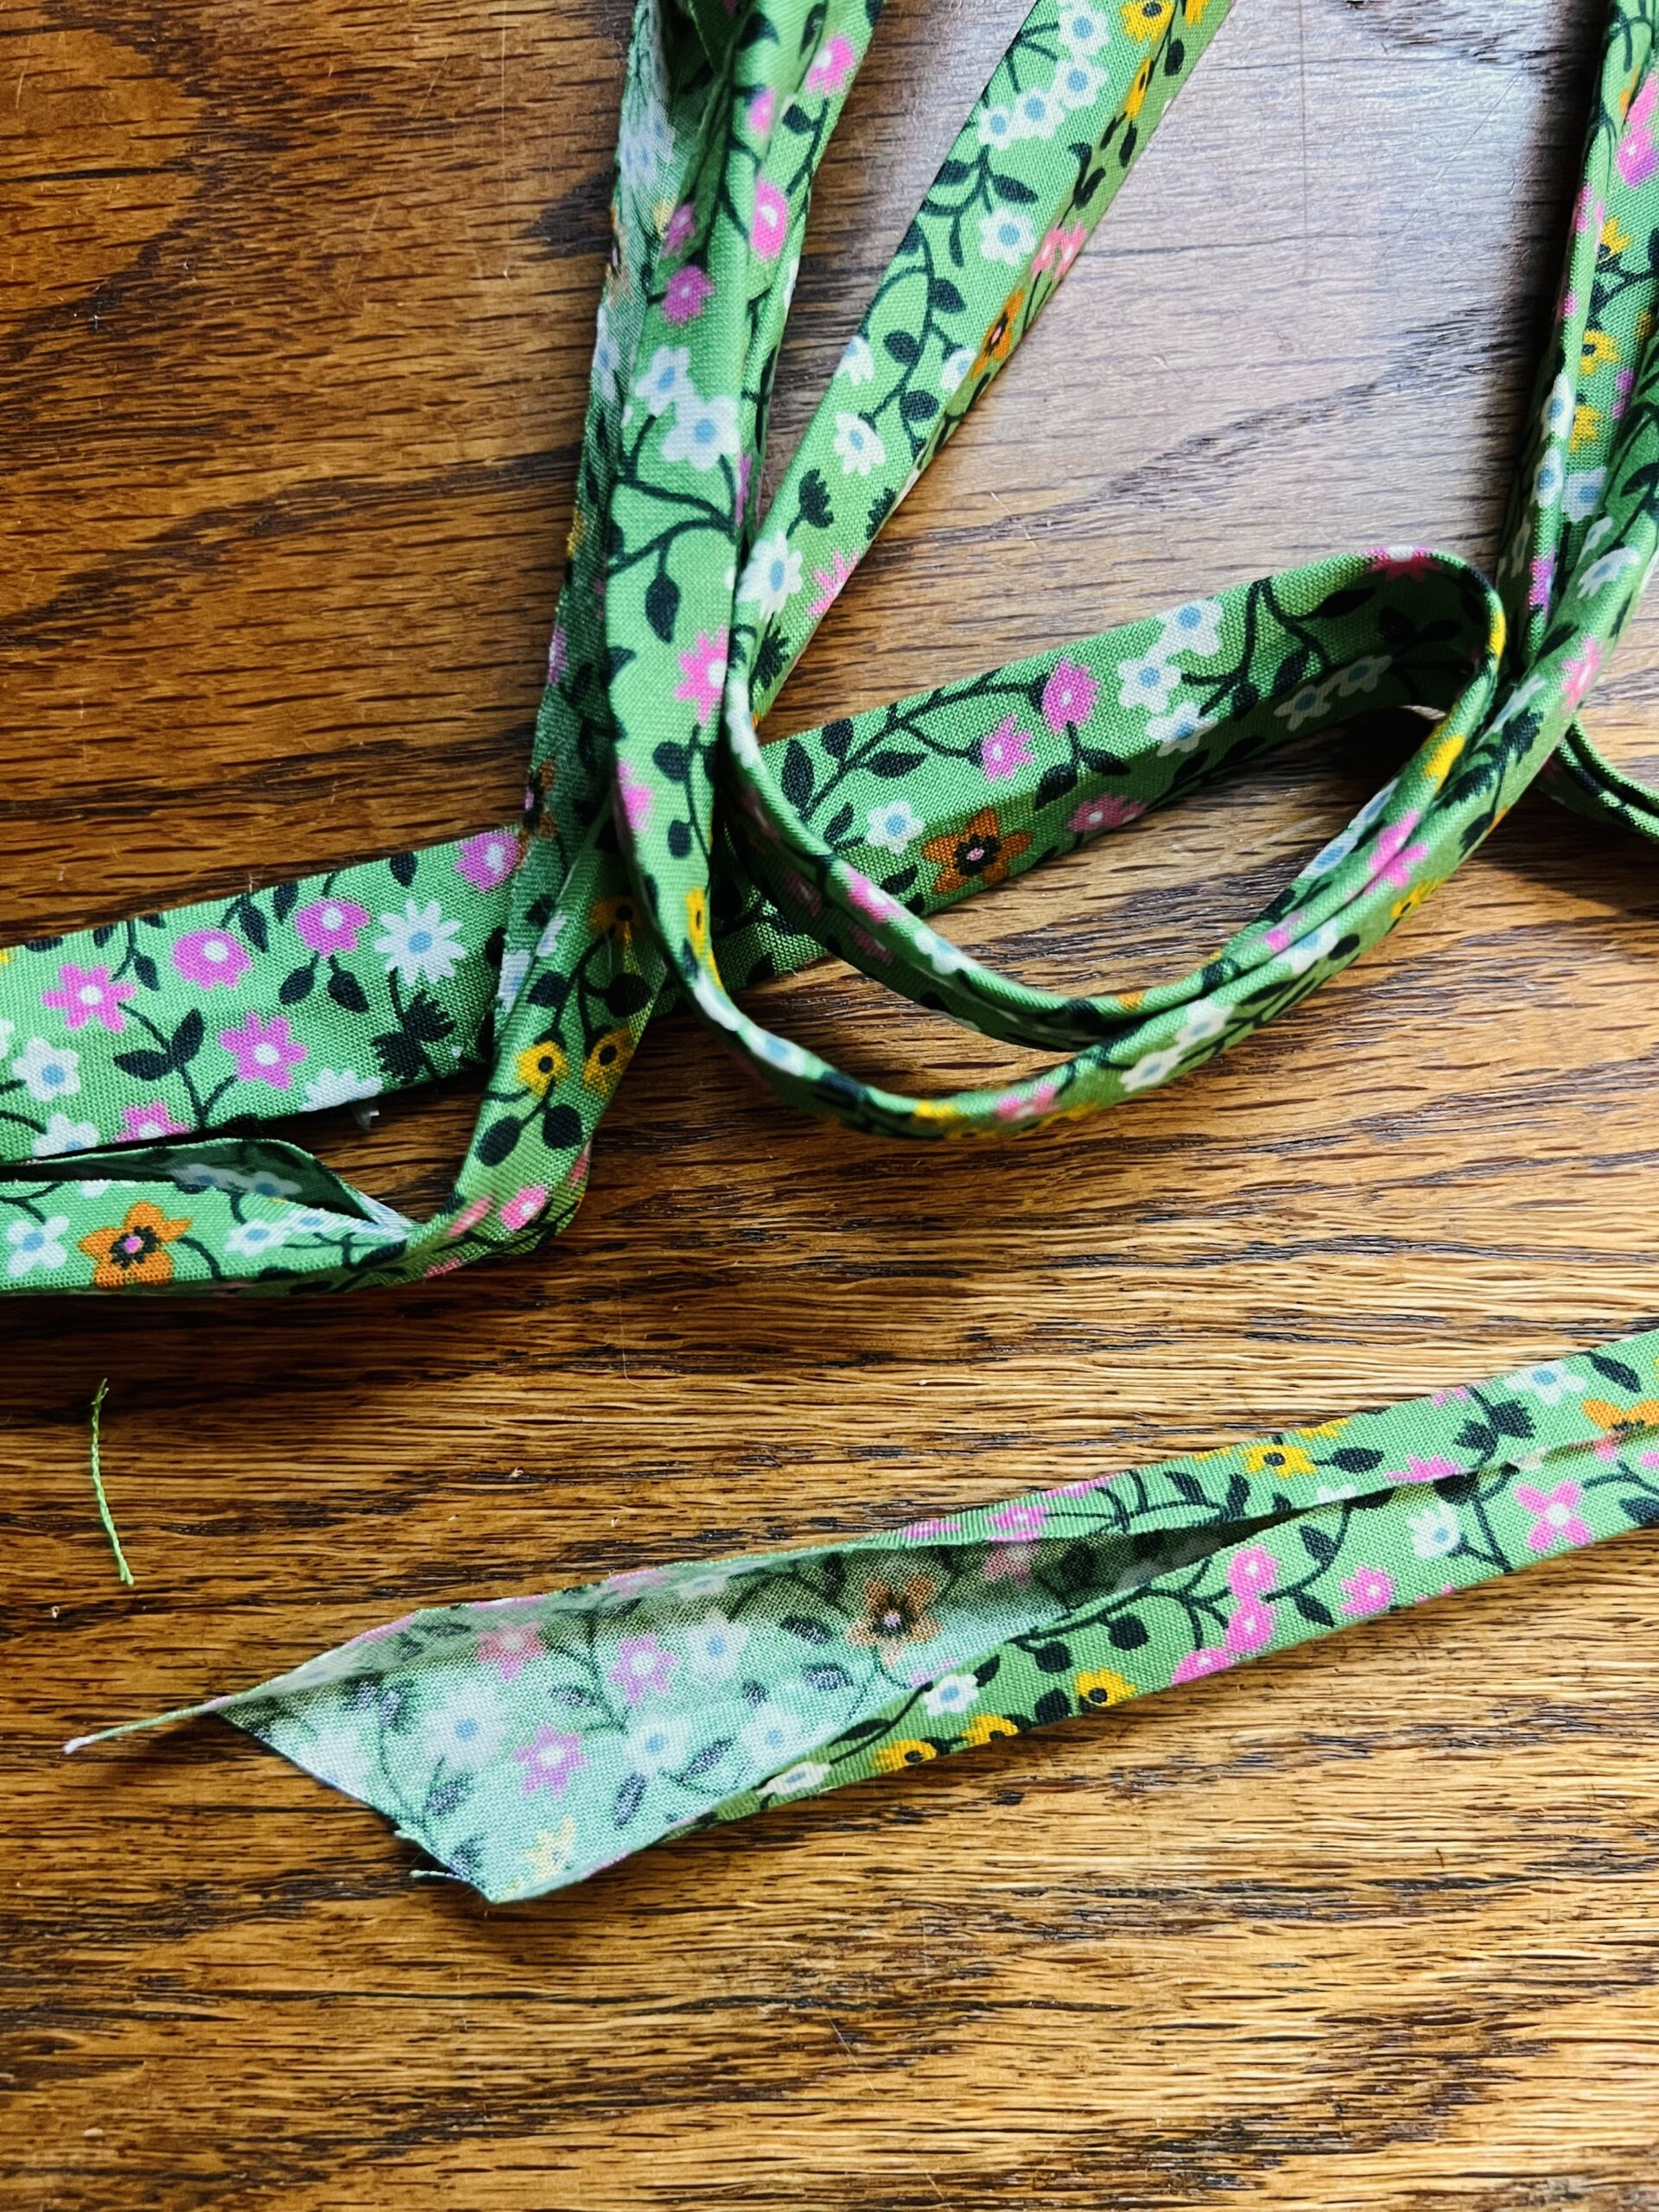
phase 3
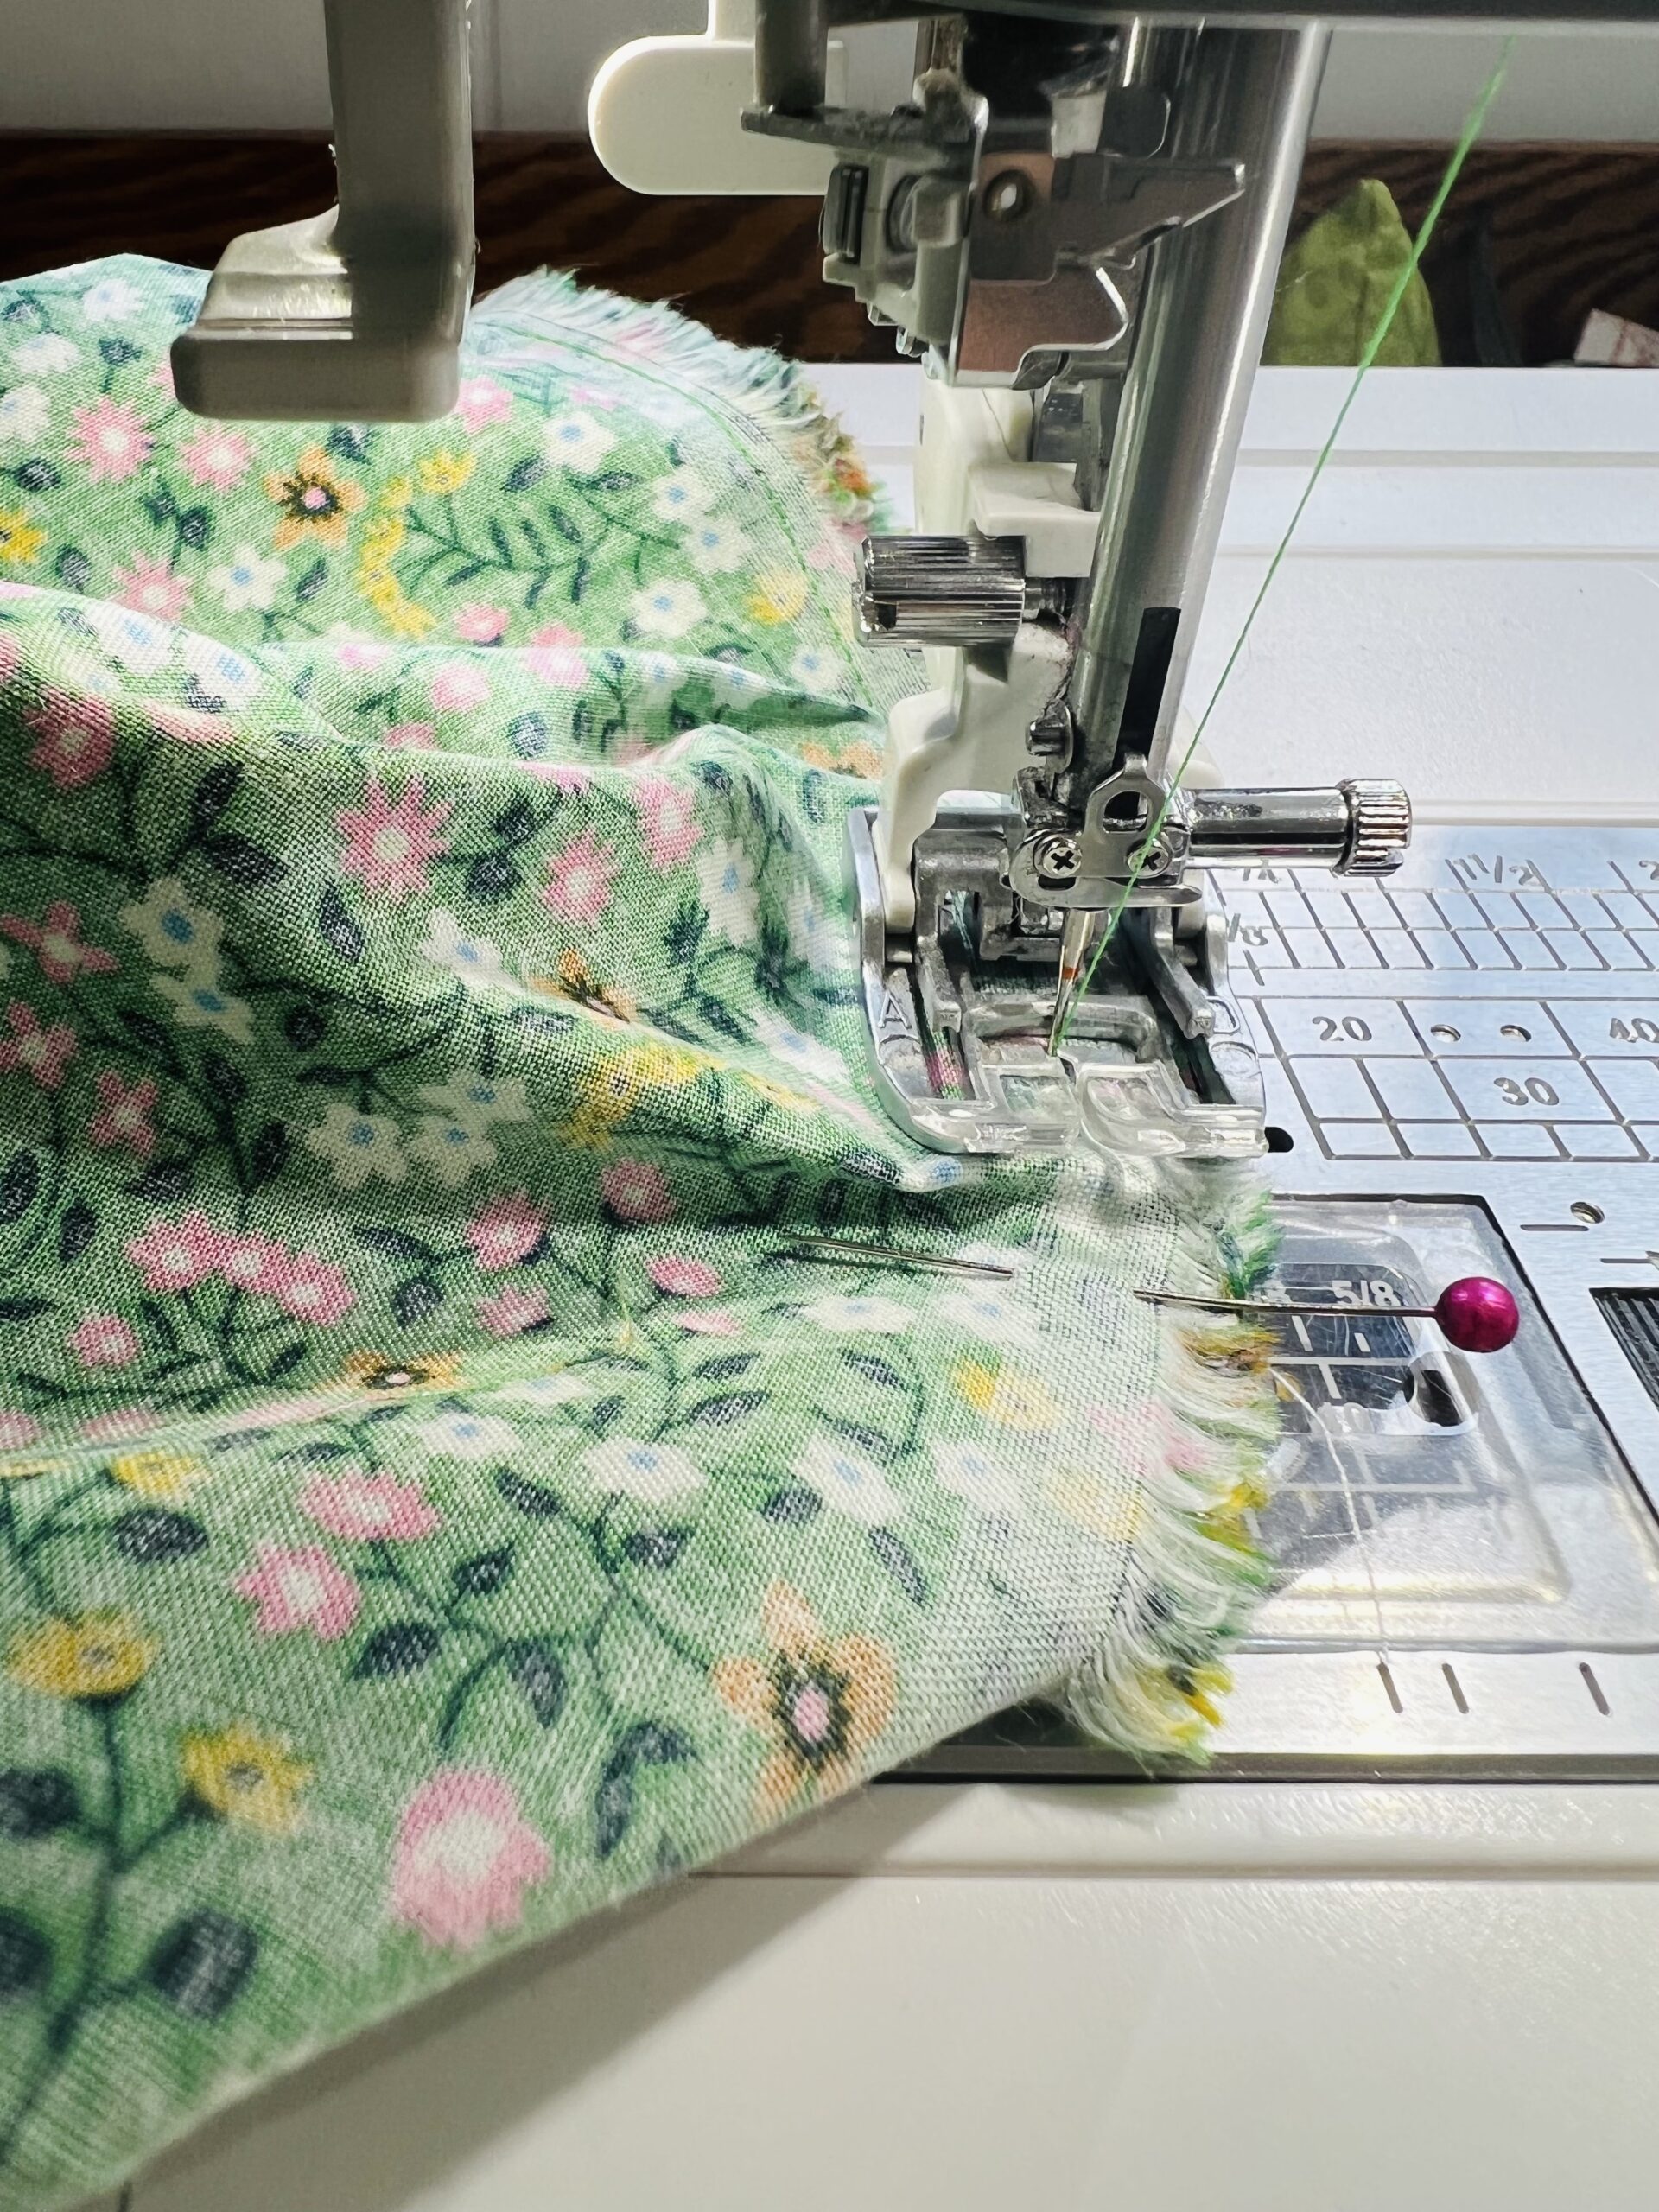
Time to attach the binding to your sleeping bag! Unfold one raw edge of your bias tape, and beginning about 5" from the end, attach it to the sleeping bag. Start toward the center of whatever side, and do be sure to leave at least a 5" tail at the beginning. Sew directly onto the first crease like so: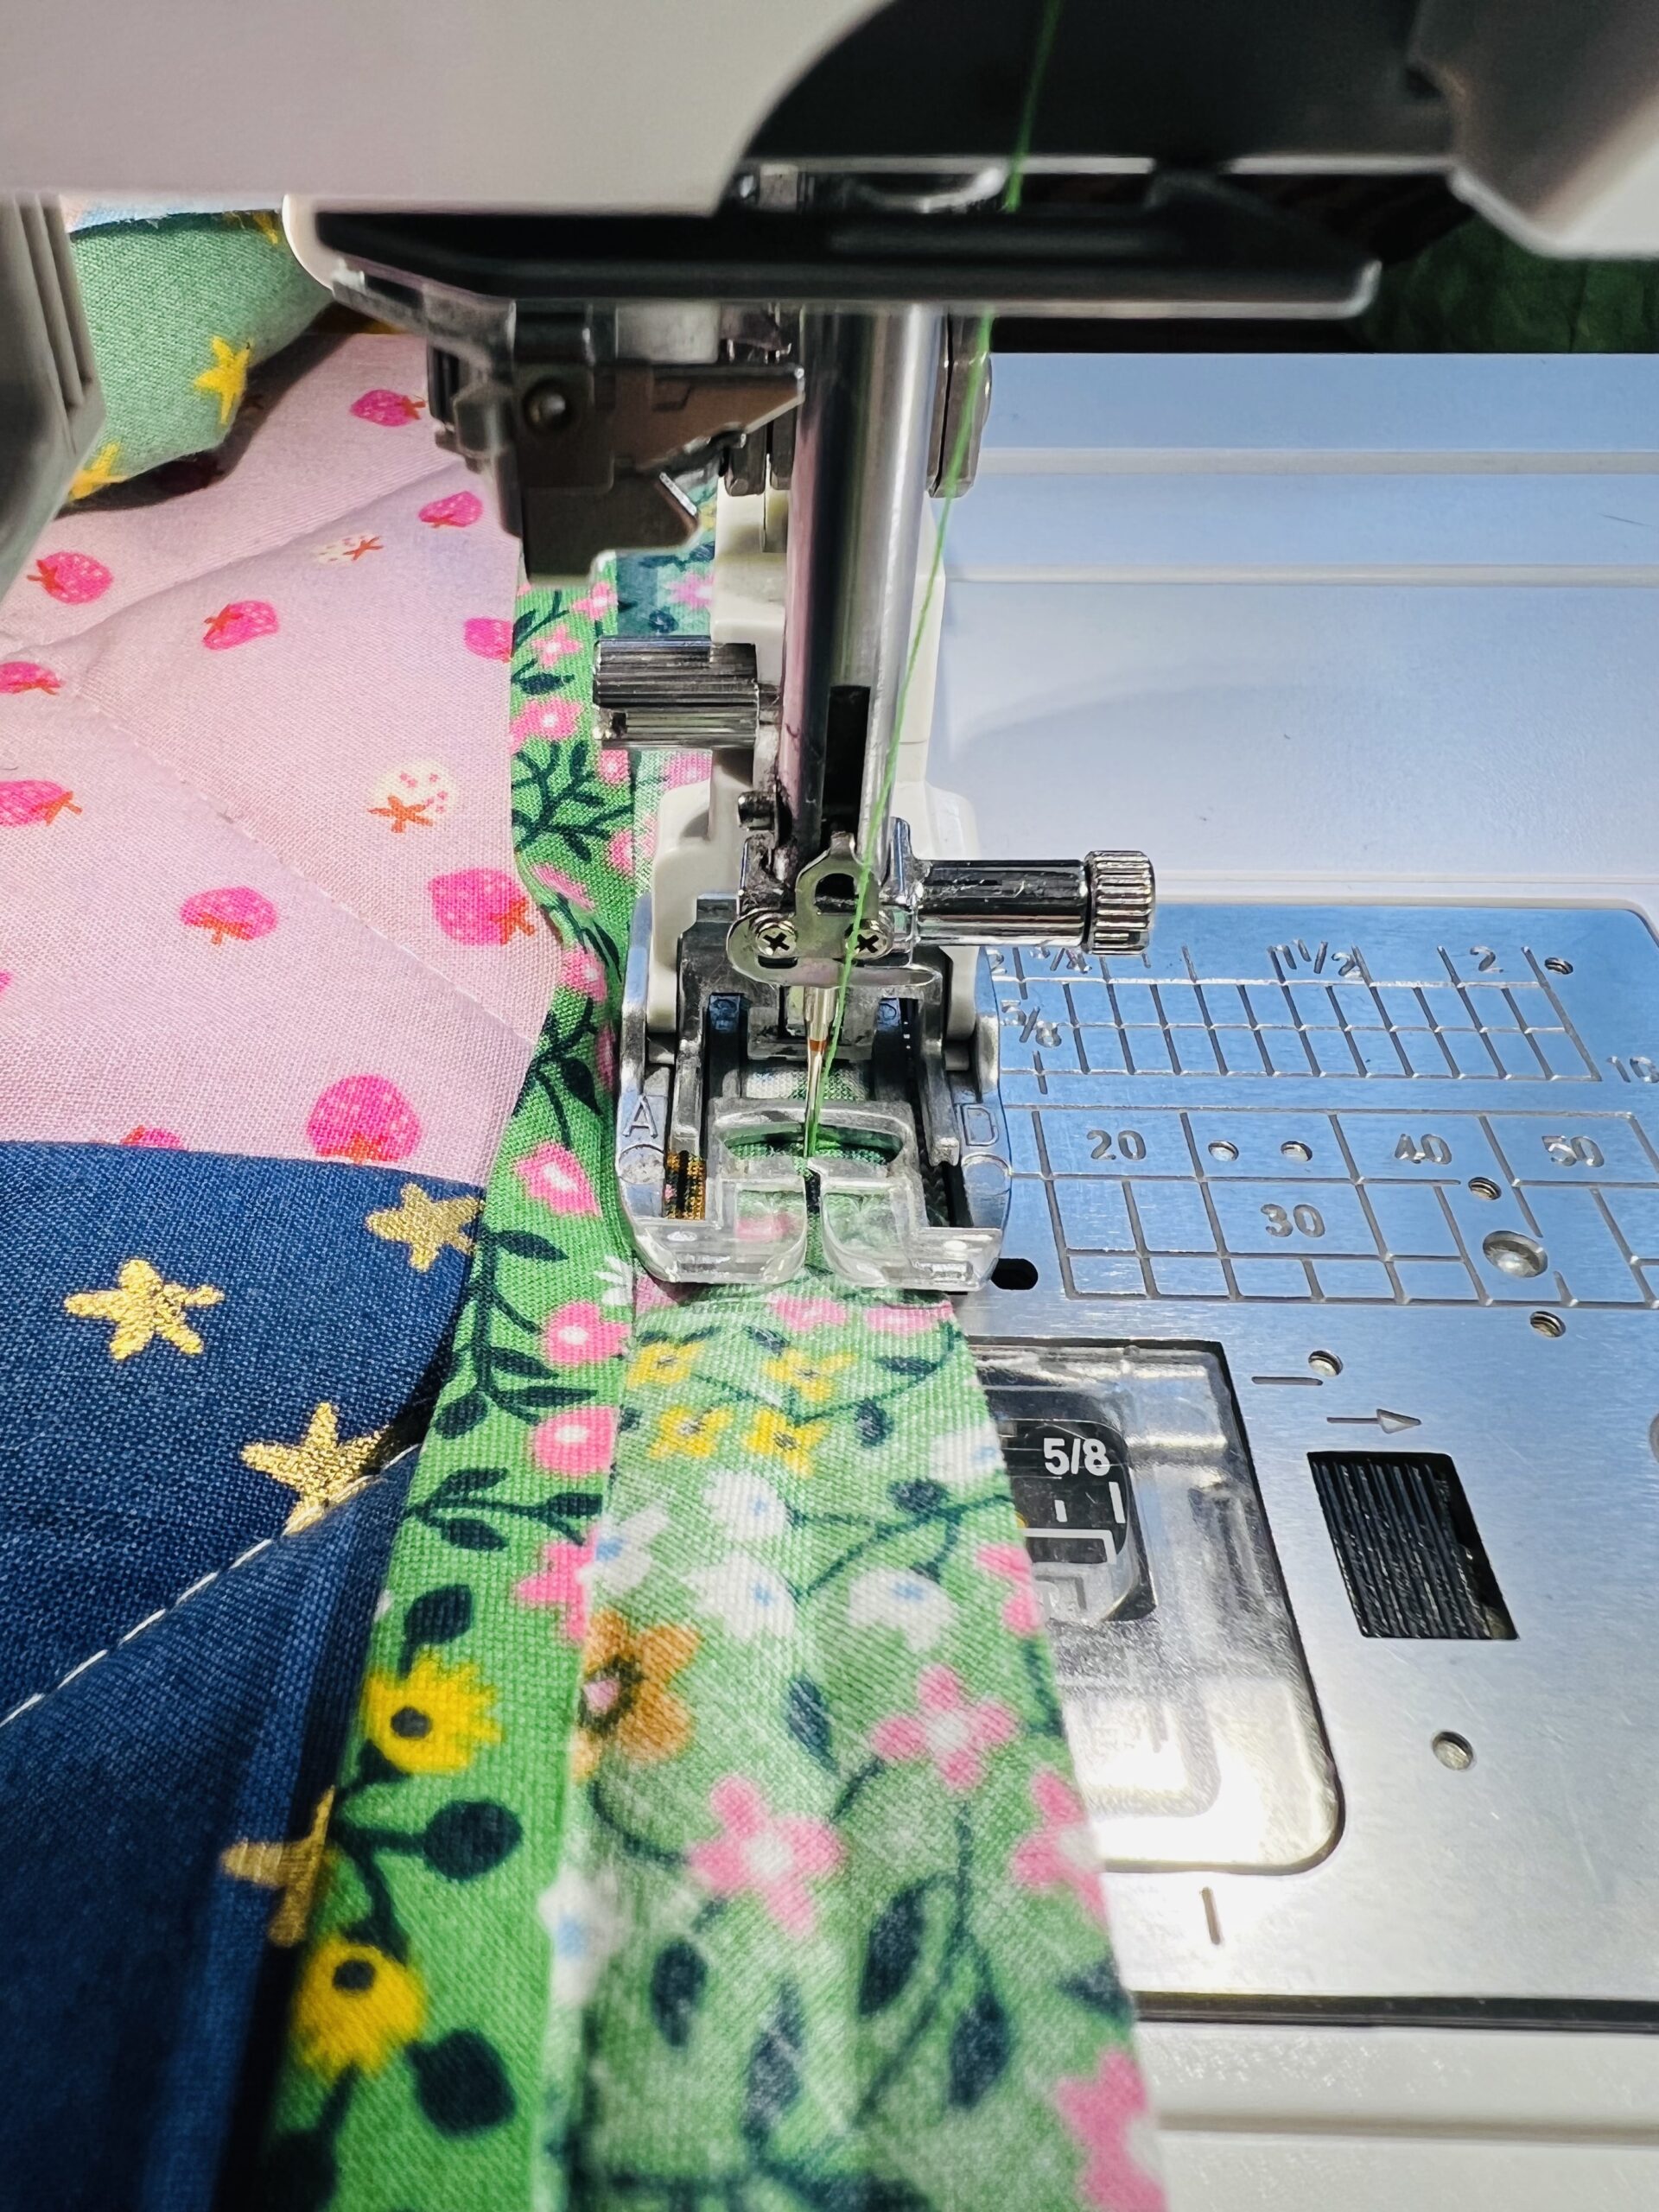 Continue around your sleeping bag, being careful to keep both the sleeping bag and the bias tape taut, but NOT stretched. Don't stretch it around the rounded corners- rather, it should gently curve with them. Stop at least 5" before you reach where you began stitching.
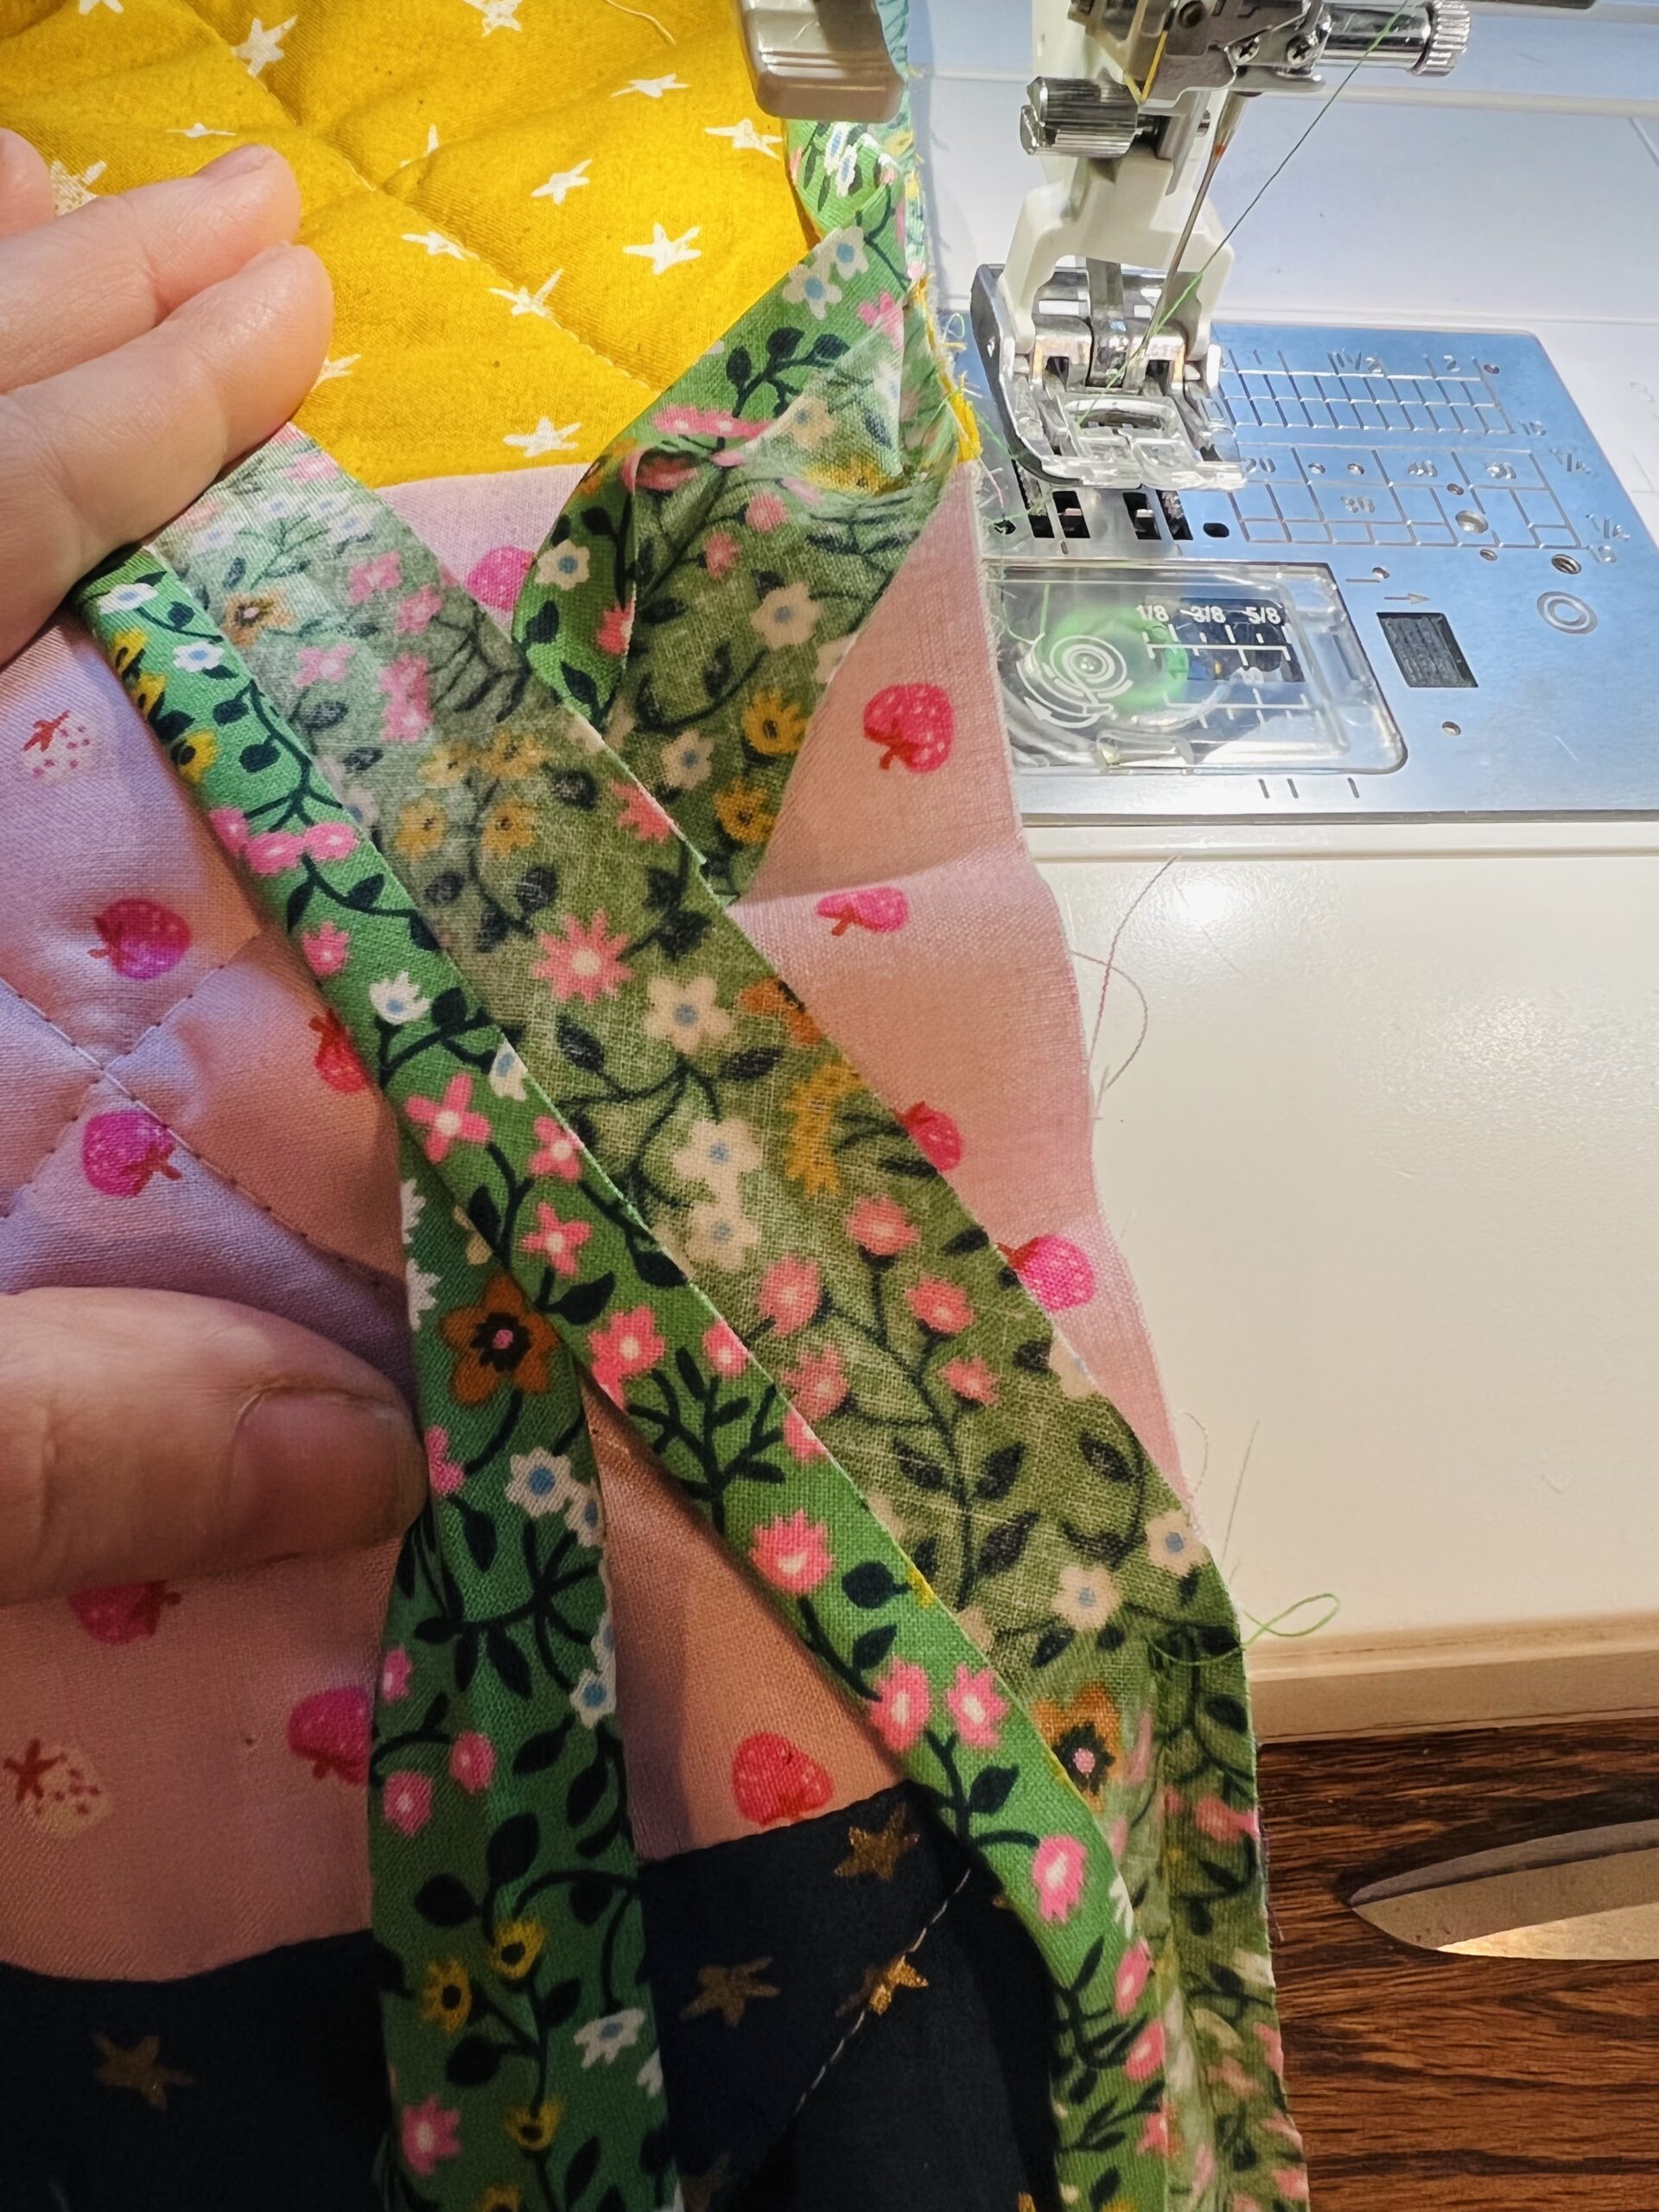 I'm going to show you my favorite trick for joining binding/bias tape perfectly. Trim a bit off the top of your binding tail that you left at the front. If you only left 5" between the beginning and end, trim about half of that first tail.
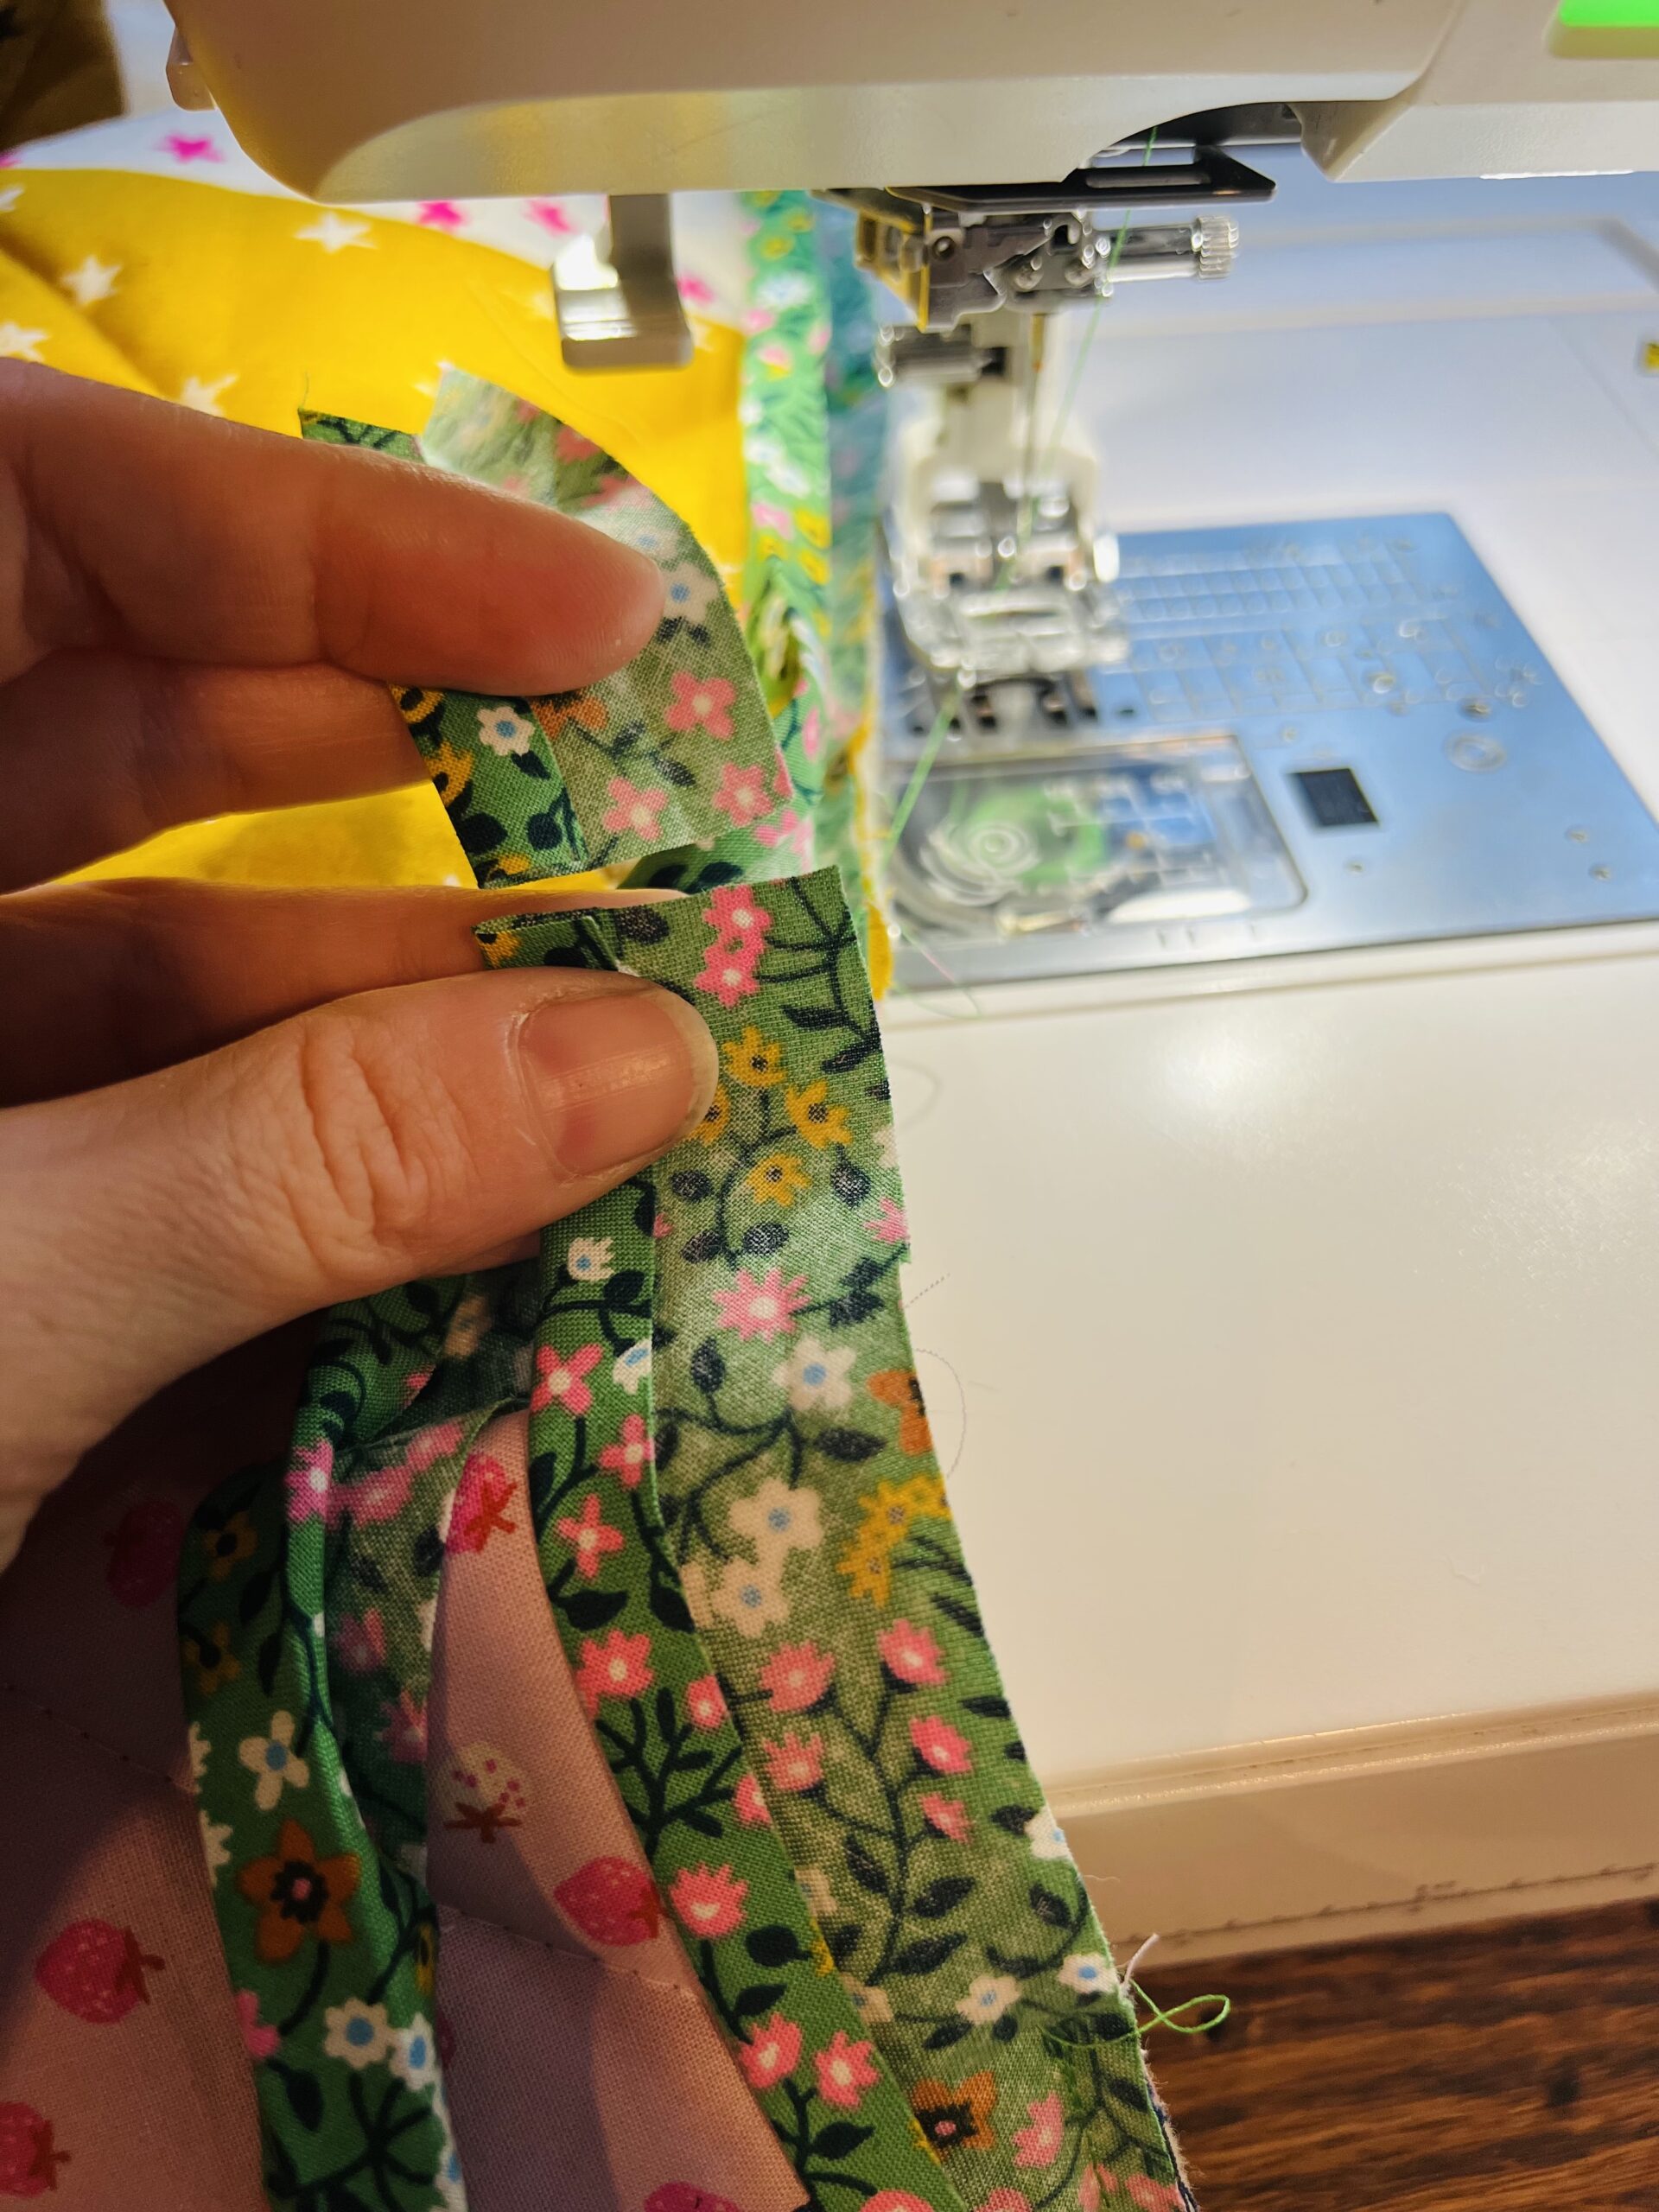 Now overlap the beginning and end tails, and open up the piece you trimmed off. Using the width of the trimmed piece as a guide, cut that amount of overlap from the end tail, and then for the most perfect join, cut off an extra 1/8" (give it a haircut, as I was taught).
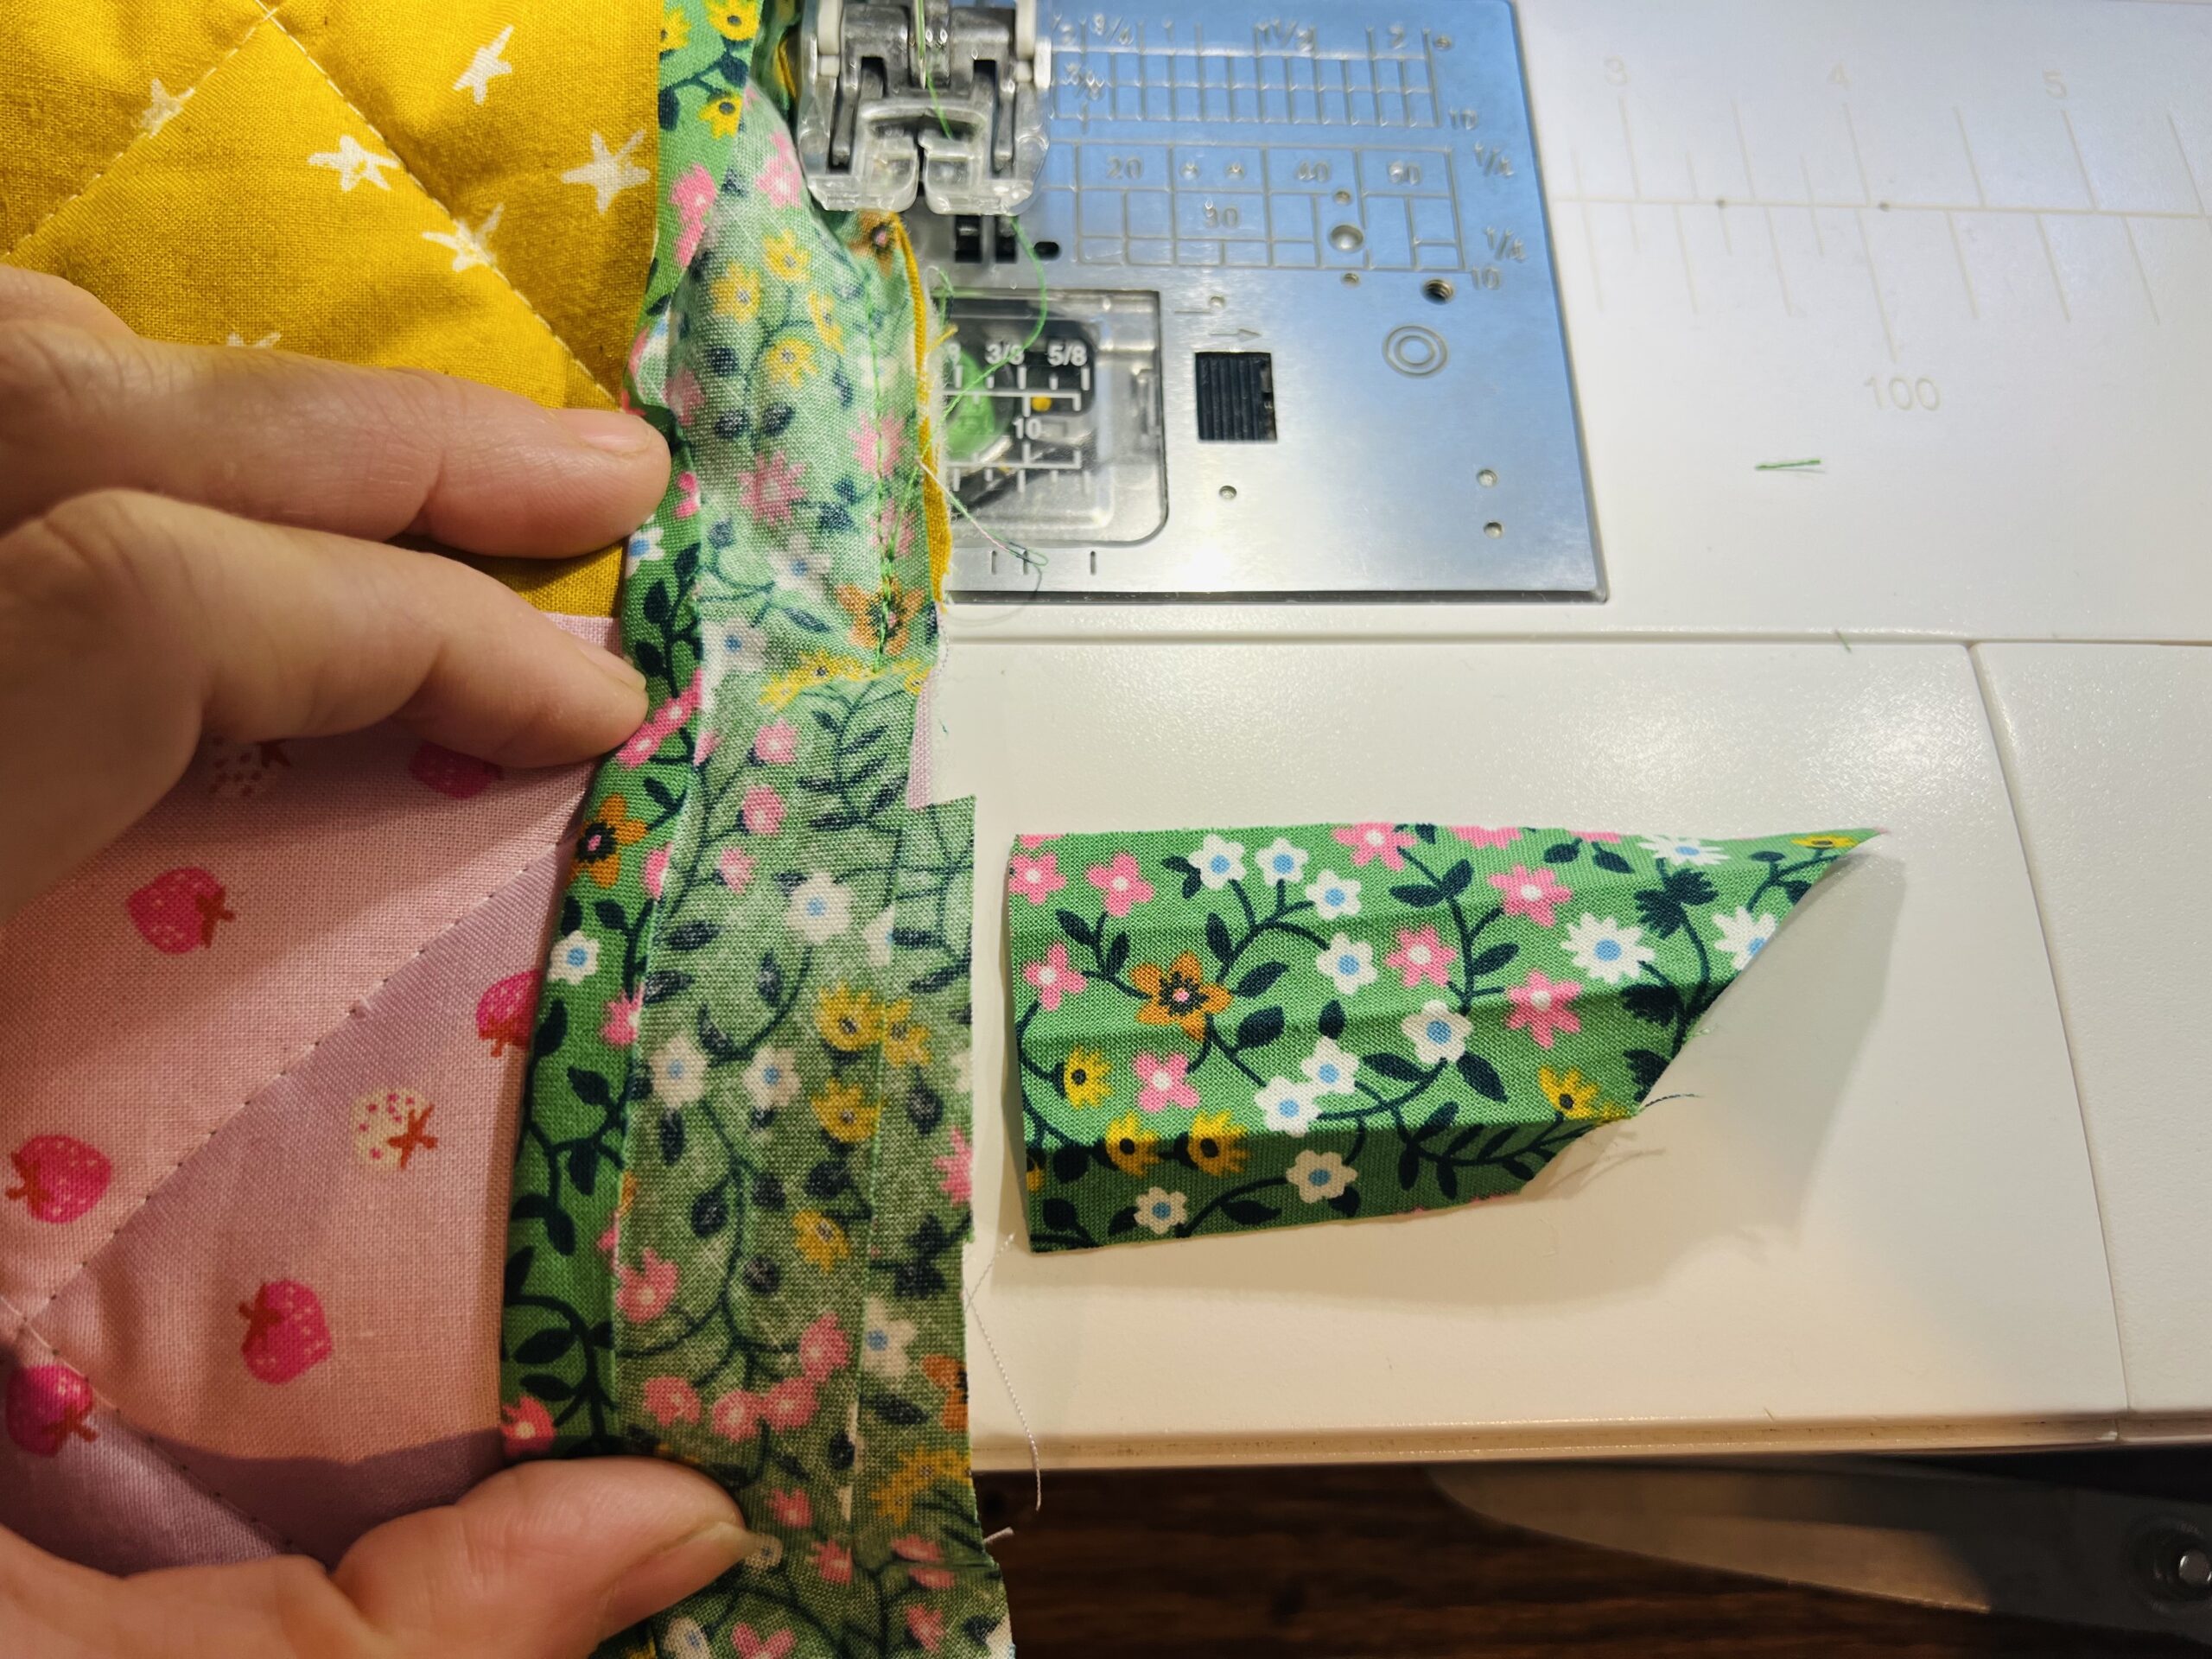 Open both the front and end tails, and place them right sides together. The end piece should be on bottom, and the beginning should be face down with the trimmed end meeting the side of the other tail. Pin in place. See photo below:
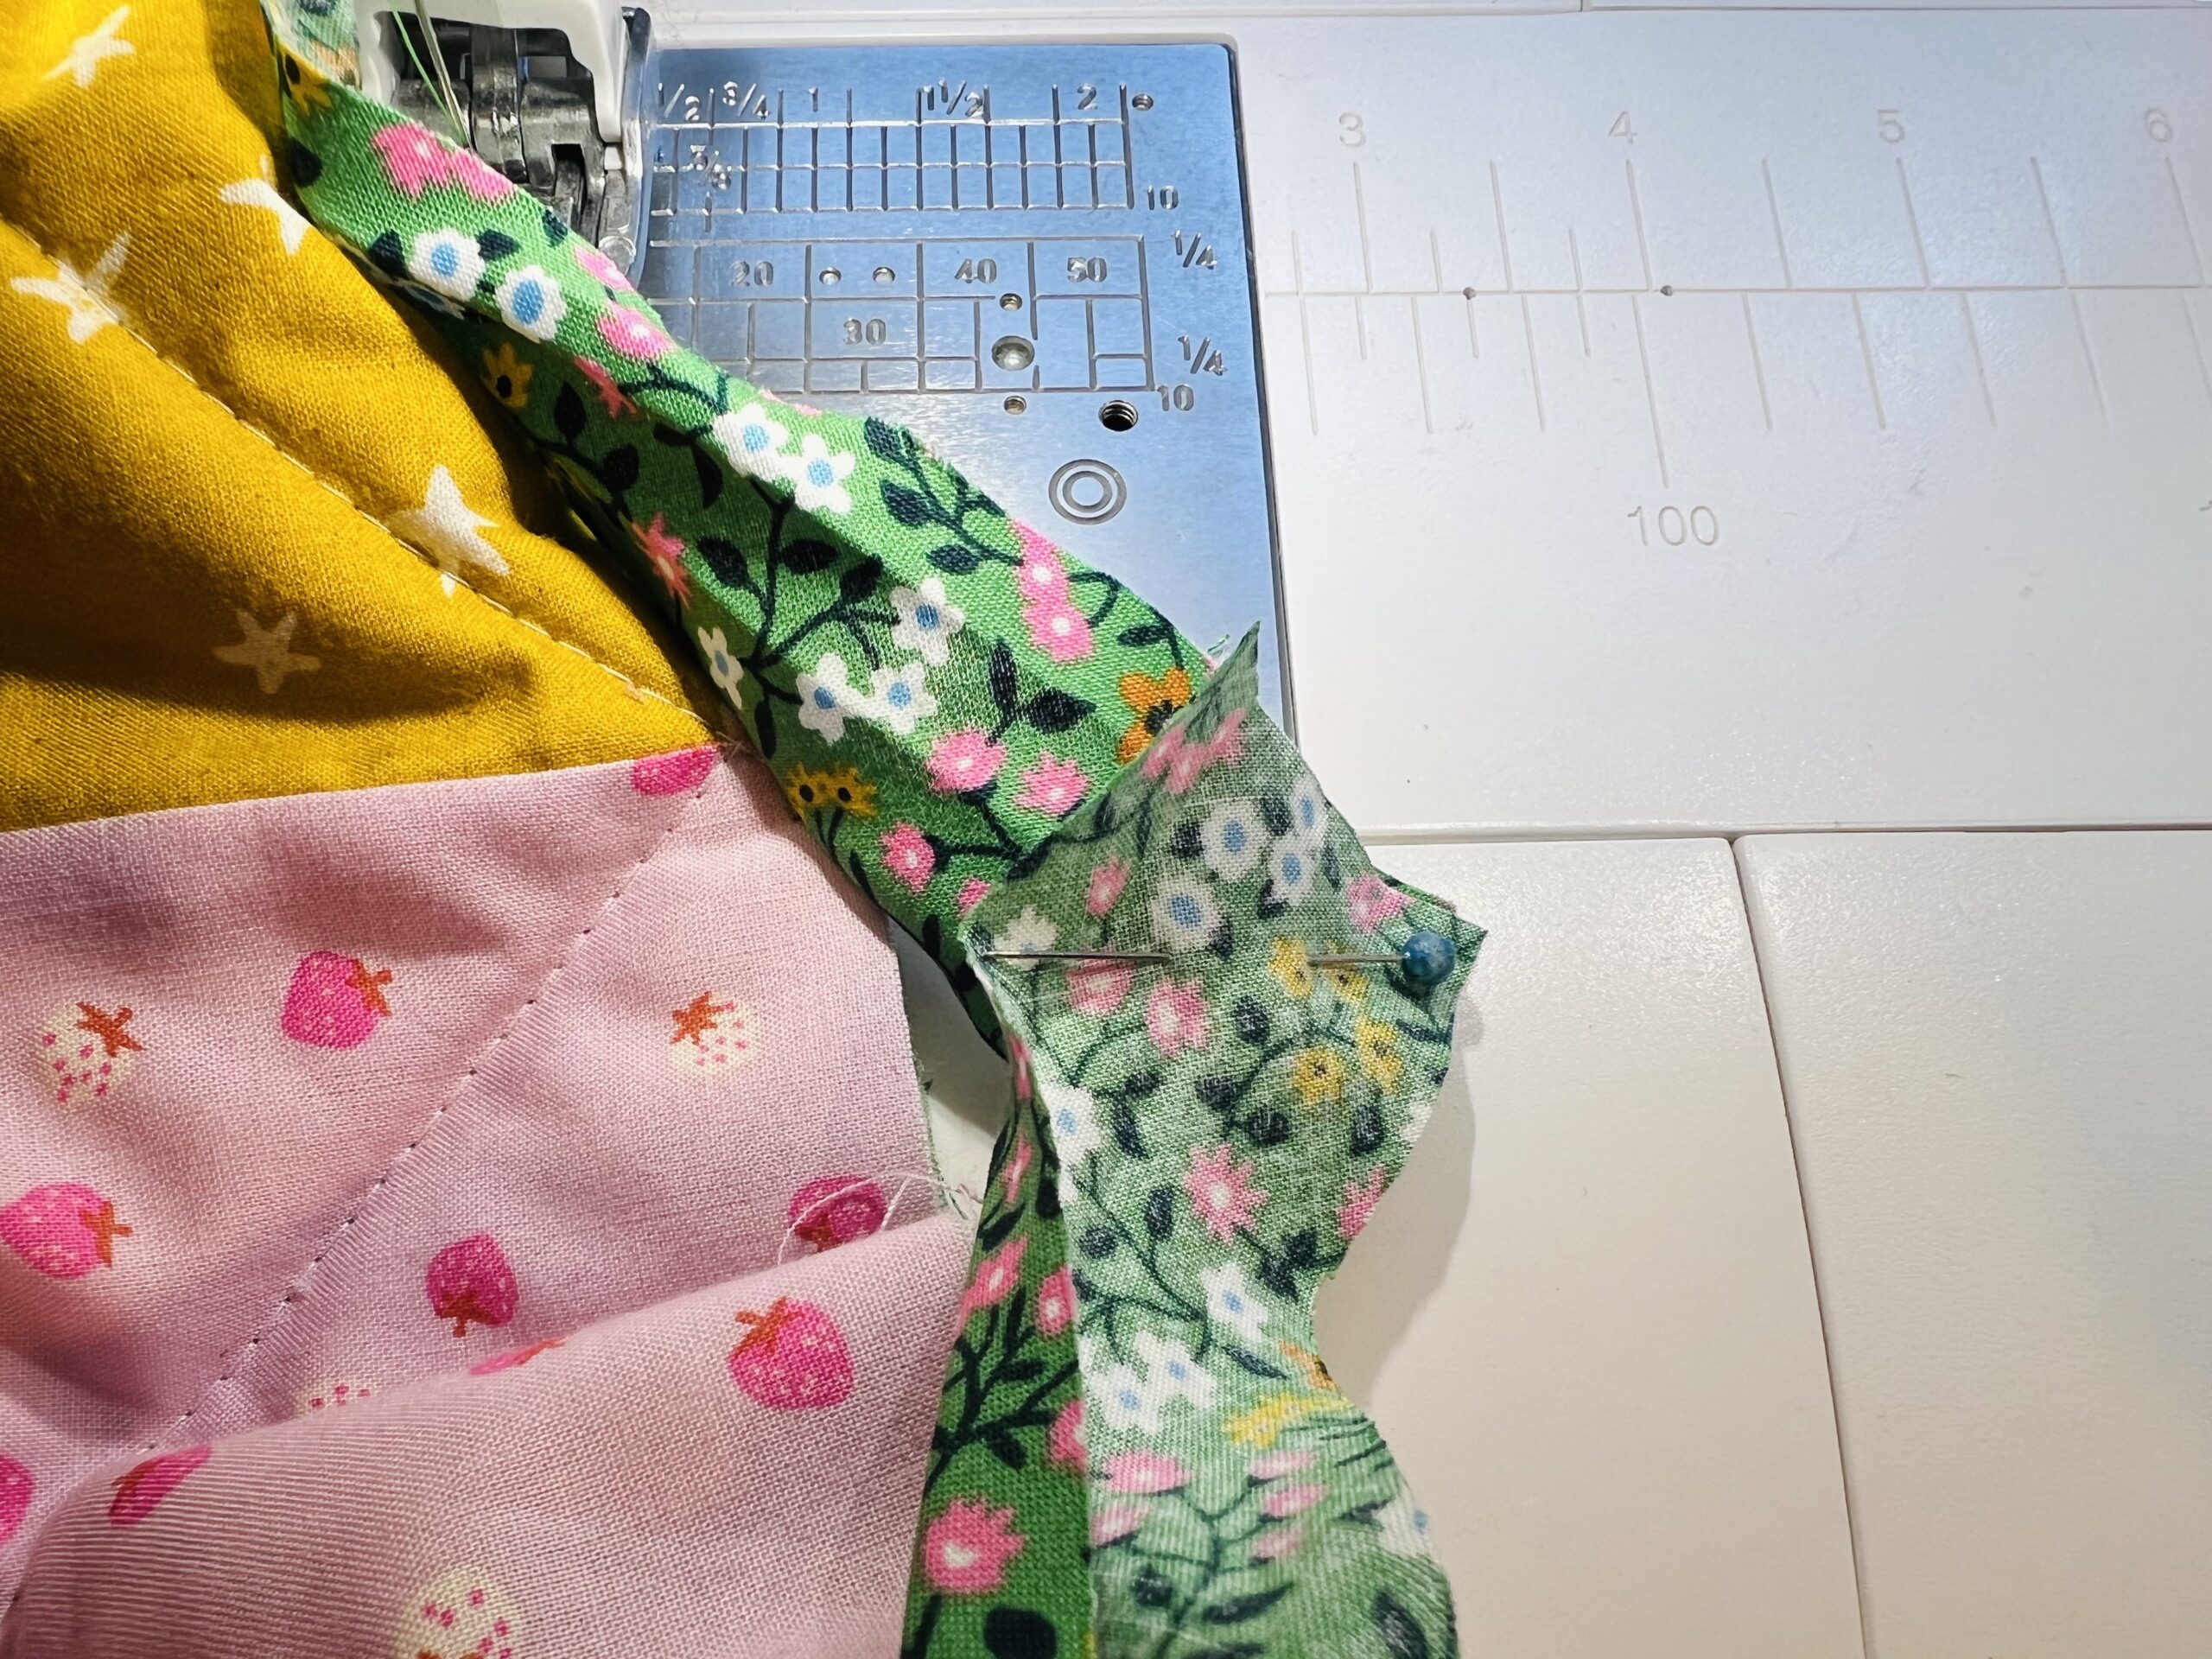 Stitch from one corner to the other like so:
 Trim seam allowance to 1/4" and press open with your fingers (or an iron). Overlap your end stitches by a few stitches, and close the gap between where you ended and where you began to finish.
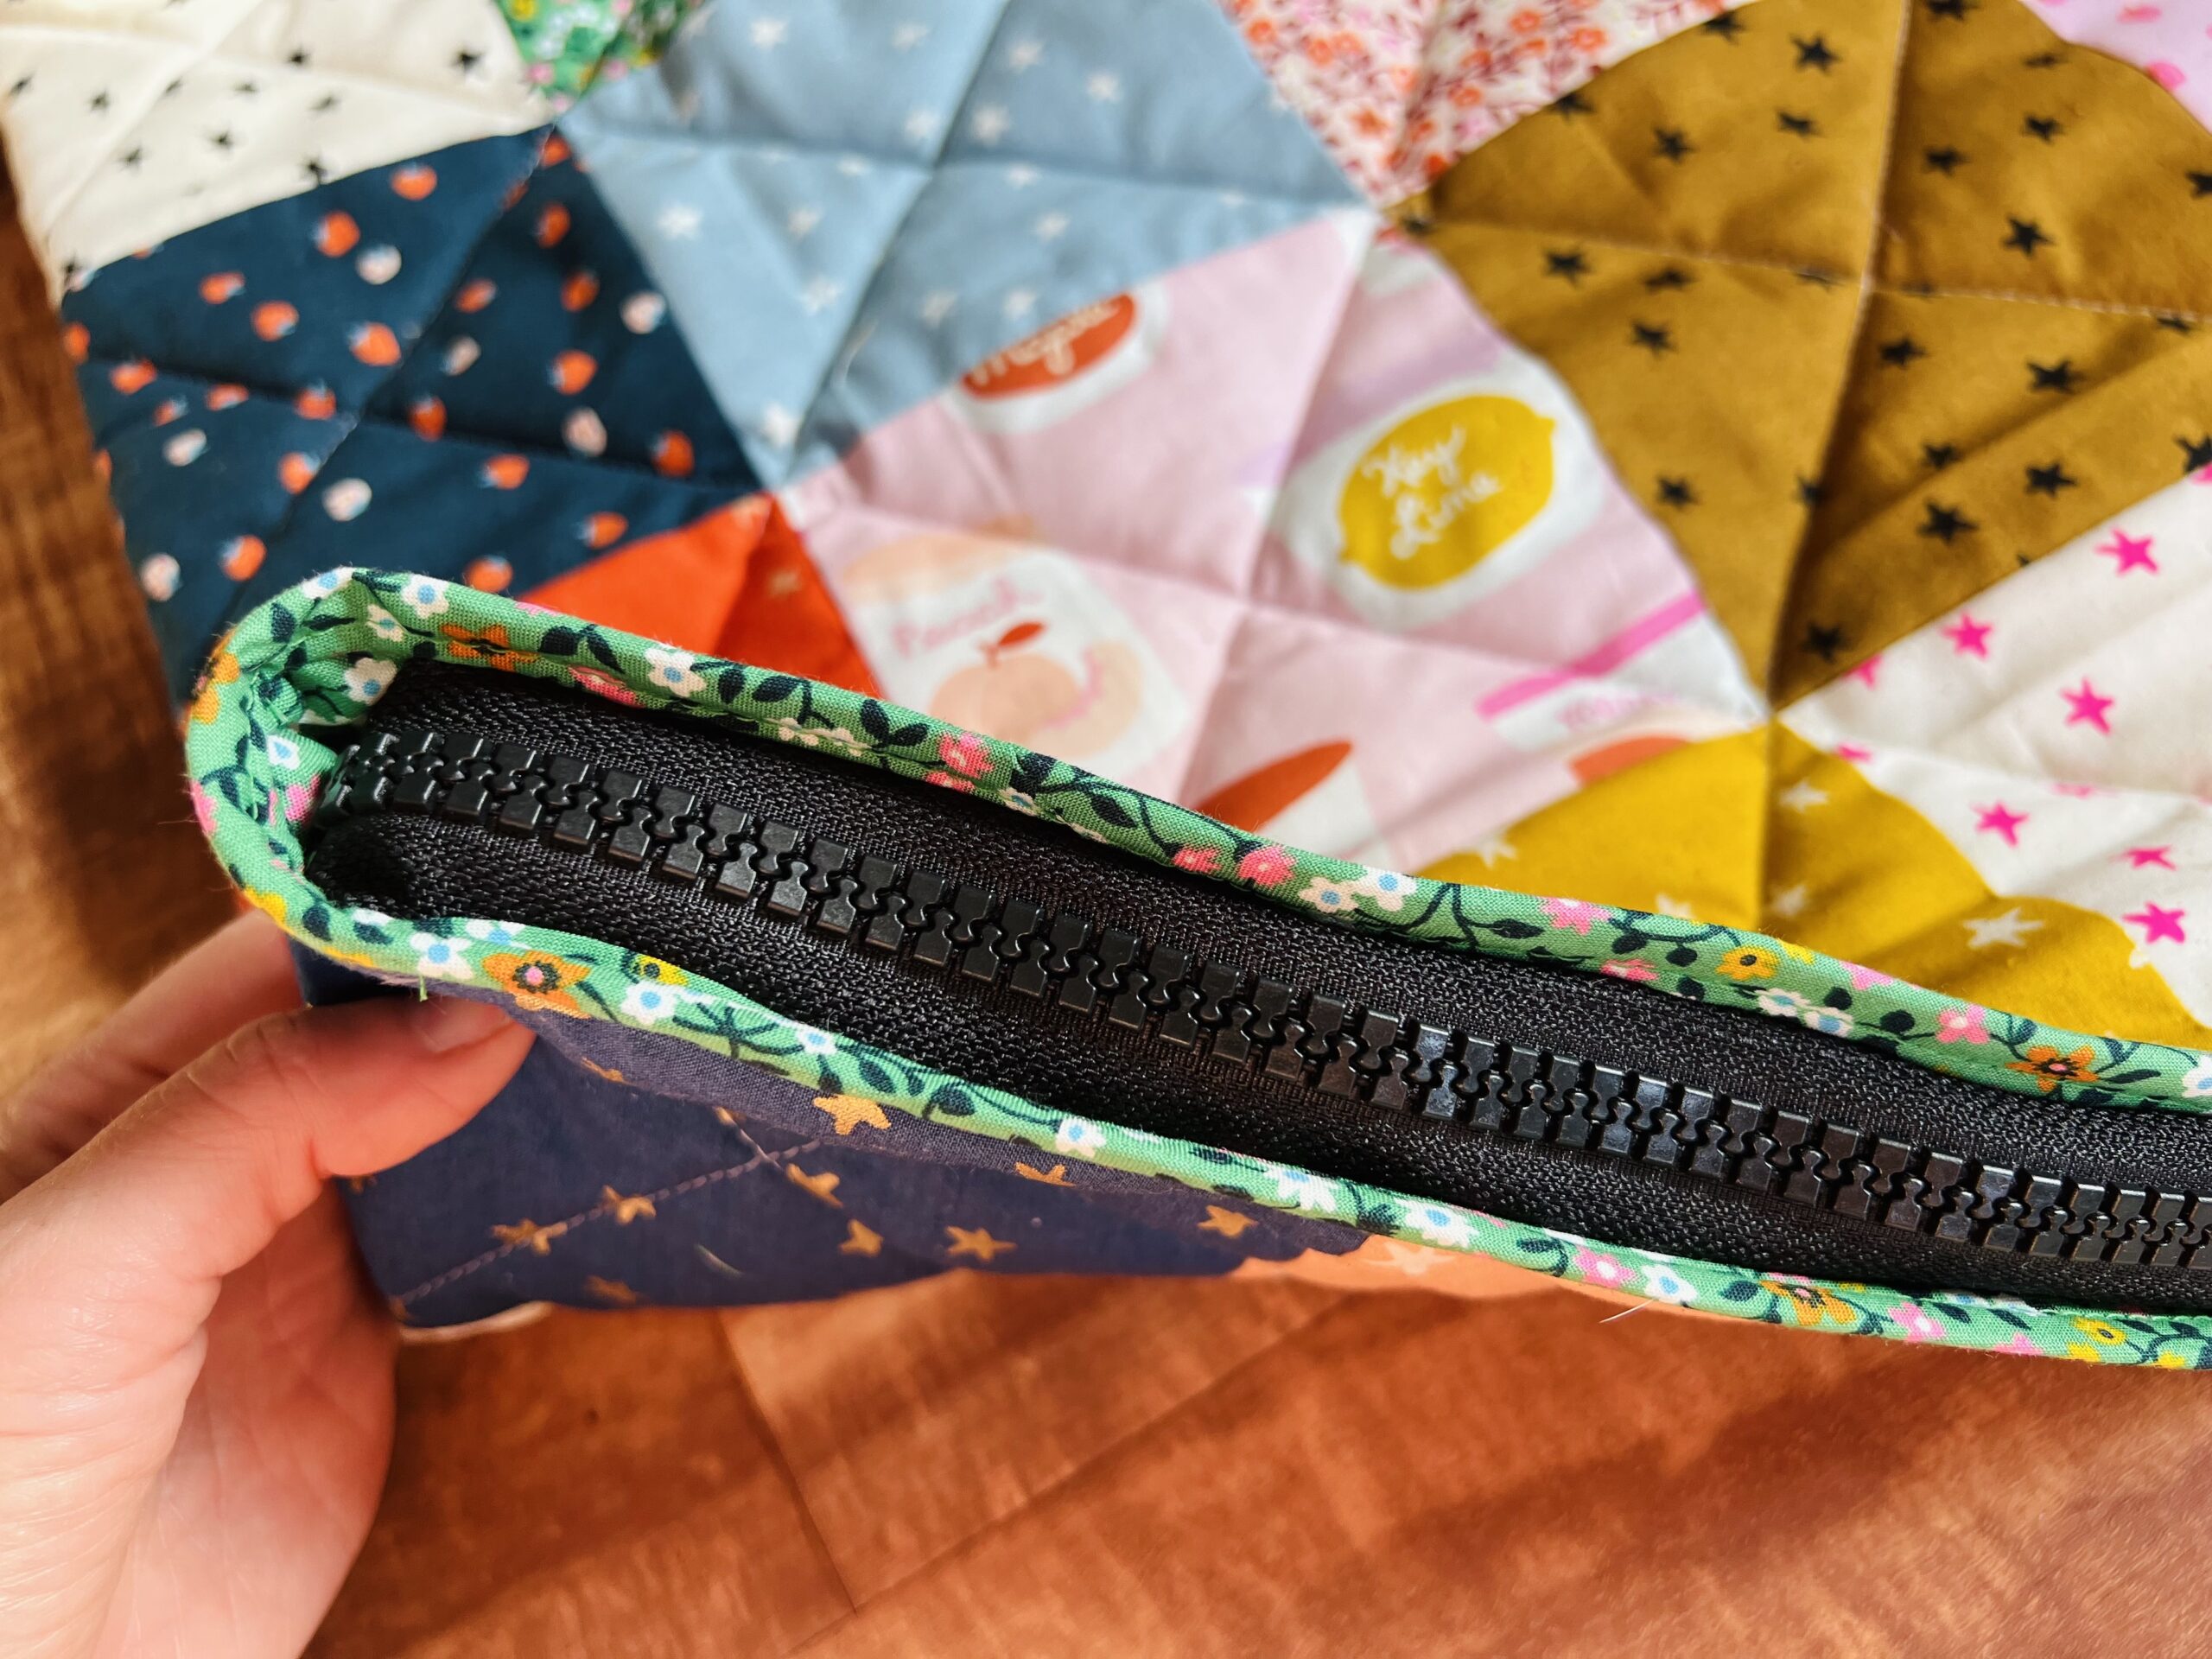
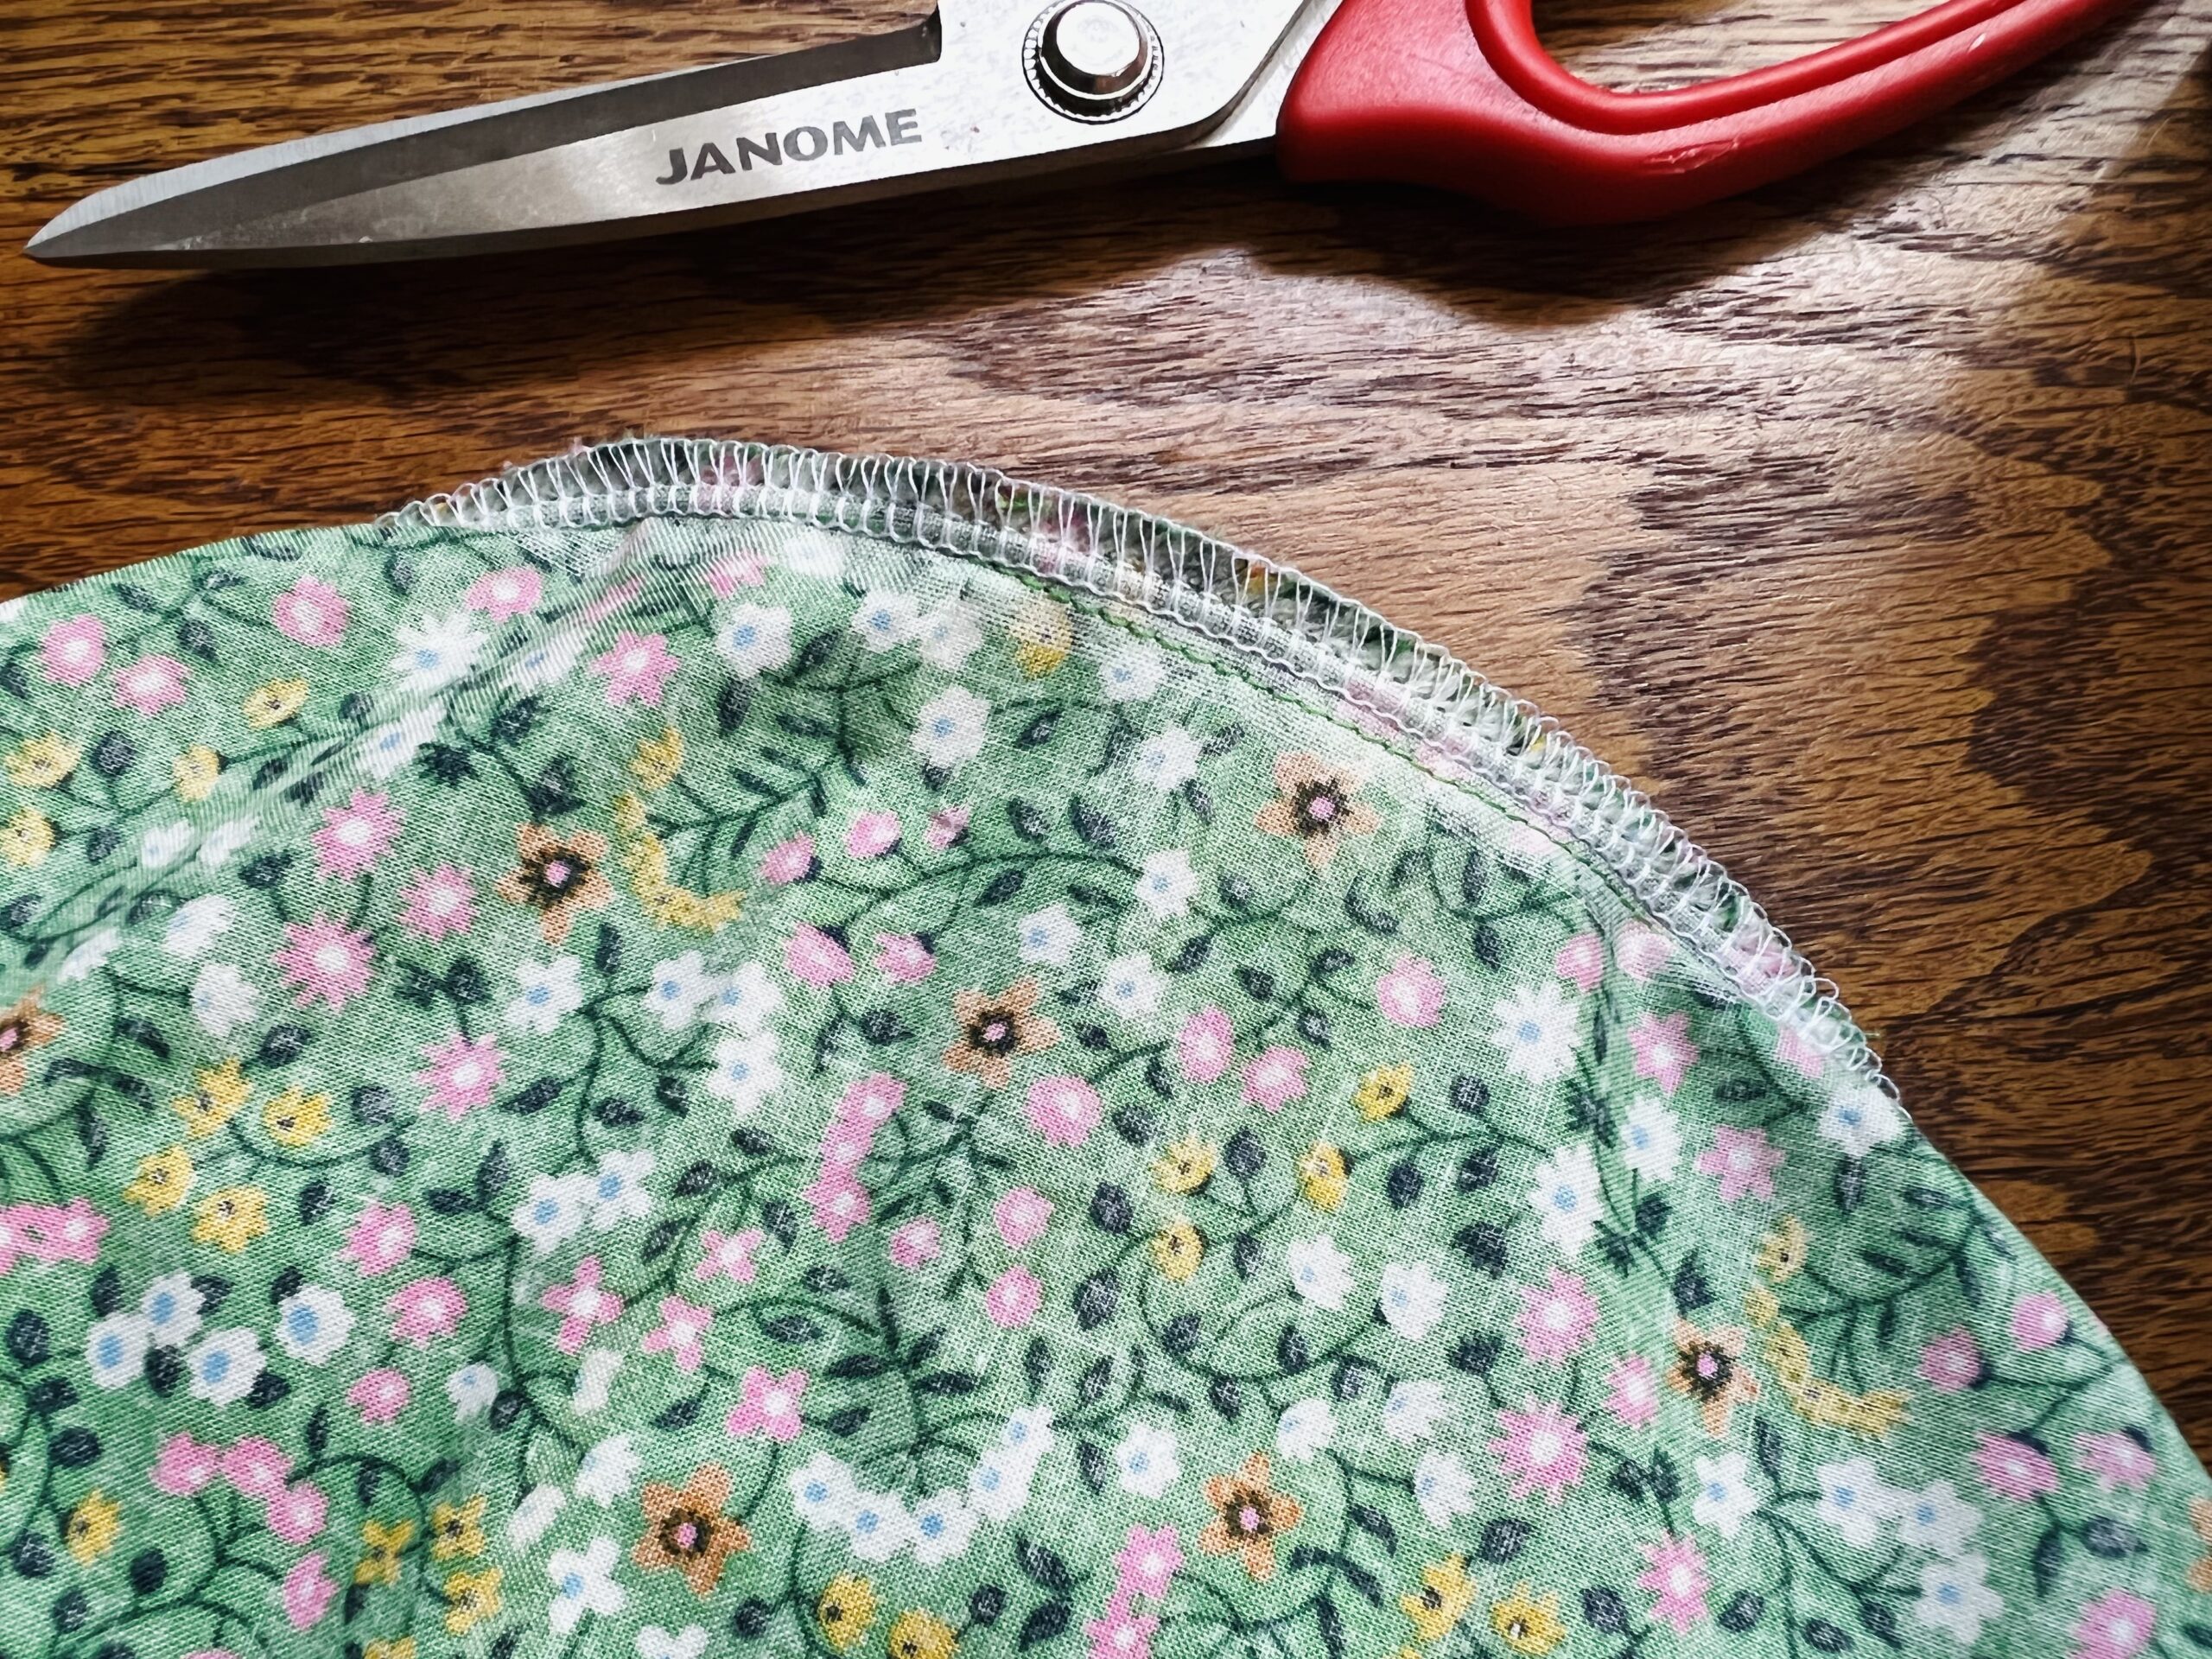
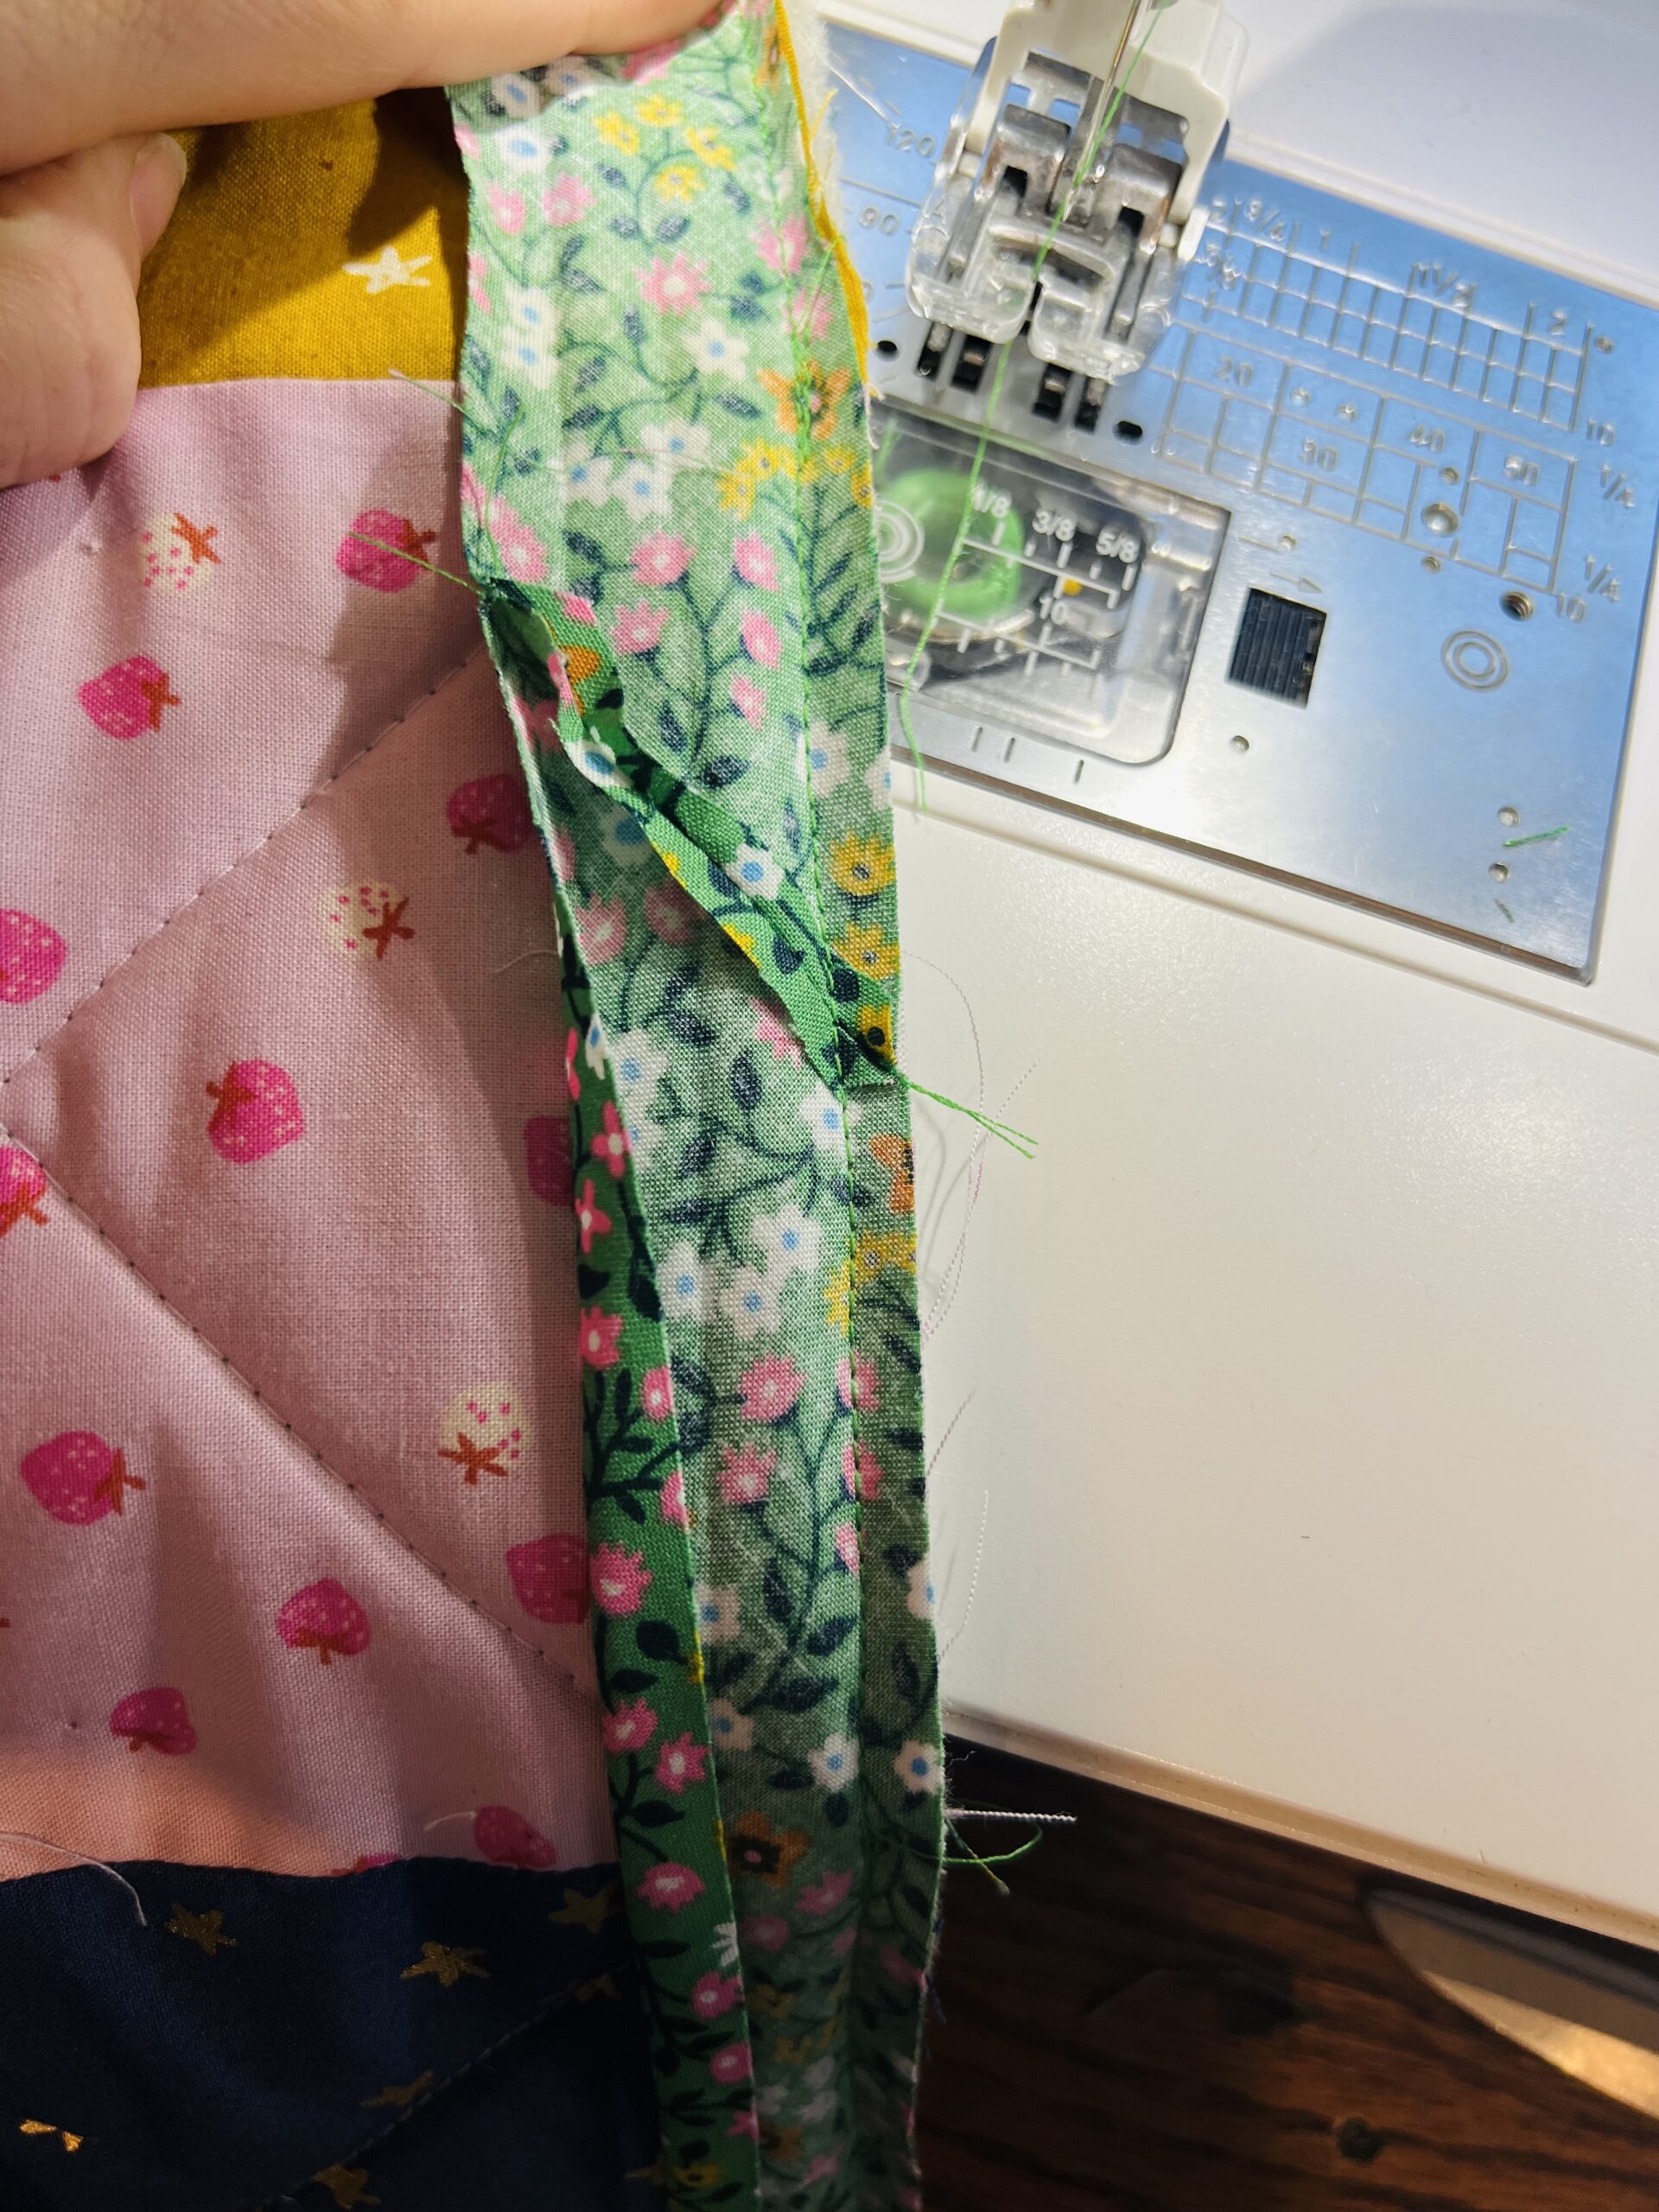 Even if you did use wool, you are going to very carefully iron just the edges to prepare to complete the bias binding. Refold the bias tape so that the back edge of your sleeping bag is covered and your fold meets up with the stitches that you just sewed. Very carefully press along the back edge. Your binding should cooperate, but feel free to keep things in place using wonderclips or even a little bit of a glue stick if that is helpful.
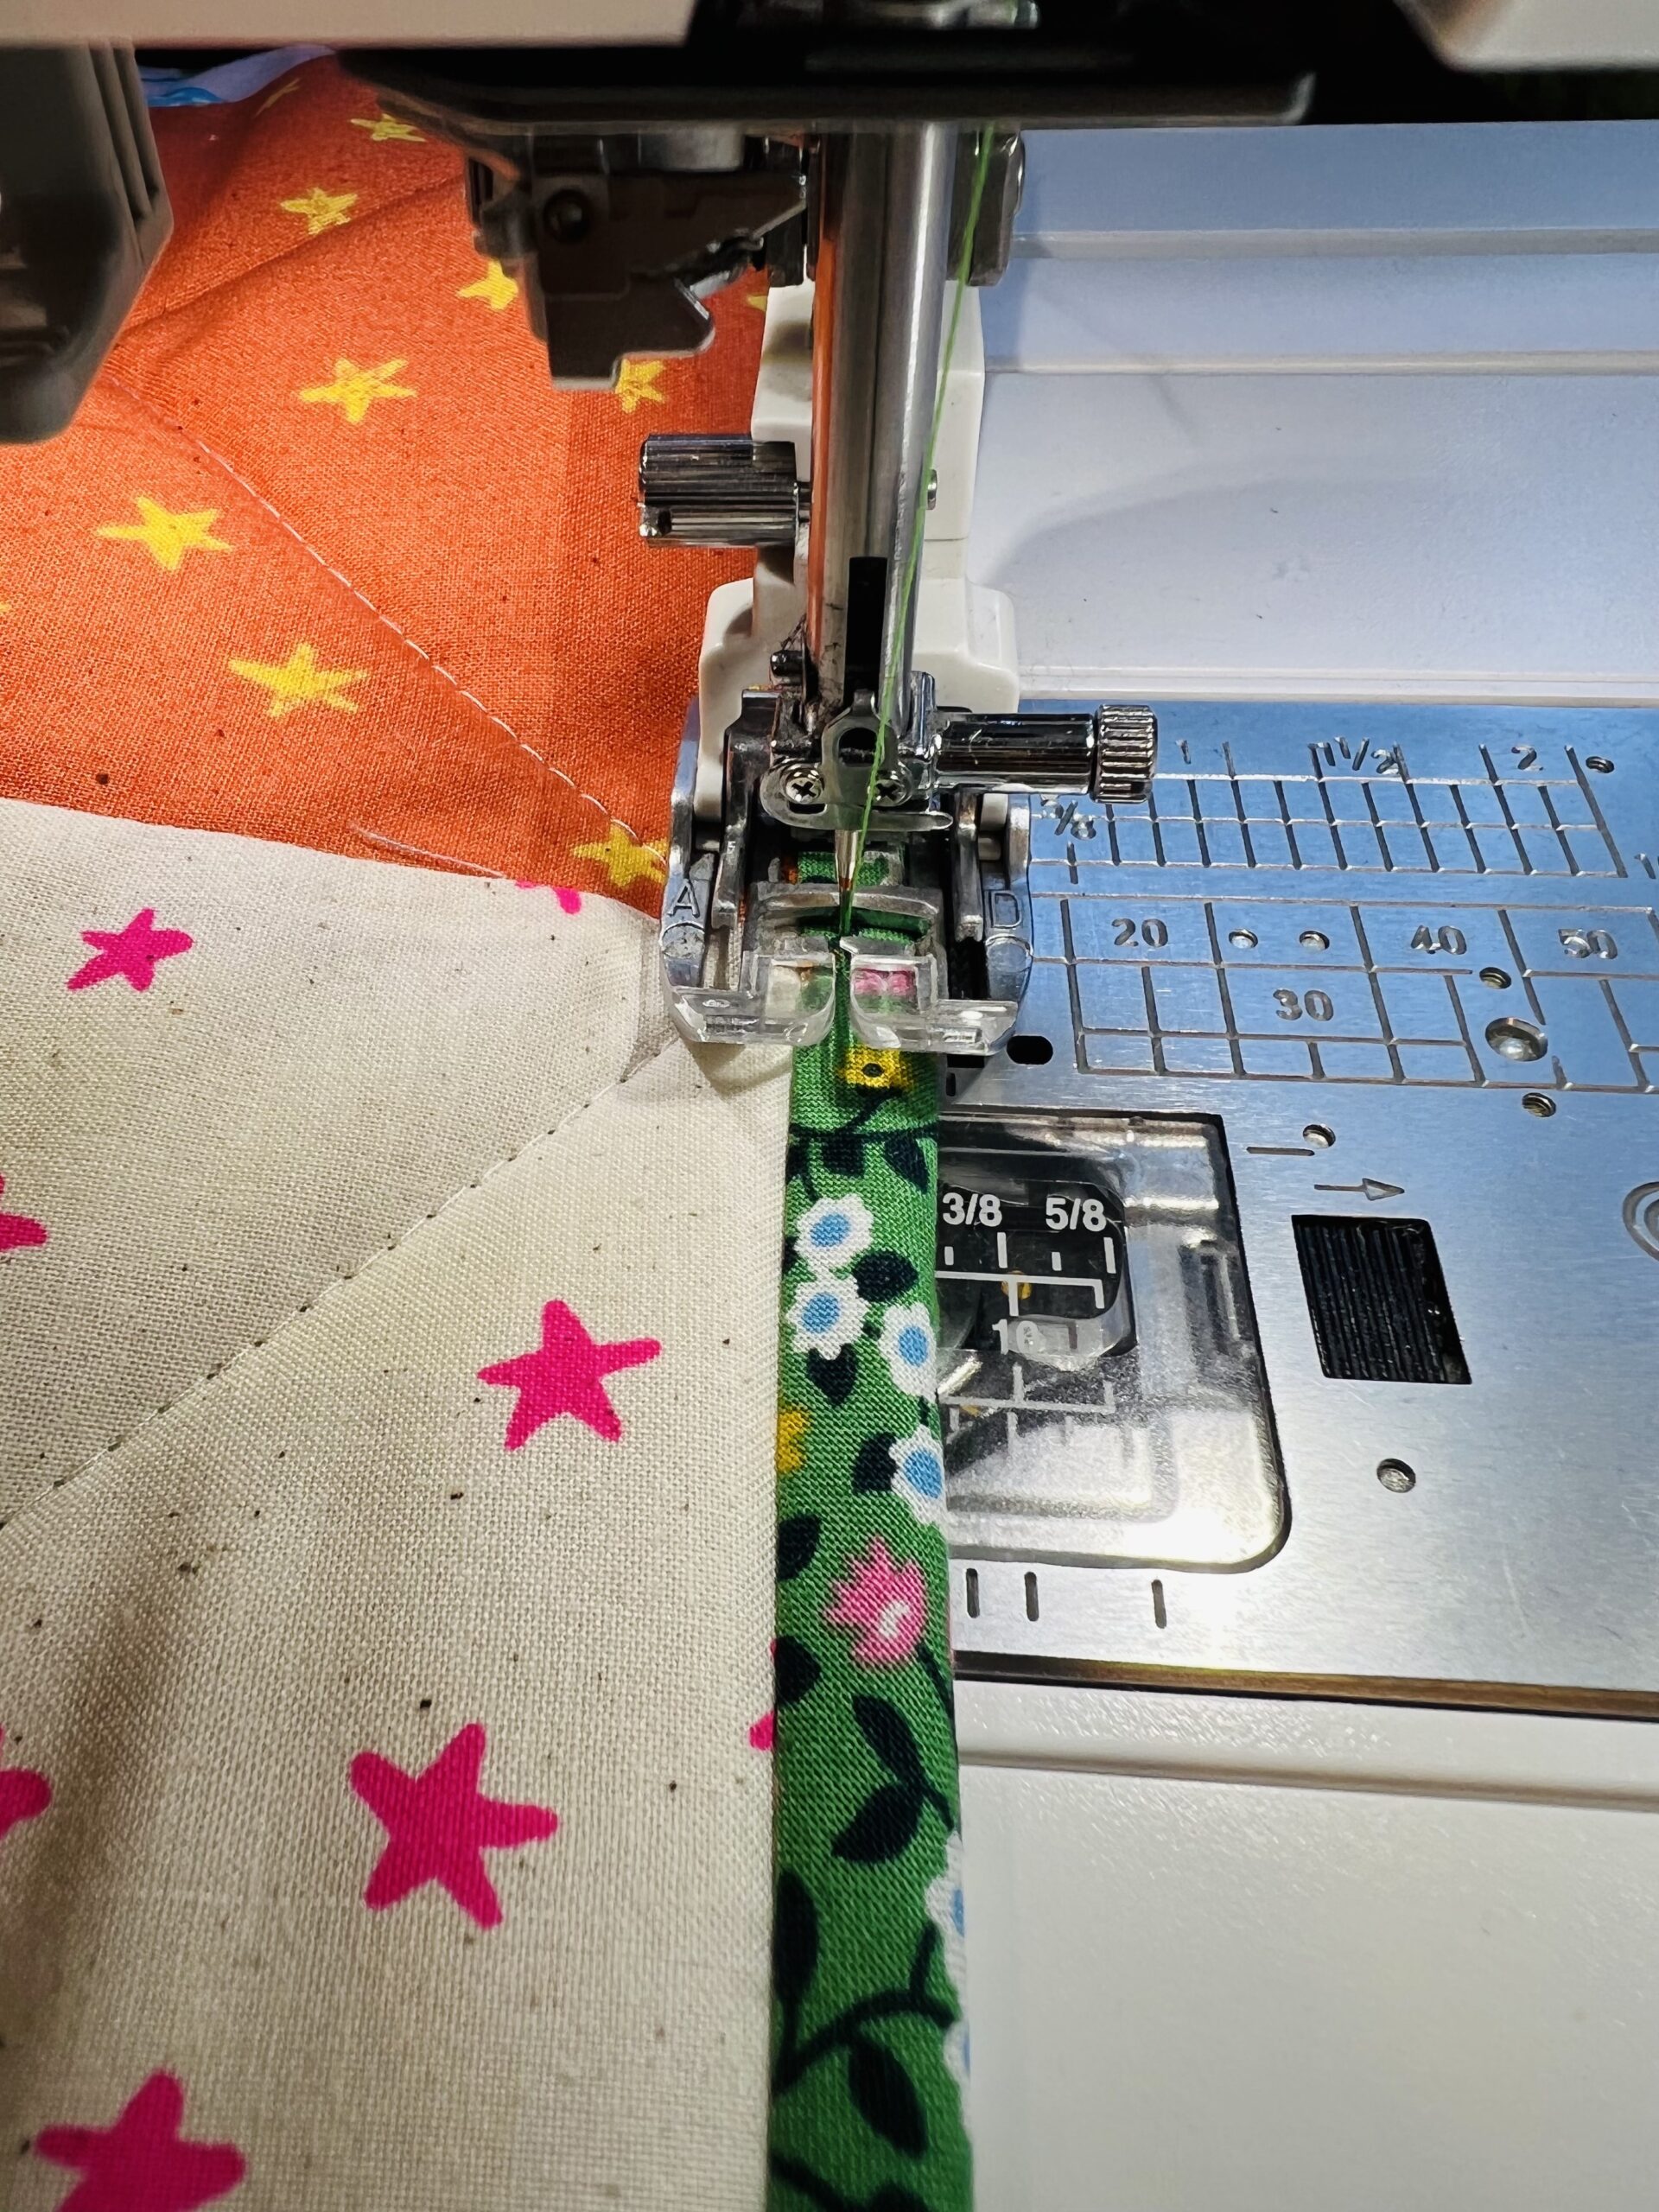 From the right side of your sleeping bag stitch along the edge by the fold of the bias tape so that you sew through the front and also catch the back of it evenly. I kept my hand on the bottom so that I could be sure the tape didn't unfold or shift, and I found that it did cooperate well. I initially cut 1.5" tape which yielded 3/8" double folded tape, so I used a 1/4" seam allowance on this part, and it caught everything very evenly.
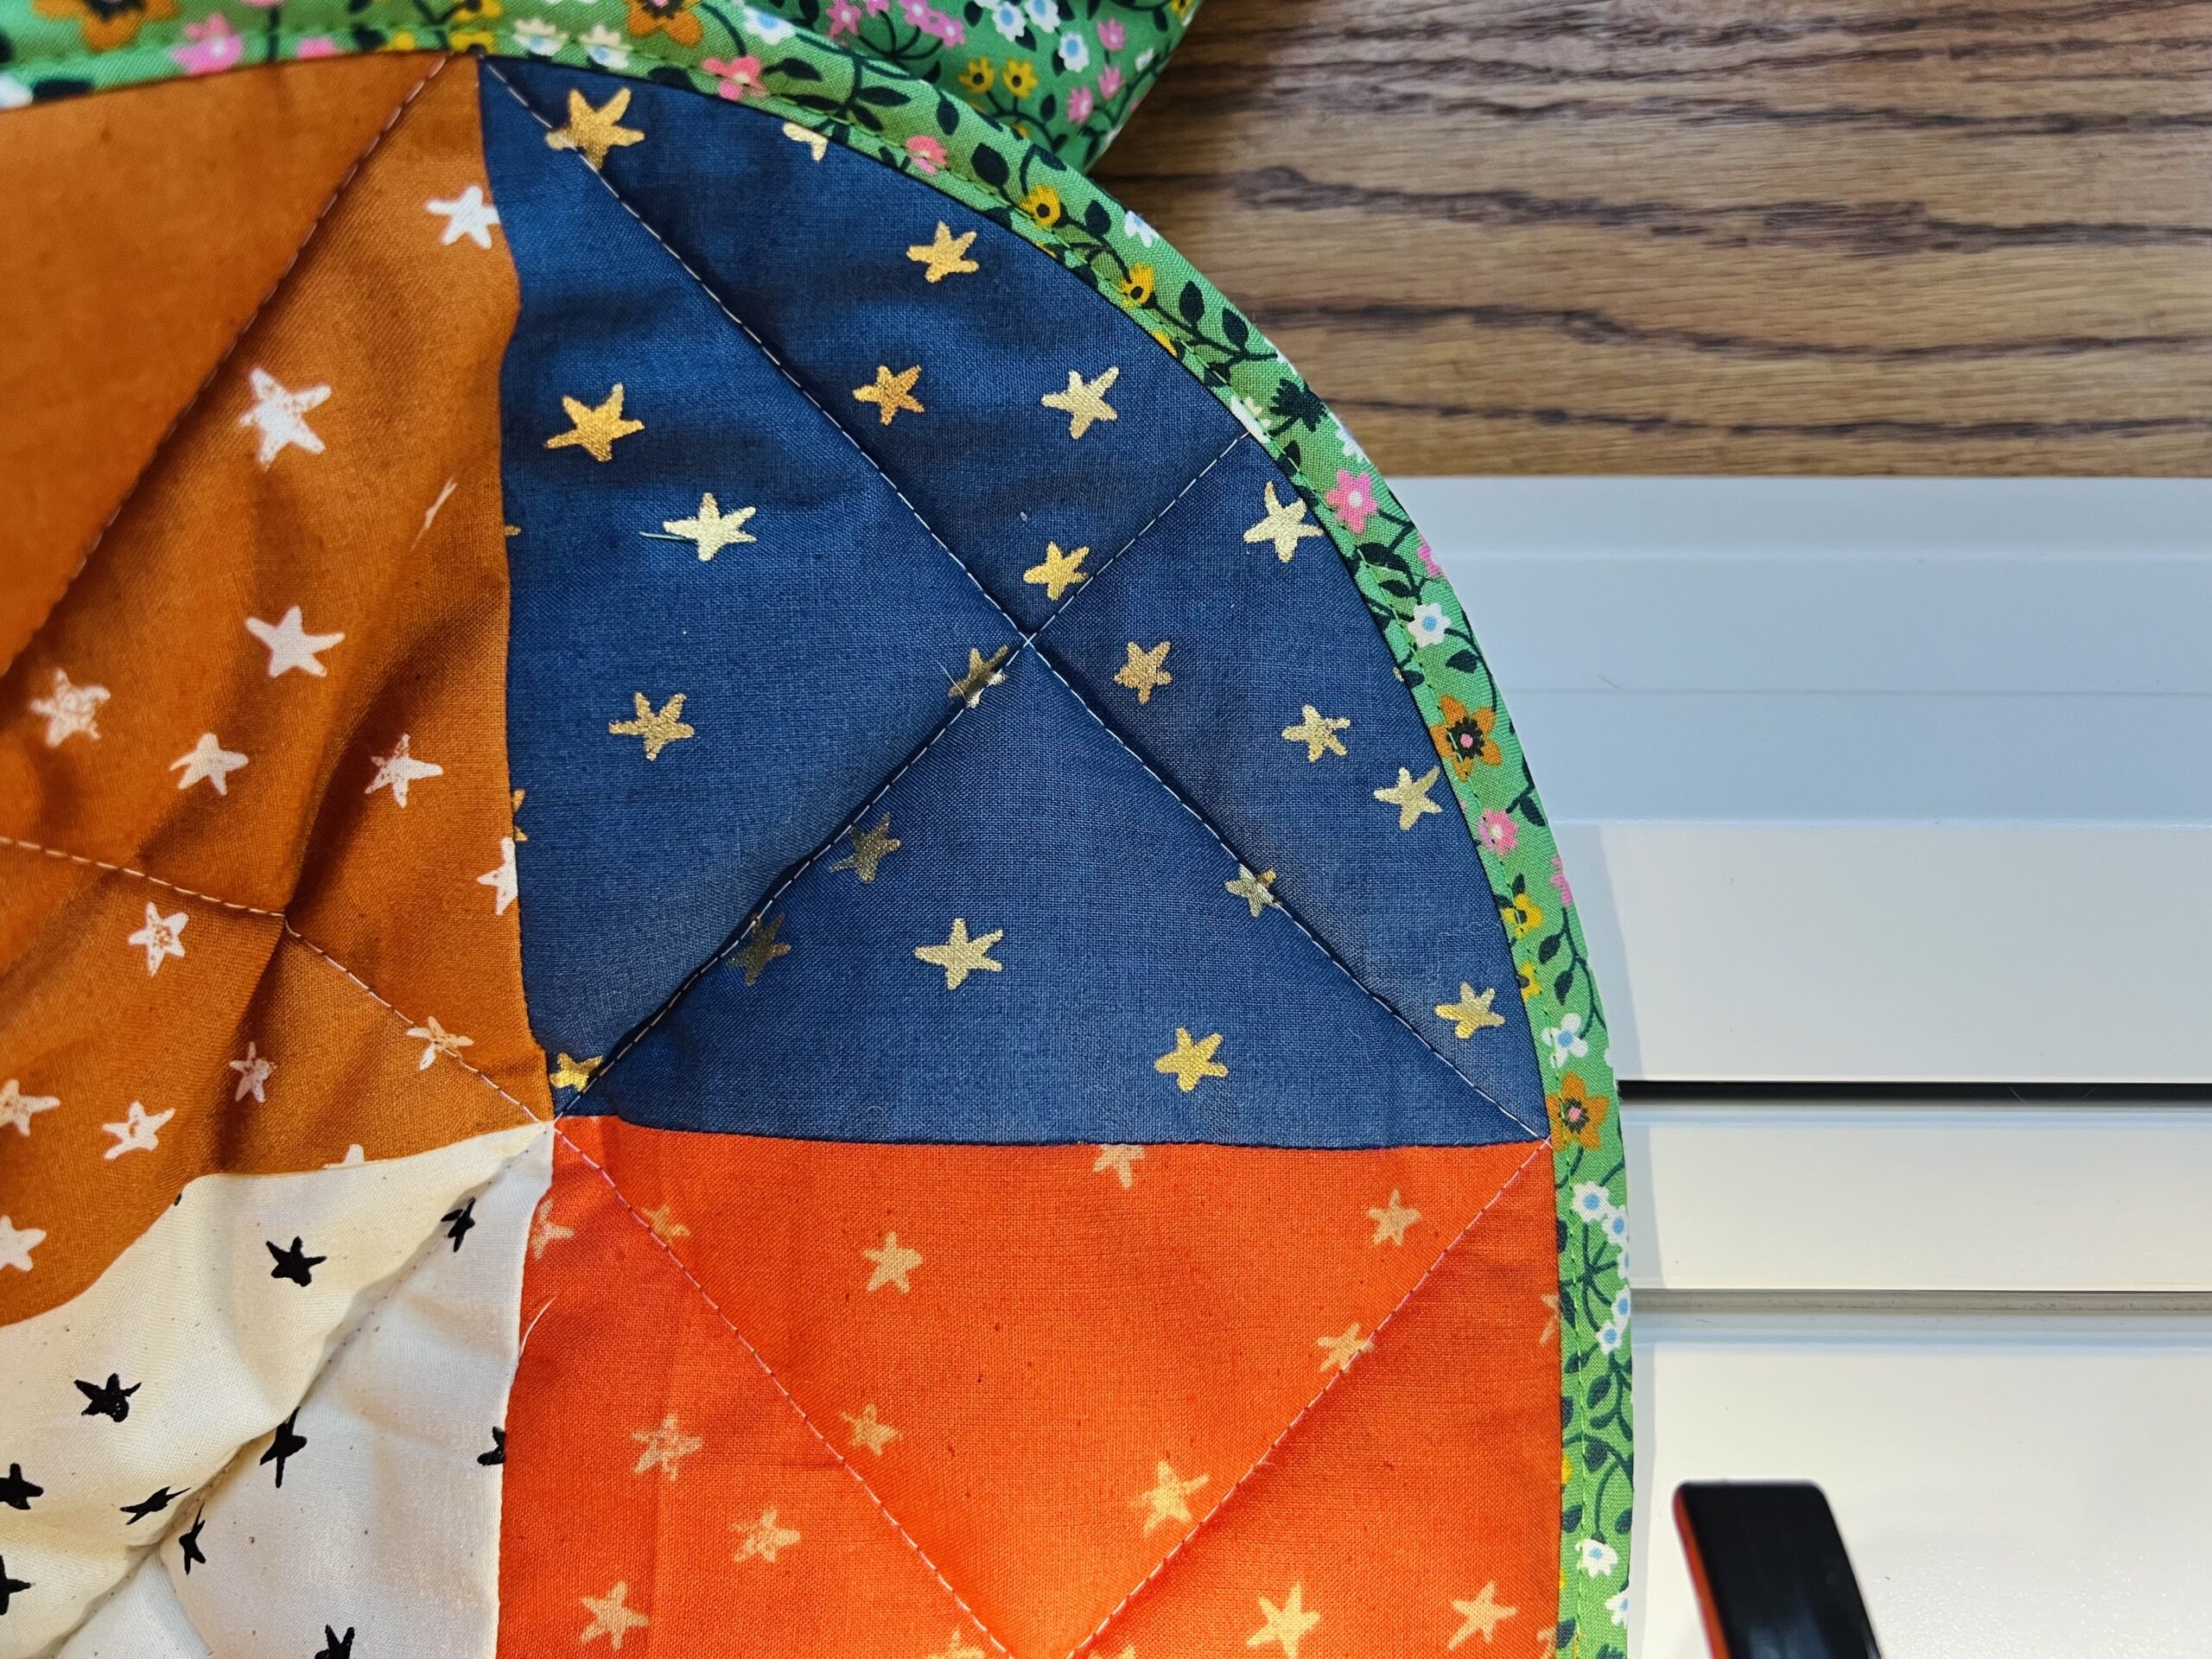
phase 4
Are you ready to cross the finish line? You just have to install your zipper, and your sleeping bag will be complete! If you don't love zippers, DON'T FRET! I promise this will be the easiest zipper installation you've ever done. Line the top of your zipper up with your first full square after the top curve. Butt the bias tape up against the zipper teeth. The zipper teeth on a sleeping bag zipper are especially thick, so this should be pretty simple.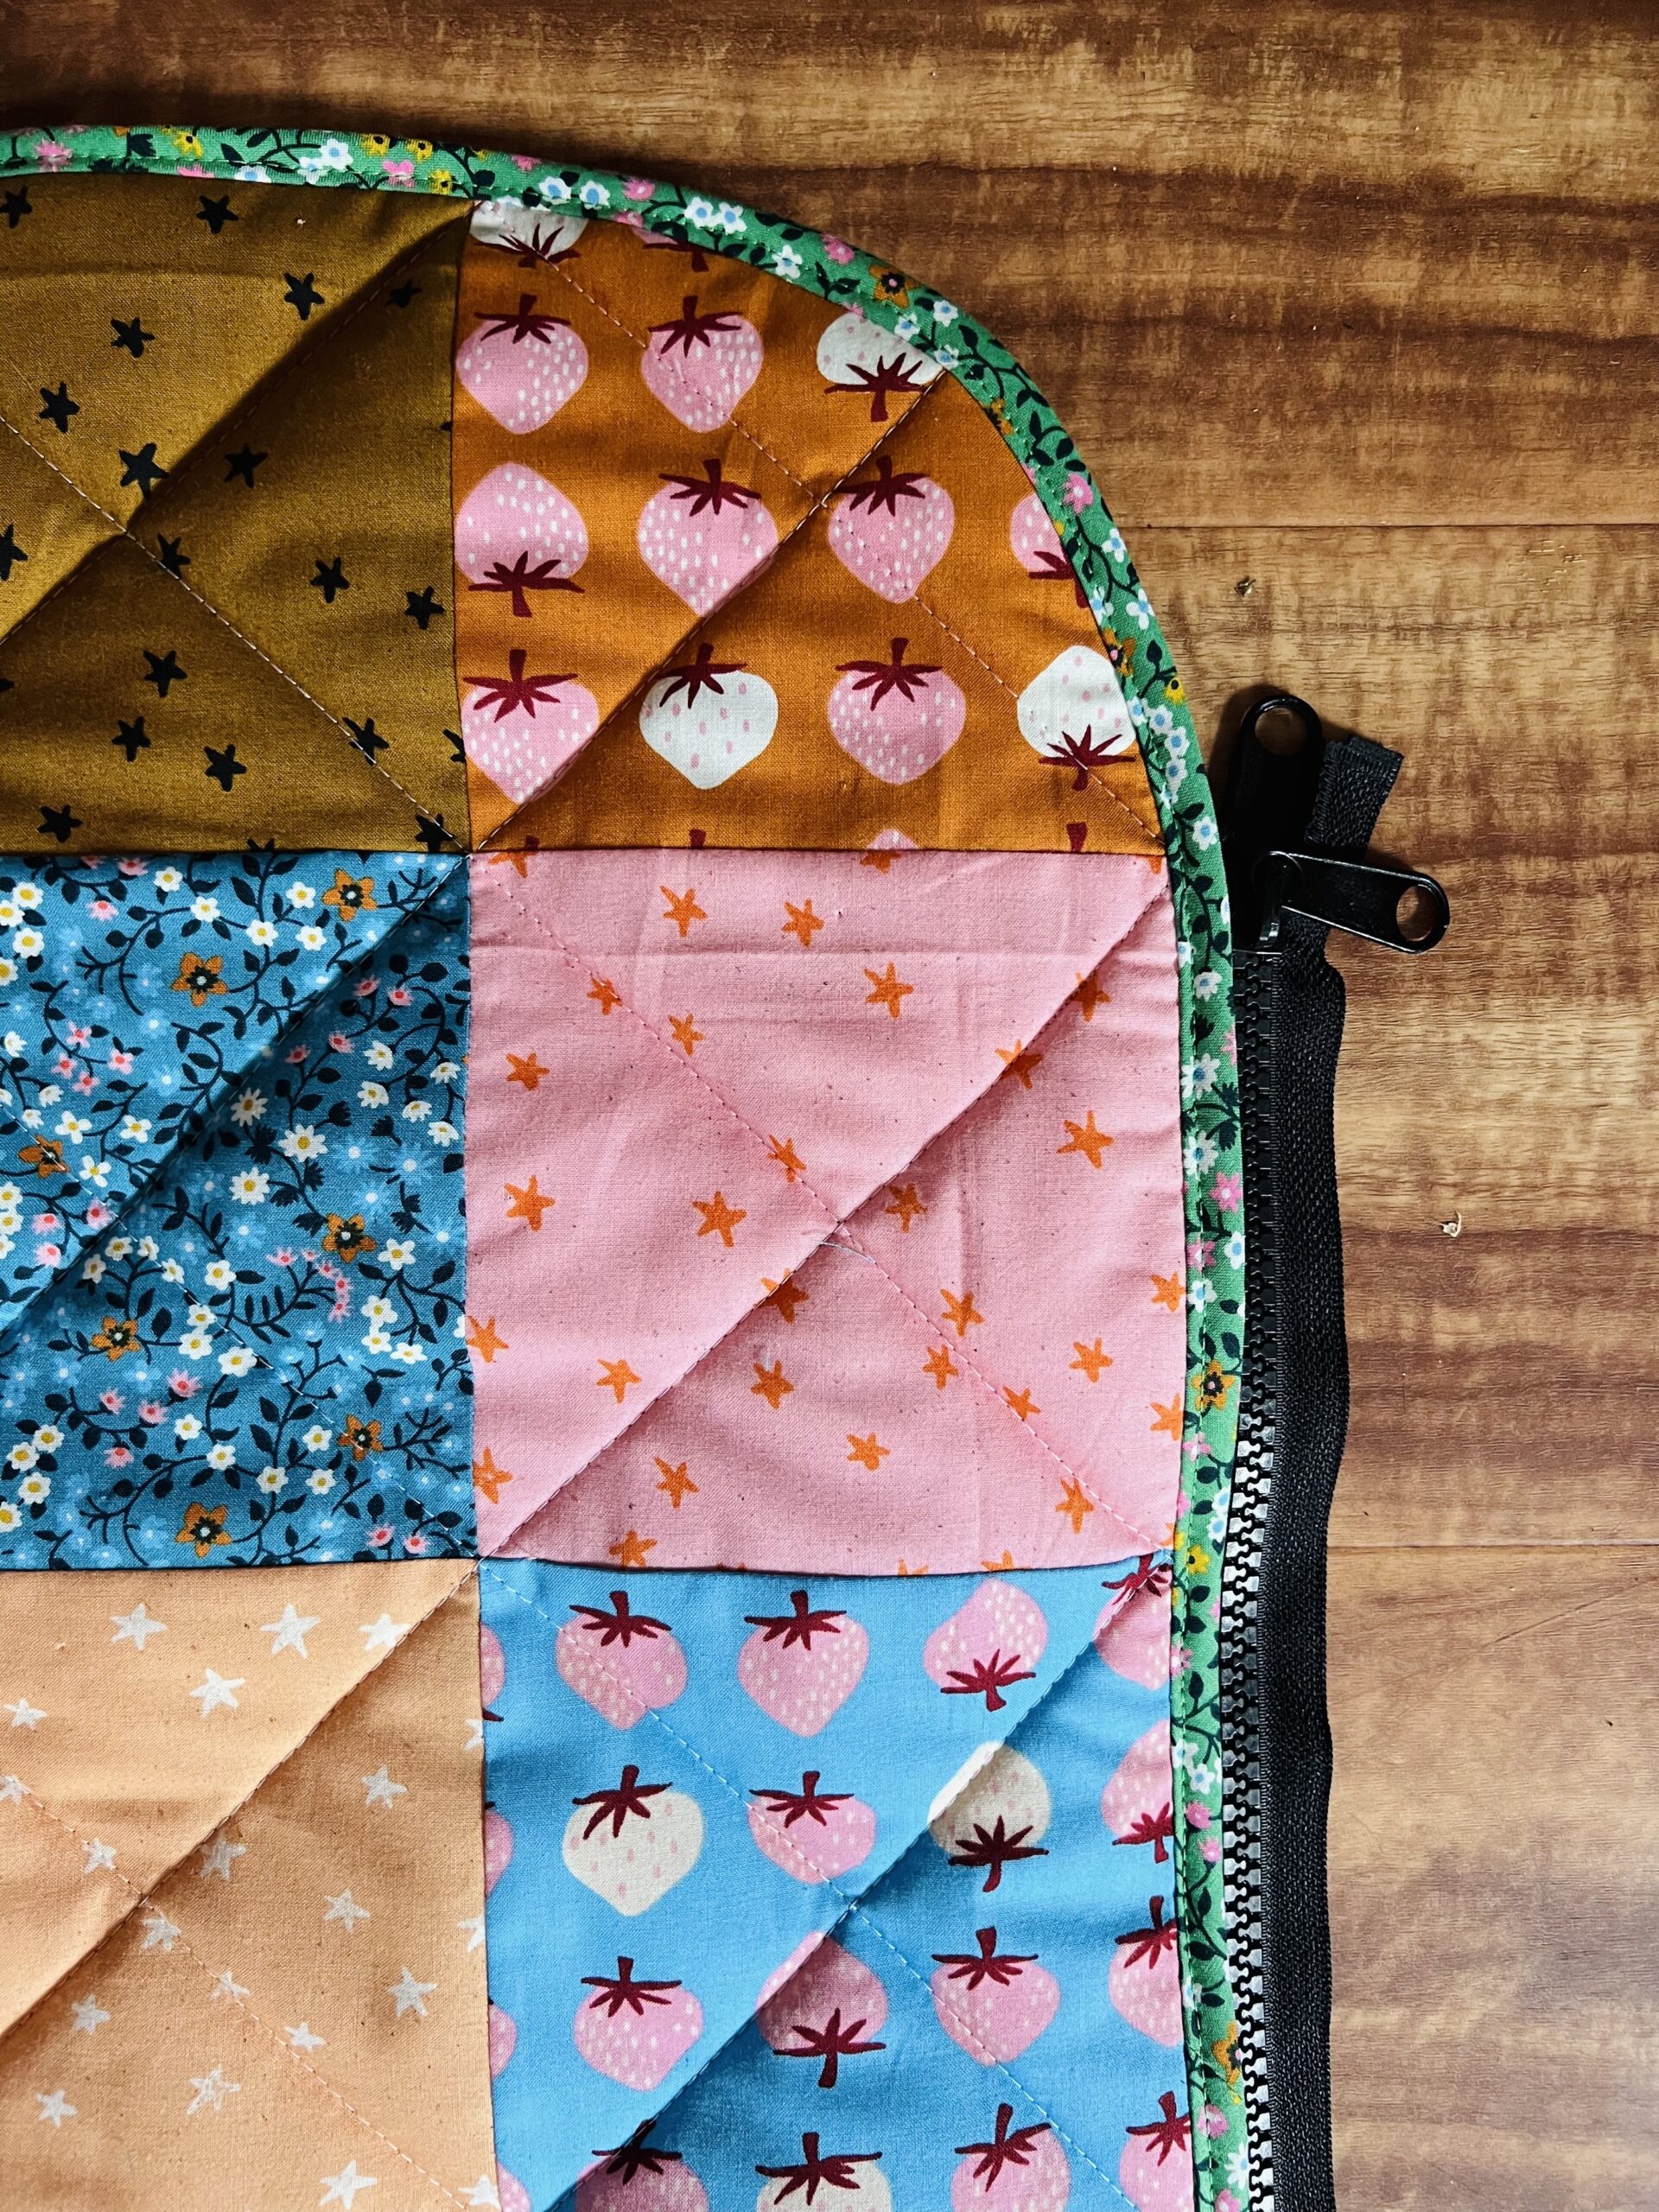 Move your needle over so that your stitching will be immediately outside of the bias tape- you don't want your zipper to be under your presser foot. Backstitch and then stitch all the way down until you are about 1-2" away from the center fold of the sleeping bag bottom. Hopefully your zipper is just the right size, but if yours is too long like mine, don't sweat it. Just stop your stitching prior to meeting the middle, and then backstitch. Some overhang will not hurt.
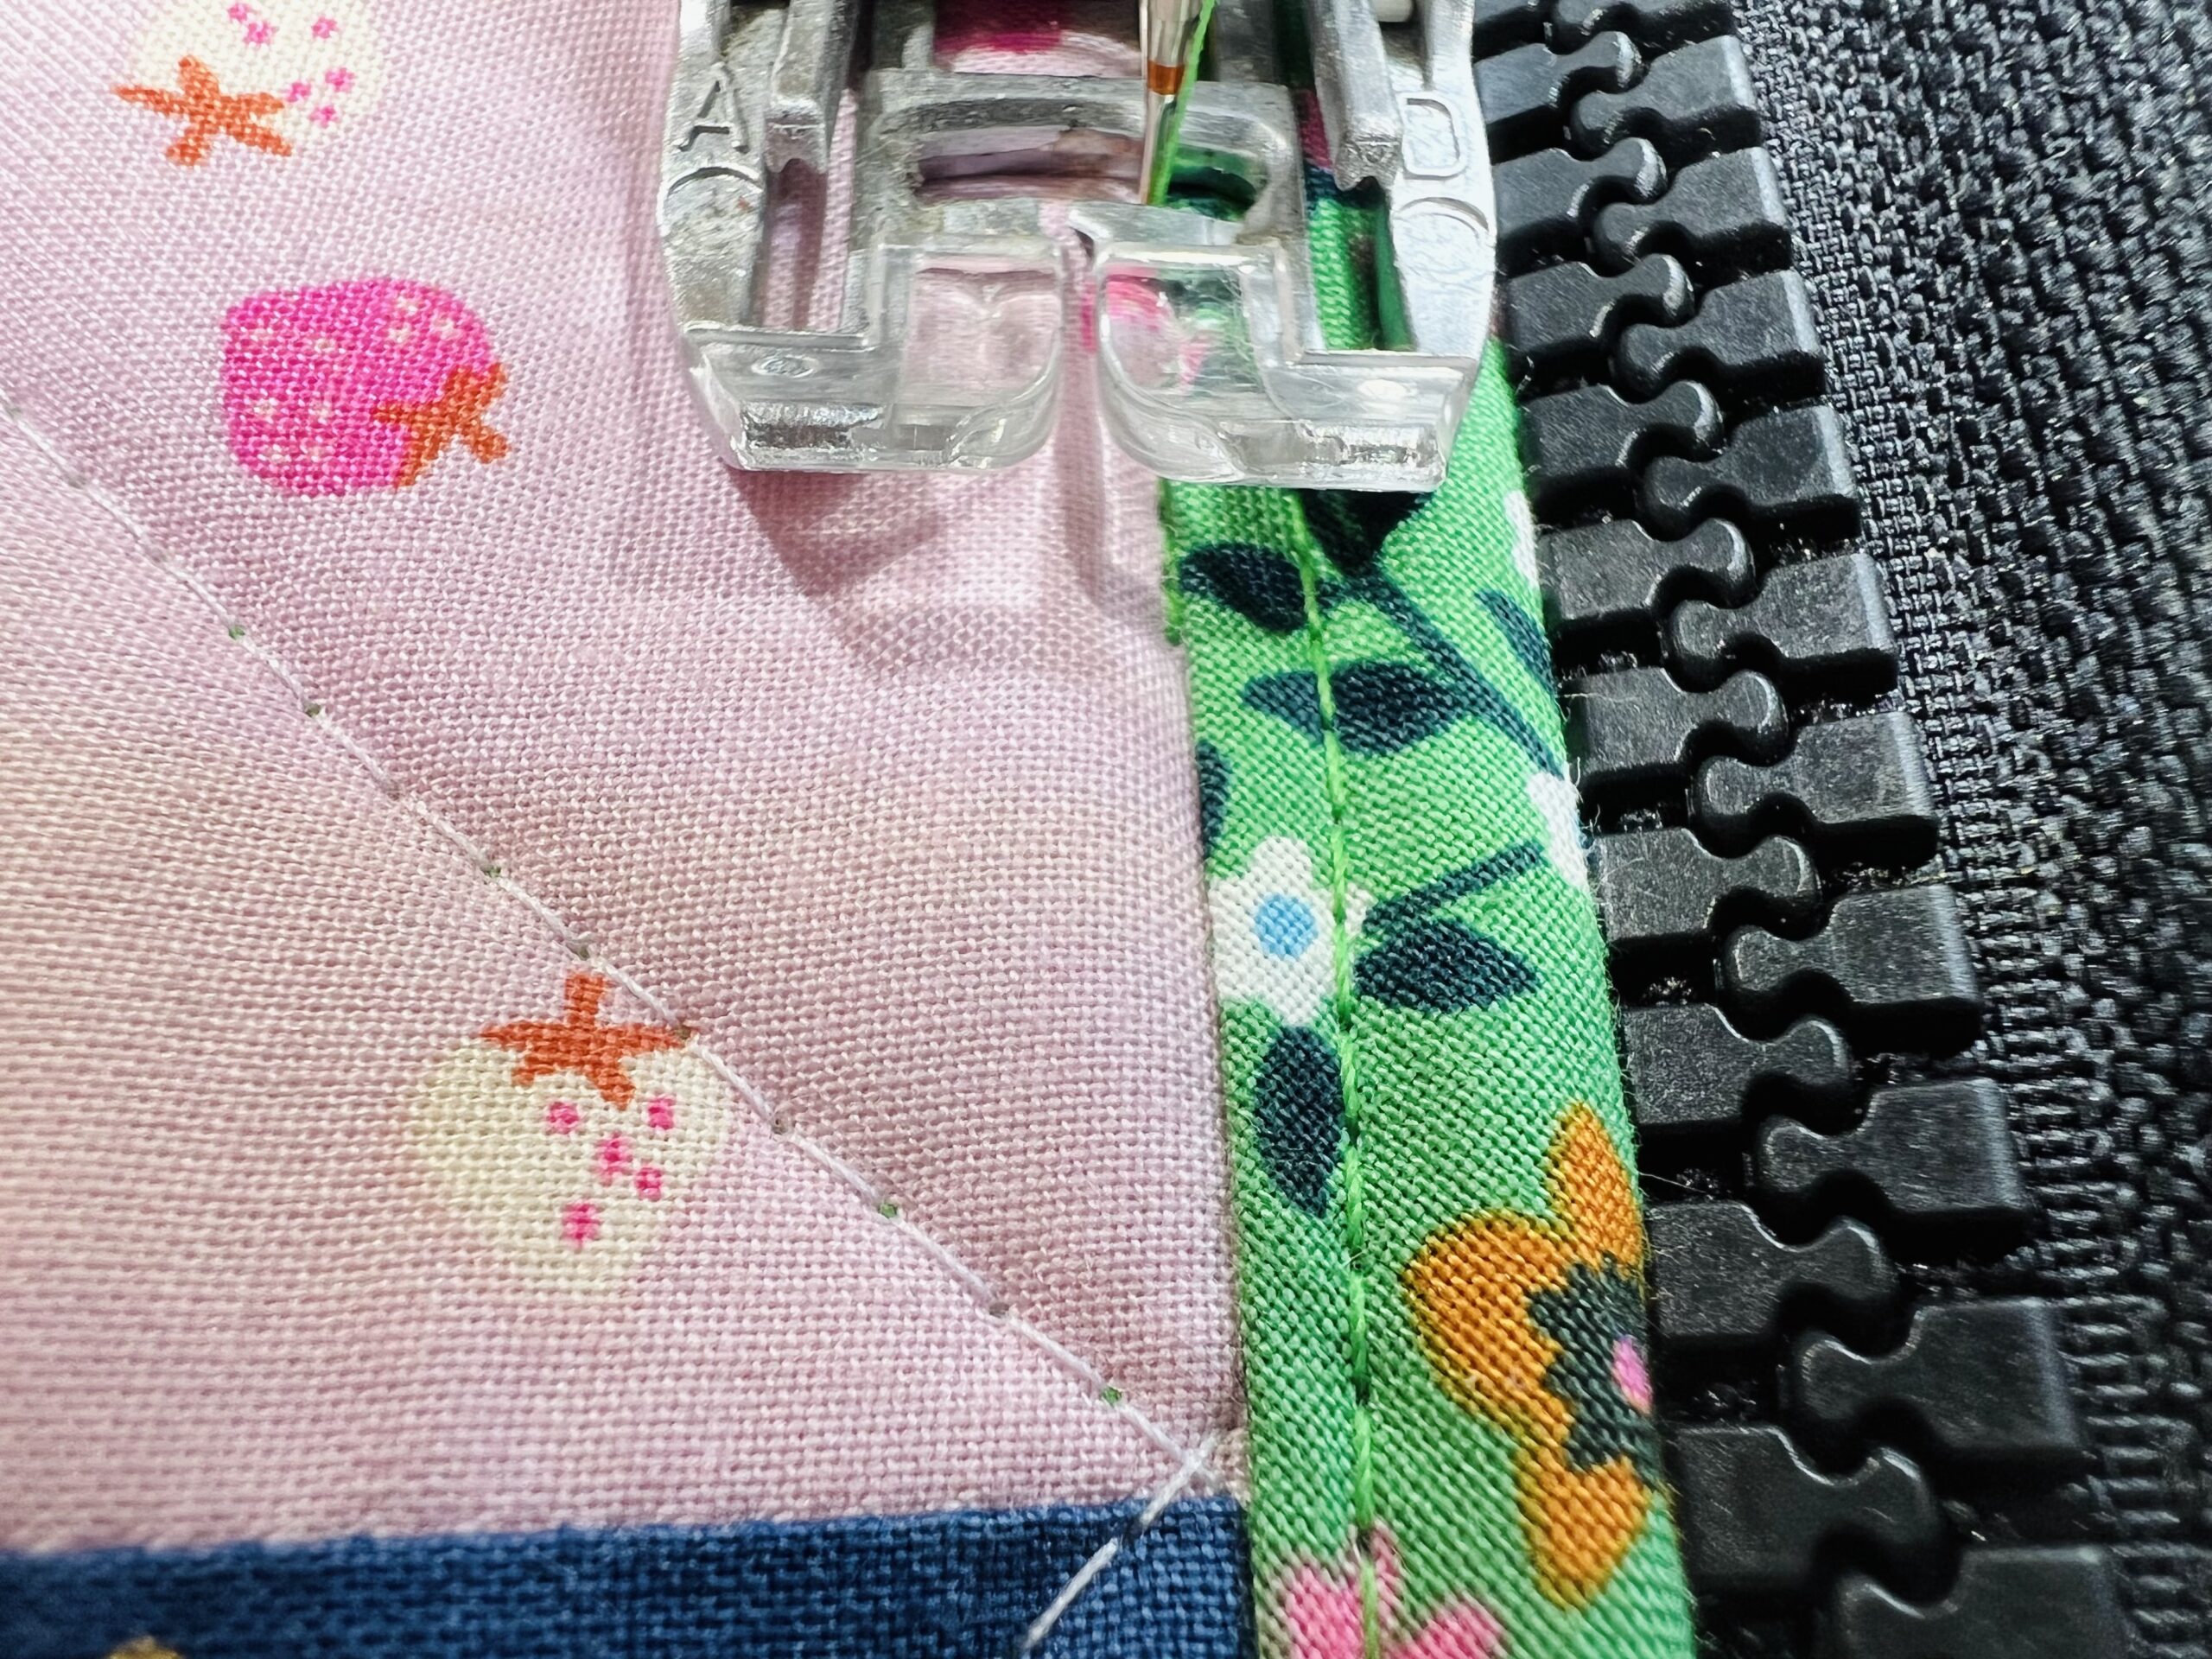
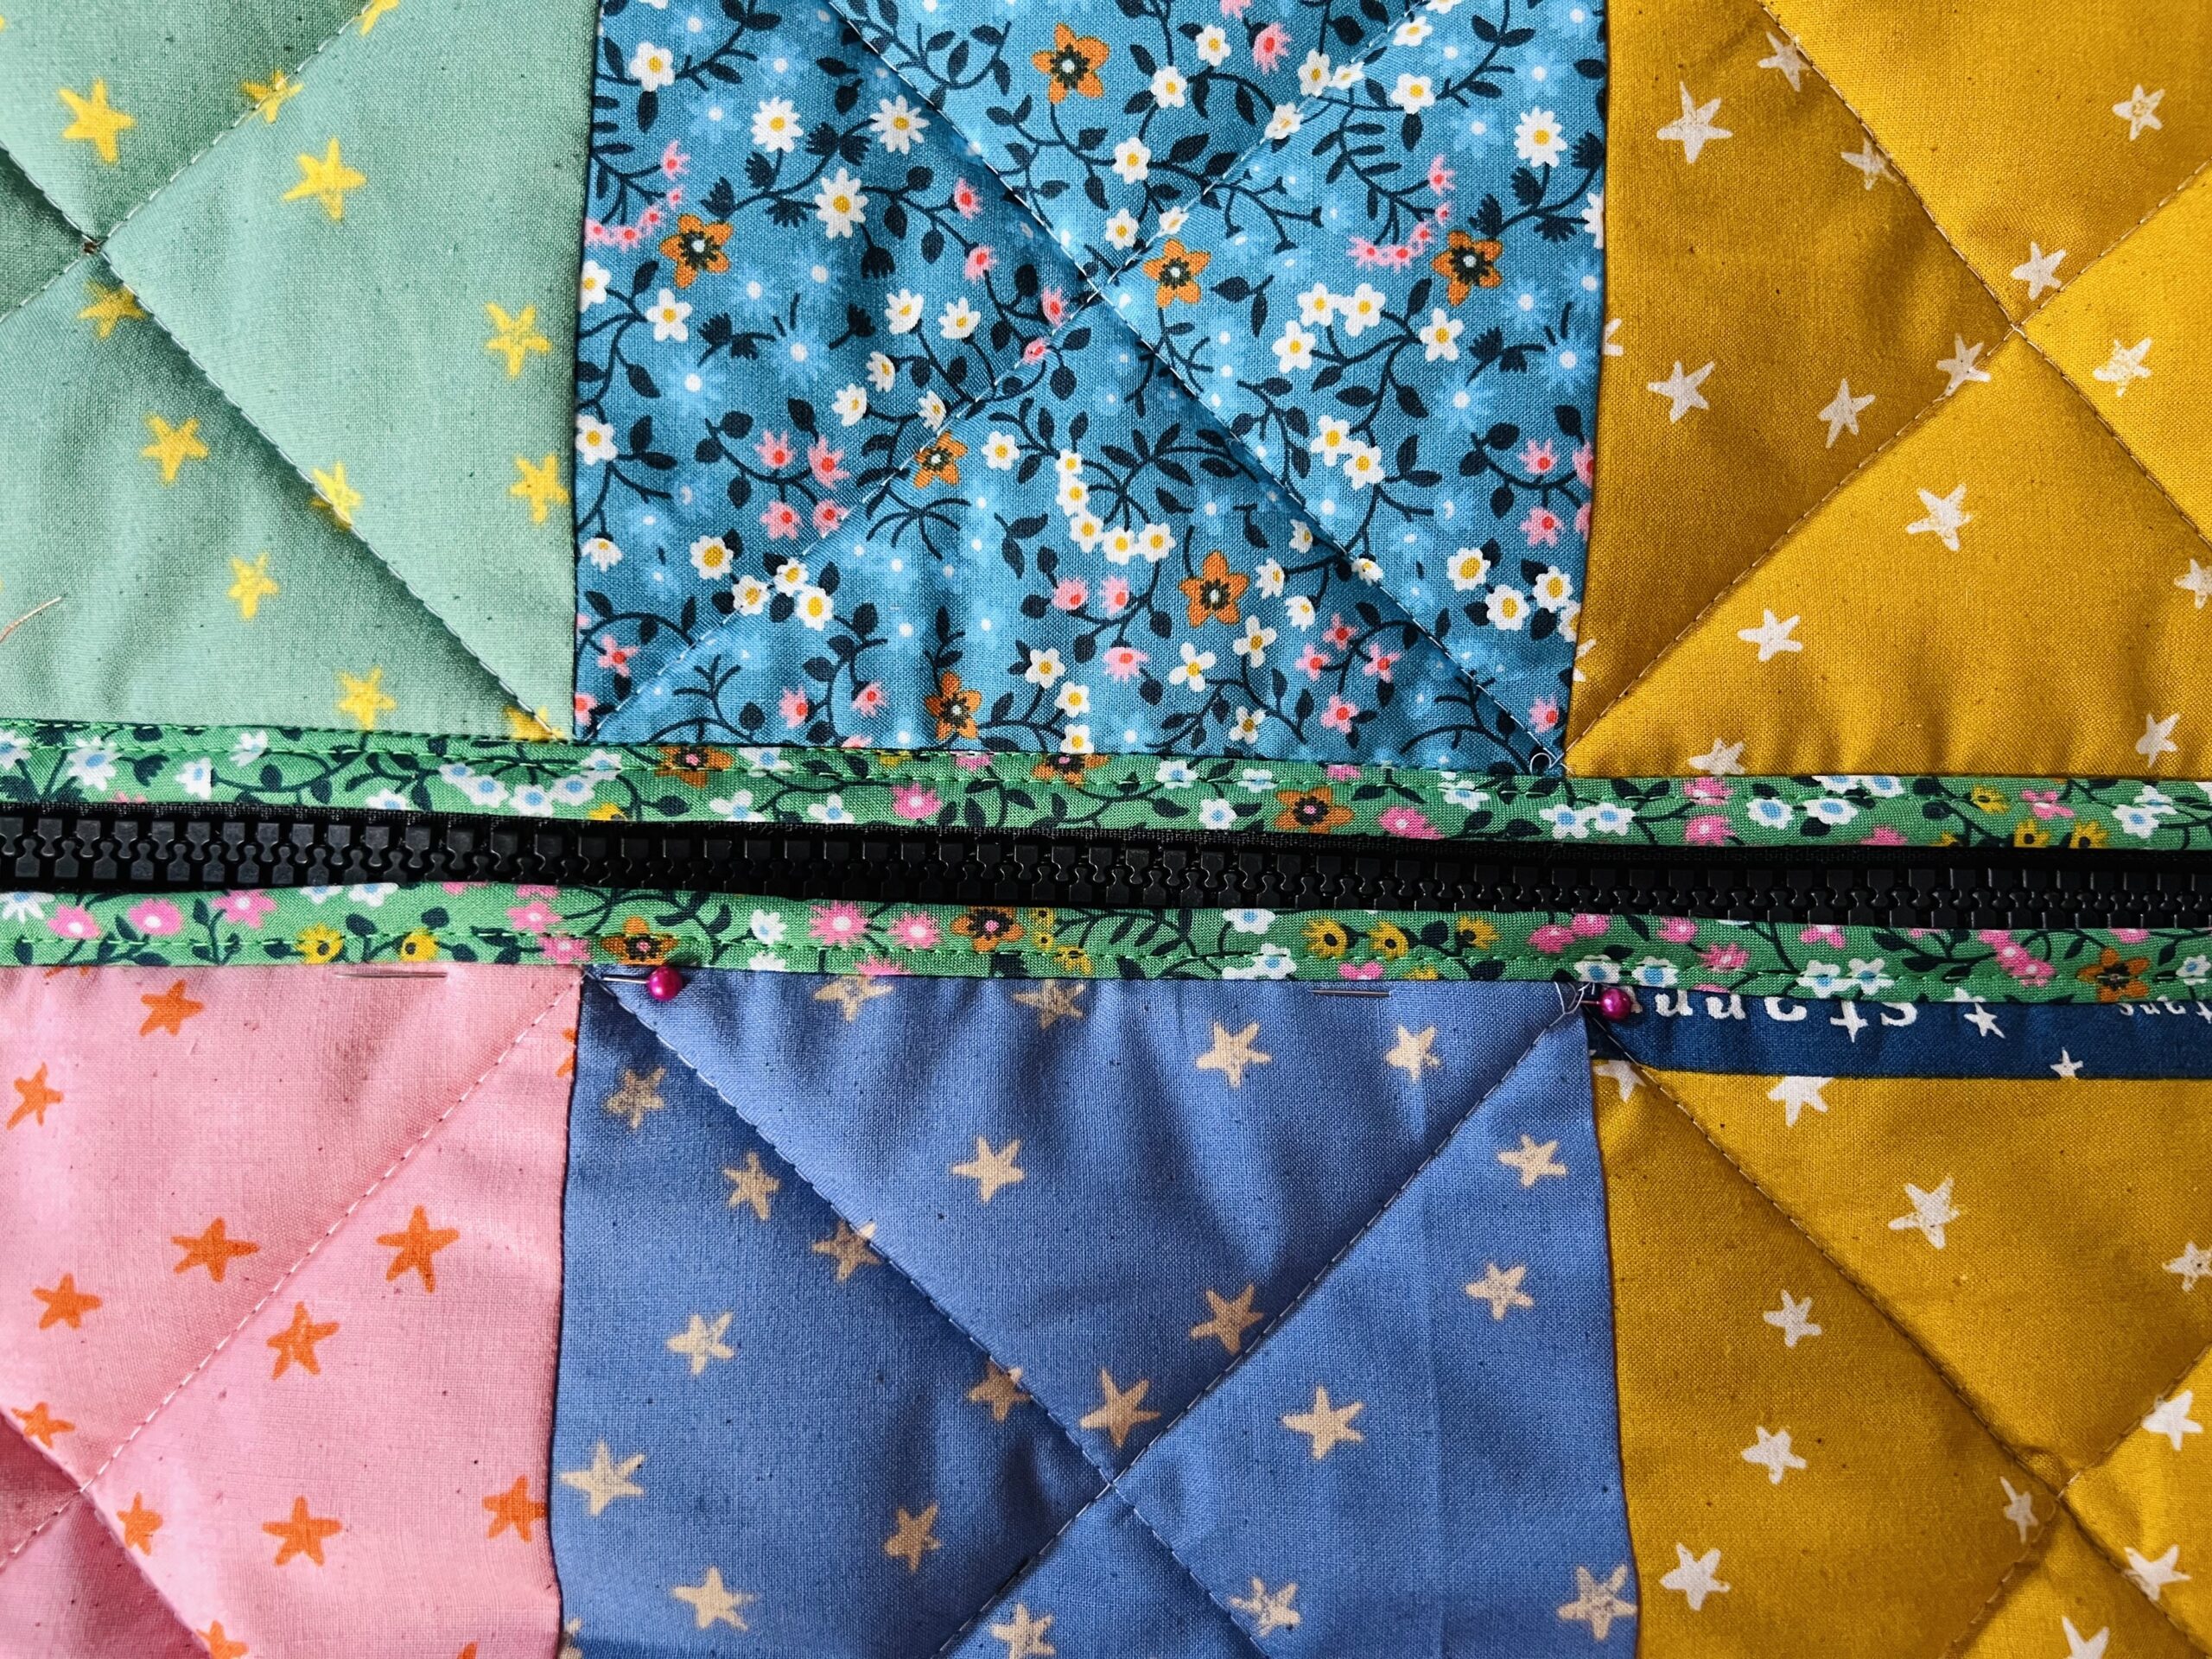
 The zipper tape should go around the curve pretty easily. Just slow down as you go to be sure you keep it even and then continue until you get close to the center bottom. Now line up your other side being sure that your patchwork is even, and pin in place. Pin so that the ball of your pin is toward the top of the sleeping bag because this time you will be starting to attach the zipper from the bottom of the sleeping bag, and this will make it easy for you to remove your pins as you go.
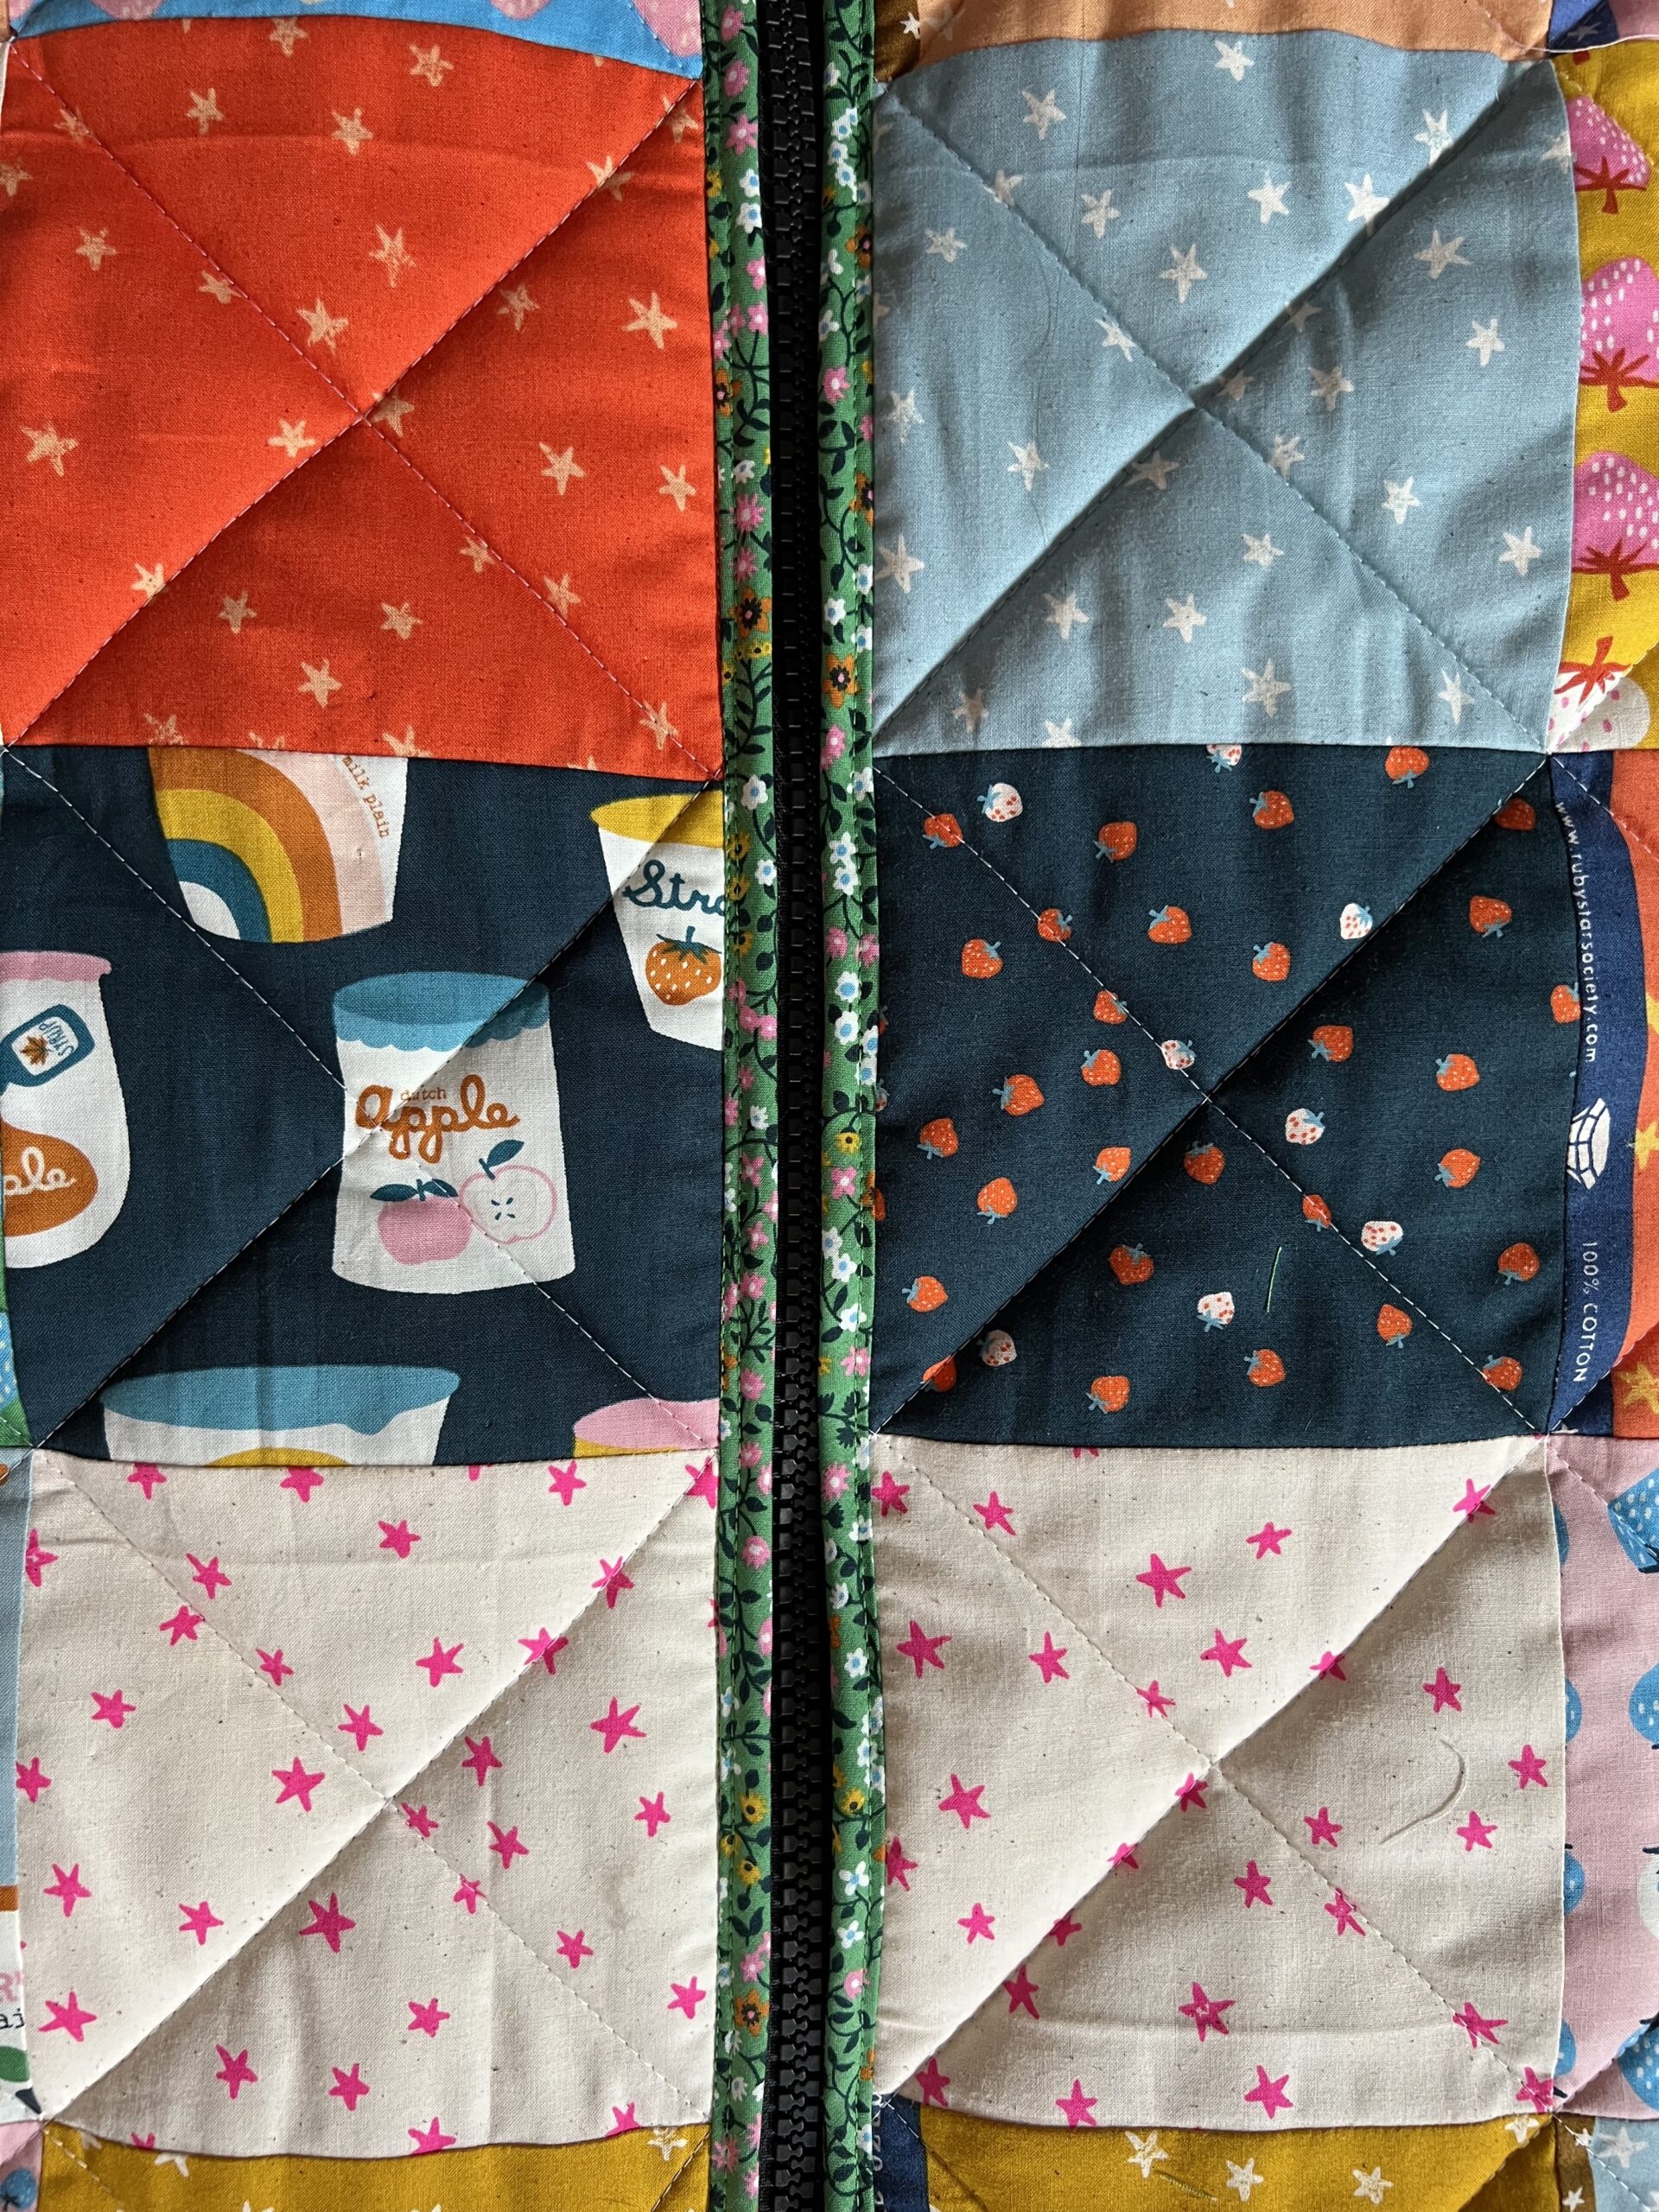
 Backstitch and then sew your zipper in place.
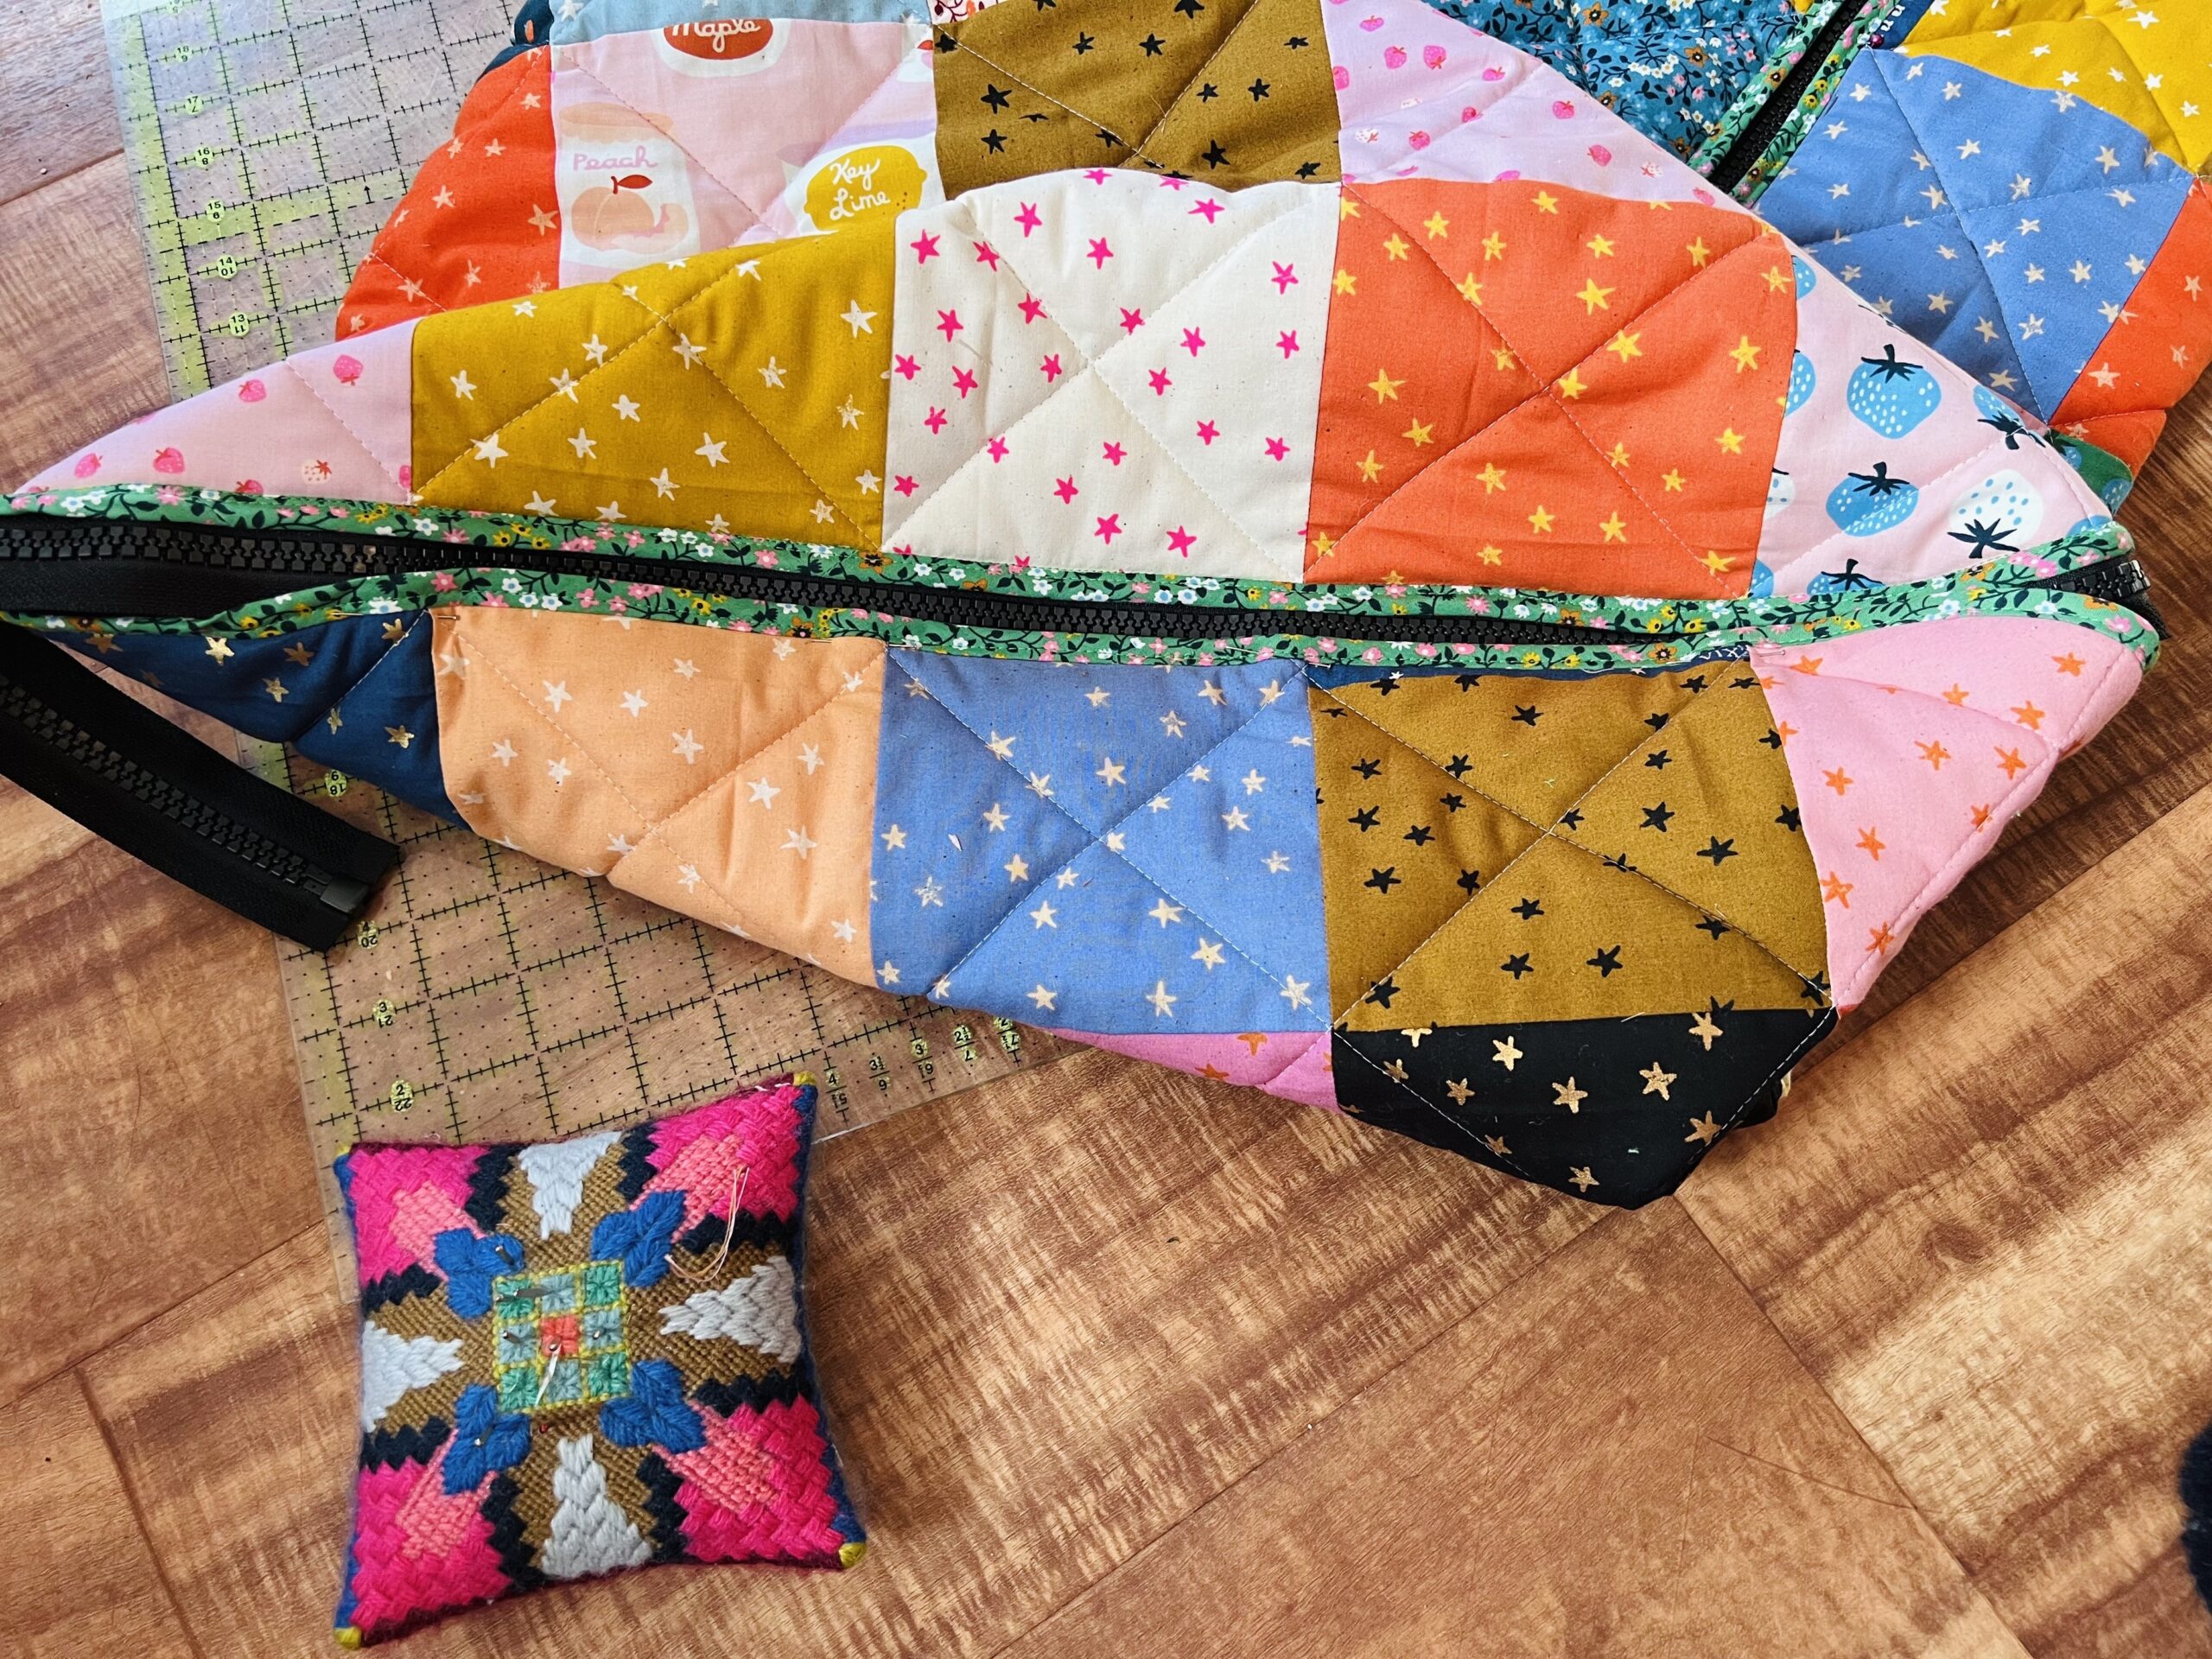
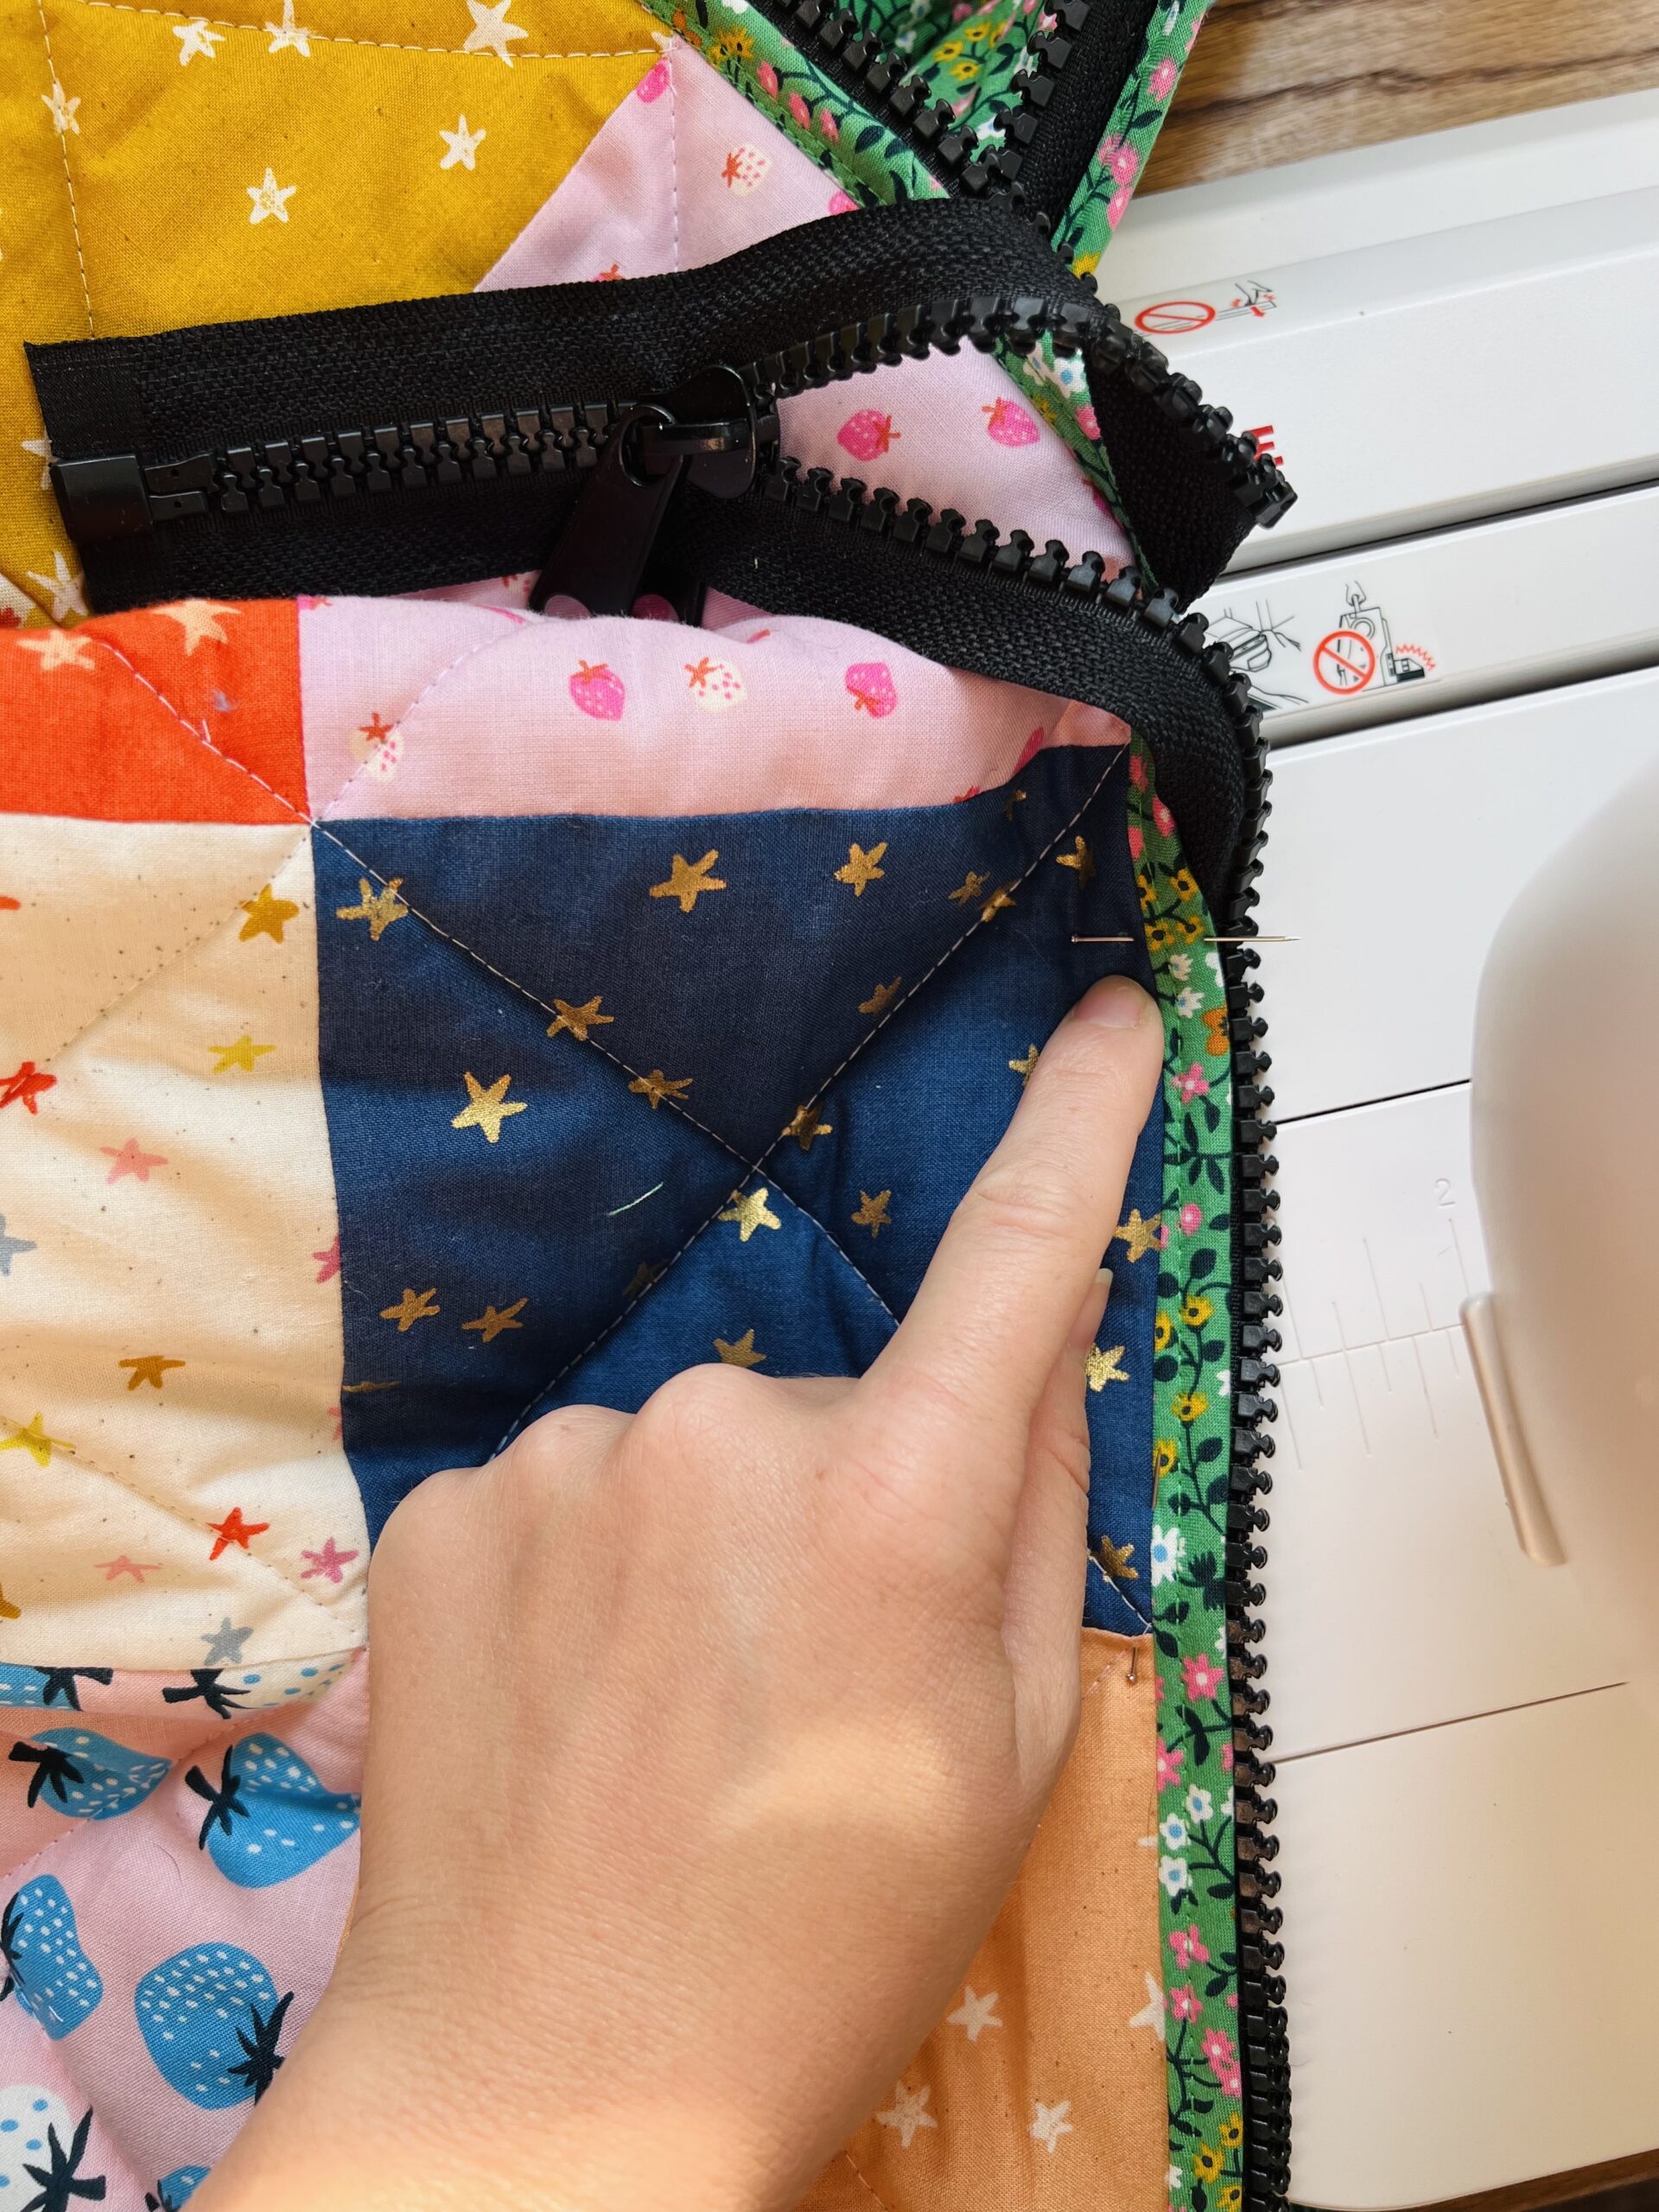 If you do have extra zipper, just tuck it into the bottom. My child is a toddler and there is no chance this will affect his comfort as he sleeps, but if your little one is taller, just keep the zipper on the outside and it should have no ill effect.
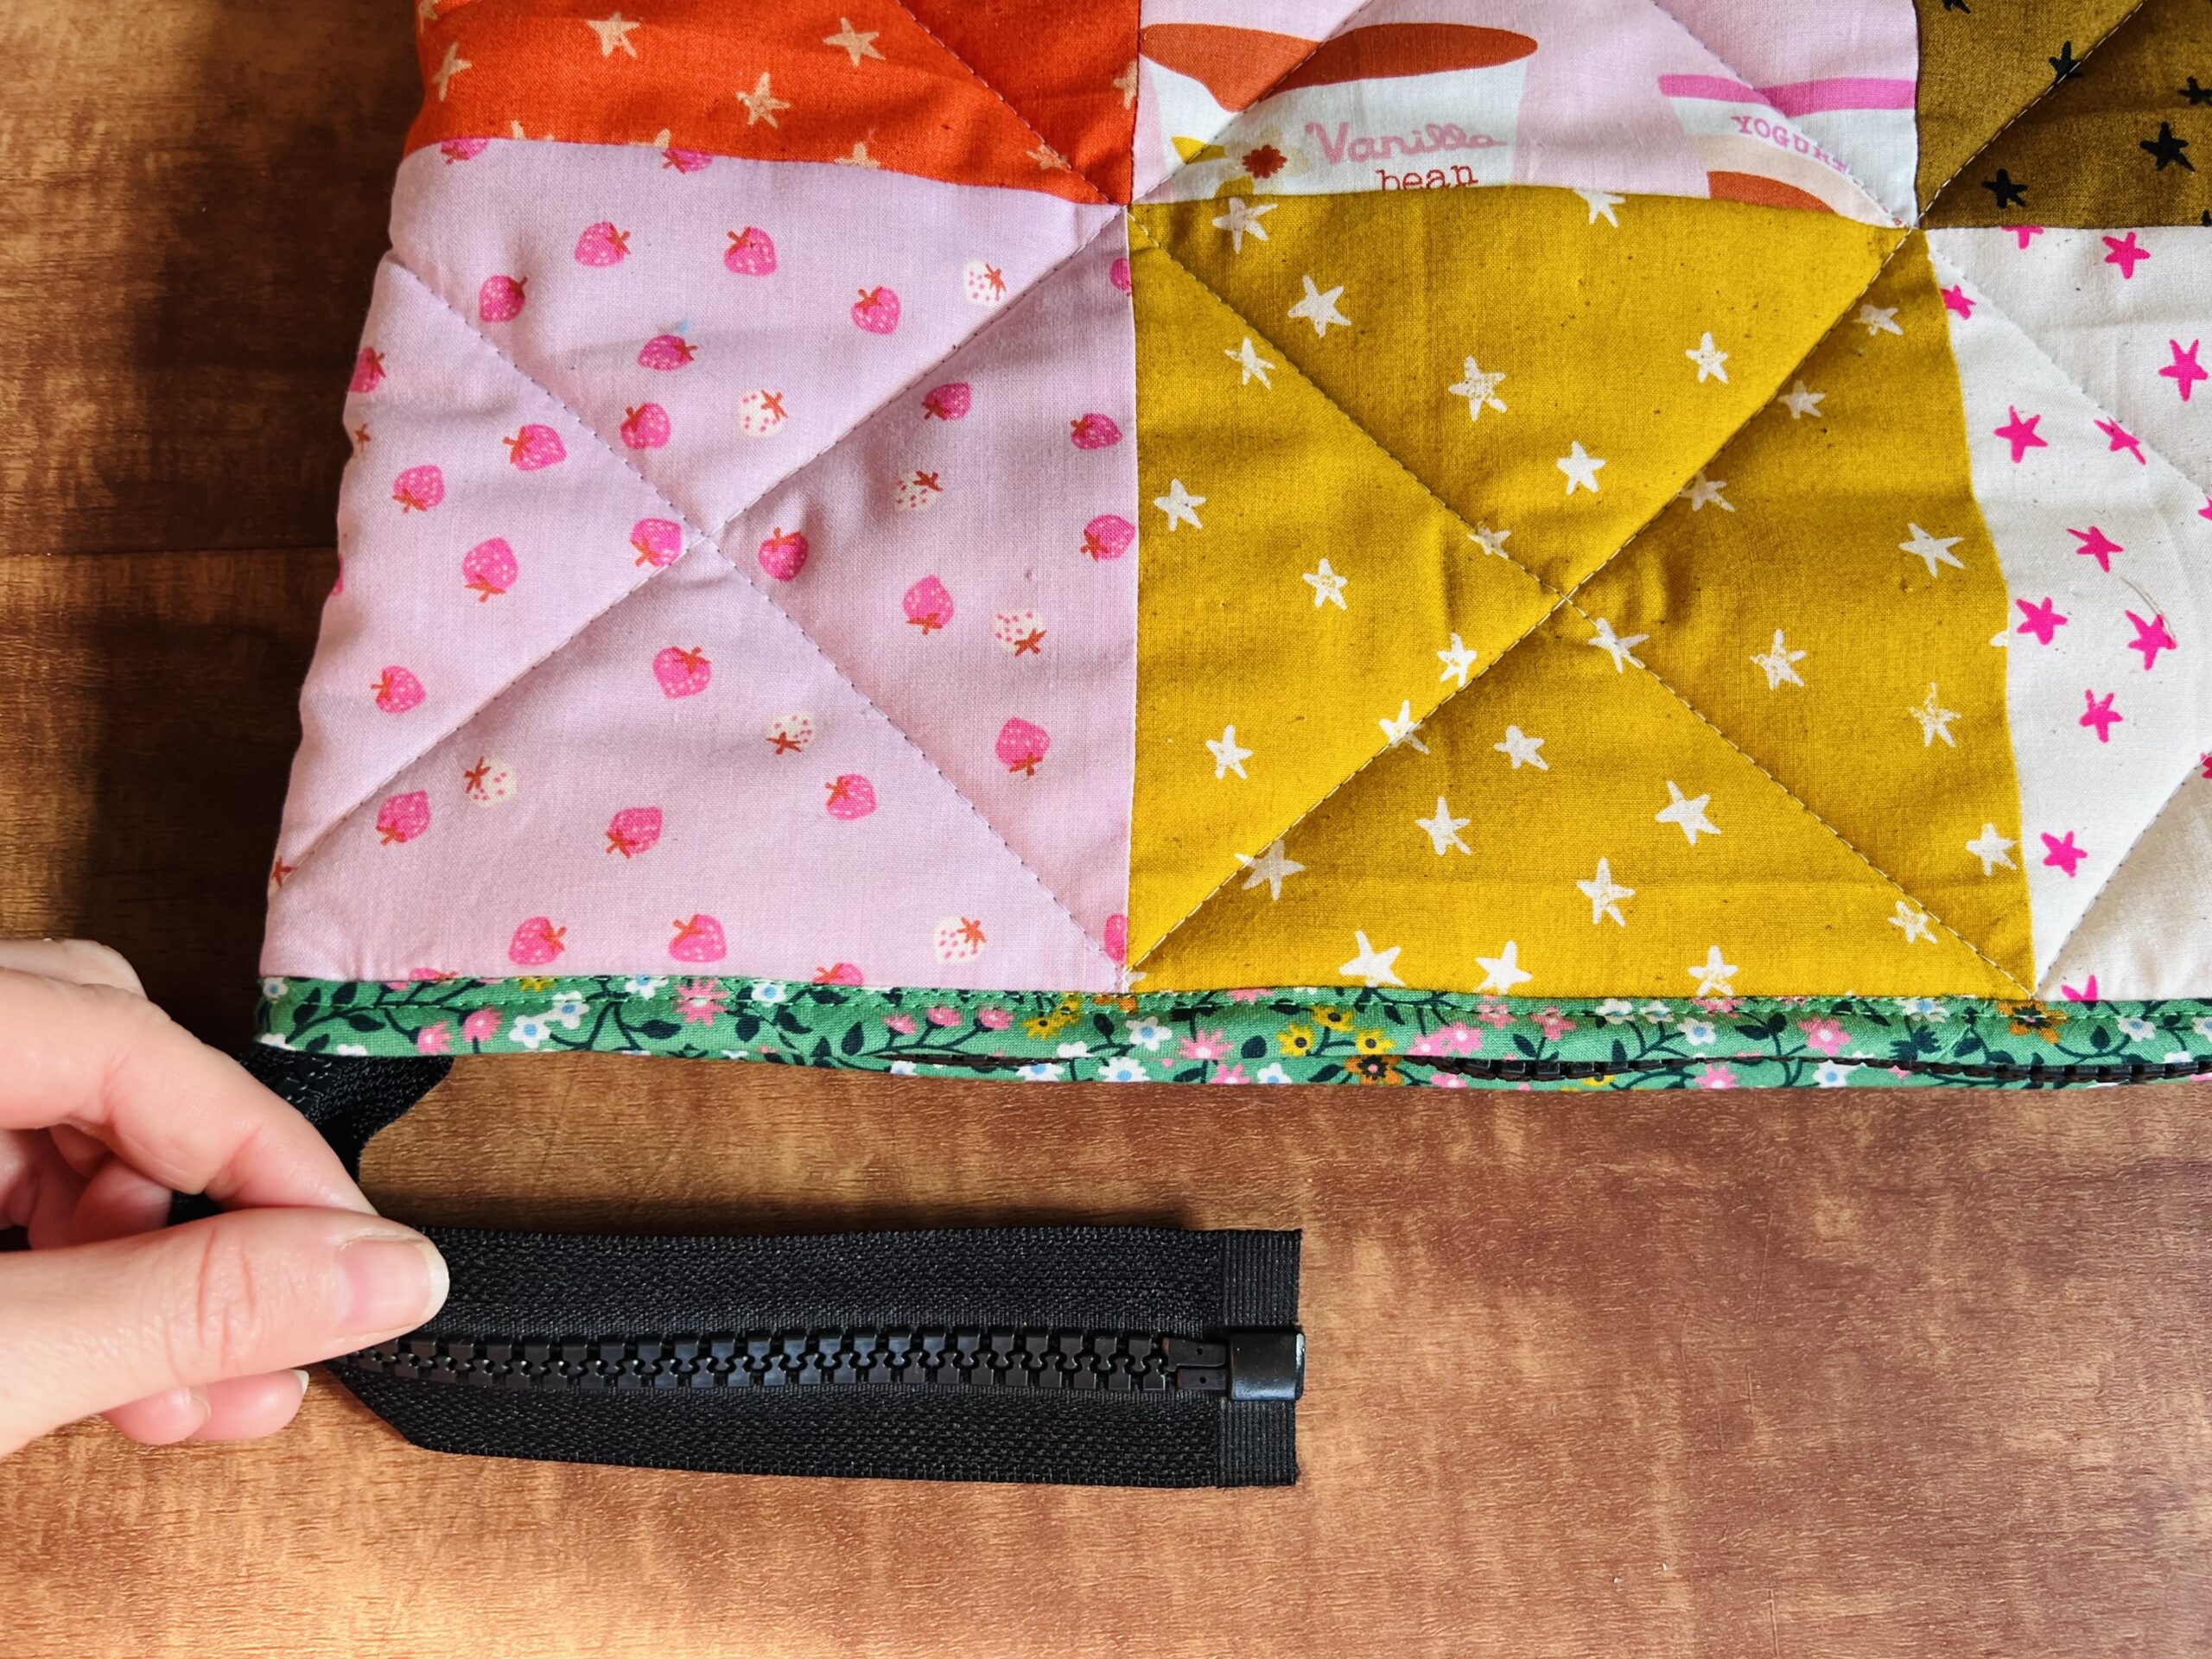
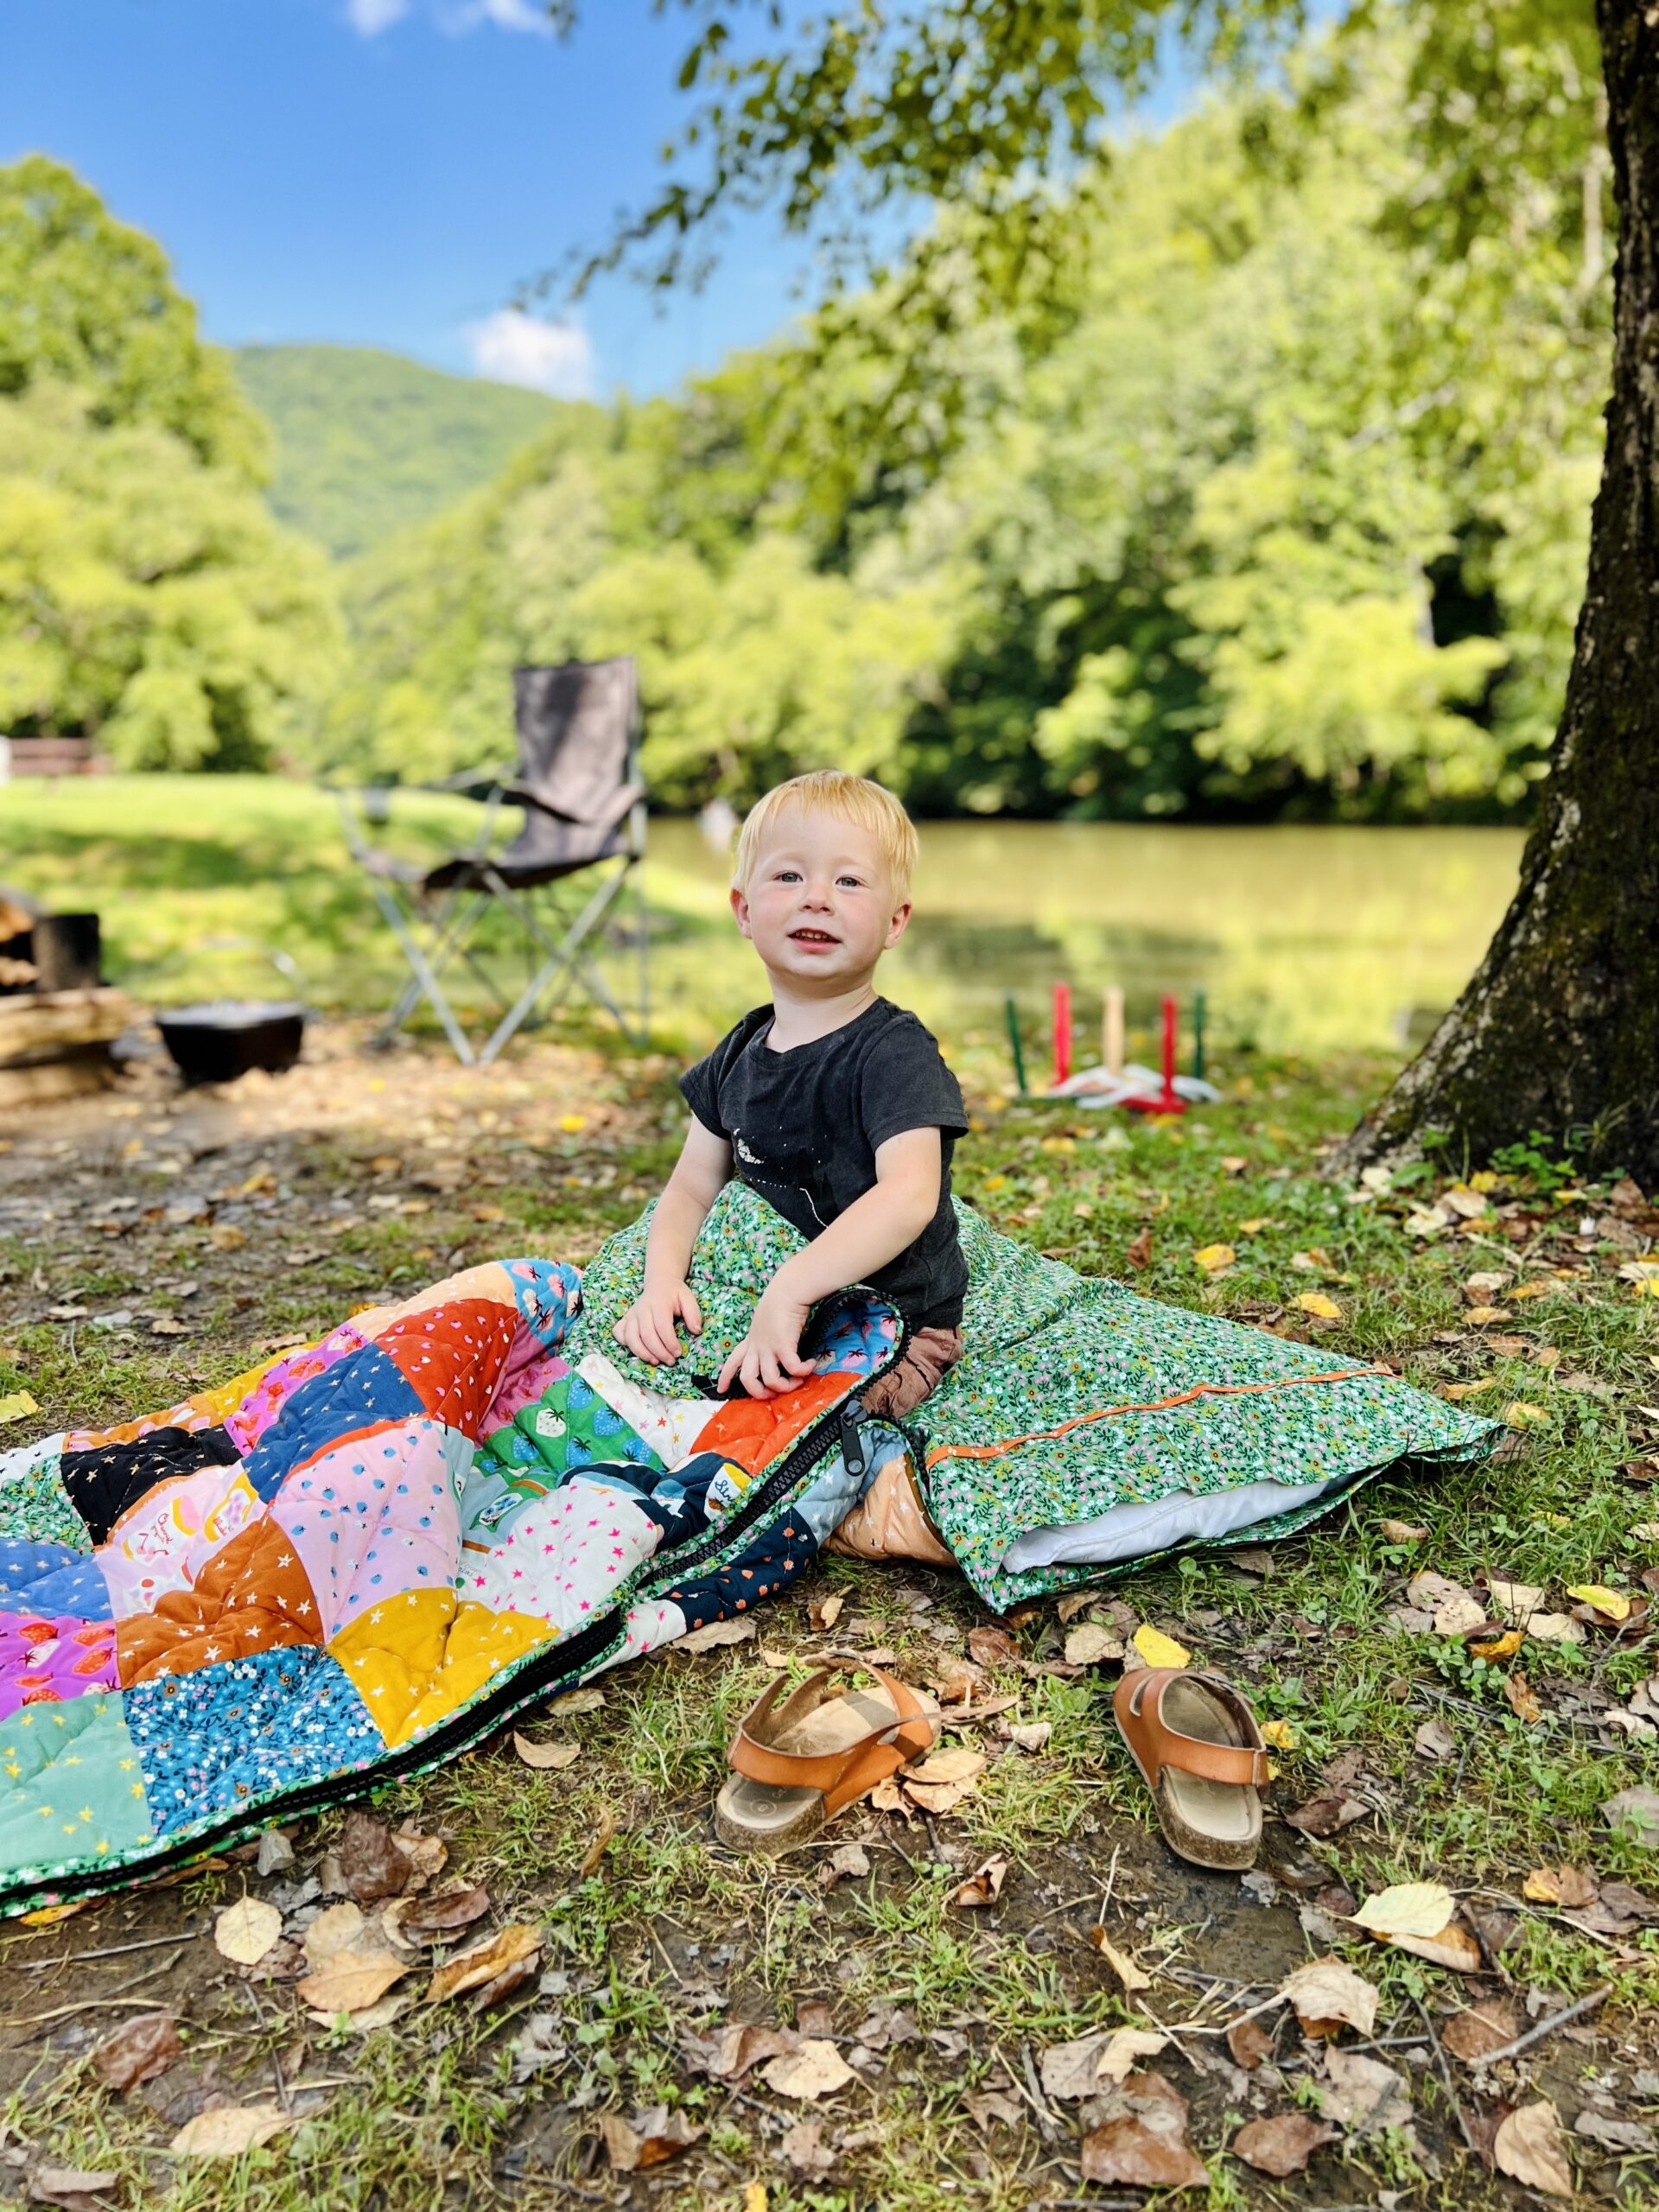
 Your sleeping bag is complete! Hopefully your kid is as excited to go camping as mine!
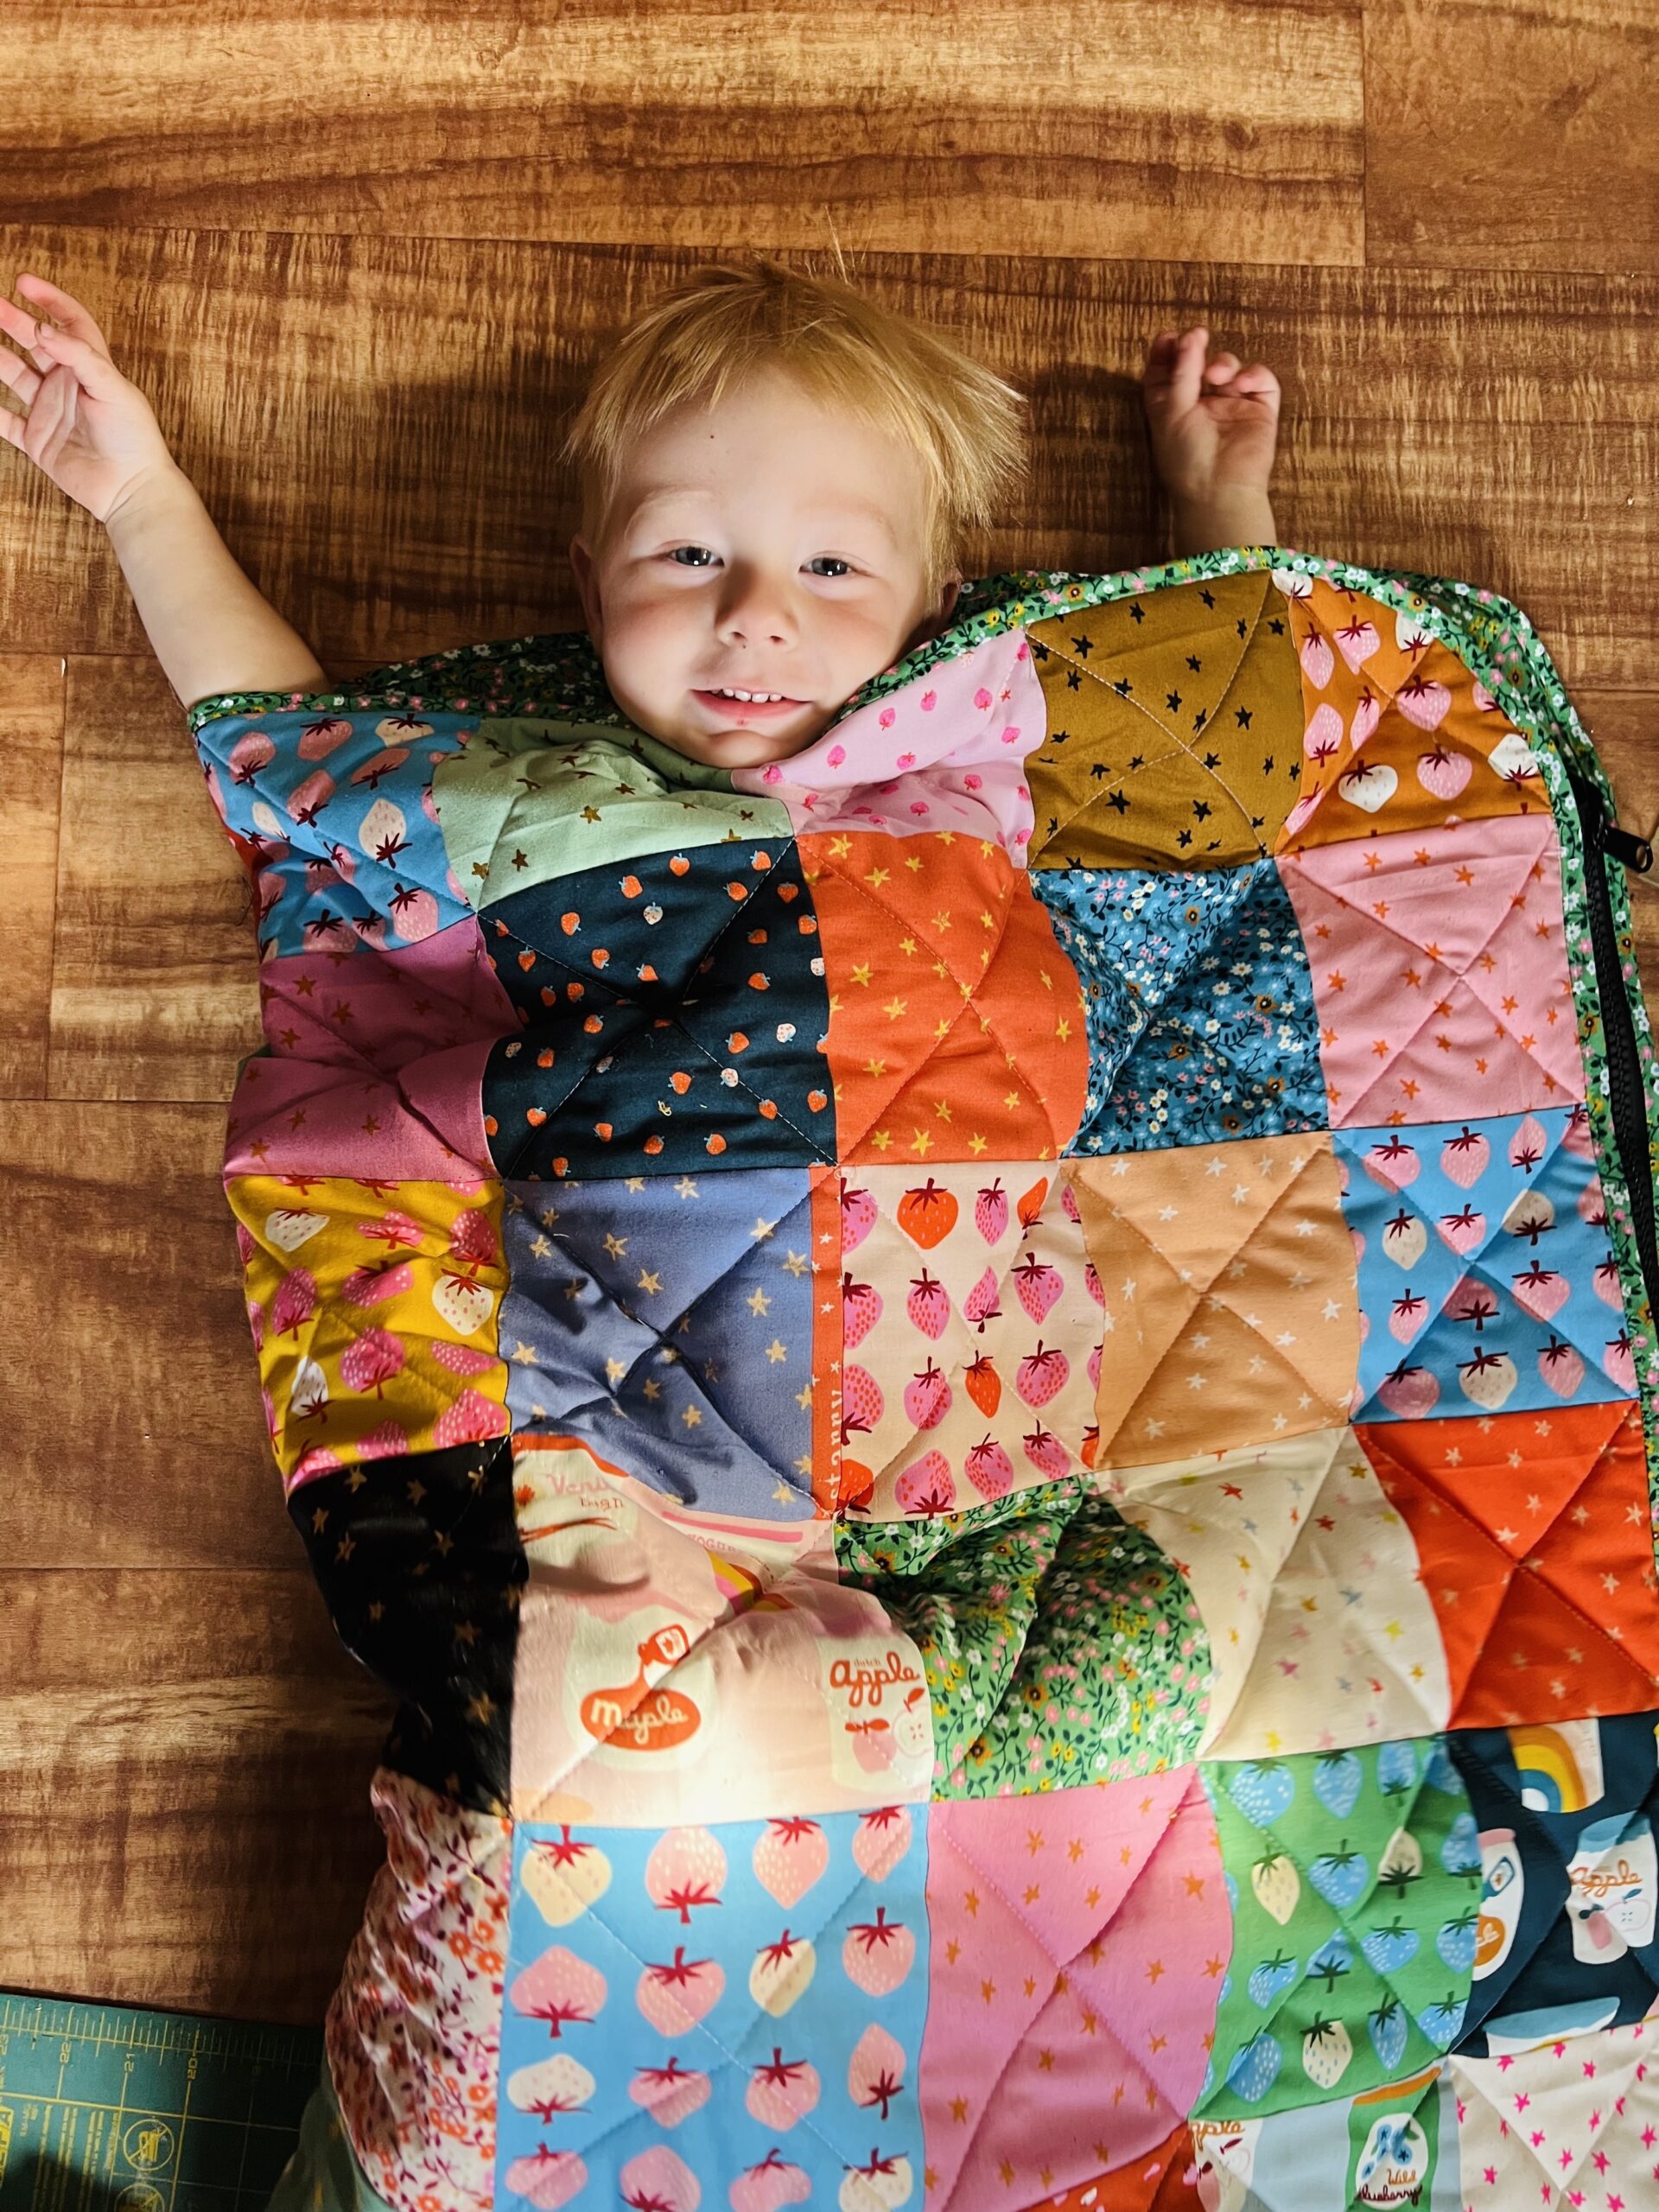 Drawstring Case Materials:
- 8" circle of fabric (use this template to trace and then cut)
- 25.5" x 17" cut of fabric for bag body
- grosgrain ribbon, or whatever you want for a drawstring tie
Instructions: Cut and trace your circle template onto fabric. Cut out fabric circle.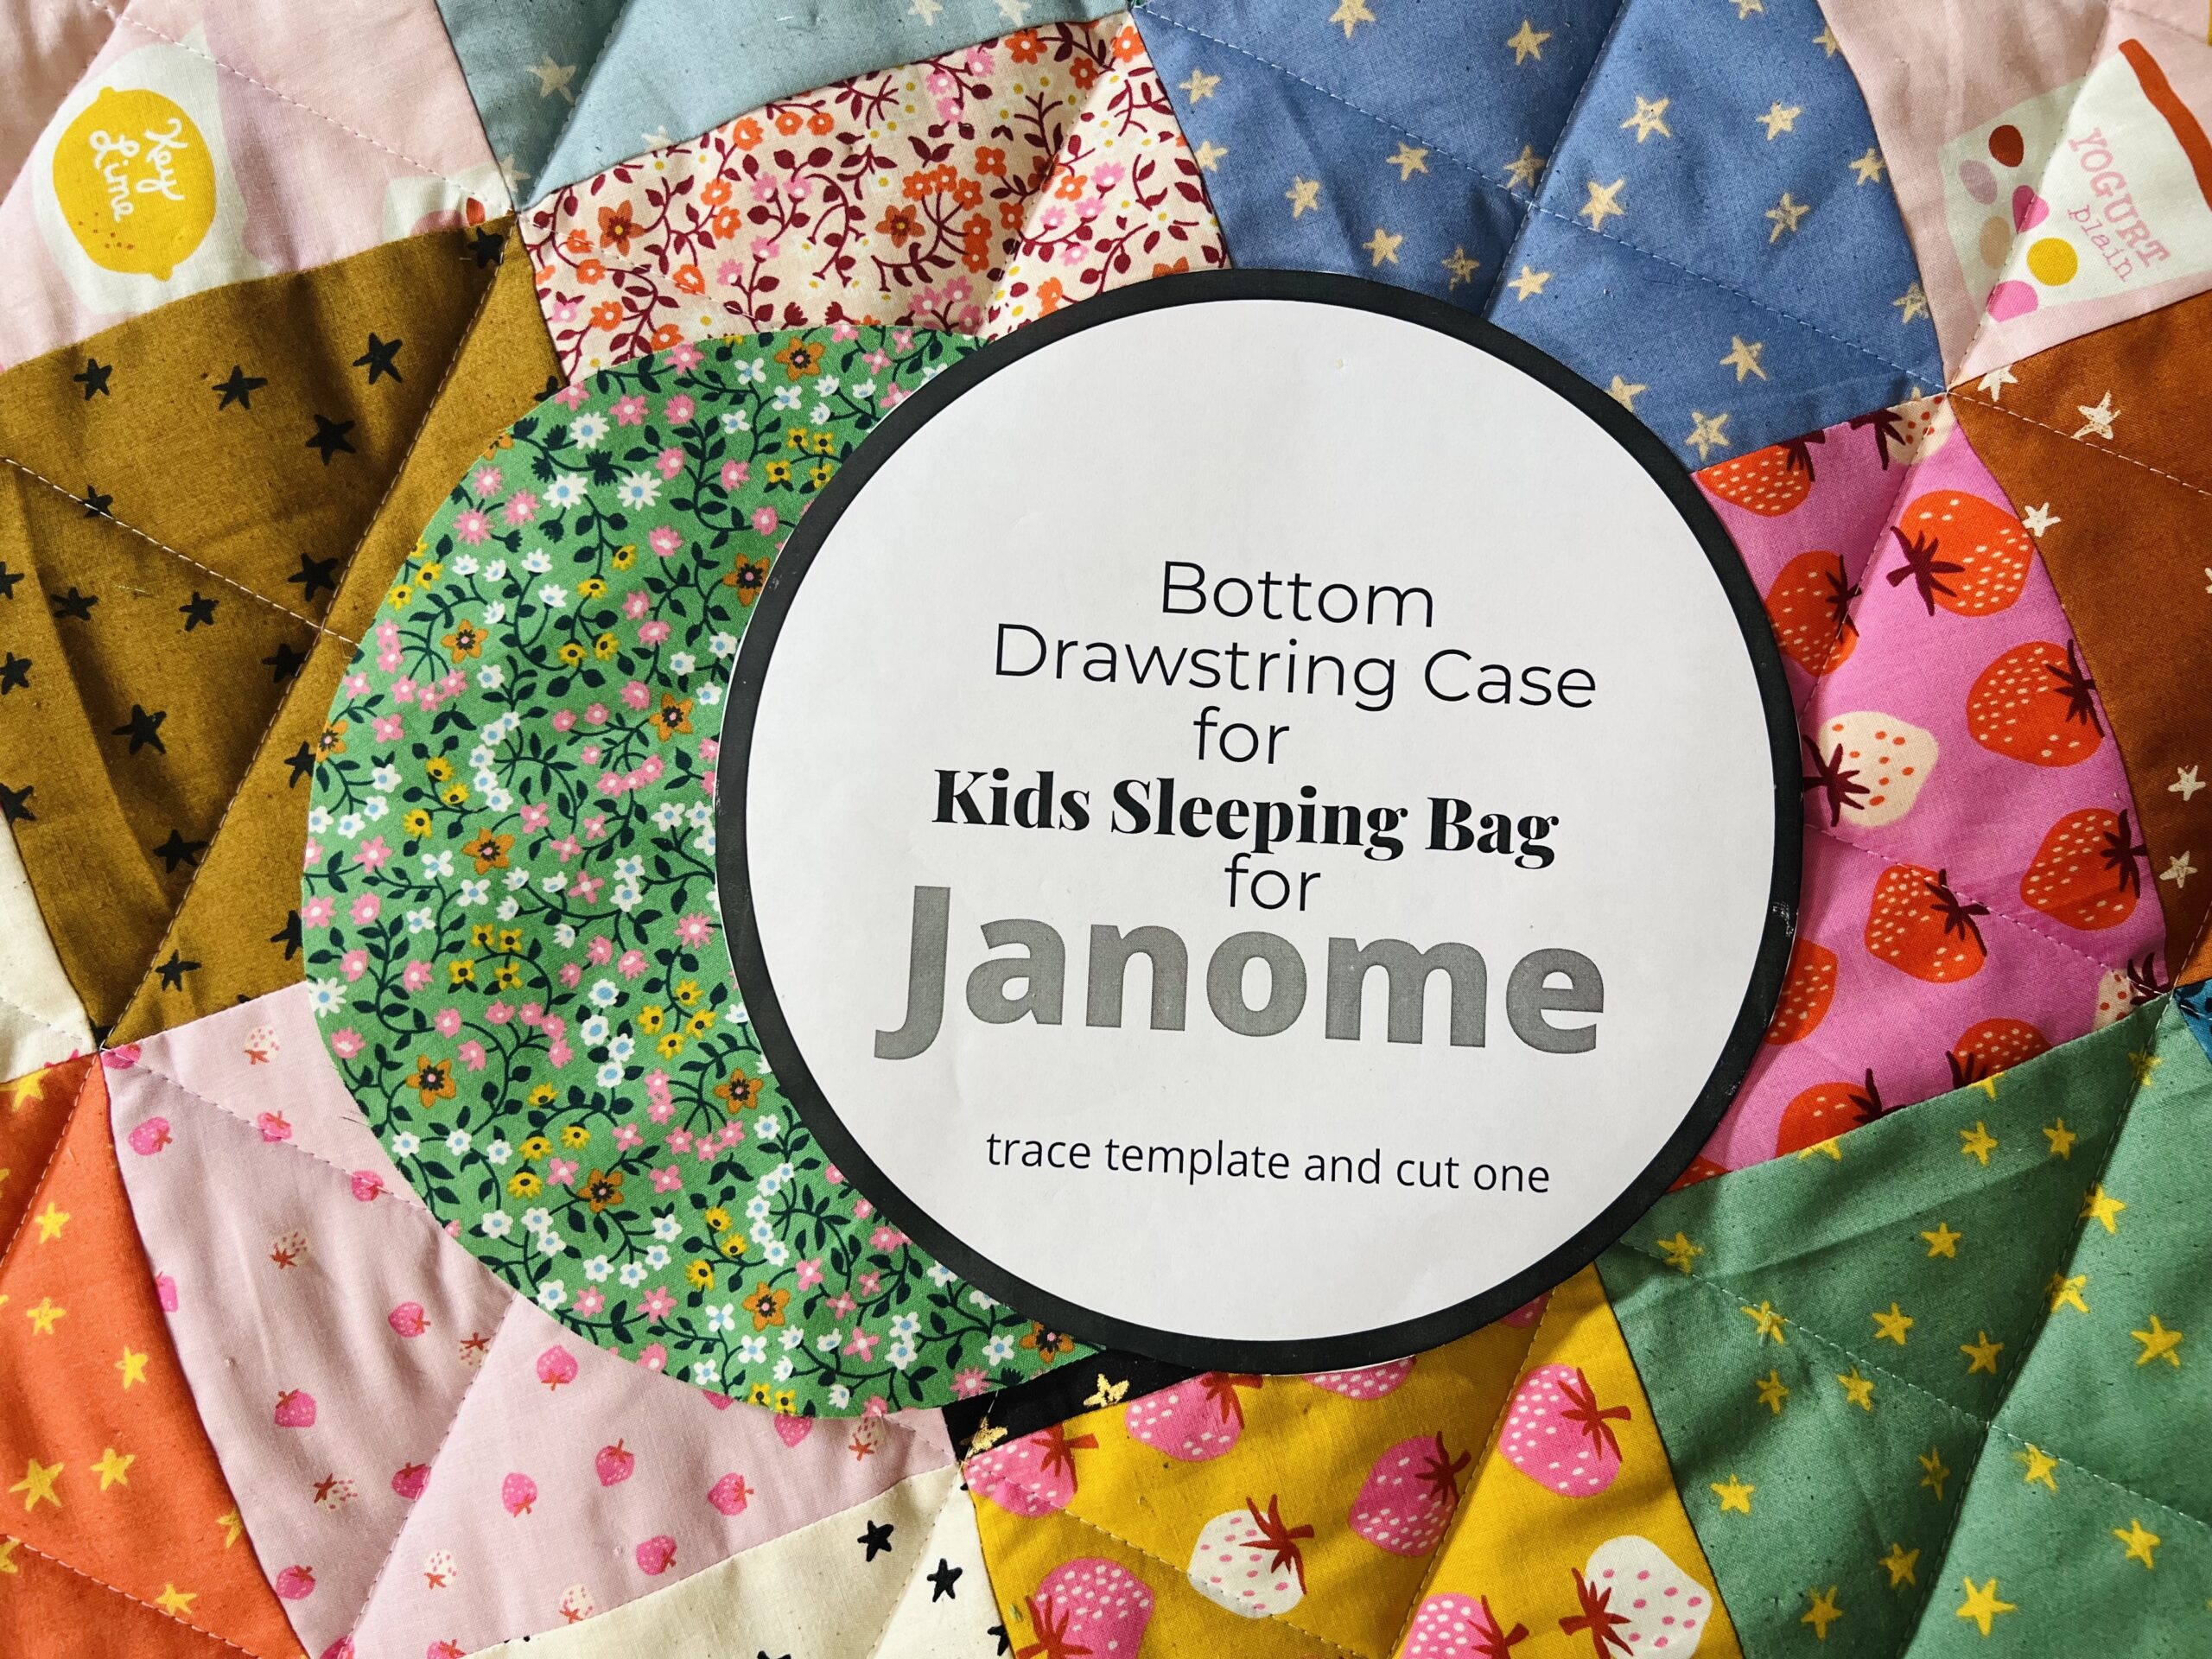 Fold rectangle of fabric right sides together along 17" short sides. Stitch along the side for 15" using a 1/4" seam allowance. Backstitch. Press seam open along whole side.
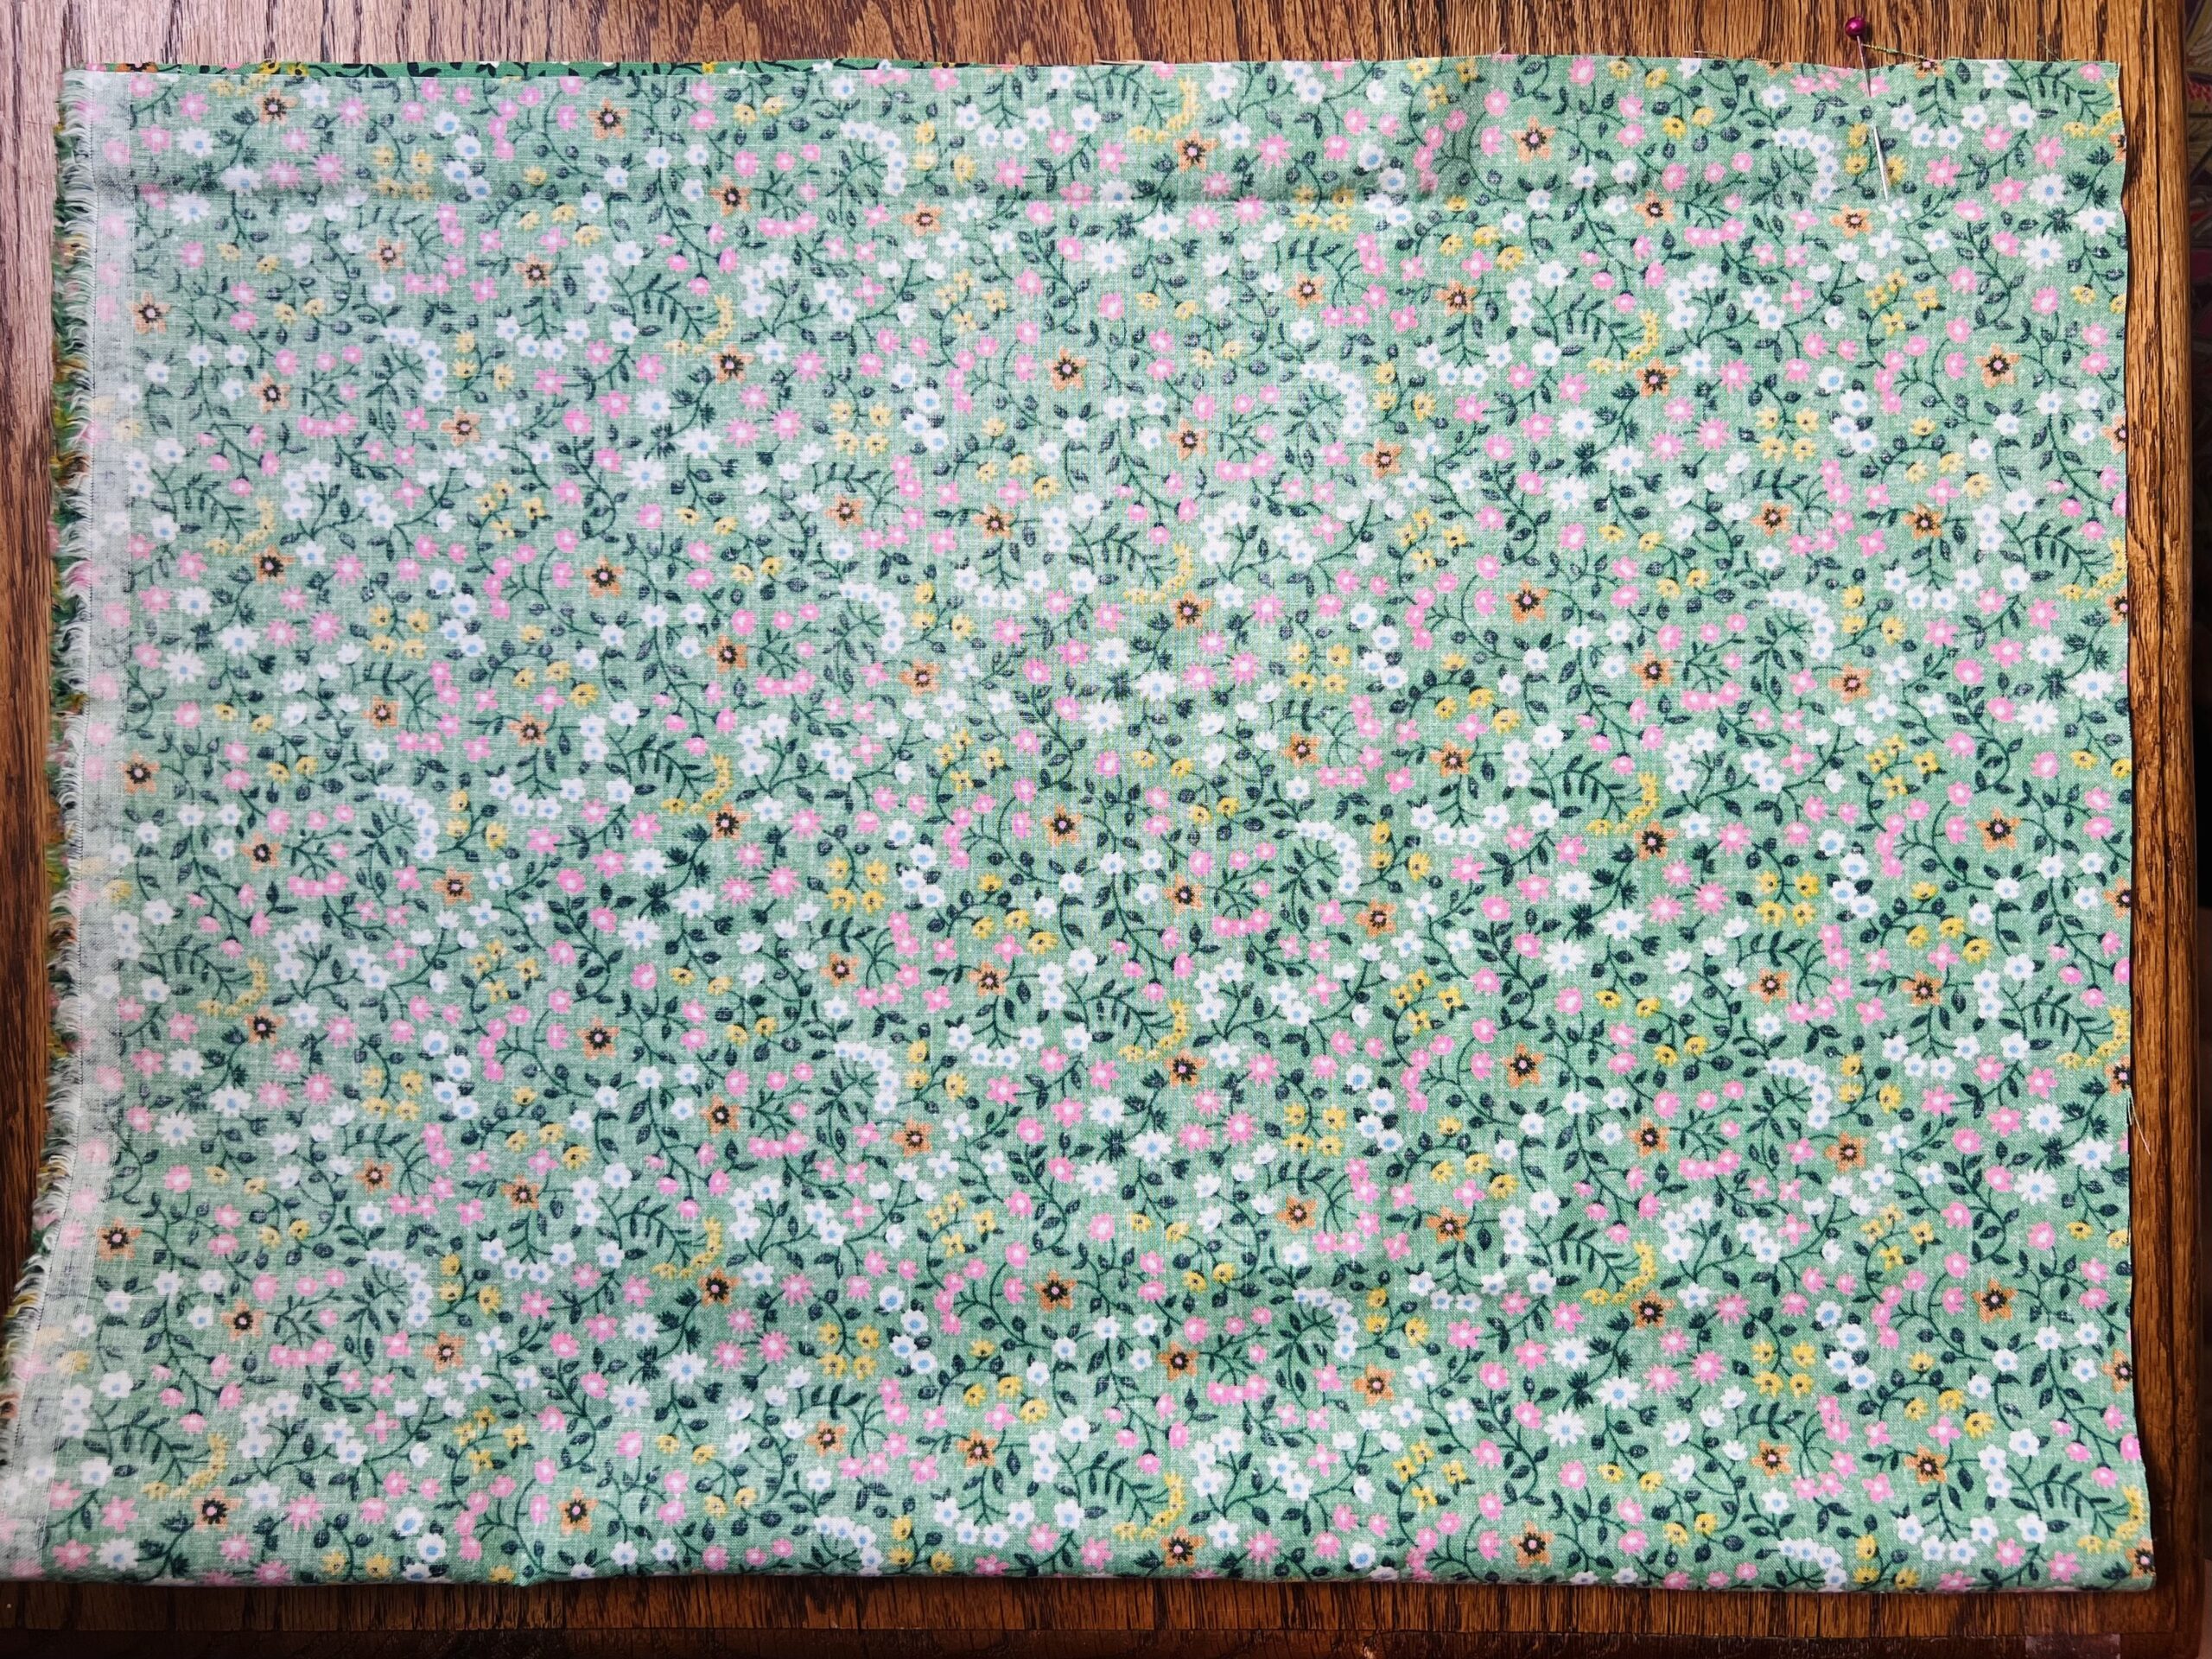
 Finish the raw edge of the top (the end that is open) with a serger, zig zag stitch, or pinking shears. Fold down by 1", and stitch down using a 3/4" seam allowance, backstitch at both ends.
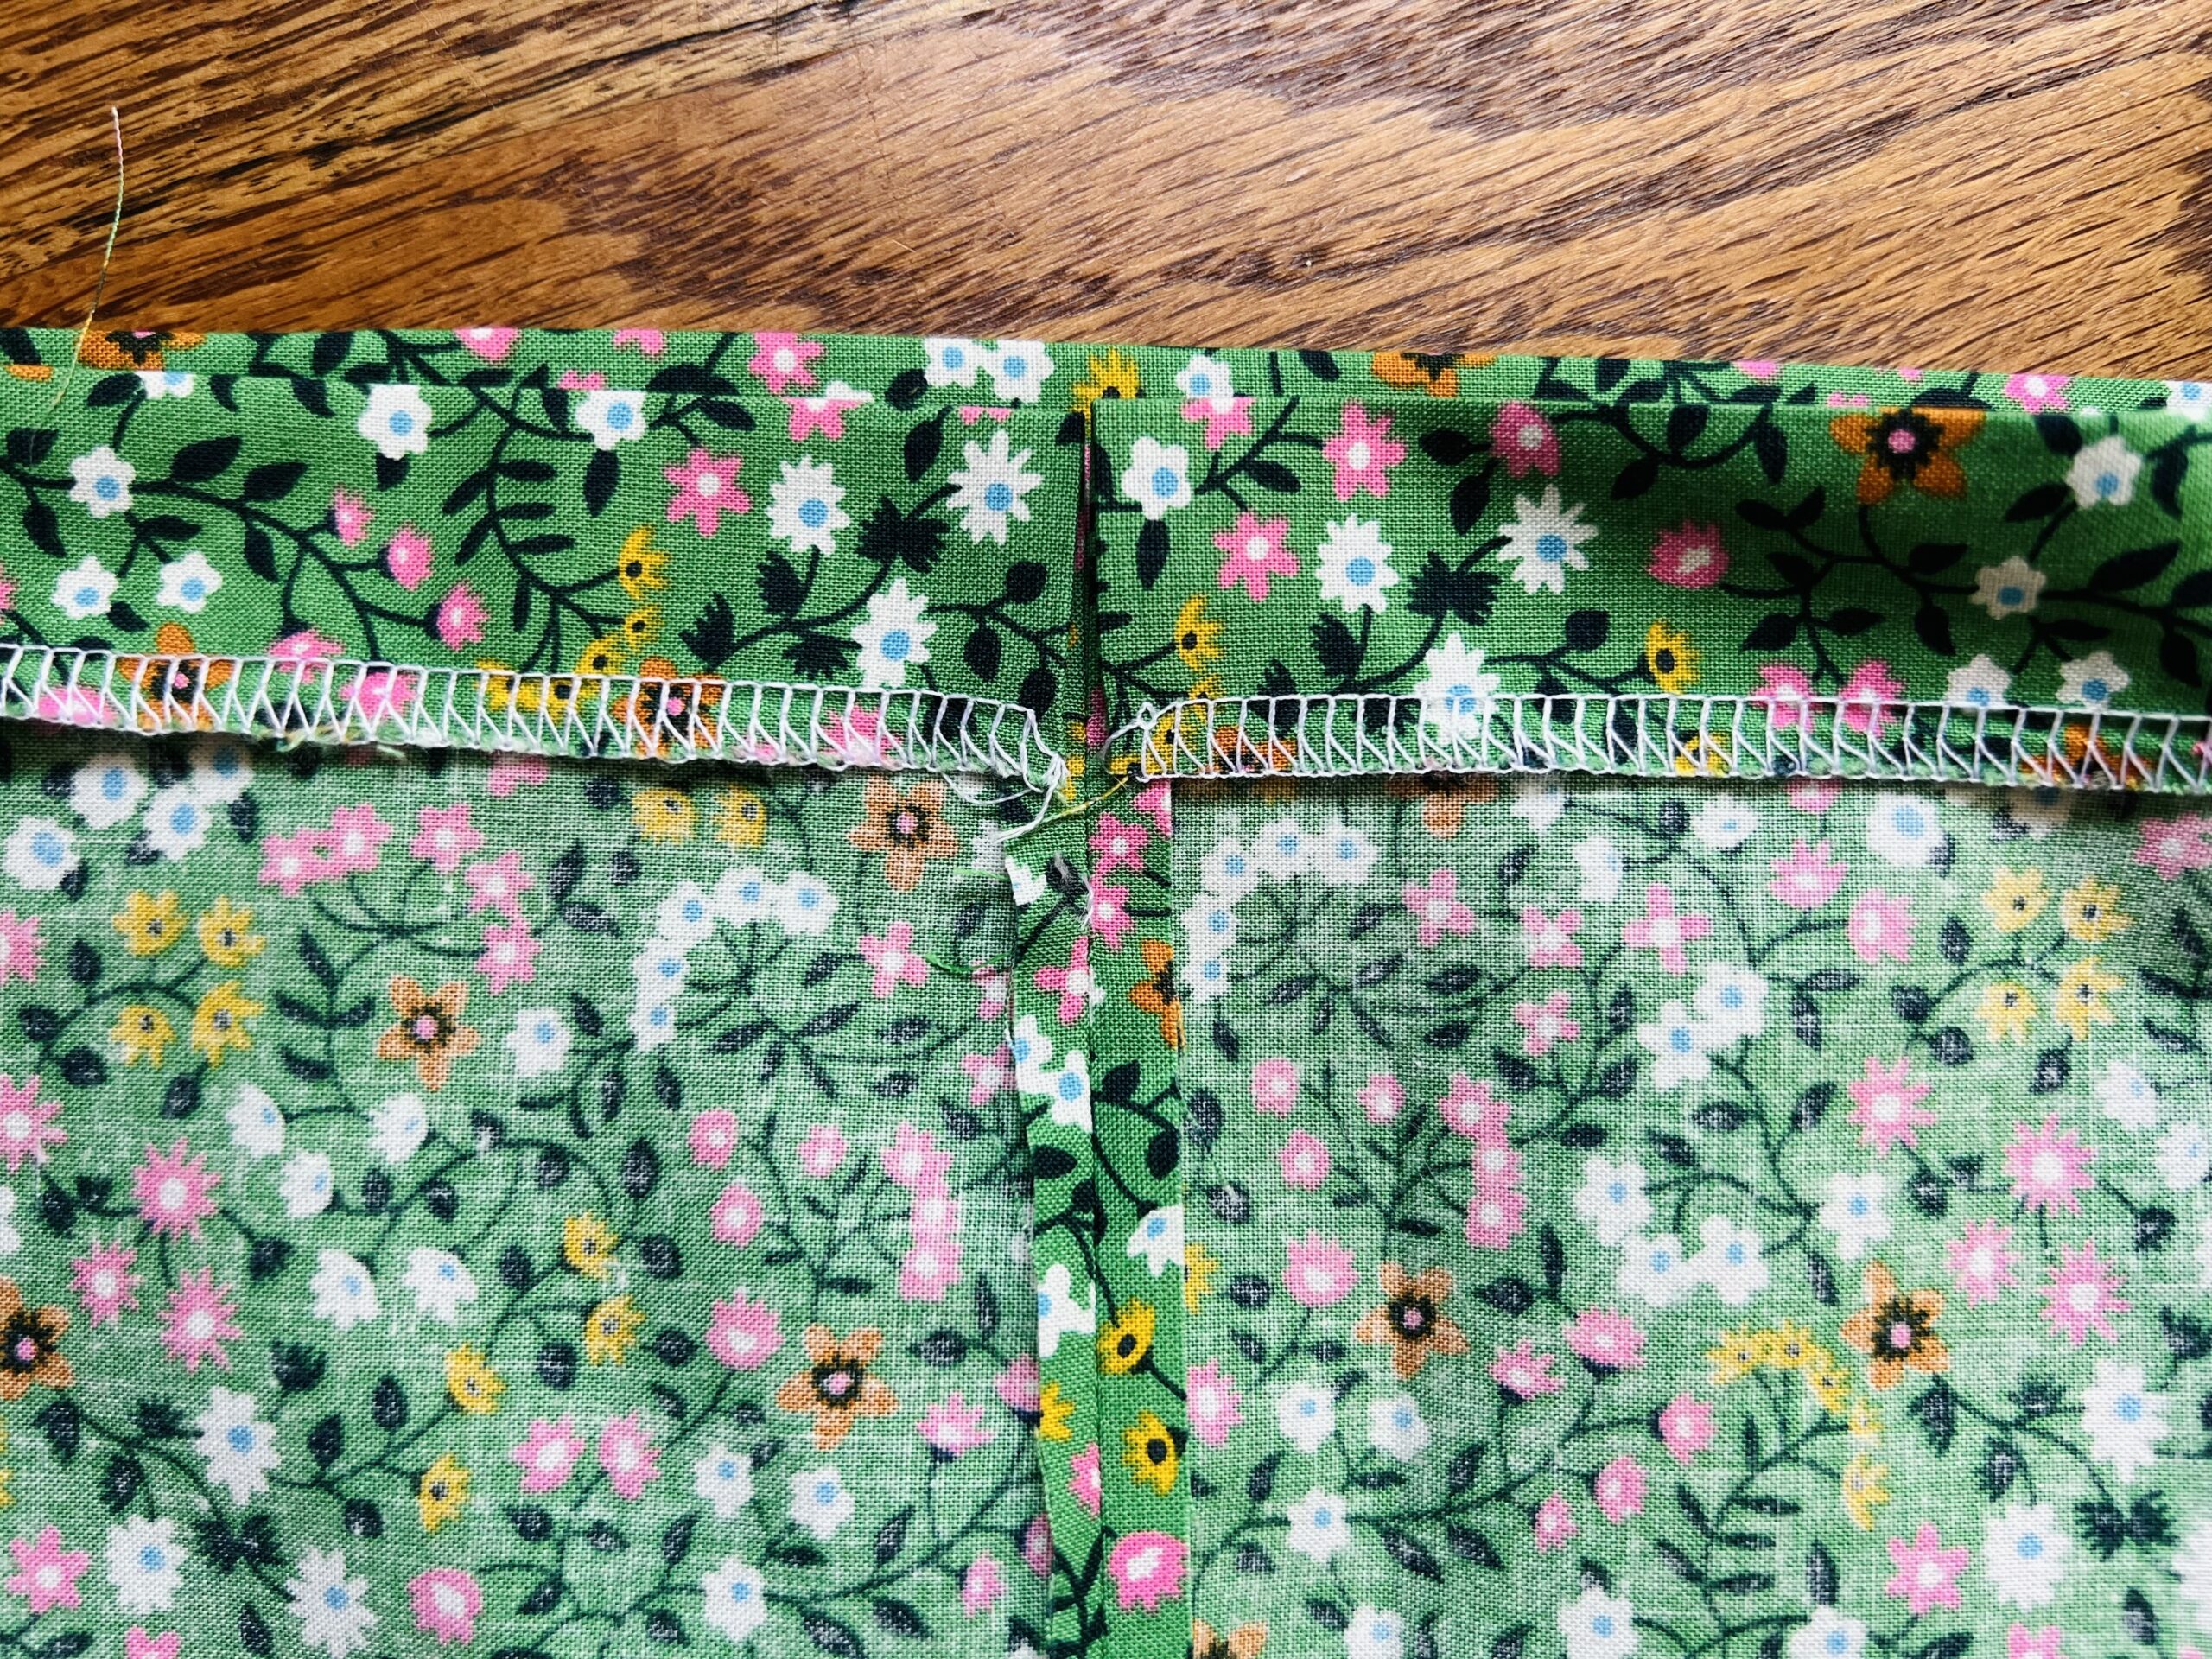
 Place bottom of bag body onto the fabric circle. Pin generously all the way around, then use a 1/4" seam allowance to stitch all the way around. Finish the seam using your desired method.
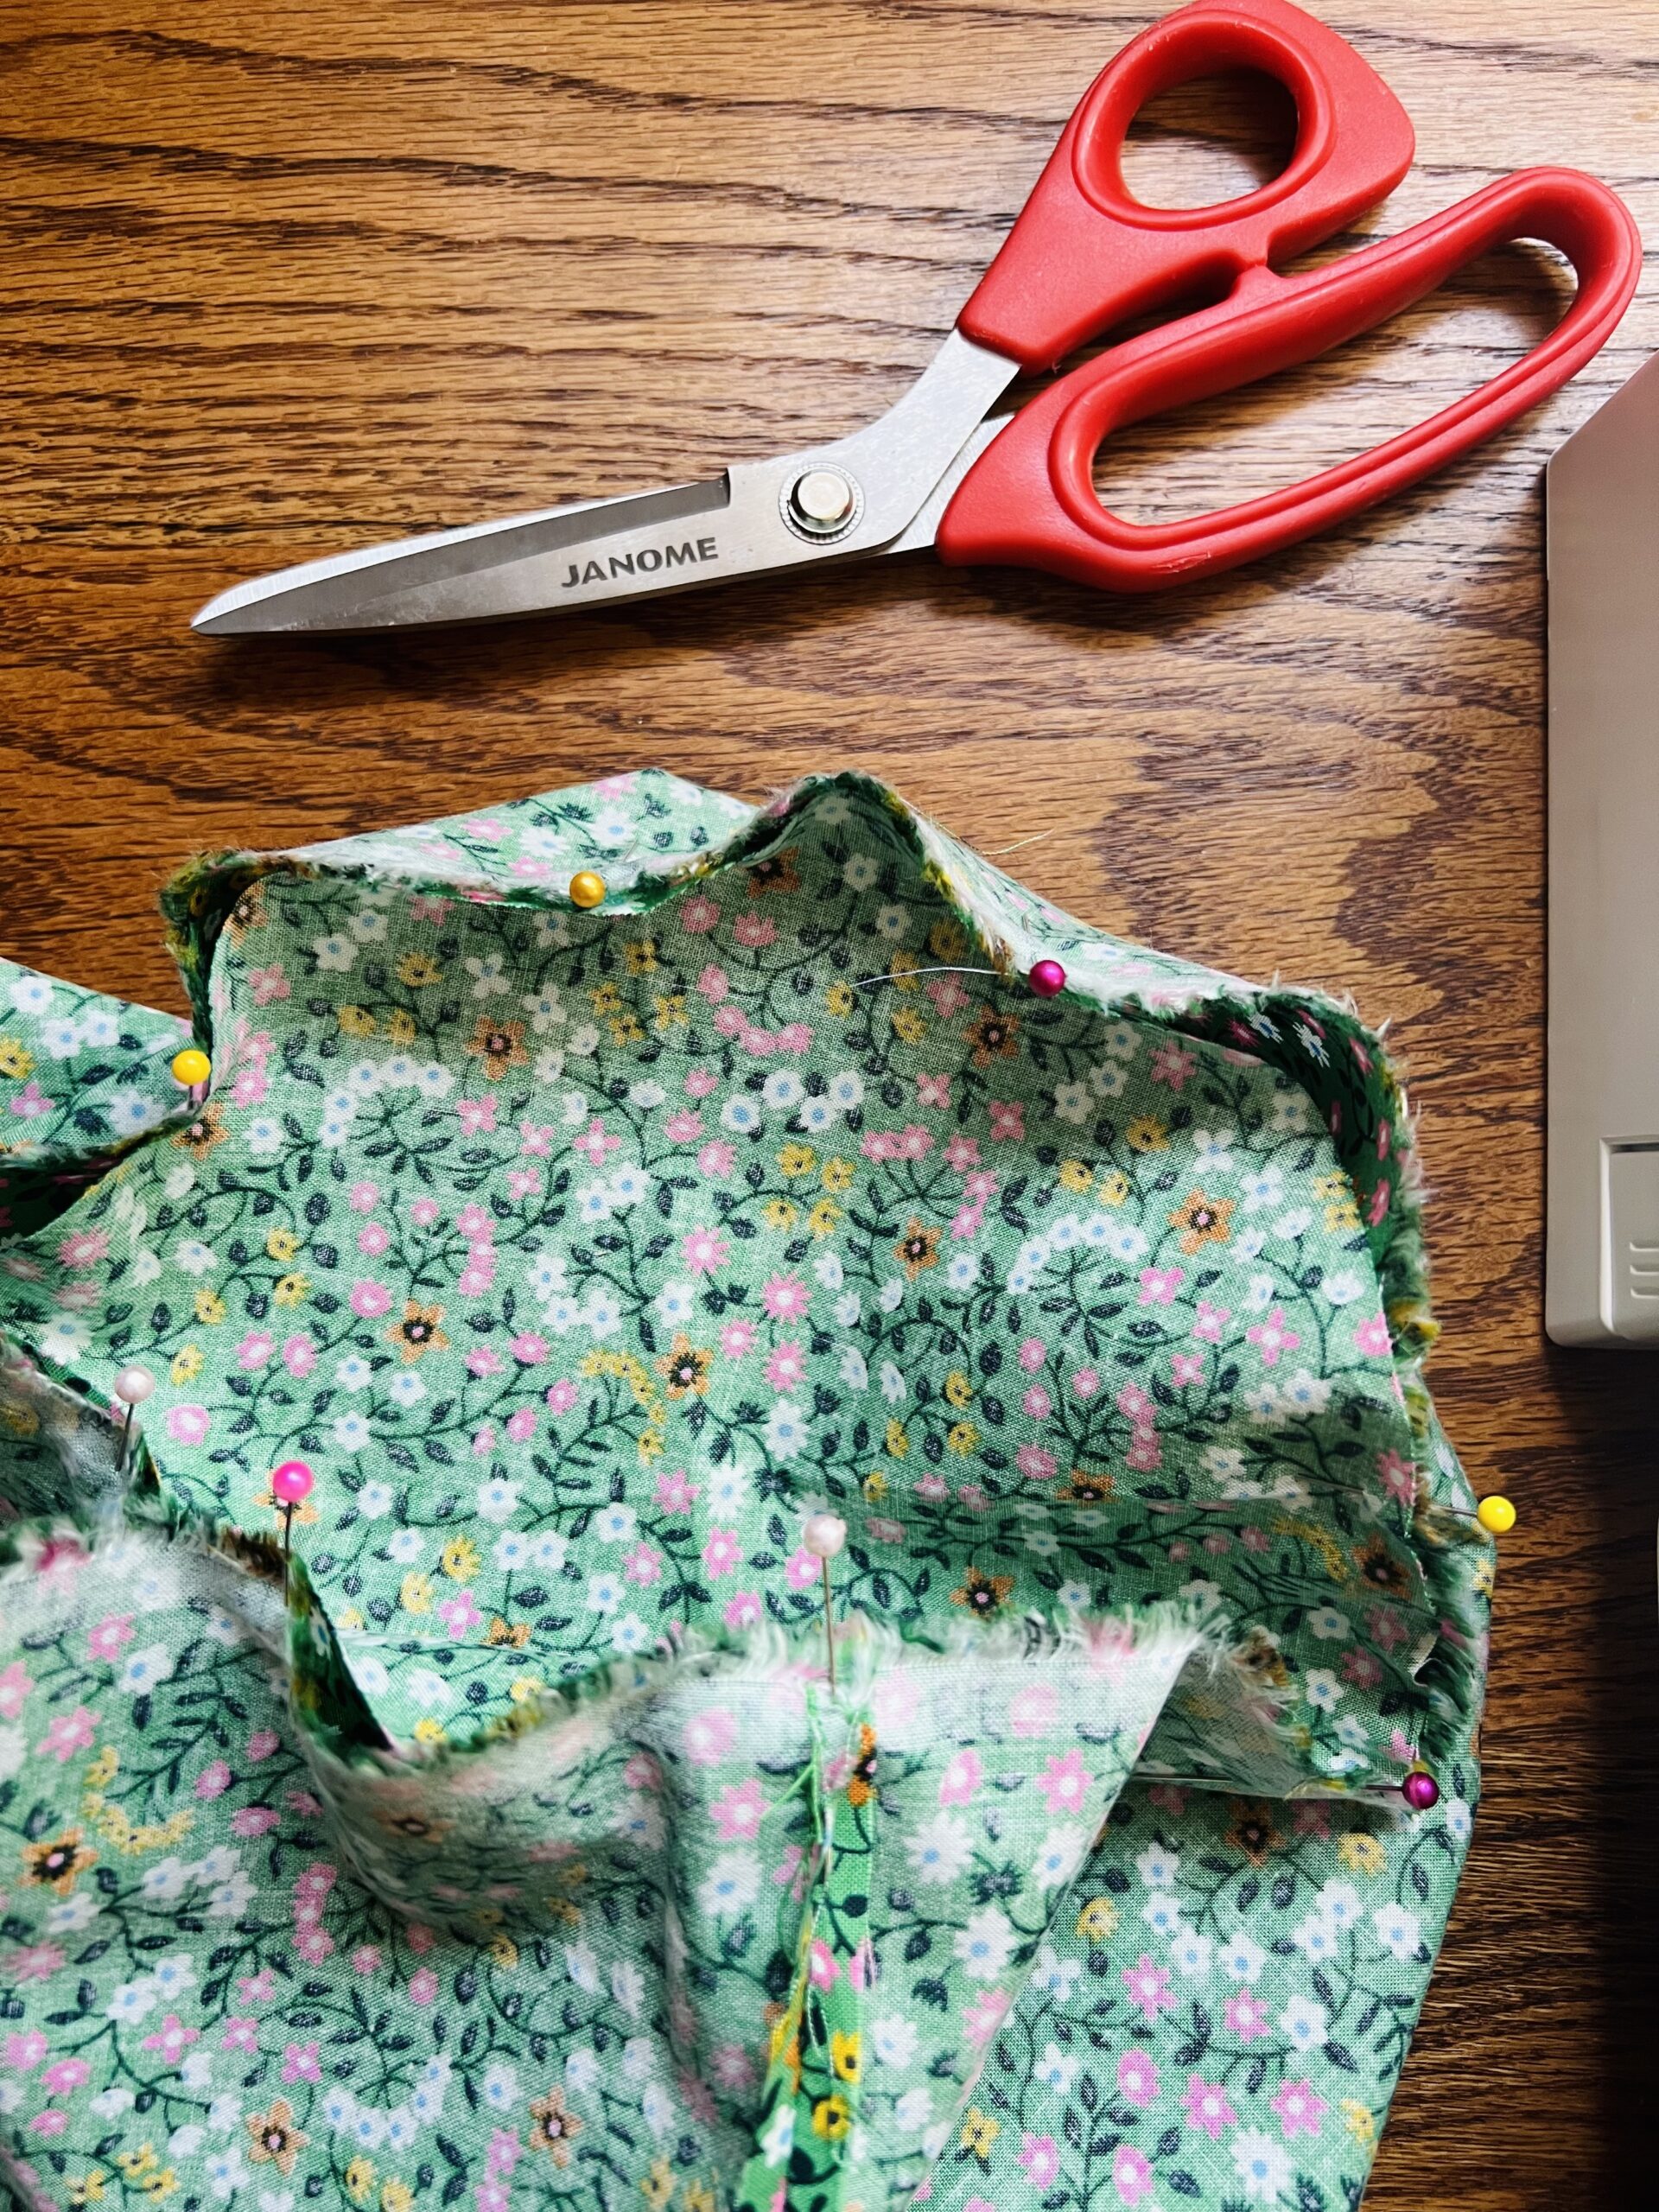
 Turn right side out. Cut 30" of ribbon for drawstring. Use a safety pin to pull all the way through channel at top of bag.
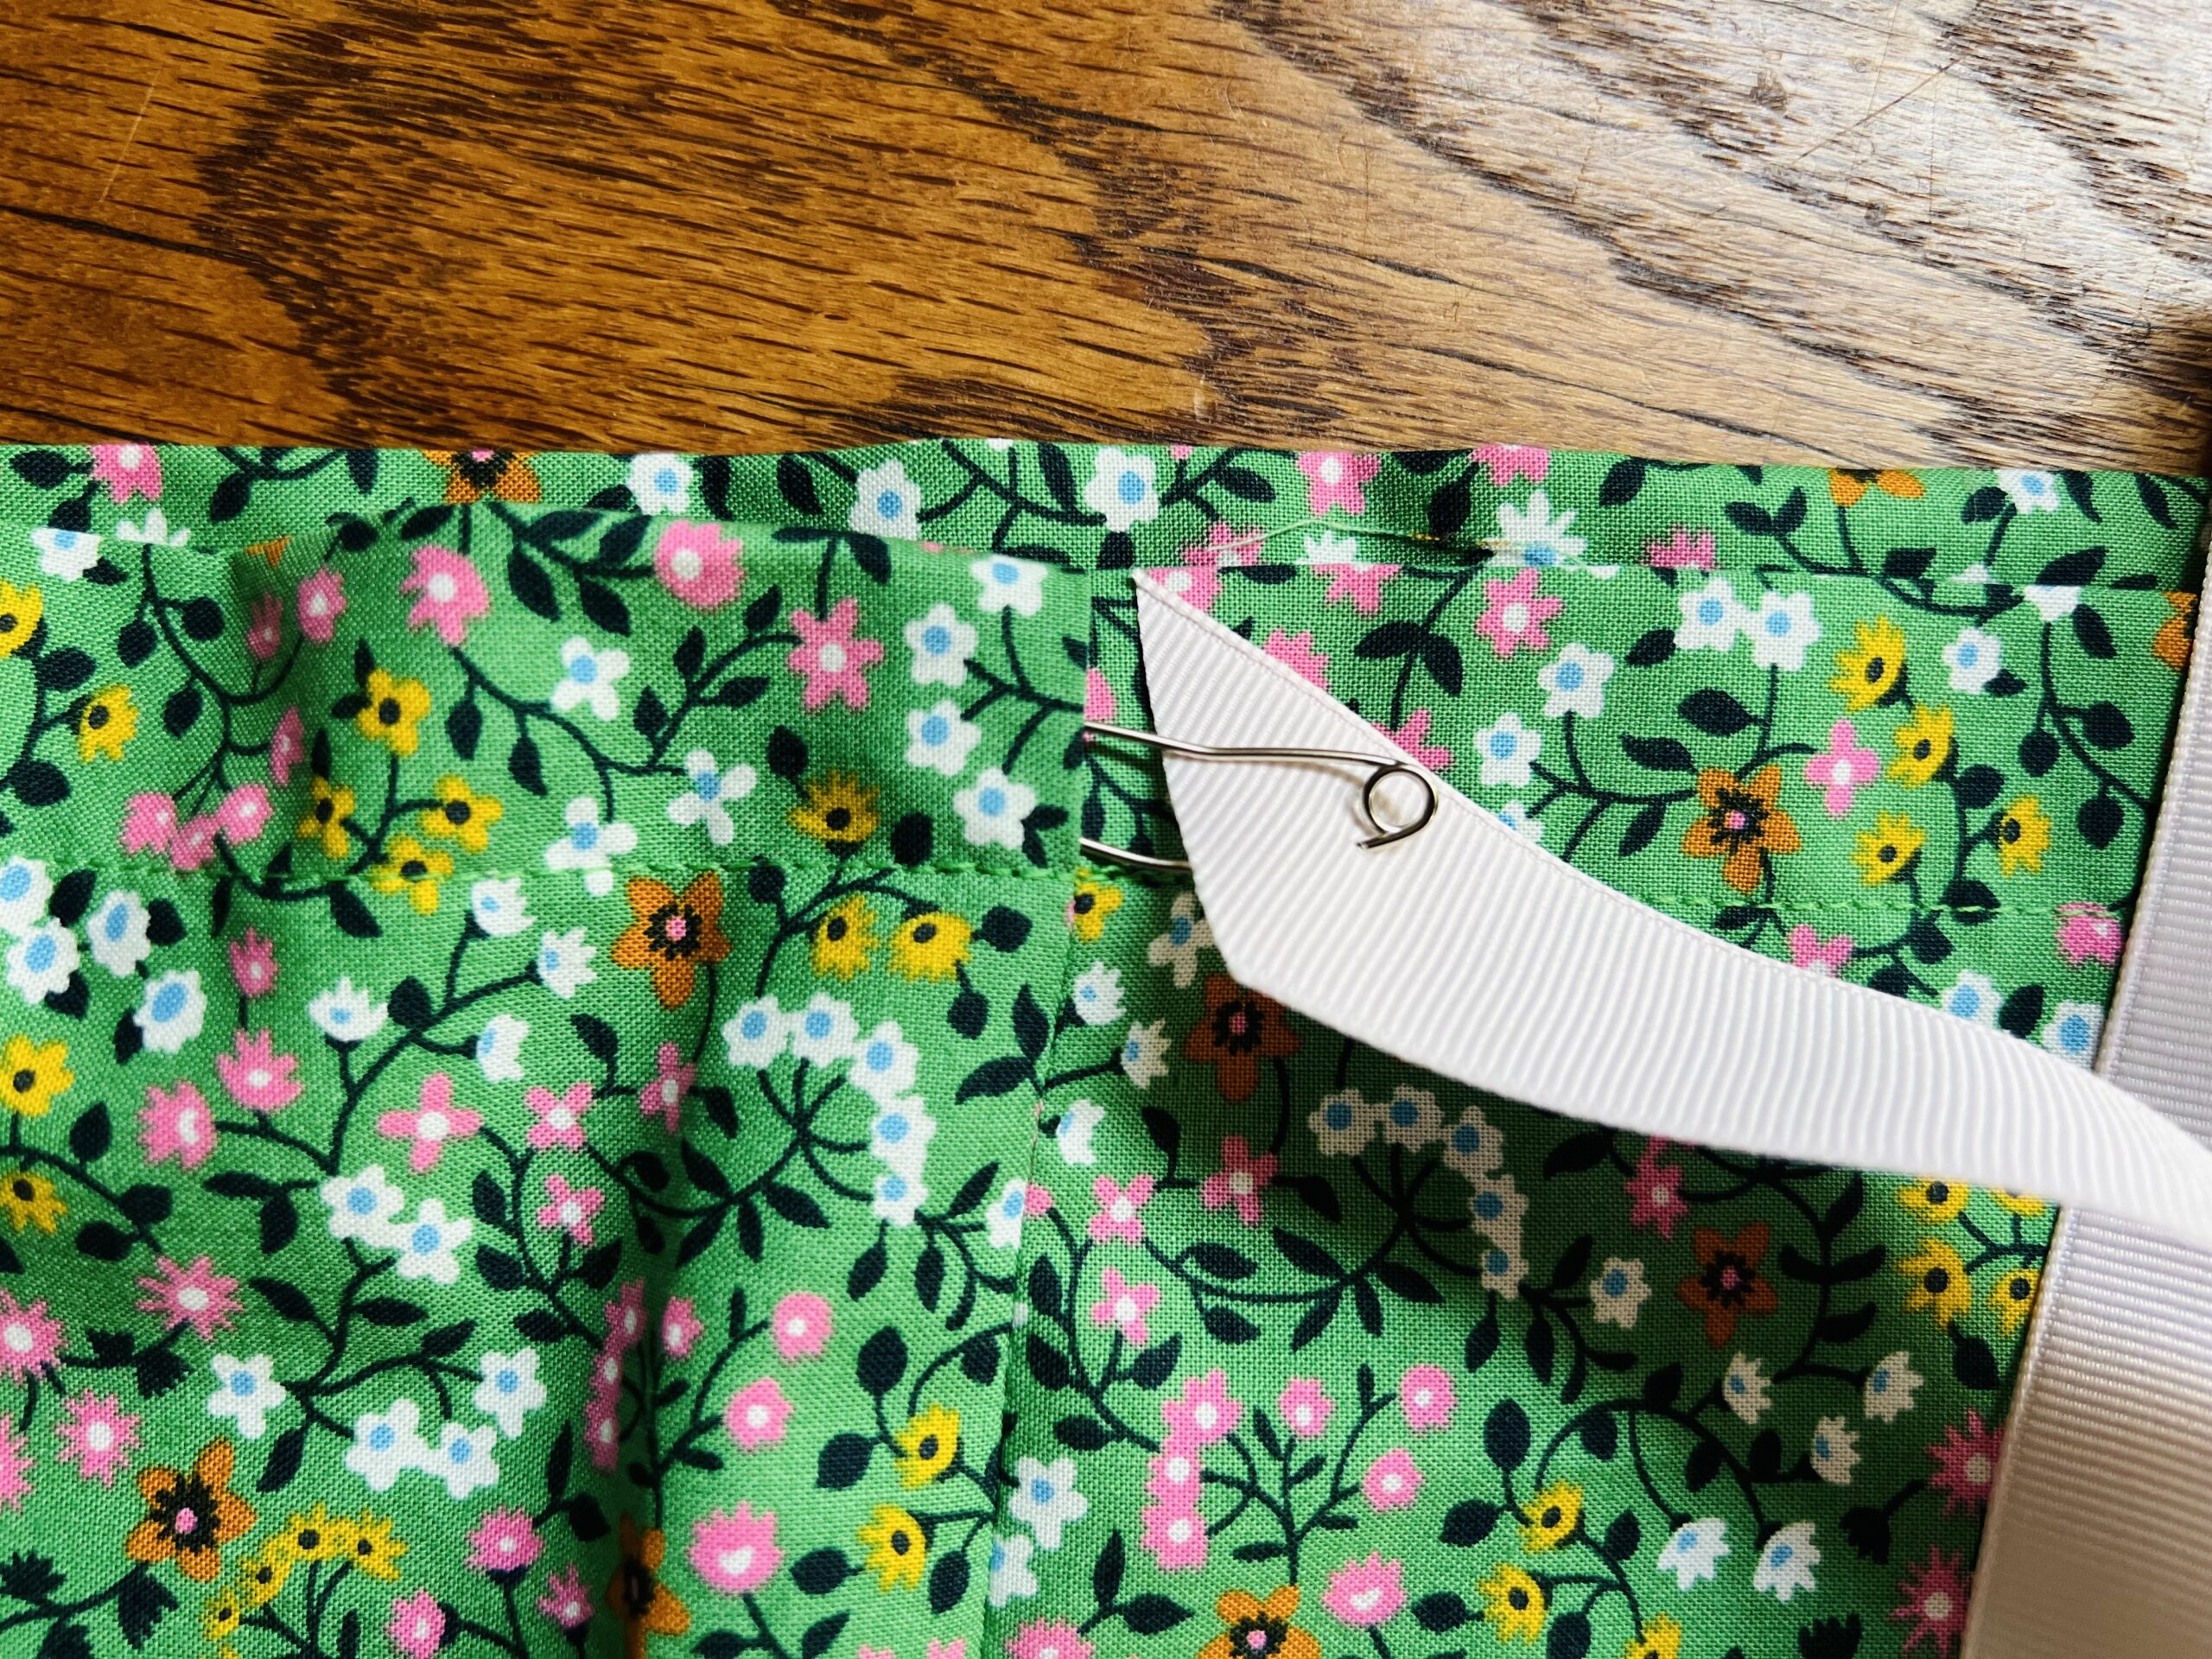 Tie securely. Insert your rolled sleeping bag.
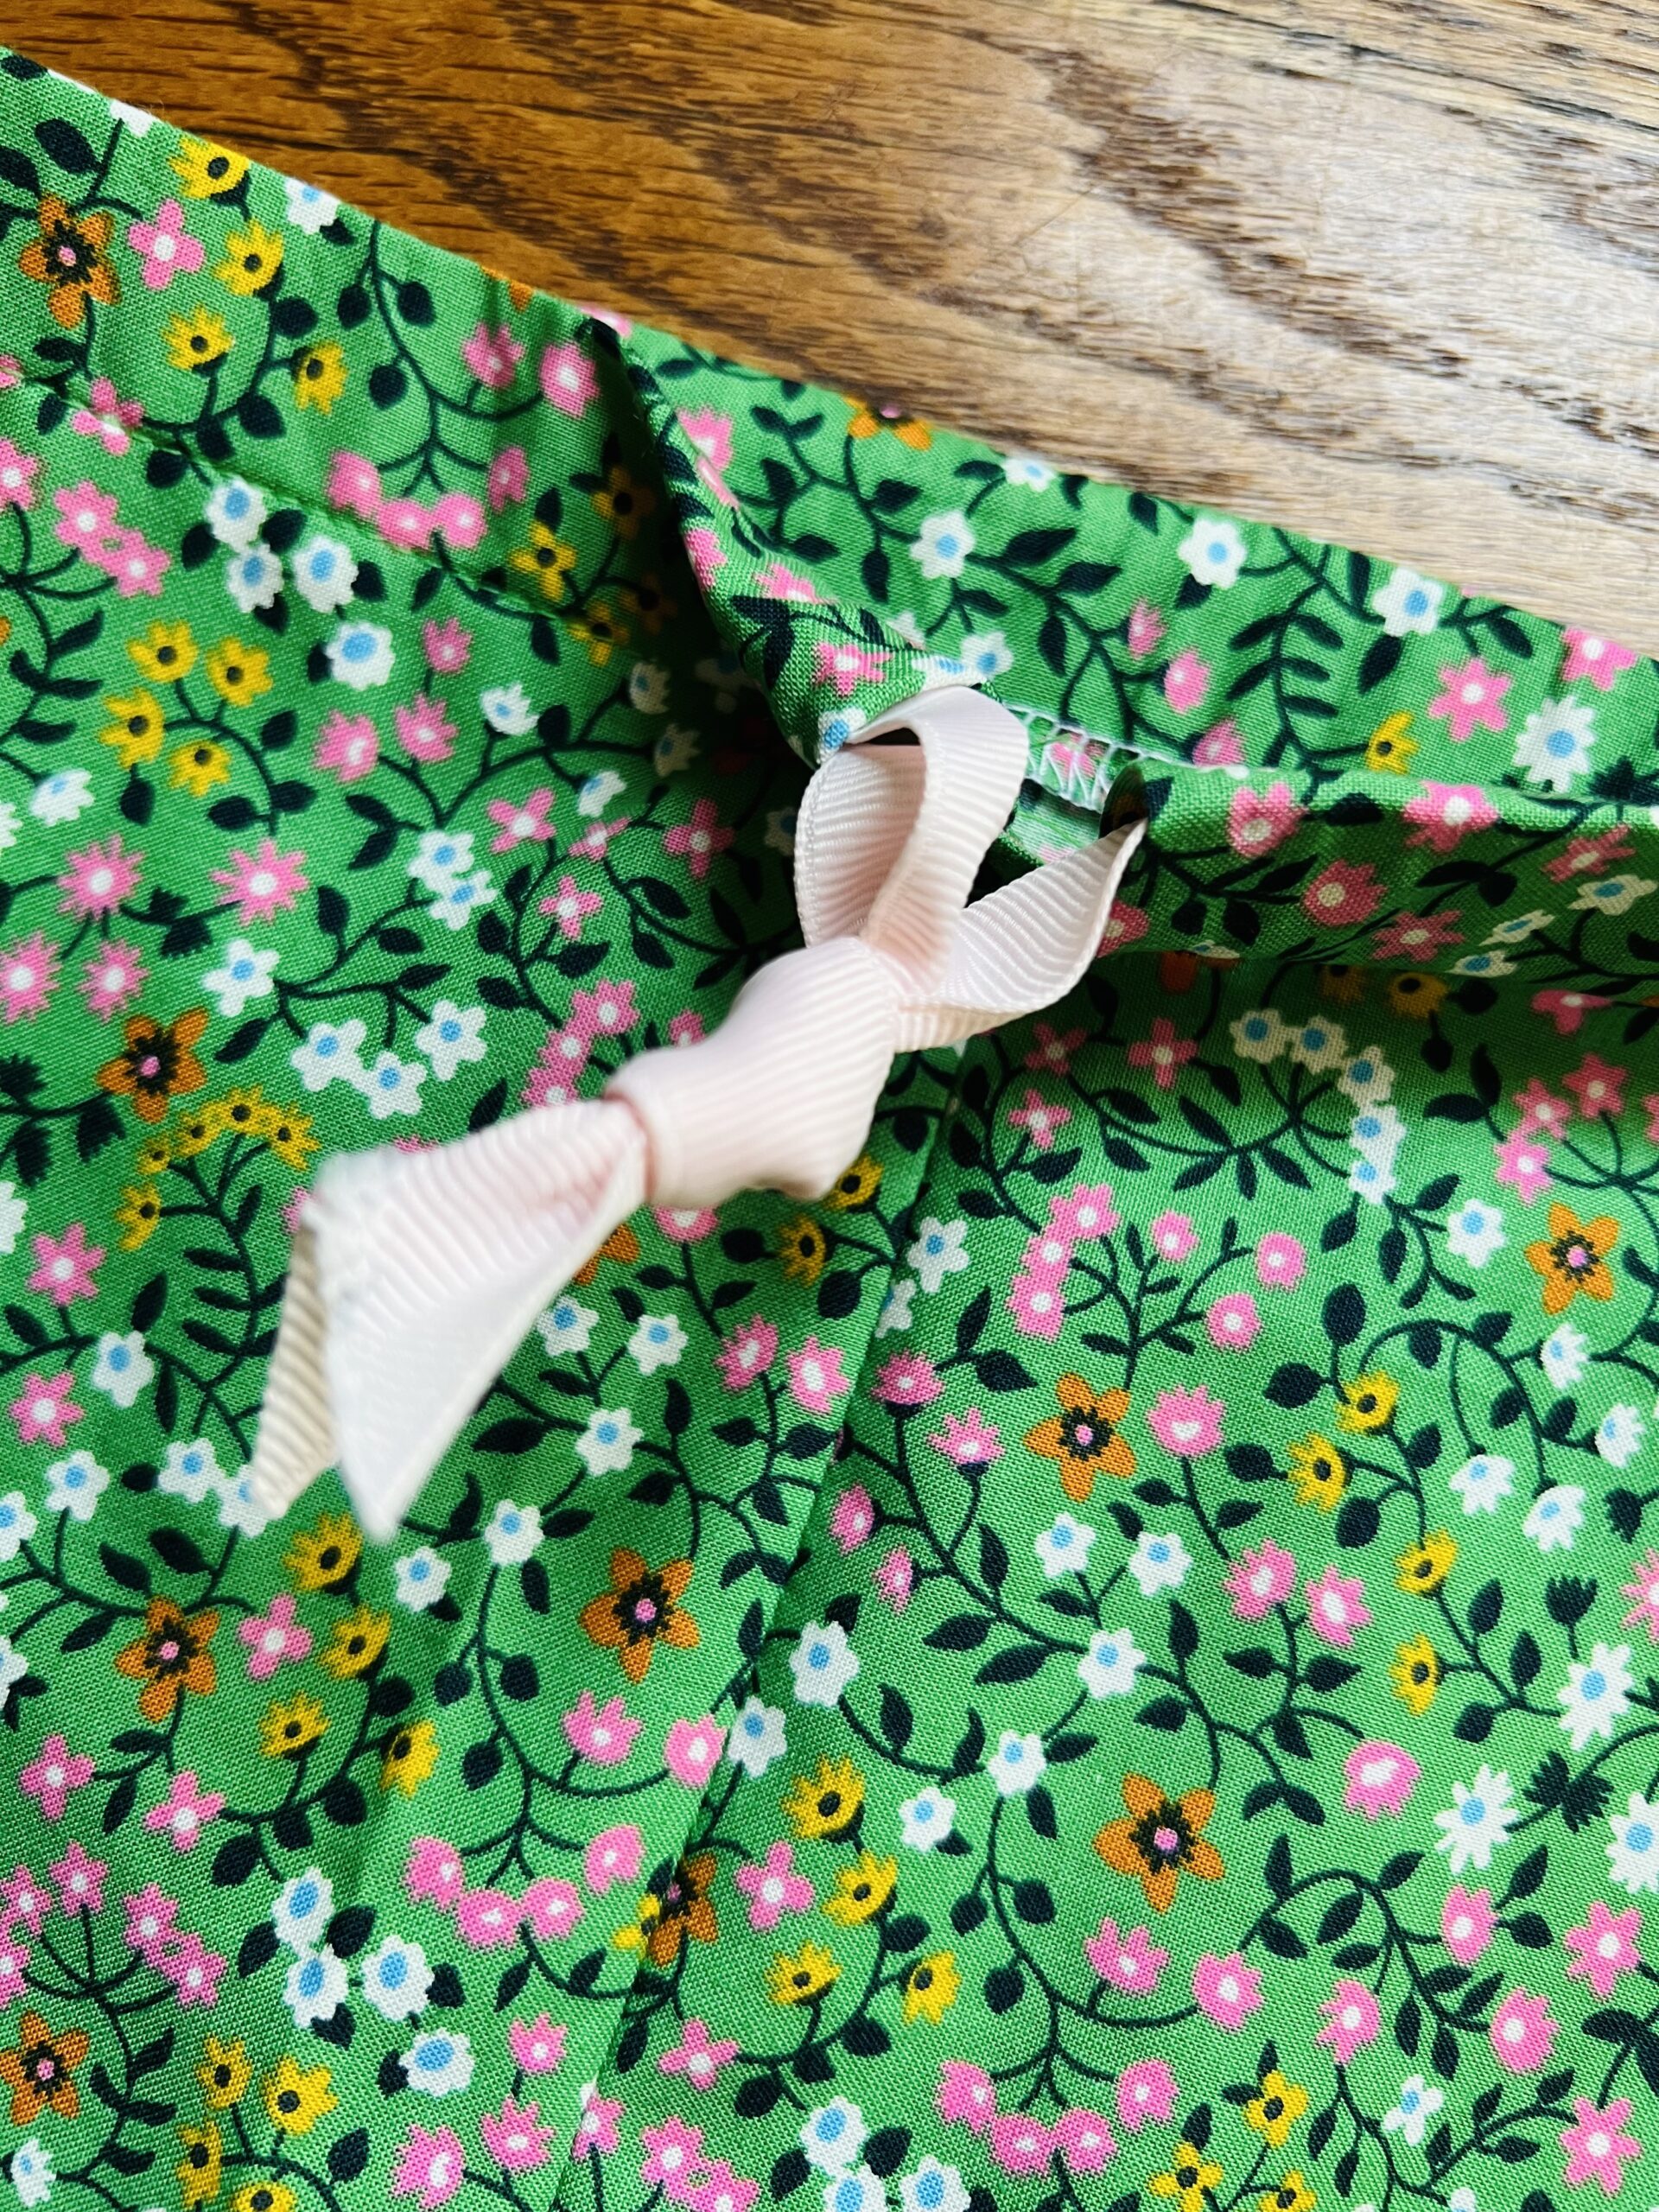
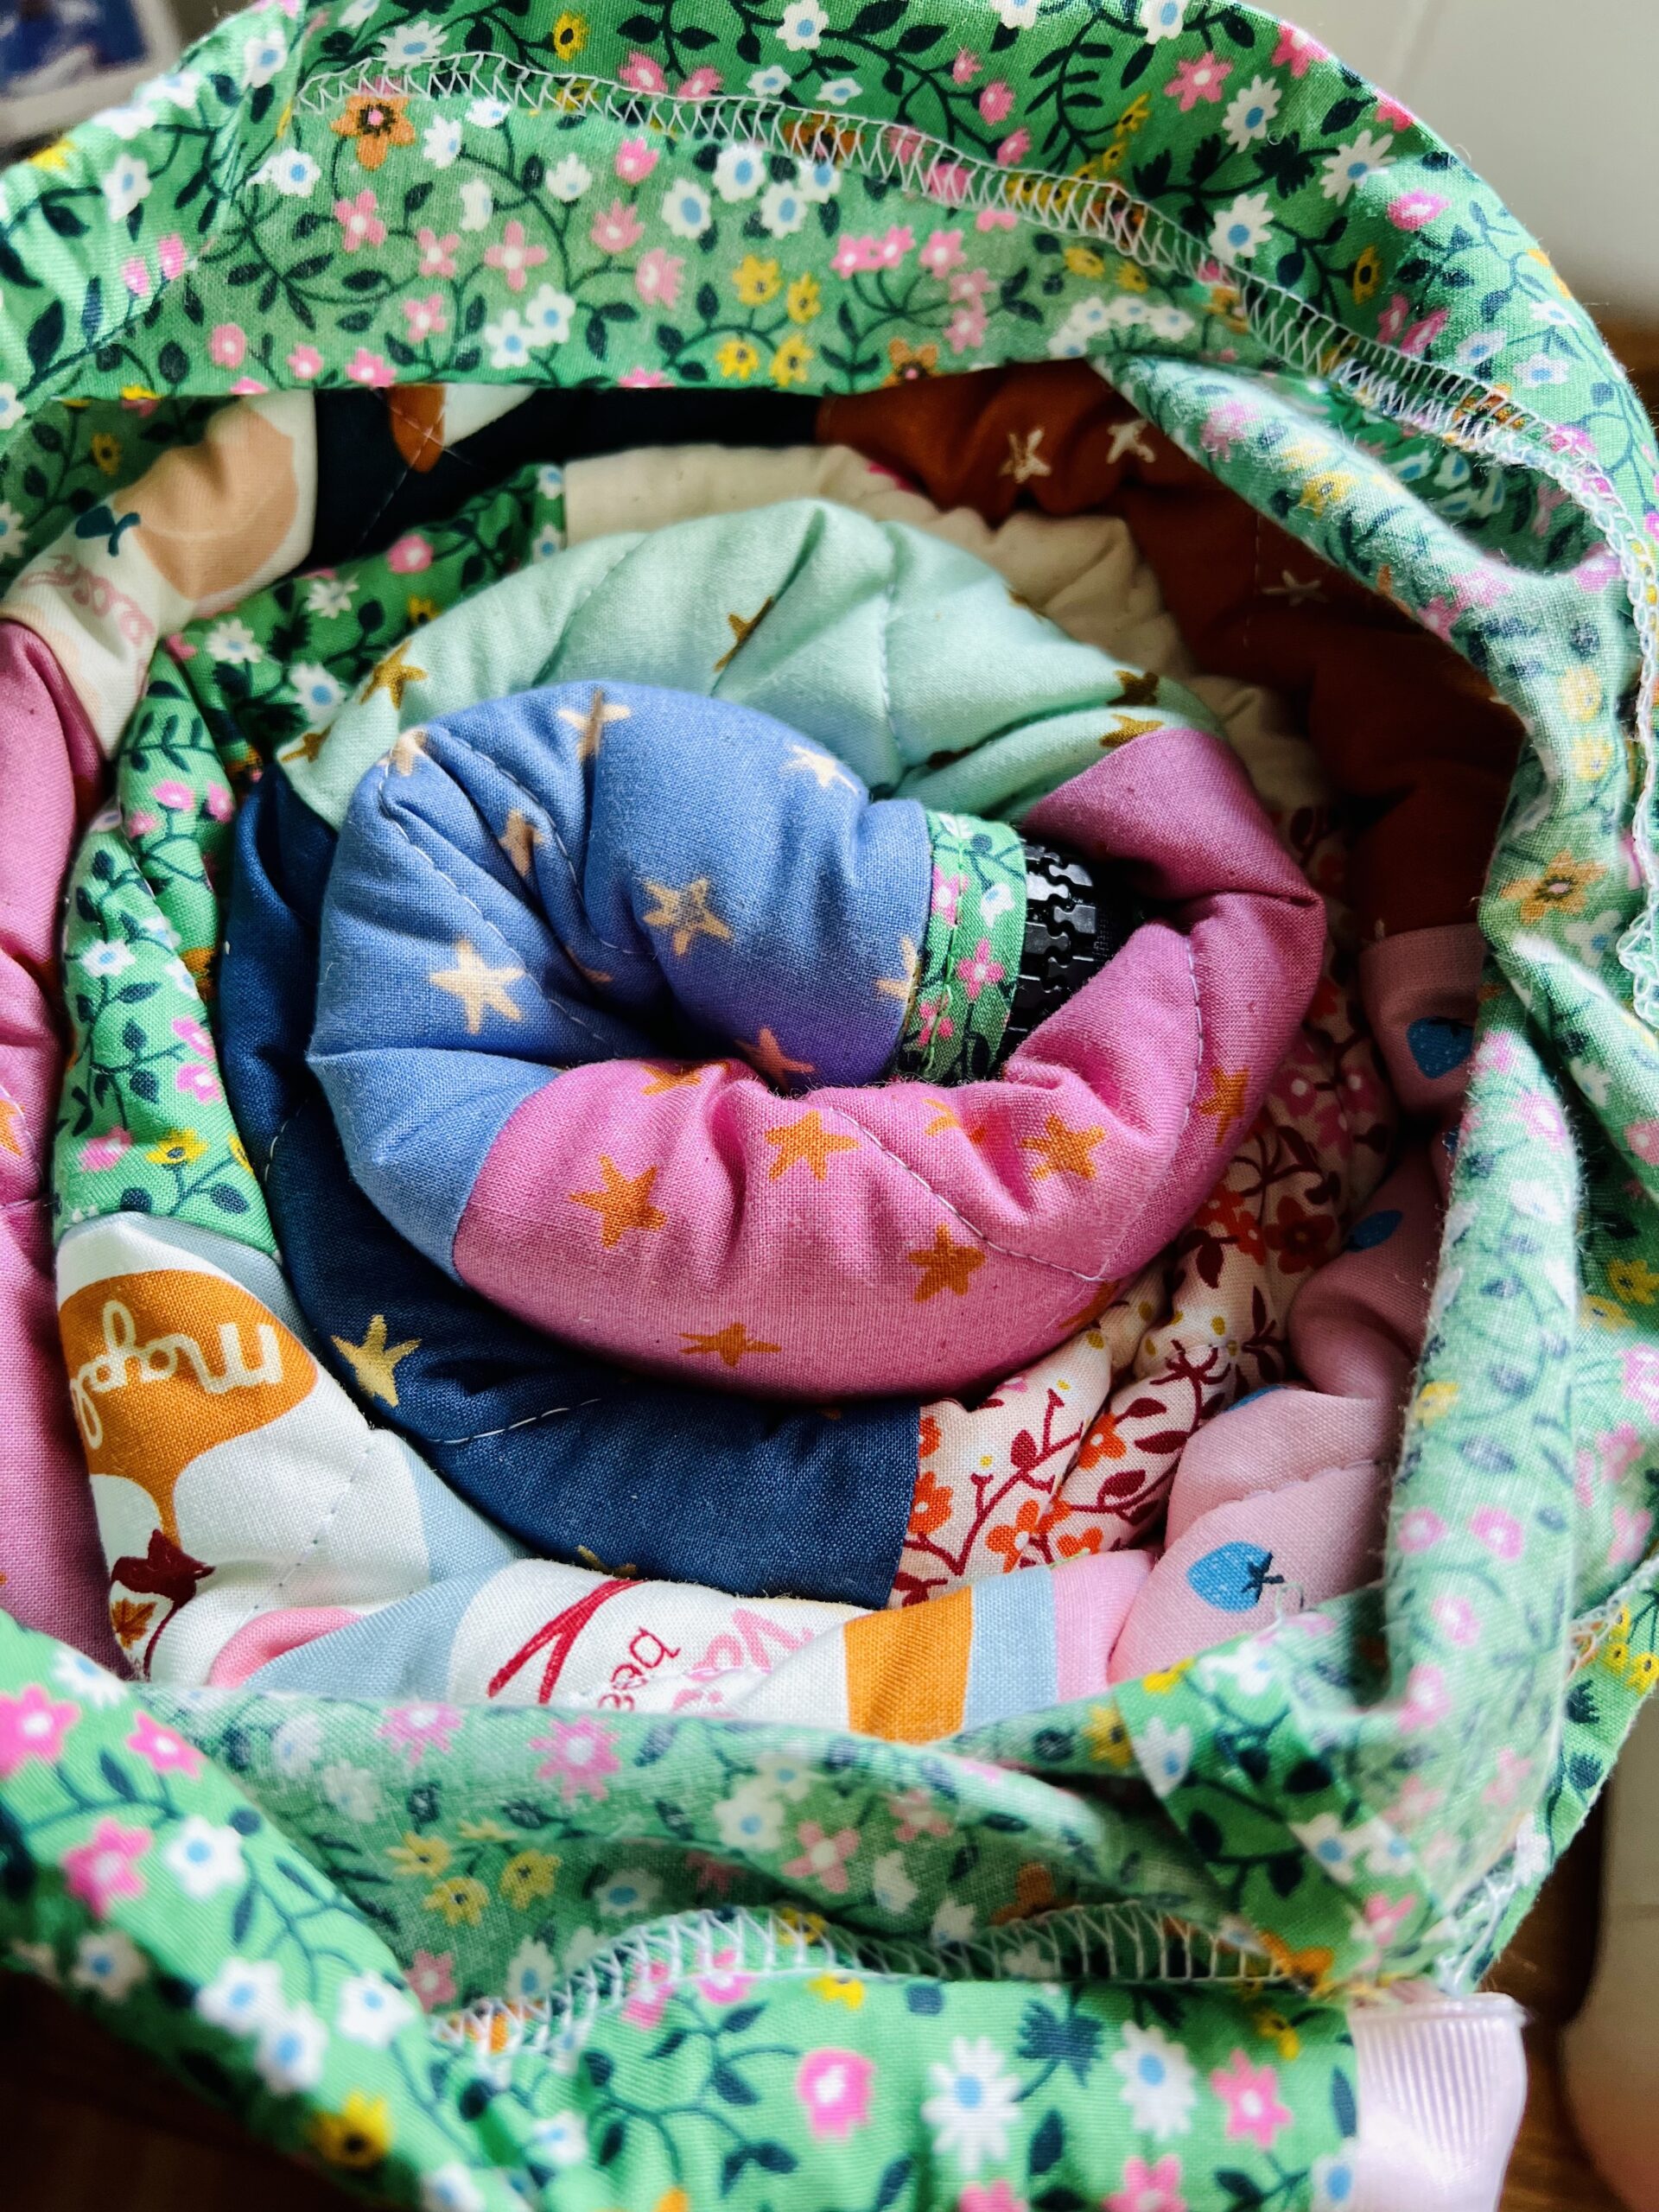 et voila! You have done it! Congratulations on making the prettiest sleeping bag ever!