Projects

DIY Circle Top

Created By:

Stephanie Burwell

Skill Level: Advanced

Is it Spring yet!? There is no better time of year than now to create a DIY wardrobe. The warming up of the weather permits for soft layering, shorter sleeves, and the storage of those go to sweats. As I daydream about the wardrobe I want to create, this quick and easy DIY is first on my list.

In essence this top raises the hem of a standard Circle skirt to the waist line and adds a set of tie straps for the shoulder. If you are still interested in how to make this top, keep scrolling down and let’s sew your next wardrobe staple in preparation for Spring.


Janome Supplies Required
Fabric and Notions Required
  • Marking pen/chalk
  • Ruler
  • Calculator
  • Loop turner
  • Yardage of fabric is determined by the width of your fabric as well as how long you would like your hem to be. In this tutorial I used 2 ¼  yards of fabric that was 57” wide, for reference I am 5’5” with a bust measurement of 37.5”.
Instructions


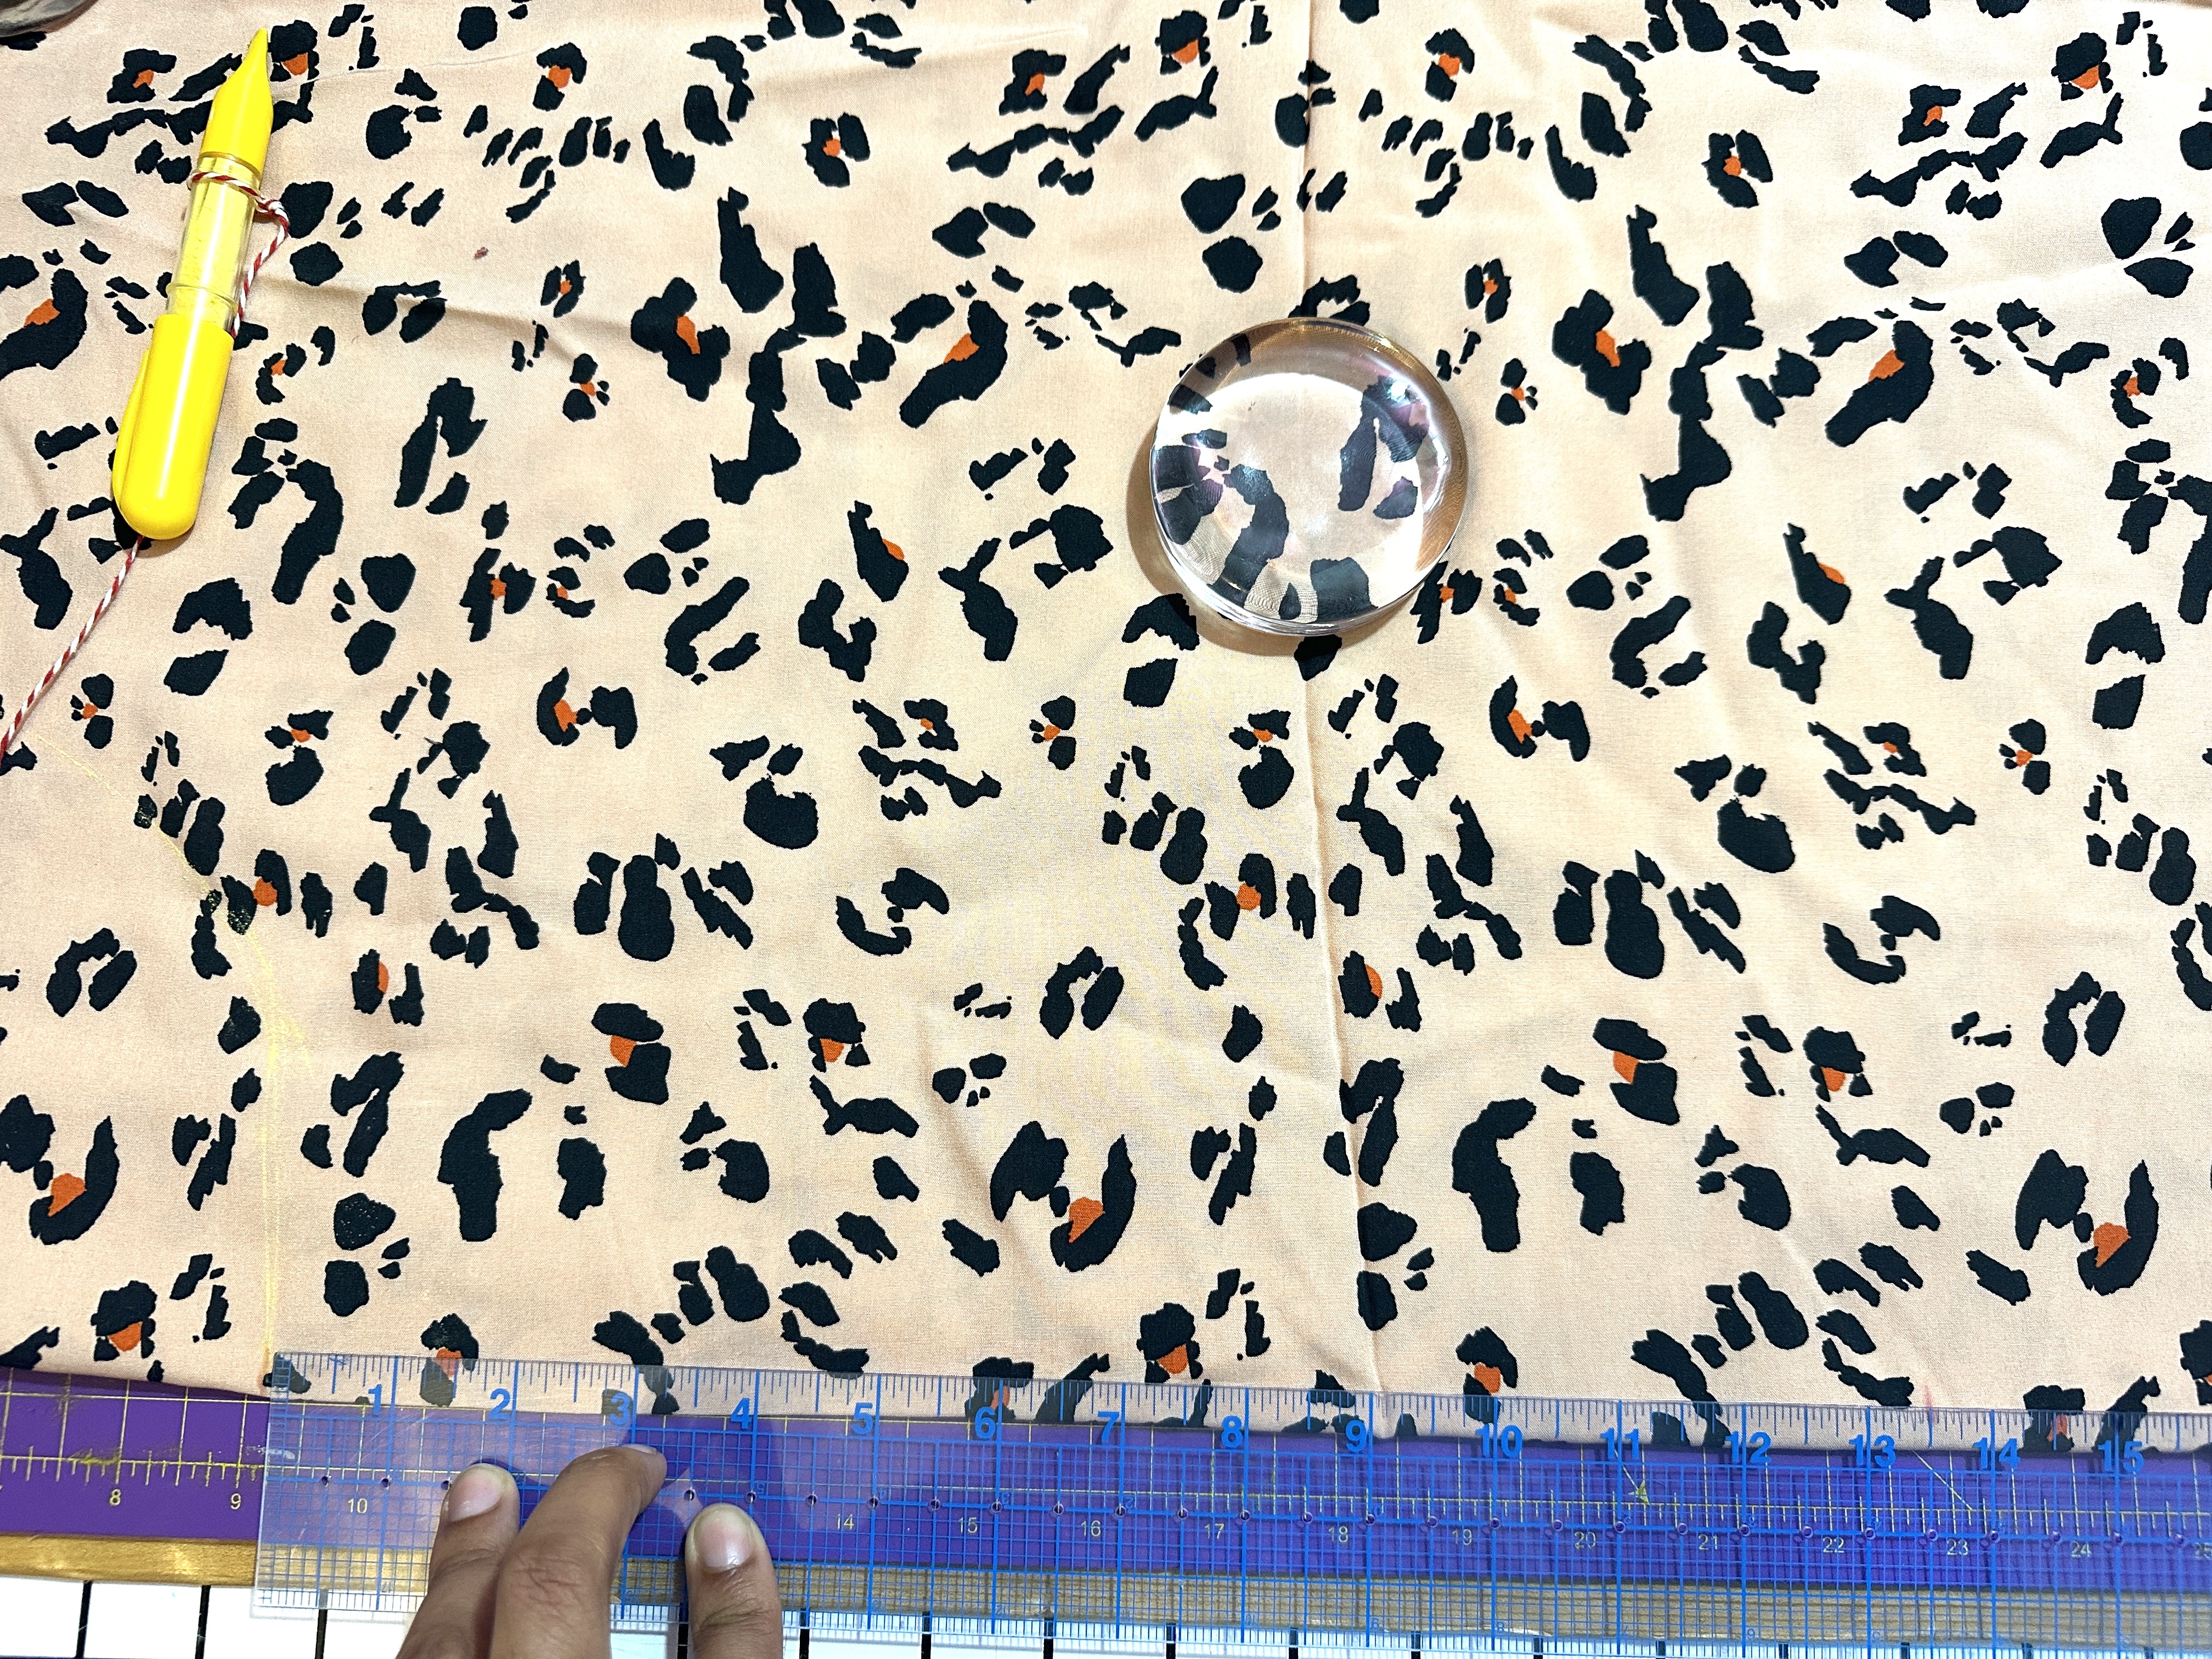
Before we head to the cutting table, we need to take note of some important measurements:

●      Measure your BUST

●      Measure the distance between your bust and shoulder point (Bust To Shoulder: BTS)

●      Measure the distance between your bust and your waist, or wherever you prefer the hem of your shirt to hit (Bust To Hem: BTH) ( TIP: you could totally create a dress using this tutorial if you have enough fabric)


Now some math ( I know I’m sorry, it's the “M” word, but I promise it's worth it!)


MEASUREMENT 1.              Bust - 2” = X

MEASUREMENT 2.              X / 6.28  ( round the result to the nearest whole number.  My result was 5.653 so my rounded # was 6)

MEASUREMENT 3.              BTS + (2 x Seam Allowance) + 3”

MEASUREMENT 4.              Add your seam allowance (SA) to your BTH


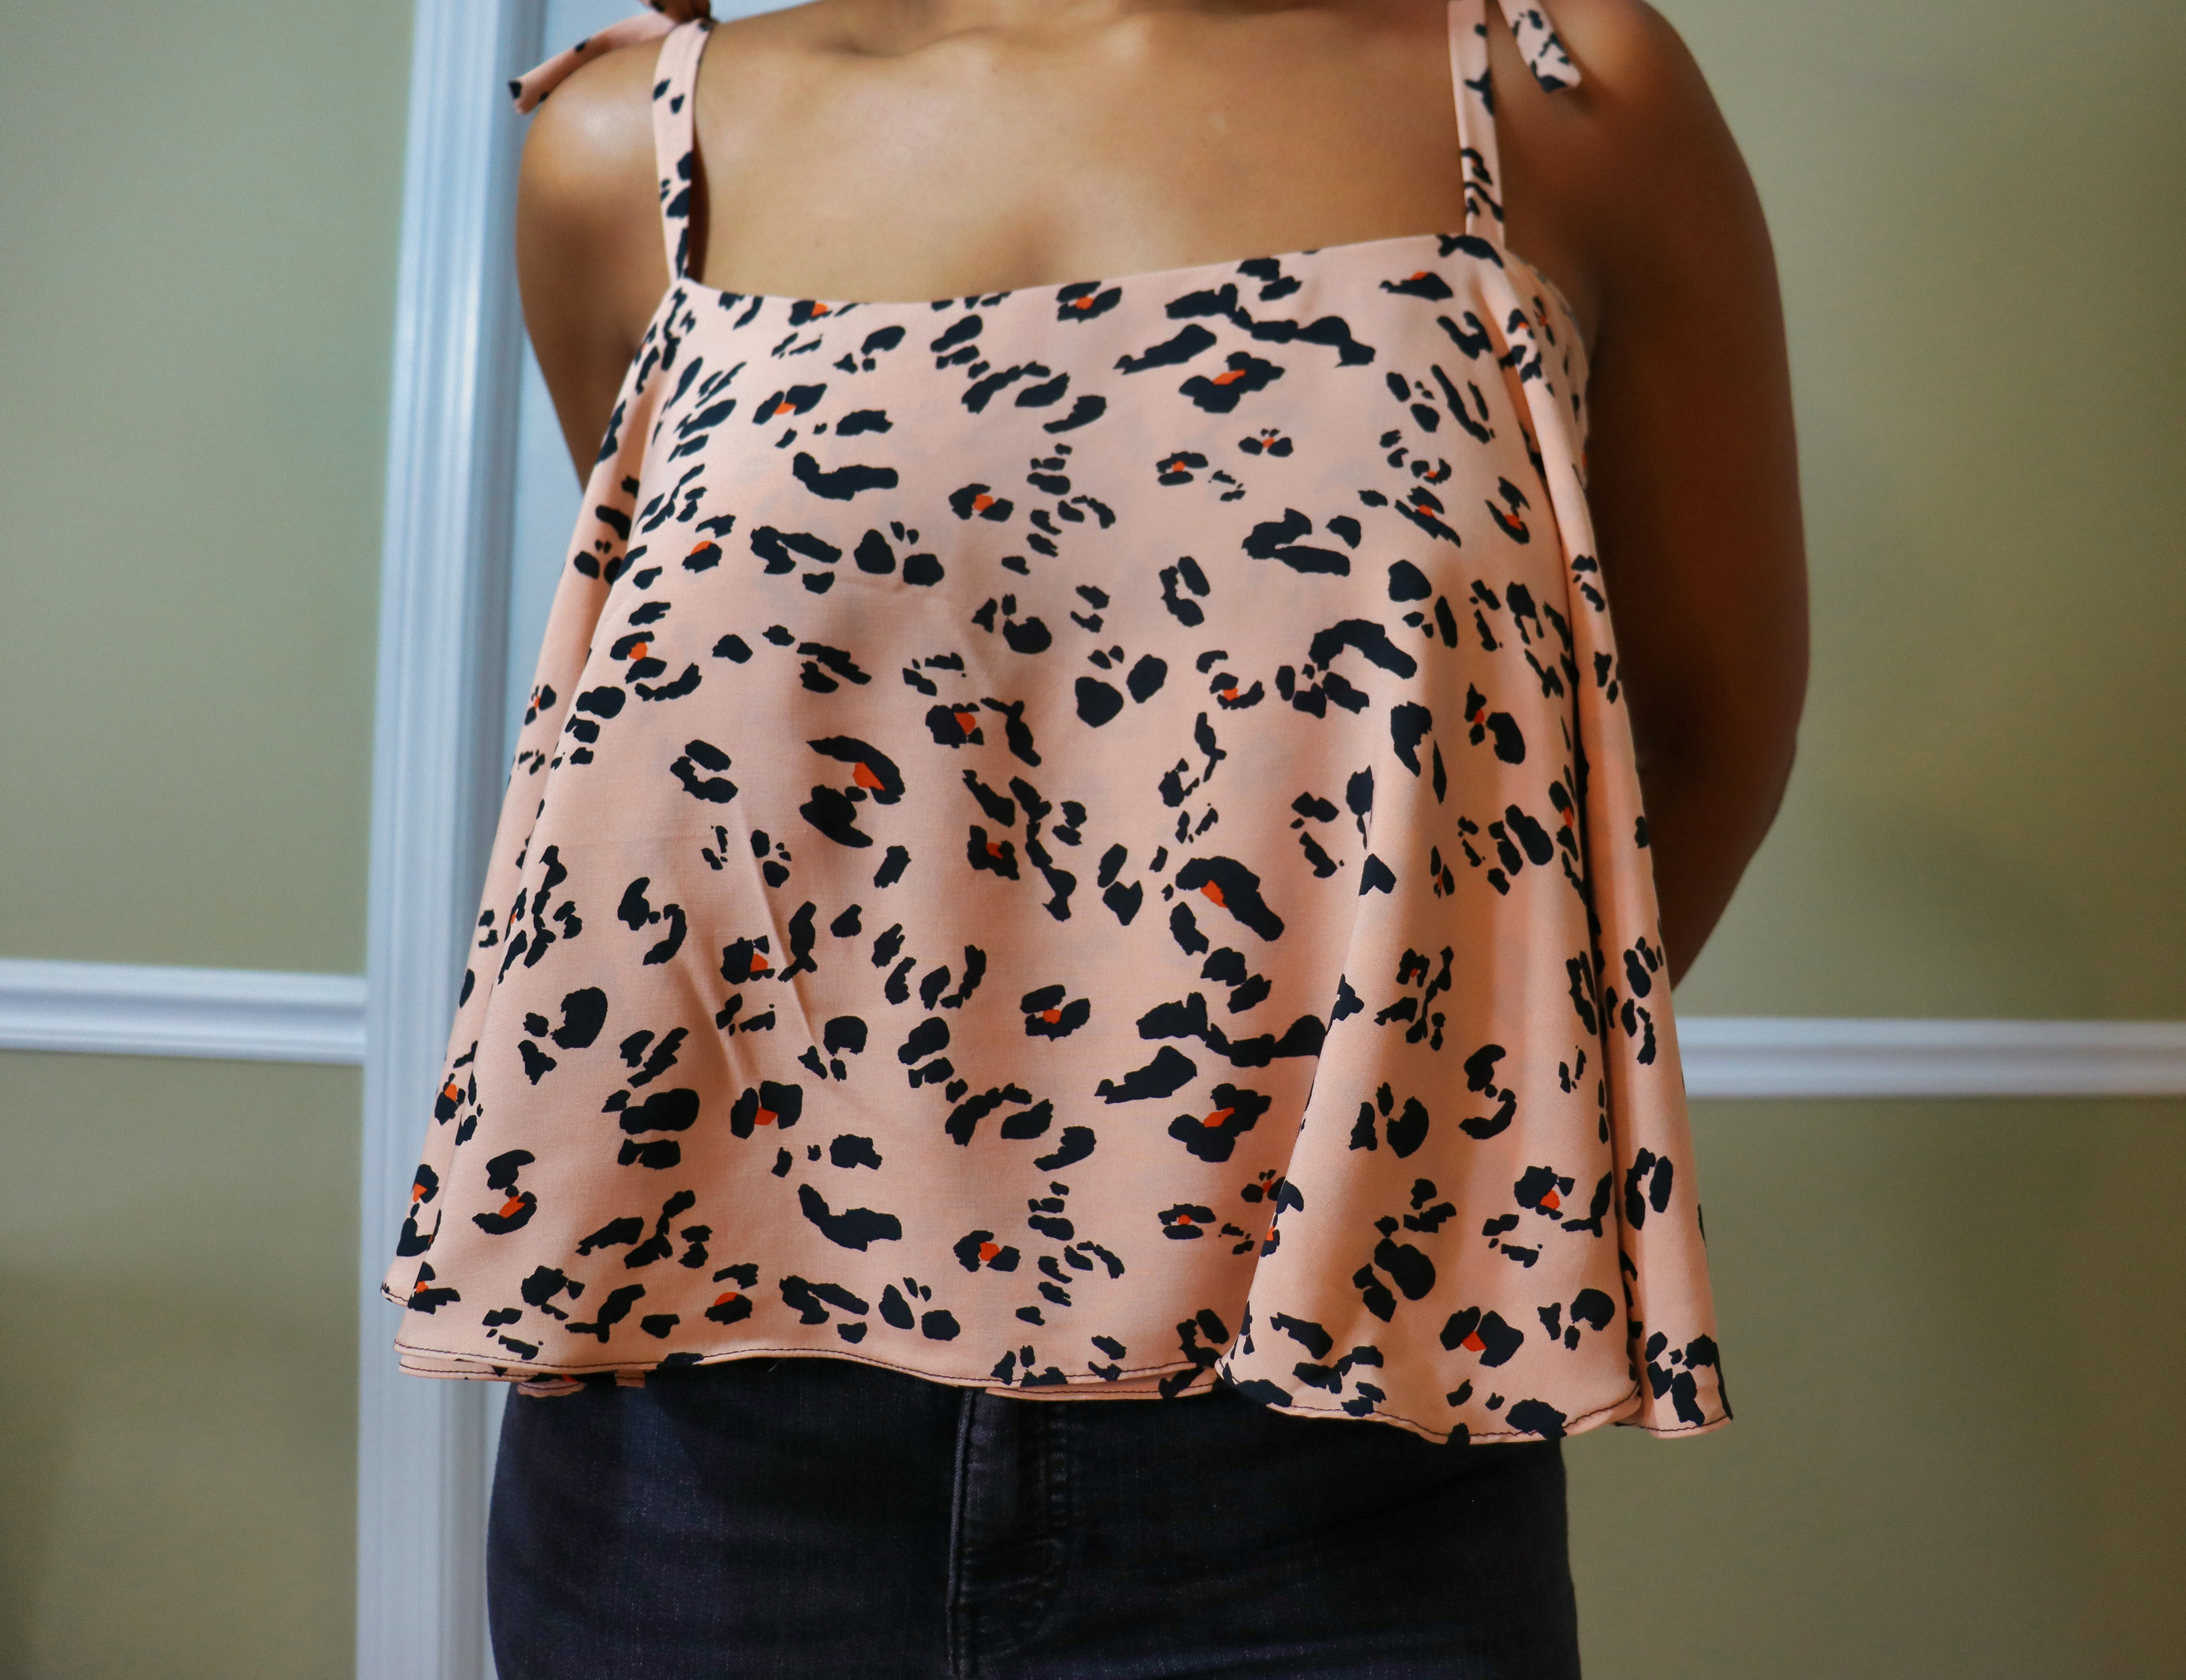
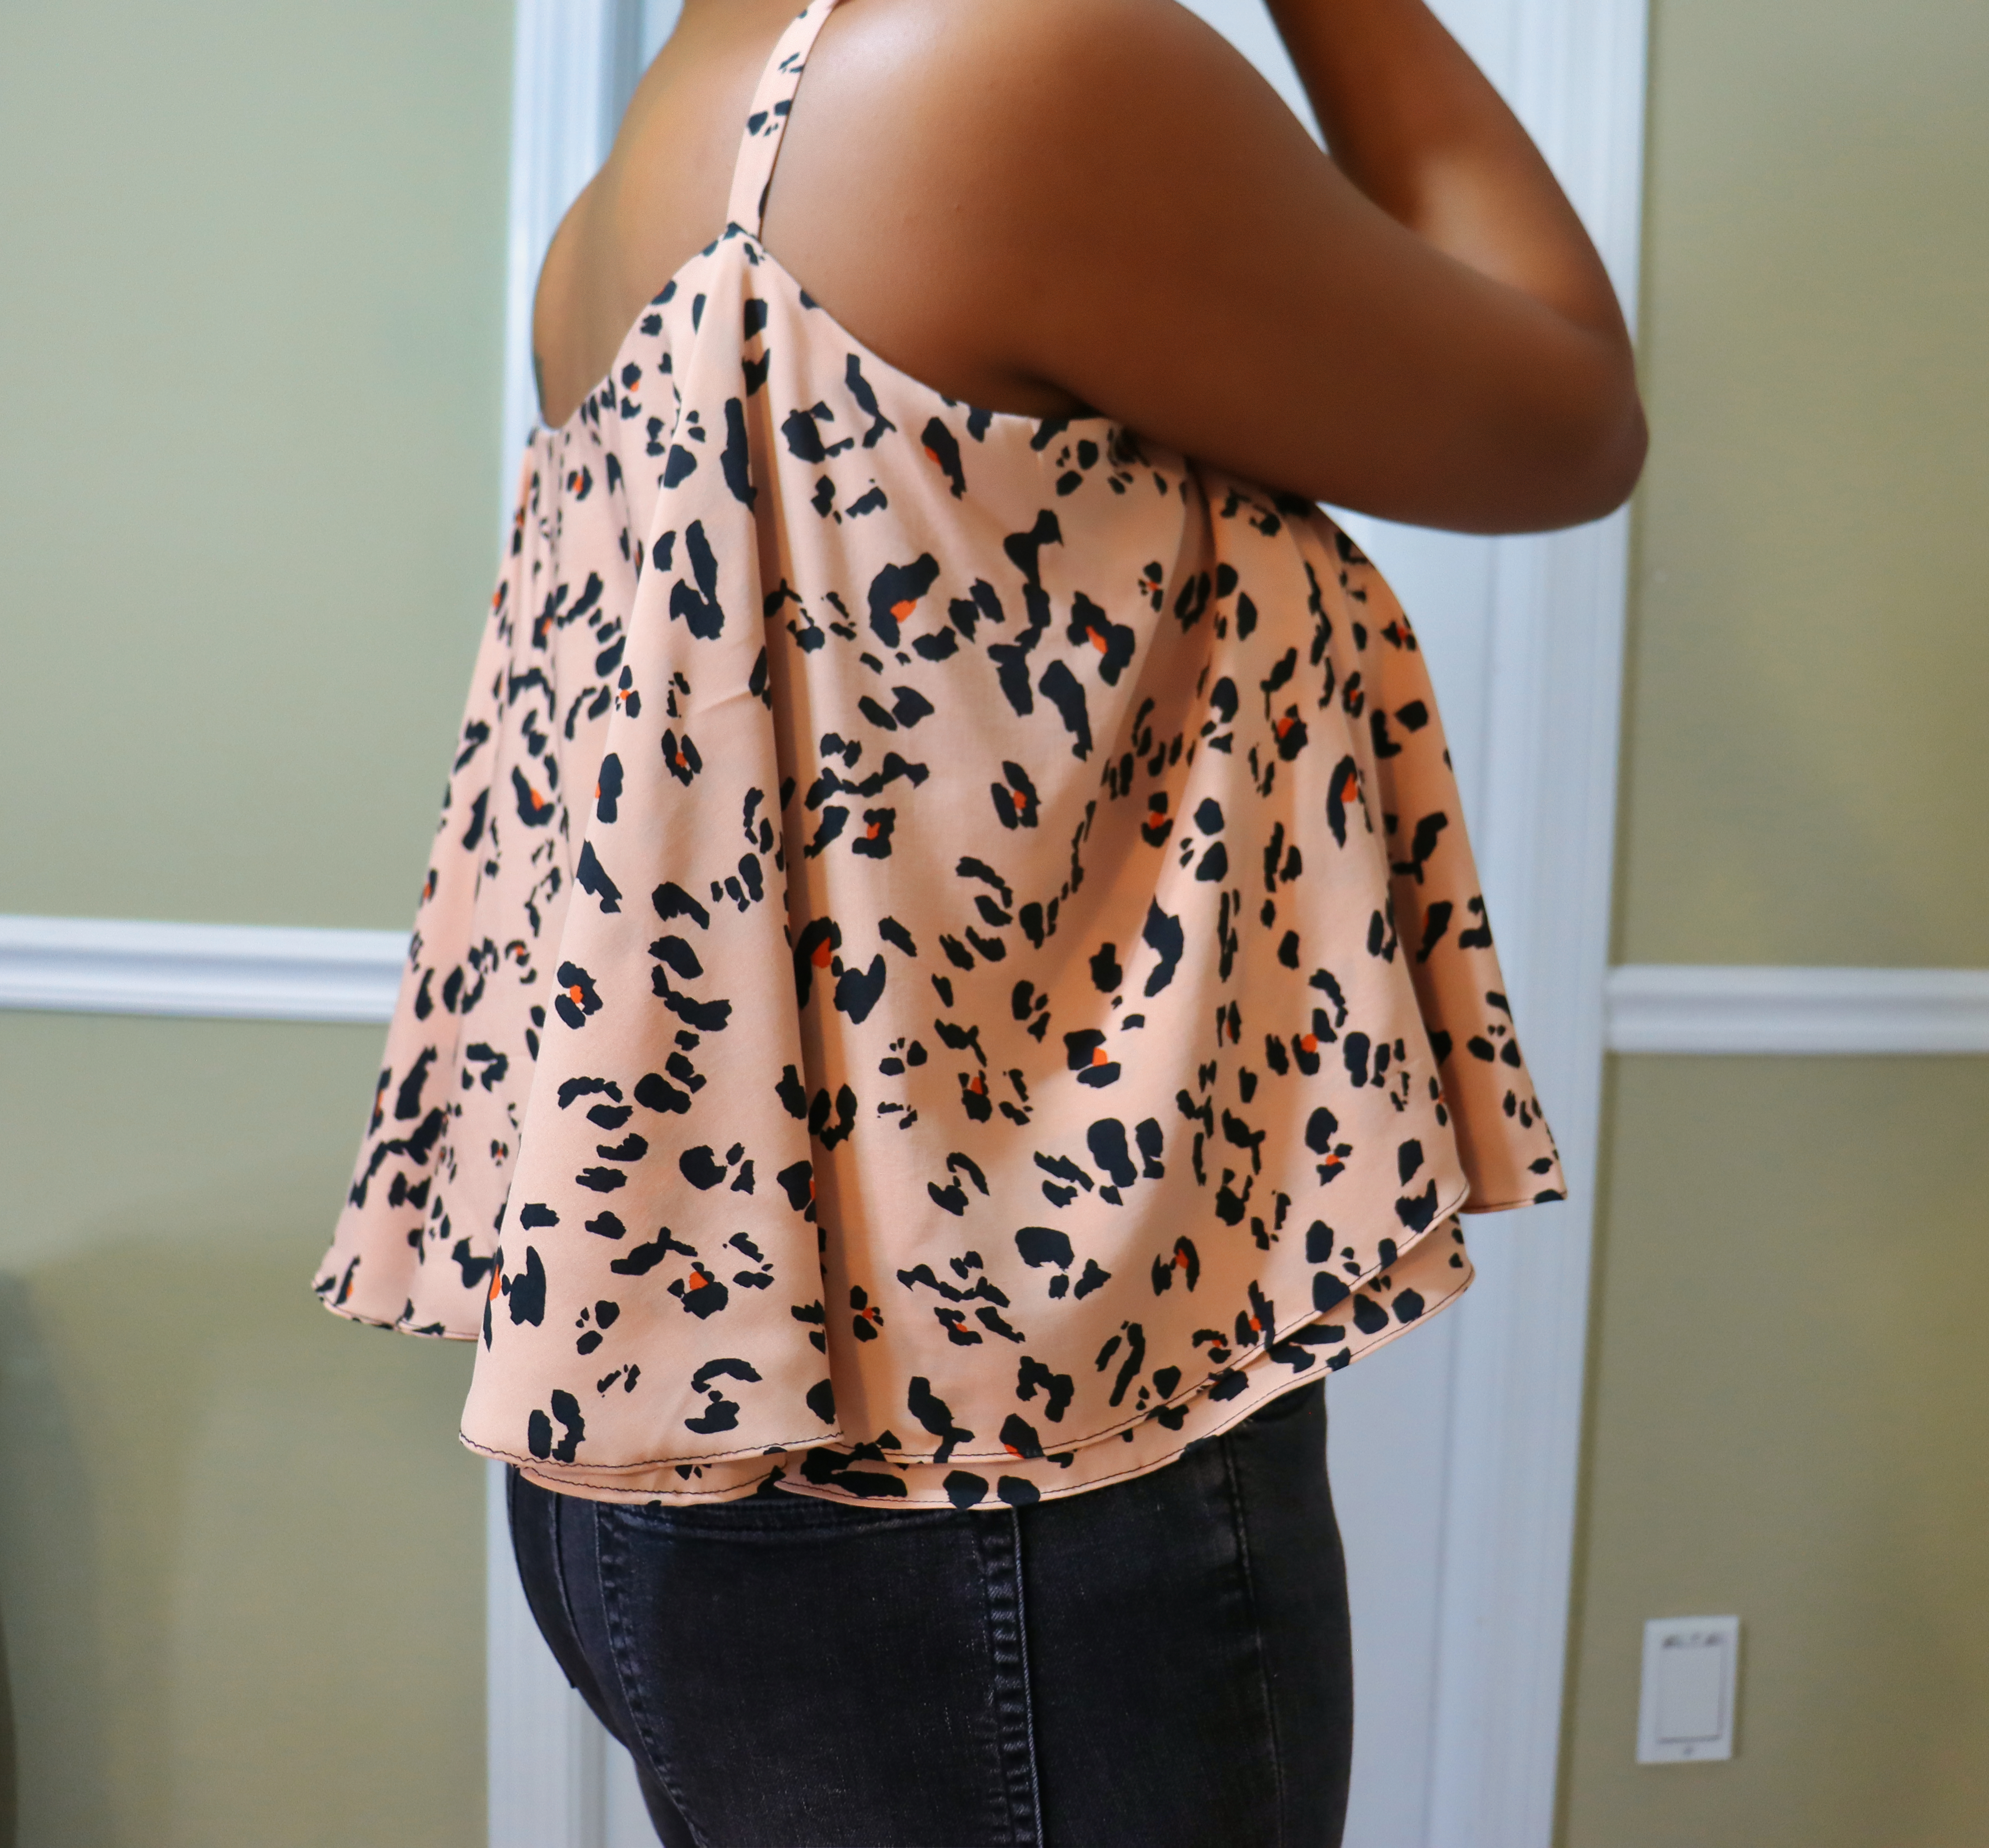
Now let's get to the tutorial


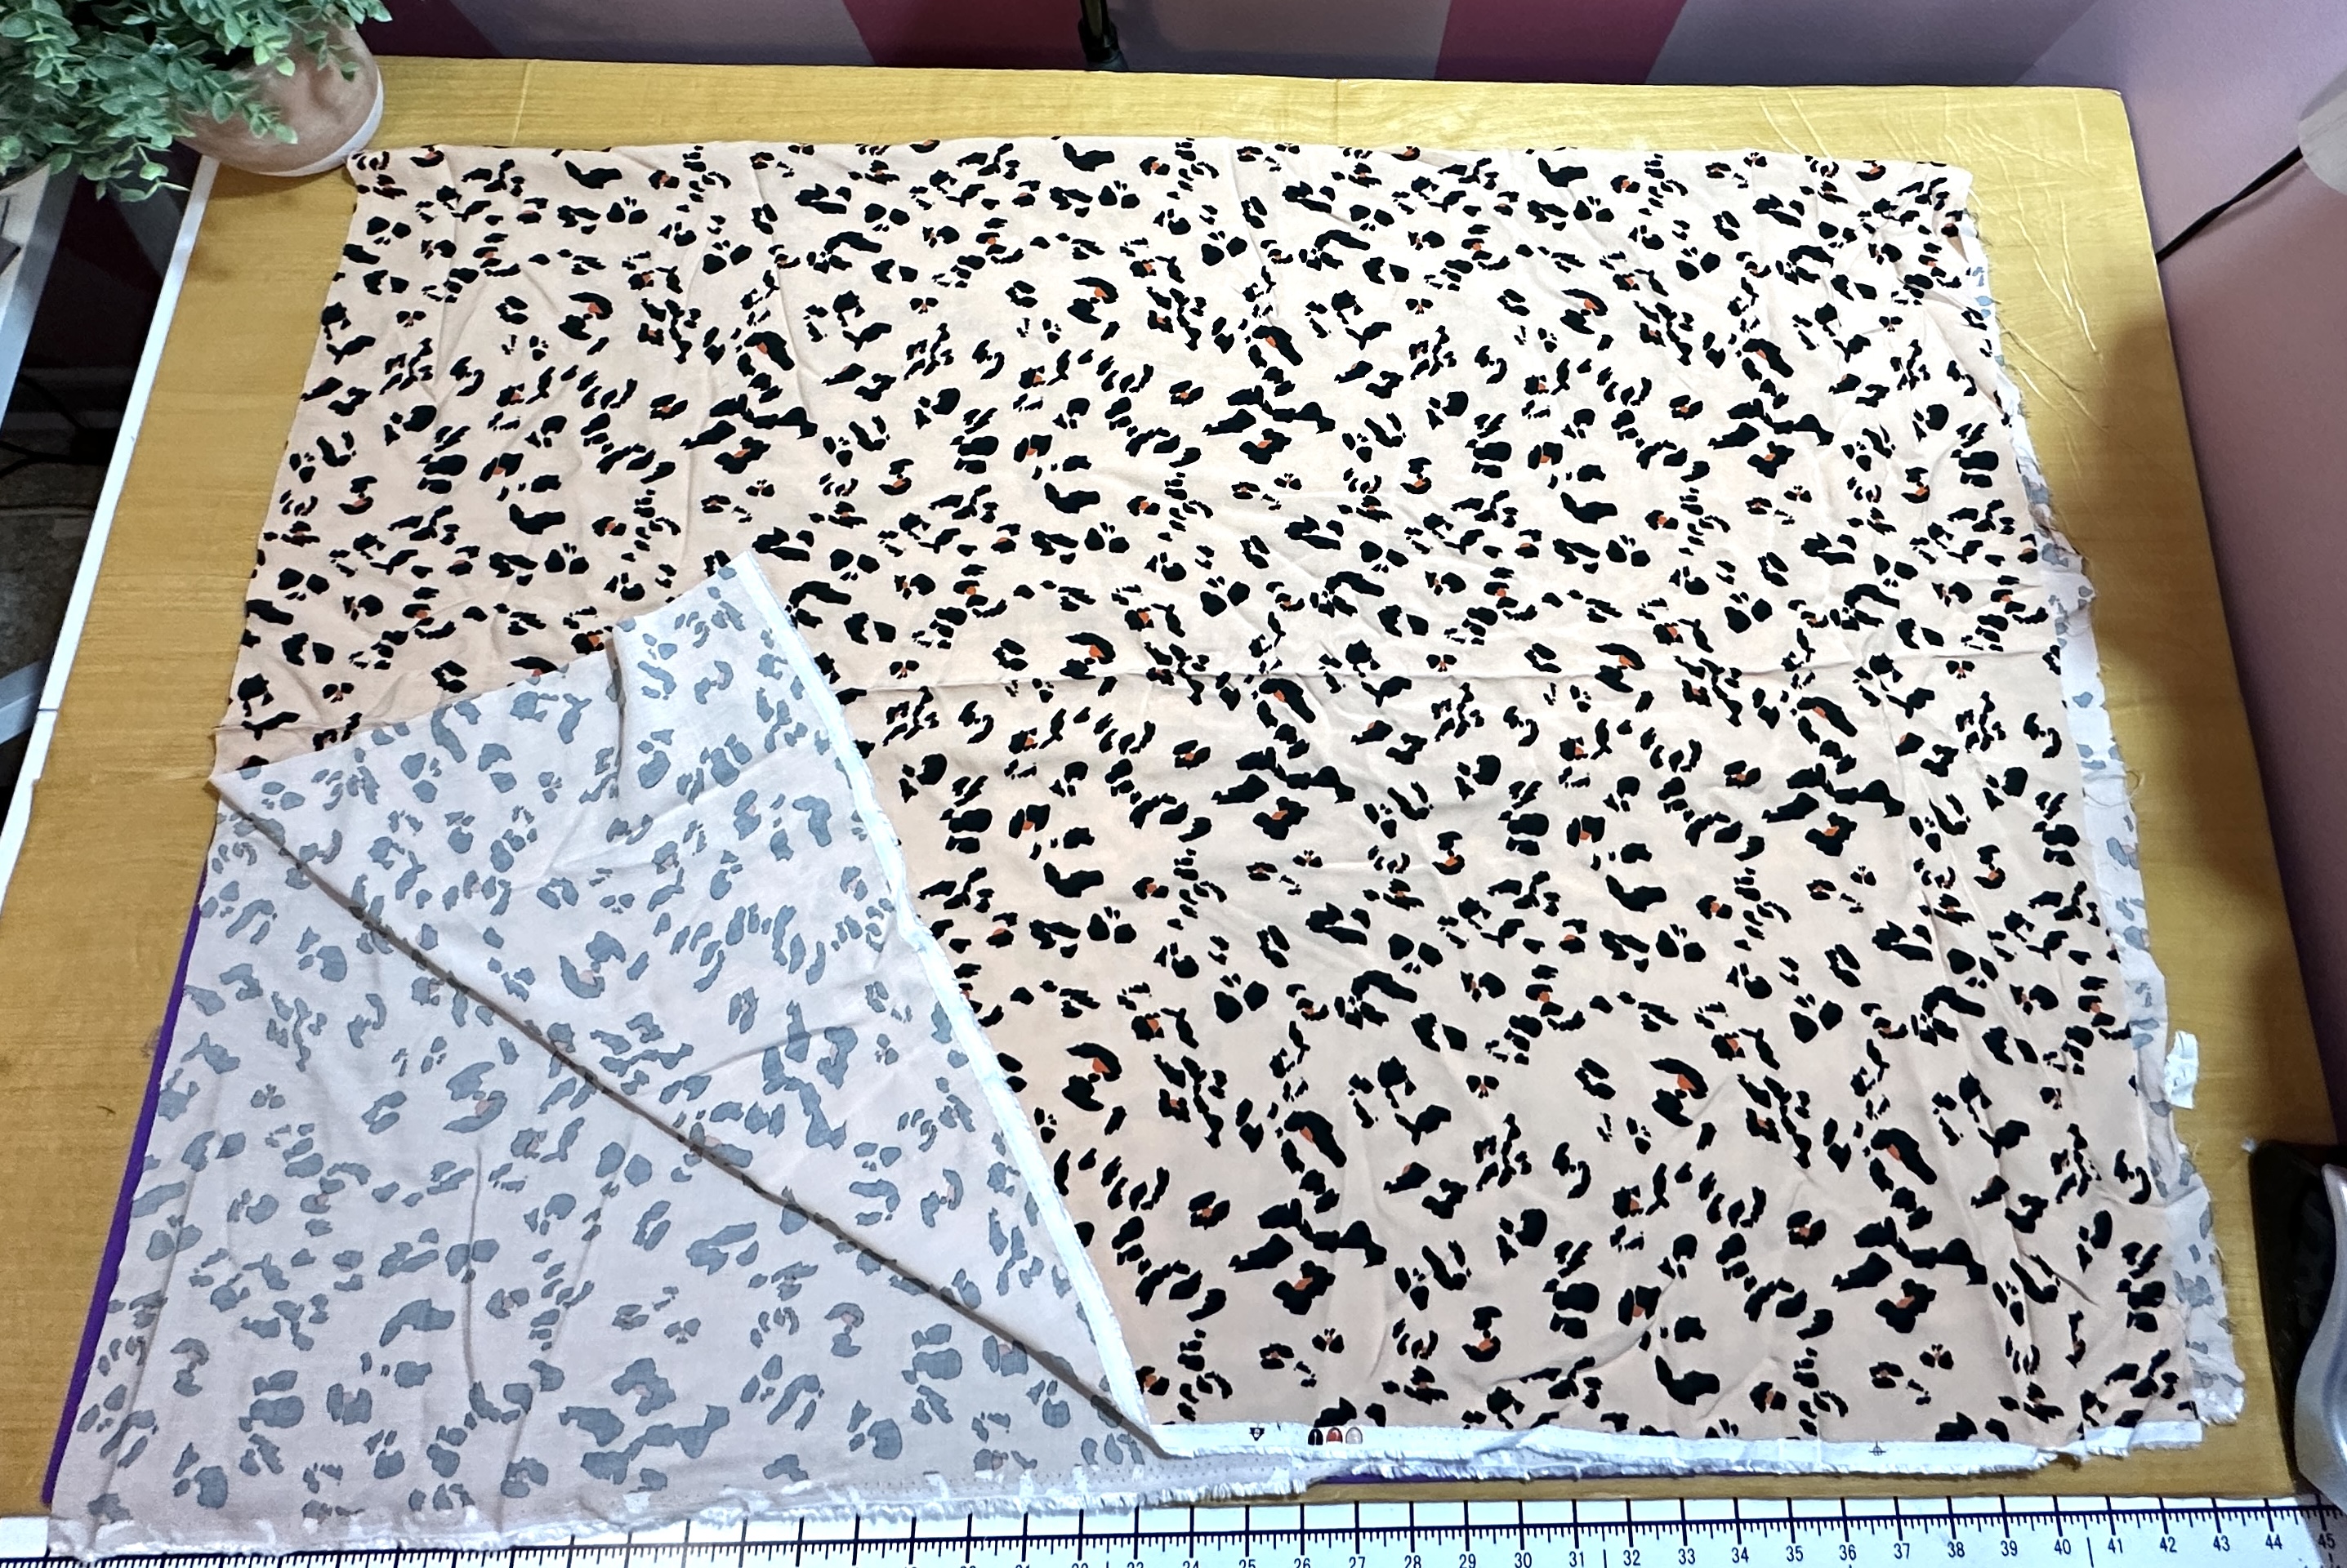
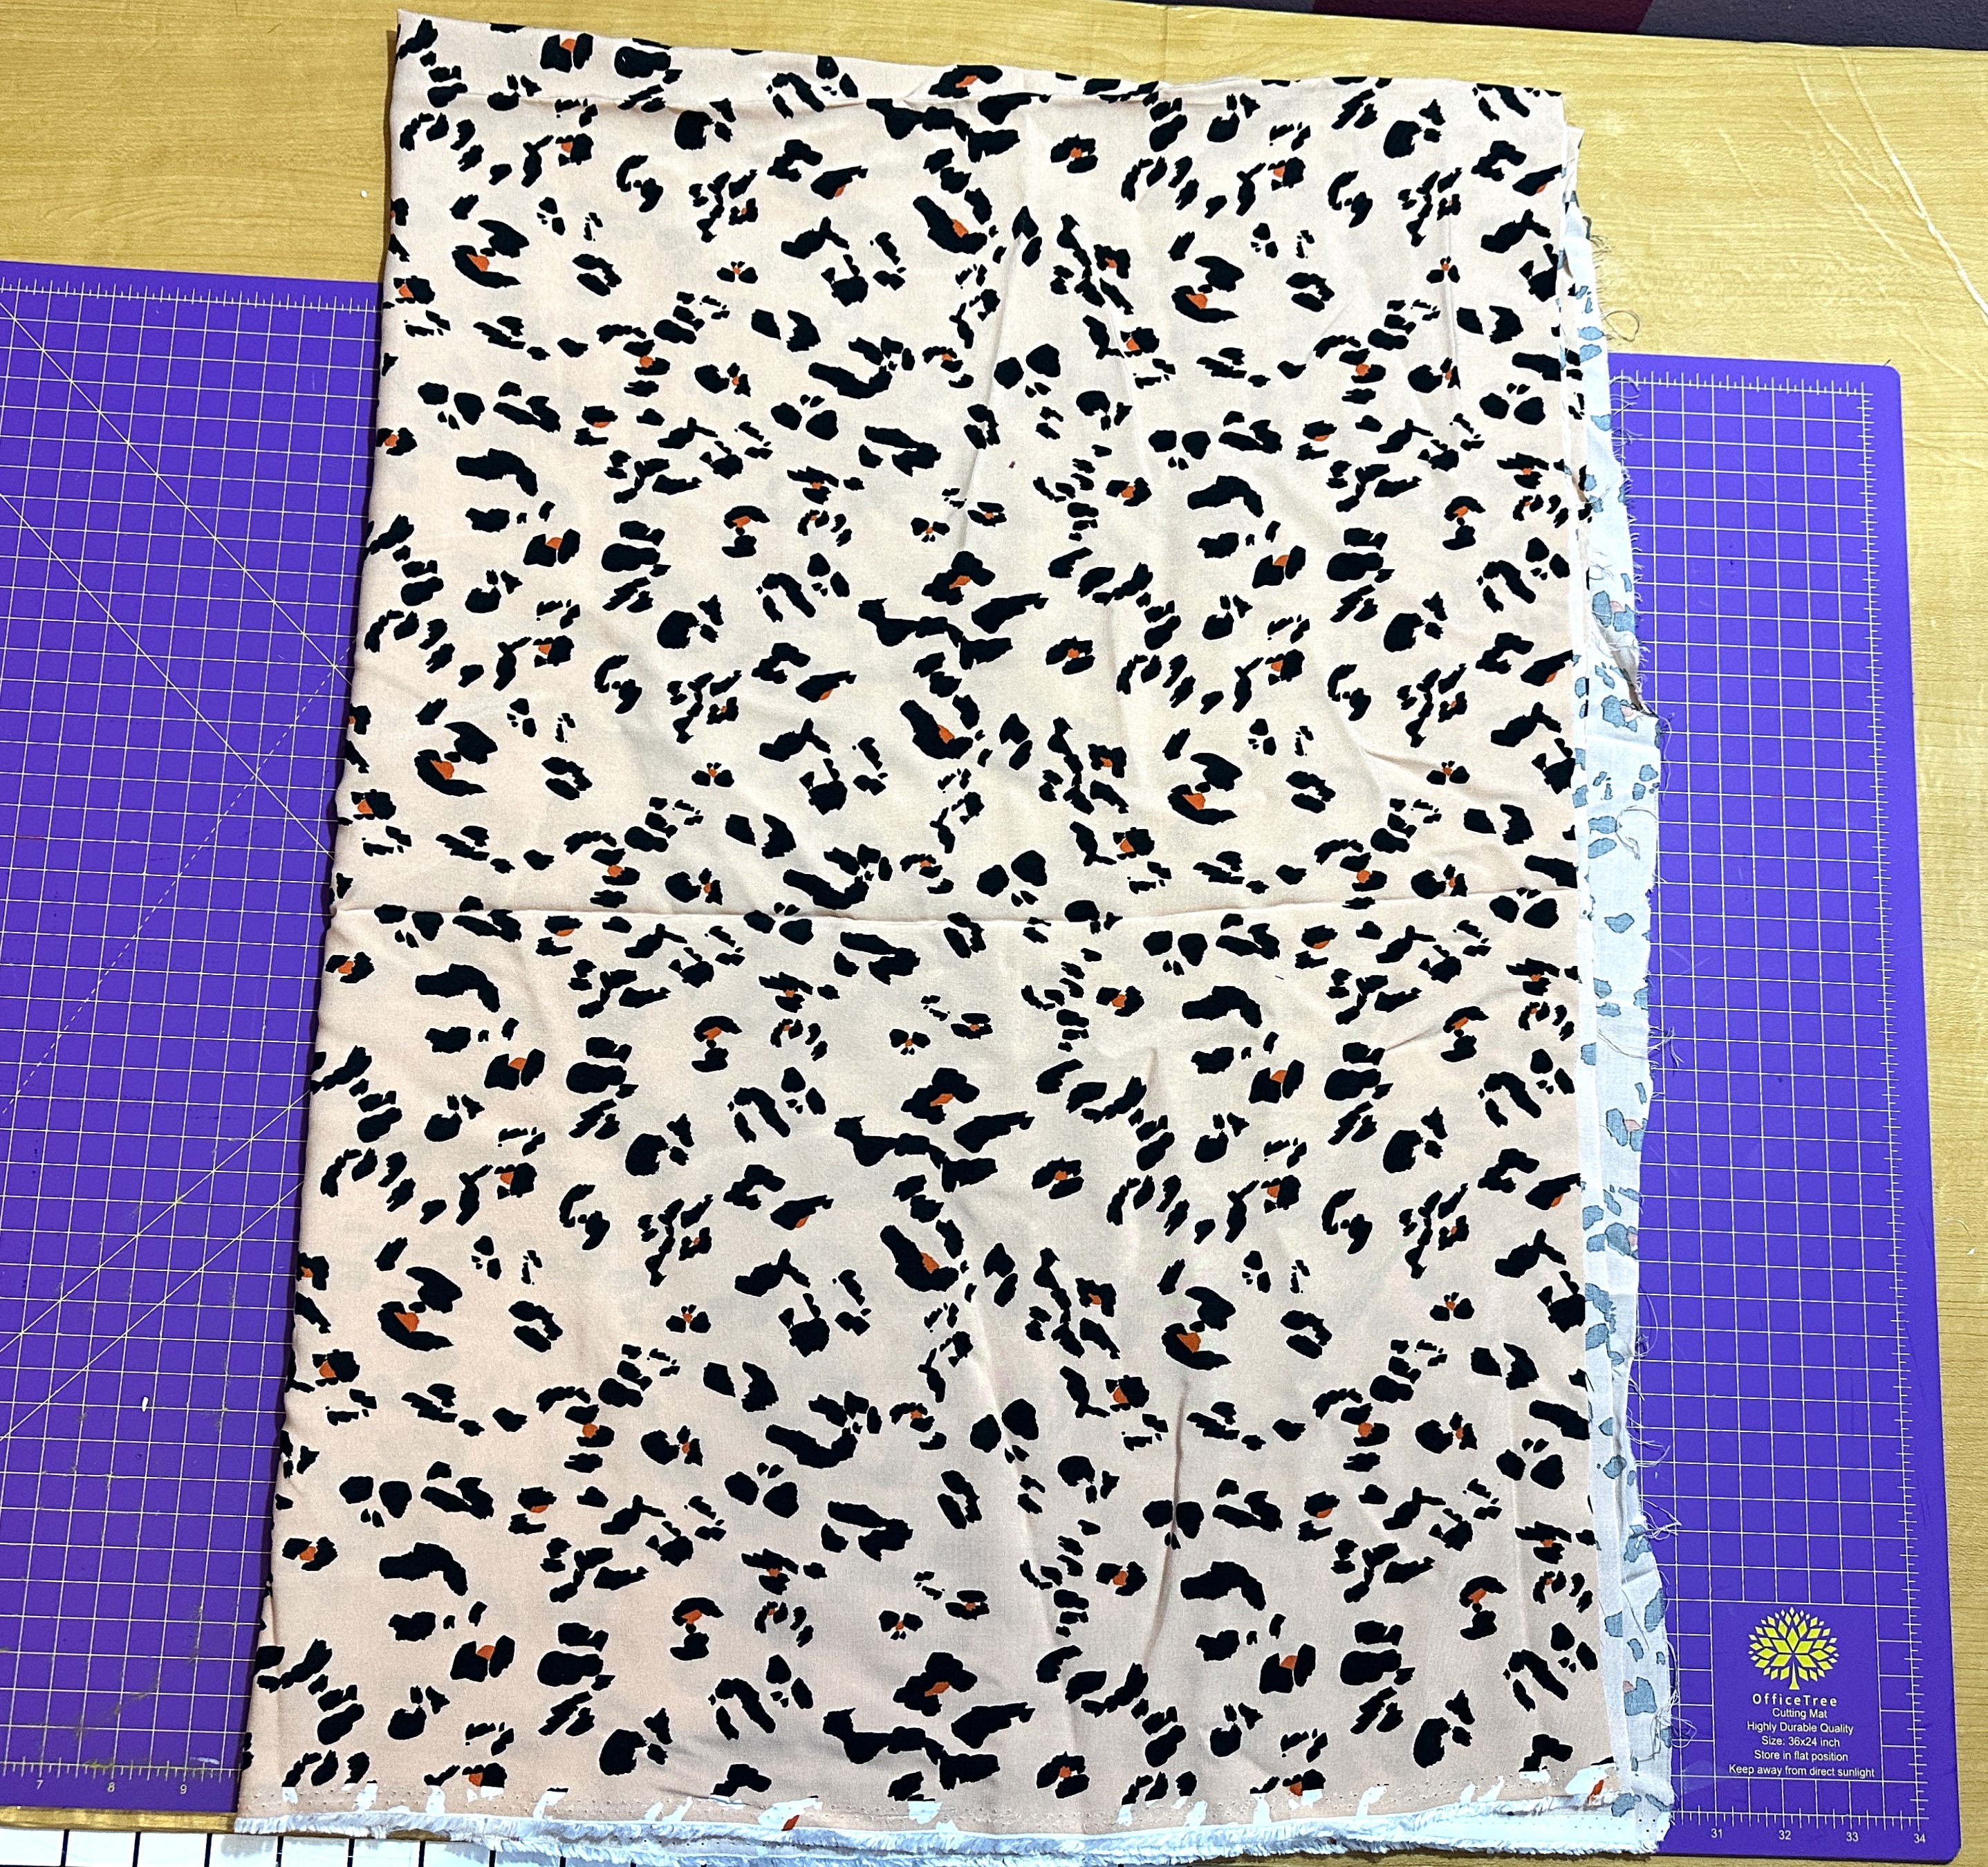
●      Fold your fabric in half lengthwise

●      Fold it again along the width creating 2 folds as pictured

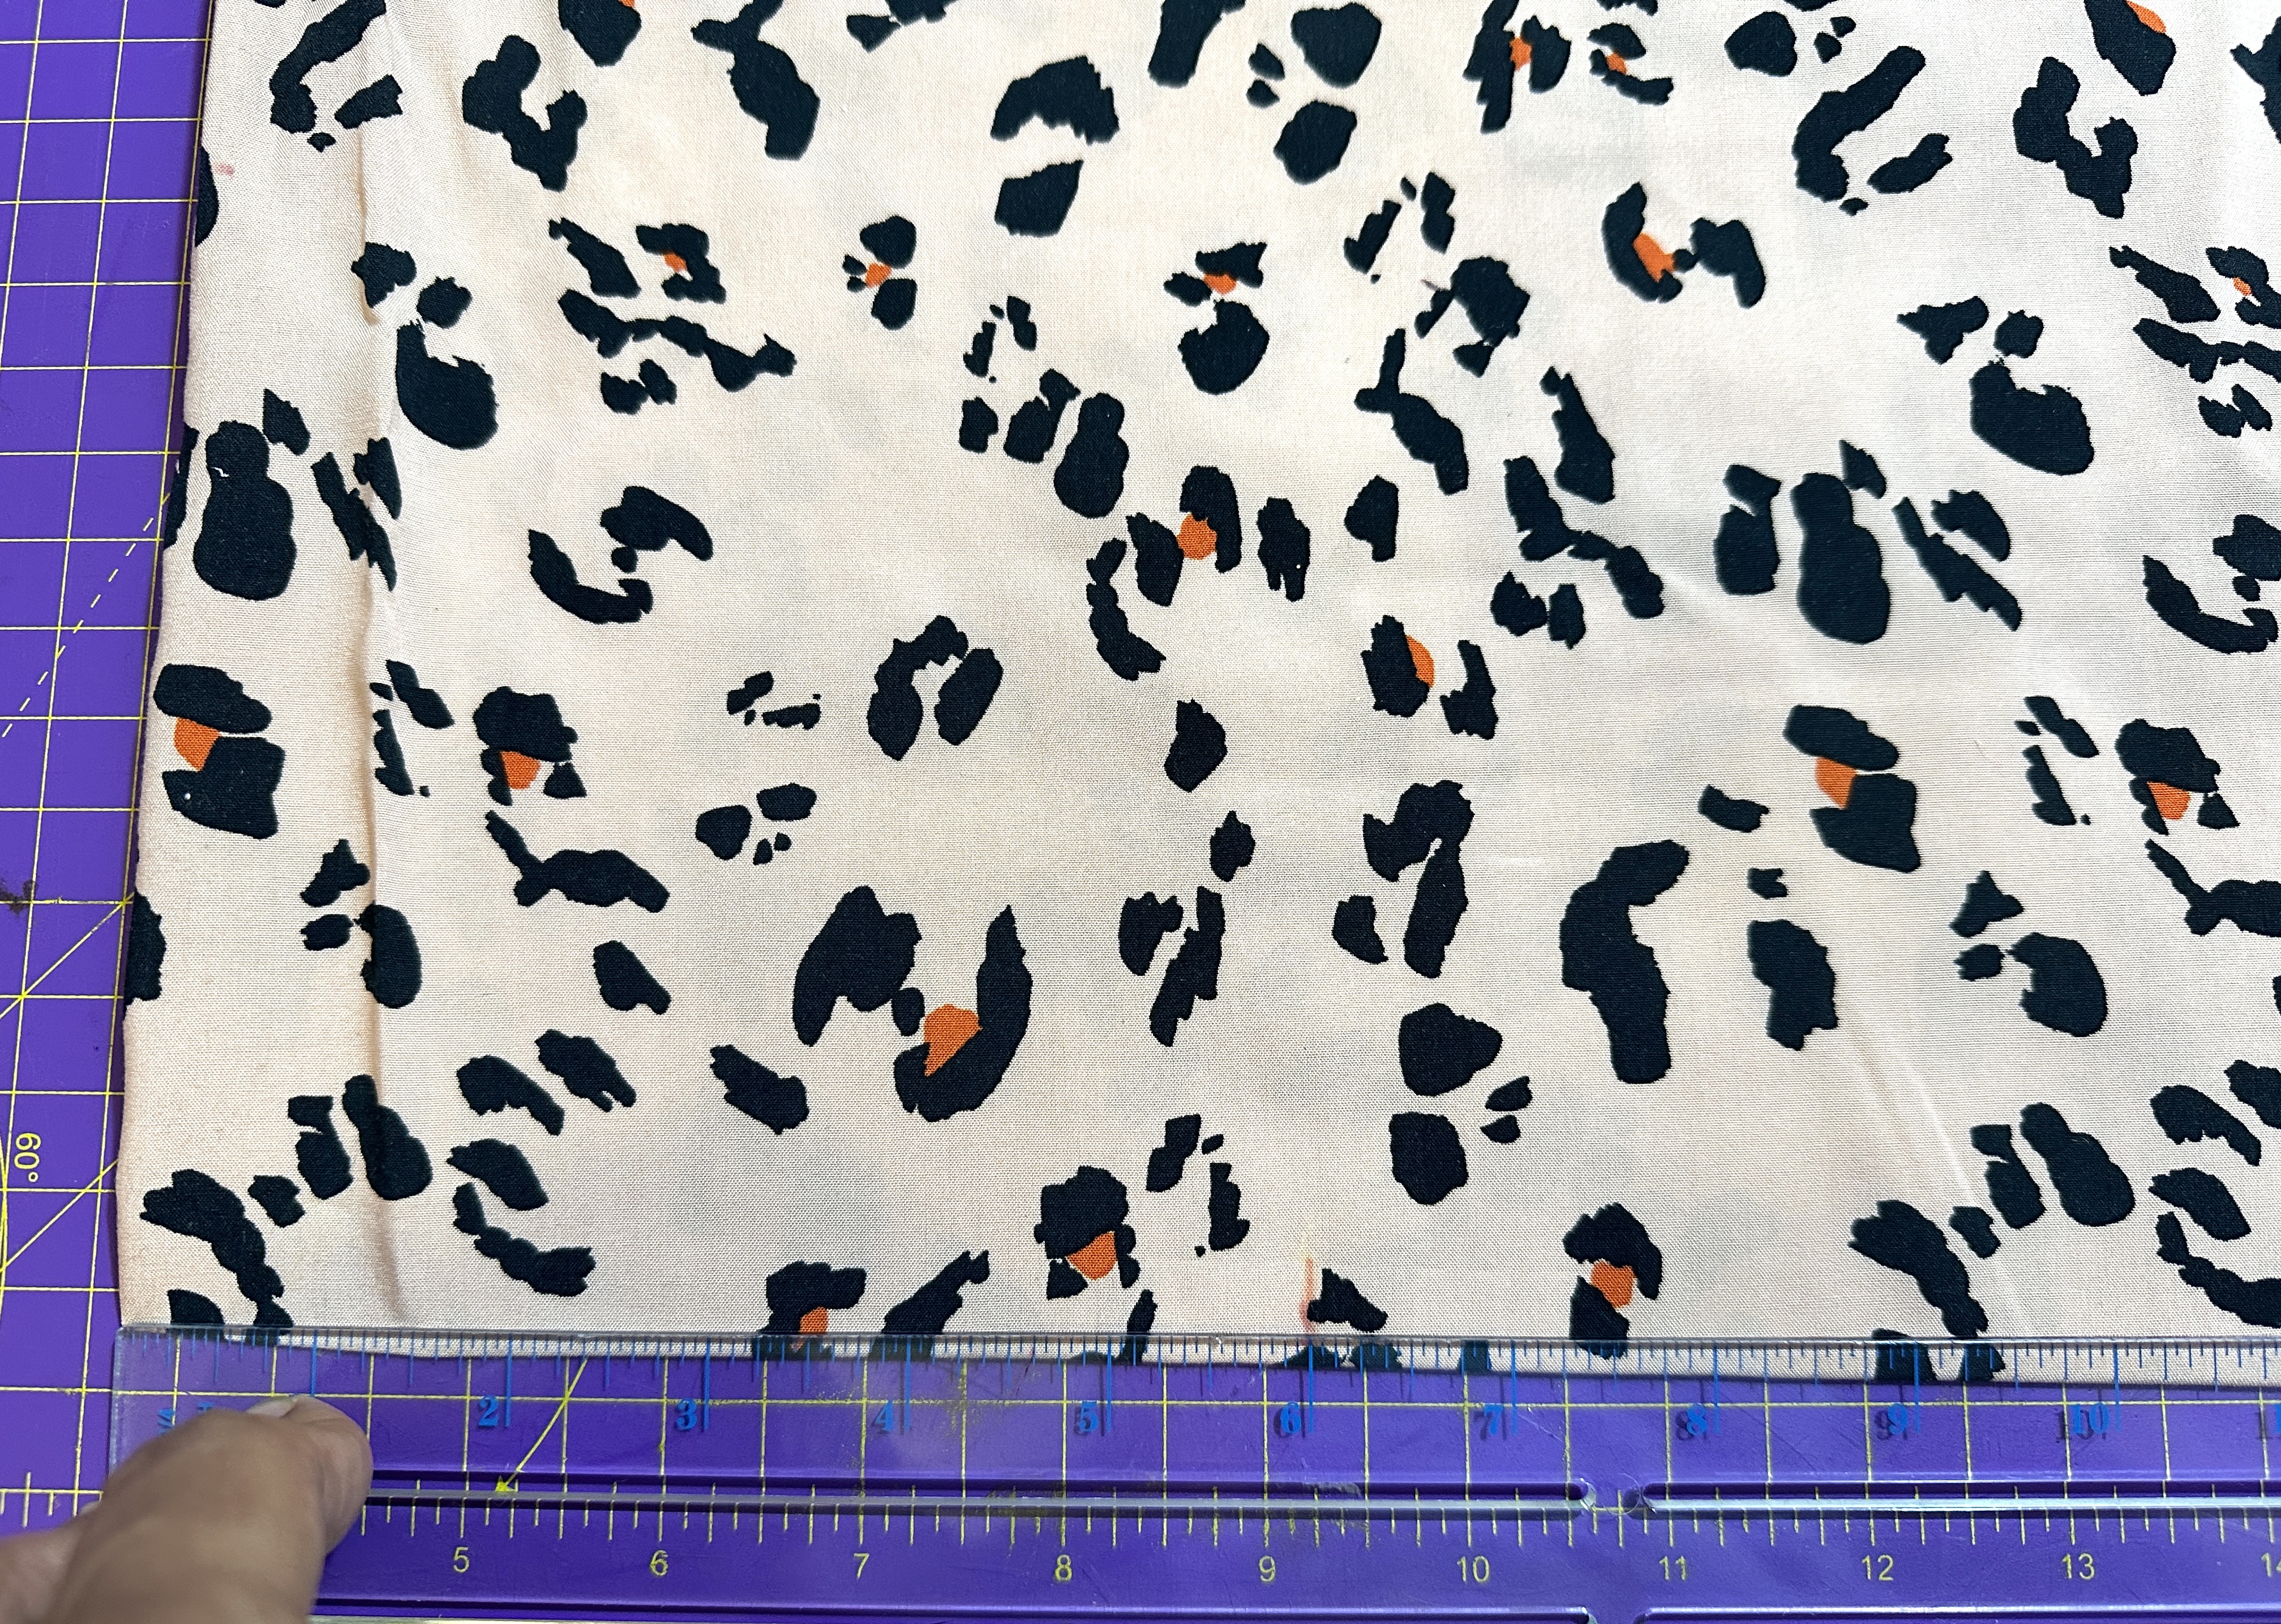
●      Starting at the corner where the 2 folds are, measure down along each fold the number you noted for MEASUREMENT 2 . ( for me this # was 6)

●      Cut some string the length of MEASUREMENT 2, and tie it to a marking pen/chalk

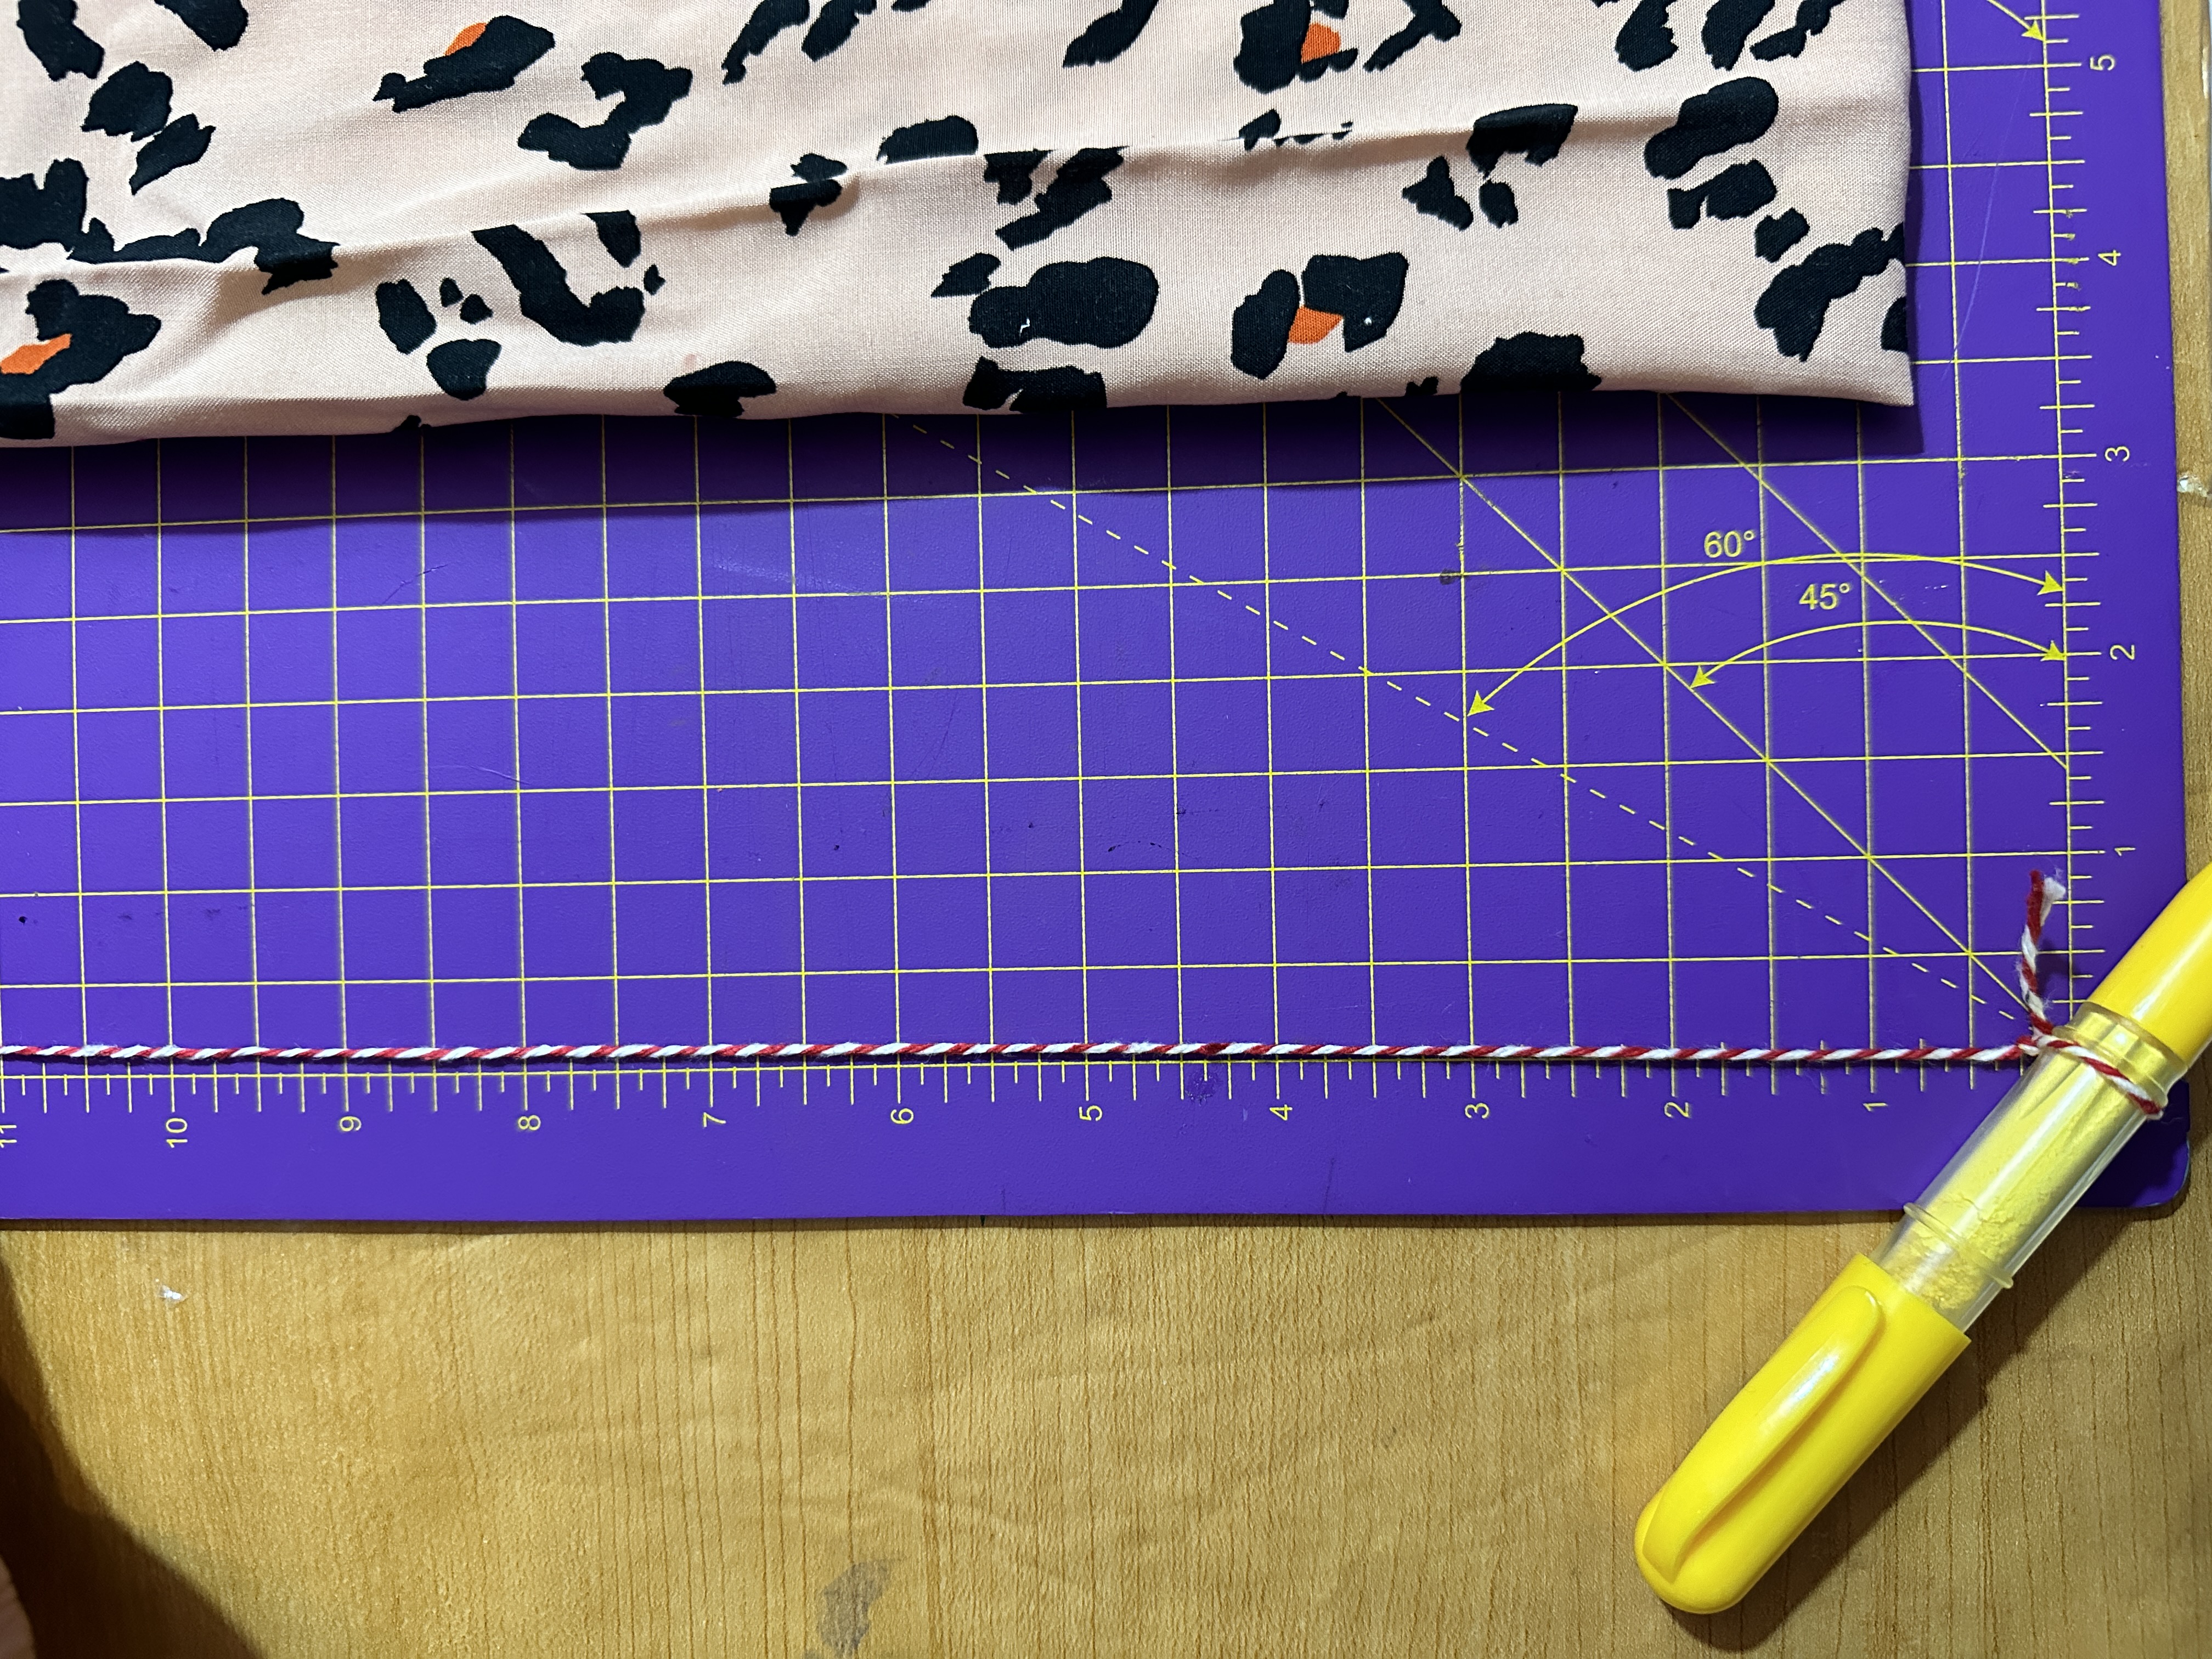
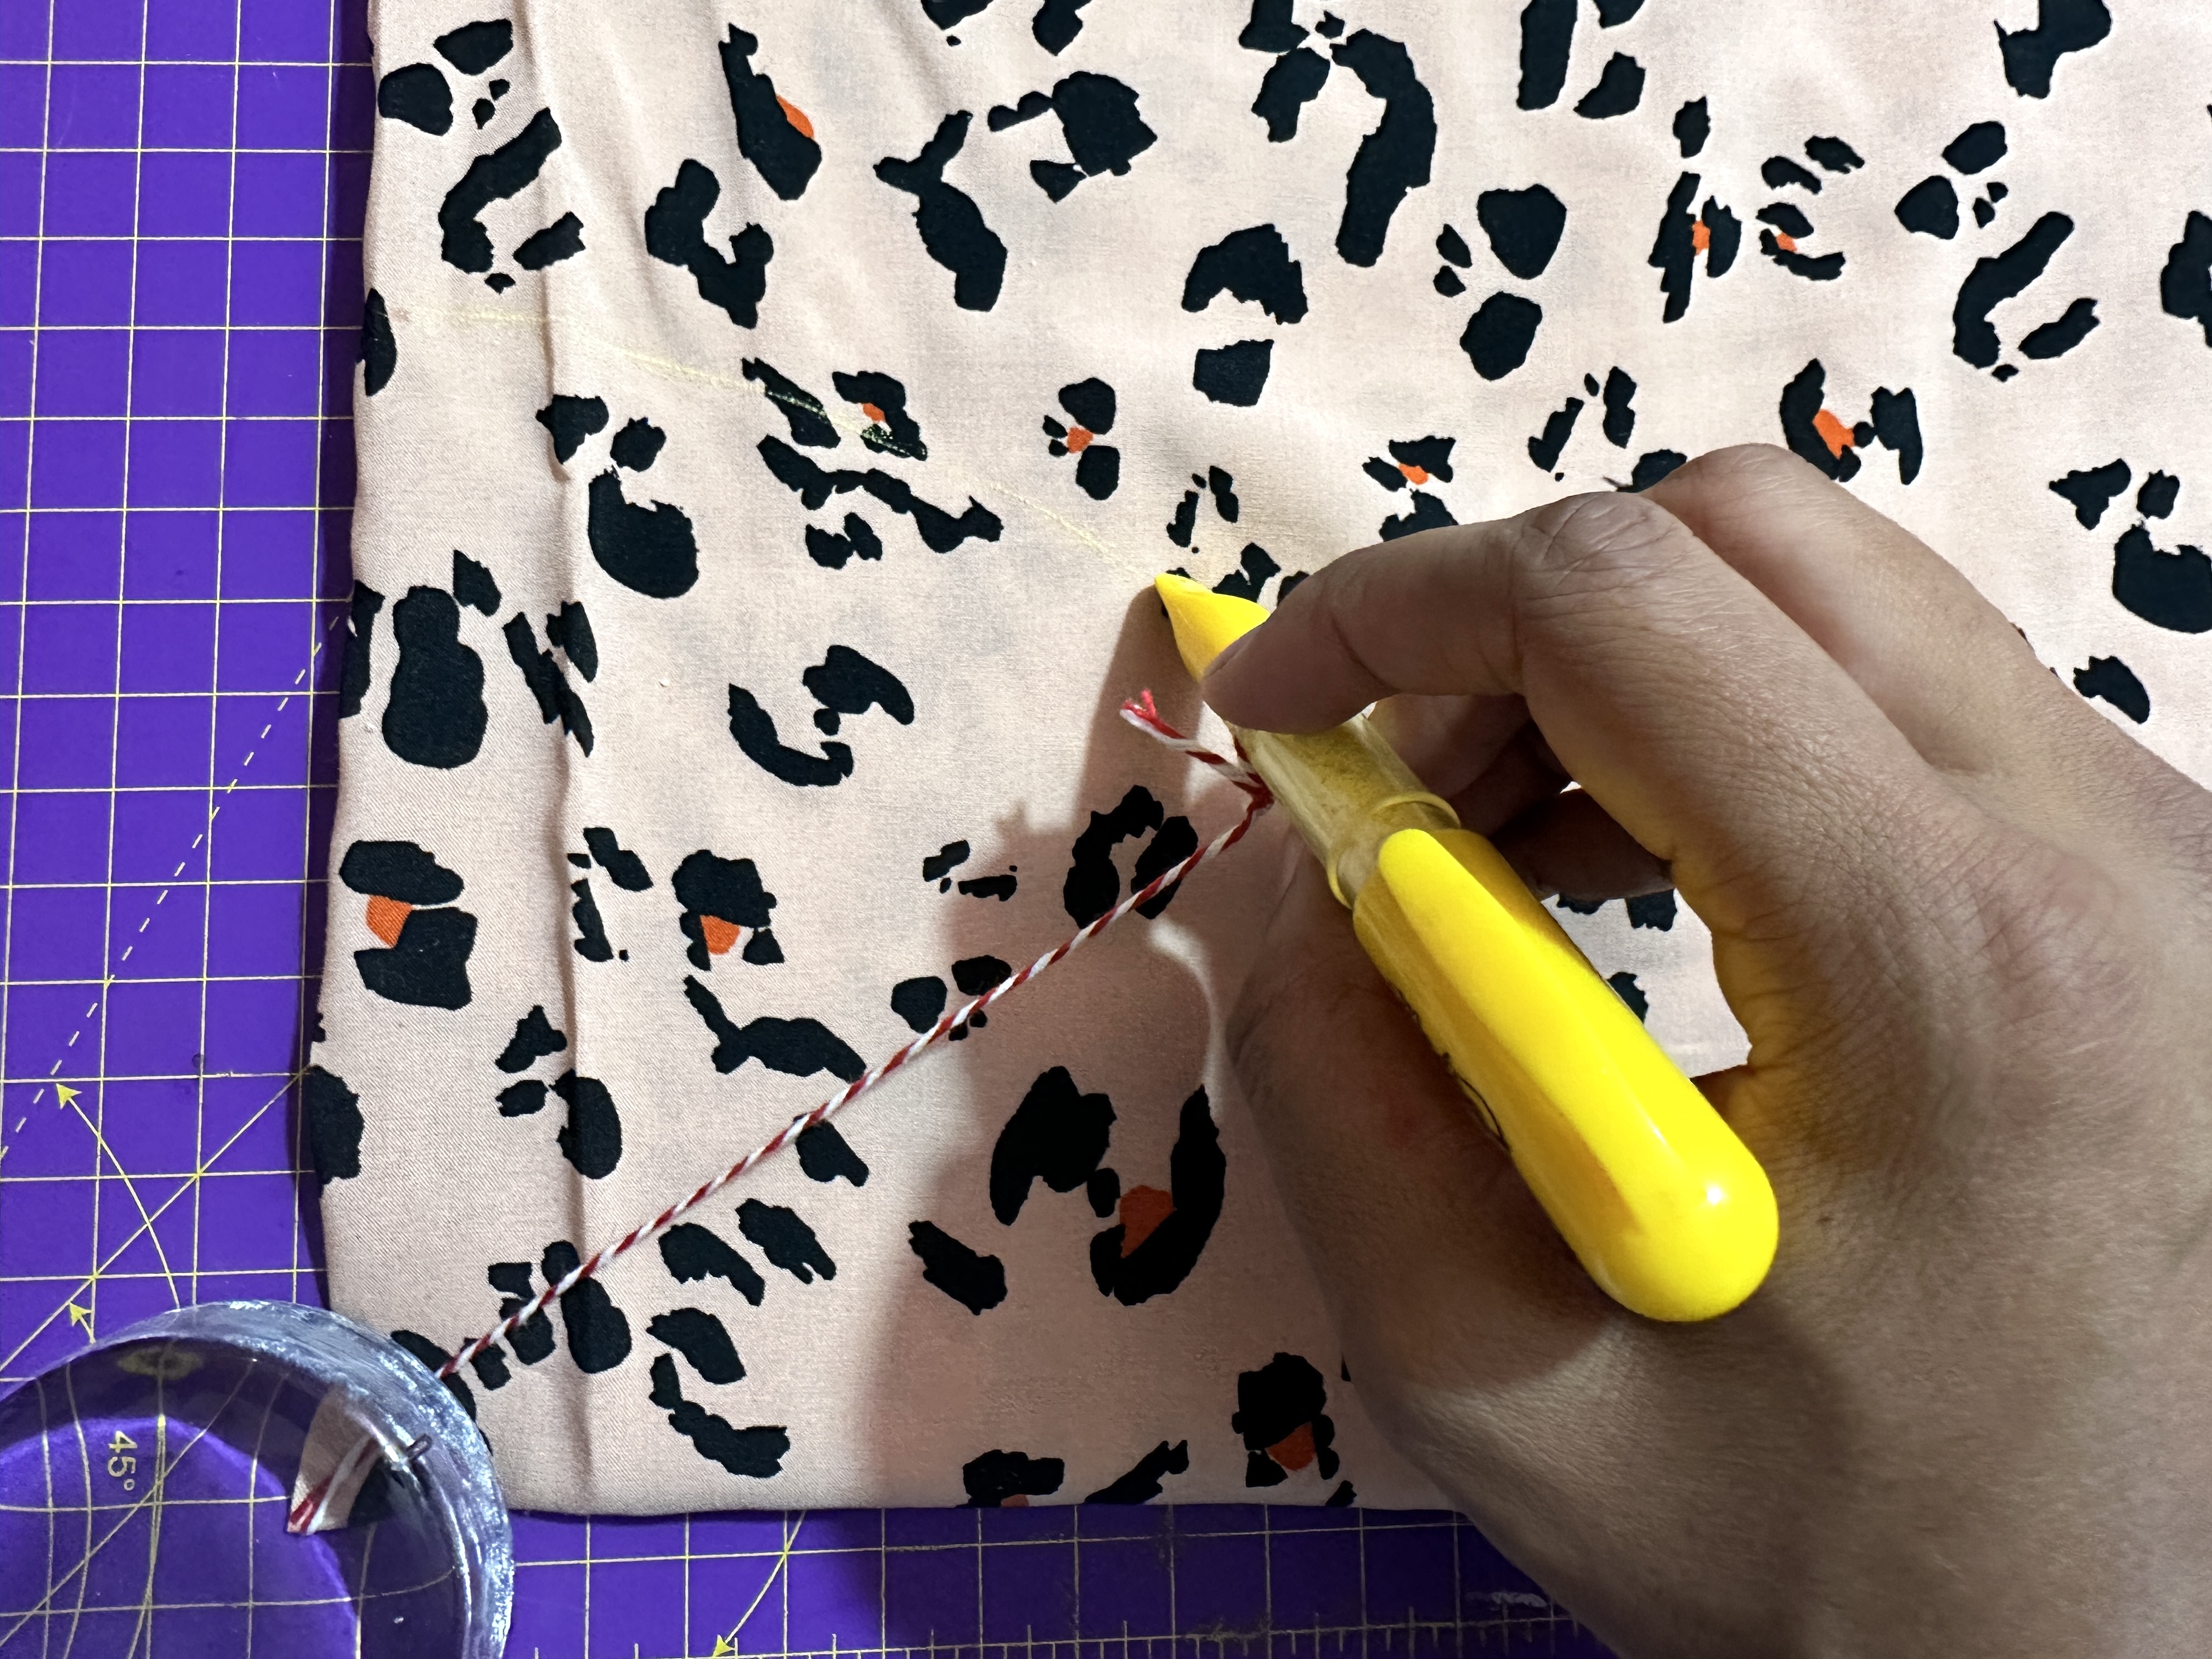
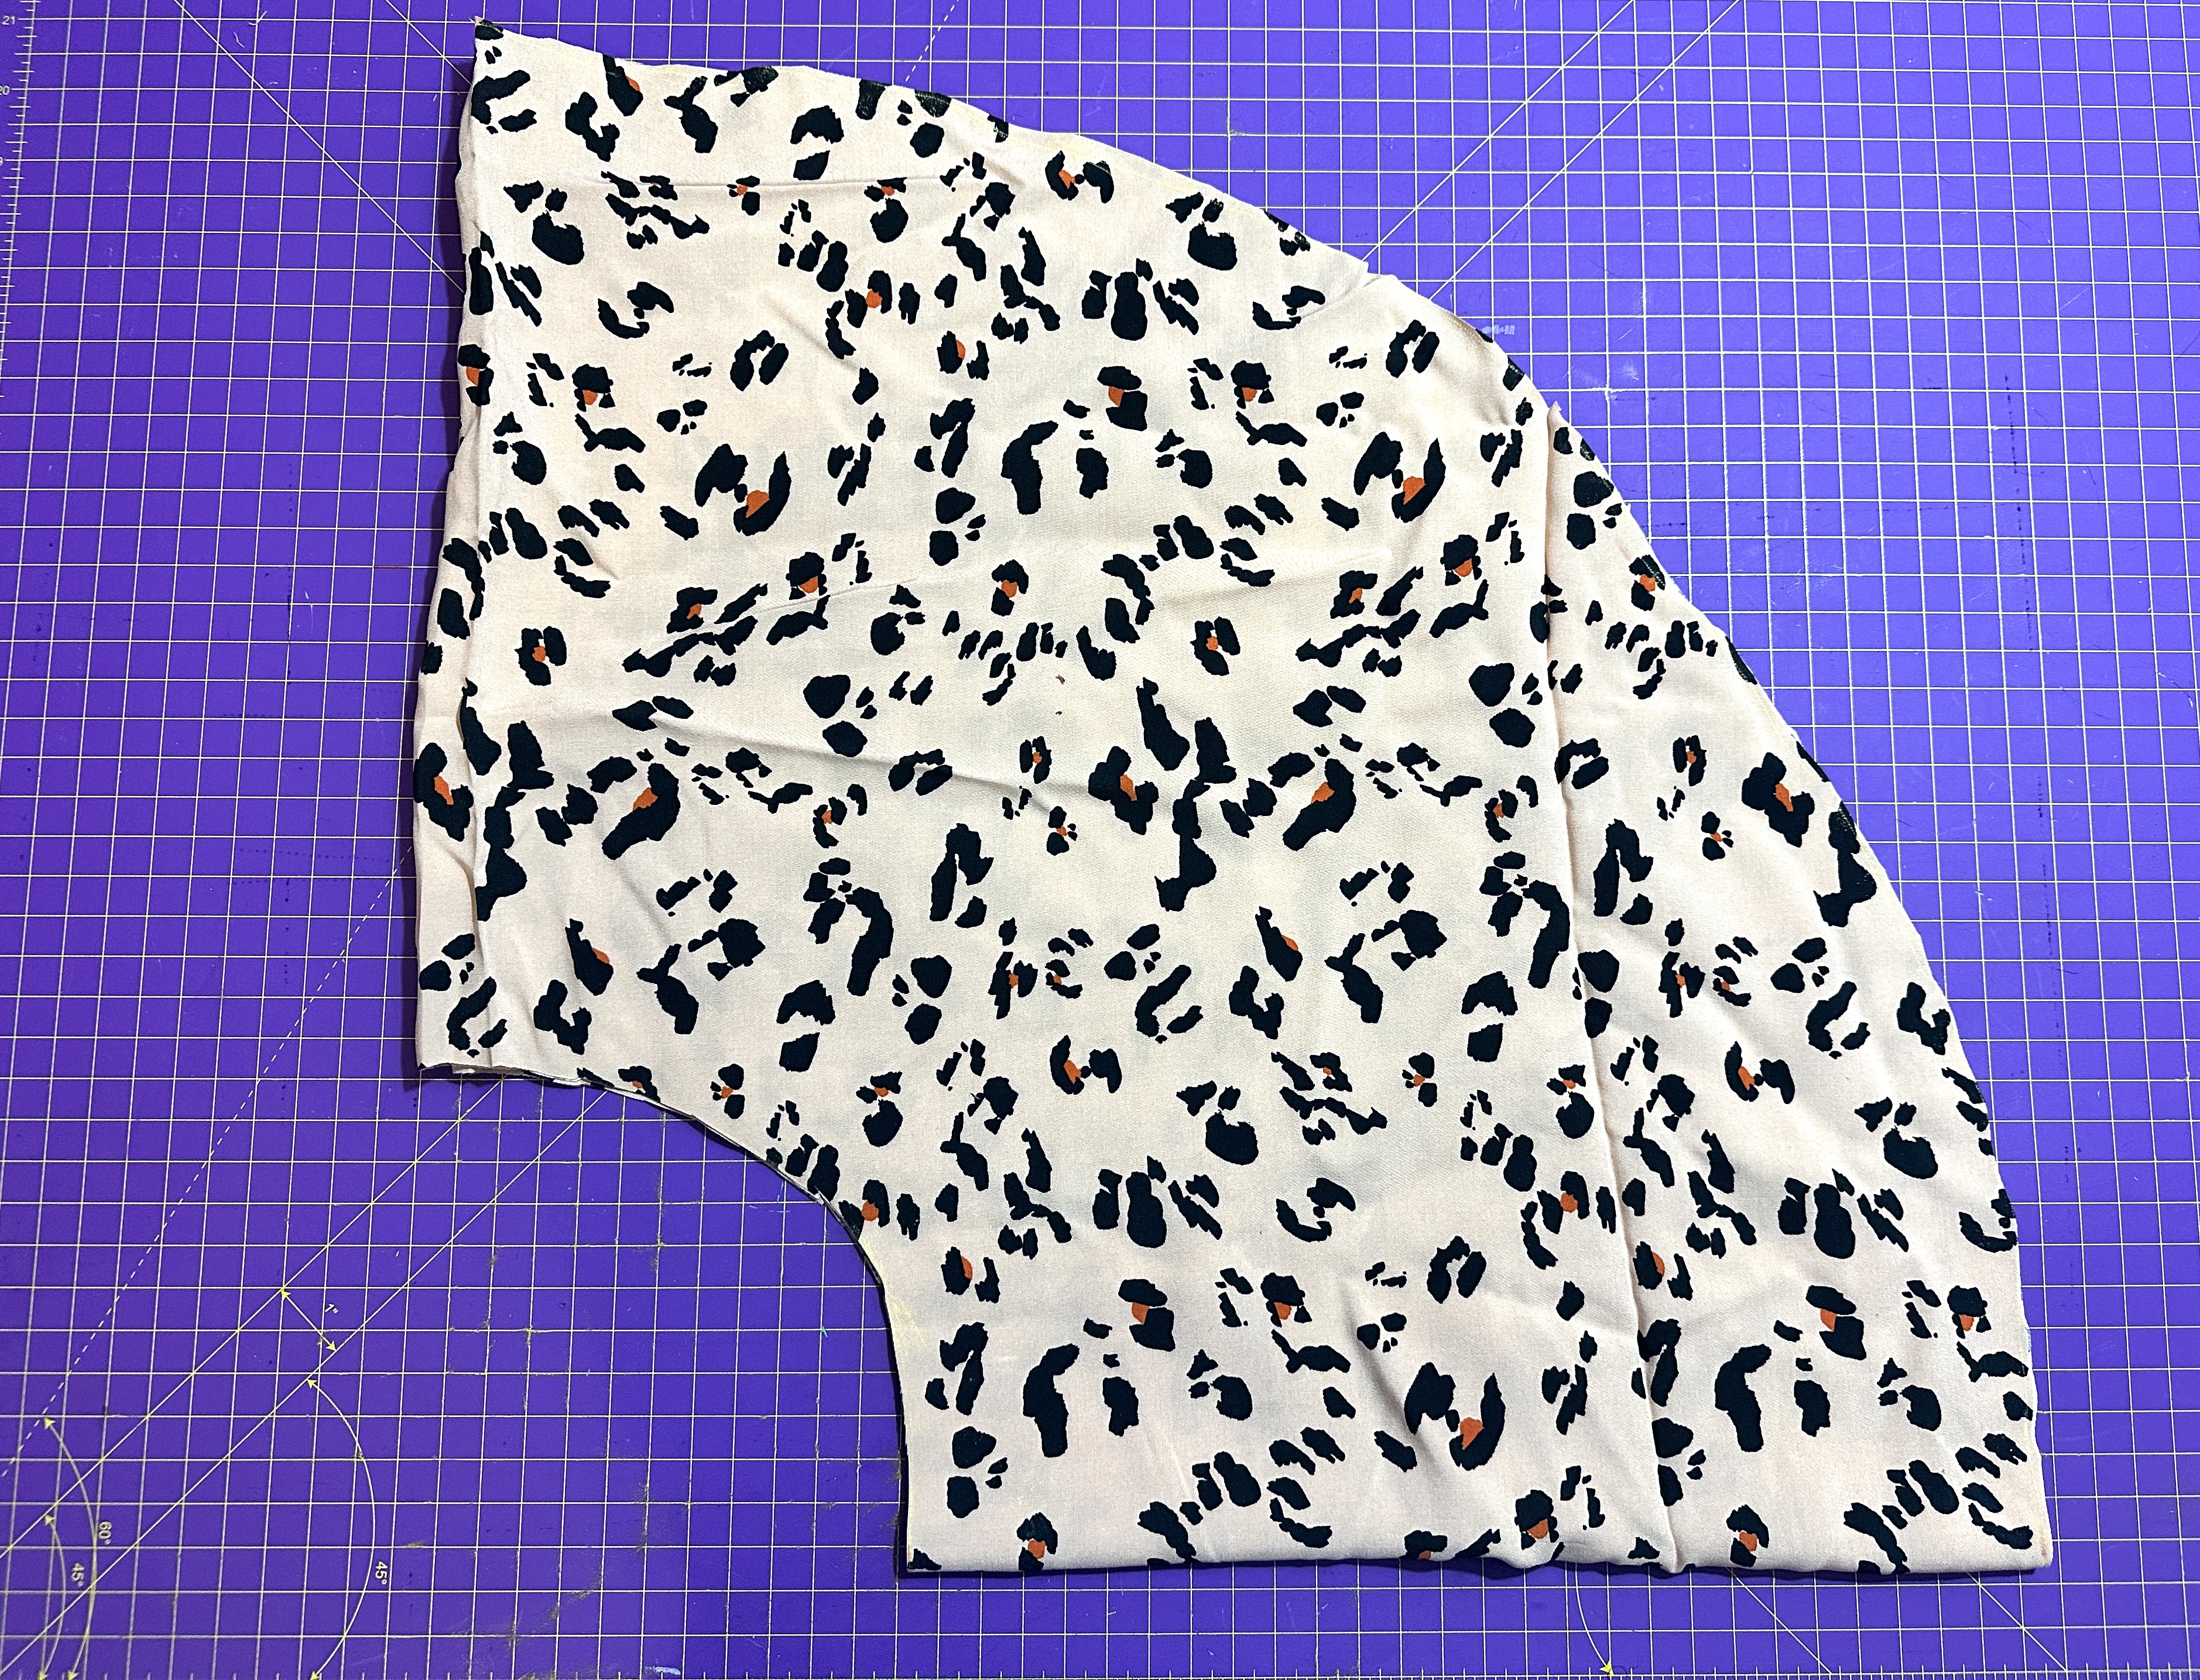
●      Place the end of the string at the corner of both folds and mark your cutting line, starting from the marking you made at one of the folds. Swing the pen over to the older fold, marking as you go.

●      Starting at the cutting line you just made. Measure down along each fold using the measurement noted as your BTH.

●      Using your BTH measurement, create your second cut line with your chalk and string the same way you did for the first cutting line.

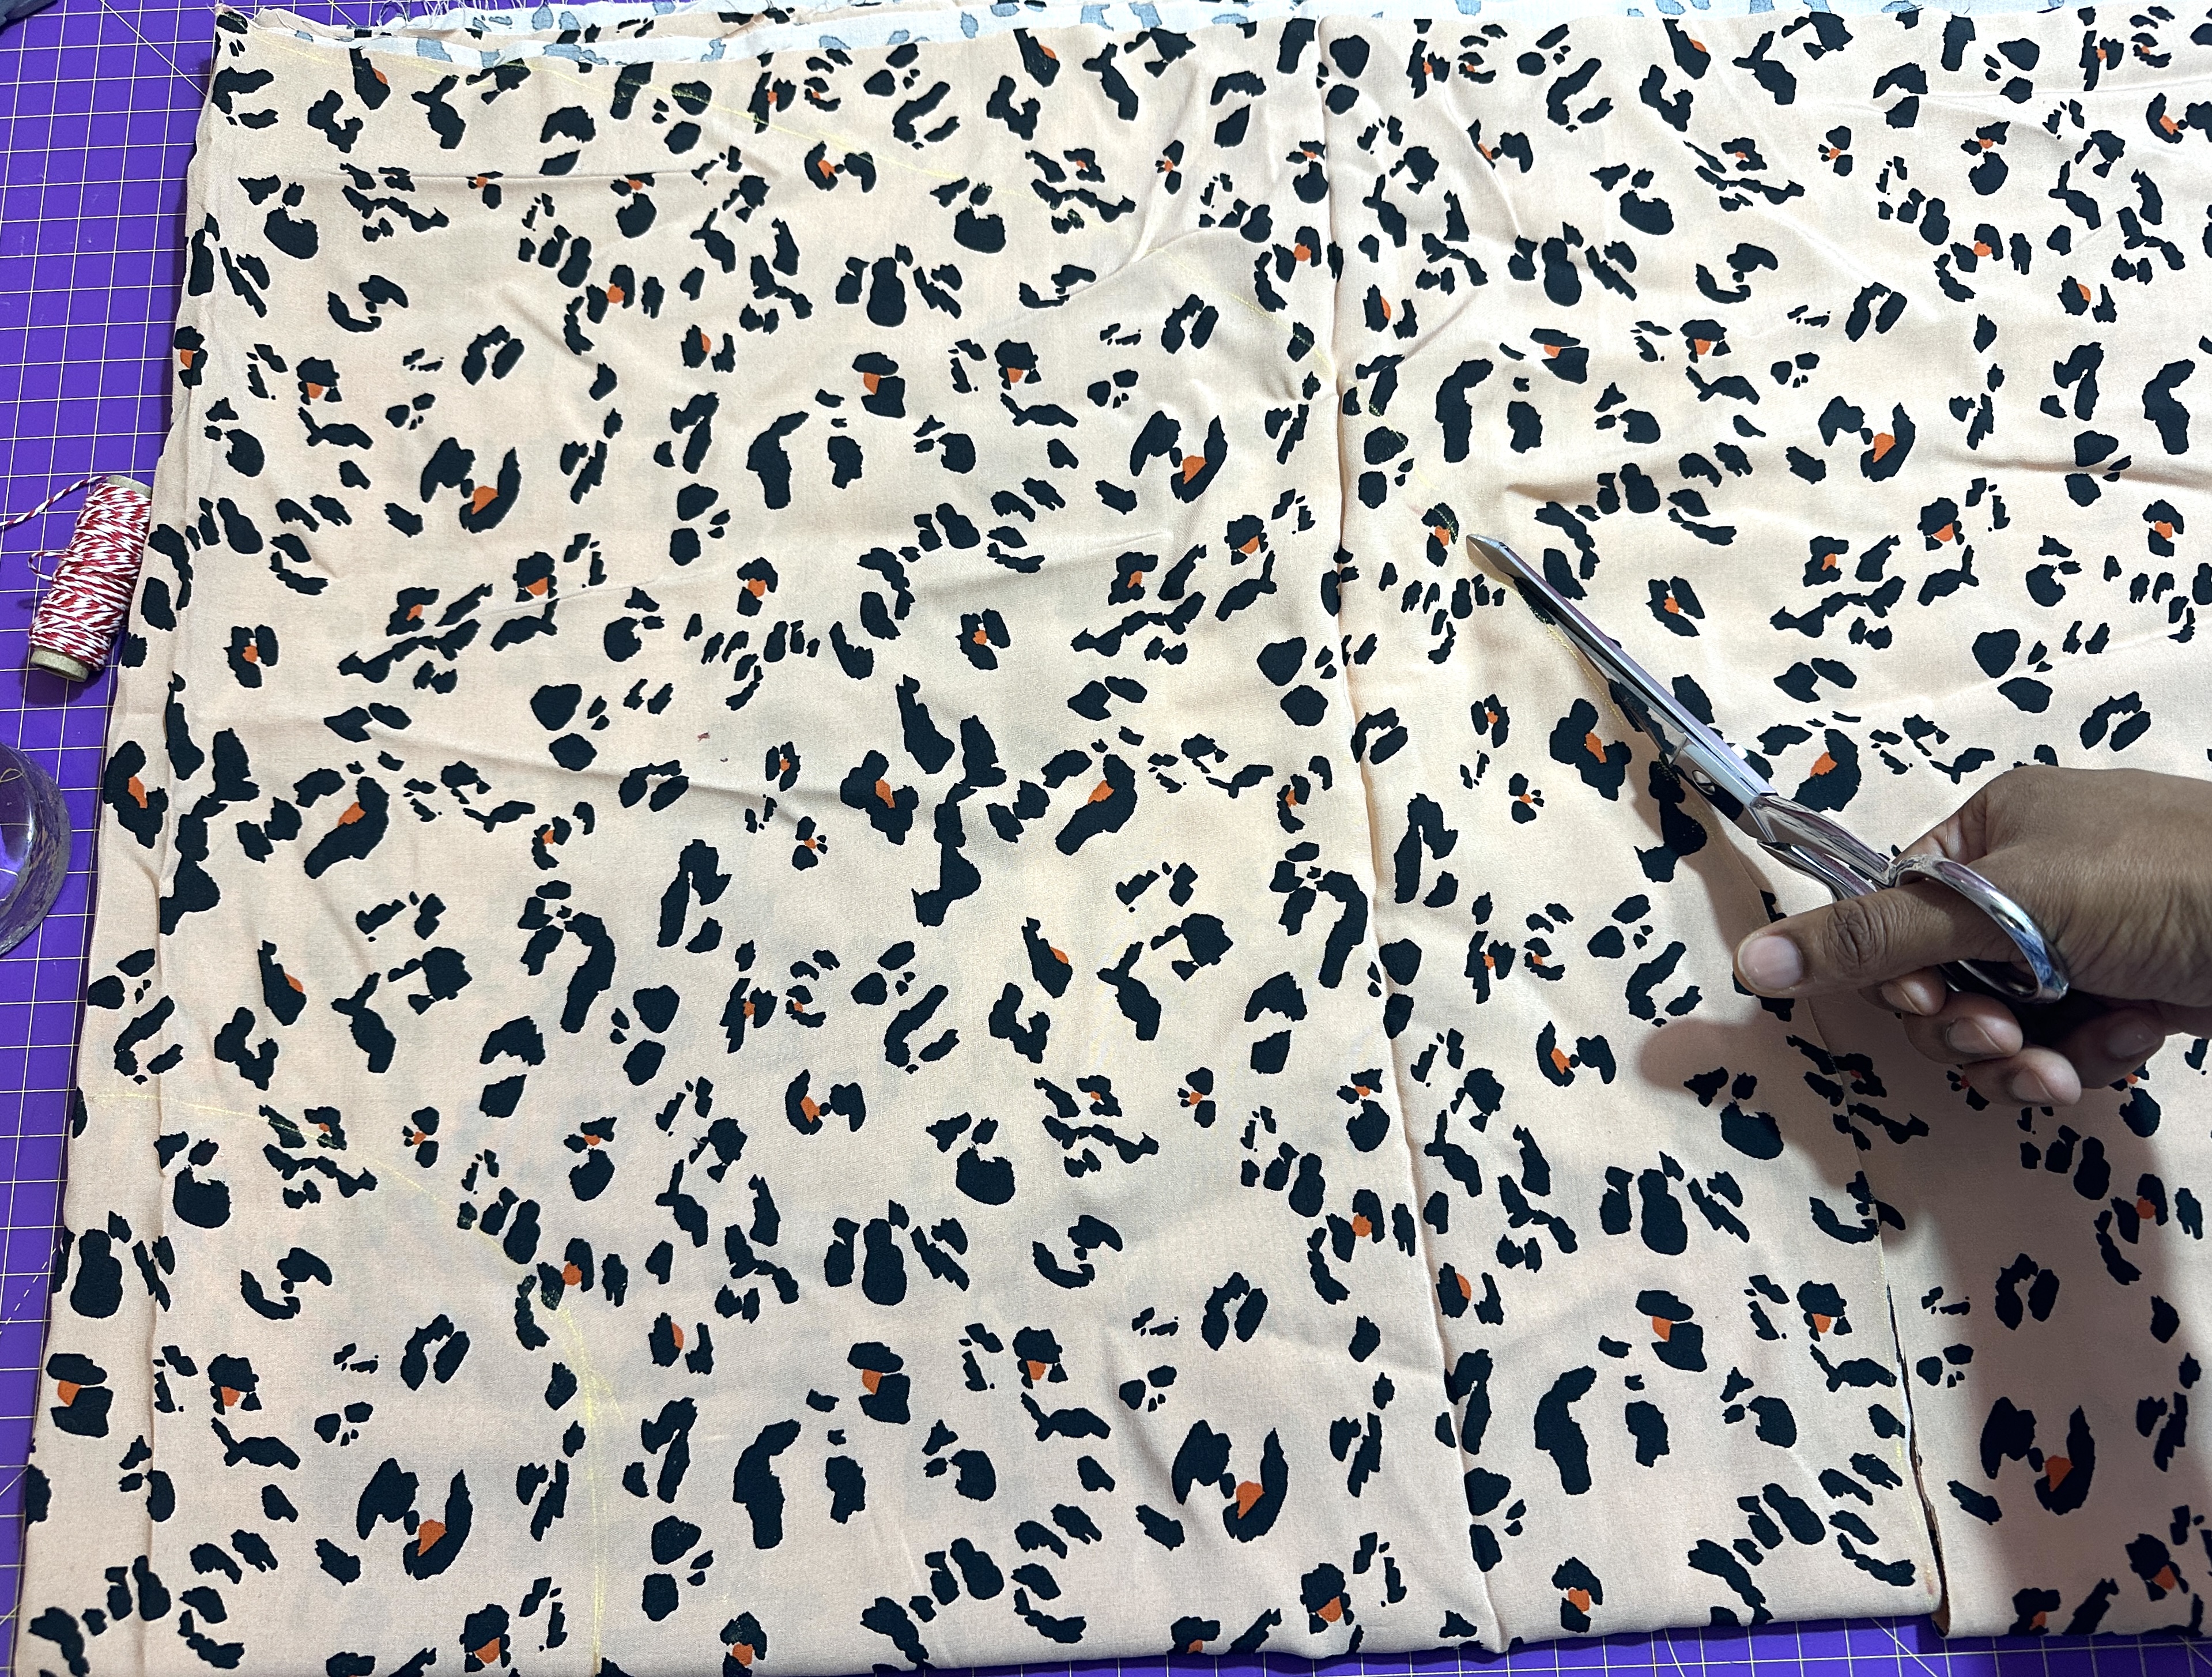
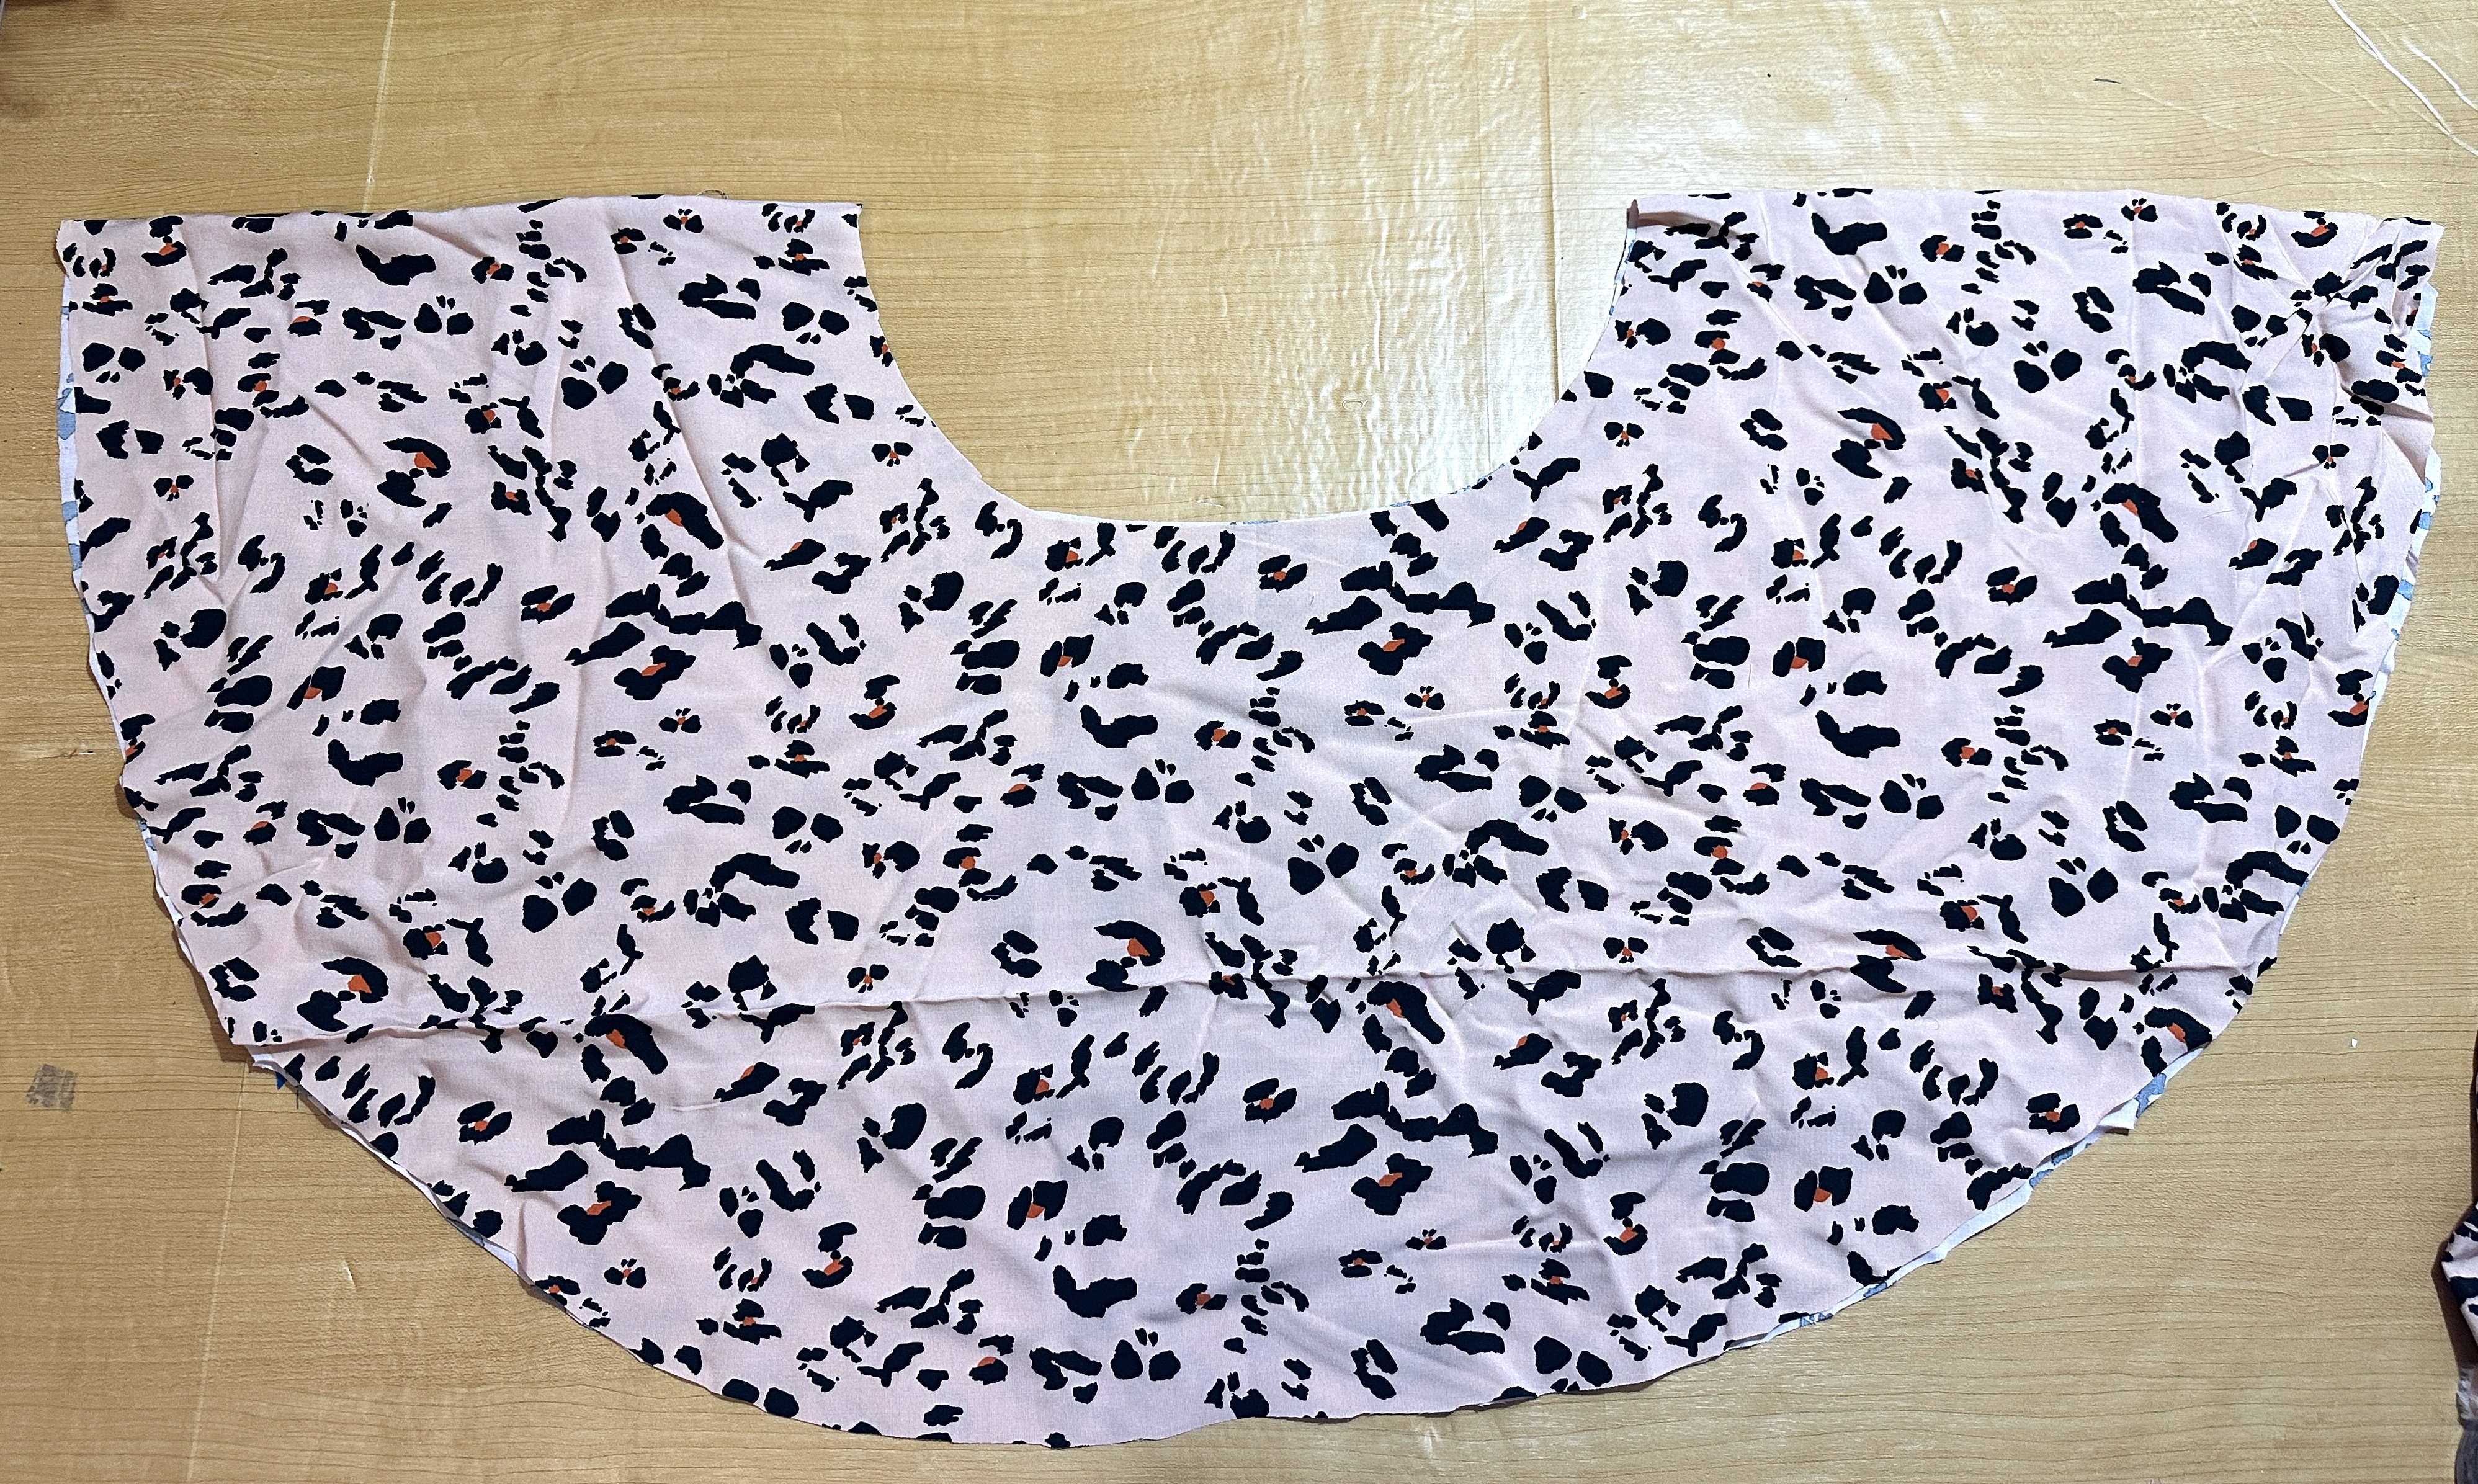
●      Now that your cut lines are marked, cut away! ( you will need to cut two separate pieces of fabric in this way for this tutorial. One will be your main fabric, and the other will be the lining)

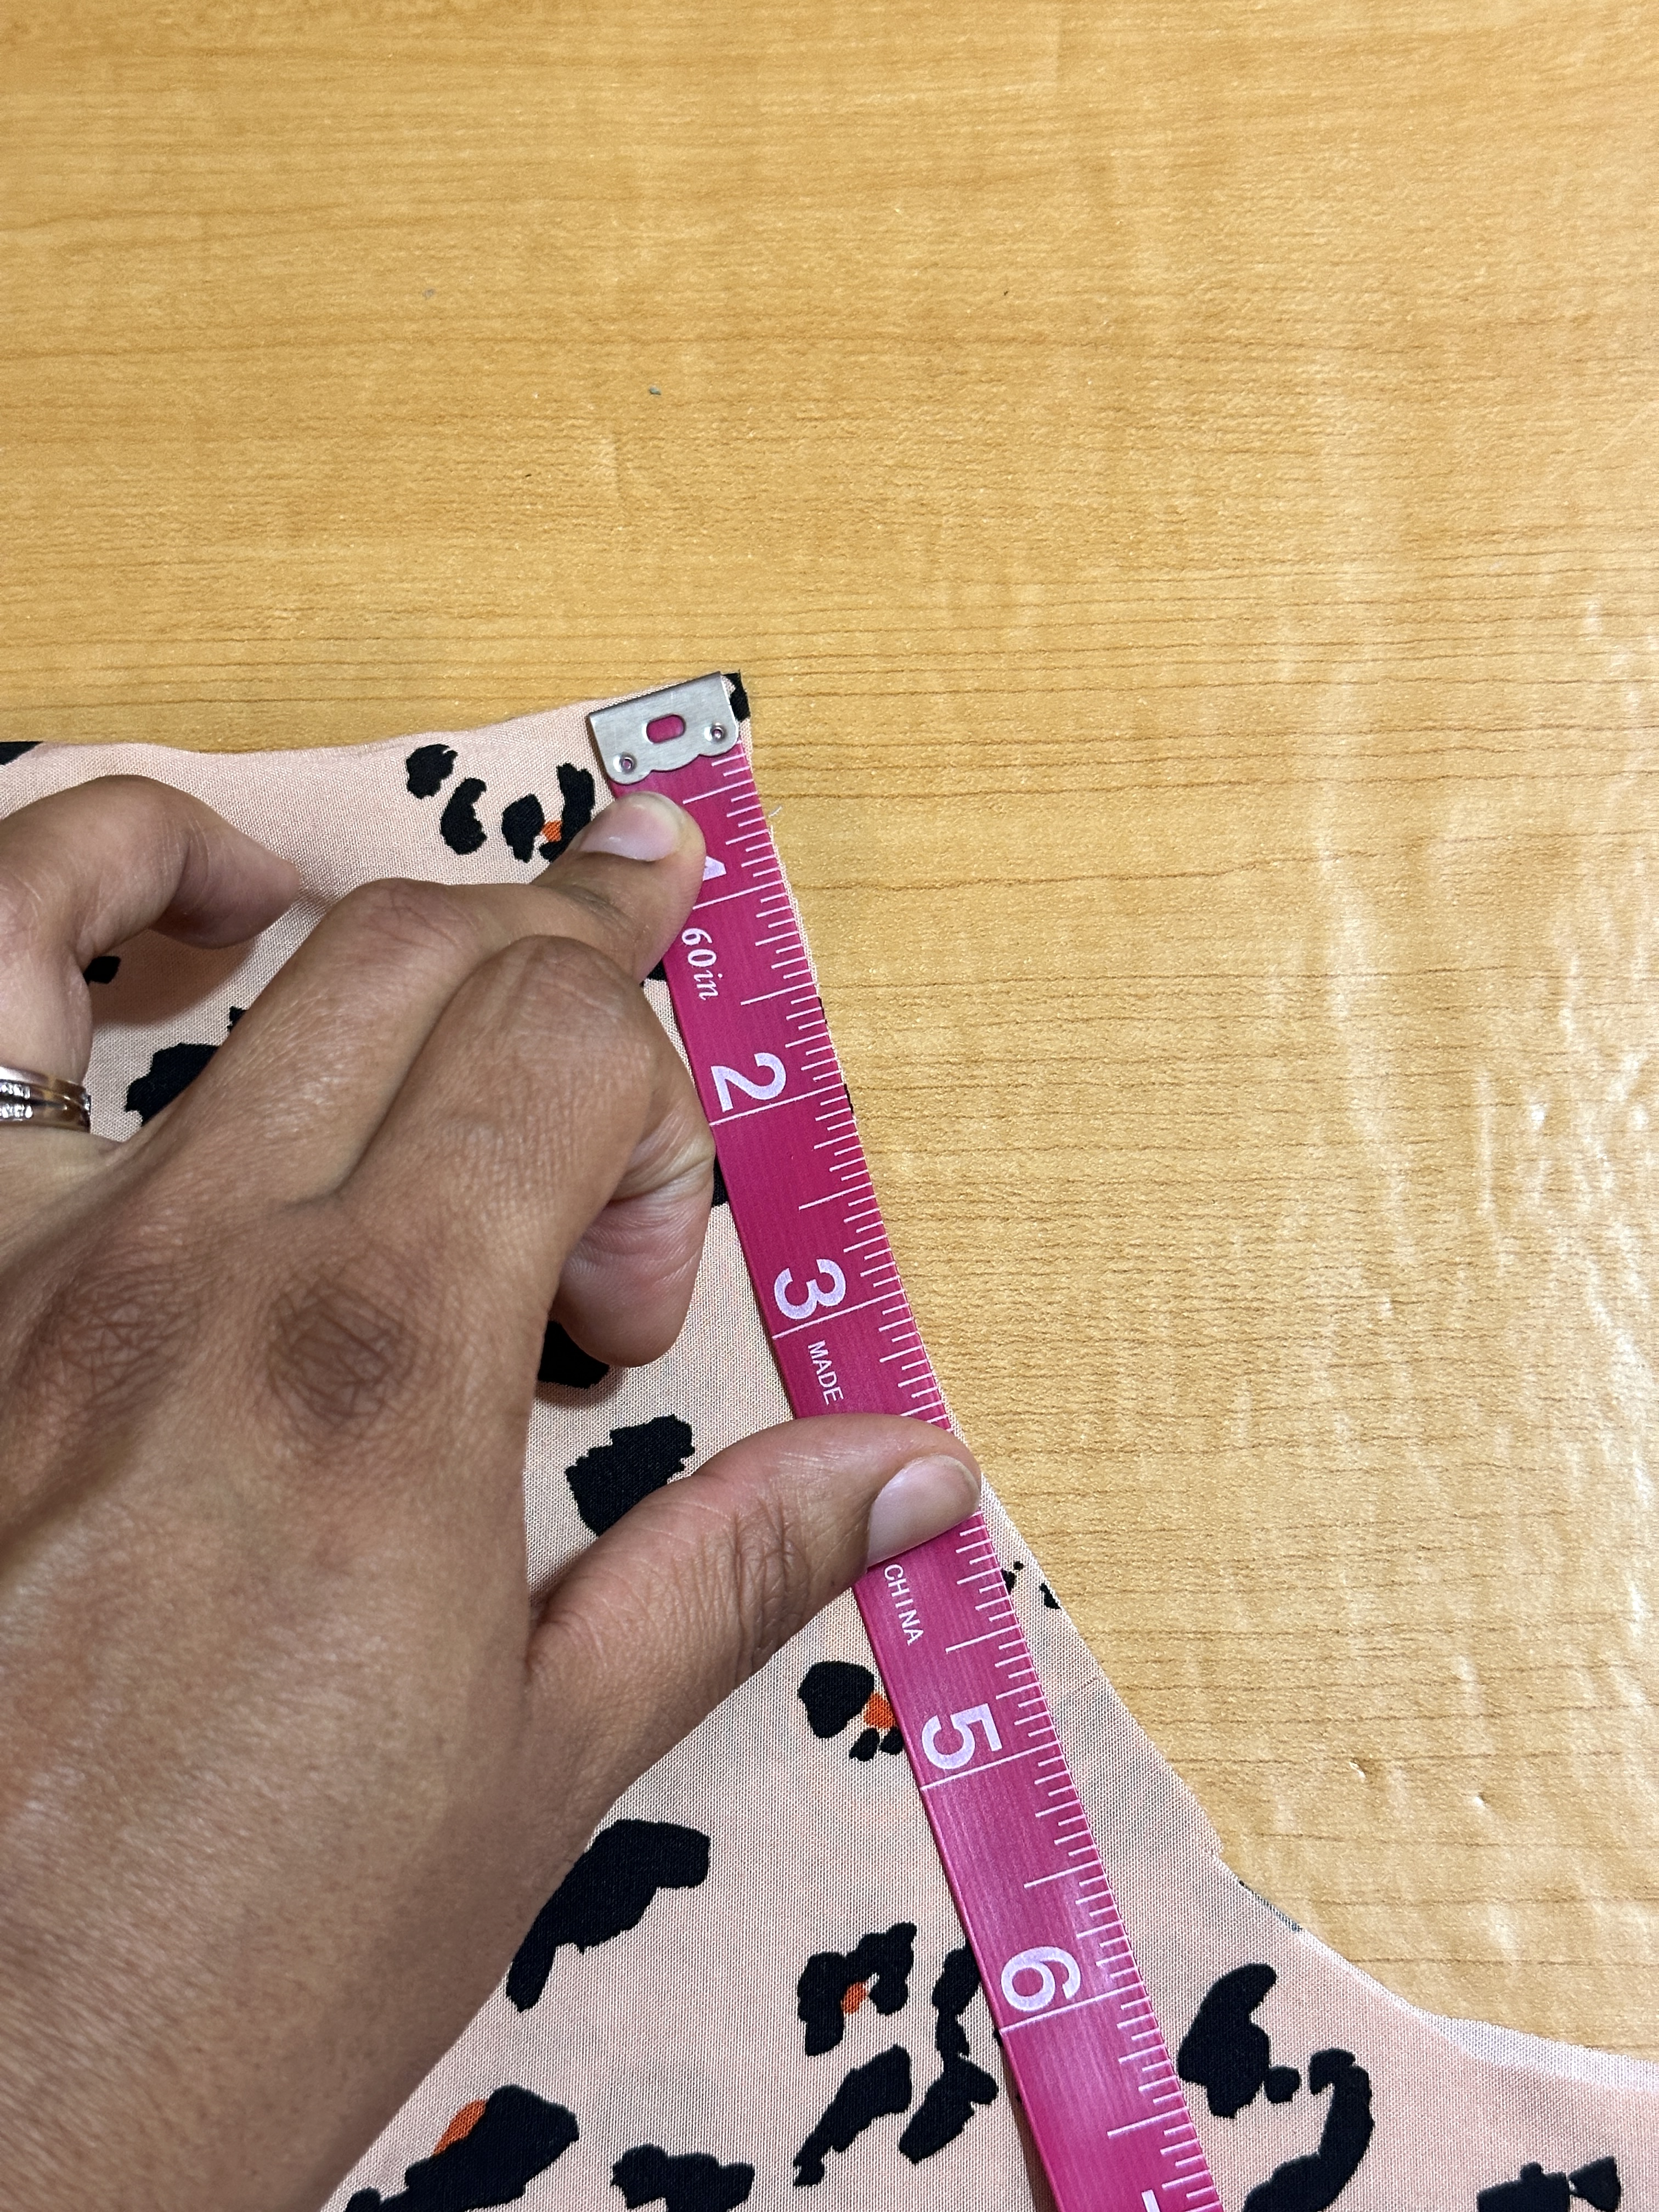
●      To mark our strap placements, open the fabric once.

●      From each folded end, measure inwards 5” and make a notch, snipping within the seam allowance. This will be where we attach our straps at a later step.

Now here’s how to put your shirt together: For reference, I will be using a ½” seam allowance

1, Determine which layer will be the lining and which will be the main fabric

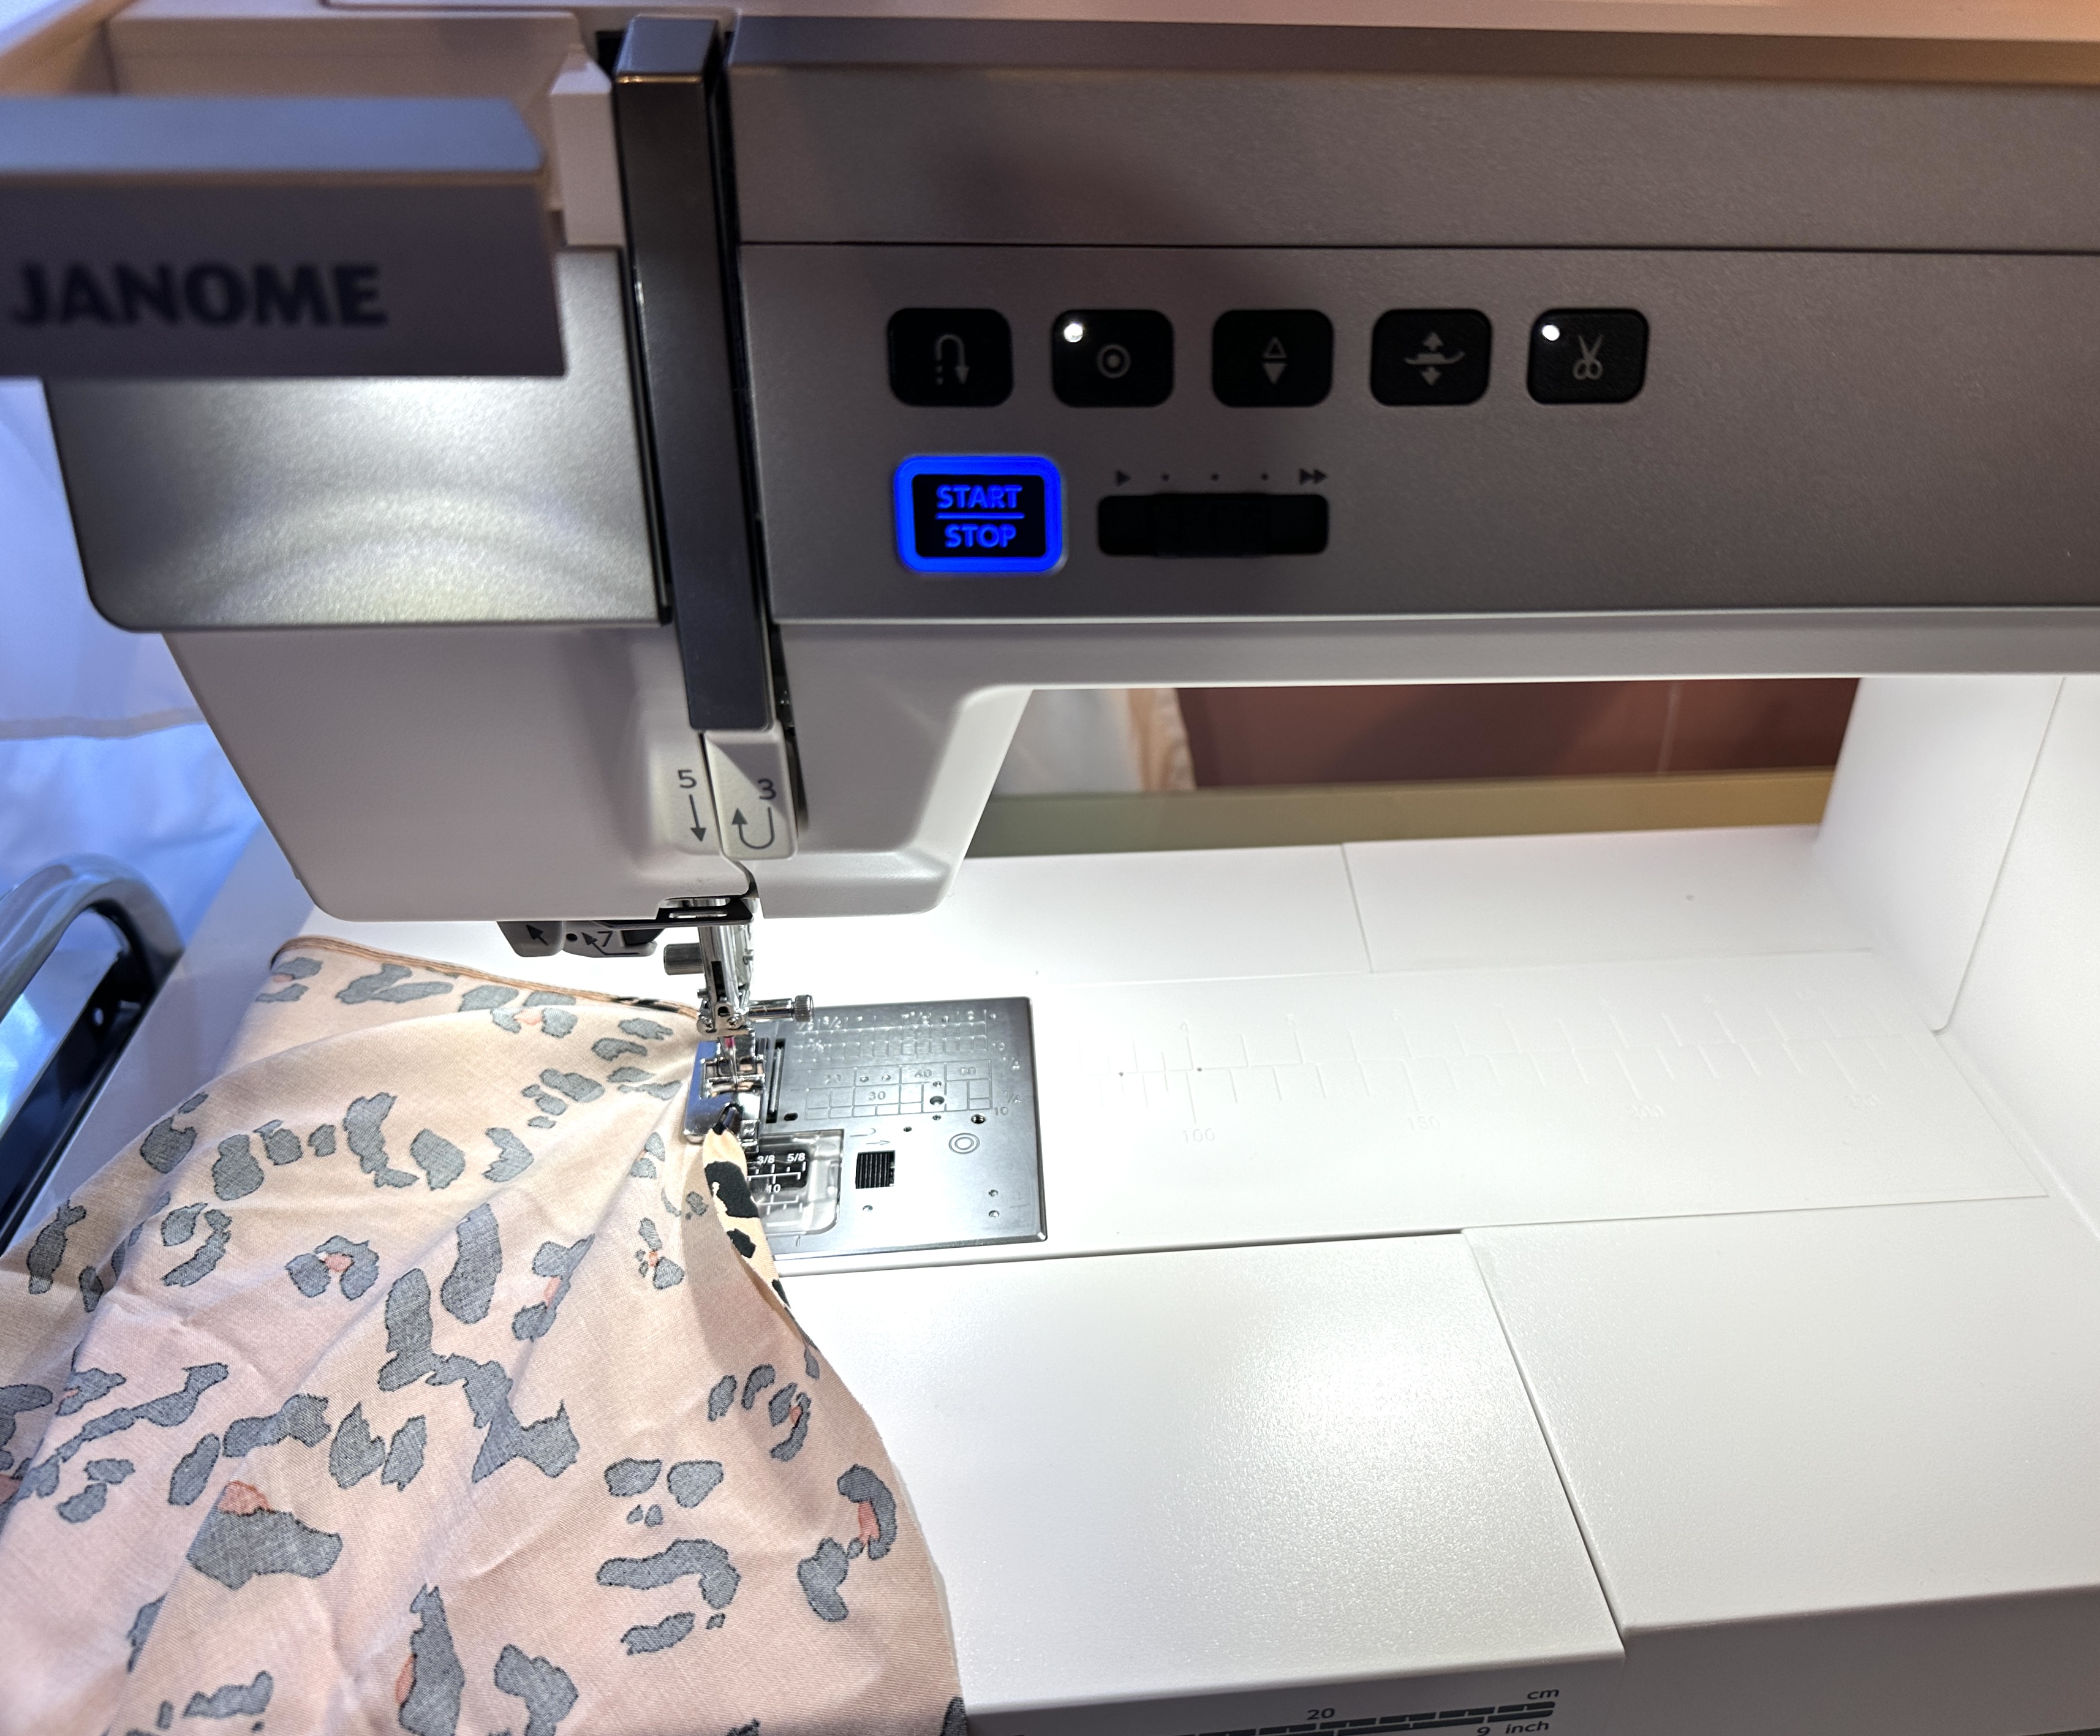
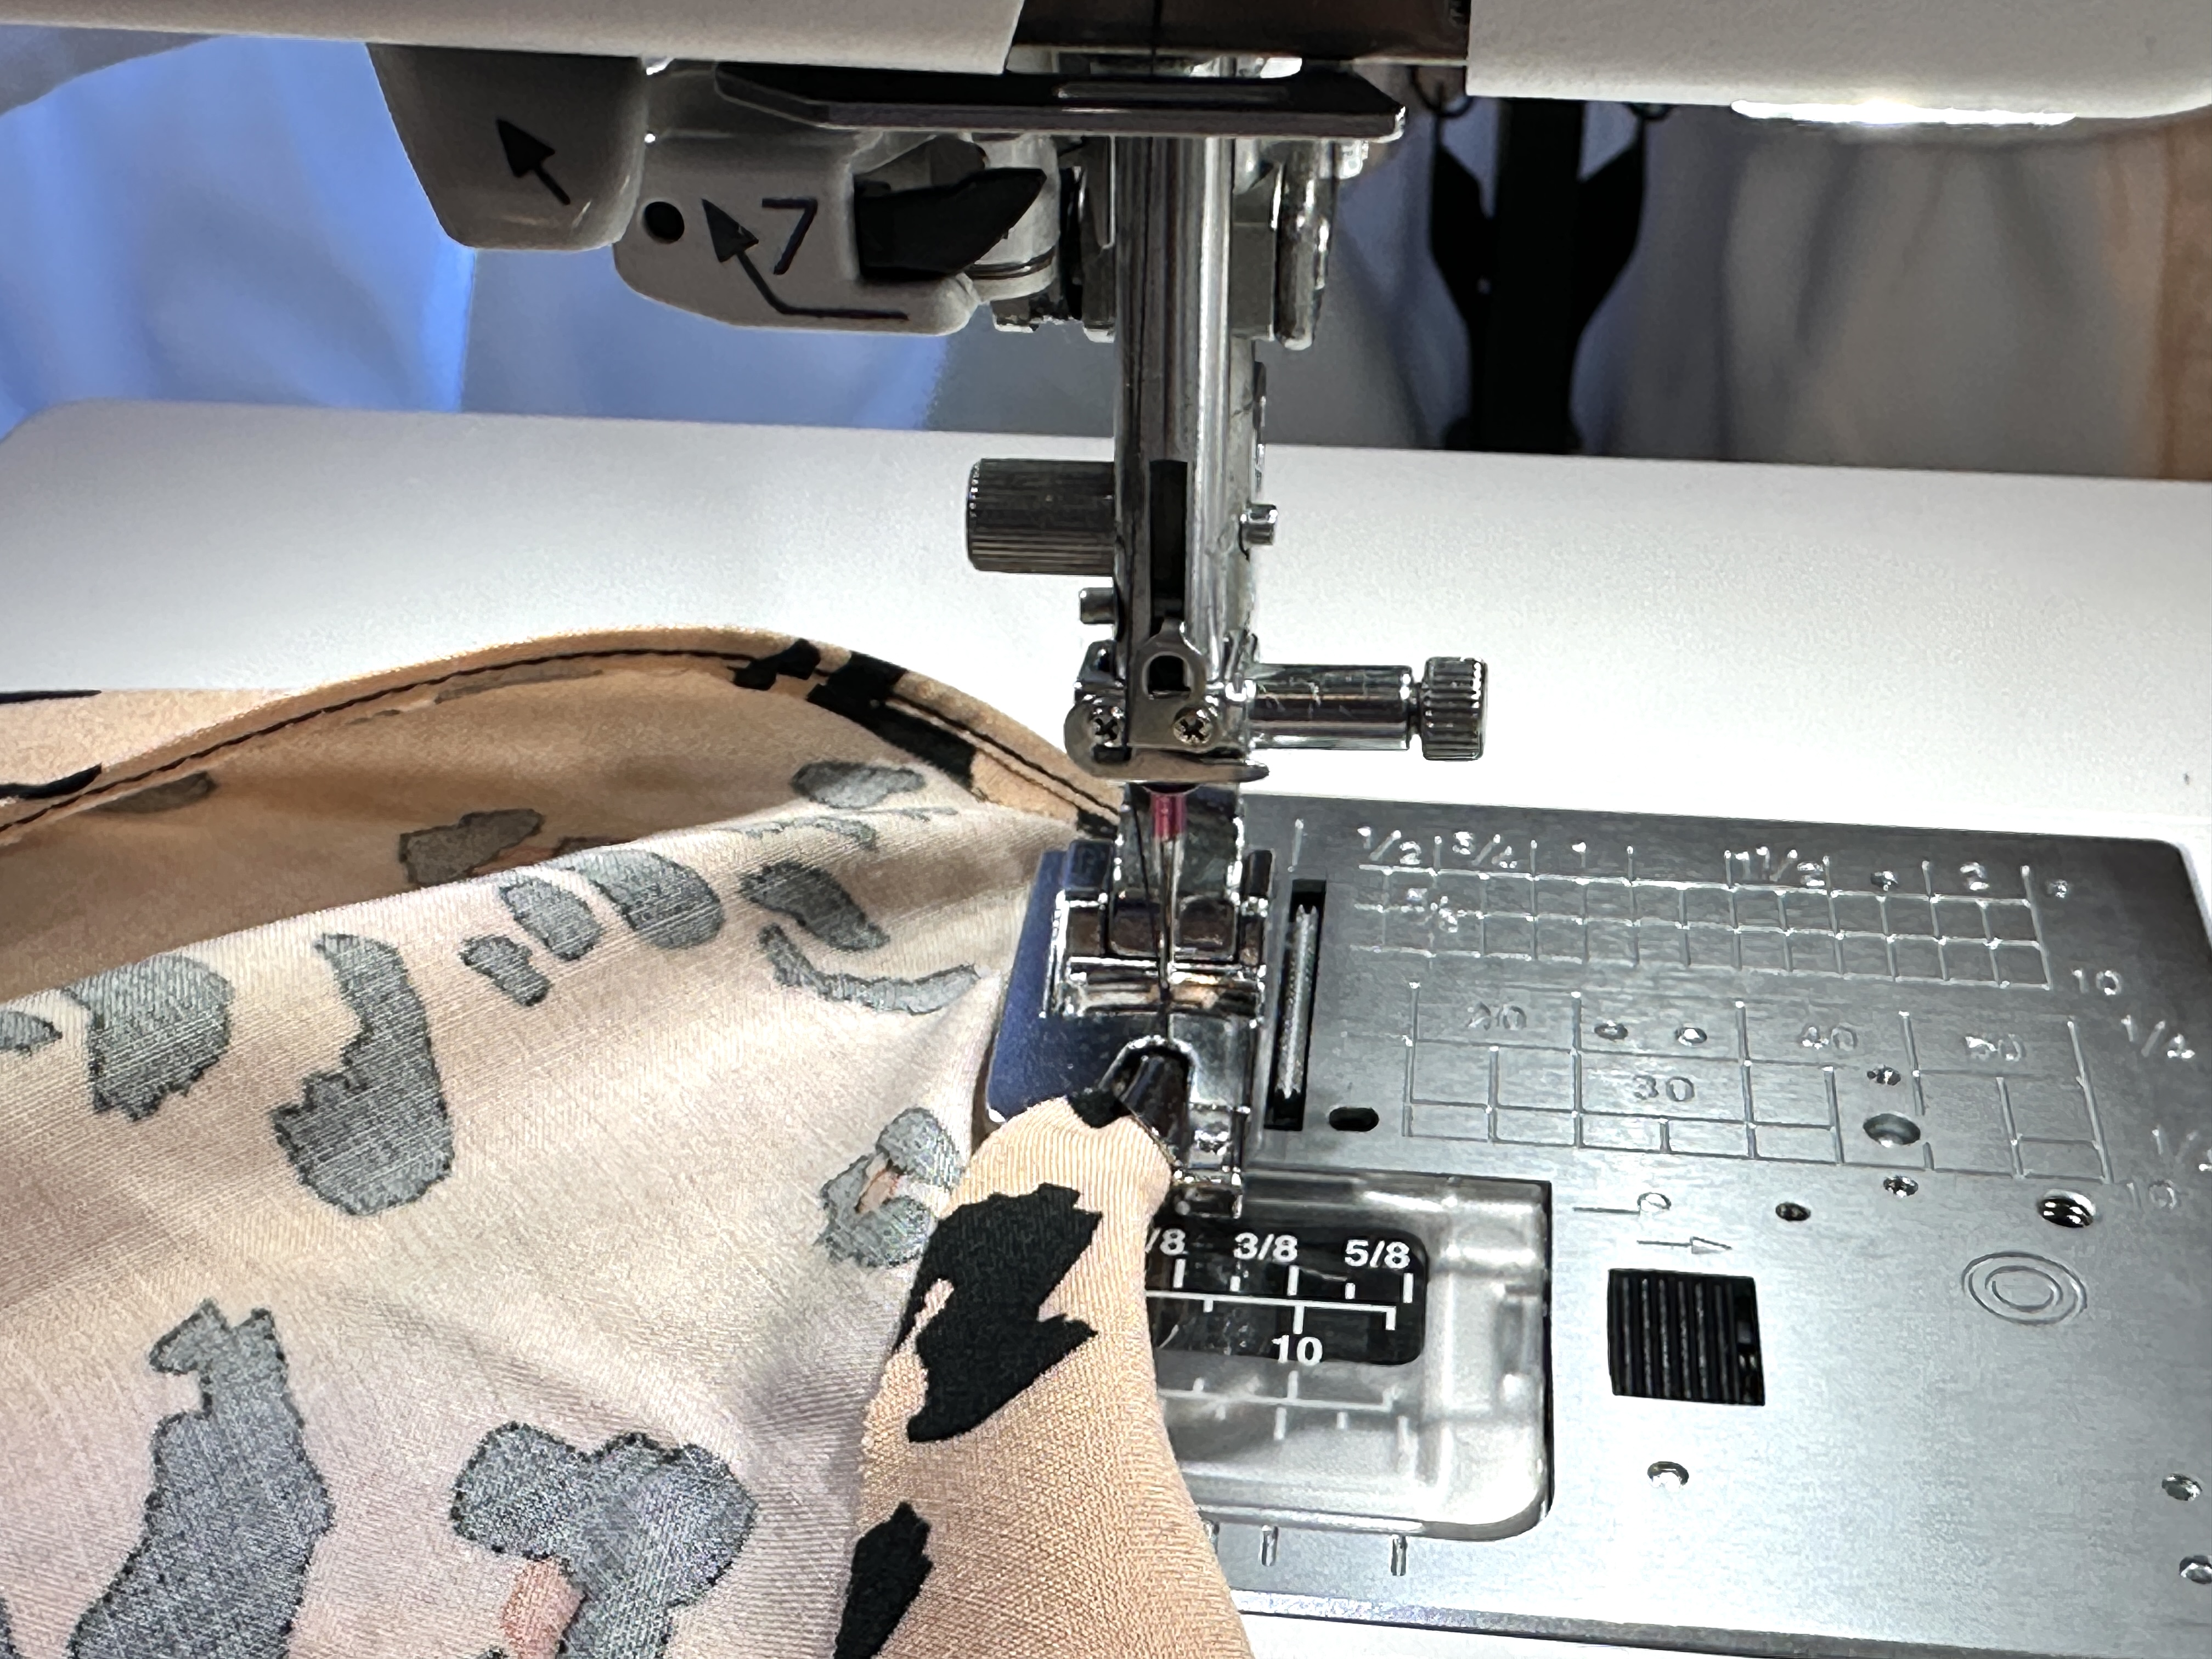
2. Roll hem both the lining and main fabric pieces. The Easiest way to do this is to use the roll hem foot included with your Horizon Memory Craft 9480 QC. You can find specific instructions on how to use it in the manual) 

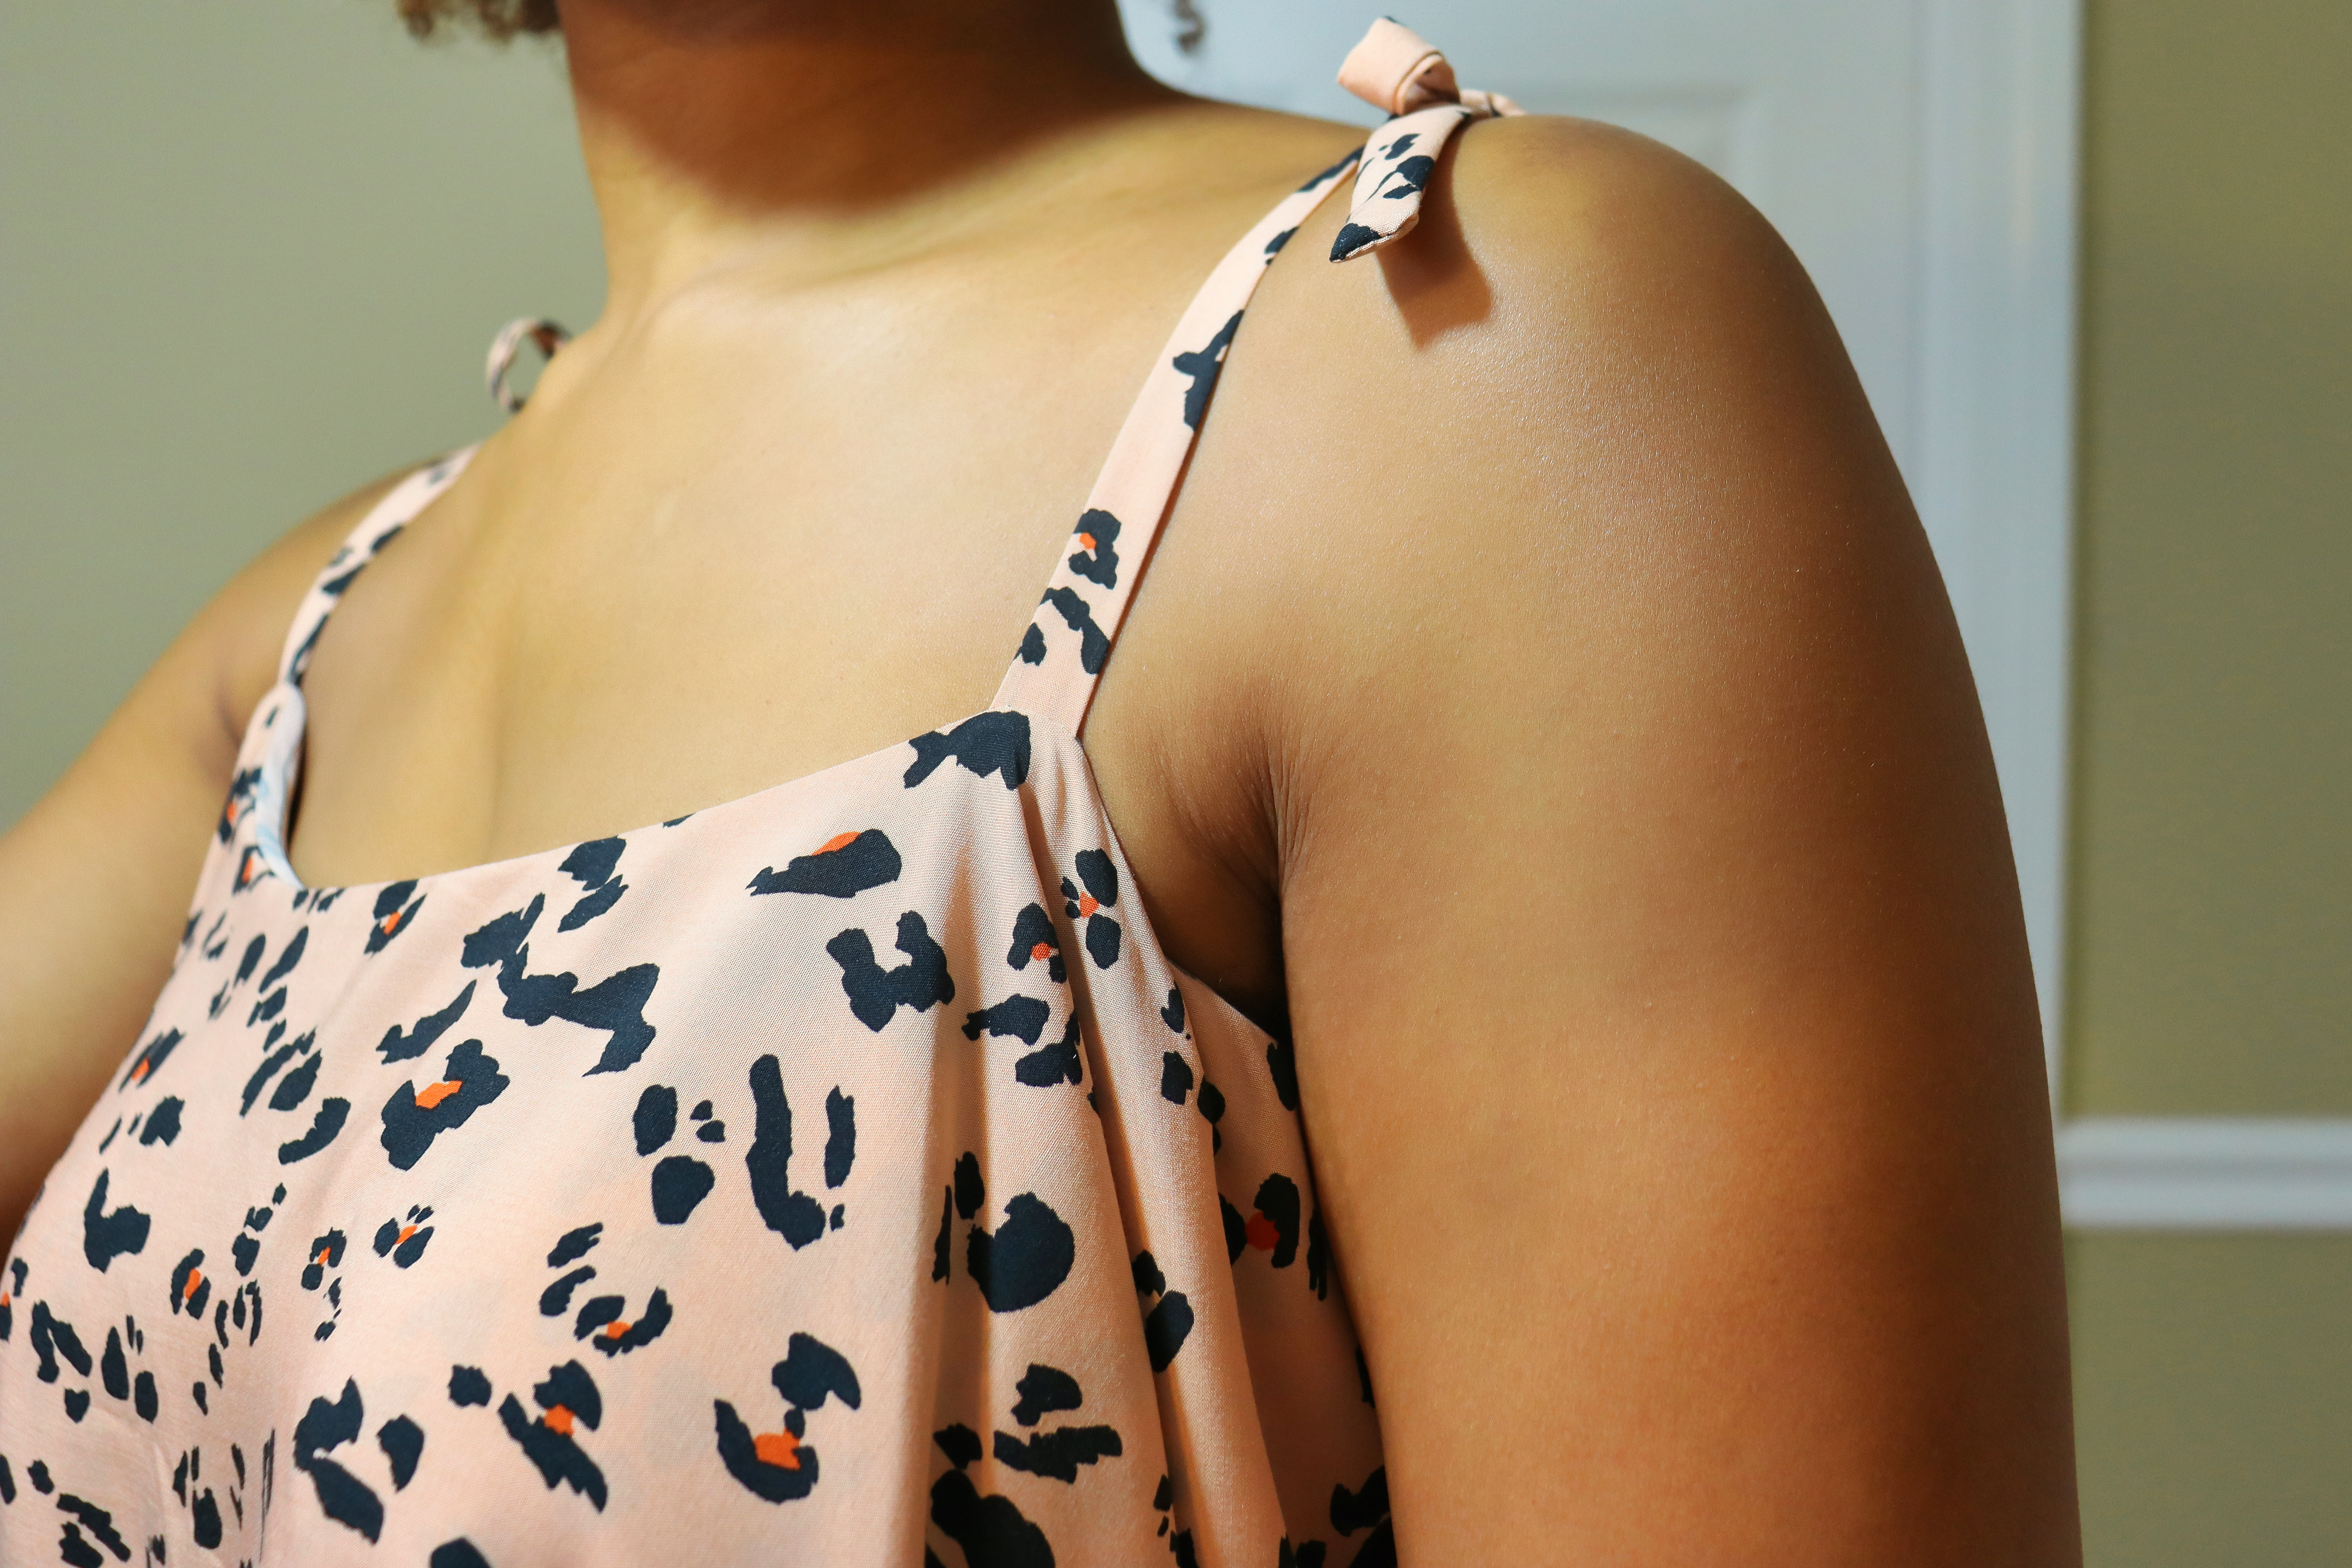
3. Create the straps by cutting 4 pieces of fabric that measure 2” wide with a length that measures your result from  MEASUREMENT 3 .

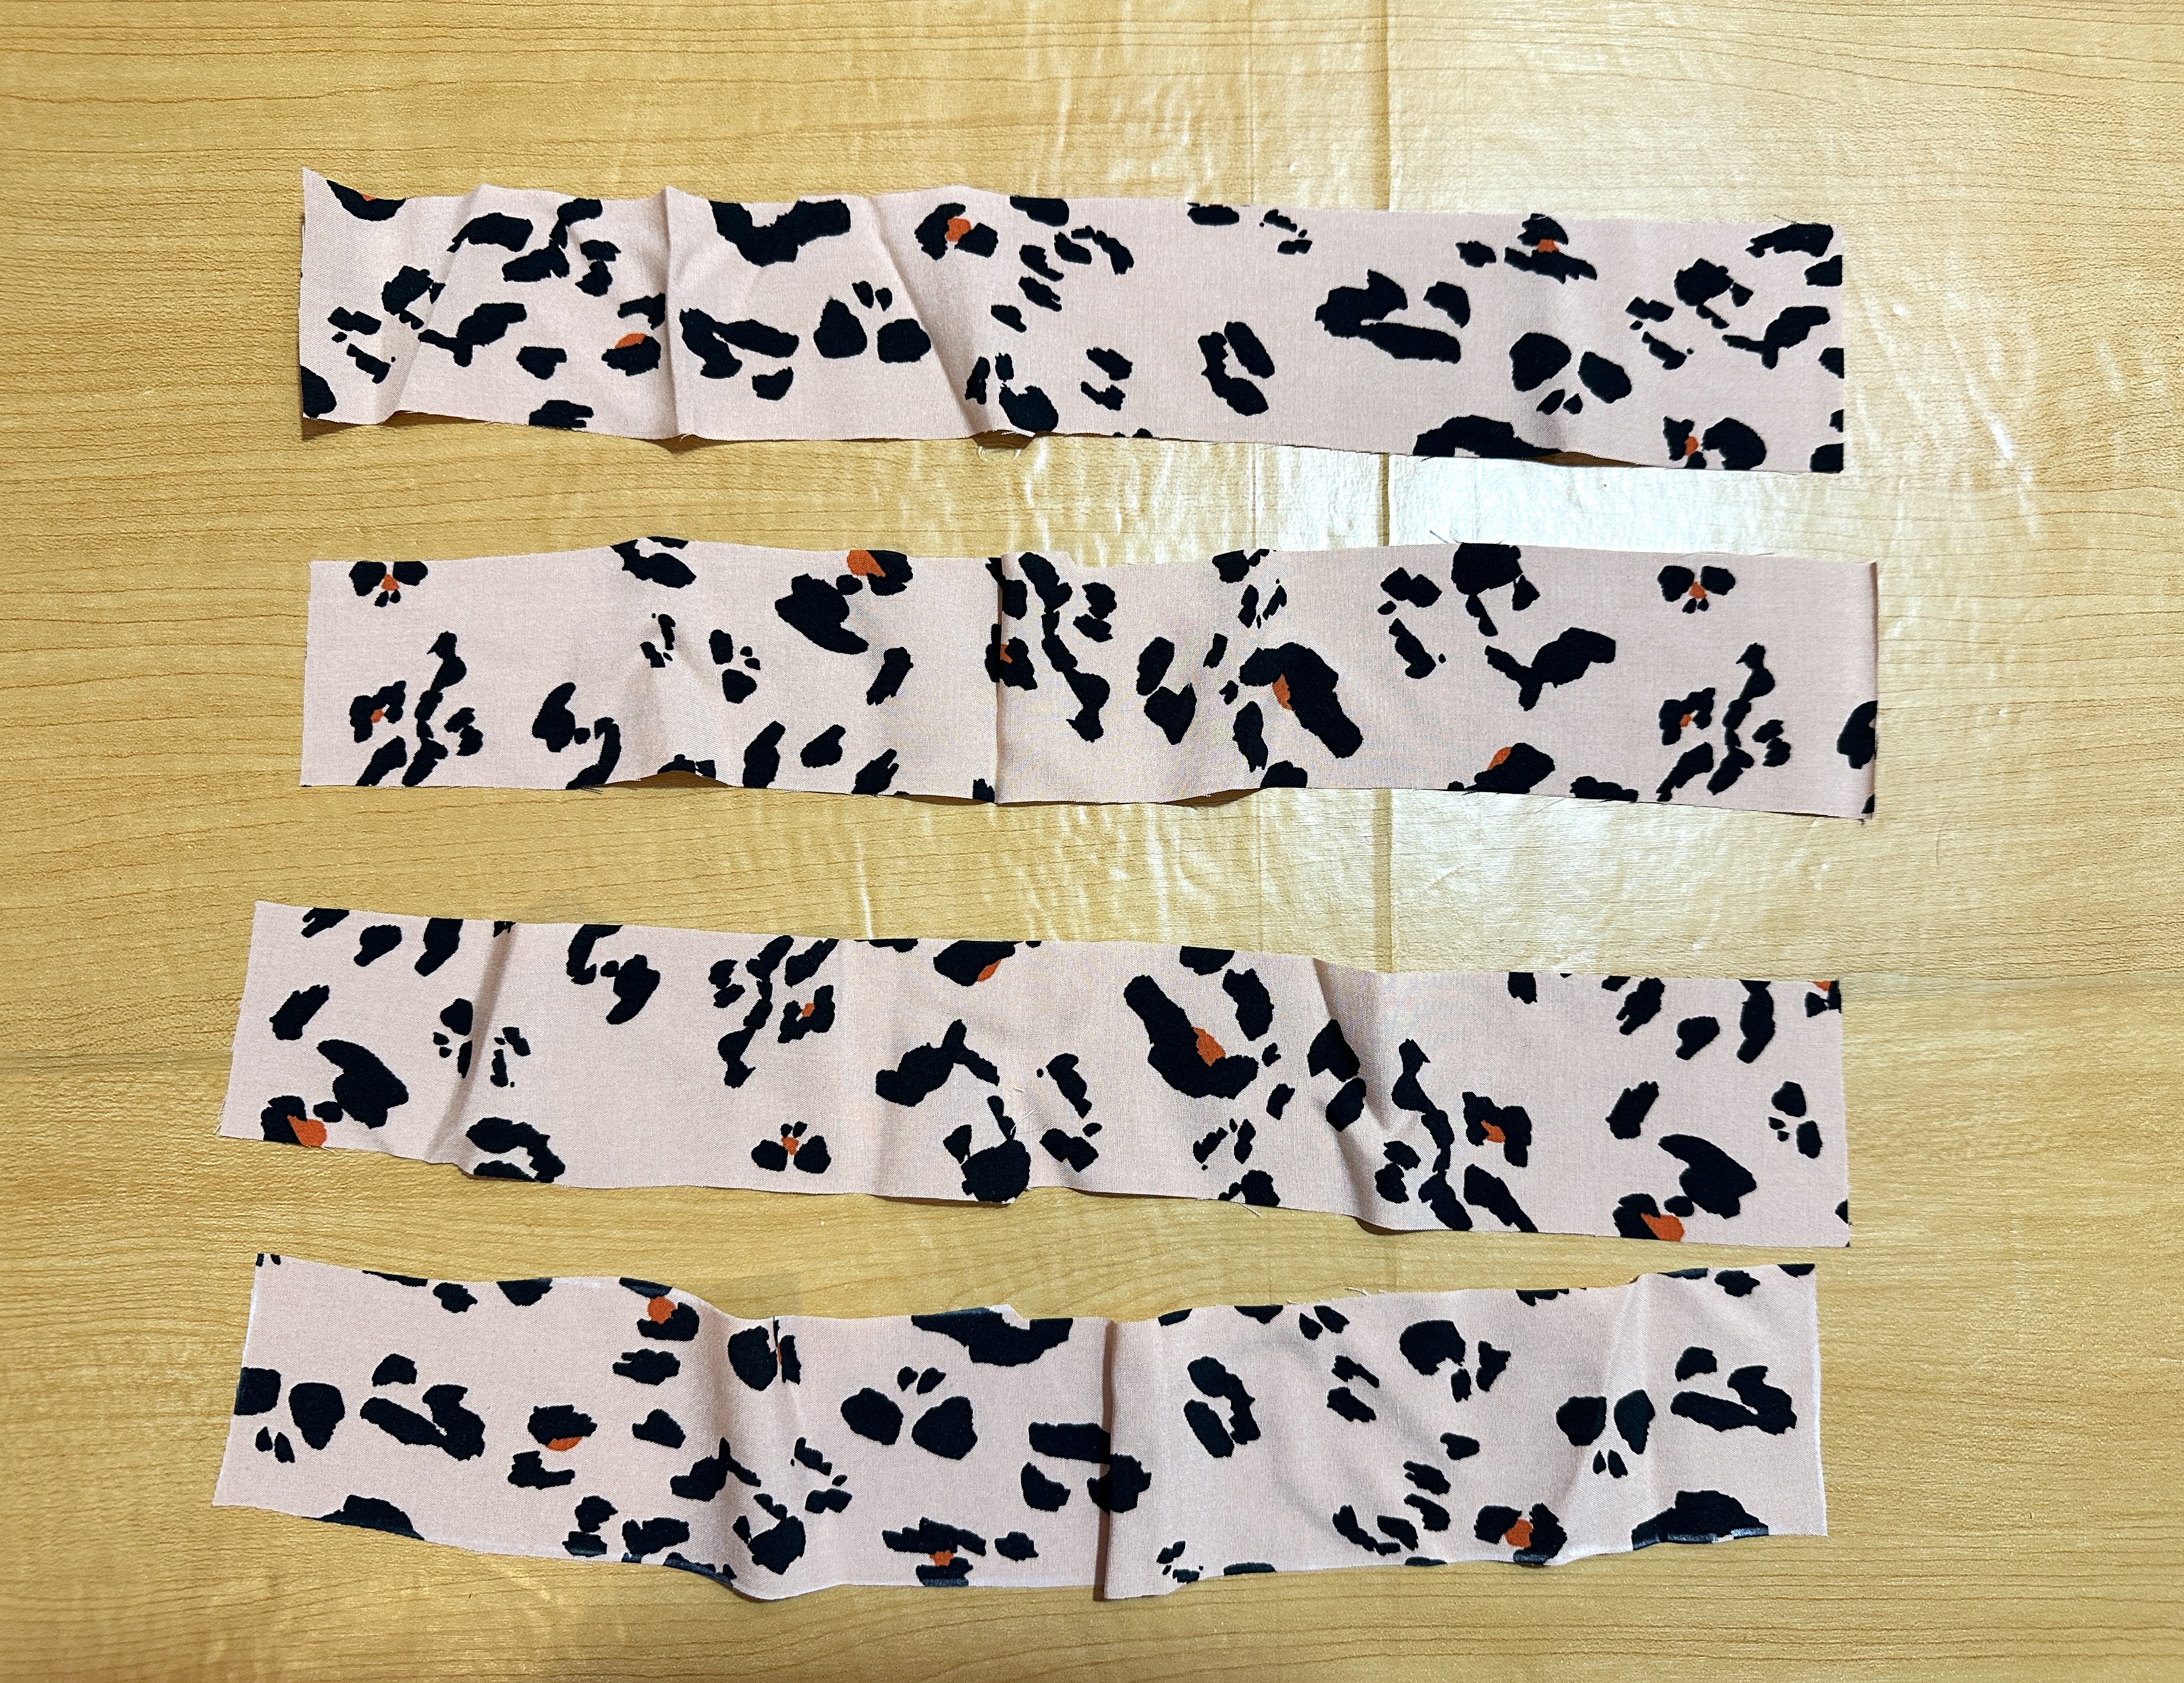
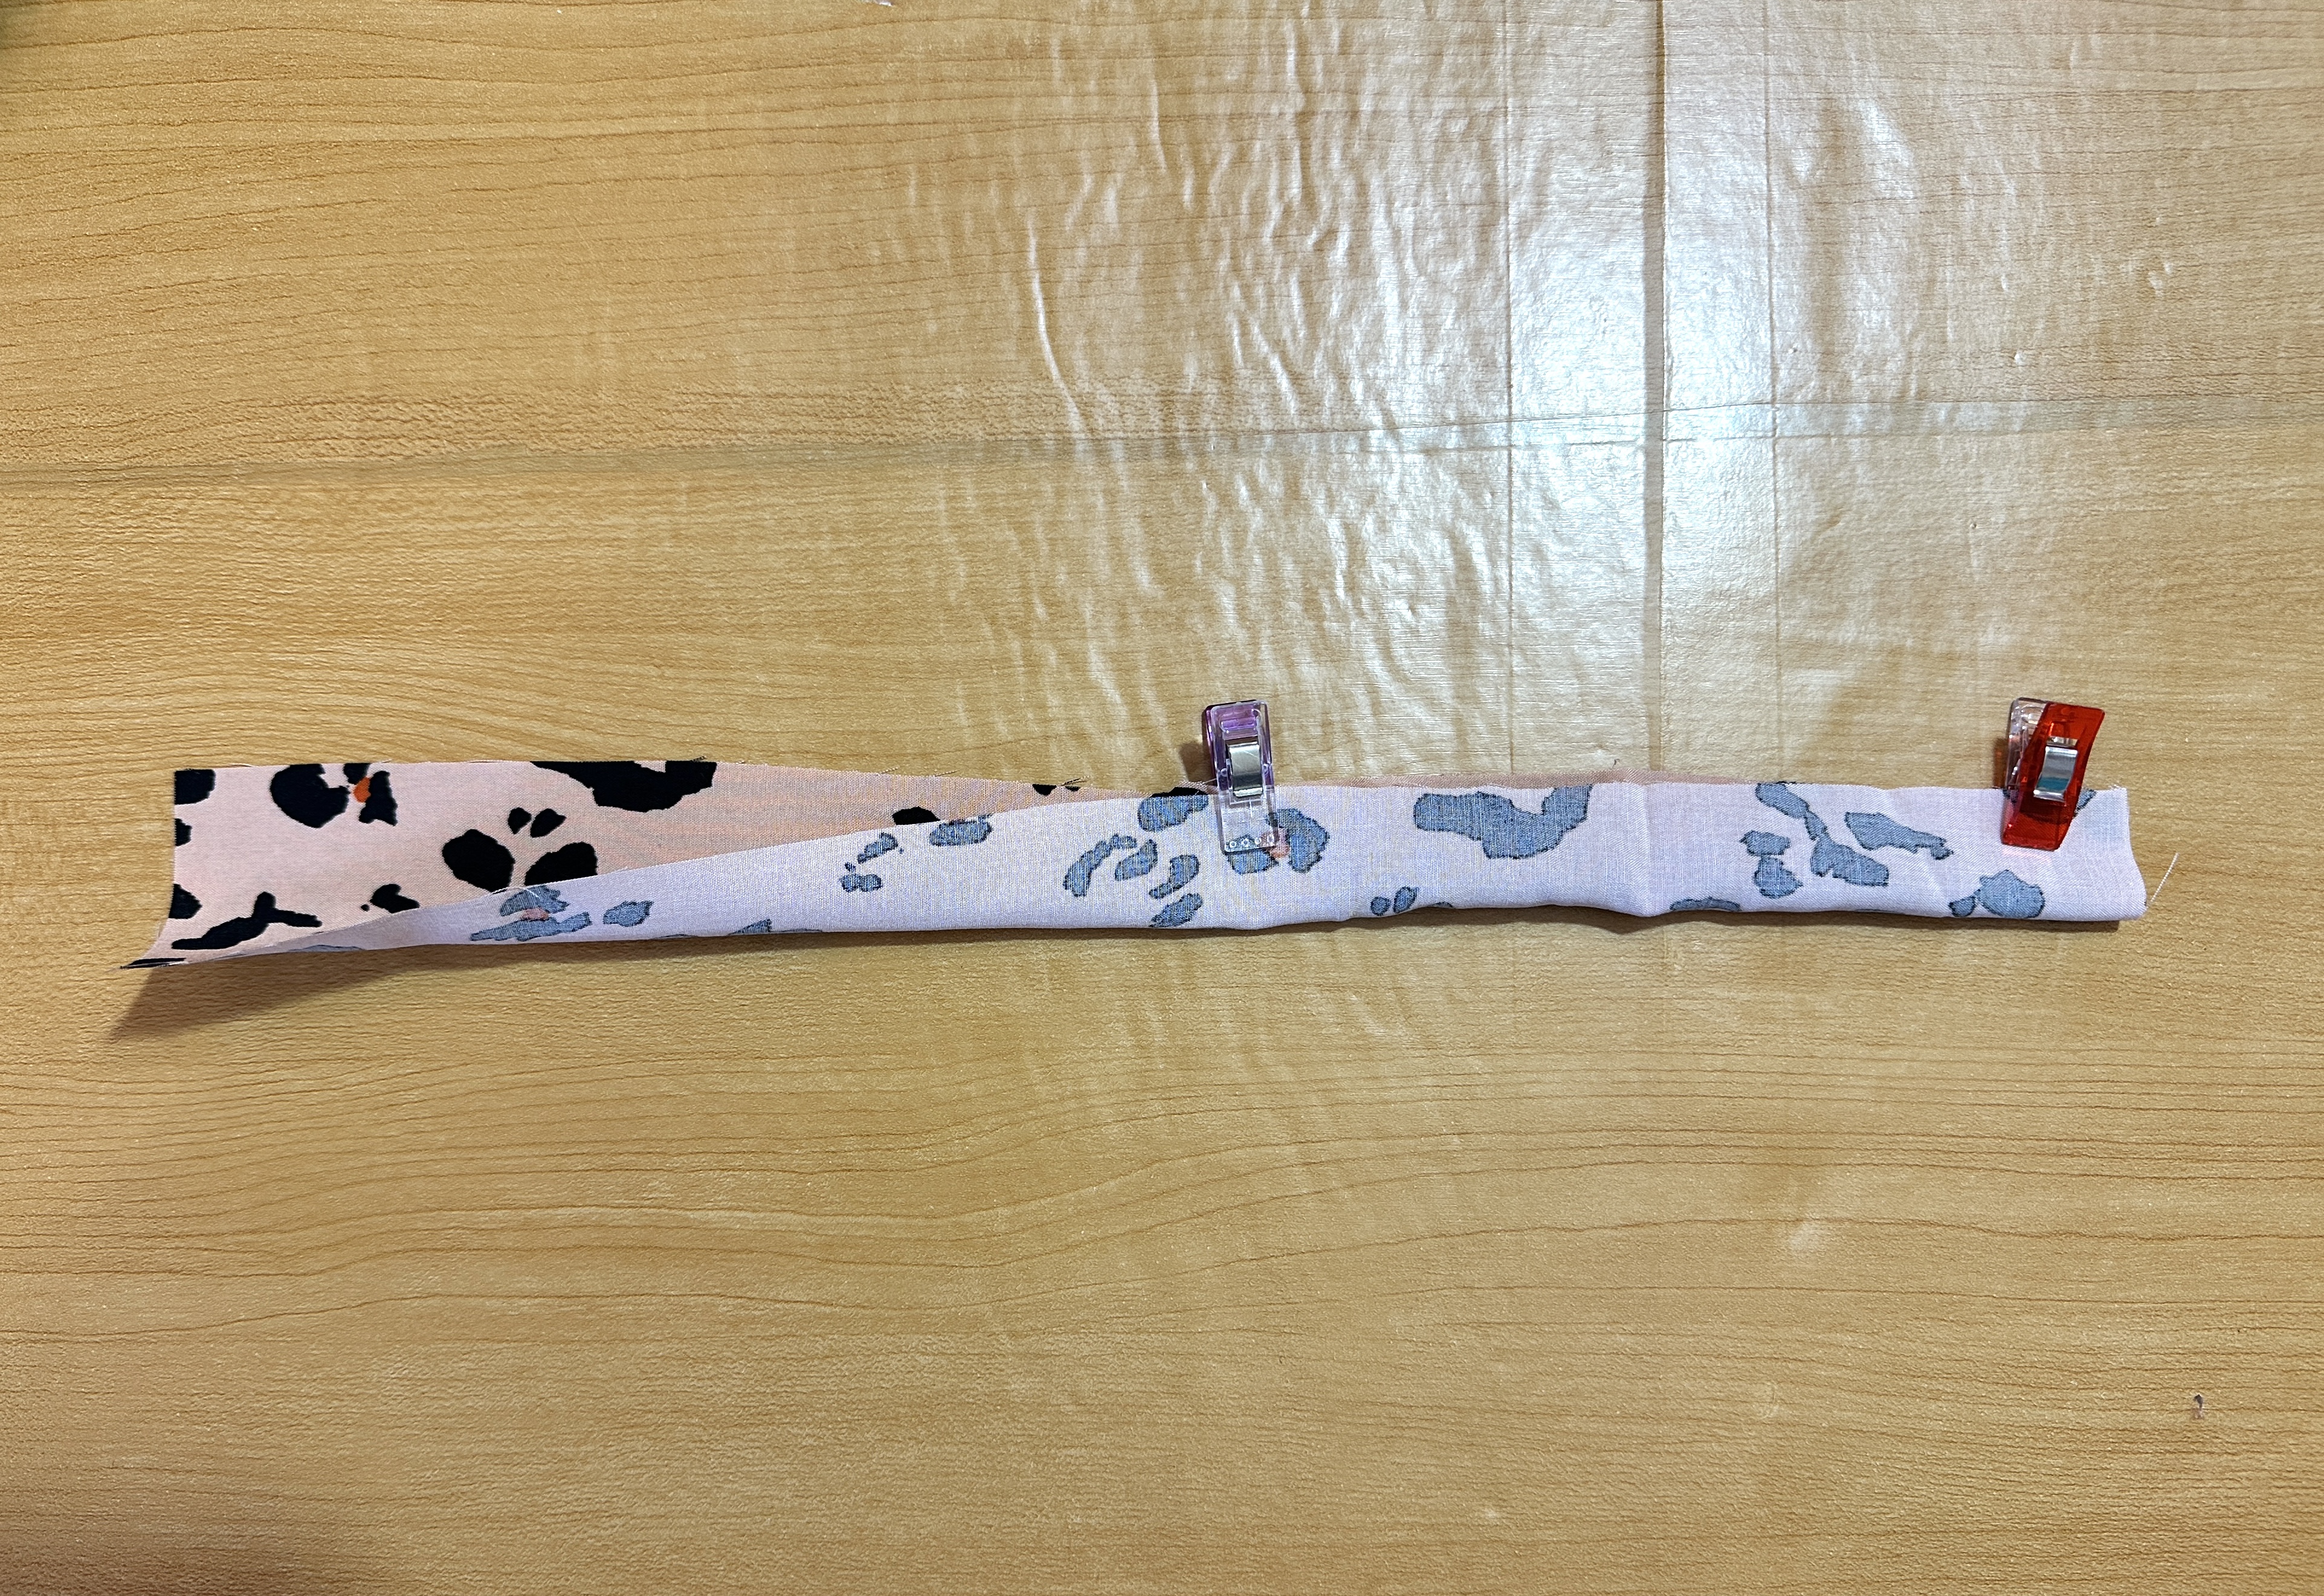
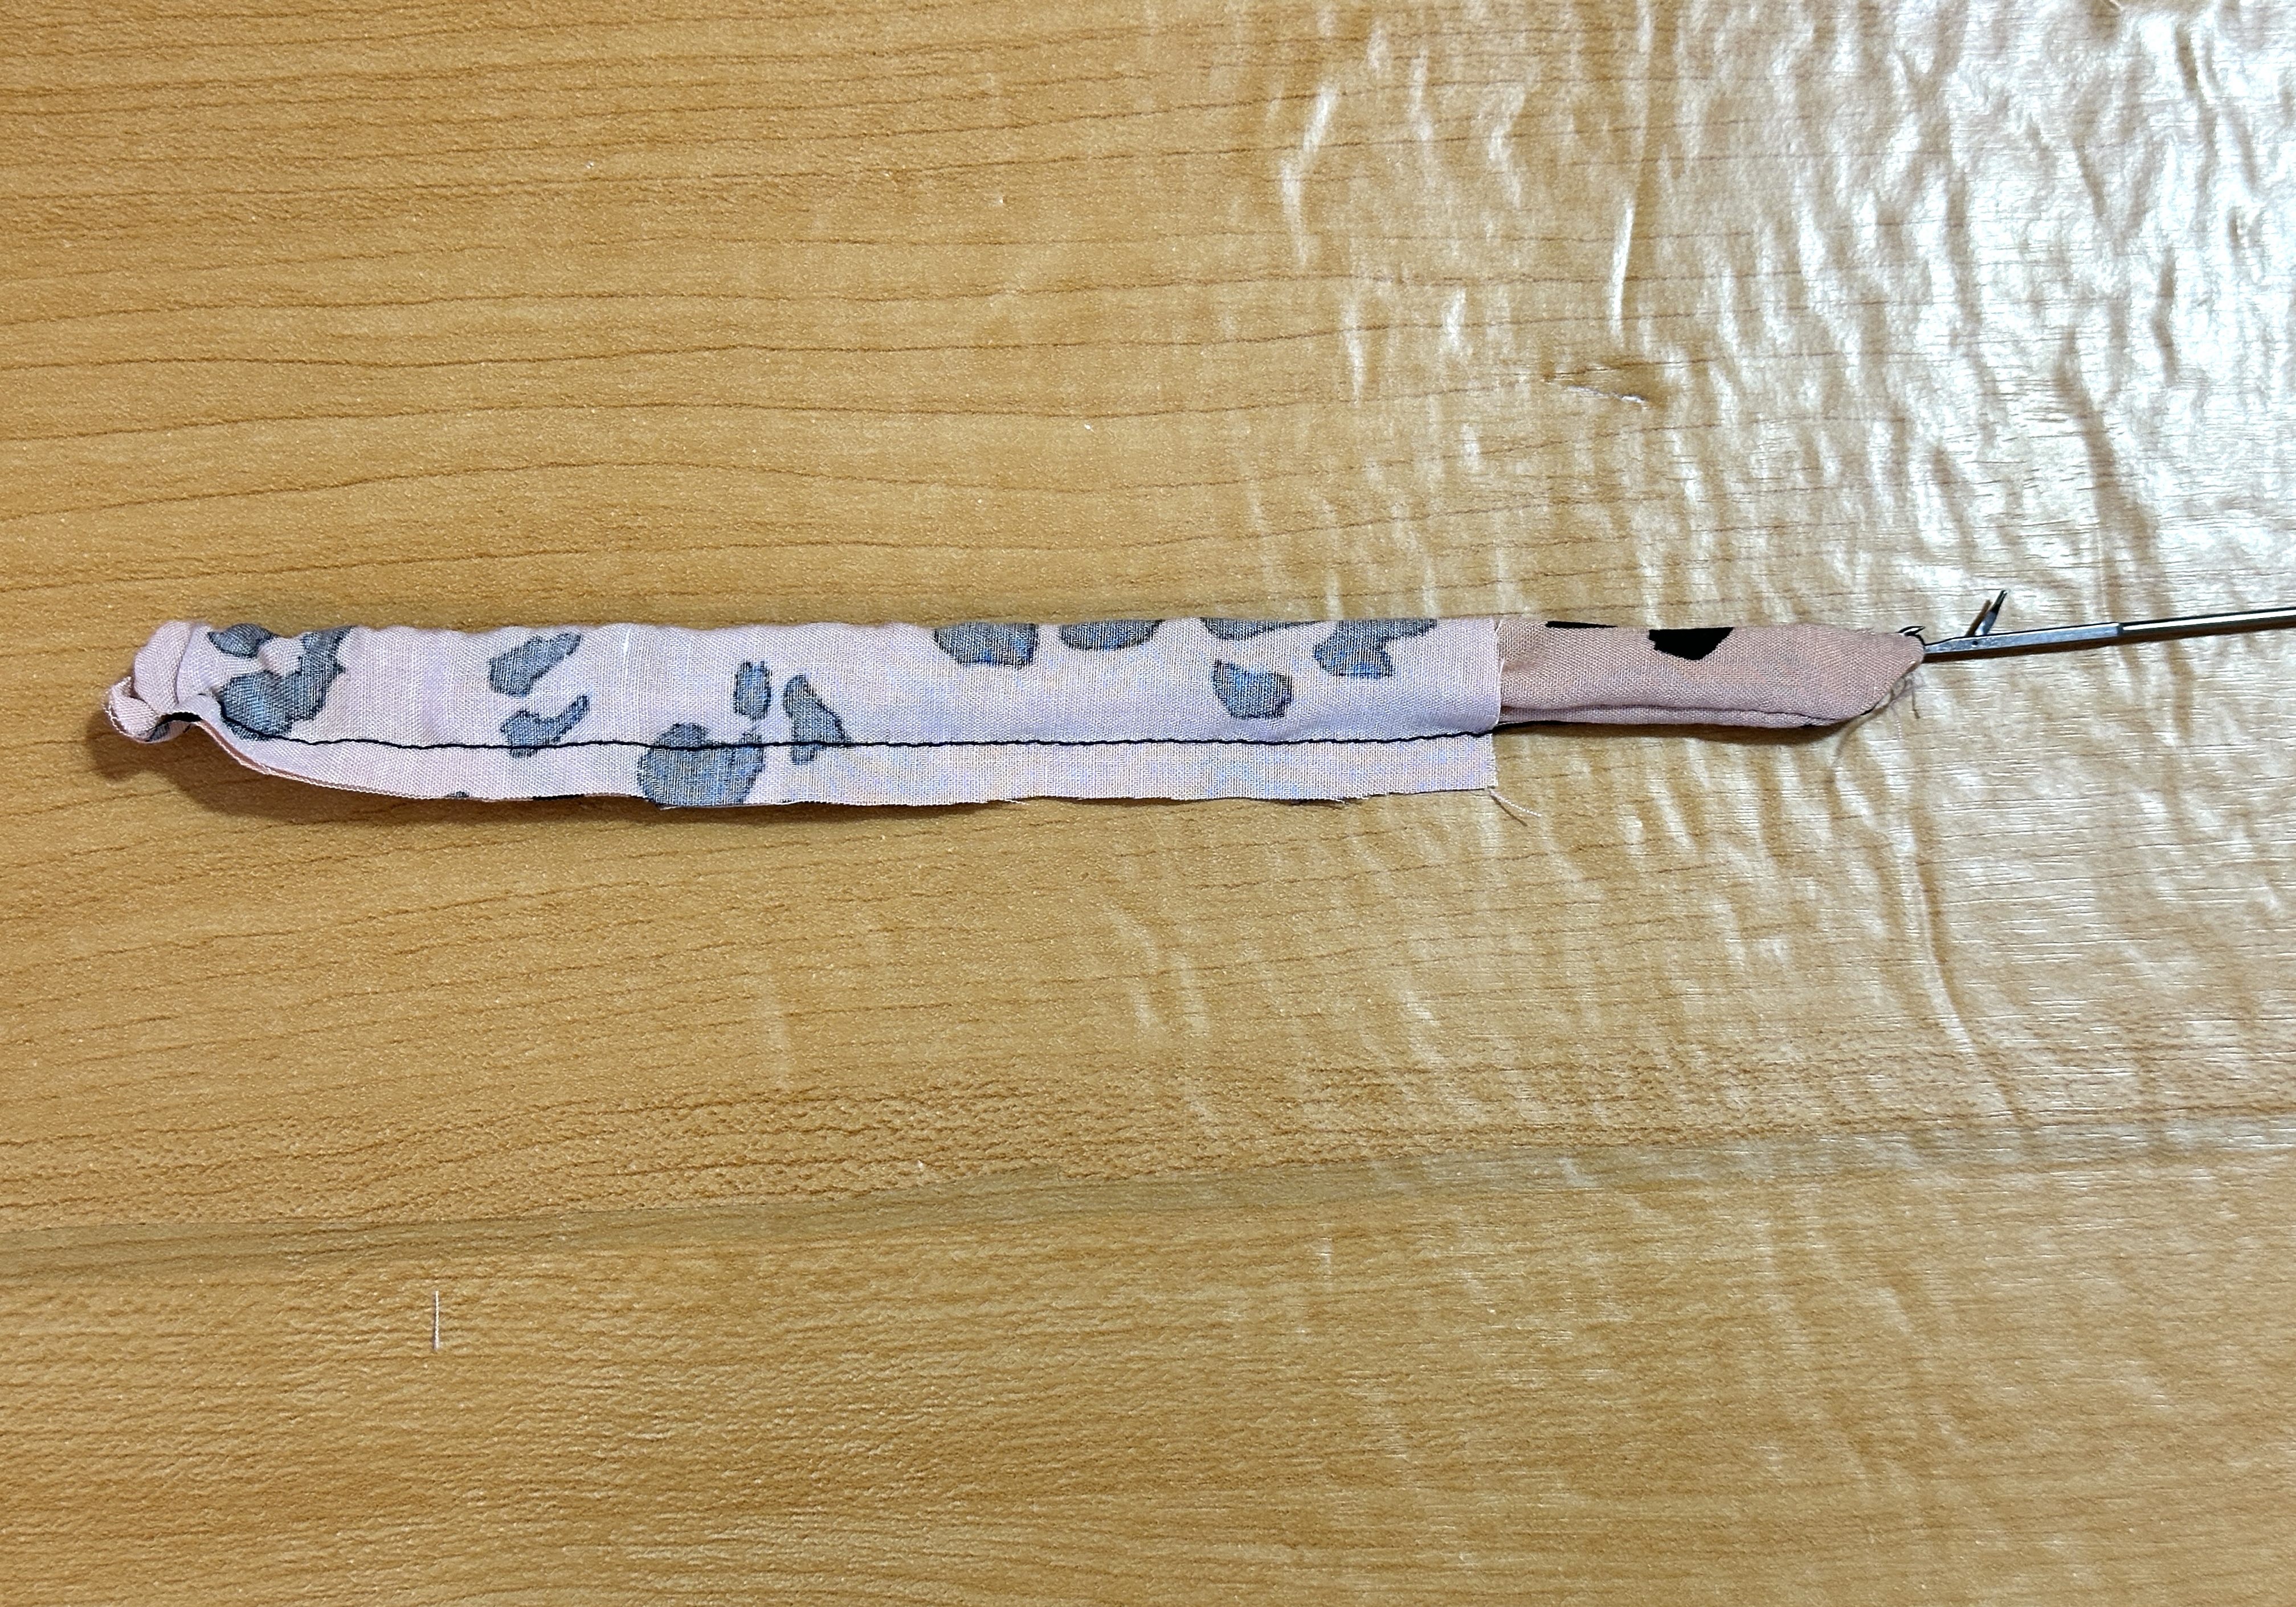
4. Fold each strap piece with Right Sides Together (RST)  and sew along the raw ends opposite the fold, and along one of the short ends. Turn Right Side Out.

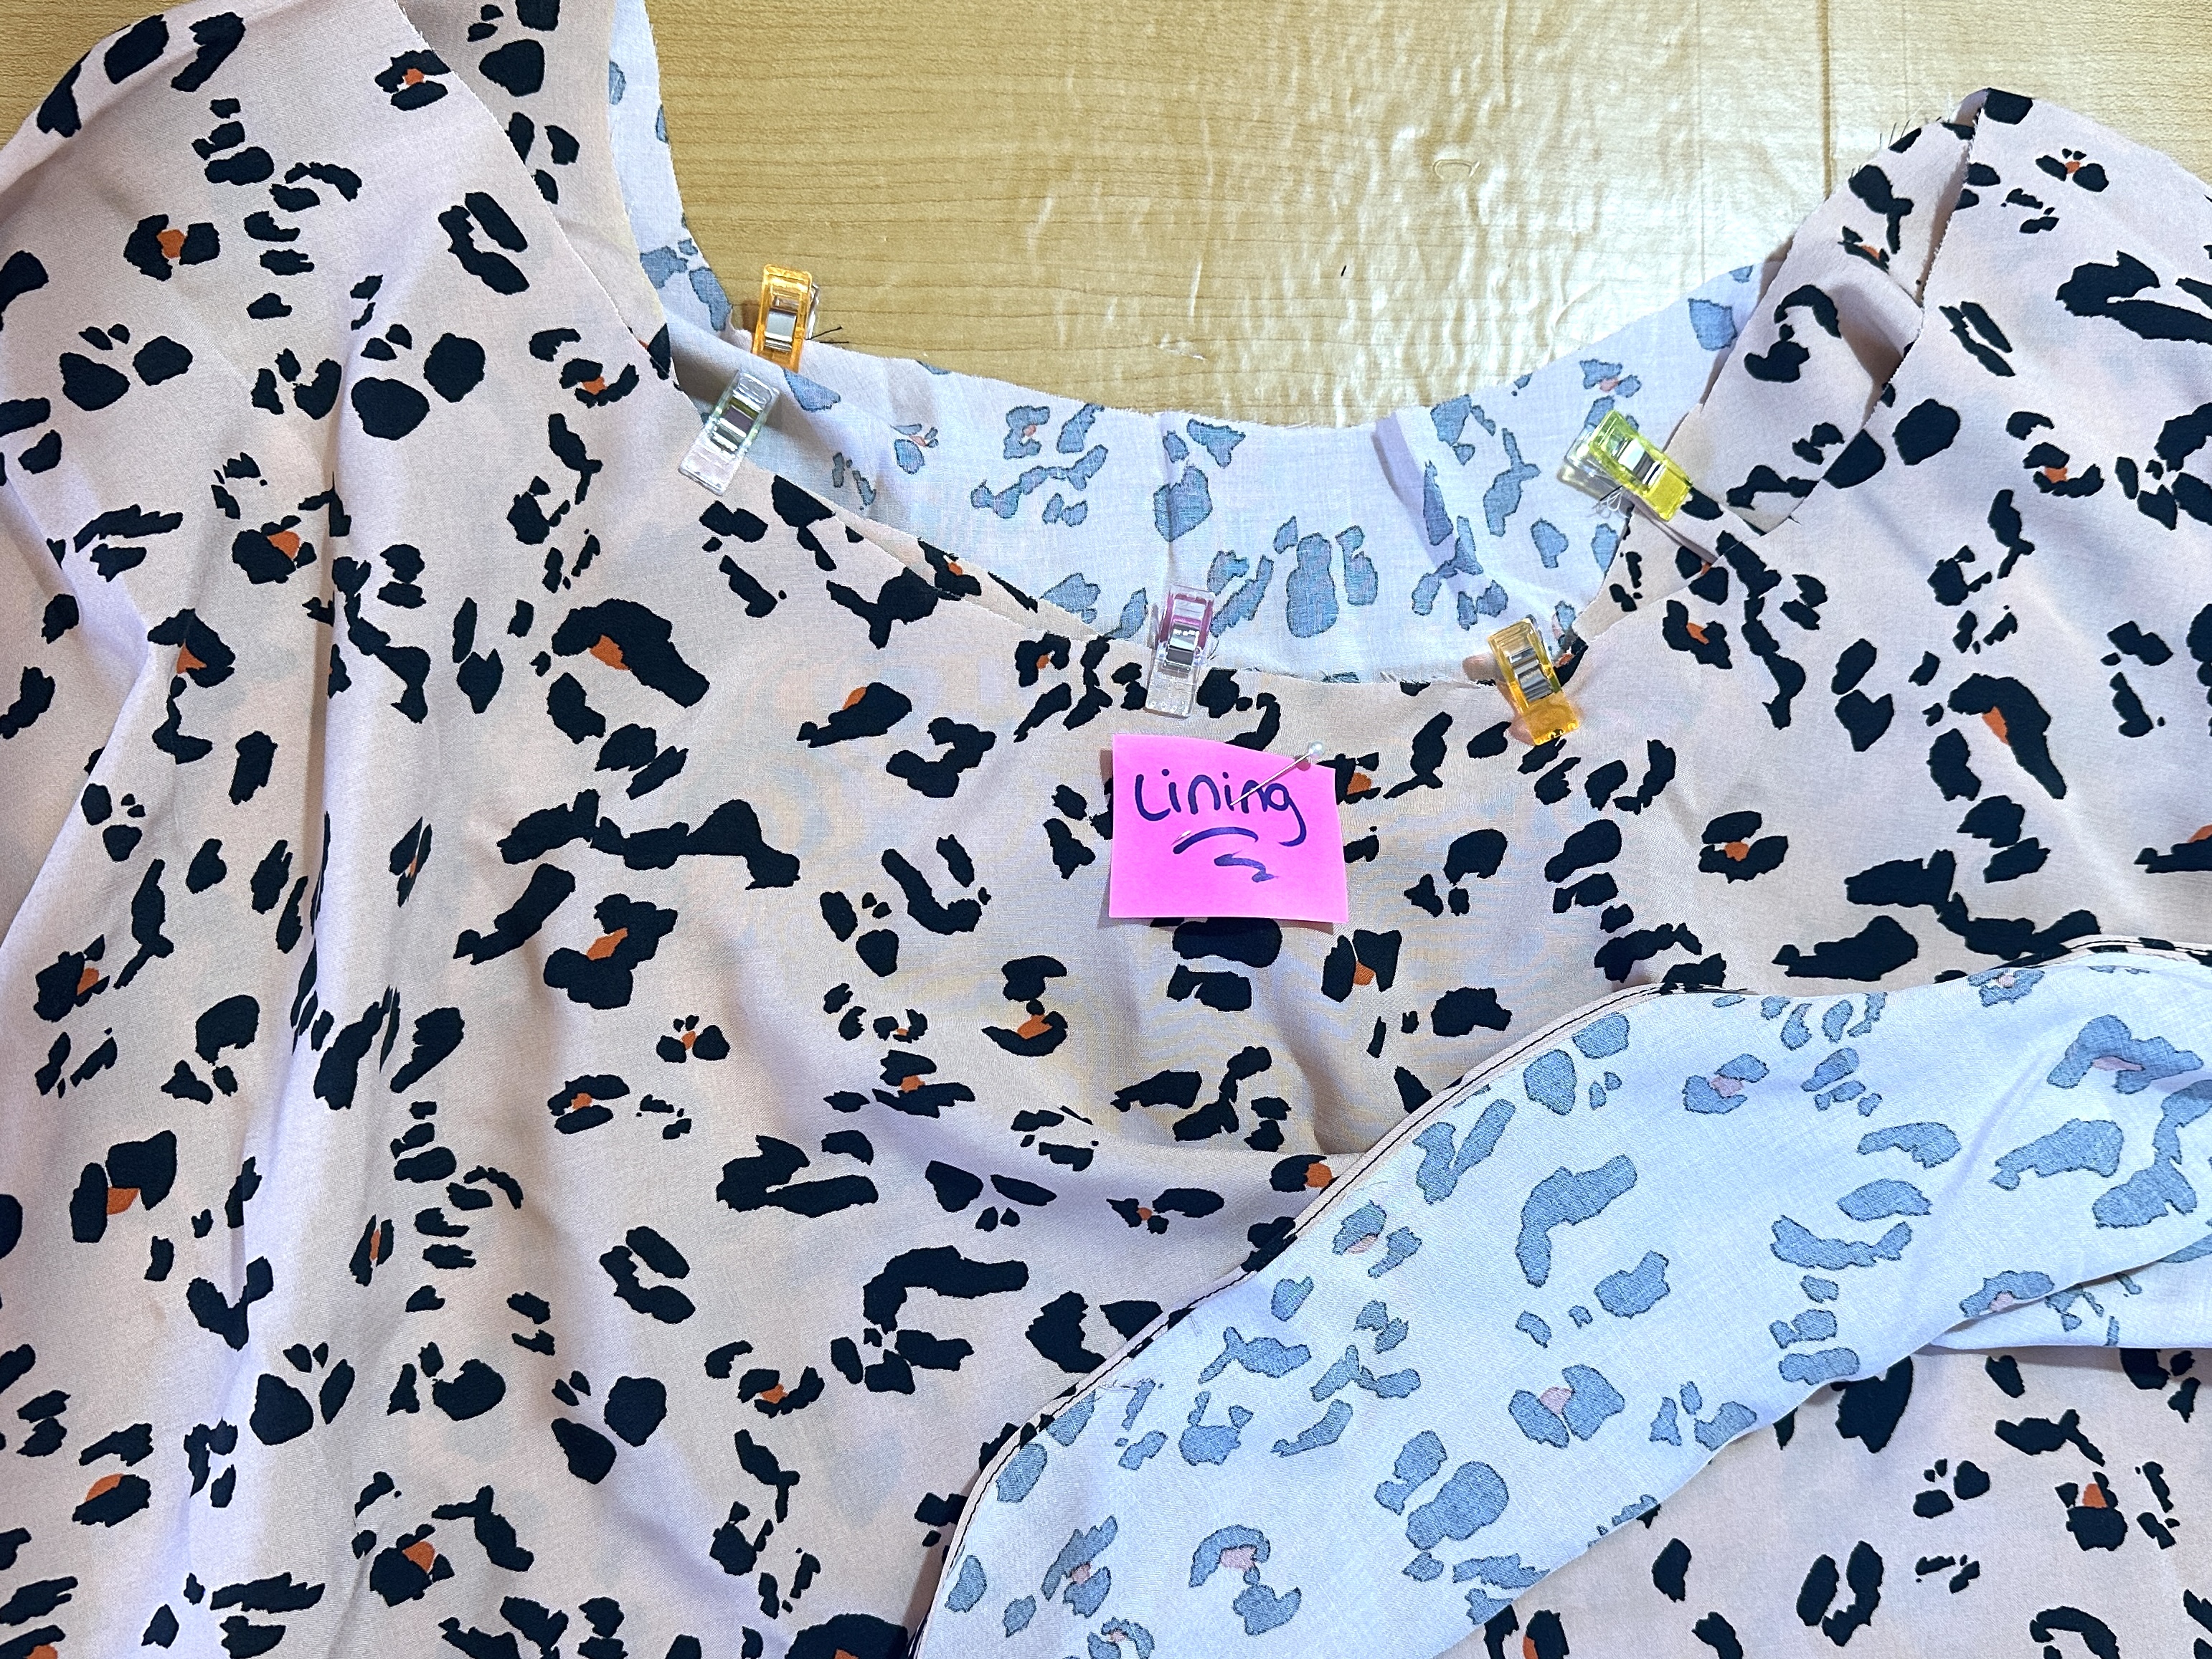
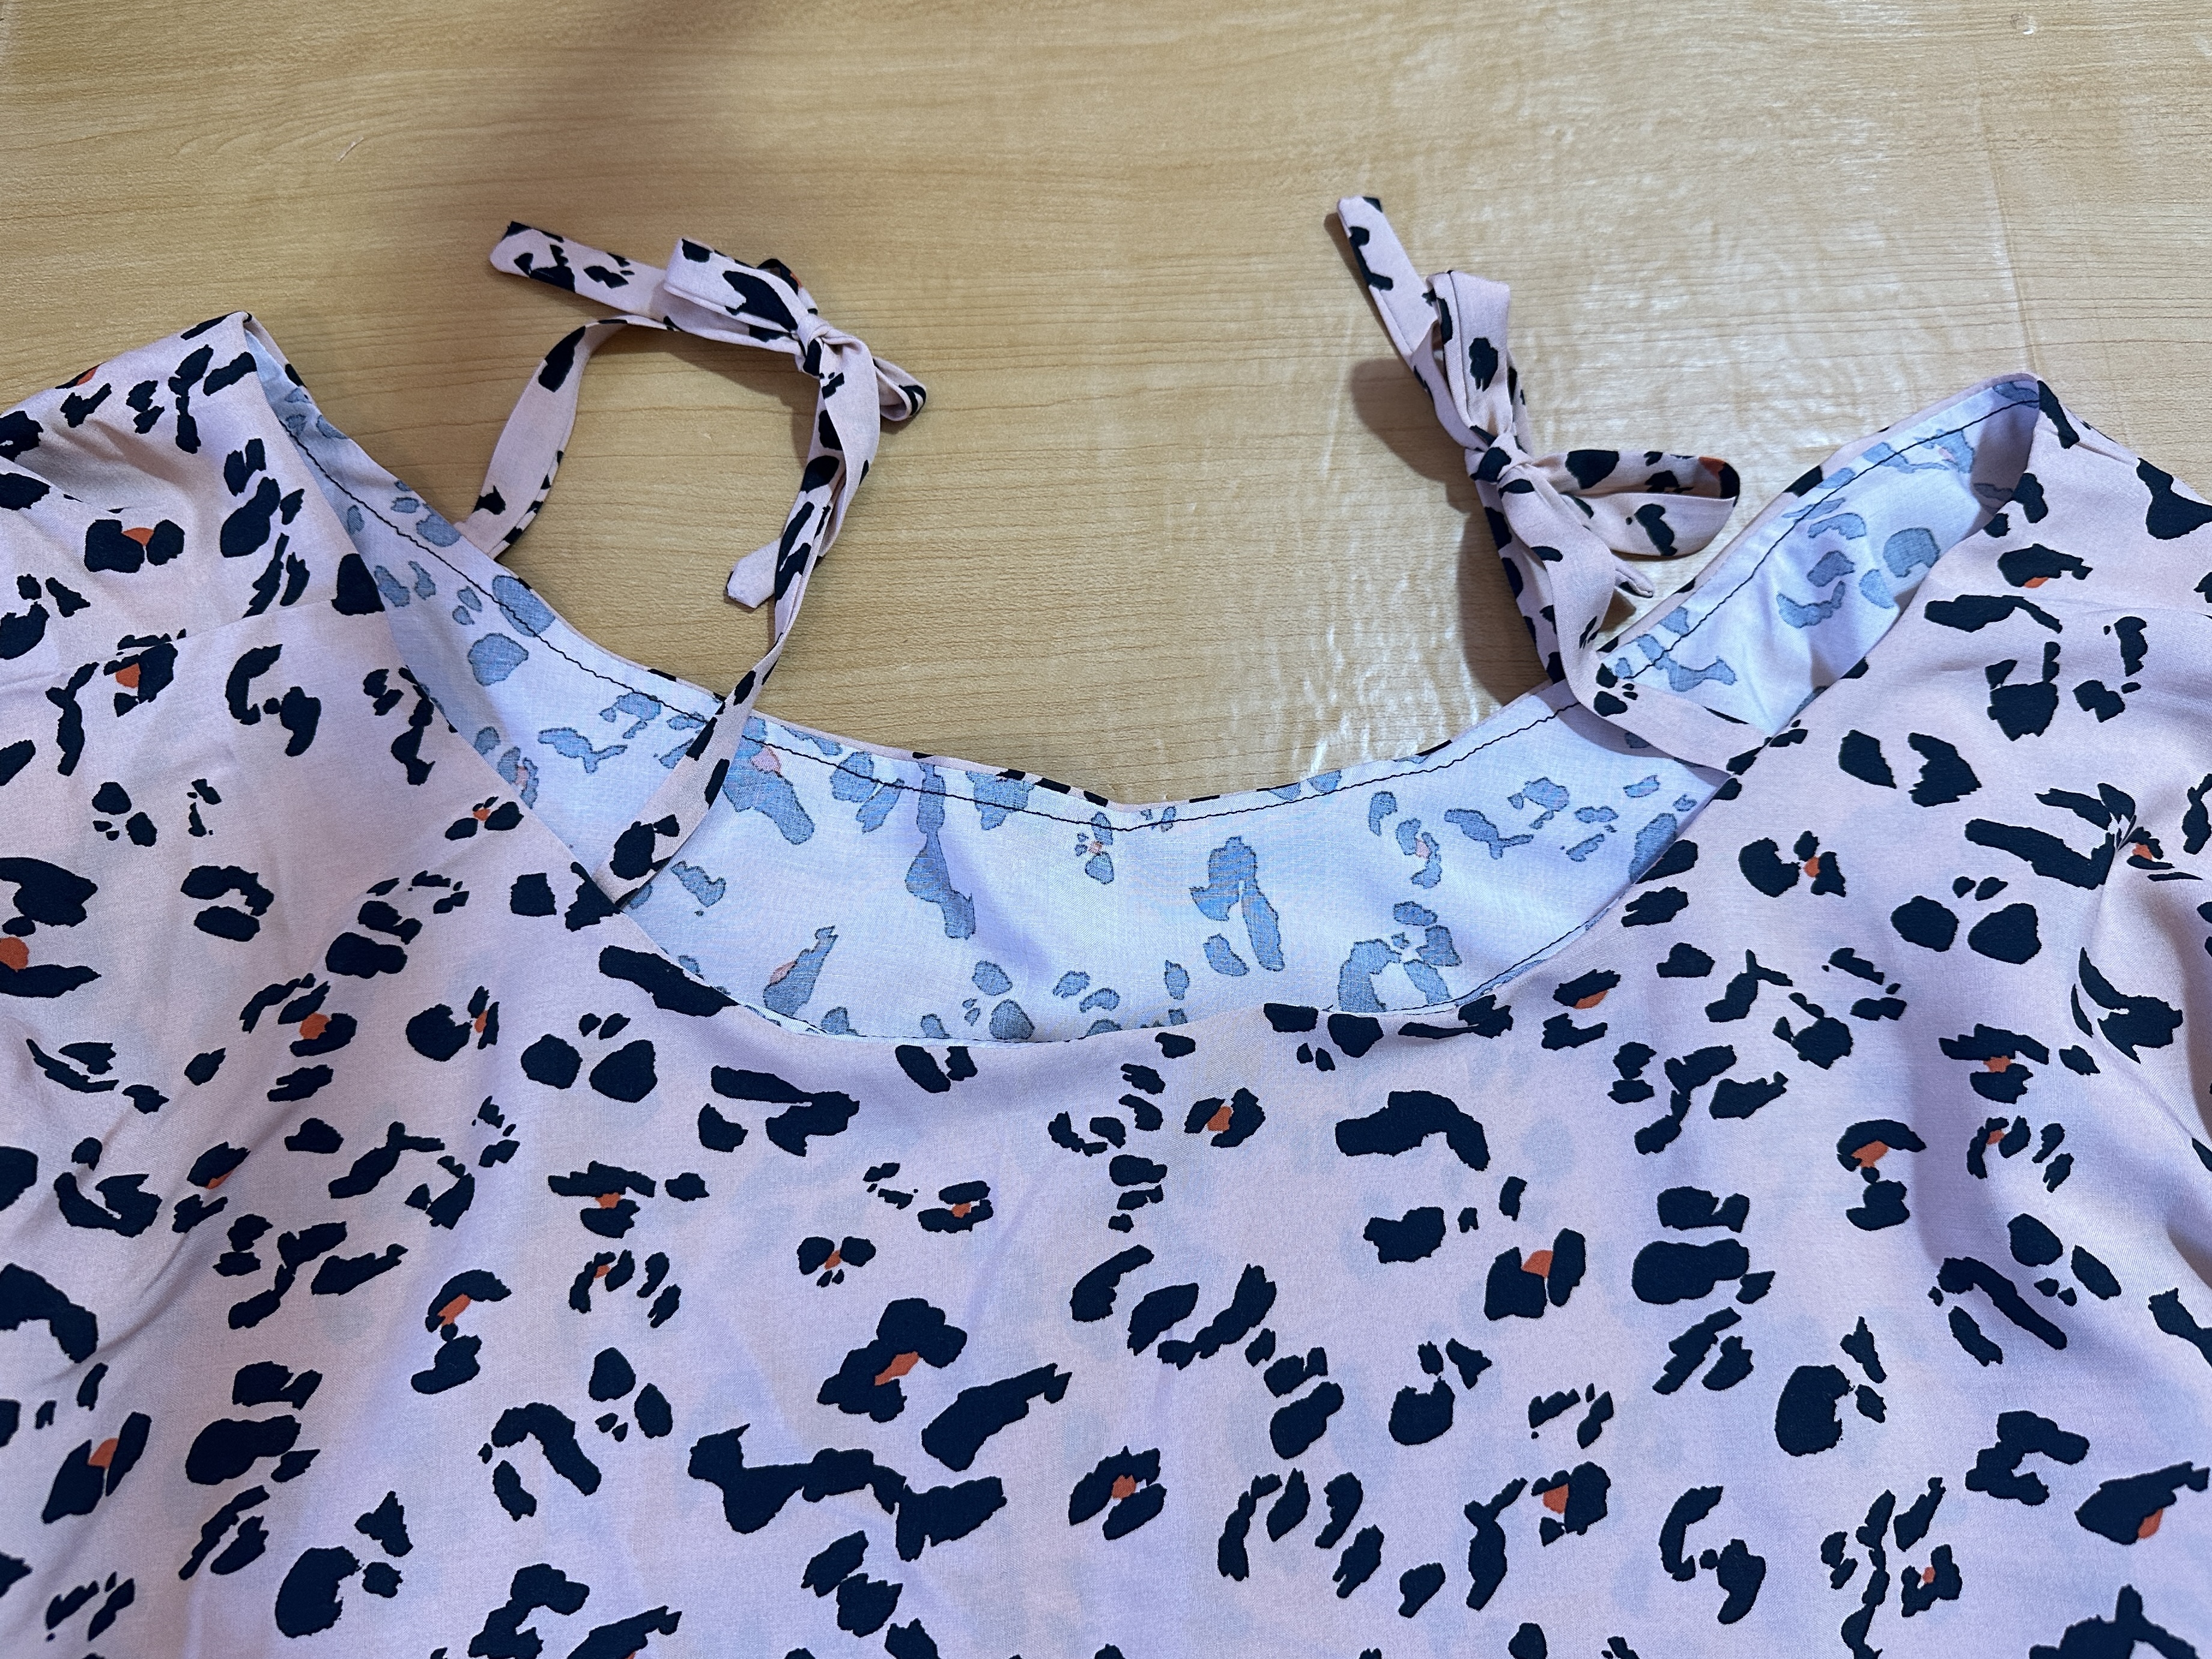
5. Pin the straps at the notches created along the neckline of the main fabric.

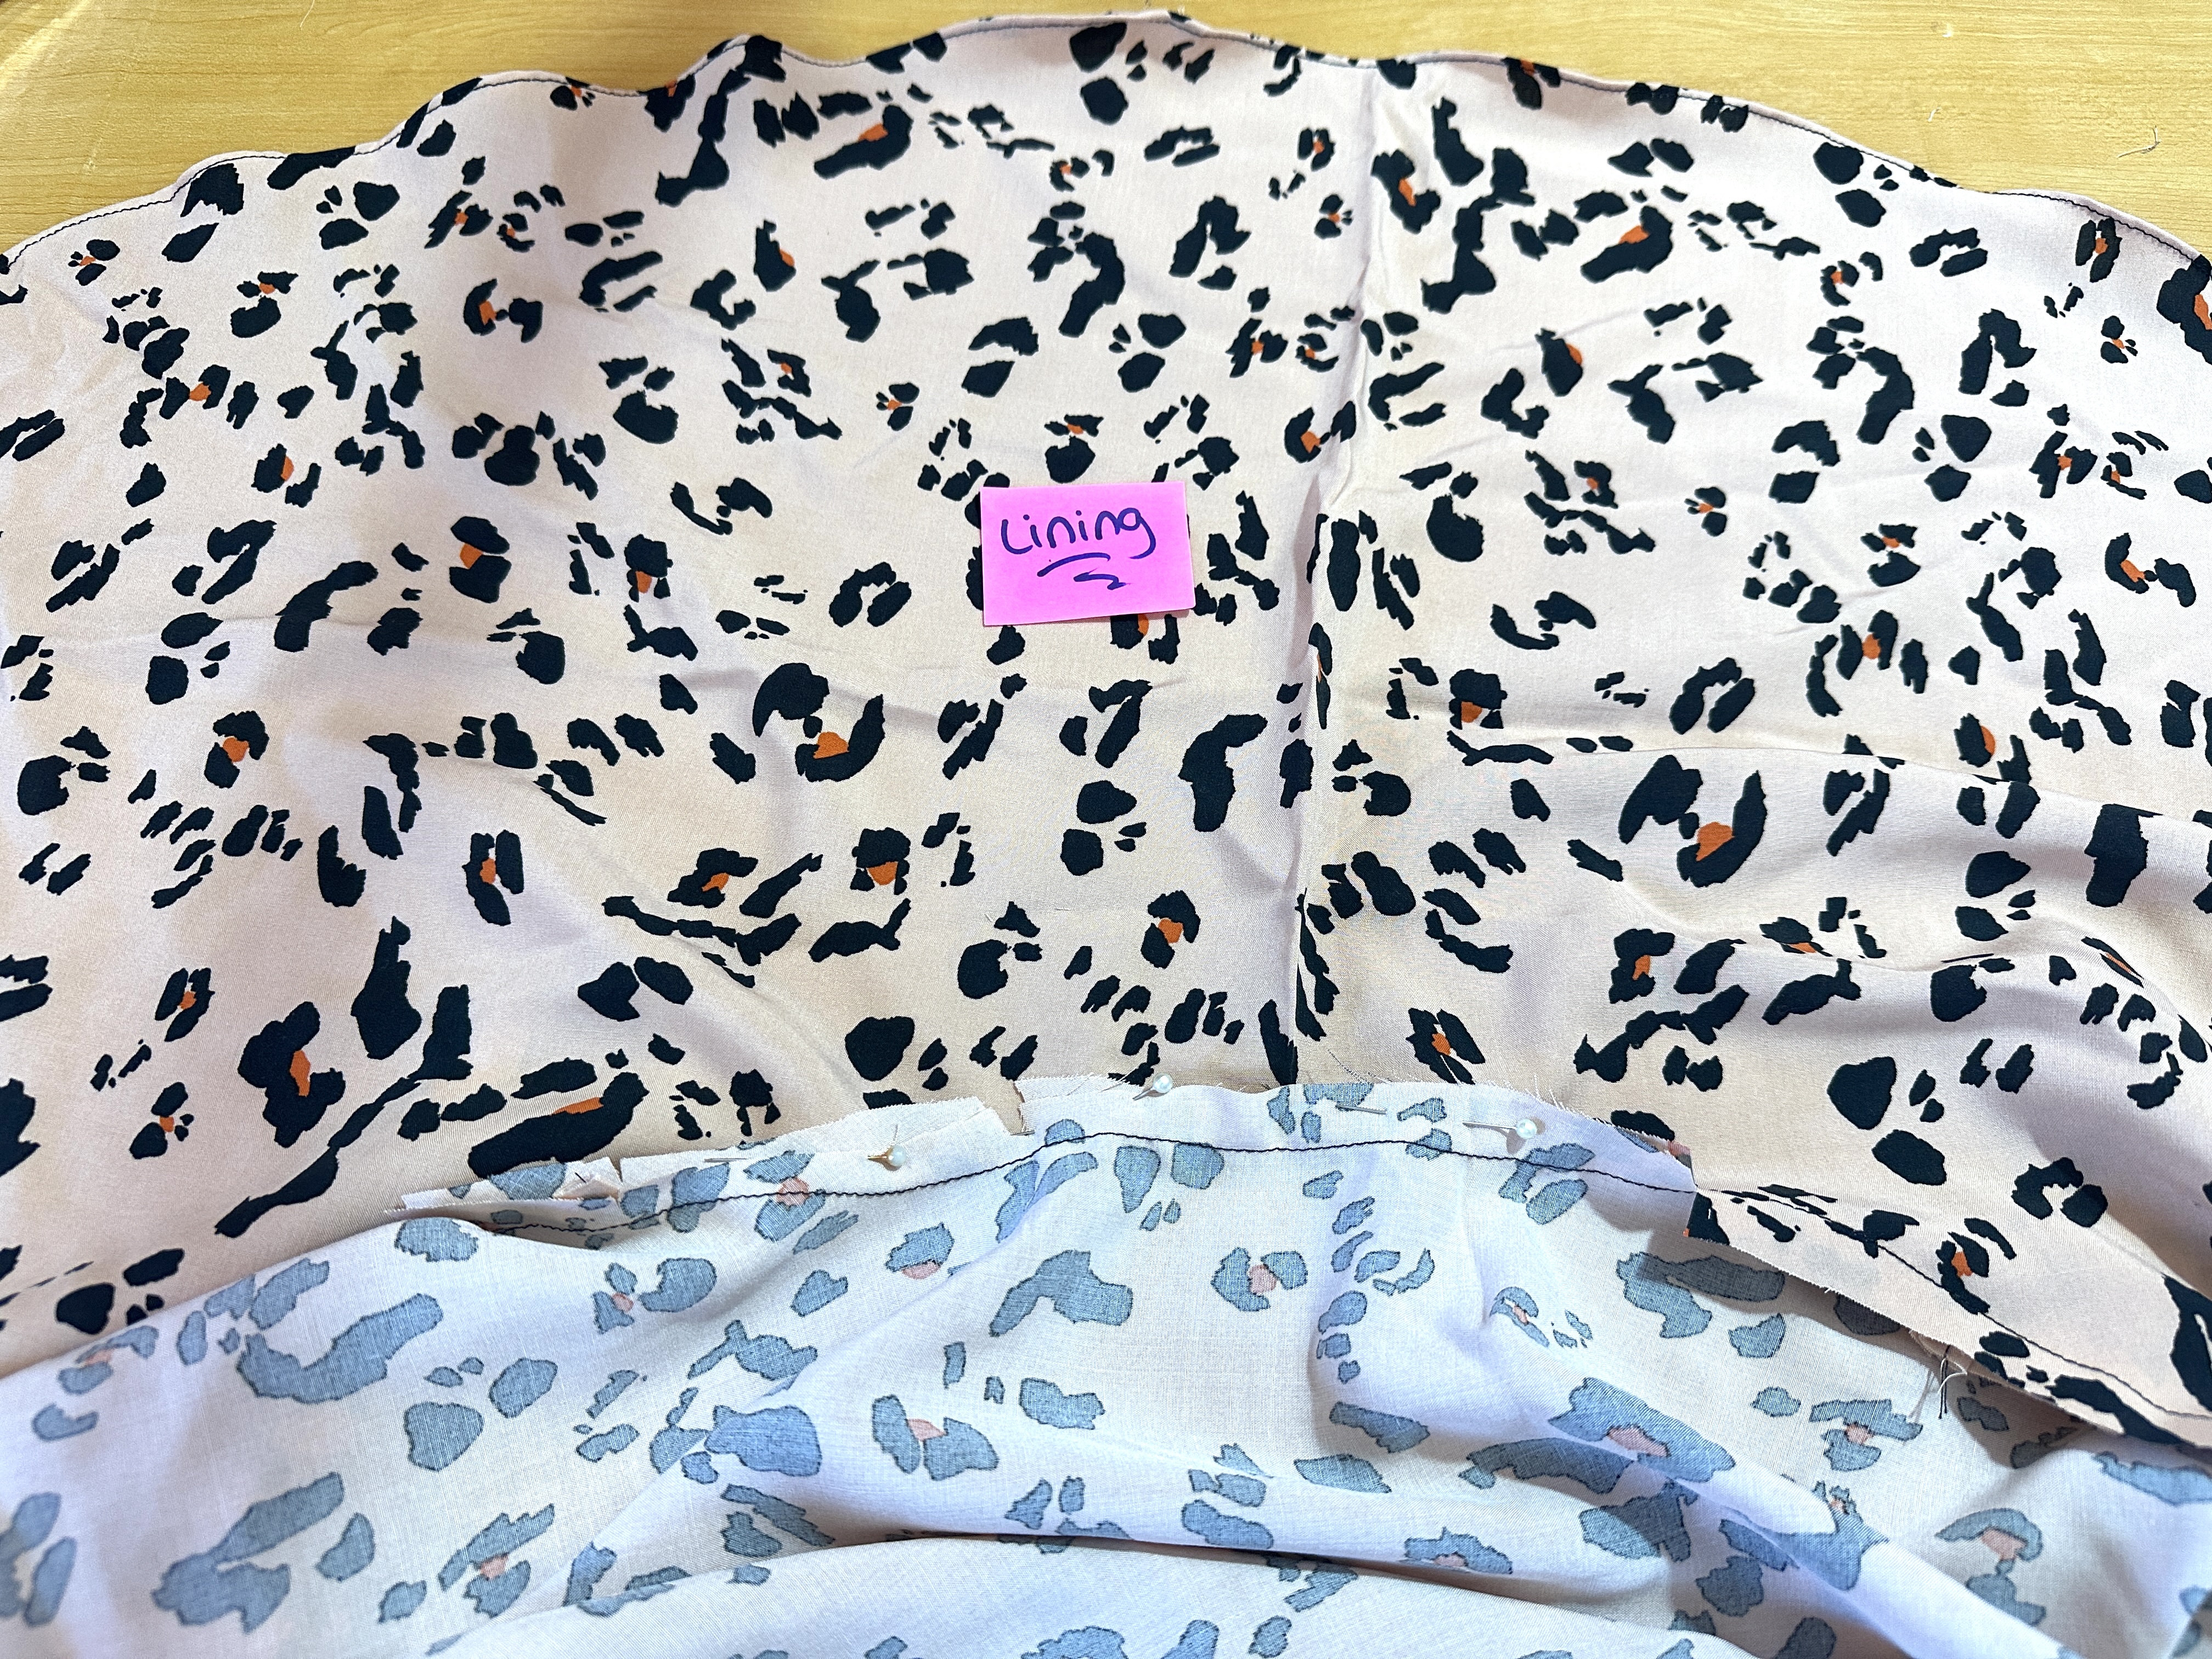
6. Place your lining with the Wrong Side facing the Right Side of the main fabric piece, making sure that the straps are sandwiched in between.

7. Sew all pieces together. Clip at the curves within the seam allowance, edgestitch and turn Right Side Out.

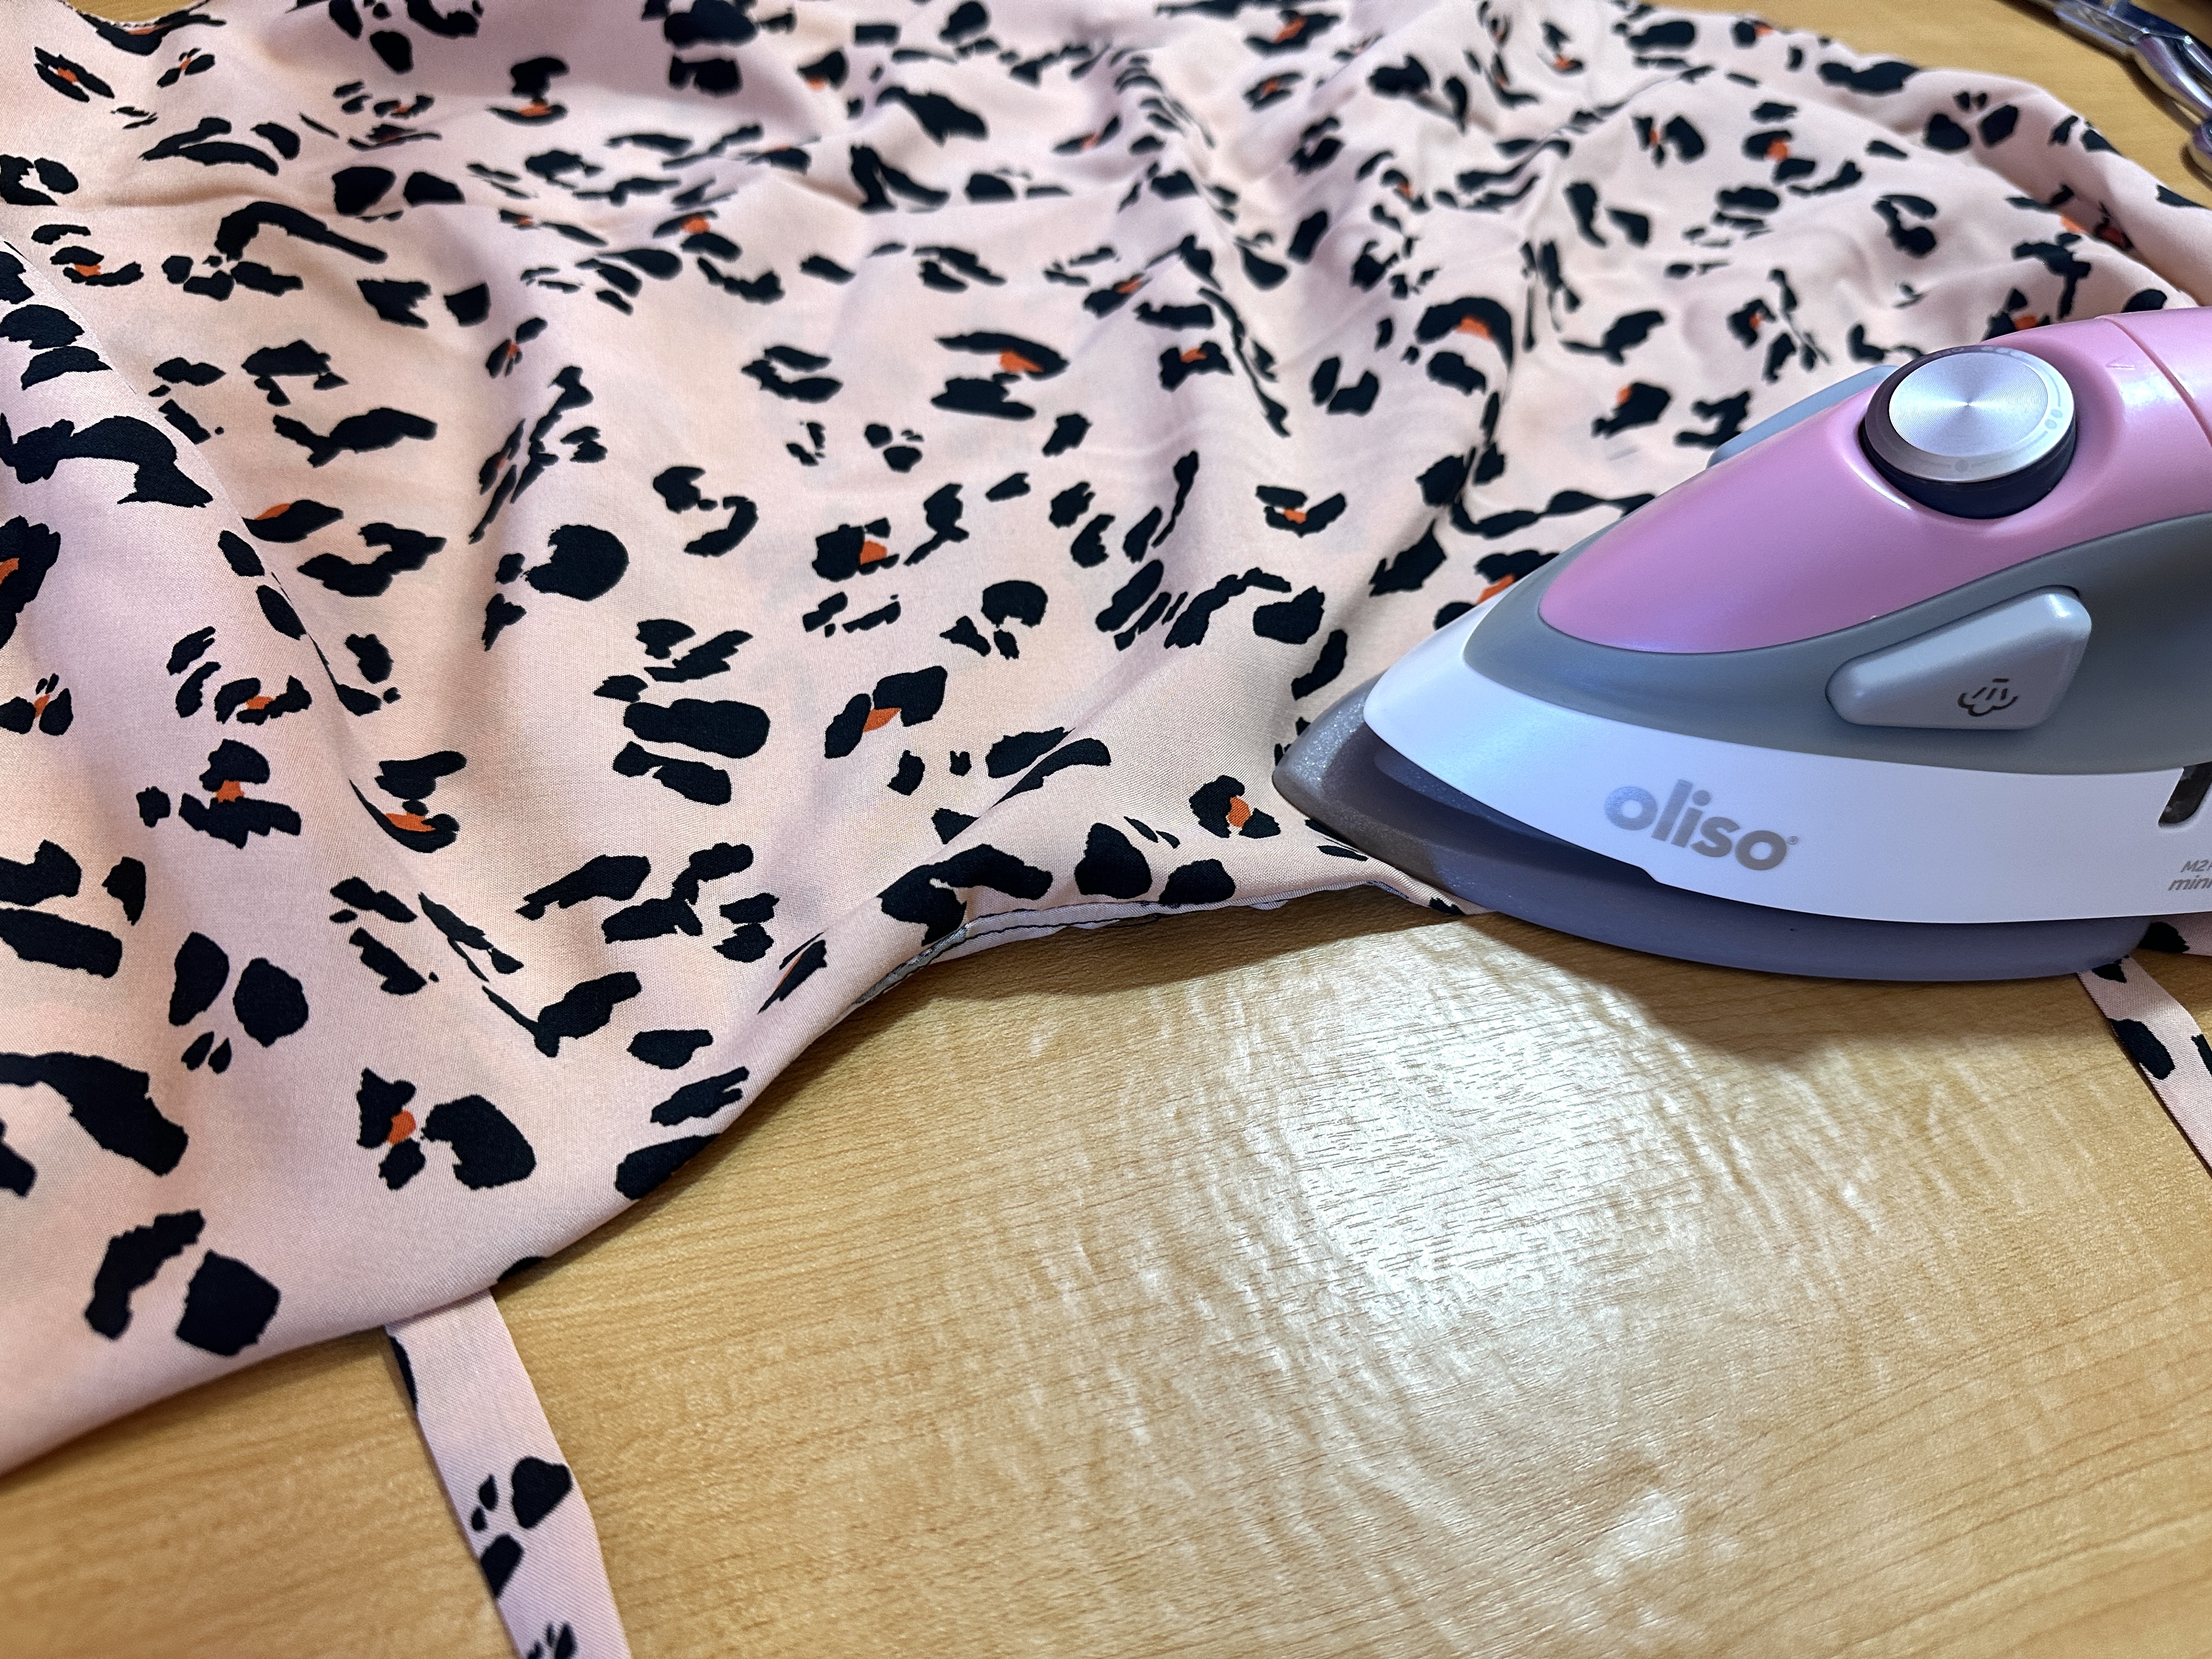
8. Press your seam and you are finished!

I hope you’ve enjoyed this DIY. If you decide to take on making one for yourself, please tag Janome and I ( @sewwithstephanie) so that we can cheer you on and help if needed.

Until next time!

XO

Stephanie

Everyone is Talking about DIY Circle Top
Reviews


Tako
Beautiful
Wednesday, November 23, 2016

cpindzola
Around the Table Dresden Placemats
Saturday, December 17, 2016

I like the concept, but the directions are "sloppy." Nowhere in the supply list does it mention the felt or the batting (how much?). Also, I would never use a high loft batting in a placemat, or a table runner, as I think that it would be too unstable for a glass. The next time I make these, I will cut out the batting (I use flannel) and spray baste it to the wrong side of the Dresden plate before I put the Dresden plate on the felt to cut out. I have not yet washed the finished placemat, and am hoping that the single layer of felt does not curl up, or become distorted after washing/drying.
Txmaid
Fun Great Gift!
Tuesday, February 21, 2017

MargieARK
Teatime Quilted Tablecloth
Friday, February 24, 2017

I made this today but your cutting directions need to be changed. You only need 4 of color 1 and color 3 4.5 squares for the triangles. Also the inner border, you only need 2 cuts as WOF is long enough to cut each in half to fit the sides.
MickelSews
Great Machine
Wednesday, August 30, 2017

I've had this machine for only a week now. I bought it used from a lady who makes her own clothes, but she no longer needed the machine. During the purchase, she noted that she is almost sad that it's better to give it away because of how well the machine performed. (I also bought it along side a computerized machine of another brand.} She demoed the machine for us, showing it worked and gave us everything (including the box it came in!) She took amazing care of this machine. I have used it a few times now, and the directions for threading were easy to follow (albeit my hands are quite large so the lower looper was a pain, but that is no fault to the machine or brand.) And I recommend this machine to anyone who wants to learn to serge and wants a machine that can grow with them. I will happily use this machine time and time again.
rvstan
S9 Review
Sunday, February 25, 2018

I love, love, love my S9! It's sews and embroiders beautifully and it's simplicity of use amazes me. I would recommend this machine for both a beginner and an experienced seamstress. If I would ask anything of Janome it would be to upgrade the programming to run a larger hoop size. I understand that it can't get much wider but there is most definitely room for it to go longer. That is the only limitation of this machine.
pjmnana
PJMNana
Monday, February 26, 2018

I purchased a Memorycraft 15000 a few years ago and it was the best purchase I ever made! This machine can do just about anything you would would ever want! I love the capability of using the Acuedit app to set up my embroidery pattern on my Ipad and then download it to the machine! I love how my embroidery looks upon completion and I love all the good lighting it has to light up your workspace. That way you don’t need to worry about where to set up your machine. It also has plenty of room to do machine embroidery on any size quilts! There are many decorative stitches from which to choose that are outstanding! It’s hard to choose which one to use! There are so many great features it is hard to decide what I love the most. If you want to buy only one machine to last a lifetime, I would recommend this one!
KLWash
S9 Review
Sunday, February 24, 2019

The S9 is amazing. I learned to sew by hand when I was just 5 and in my grandmothers way as she was quilting. I took seeing classes in high school until they would no longer let me sign up. The S9 makes me appreciate my current skills as well as motivate me to want to learn more. This machine is awesome.
SewSueMe2002
Horizon Memory Craft 15000
Thursday, November 19, 2020

My Janome Horizon Memory Craft 15000 is fantastic! I love, love, love this machine! When I came across the Eye for and Eye embroidery design today, I wanted to make it. However, the embroidery file is missing. Nothing downloads when I select the download button. Please help!
Jillfmischo
Treat Bag fun!
Monday, August 16, 2021

I made the Halloween treat bag for my new granddaughter and I’m sure it will last for years. No embroidery machine so I appliquéd the lettering. Need a little more skirt fabric for a better gathered look, and I used thin double-bias tape for the skirt hem, over edge stitch on skirt sides. I’m pleased with my results!
elenaz
Very helpful tutorial
Wednesday, October 25, 2023

I want to say thank you for teaching me this method of applique. I was able to do it with a small letters. This method is the best so far from all of those I've seen and tried.
plonkar
So useful
Thursday, November 30, 2023

I'd like to express my gratitude for teaching me this appliqué method. I successfully applied it with small letters, and, so far, it's the most effective among all the methods I've seen and tried.

DEALERS
The TWO Closest Dealers to you are:
196 Boston Post Road , Orange CT, 06477
203-878-1654
19 PUTNAM AVENUE , PORT CHESTER NY, 10573
914-934-2934
Find Additional Dealers