Projects

DIY Sherpa Snowflake Pillow

Created By:

Emily Herbster 

Skill Level: Beginner

Please read the entirety of this tutorial before starting your Snowflake Pillow.

Finished Size: 19” x 19”

Download Snowflake arm template here

Fabric and Notions Required
  • Sewing Machine
  • Fabric Scissors
  • Polyfill
  • 1 Yard of desired fabric
  • 1 hand sewing needle
  • DMC 8 Thread in a matching color to your fabric
  • Sharpie or Marker
  • Scotch Tape
  • Pins
  • Wonder Clips
  • Poly-fil for Stuffing
Instructions


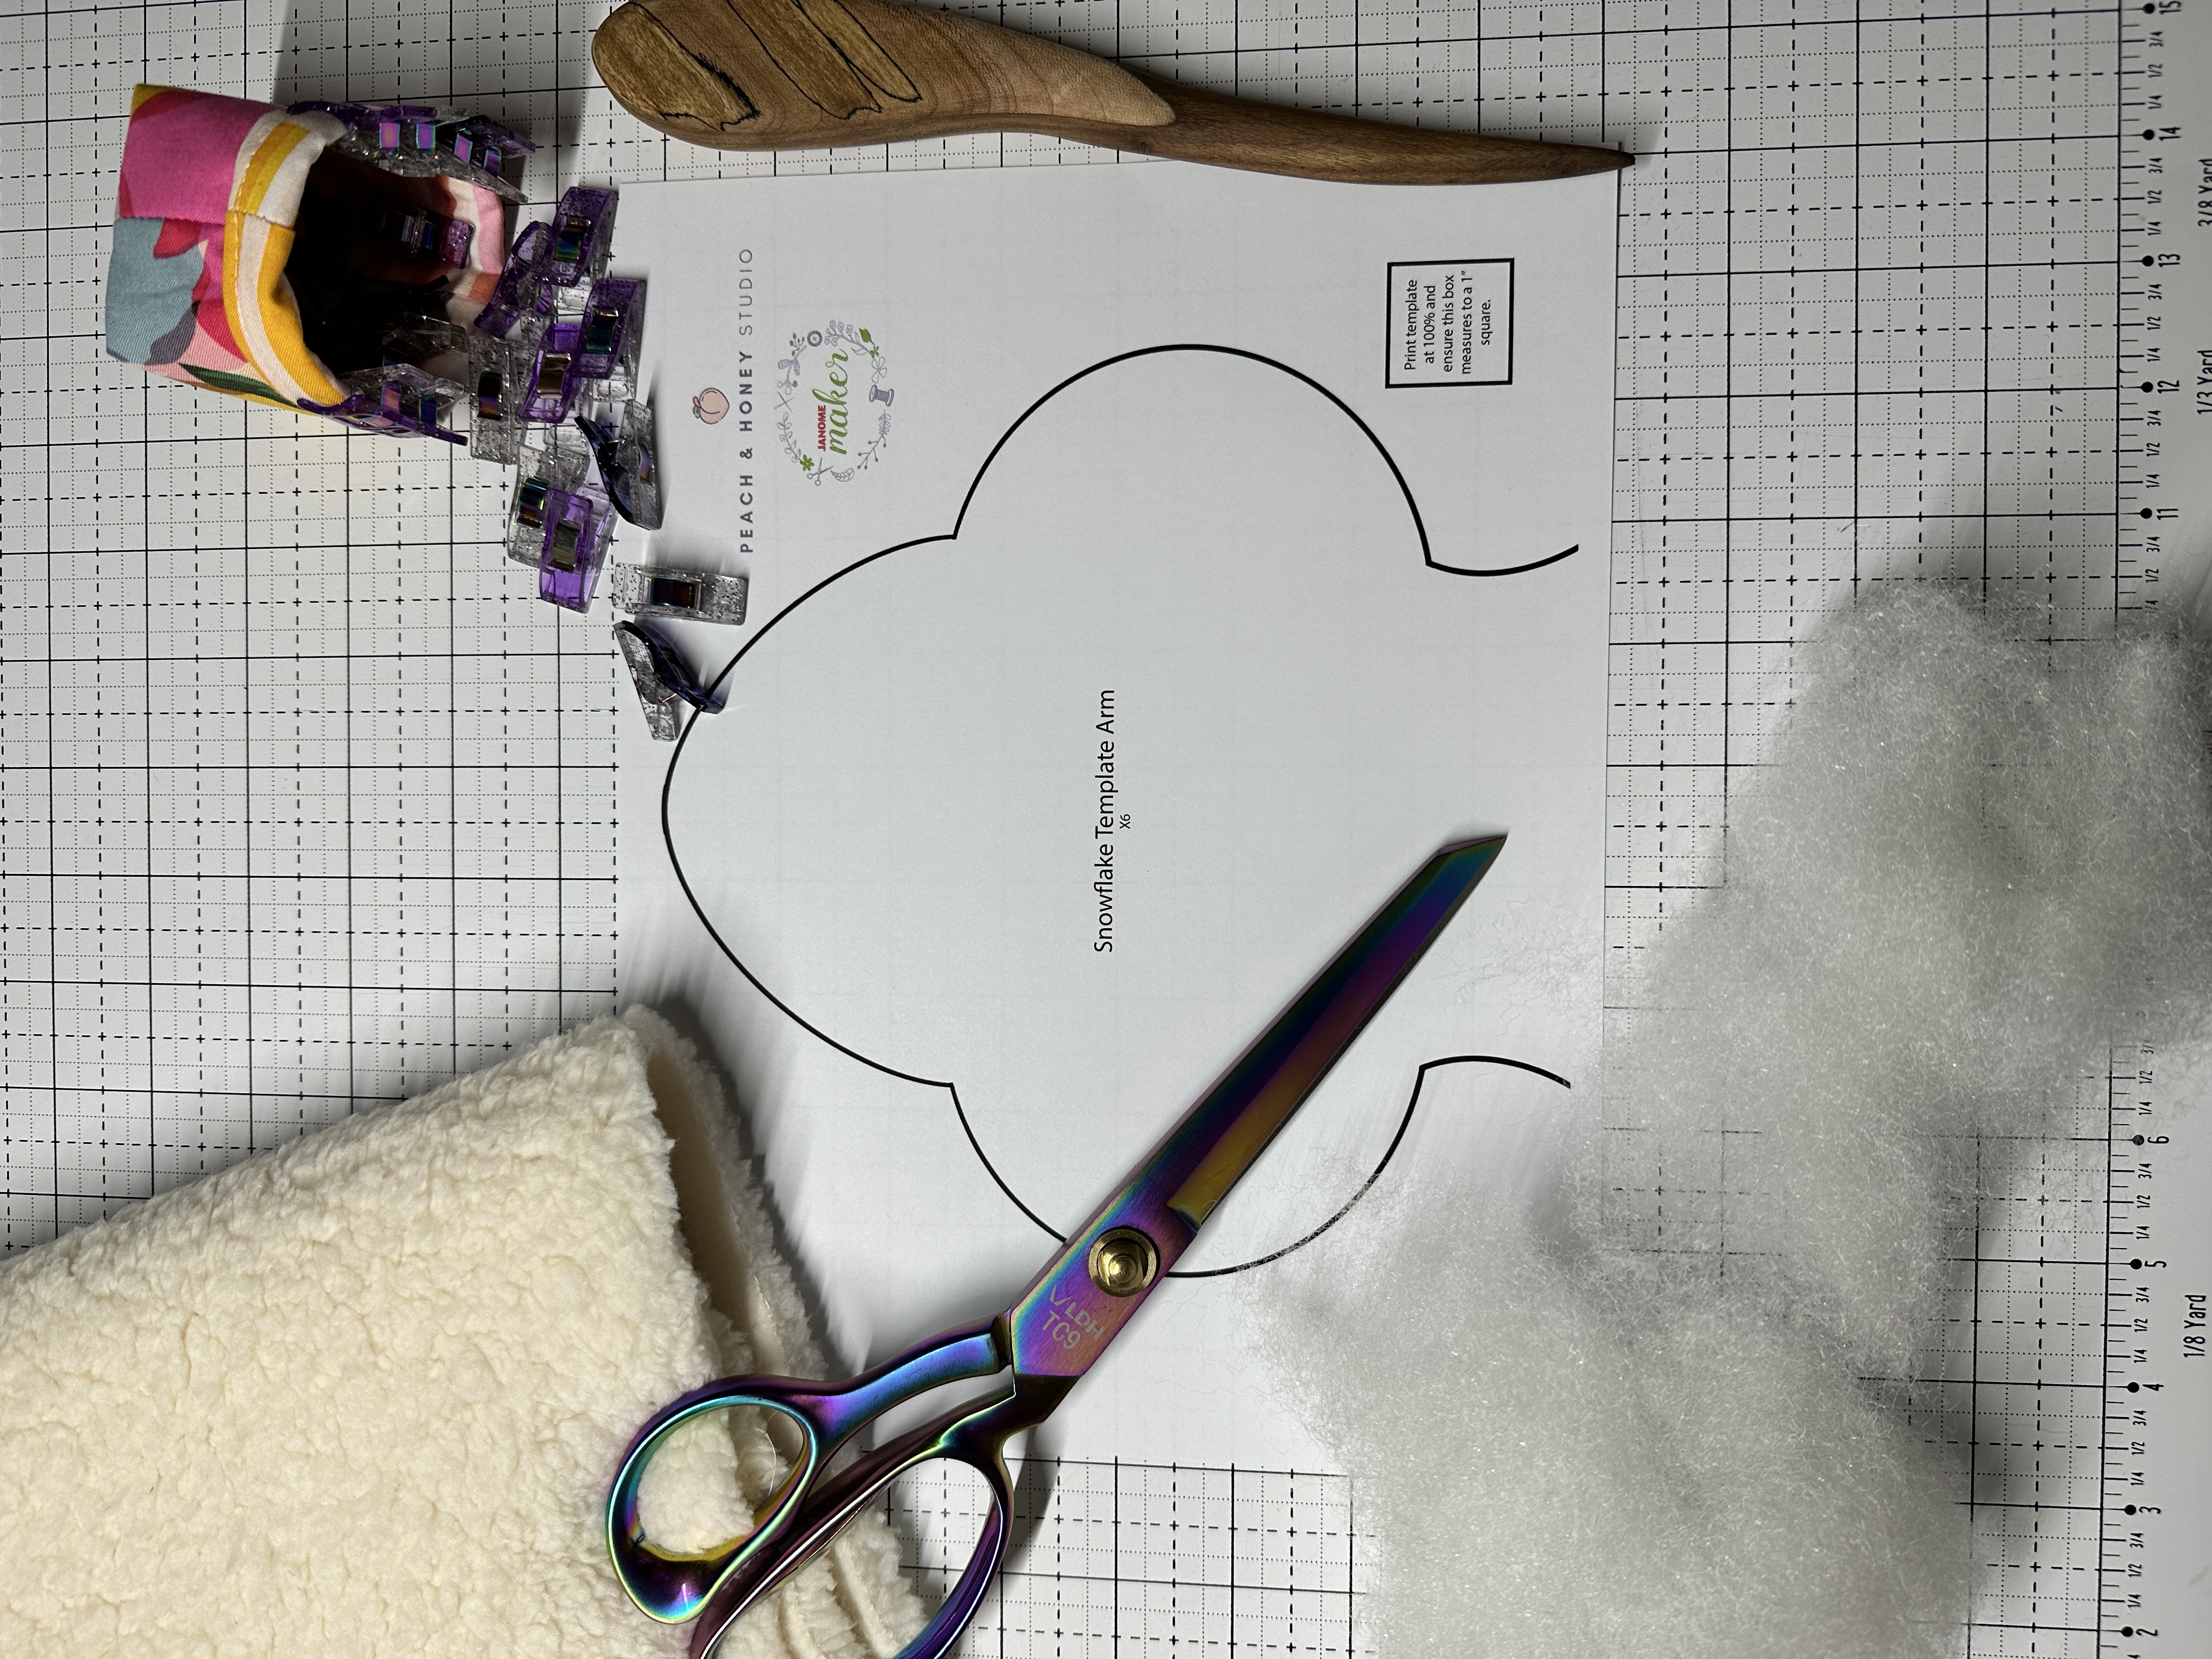
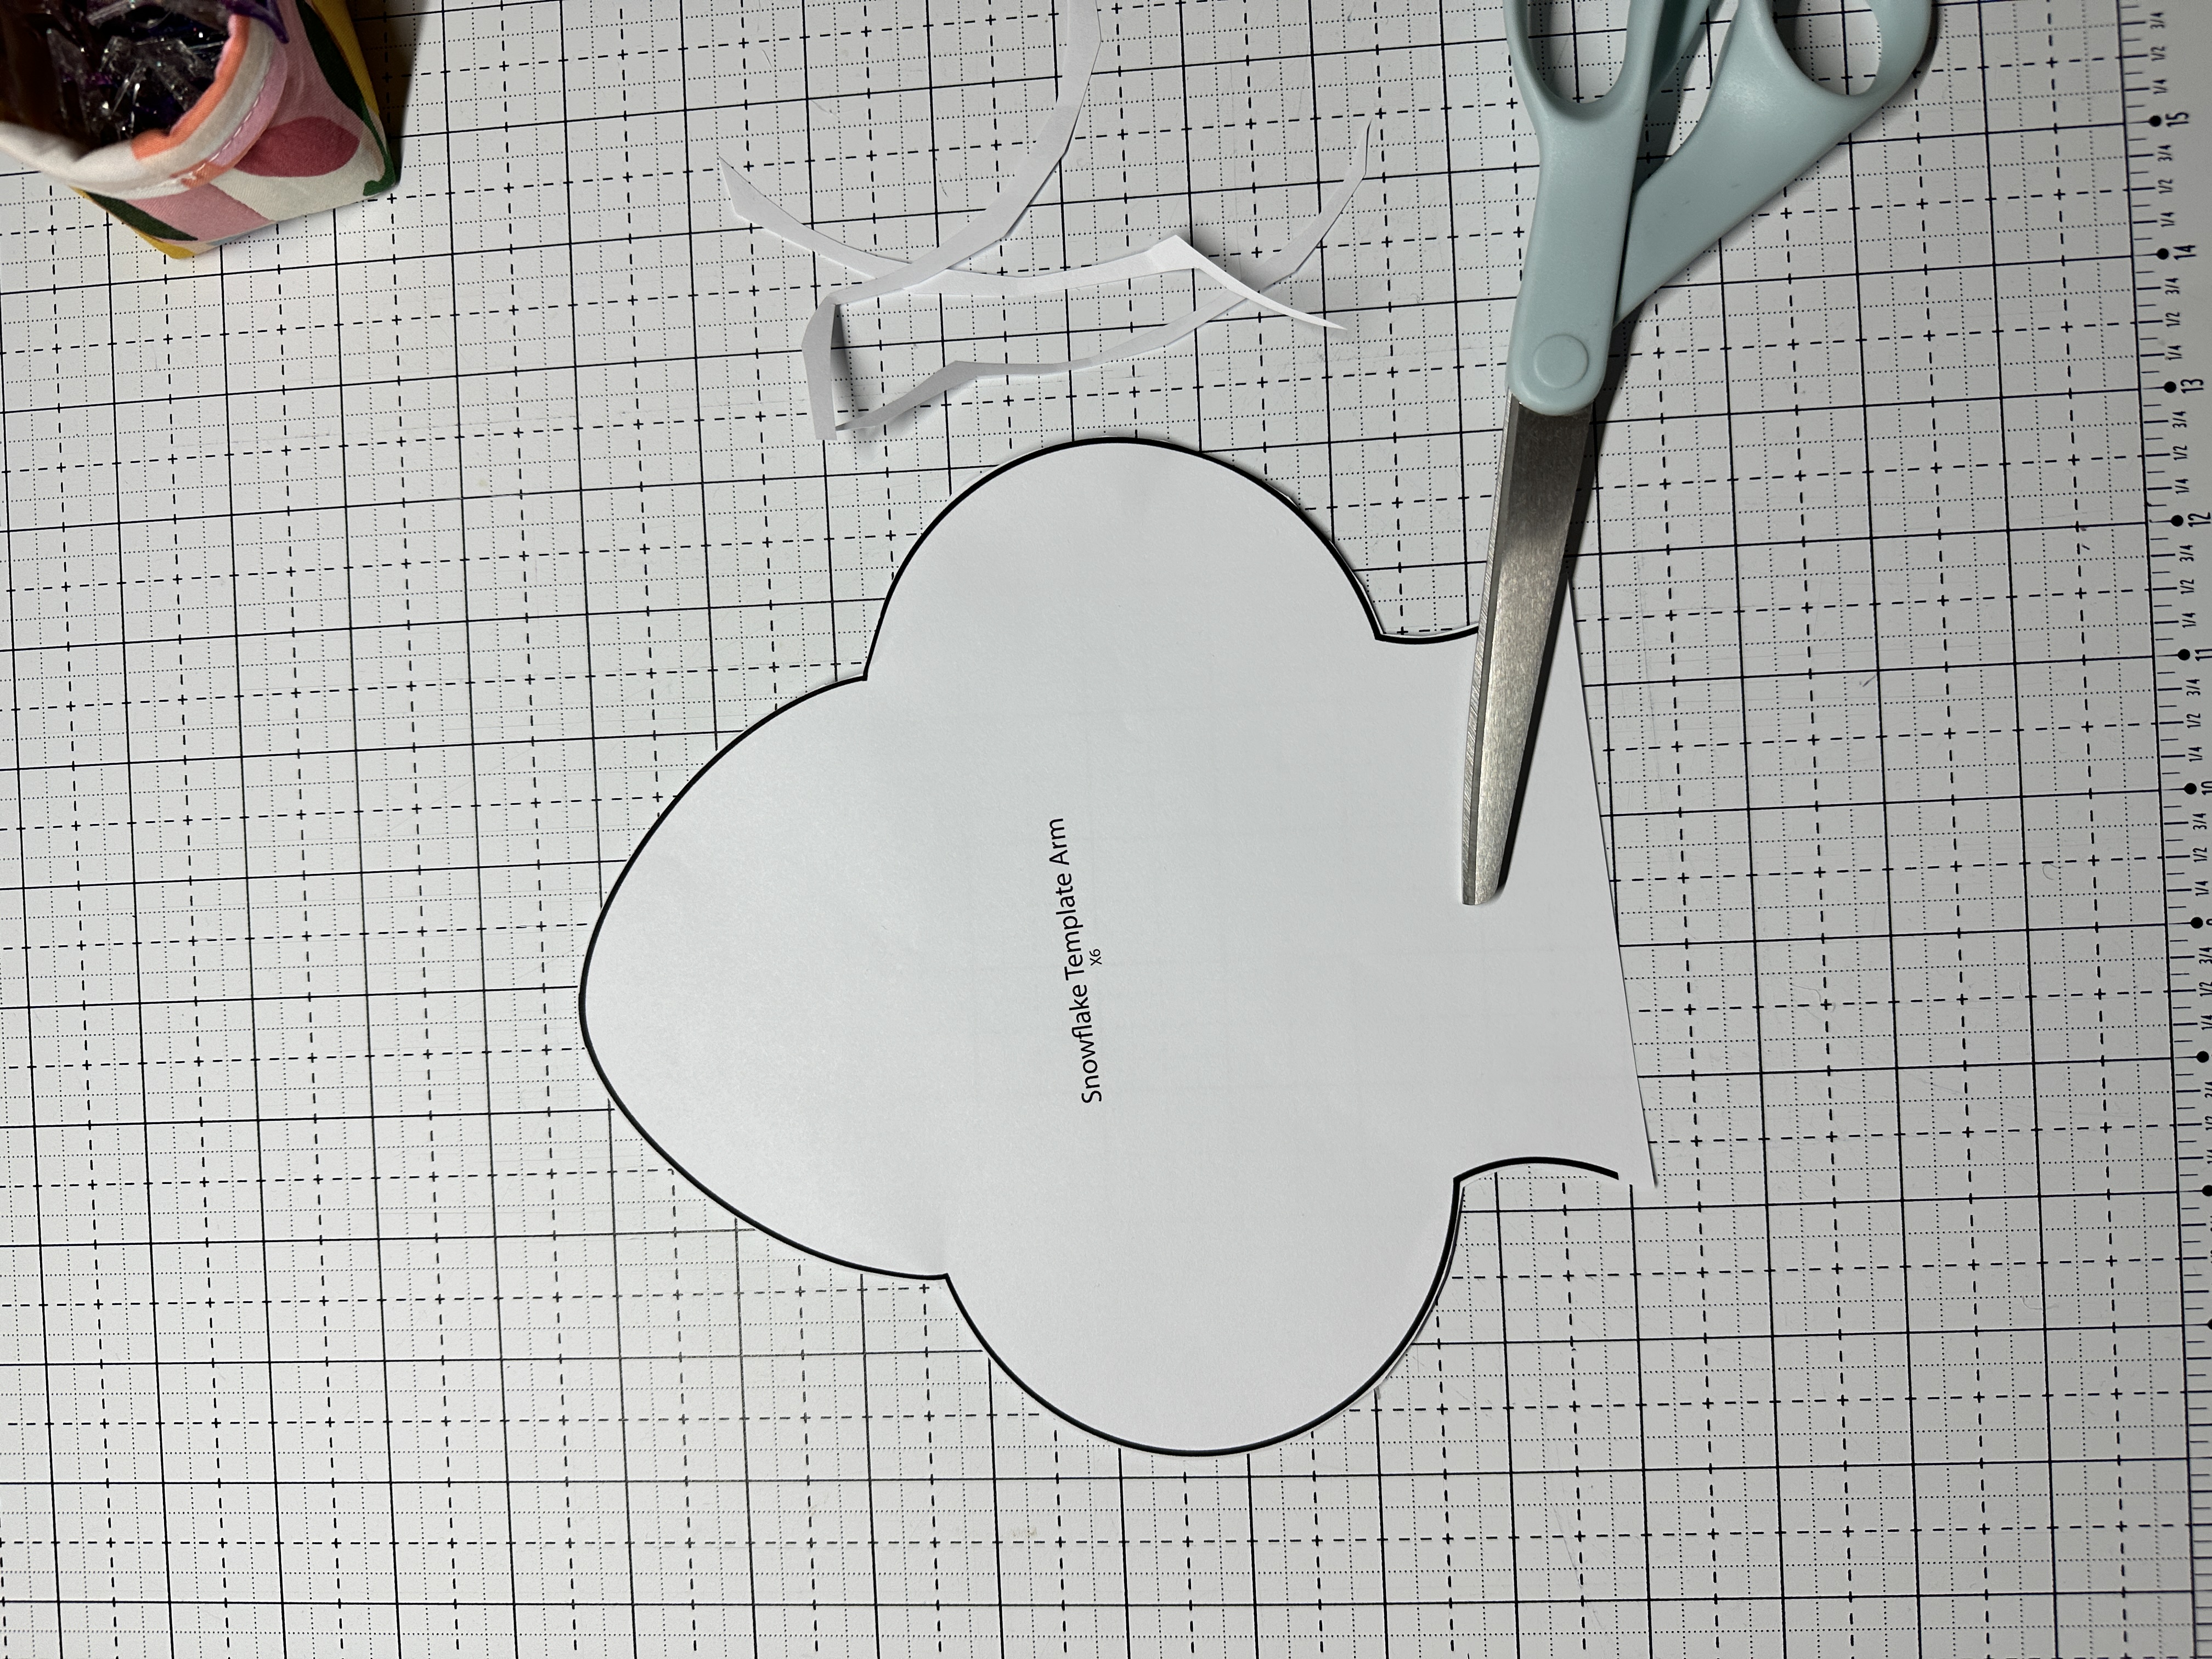
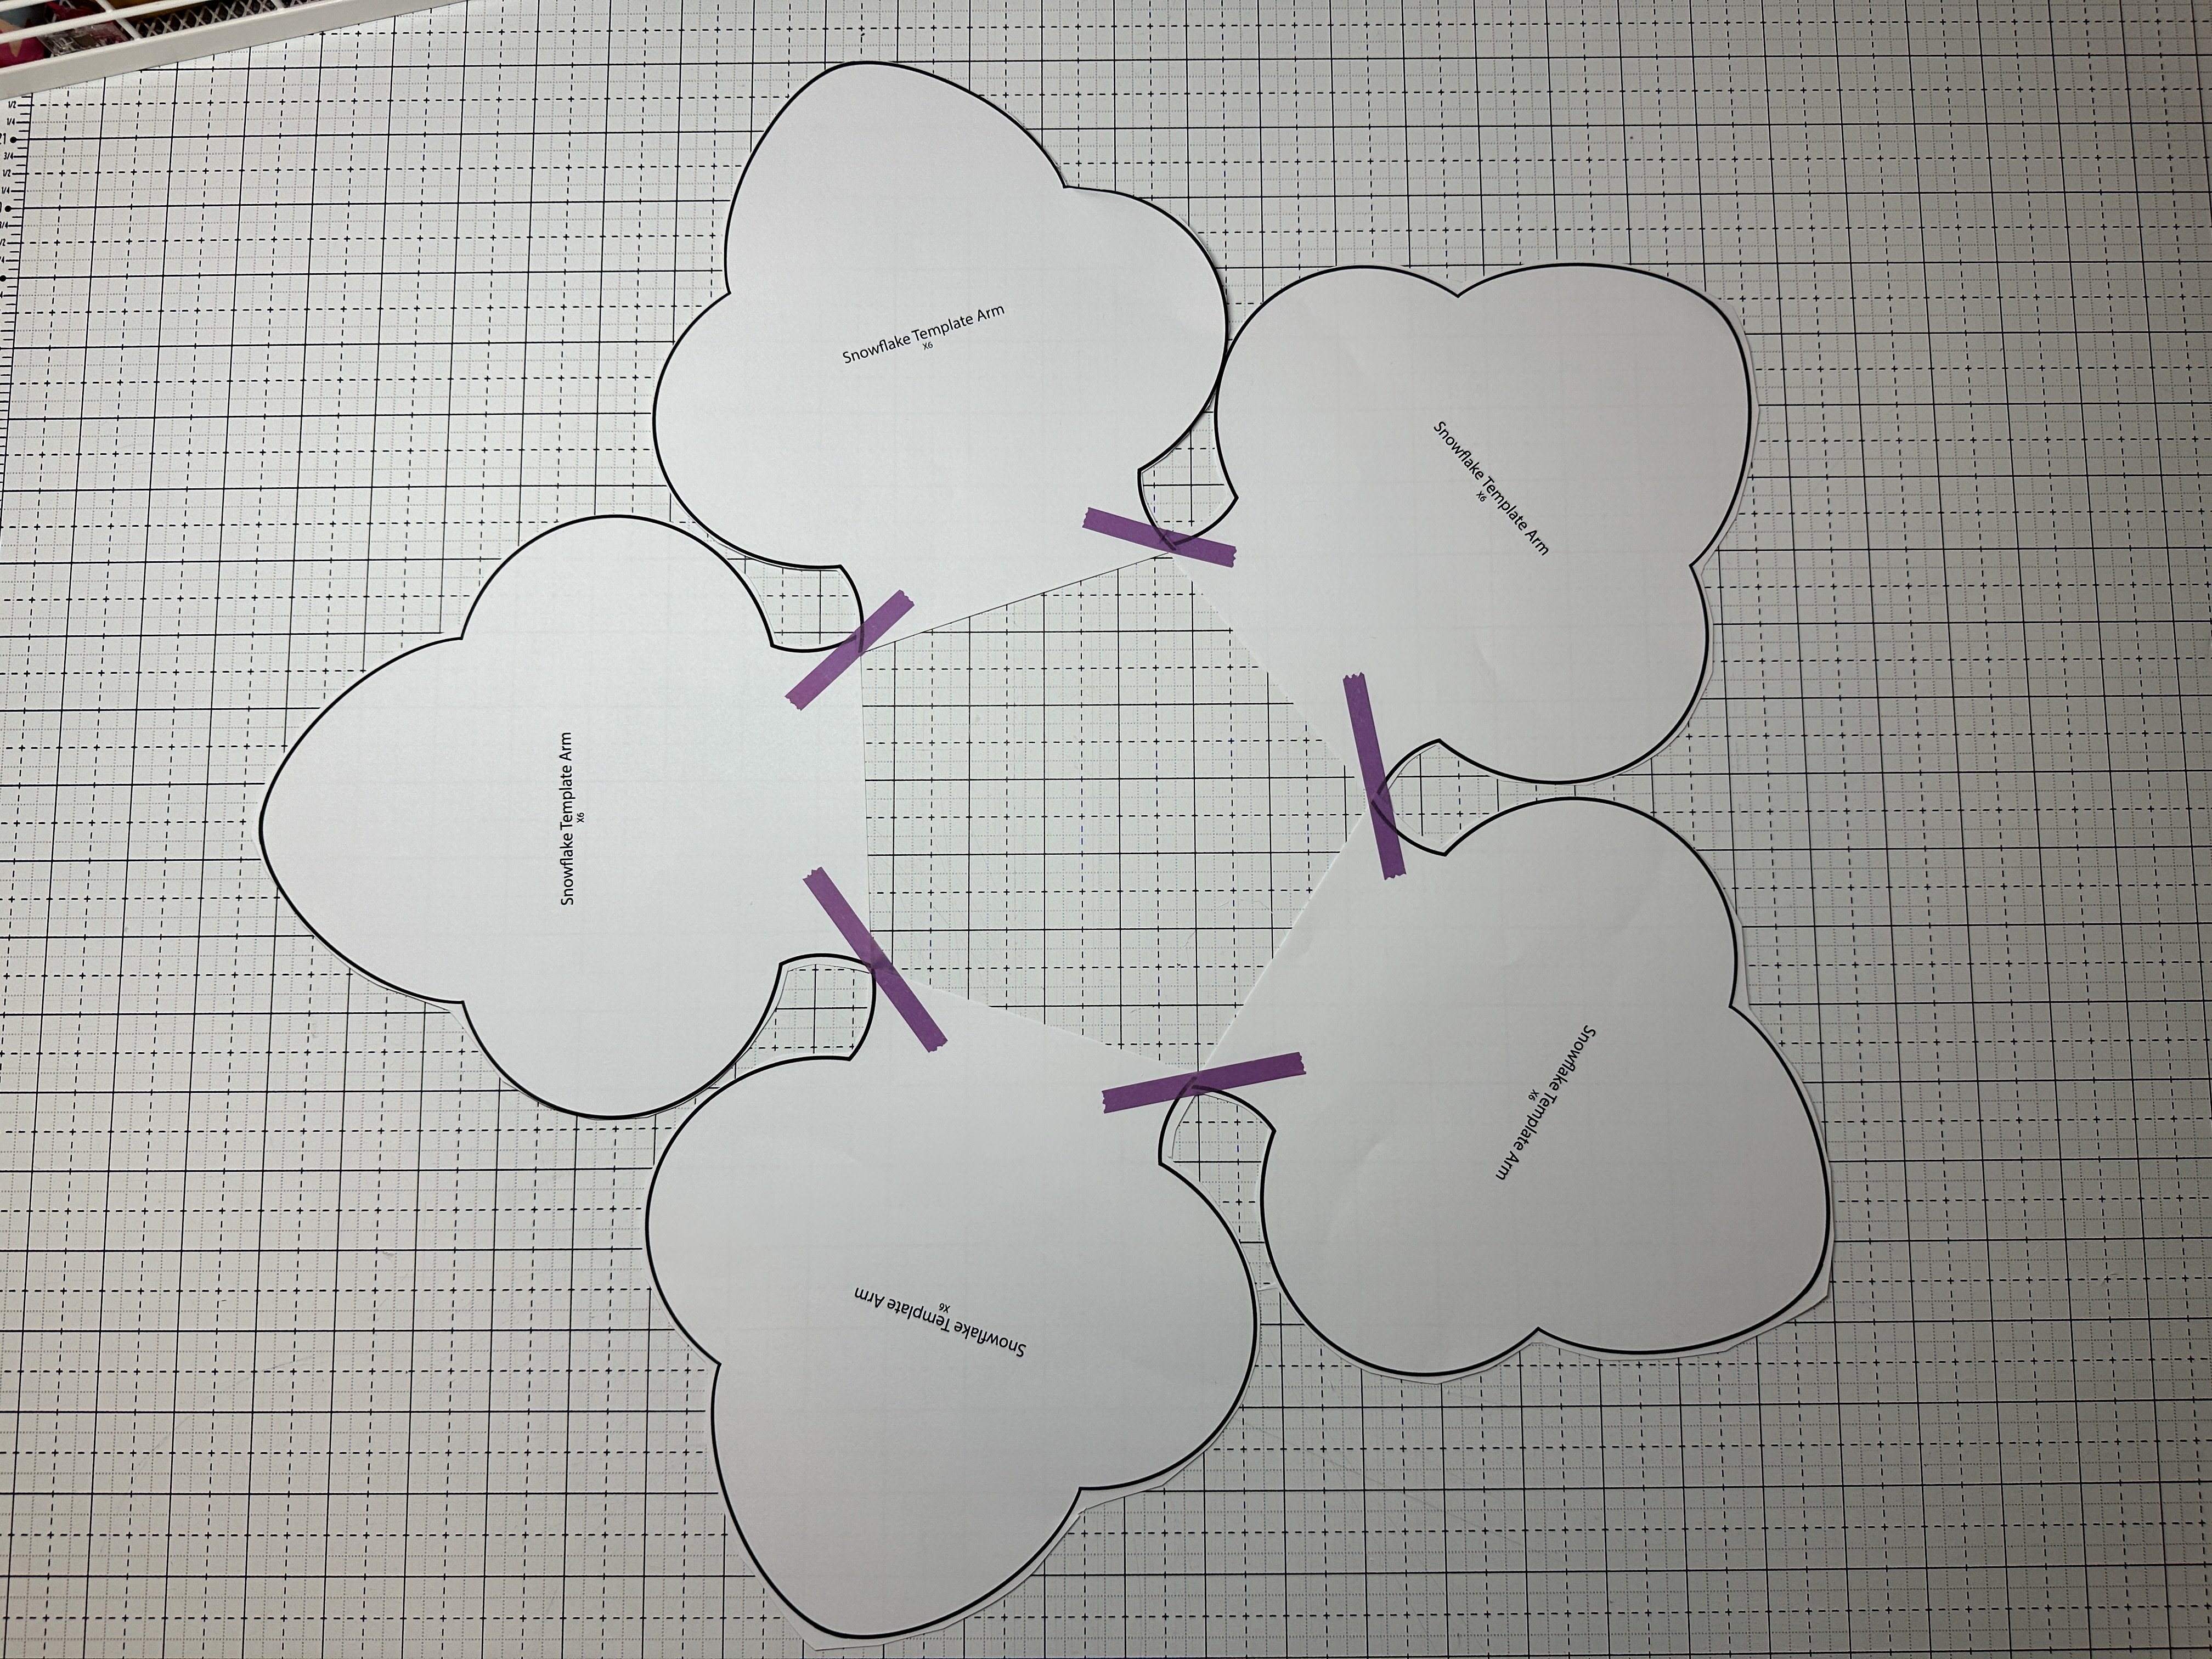
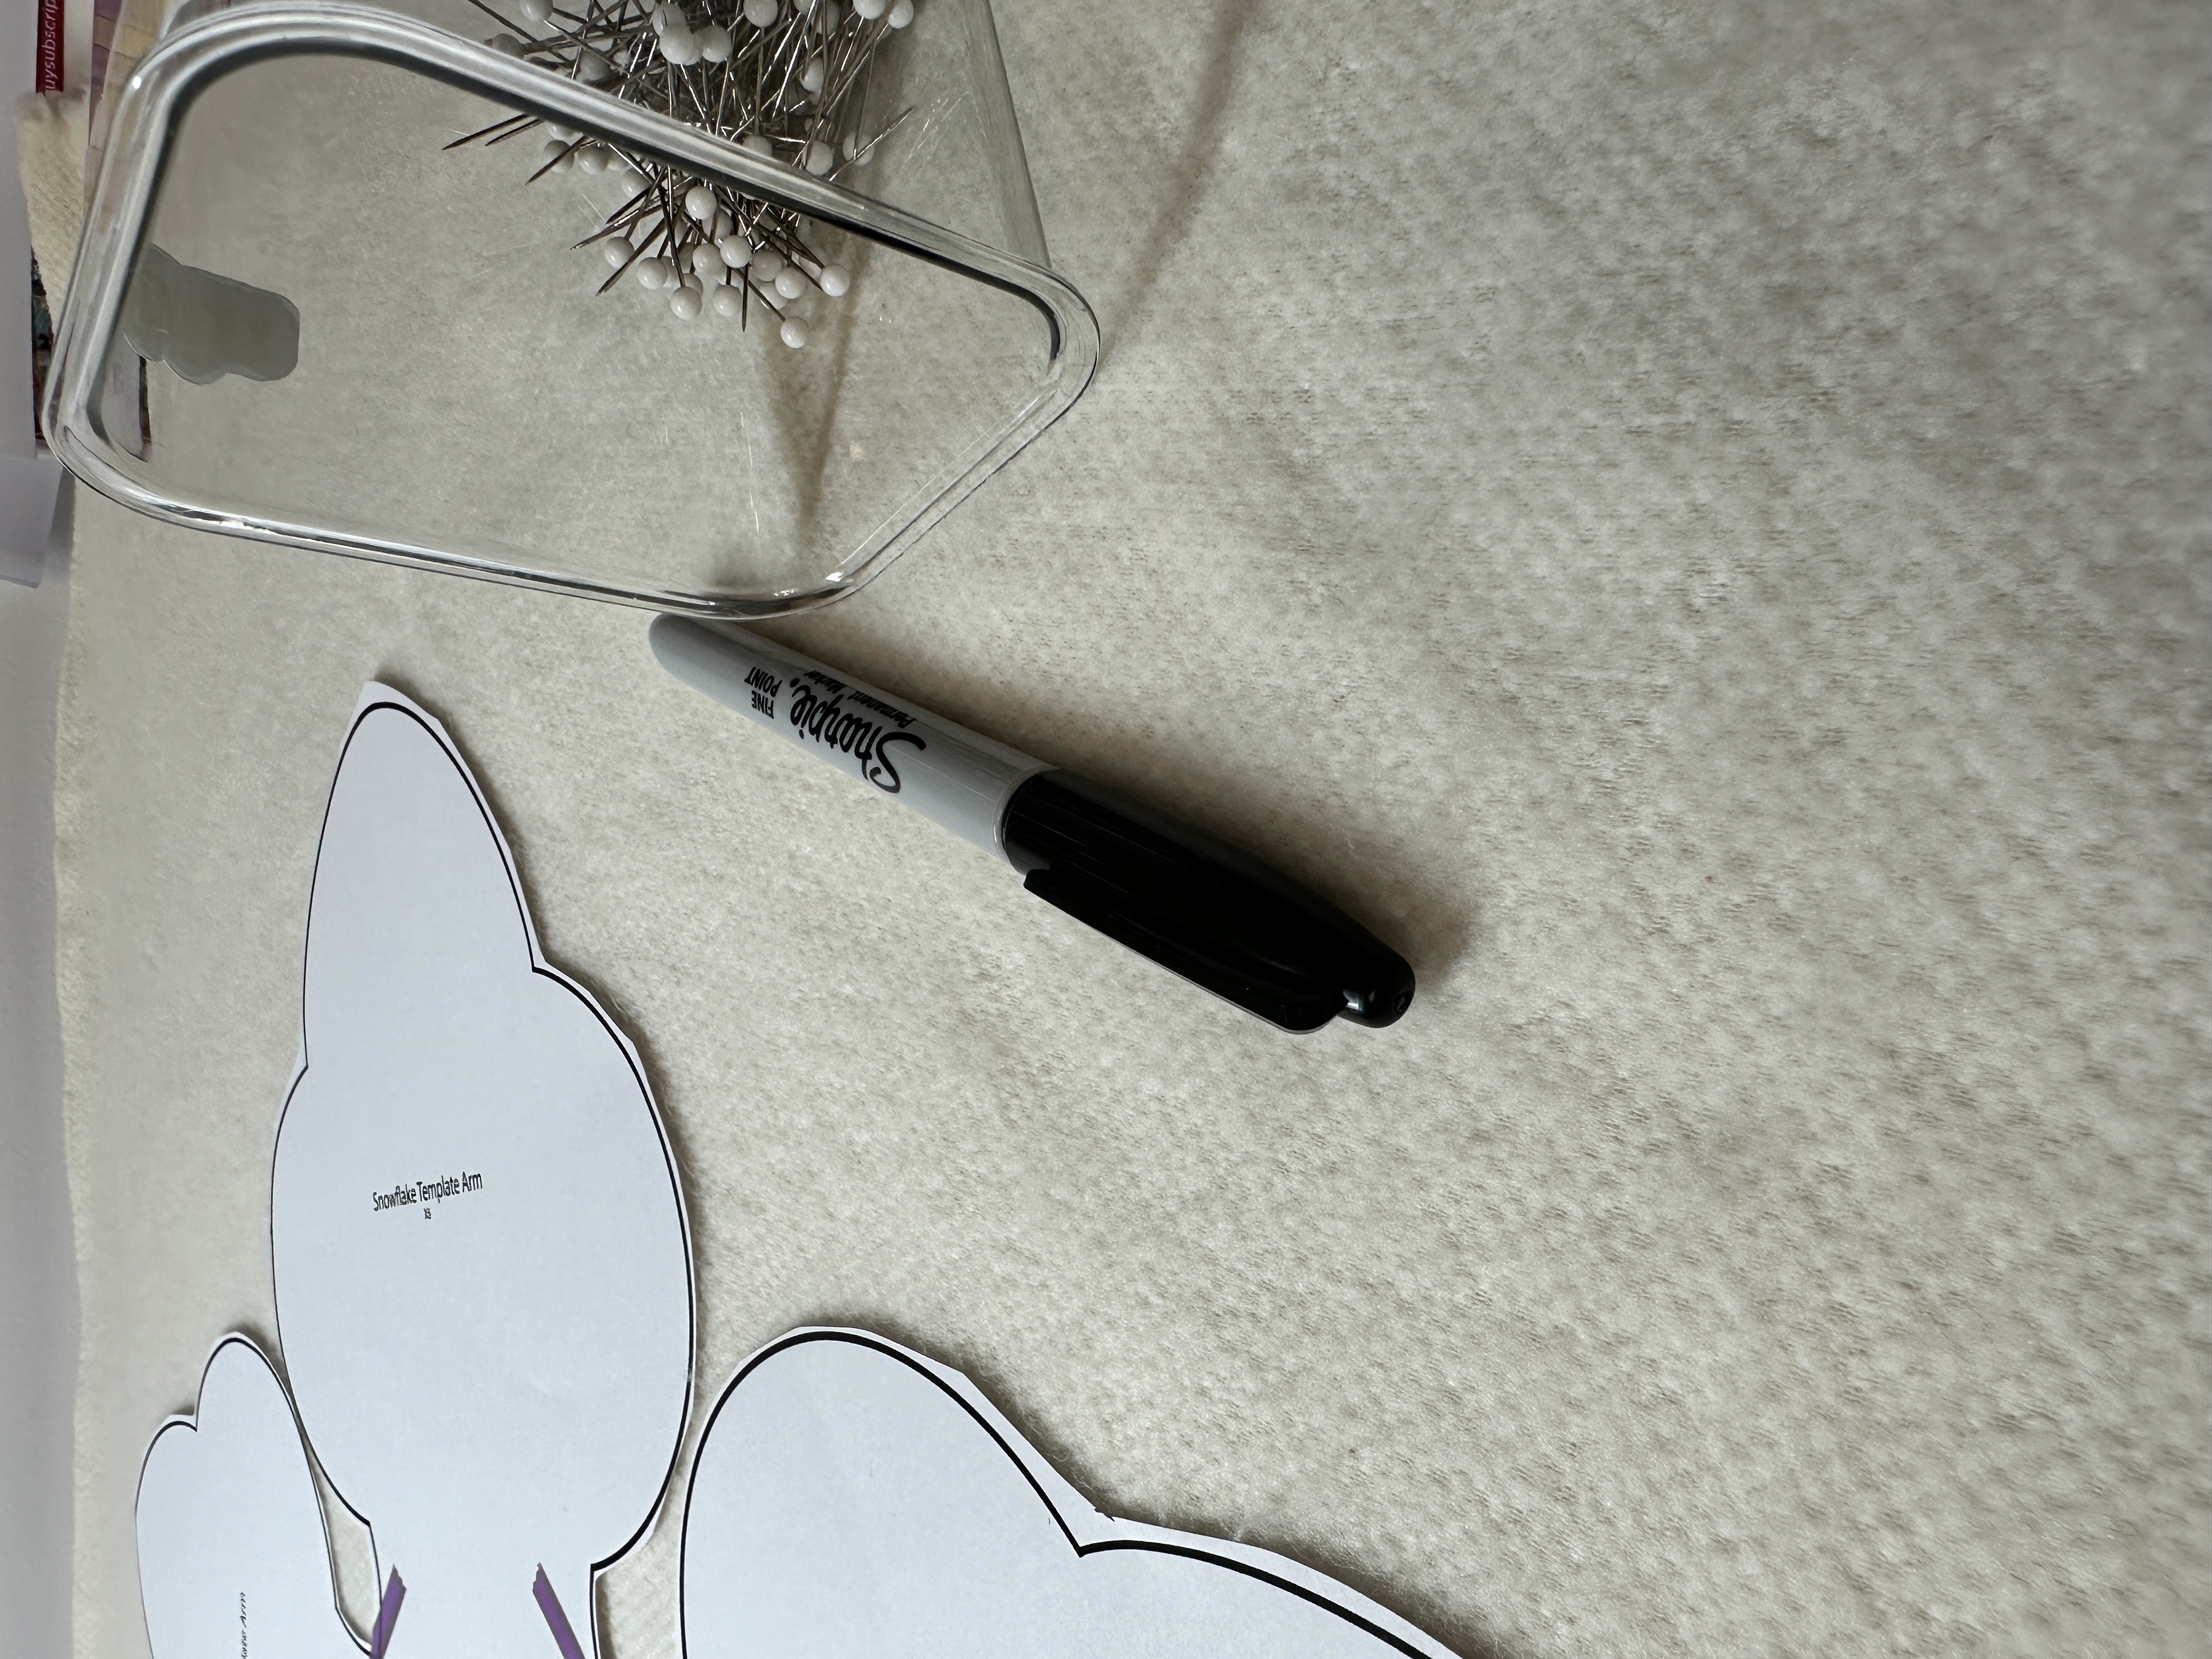
Step 1: Print five templates at 100% scale, making sure the small square measures 1 inch. Cut out the templates and assemble them by taping together into your preferred snowflake shape.


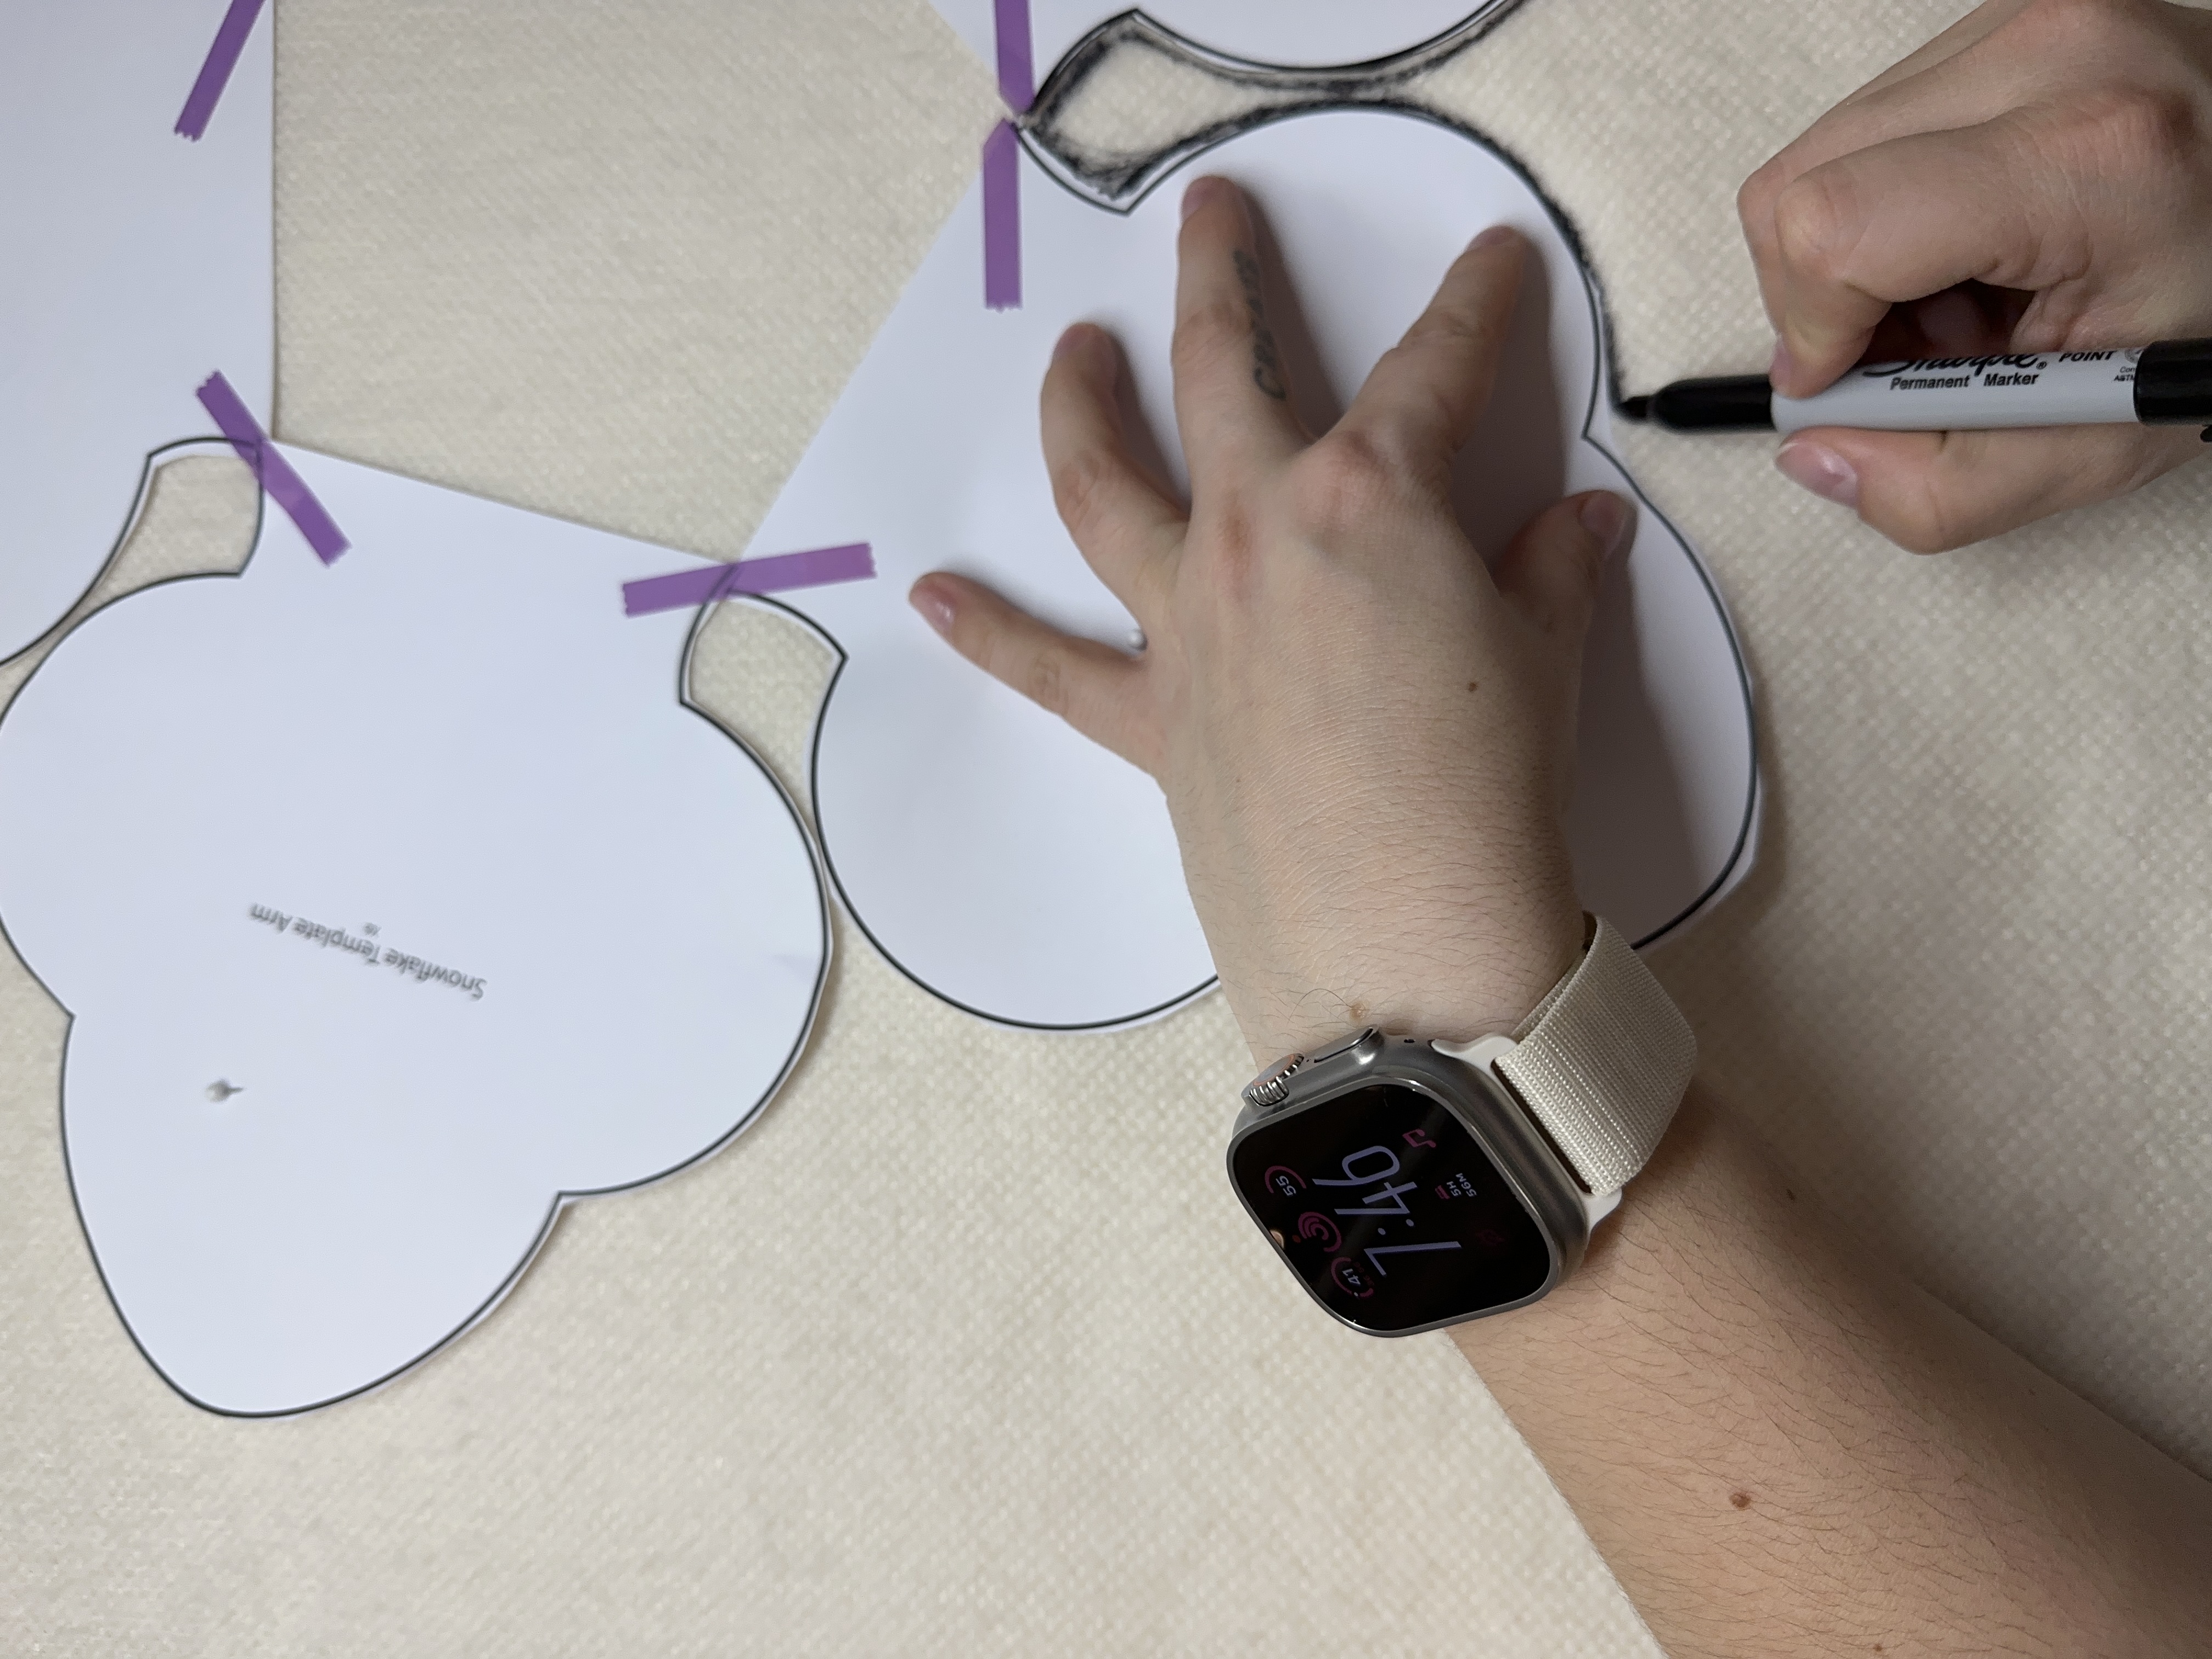
Step 2: After cutting out and assembling your Snowflake Template, place it on a single layer of your fabric with the wrong side facing up. Trace the template onto the wrong side of your fabric using a marker, and feel free to pin the template down if necessary.


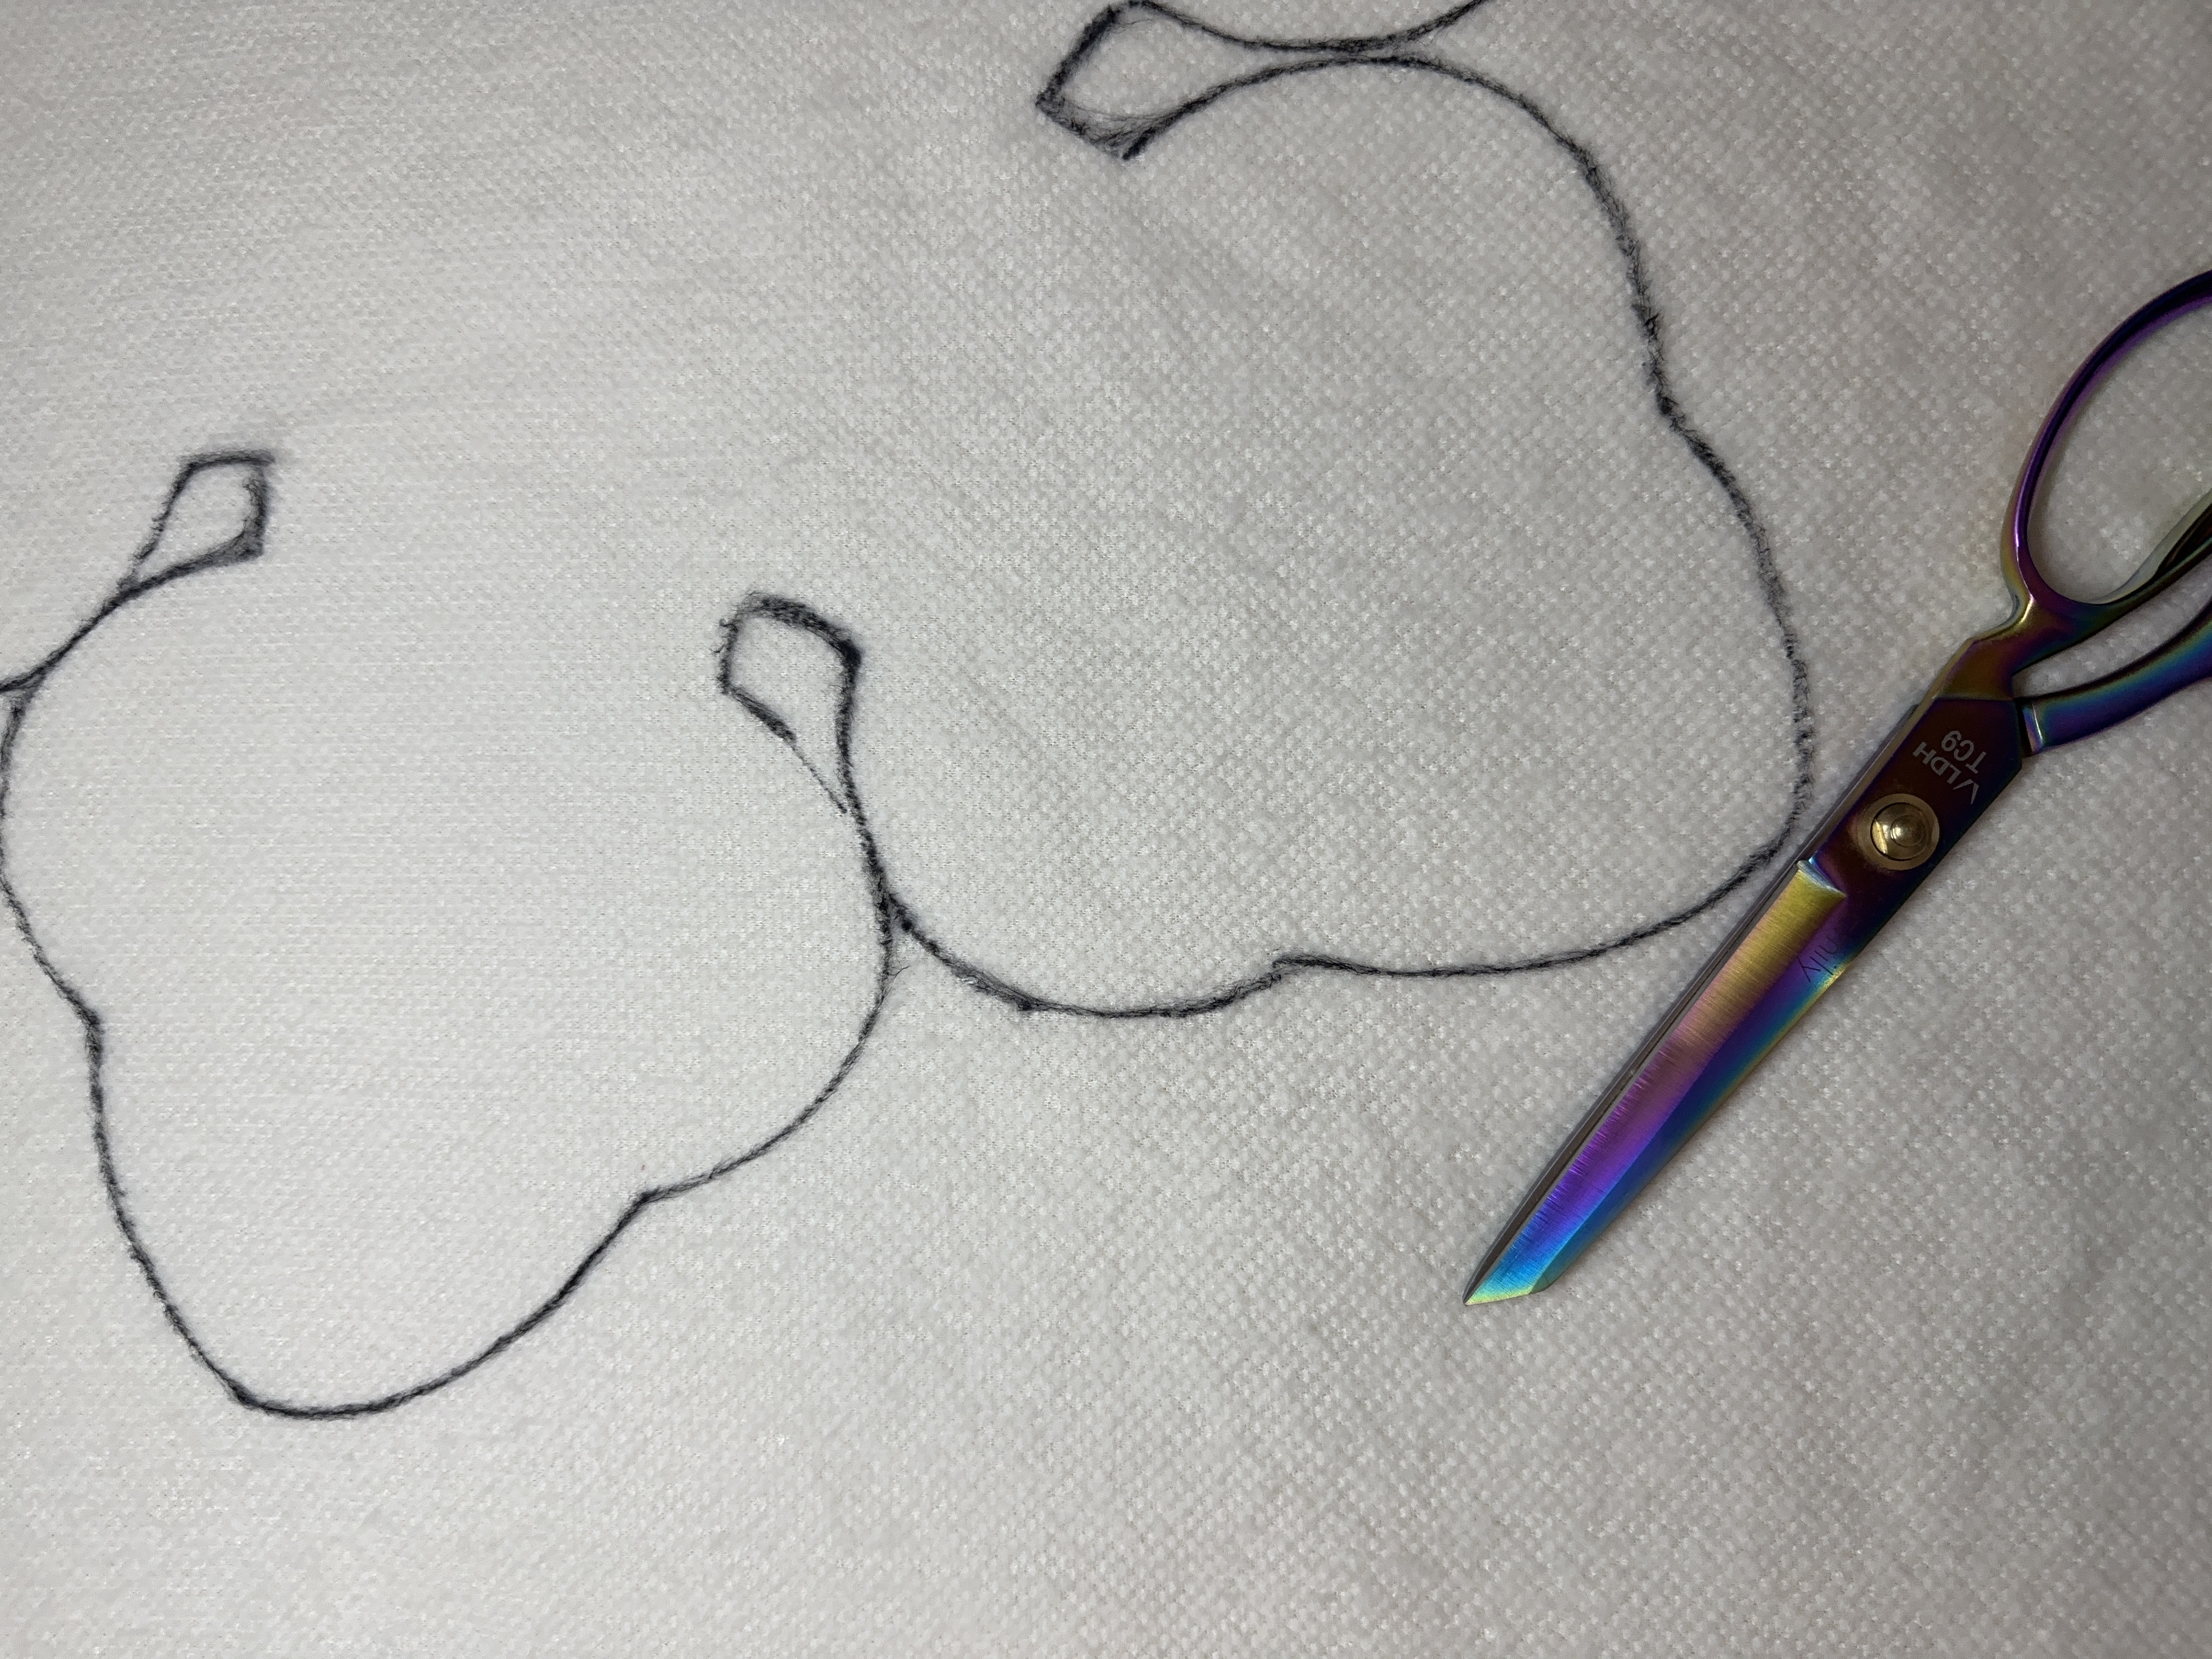
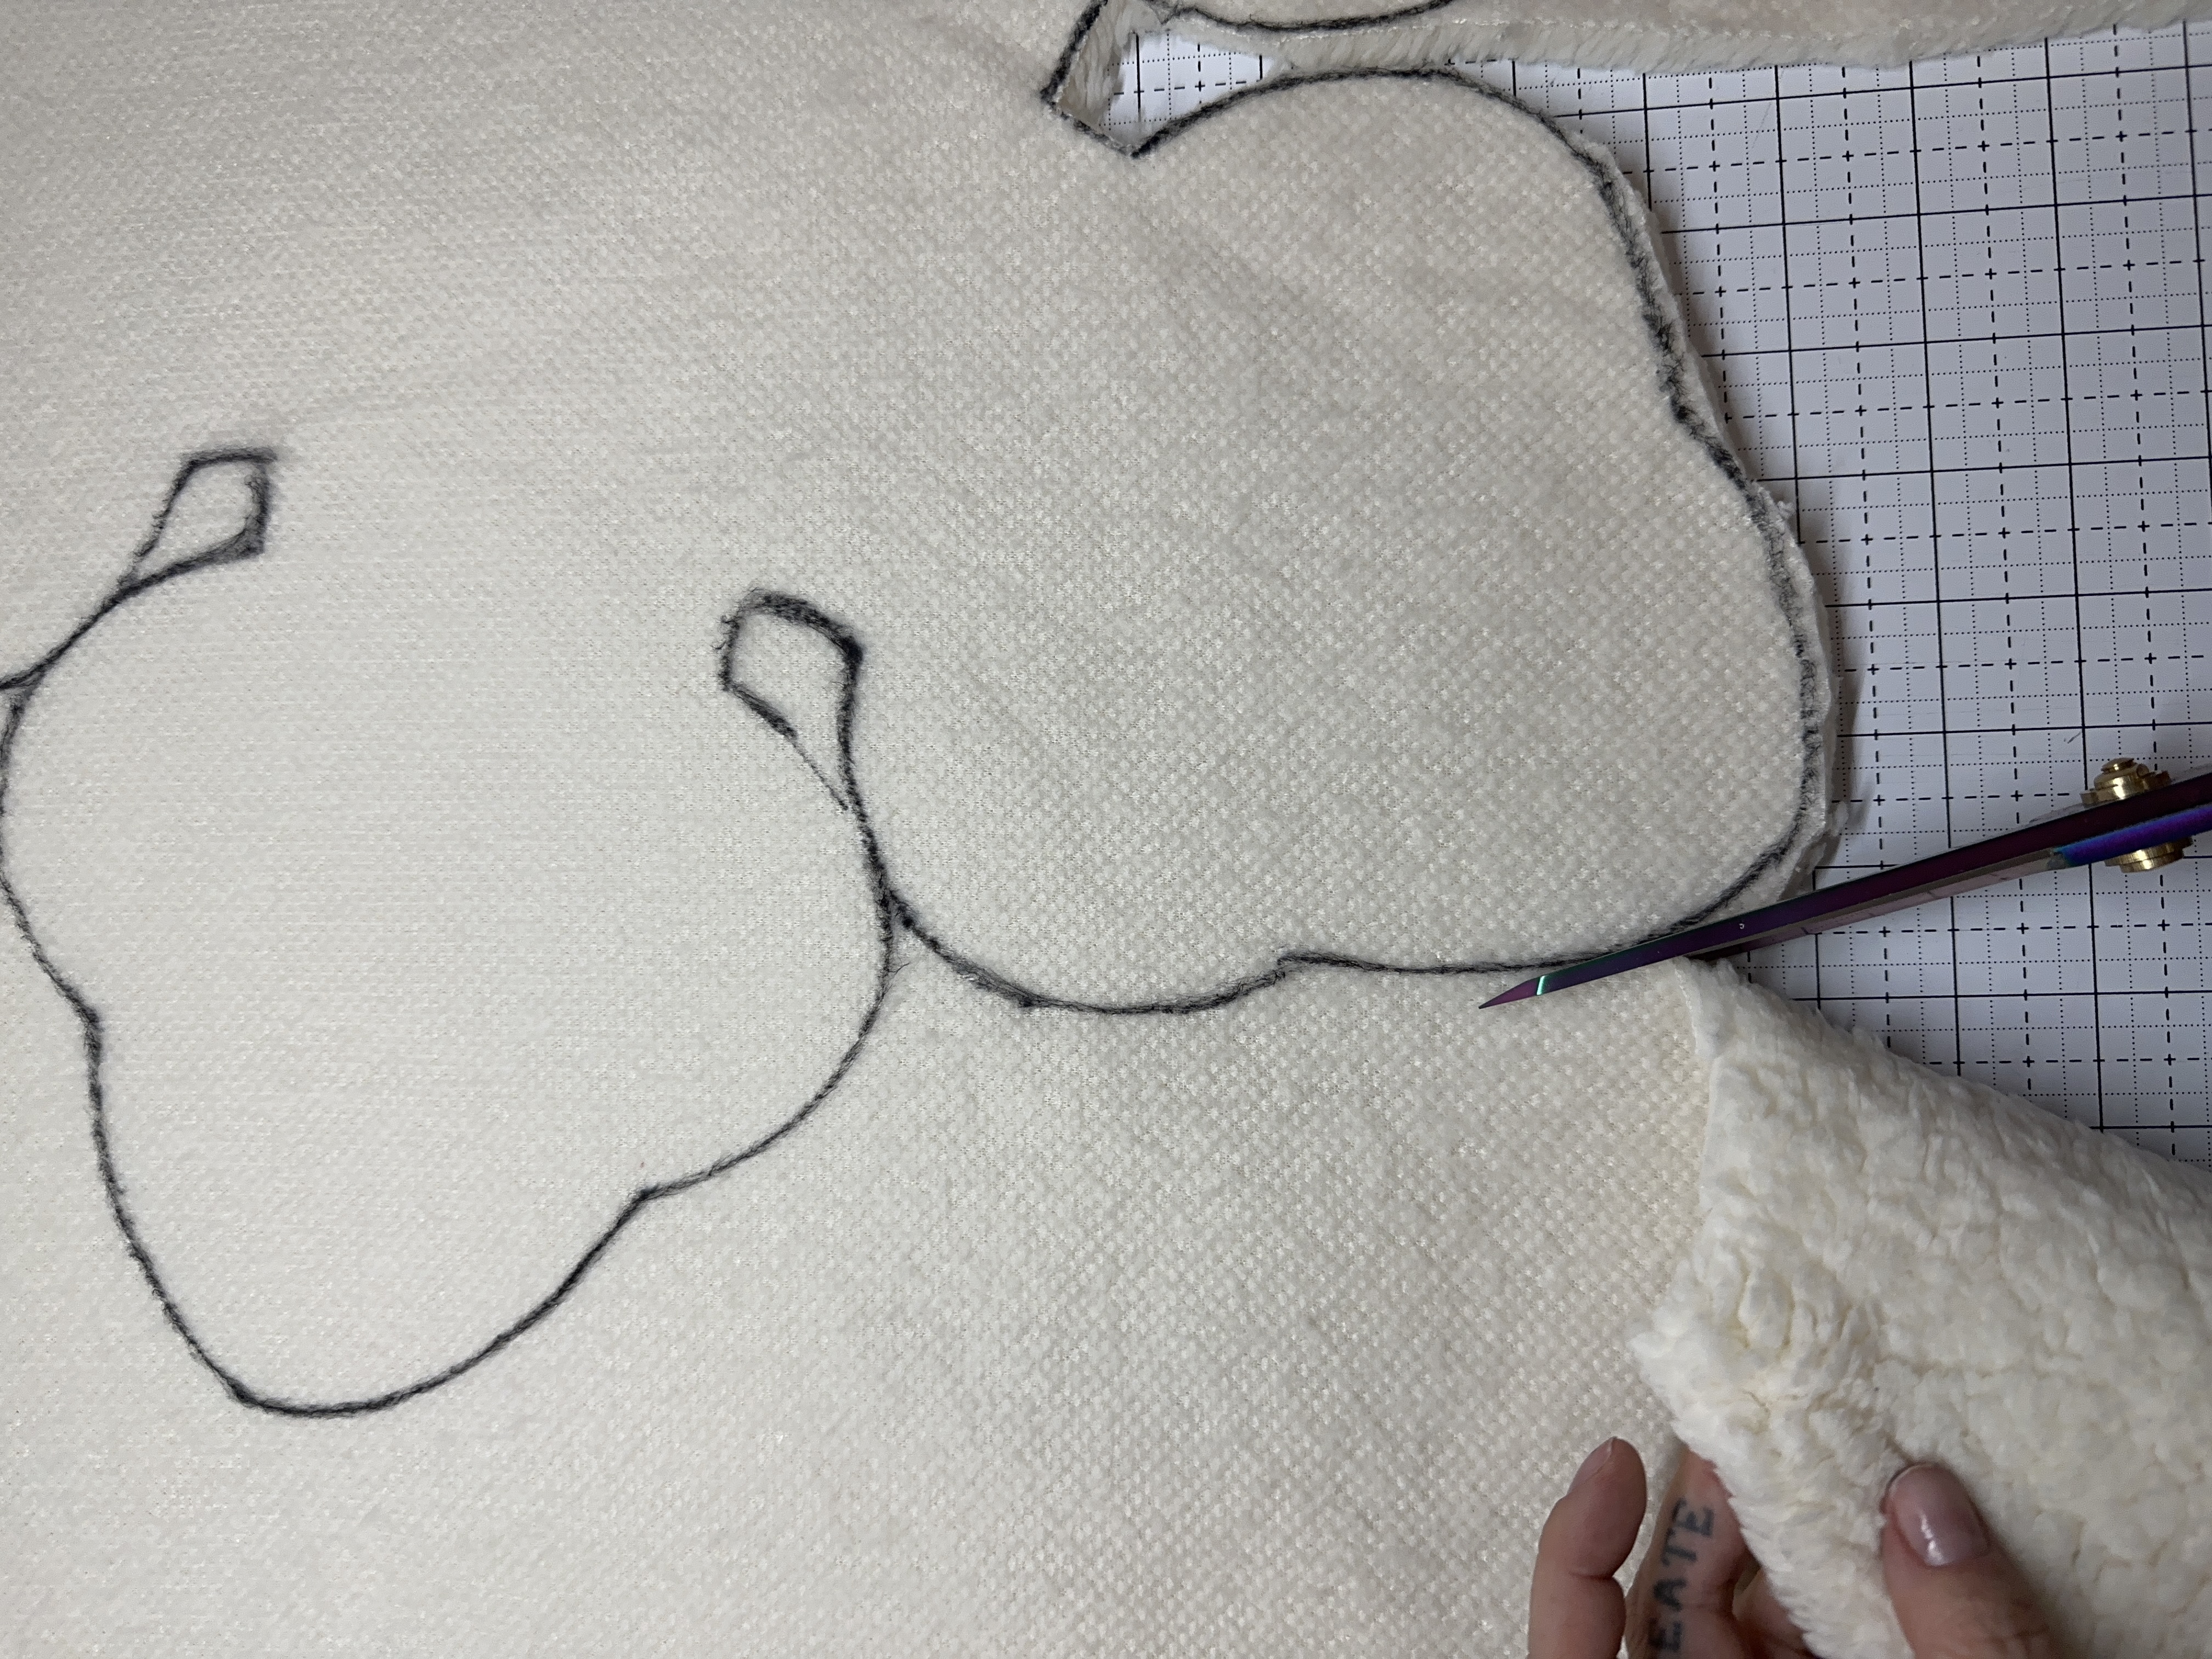
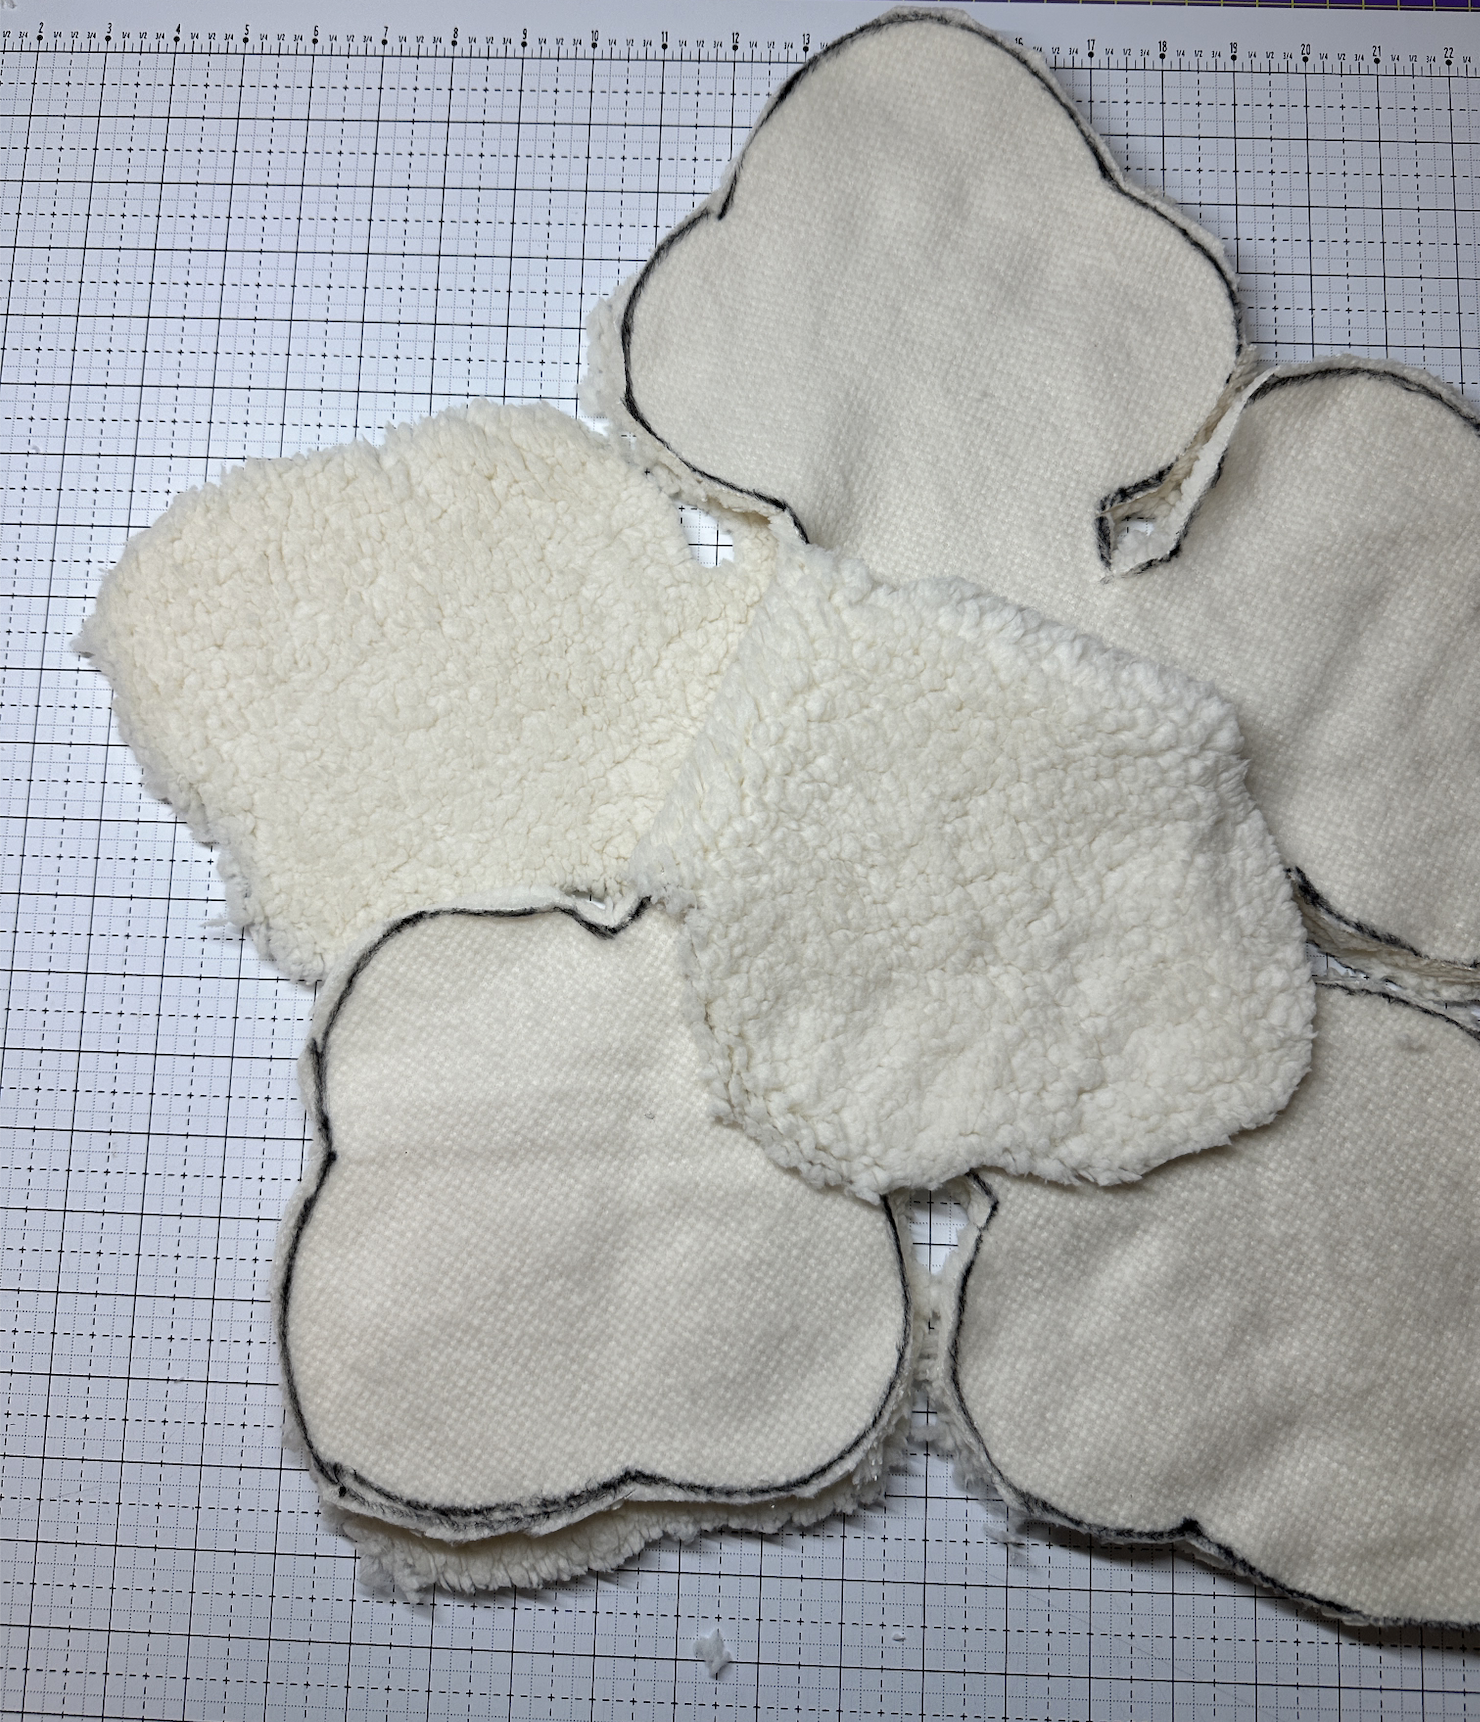
Step 3:
Trim your single layer of fabric around the template, maintaining a ½-inch distance from your marked line whenever possible. This ½-inch margin will facilitate smoother construction when you sew both layers together. Please be aware that in sections where the Snowflake arms touch, it may not be possible to leave extra room for seam allowance, so exercise caution when sewing in these areas.


Step 4: Repeat Step 3 to create a second Snowflake. You should now have 2 separate layers of your snowflake cutout.


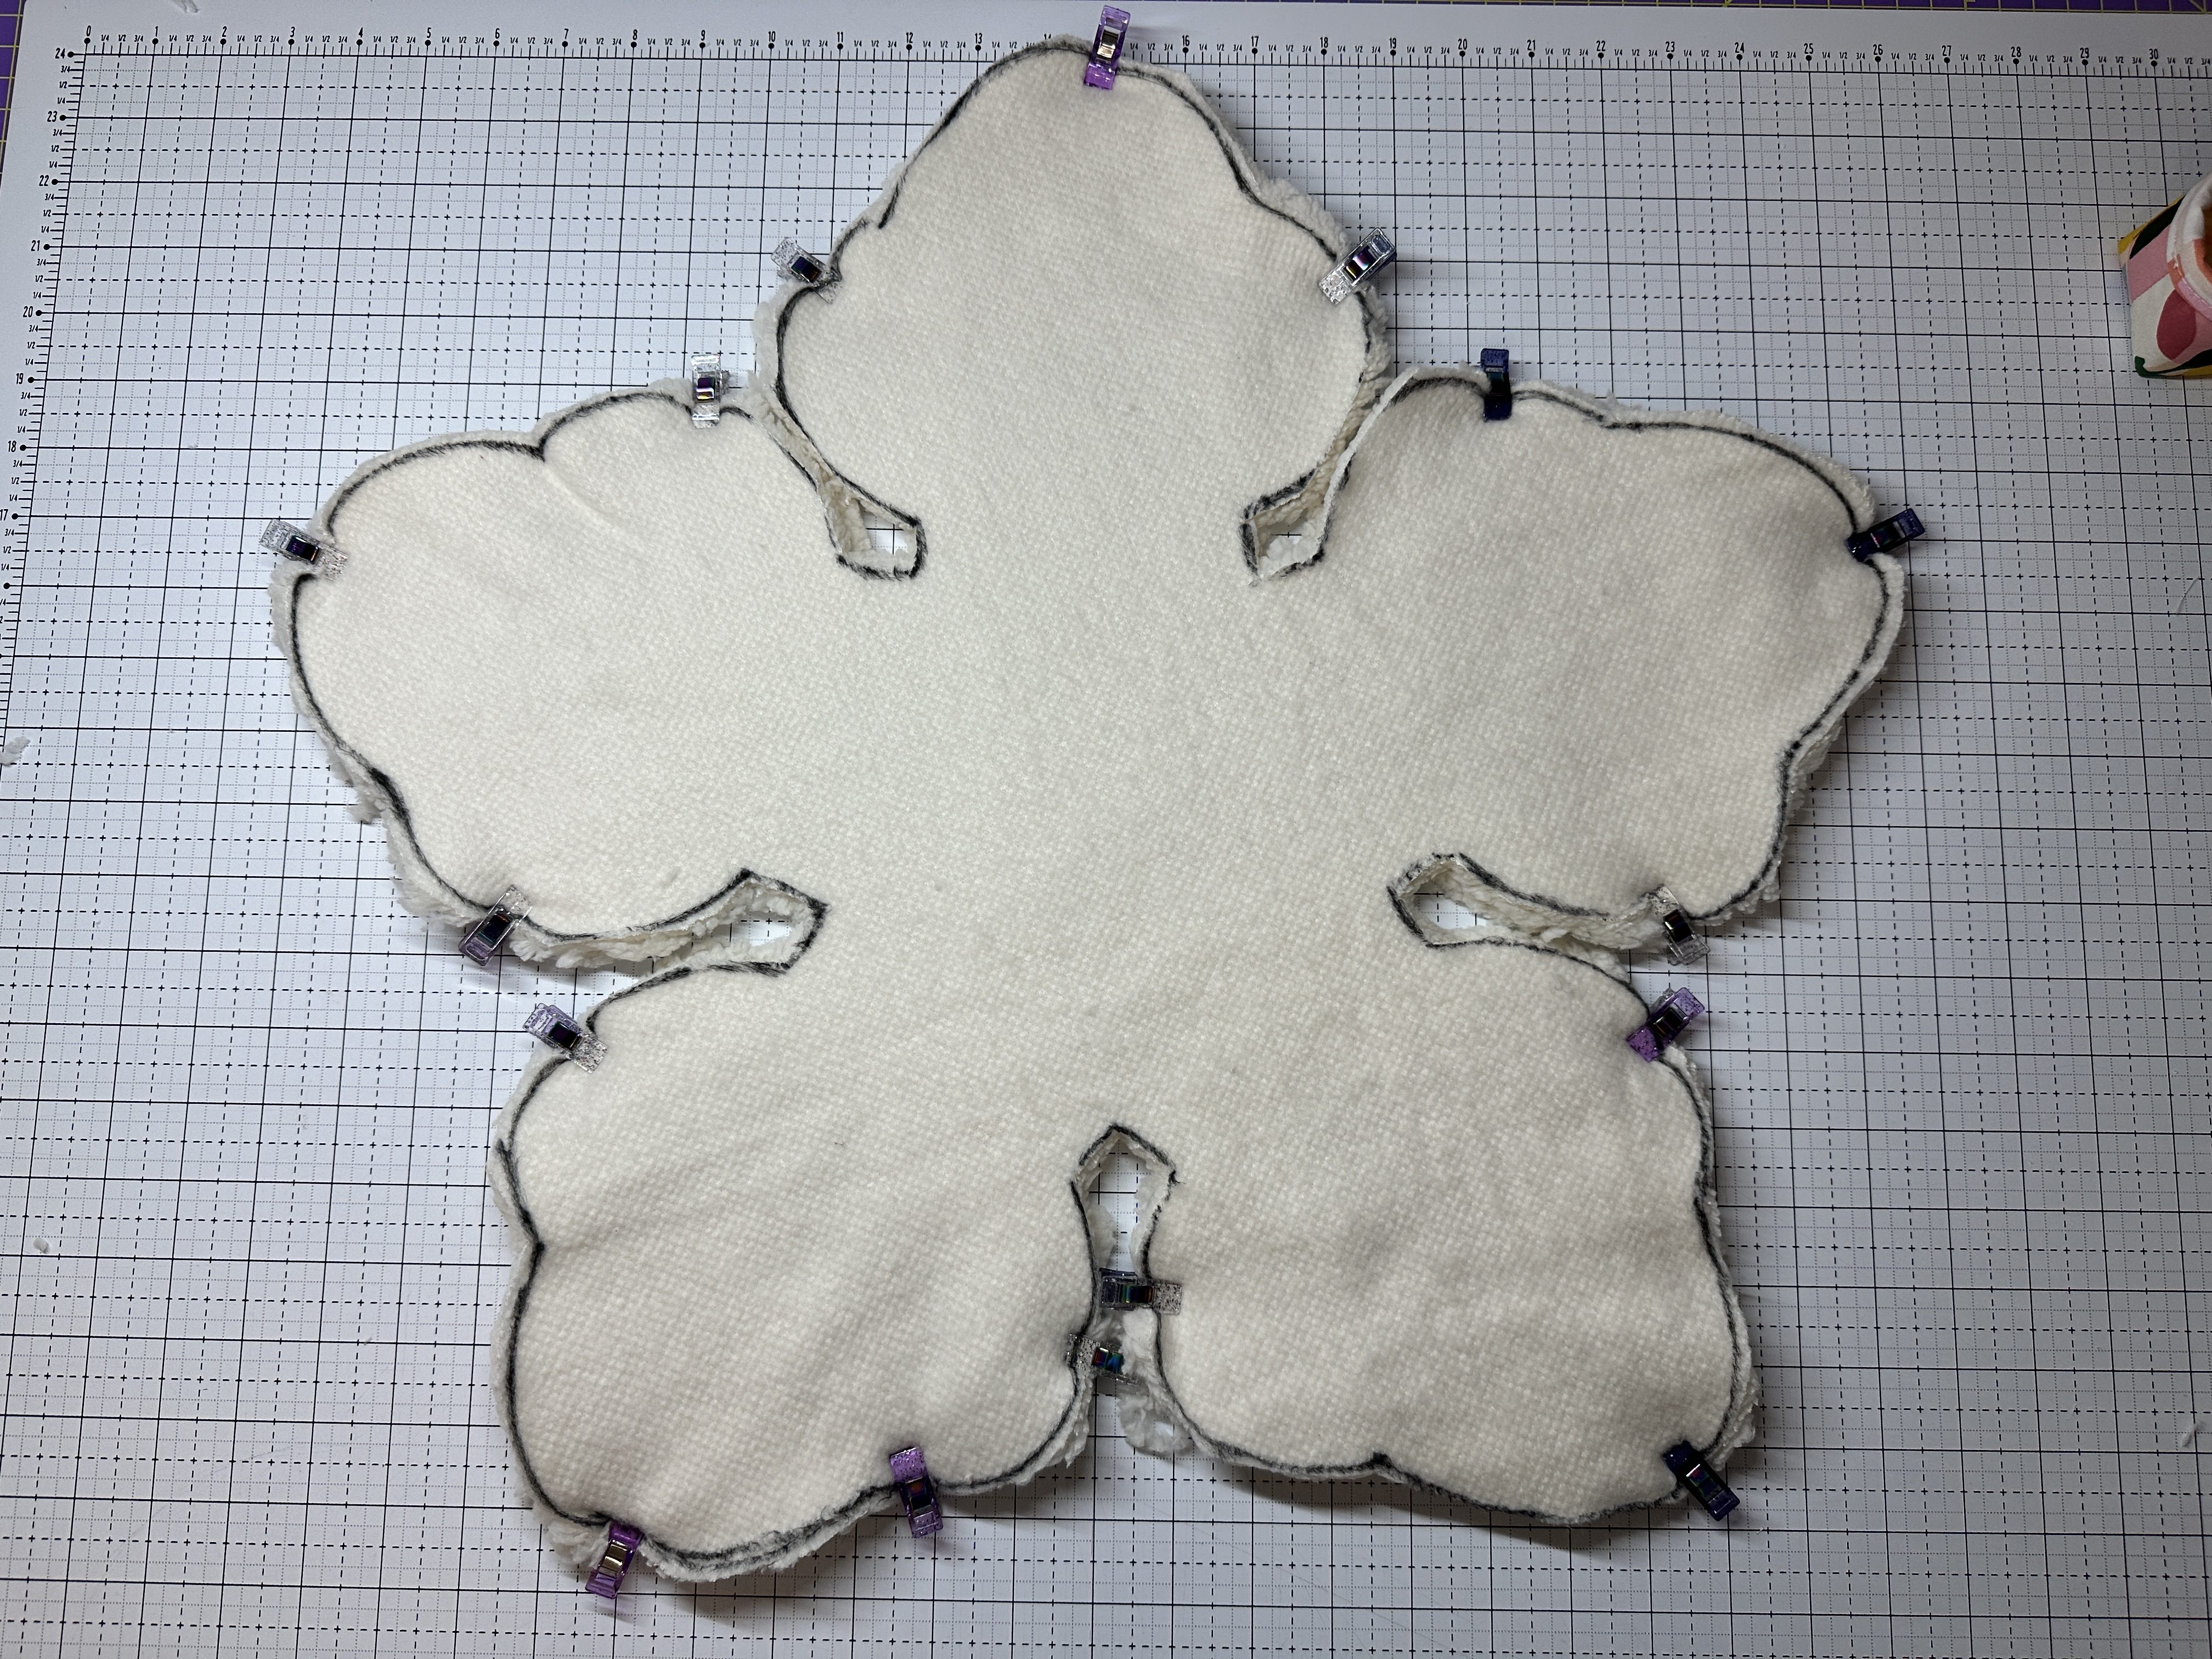
Step 5: Place your cut out Snowflakes right sides together and clip in place with your wonder clips.


Step 6:

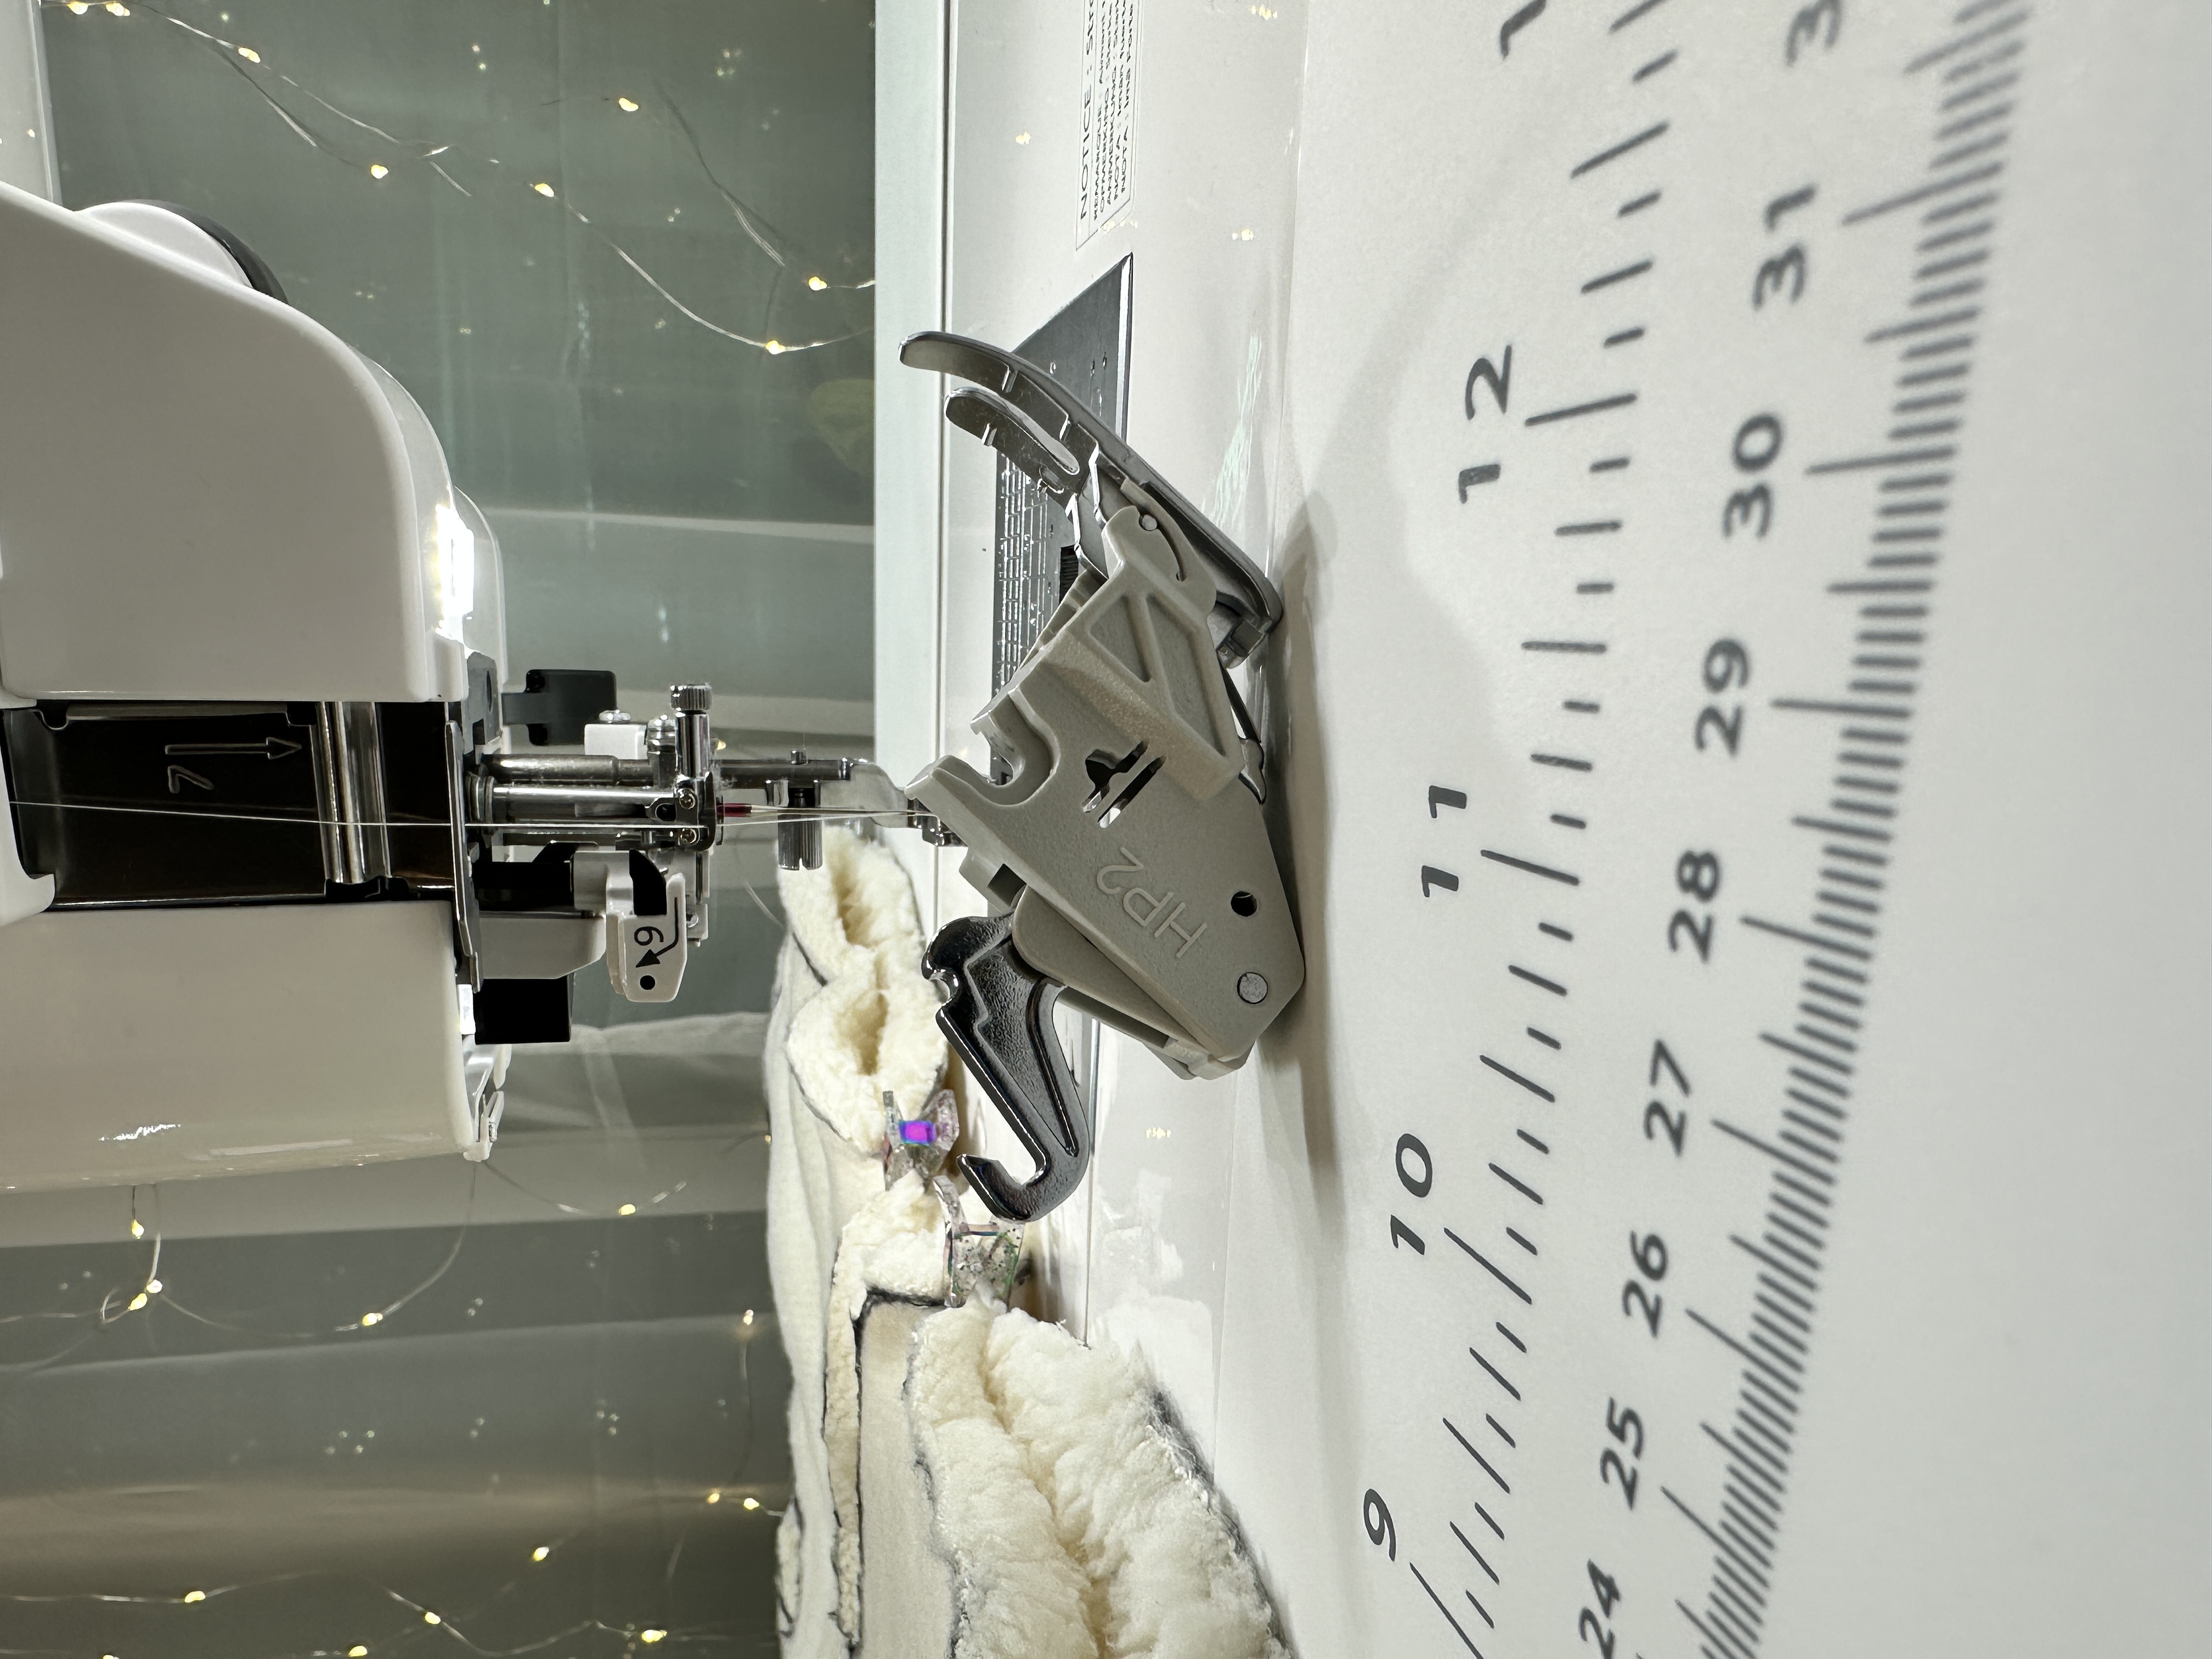
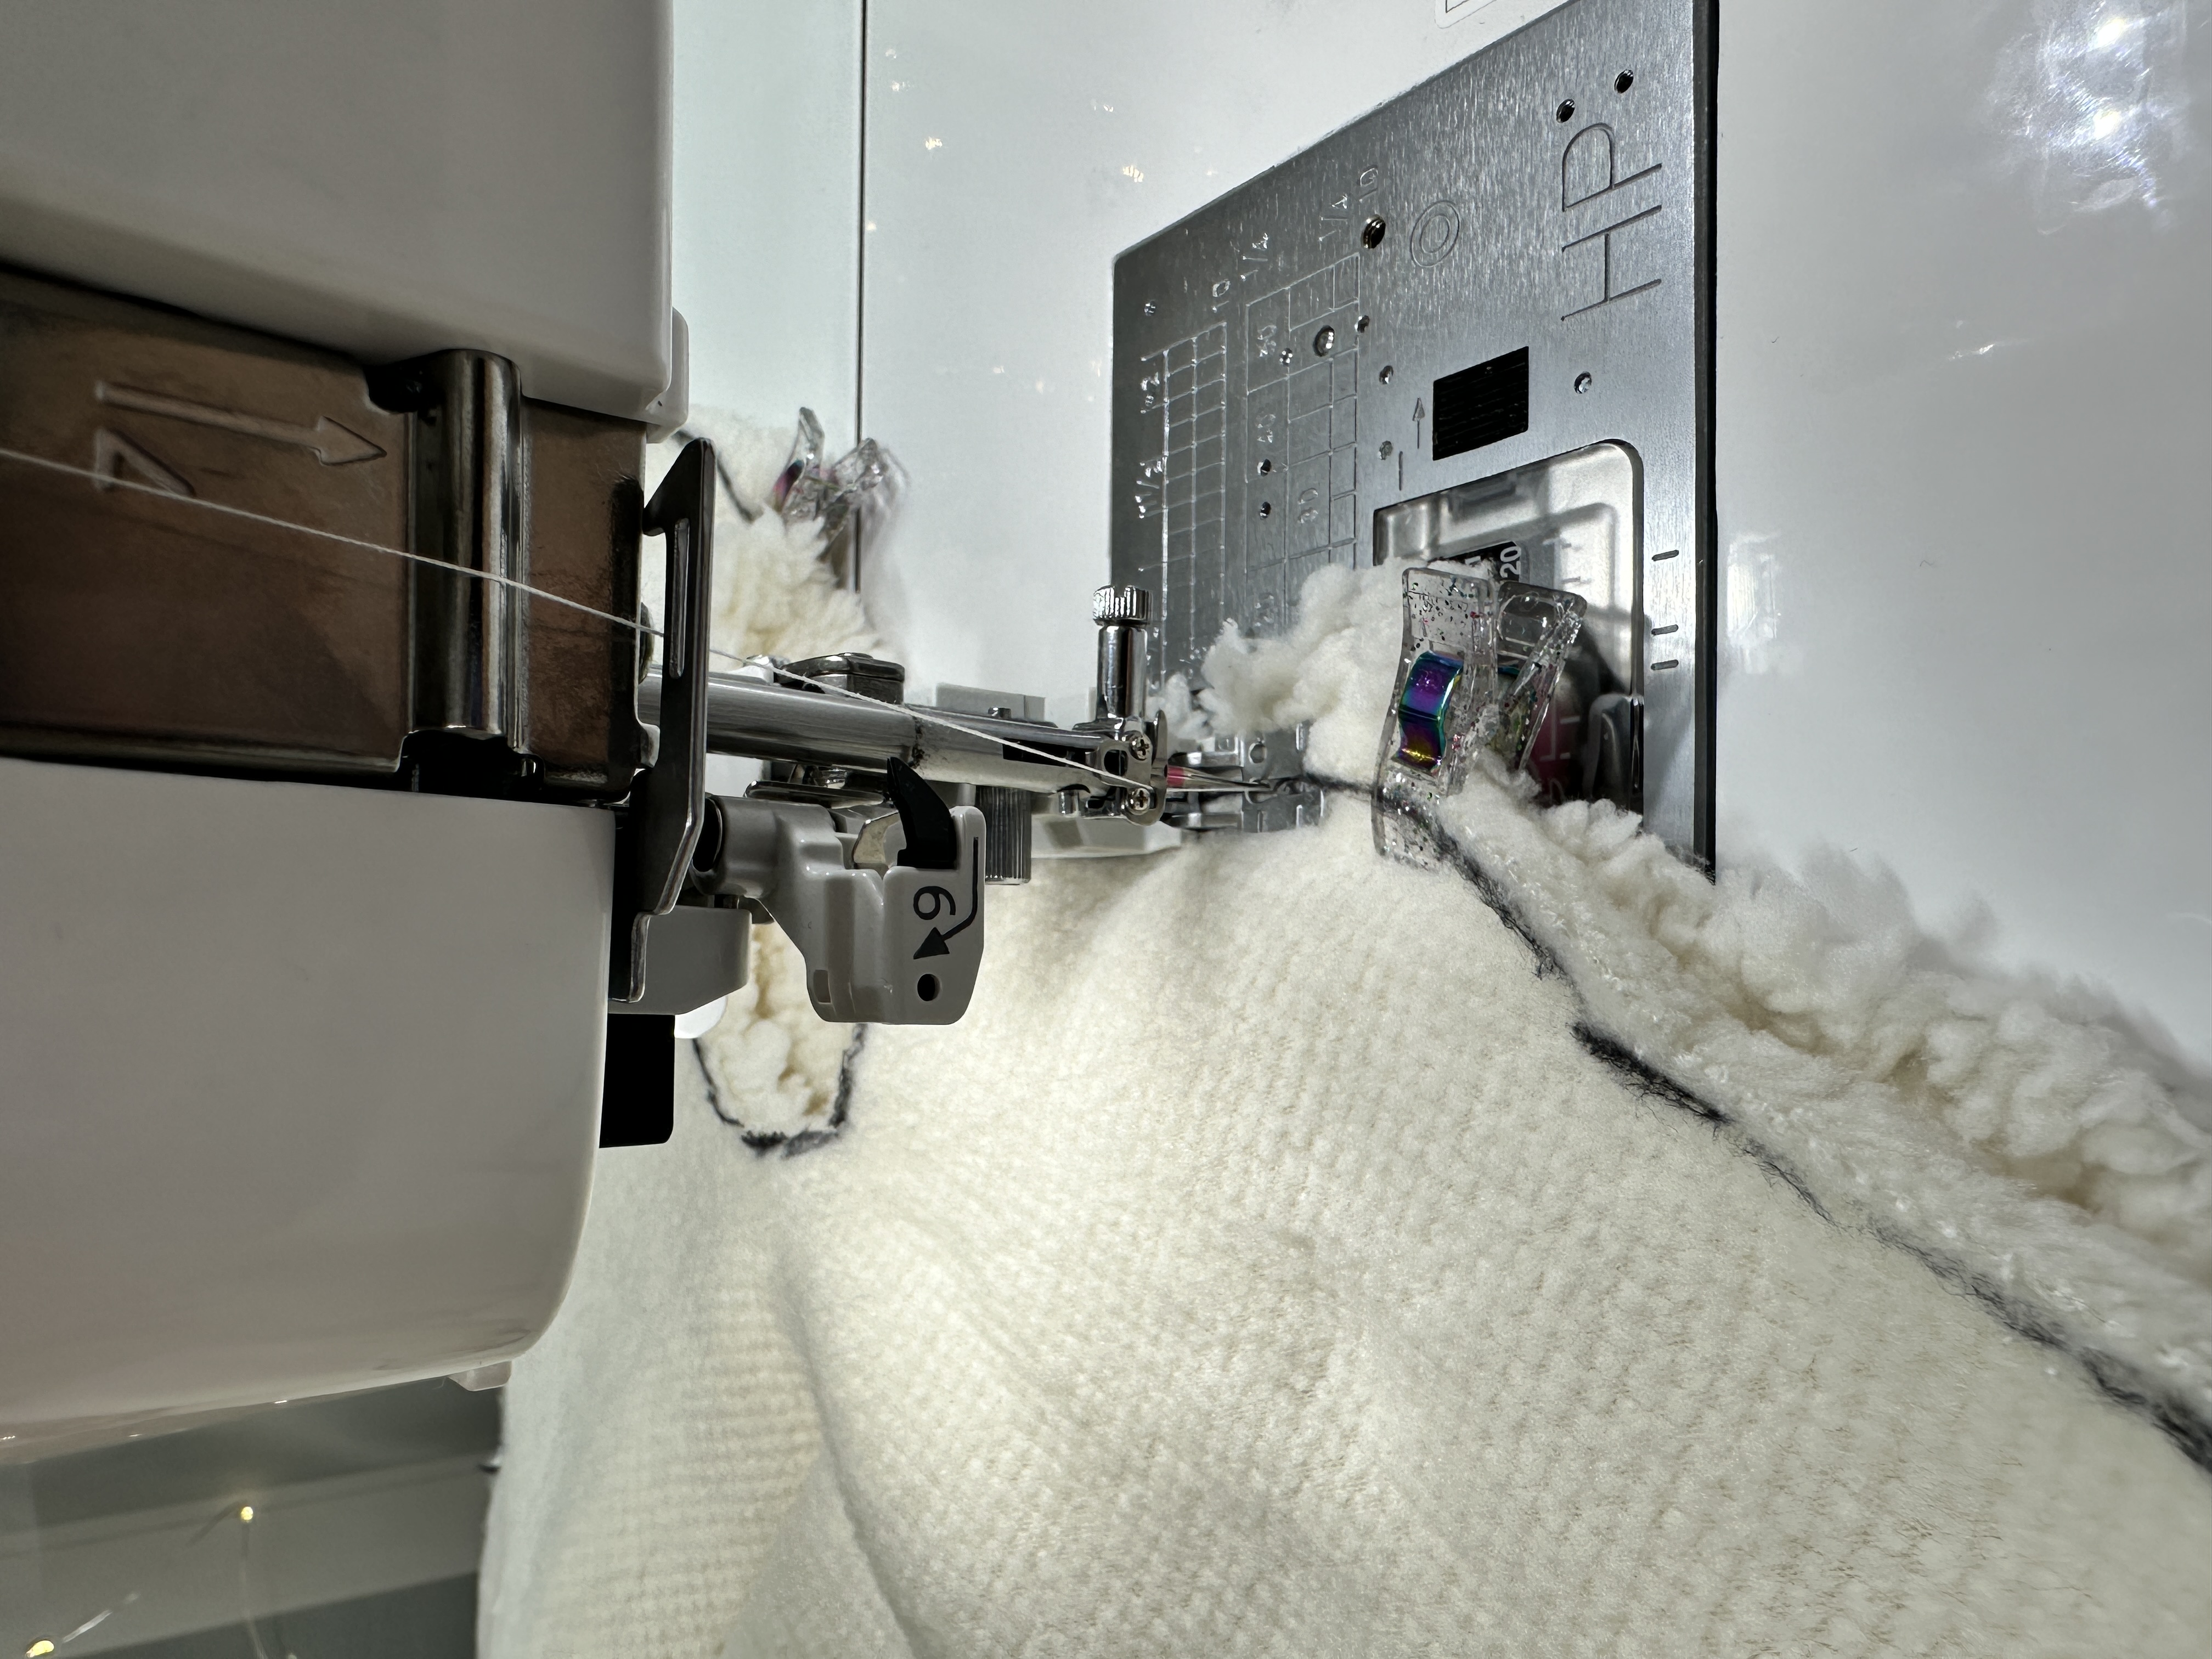
Head to your sewing machine to begin joining the two Snowflake panels. I recommend using the HP2 foot on your Janome, especially when working with the thickness of Sherpa fabric.


Choose a starting point in your Snowflake for sewing. Ensure you use a locking stitch or backstitch at the beginning to secure your first stitch, crucial for the pillow-filling stage.


Take it slow along the marked line, adhering to the curves and shape outlined by the traced snowflake. Pro Tip: Let your Janome take the lead. This machine effortlessly handles layers and fabric thickness. Allow the feed dogs and HP2 foot to guide the fabric, smoothly navigating the curves. Remember to pause, lift the presser foot when necessary, and leave a 4-inch opening for easy stuffing. Backstitch at the end of your stitch for added security.


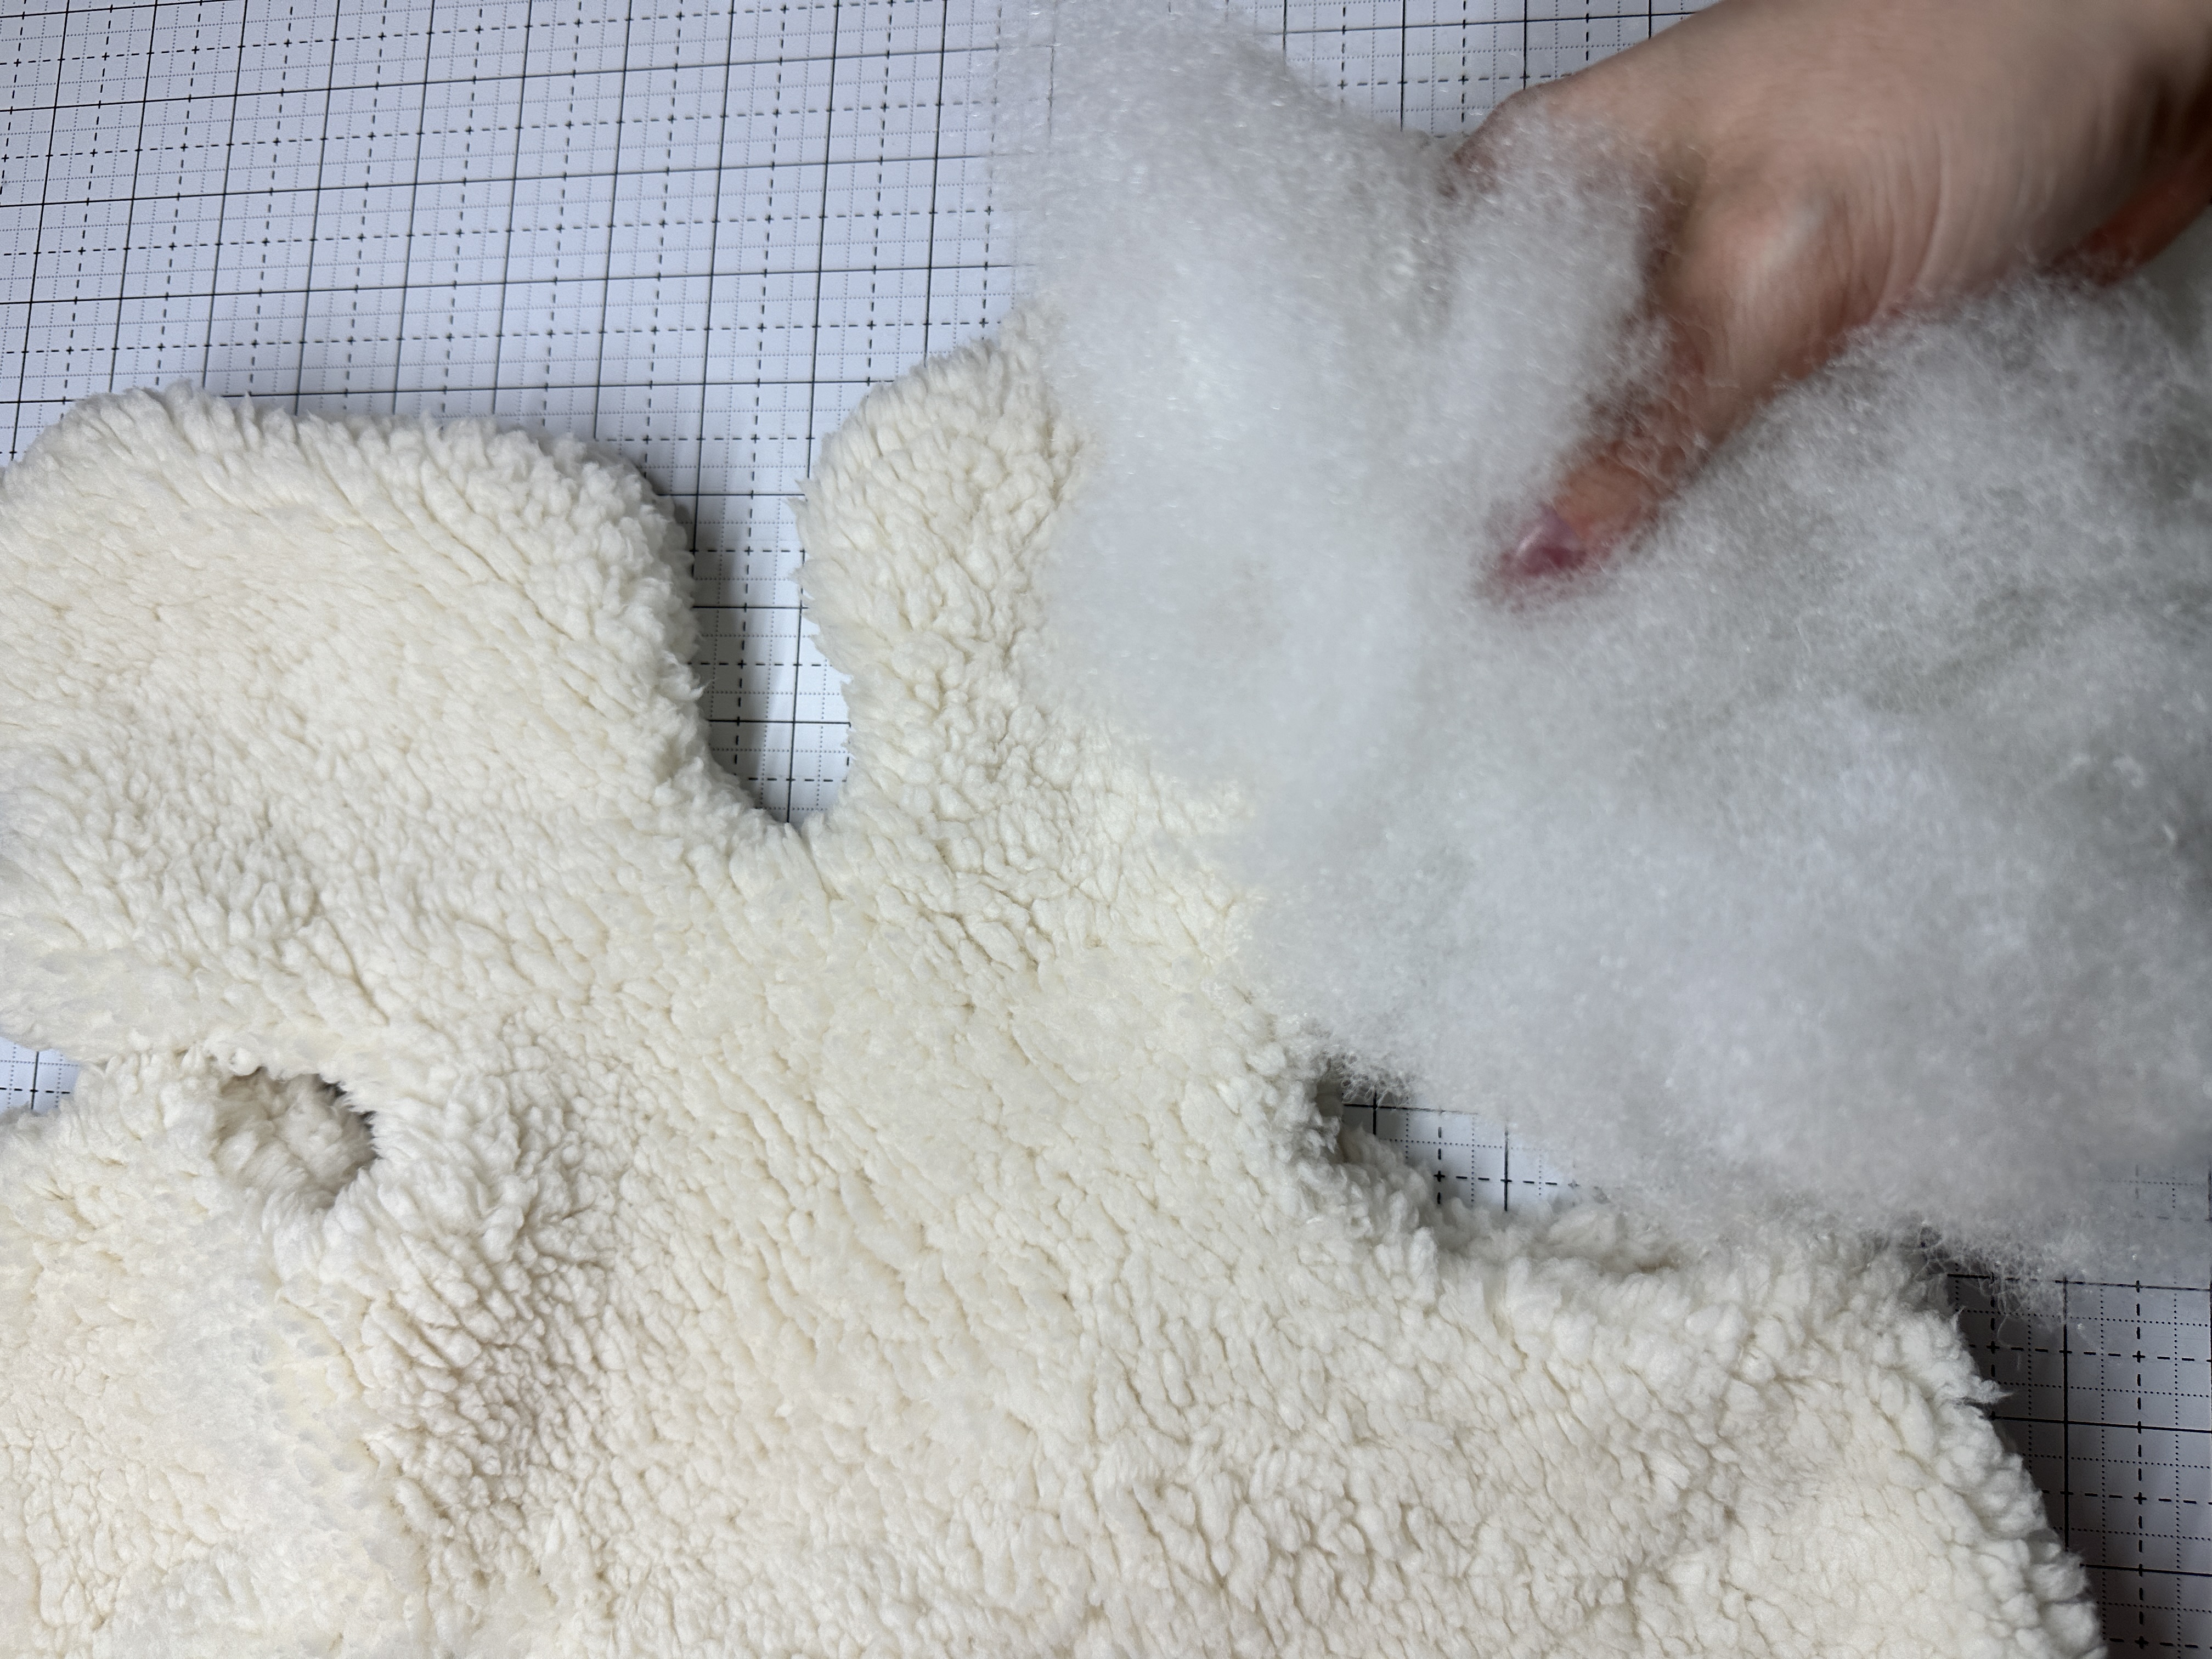
Step 7: Turn your pillow right side out through the 4-inch opening you left. Now's the perfect moment to inspect your seams, ensuring there are no gaps or holes in your stitching. Since Sherpa fabric can be a bit slippery and prone to shifting, take this opportunity to check and make any necessary adjustments before you begin stuffing your snowflake pillow.


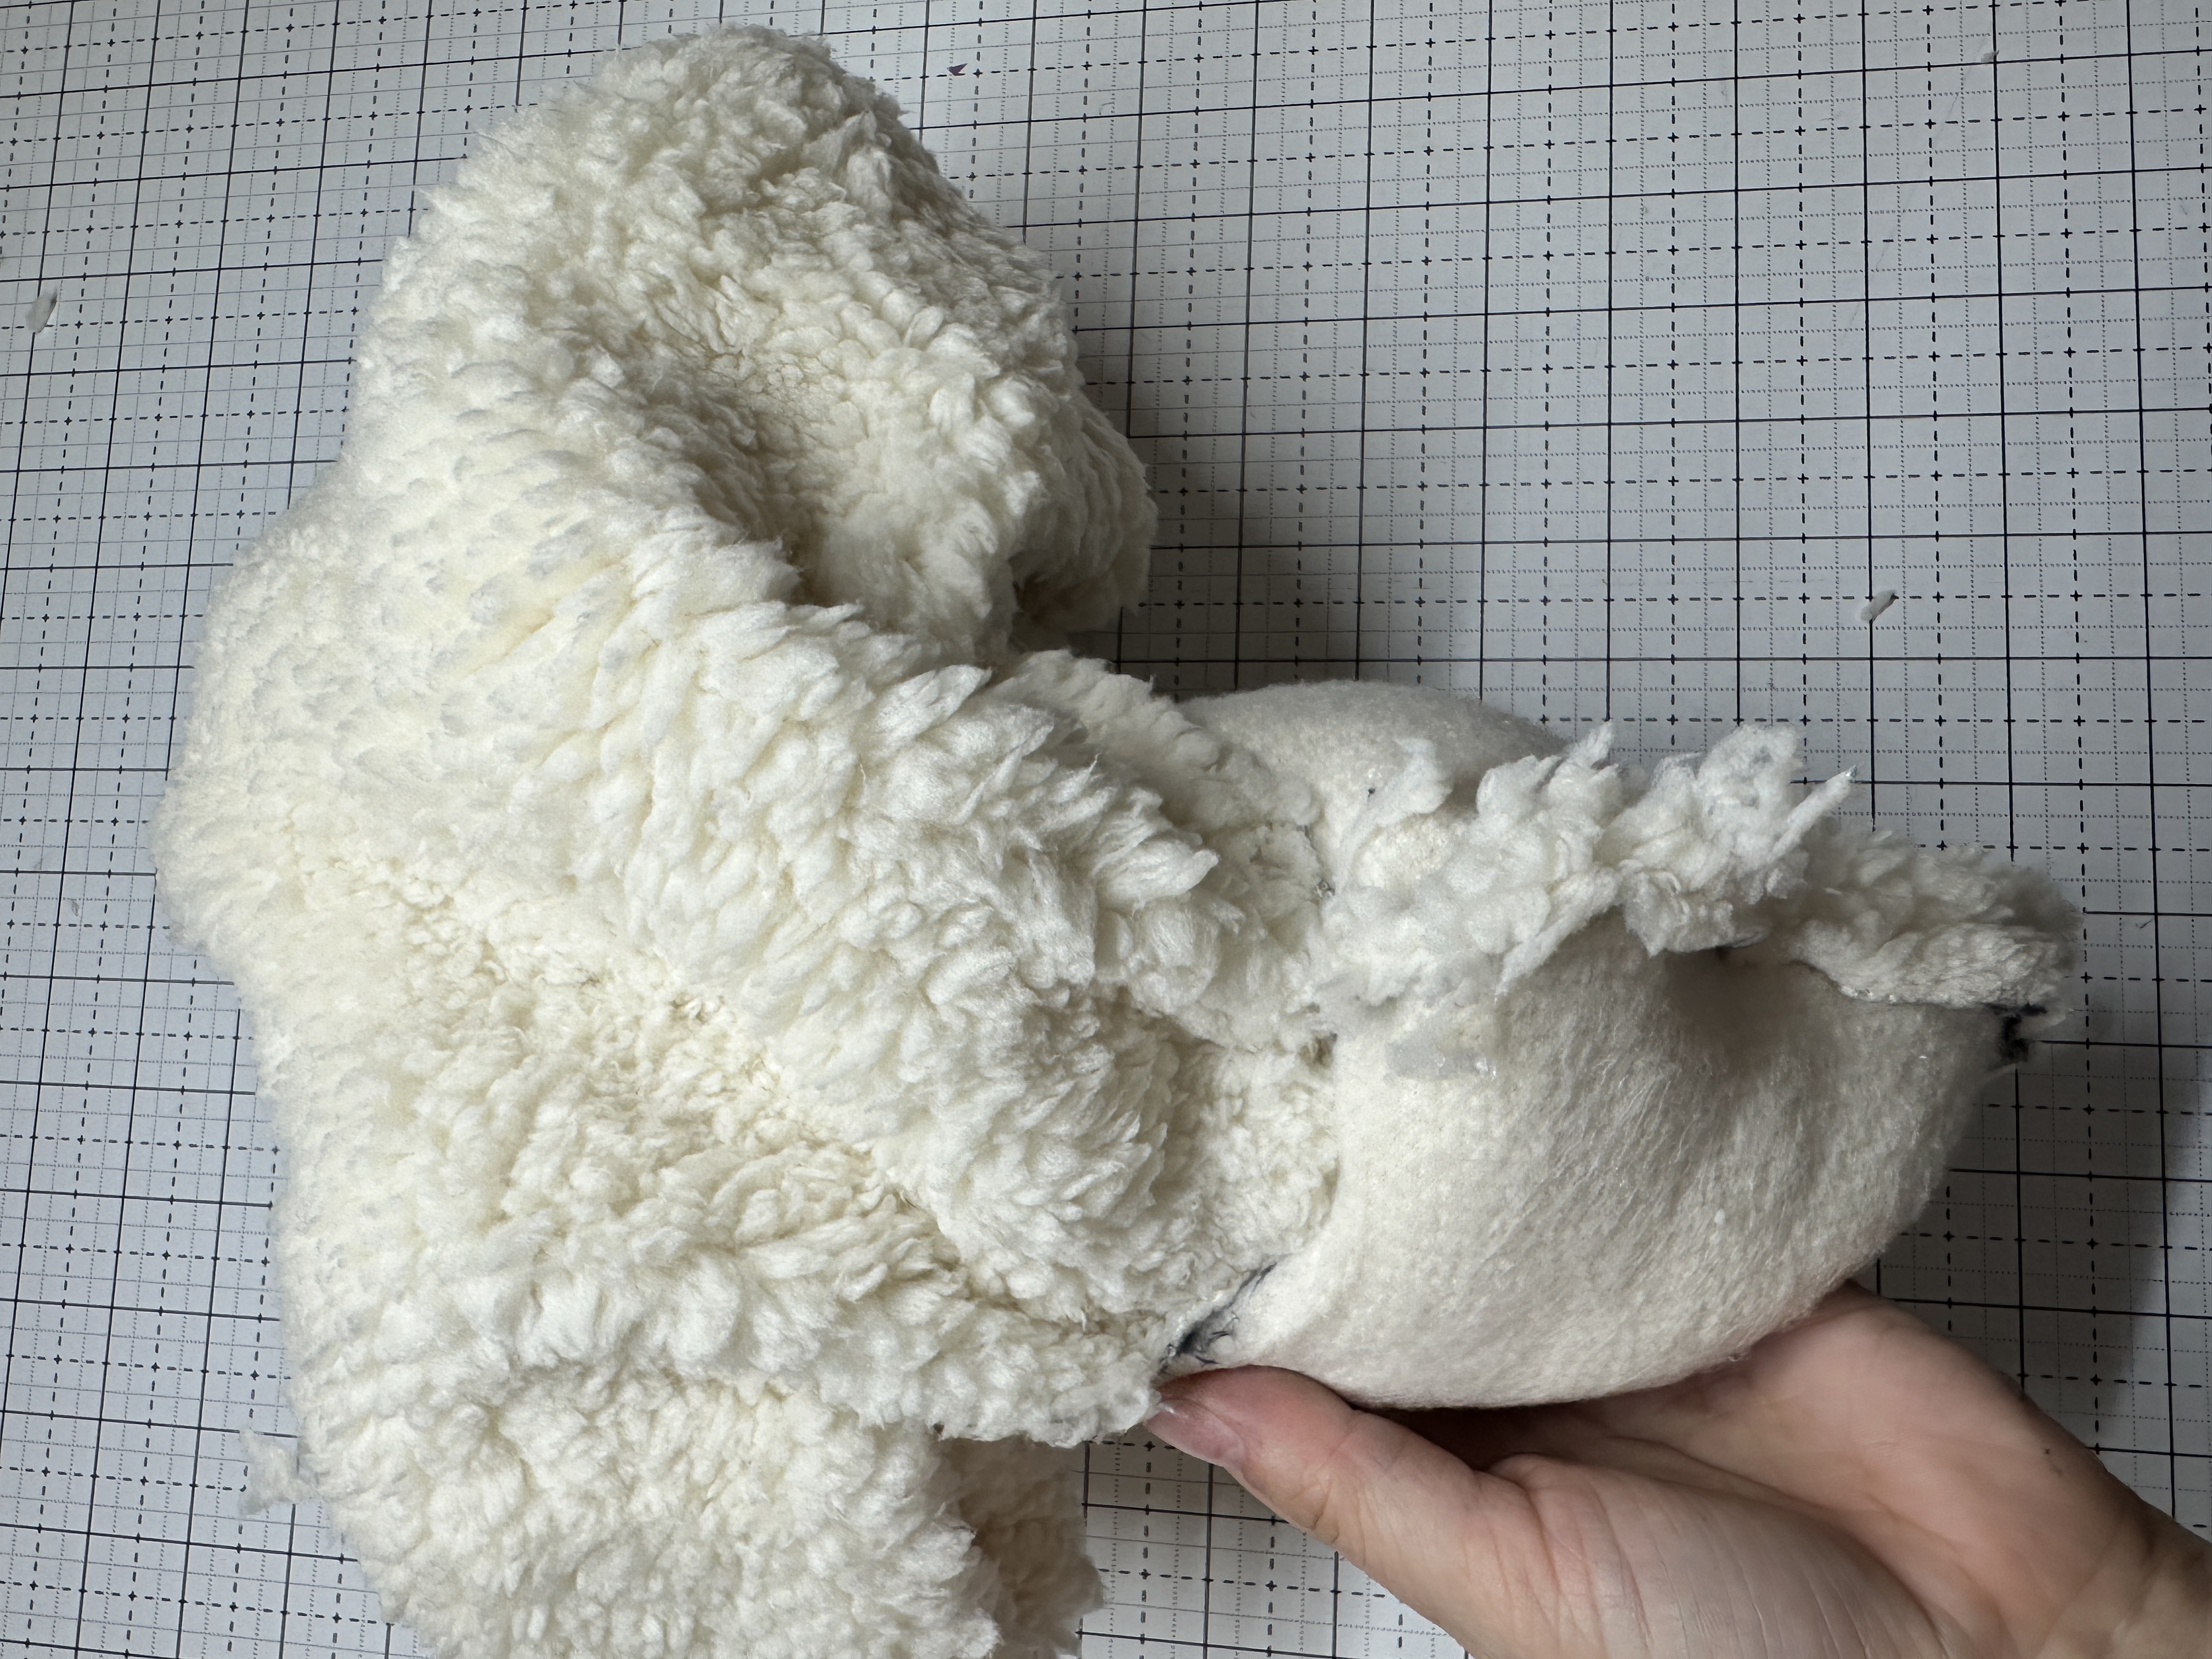
Step 8: After turning your snowflake pillow right side out, it's time to start filling it with poly-fil. It's worth noting that you might need more filling than you initially think, so press down on the pillow to achieve an even layer of stuffing. Once the pillow is adequately stuffed, use wonder clips to secure the 4-inch opening closed.


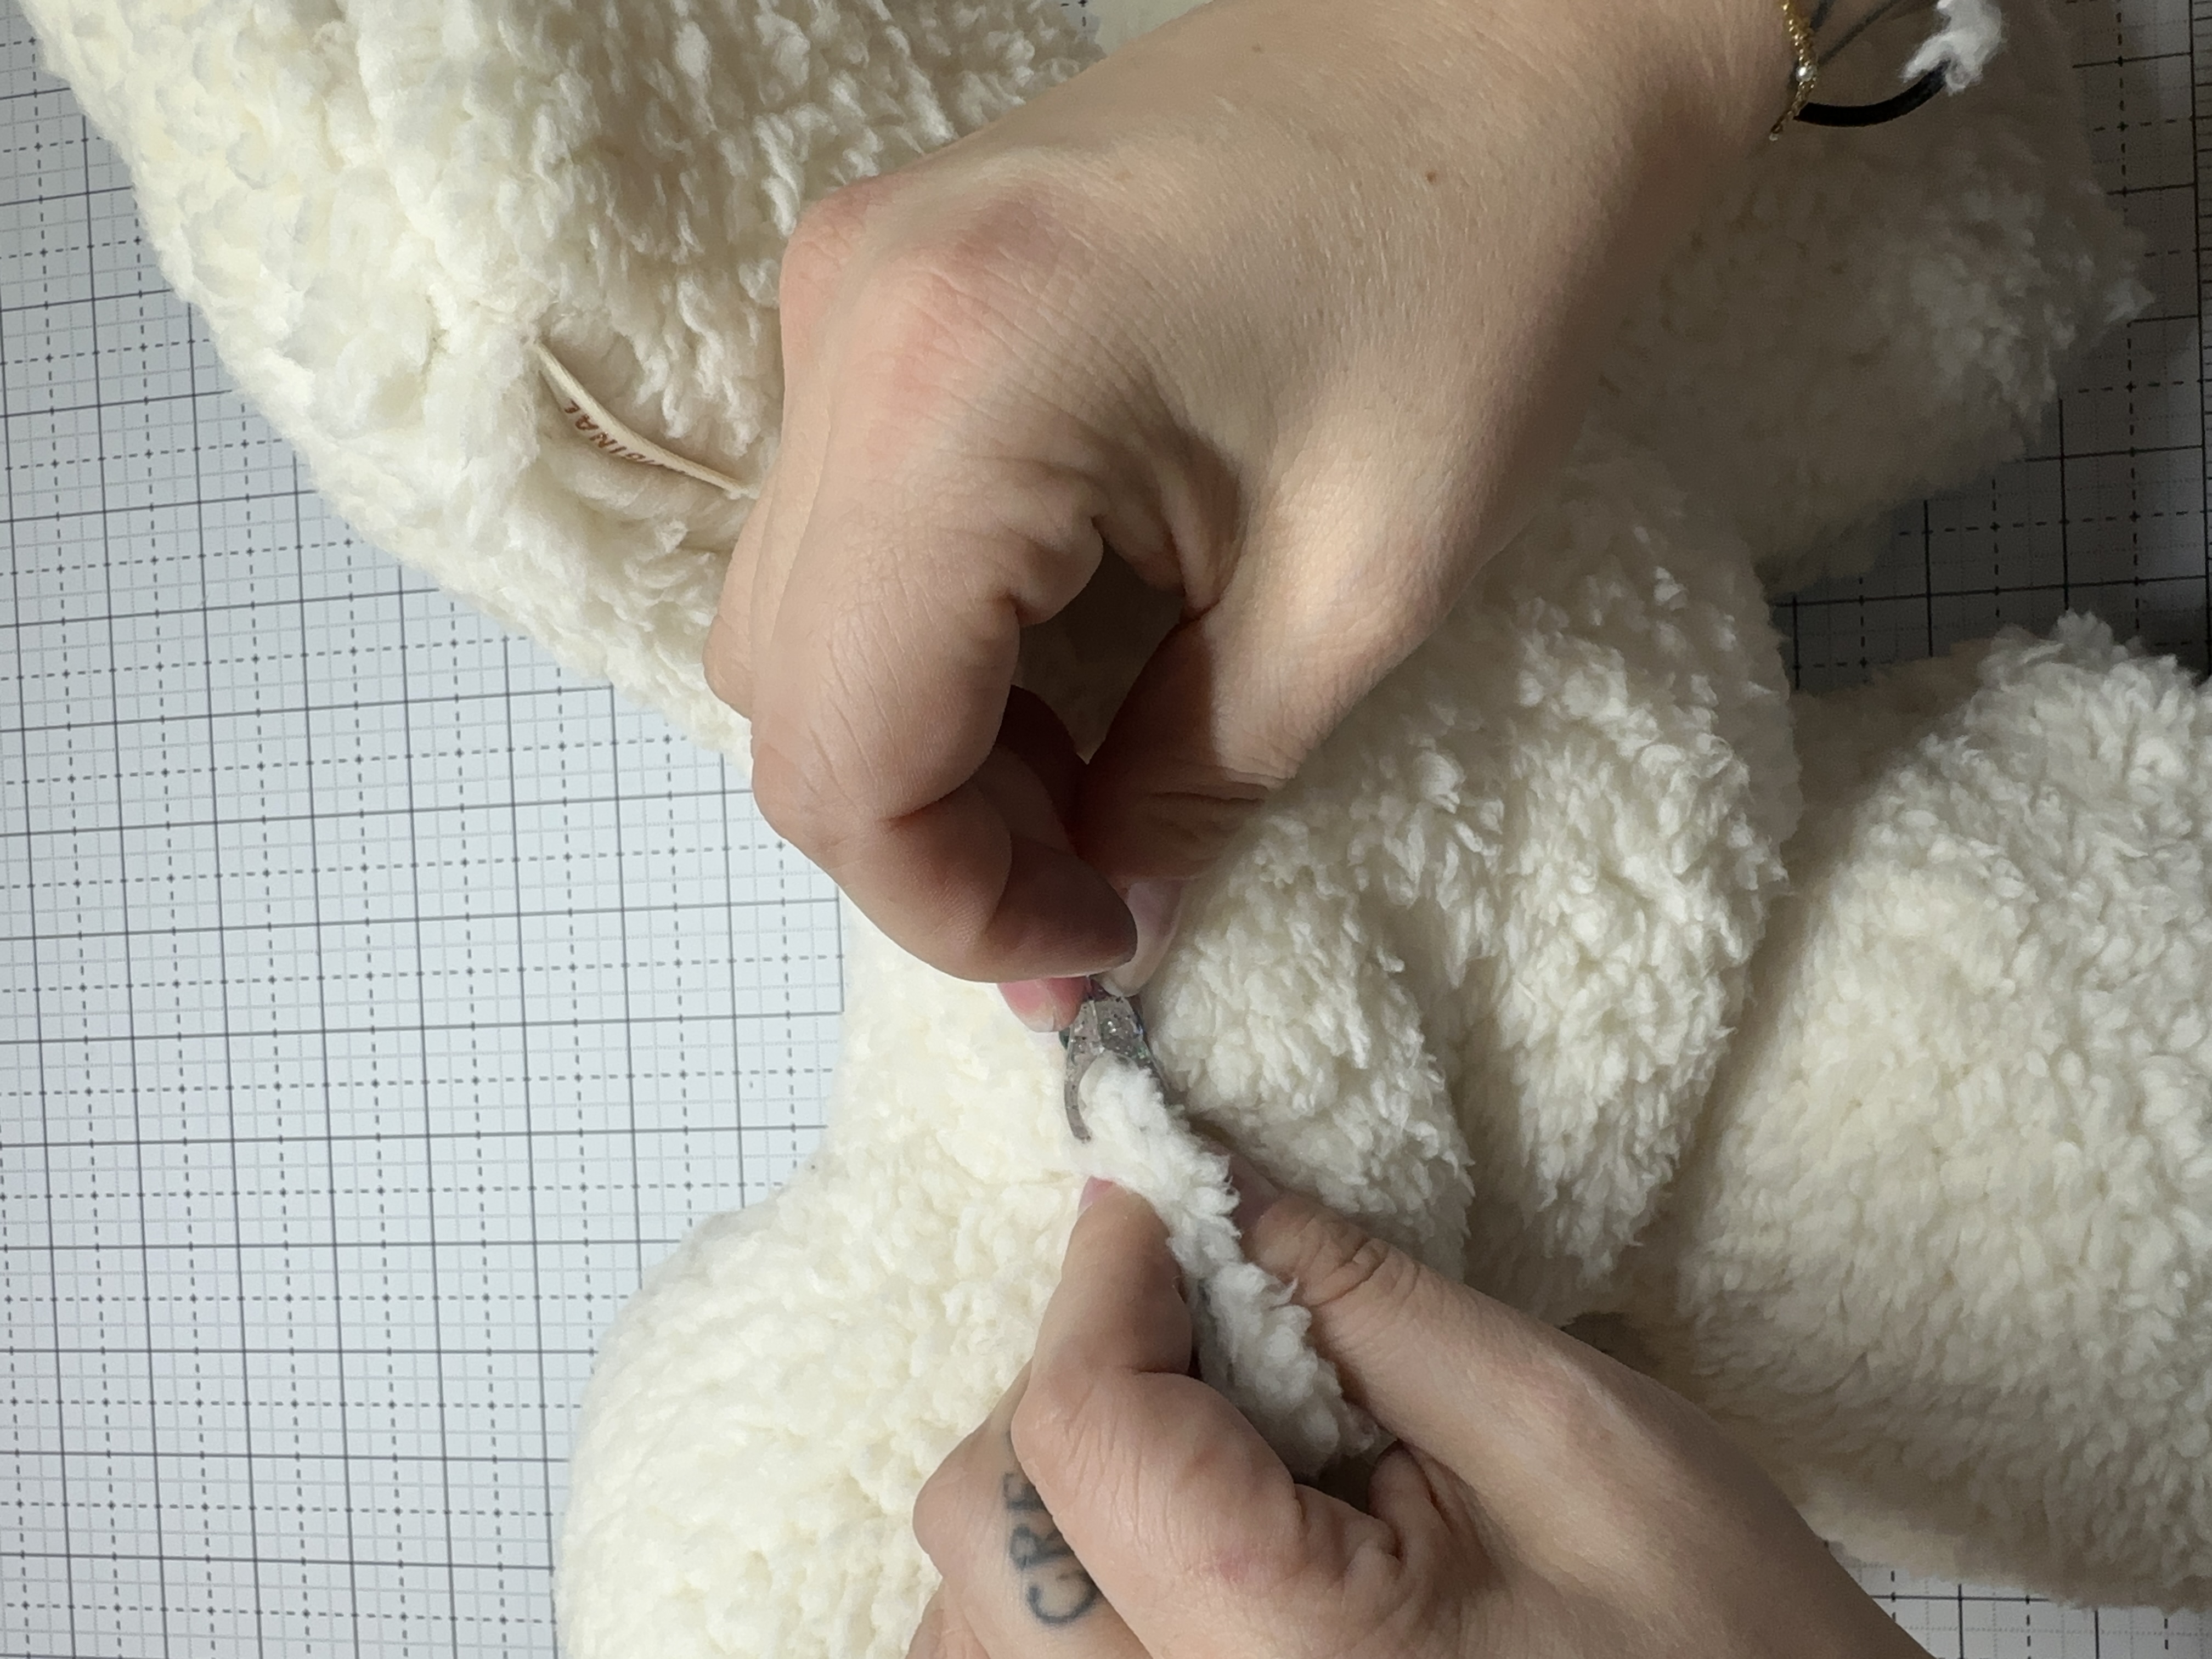
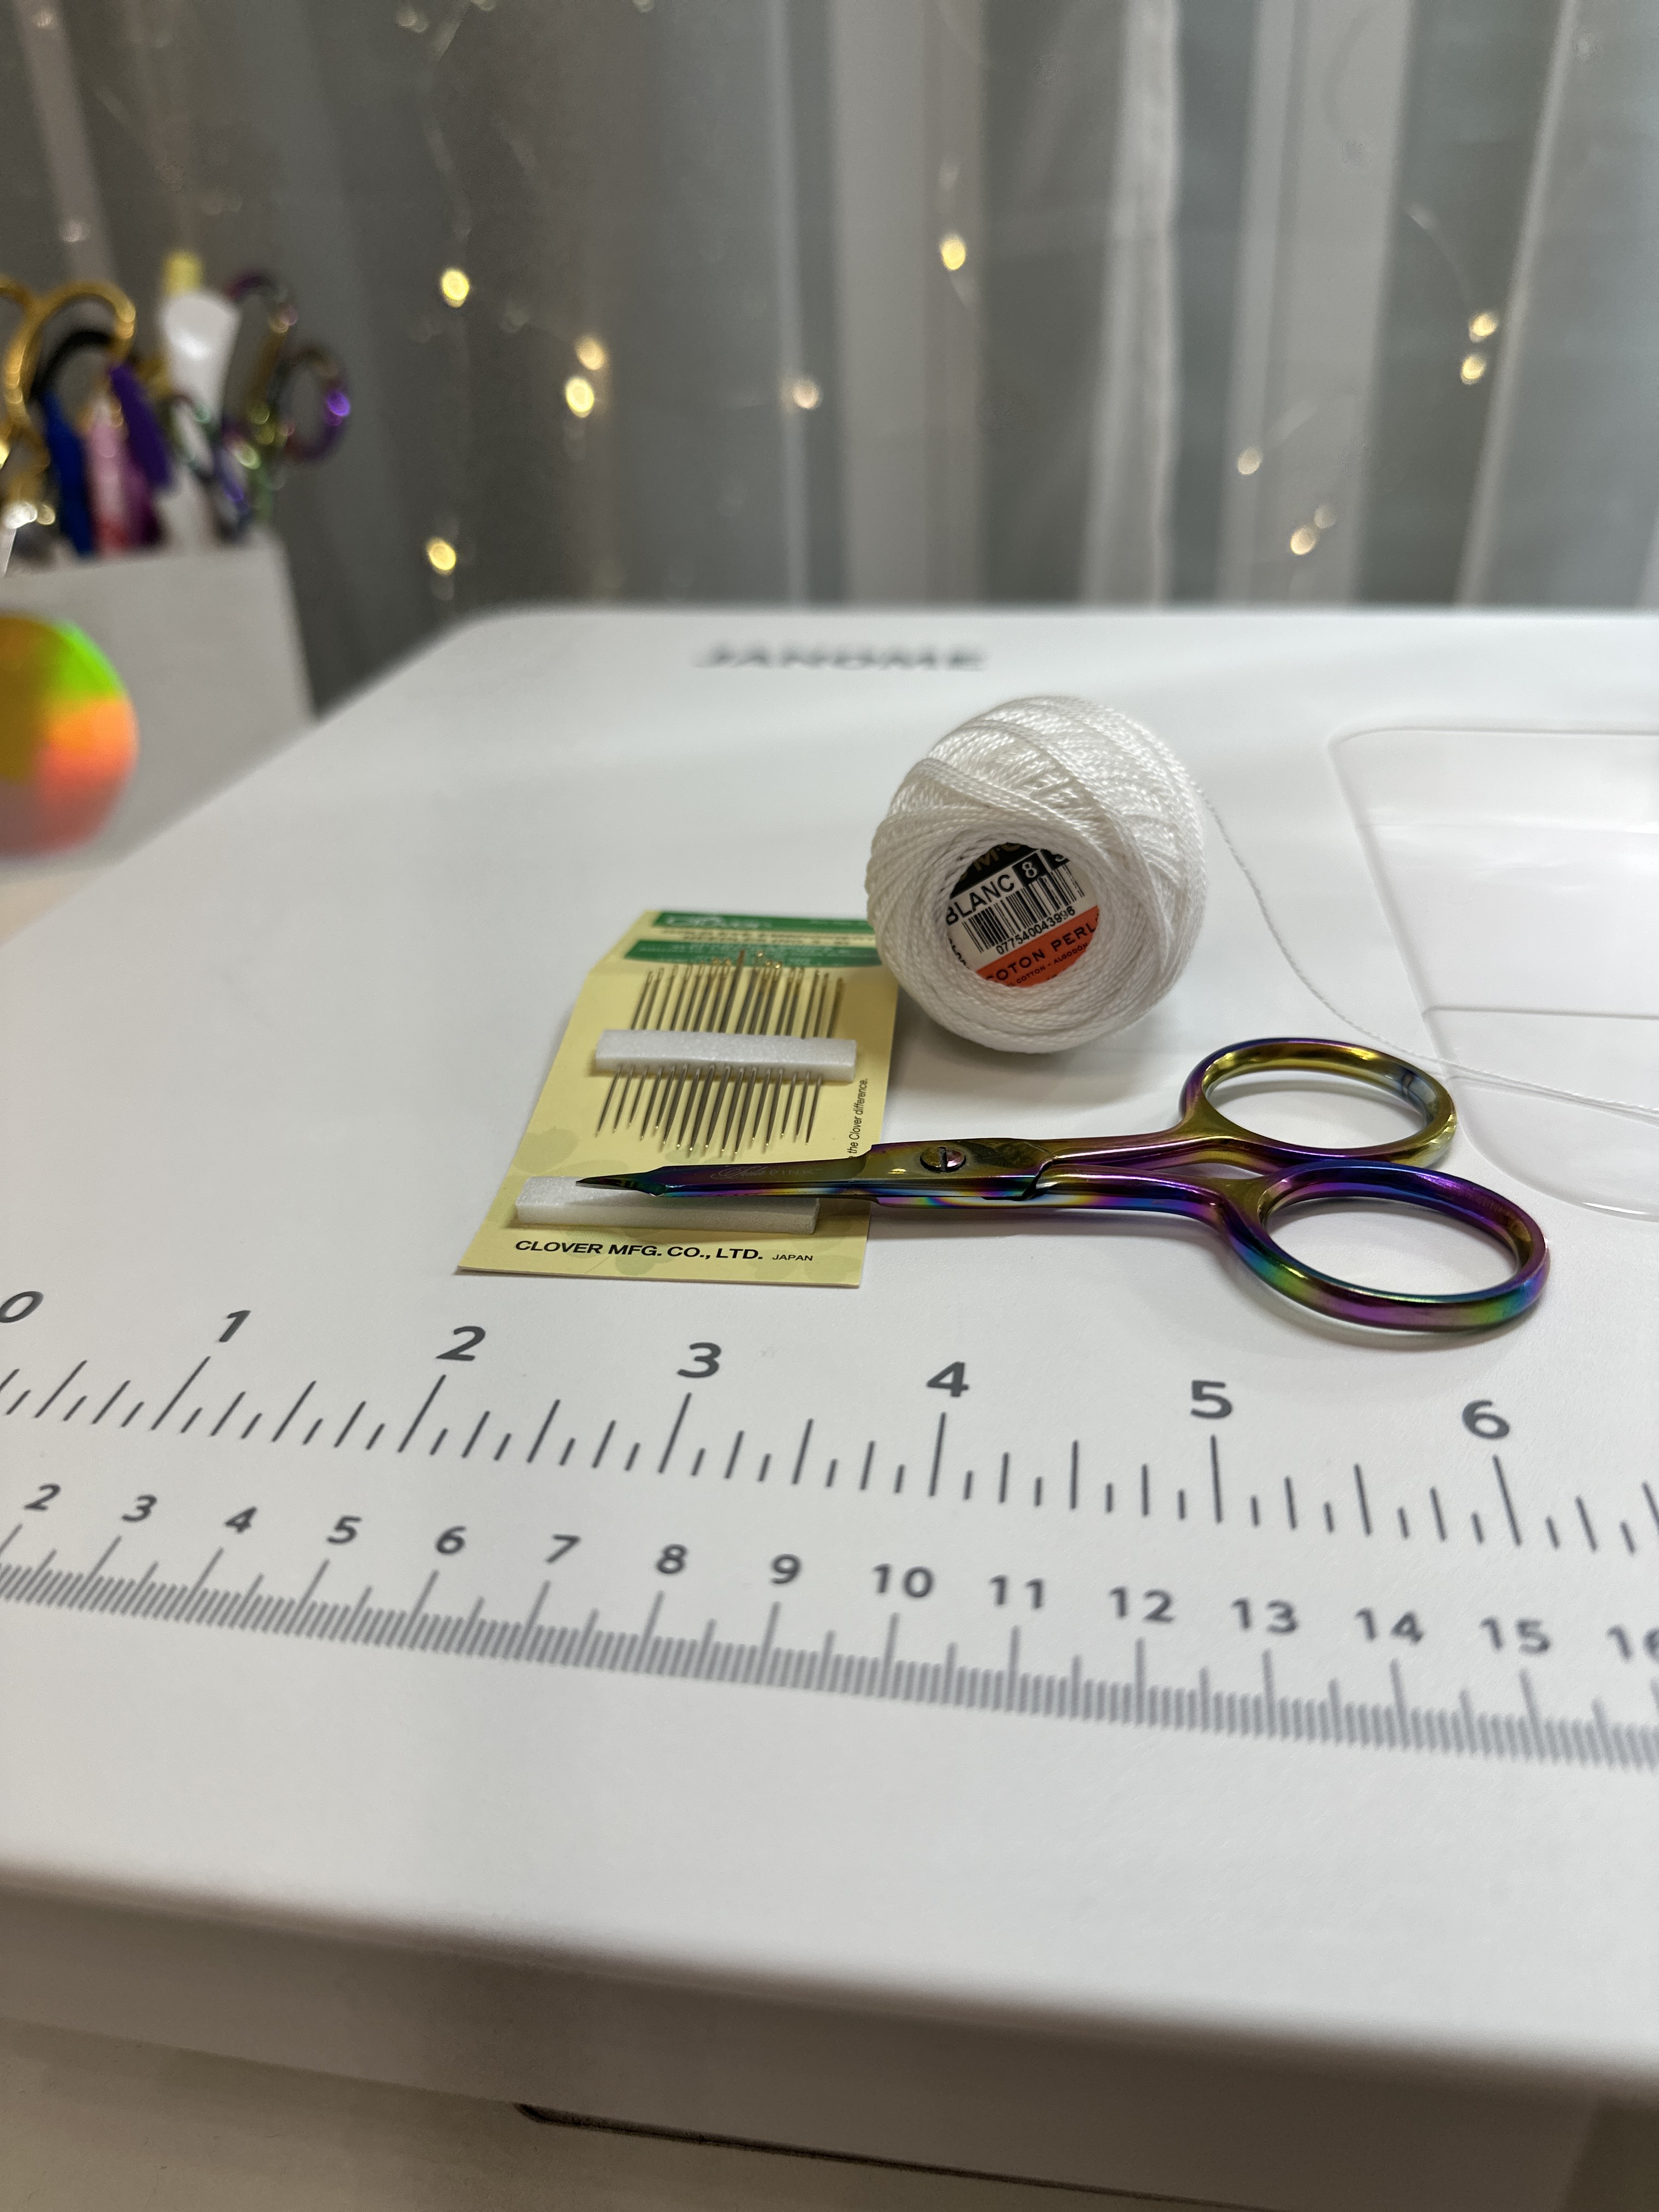
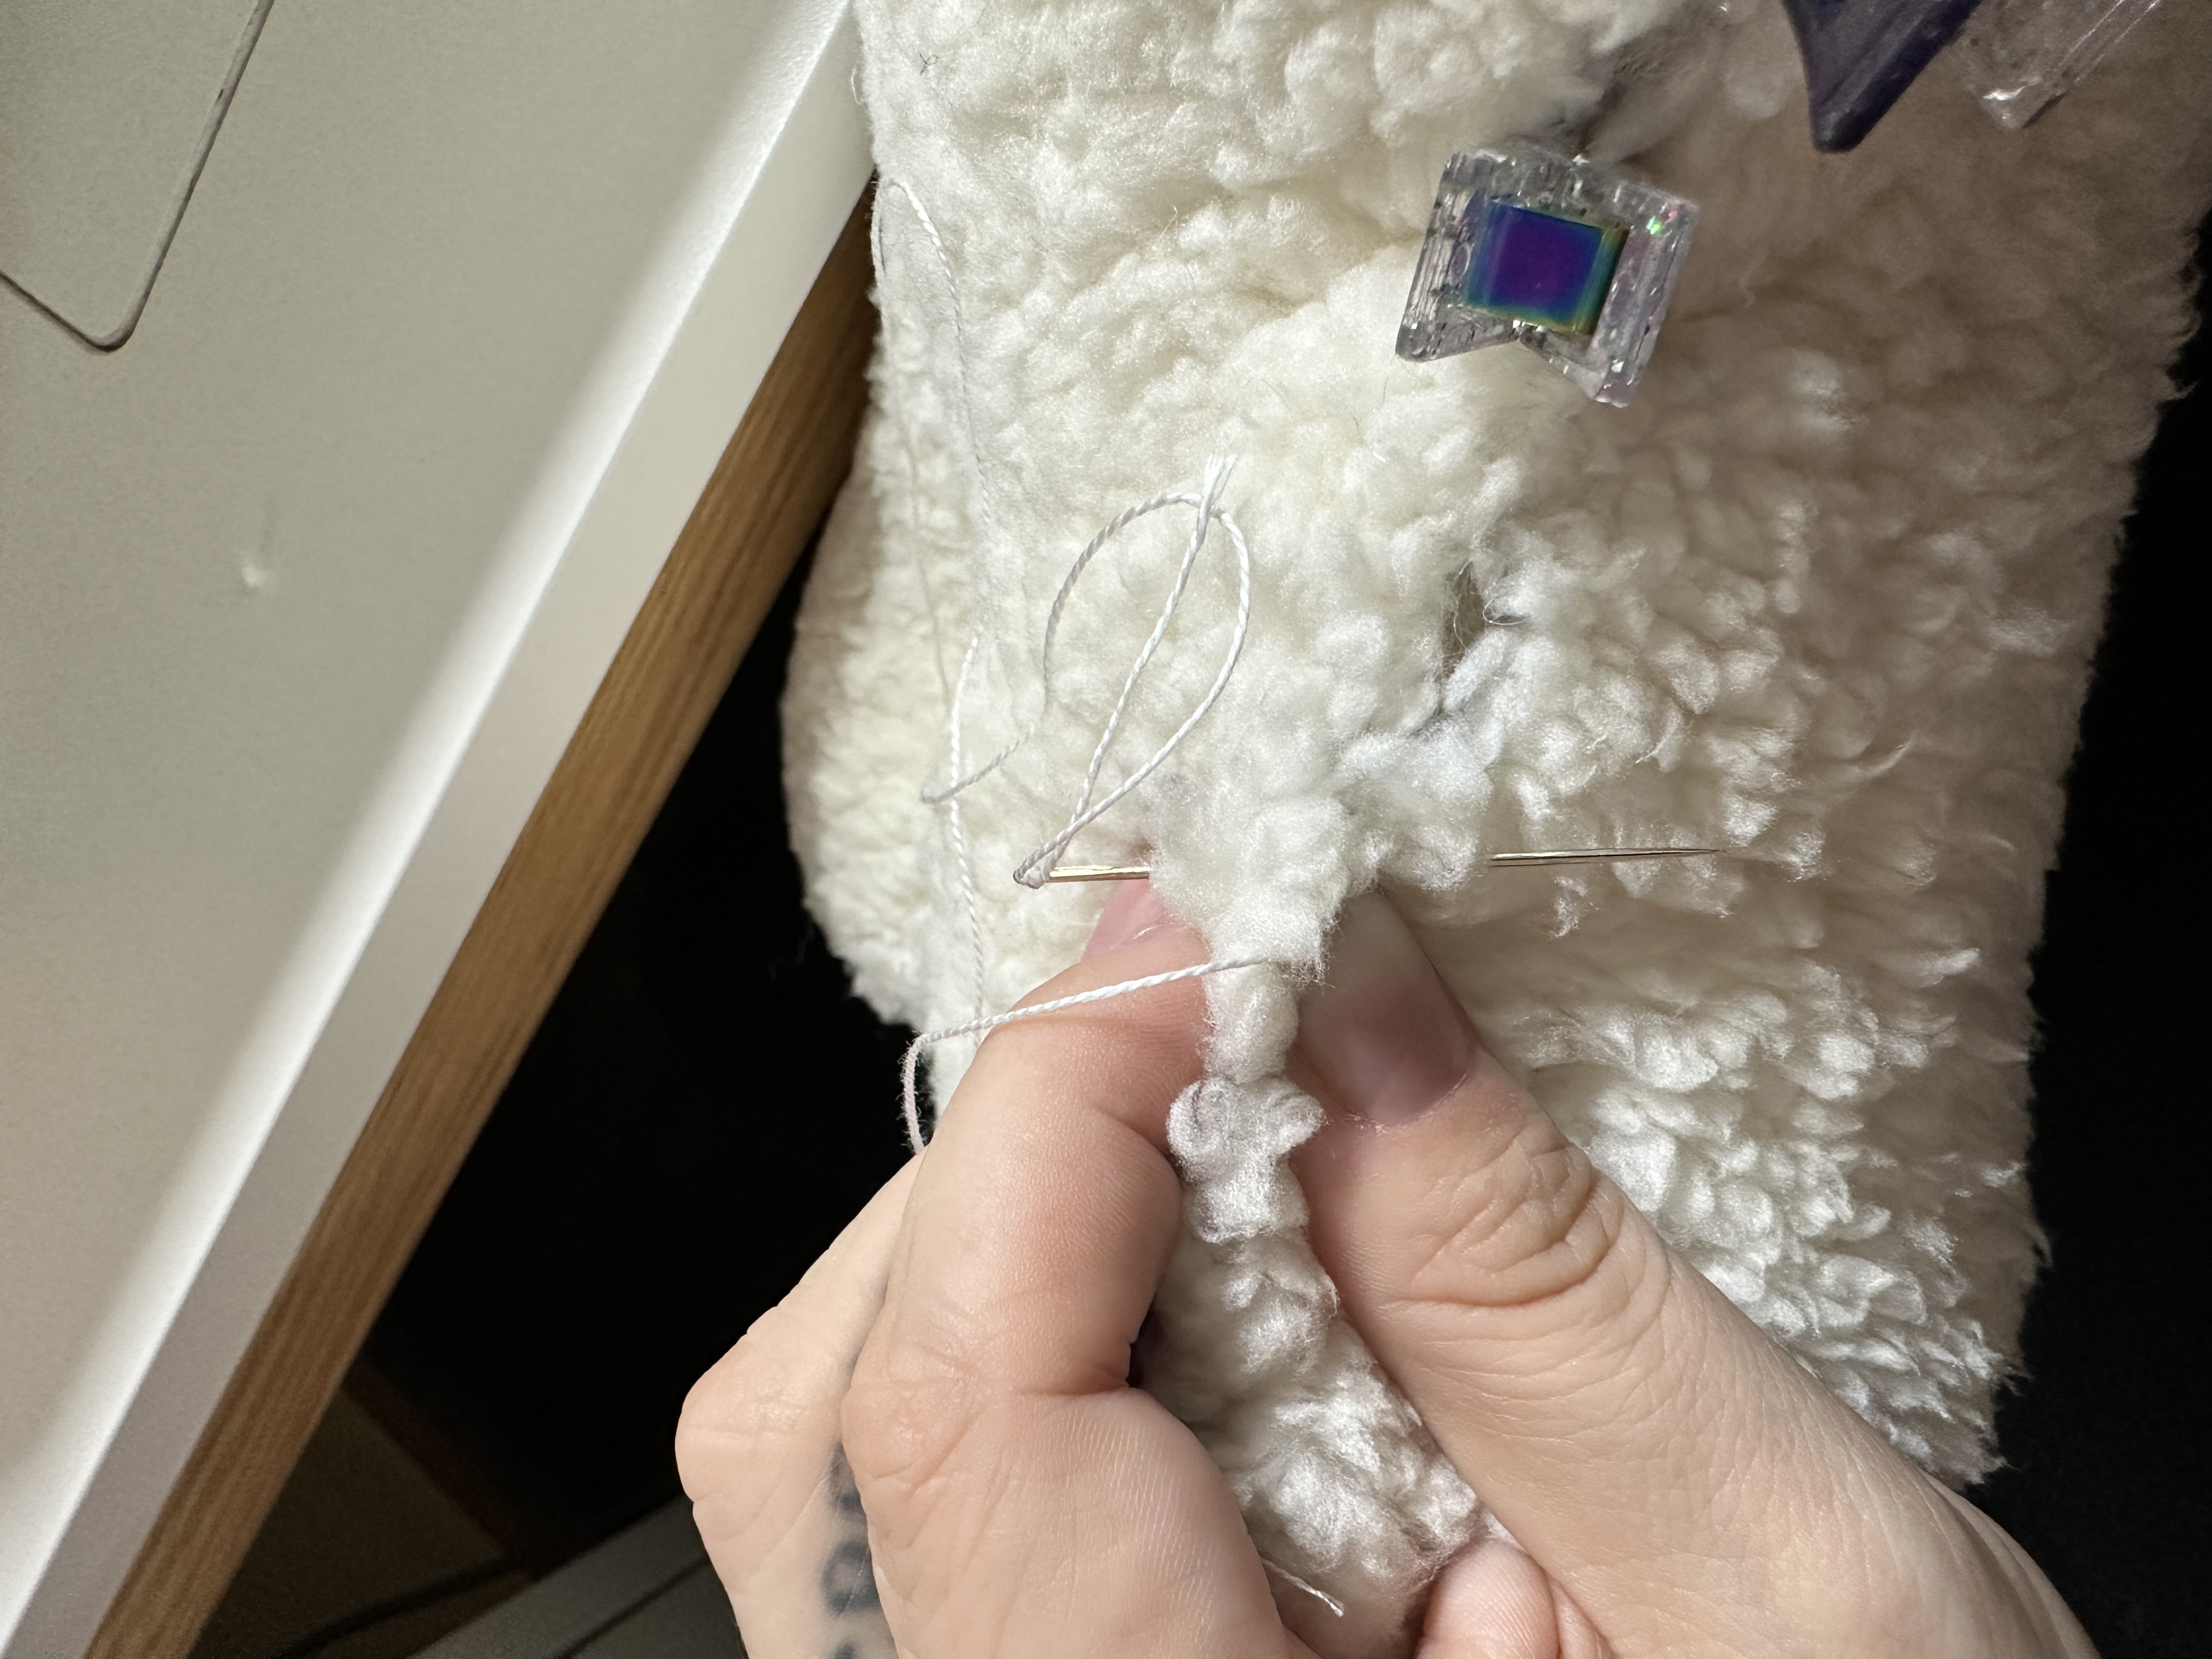
Step 9: I personally opt for hand-stitching the 4-inch opening for a more seamless finish, as it lends a natural look to the pillow. Use your DMC thread and needle to stitch it closed using your preferred method. With that, your Snowflake pillow is now complete! I hope you found this tutorial enjoyable and have an amazing holiday surrounded by loved ones!


Bonus Step: Who says tags are exclusive to quilts and garments? Elevate your project by inserting a tag or label between your layers in Step 5 and secure it in place with clips before sewing.

Everyone is Talking about DIY Sherpa Snowflake Pillow
Reviews


Tako
Beautiful
Wednesday, November 23, 2016

cpindzola
Around the Table Dresden Placemats
Saturday, December 17, 2016

I like the concept, but the directions are "sloppy." Nowhere in the supply list does it mention the felt or the batting (how much?). Also, I would never use a high loft batting in a placemat, or a table runner, as I think that it would be too unstable for a glass. The next time I make these, I will cut out the batting (I use flannel) and spray baste it to the wrong side of the Dresden plate before I put the Dresden plate on the felt to cut out. I have not yet washed the finished placemat, and am hoping that the single layer of felt does not curl up, or become distorted after washing/drying.
Txmaid
Fun Great Gift!
Tuesday, February 21, 2017

MargieARK
Teatime Quilted Tablecloth
Friday, February 24, 2017

I made this today but your cutting directions need to be changed. You only need 4 of color 1 and color 3 4.5 squares for the triangles. Also the inner border, you only need 2 cuts as WOF is long enough to cut each in half to fit the sides.
MickelSews
Great Machine
Wednesday, August 30, 2017

I've had this machine for only a week now. I bought it used from a lady who makes her own clothes, but she no longer needed the machine. During the purchase, she noted that she is almost sad that it's better to give it away because of how well the machine performed. (I also bought it along side a computerized machine of another brand.} She demoed the machine for us, showing it worked and gave us everything (including the box it came in!) She took amazing care of this machine. I have used it a few times now, and the directions for threading were easy to follow (albeit my hands are quite large so the lower looper was a pain, but that is no fault to the machine or brand.) And I recommend this machine to anyone who wants to learn to serge and wants a machine that can grow with them. I will happily use this machine time and time again.
rvstan
S9 Review
Sunday, February 25, 2018

I love, love, love my S9! It's sews and embroiders beautifully and it's simplicity of use amazes me. I would recommend this machine for both a beginner and an experienced seamstress. If I would ask anything of Janome it would be to upgrade the programming to run a larger hoop size. I understand that it can't get much wider but there is most definitely room for it to go longer. That is the only limitation of this machine.
pjmnana
PJMNana
Monday, February 26, 2018

I purchased a Memorycraft 15000 a few years ago and it was the best purchase I ever made! This machine can do just about anything you would would ever want! I love the capability of using the Acuedit app to set up my embroidery pattern on my Ipad and then download it to the machine! I love how my embroidery looks upon completion and I love all the good lighting it has to light up your workspace. That way you don’t need to worry about where to set up your machine. It also has plenty of room to do machine embroidery on any size quilts! There are many decorative stitches from which to choose that are outstanding! It’s hard to choose which one to use! There are so many great features it is hard to decide what I love the most. If you want to buy only one machine to last a lifetime, I would recommend this one!
KLWash
S9 Review
Sunday, February 24, 2019

The S9 is amazing. I learned to sew by hand when I was just 5 and in my grandmothers way as she was quilting. I took seeing classes in high school until they would no longer let me sign up. The S9 makes me appreciate my current skills as well as motivate me to want to learn more. This machine is awesome.
SewSueMe2002
Horizon Memory Craft 15000
Thursday, November 19, 2020

My Janome Horizon Memory Craft 15000 is fantastic! I love, love, love this machine! When I came across the Eye for and Eye embroidery design today, I wanted to make it. However, the embroidery file is missing. Nothing downloads when I select the download button. Please help!
Jillfmischo
Treat Bag fun!
Monday, August 16, 2021

I made the Halloween treat bag for my new granddaughter and I’m sure it will last for years. No embroidery machine so I appliquéd the lettering. Need a little more skirt fabric for a better gathered look, and I used thin double-bias tape for the skirt hem, over edge stitch on skirt sides. I’m pleased with my results!
elenaz
Very helpful tutorial
Wednesday, October 25, 2023

I want to say thank you for teaching me this method of applique. I was able to do it with a small letters. This method is the best so far from all of those I've seen and tried.
plonkar
So useful
Thursday, November 30, 2023

I'd like to express my gratitude for teaching me this appliqué method. I successfully applied it with small letters, and, so far, it's the most effective among all the methods I've seen and tried.

DEALERS
The TWO Closest Dealers to you are:
196 Boston Post Road , Orange CT, 06477
203-878-1654
19 PUTNAM AVENUE , PORT CHESTER NY, 10573
914-934-2934
Find Additional Dealers