Projects

Color Wheel Placemats

Created By:

Annabel Lowe Wrigley

Skill Level: Beginner

Color wheel placemats

By Annabel Lowe Wrigley

Finished size 13 x 13”


Janome Supplies Required

Supplies


¼ yard fabric for solid front

15” x 15” fabric for placemat back

6 - 9 x 3” strips of 6 color fabrics for paper pieced segment

46“ – 2” wide bias cut binding strip

15“” x 15”” piece of quilt batting

Basic sewing supplies


Instructions

Prepare the pieces.


·  Pre-wash your fabric. These  placemats will find themselves in the washing machine so this will assure minimal shrinkage.


·  Print 4 copies of the Foundation paper pattern.

         Find pattern HERE


·  Cut roughly around the outer dotted edge of the FPP pattern. I like to cut around ½” from the dotted line.


·  Using the template HERE, cut 3 solid colored pattern pieces.


·  Cut 6 - 9 x 3” multi-colored fabric strips for the foundation paper piecing


Time to get started


The Foundation Paper piecing


Make a plan for your FPP color placement.


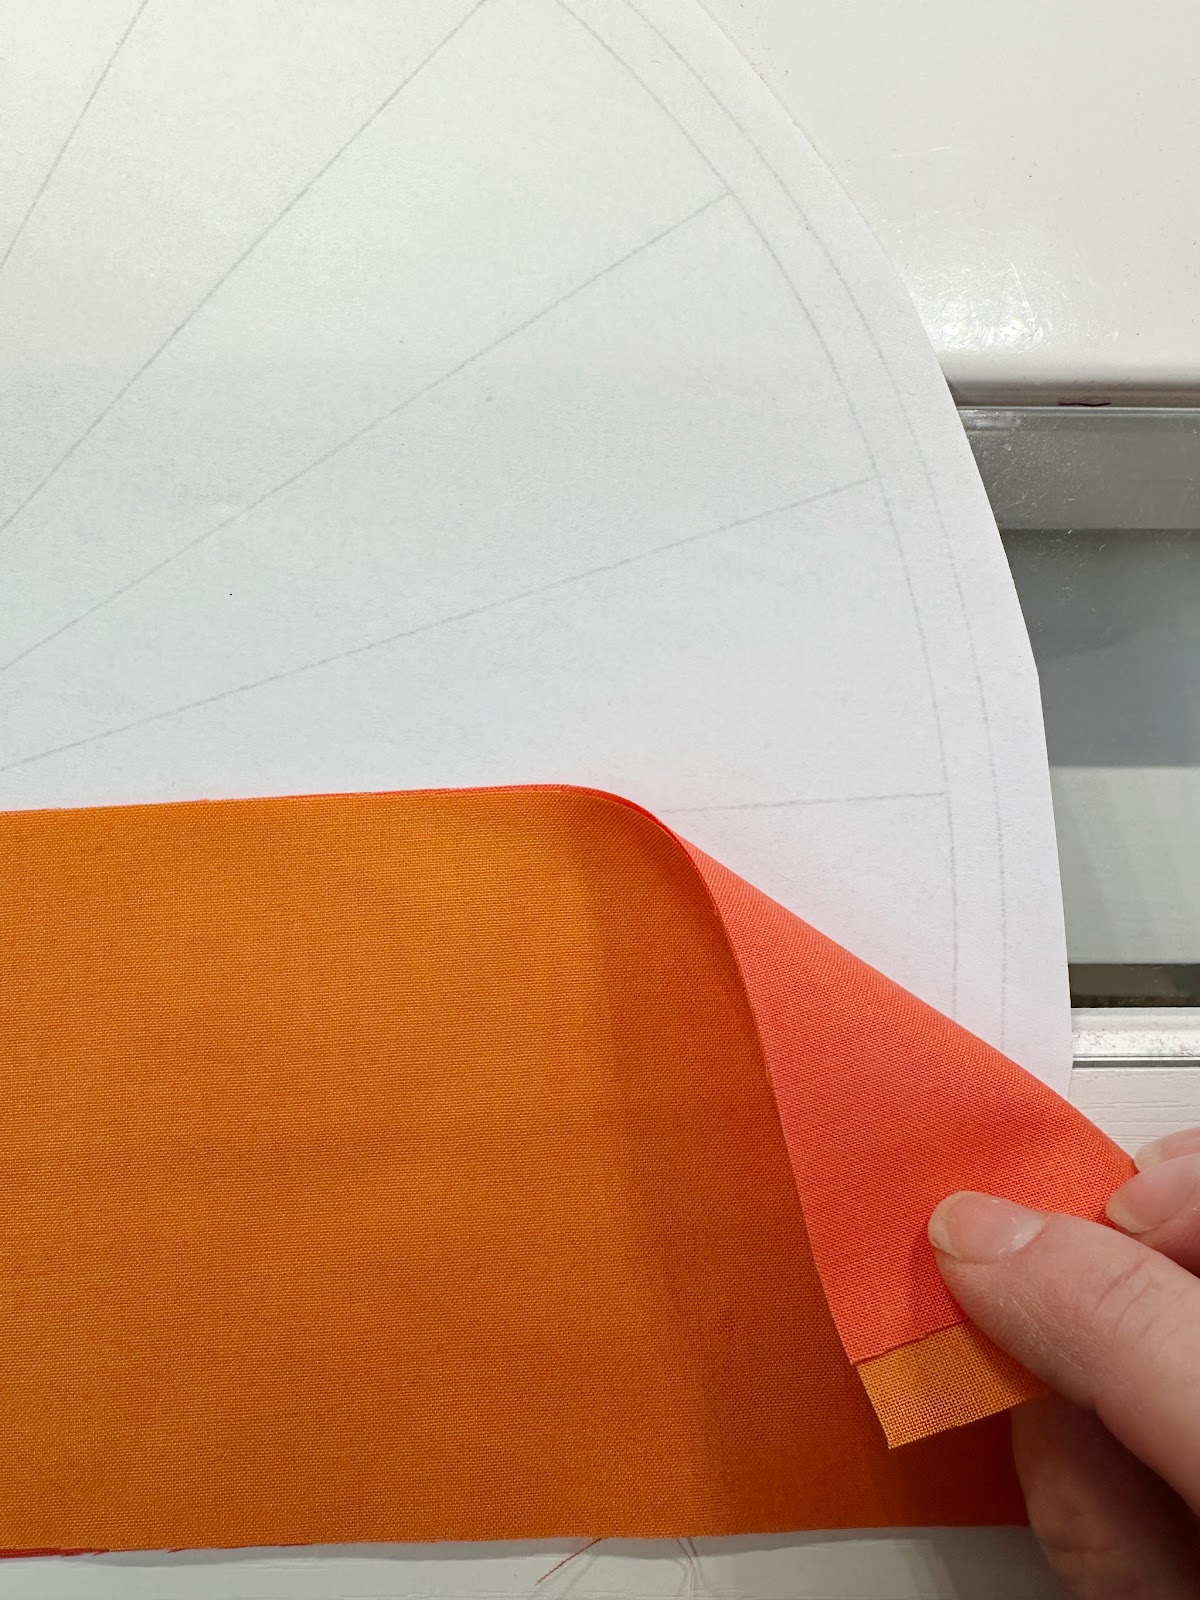
1.Turn the FPP pattern piece upside down. Starting with your first color, lay the long straight edge ¼” over the first segment line of the pattern. You should be able to see the printed line through the paper.


2.Lay the second color RST with both fabric edges lined up.


)


3.Pin in place or carefully flip the pattern piece over while holding the fabric in place.


4.Set the stitch length to 1.5. (I like to use Microtex needles for paper piecing ) 


5.Sew the first line, make sure to start and end a little past the stitch area.


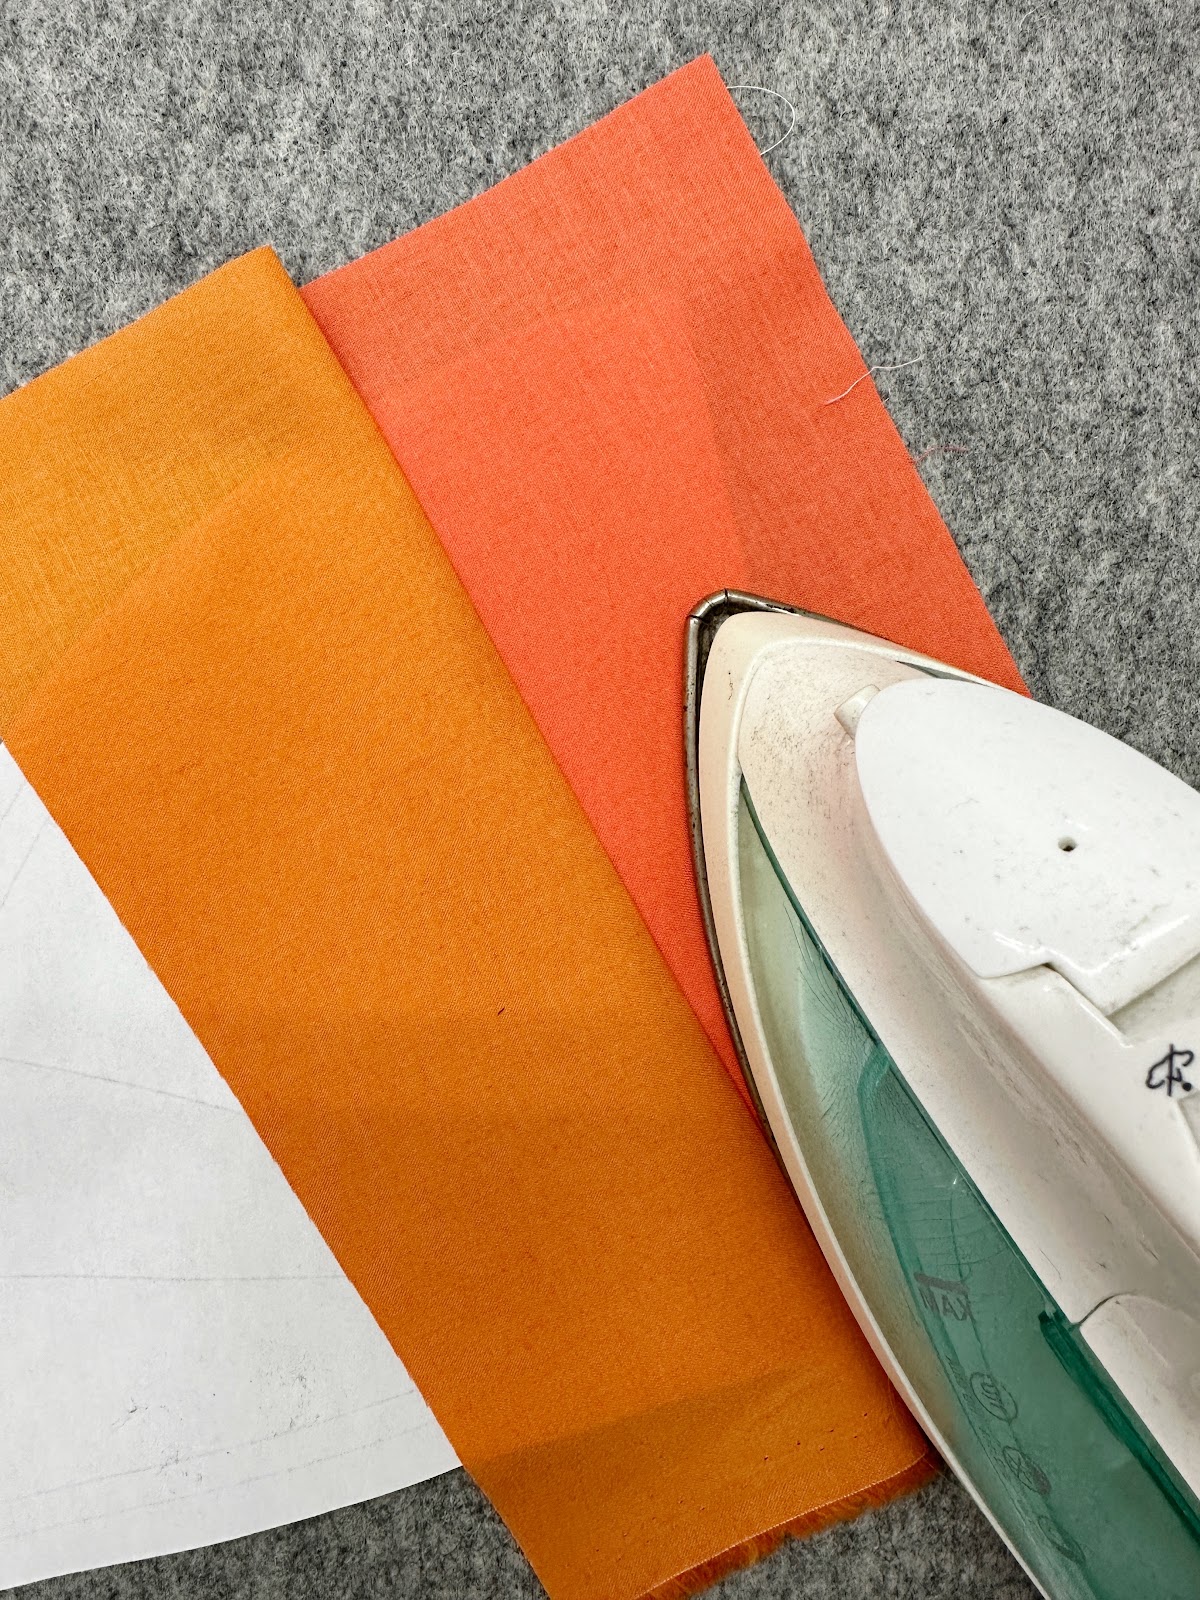
6.Open out the fabric pieces and press well.


7.Flip the pattern piece back over, and using a ruler or piece of cardboard, fold back the next line between the A2 and A3. Cut away any excess fabric, ¼” from the fold line.


8.Open out the FPP paper piece and attach the next strip in the same way, making sure to line up the raw edges of the strip and already sewn segment.


9.Flip over and repeat the same steps as above. Continue doing this until you have completed the pieced segment.


10.  Give everything a really good press.


11.  Flip the piece over so the paper side is facing up and very carefully trim on the dotted line.


12.  Very carefully remove the backing paper, it should tear away very easily. I often use a small pair of tweezers to get the fiddly bits.


Put the pieces together


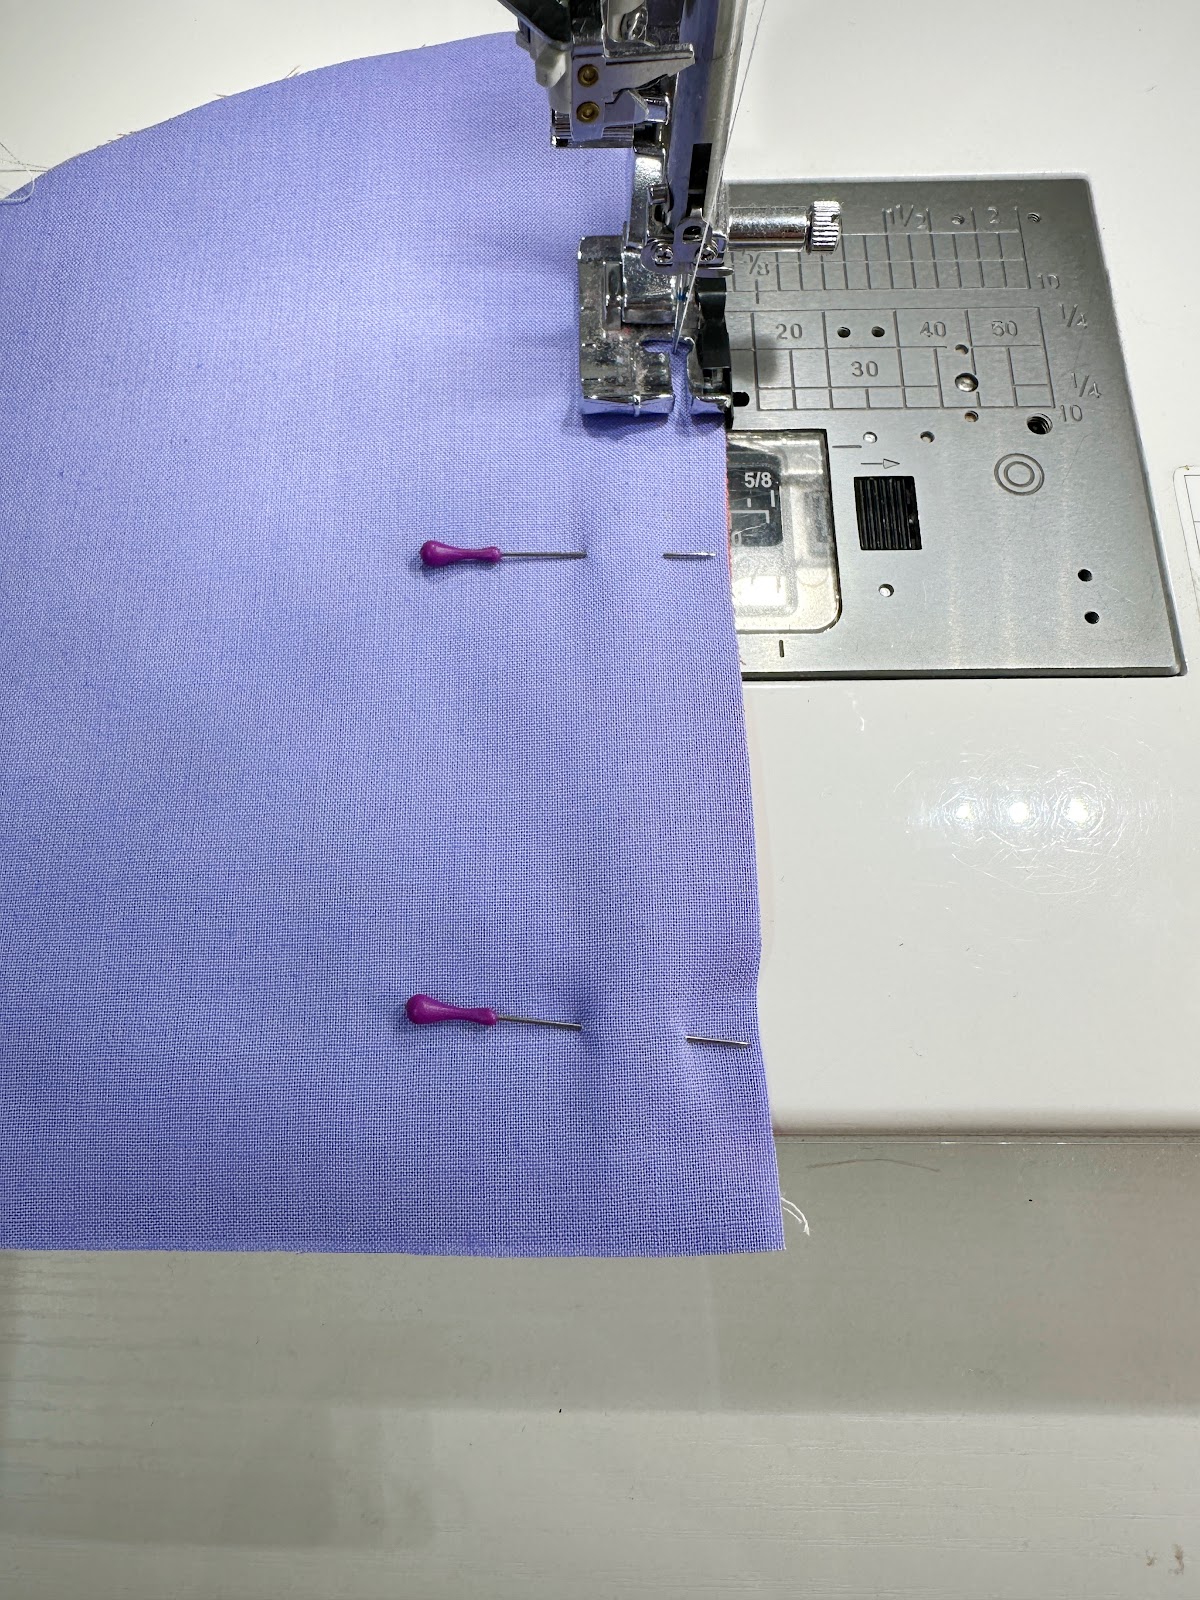
1.Lay the FPP piece and a solid fabric piece RST to make the top half of the circle.


2.Sew with a ¼” seam allowance.


3.Sew the bottom circle half pieces RST to make the bottom half of the placemat.


4.Sew top circle and bottom circle pieces together.


5.Give everything a good press.


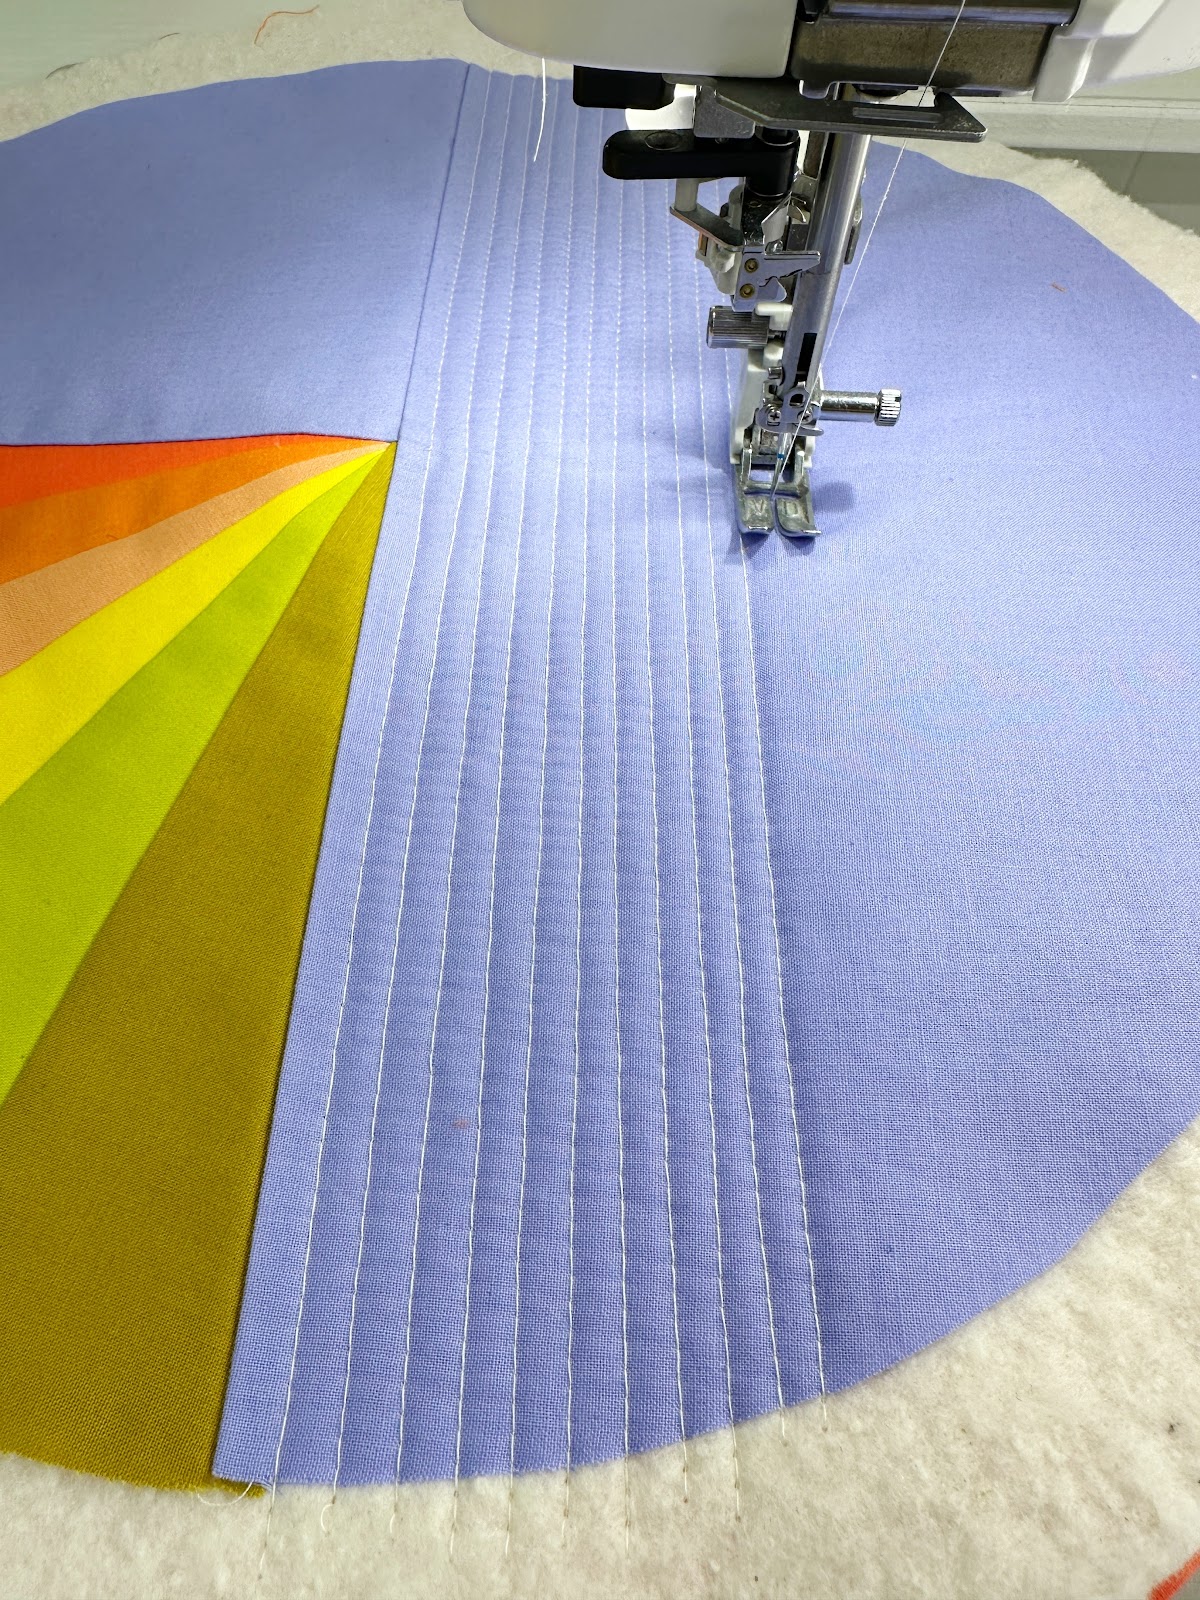
6.Make a quilt sandwich and quilt as desired. I like to use my Accufeed foot for this. I personally love a straight line or cross hatch quilting pattern.


7.After quilting, carefully cut out the circle and prepare pieces for binding.


The Binding.


1.Cut a 2”  wide strip of bias cut fabric for binding. You may have to join 2 pieces together depending on the length of your strips. Make sure the strip is cut on the bias, it needs to be able to stretch around the circle.


2.Once you have your length ready, cut the starting end straight across.


3.Iron the strip in half.


4.Leaving a 7” section loose, pin and then sew the binding to the RS of the placemat. Make sure you are not stretching the binding. It should easily bend around the curve.


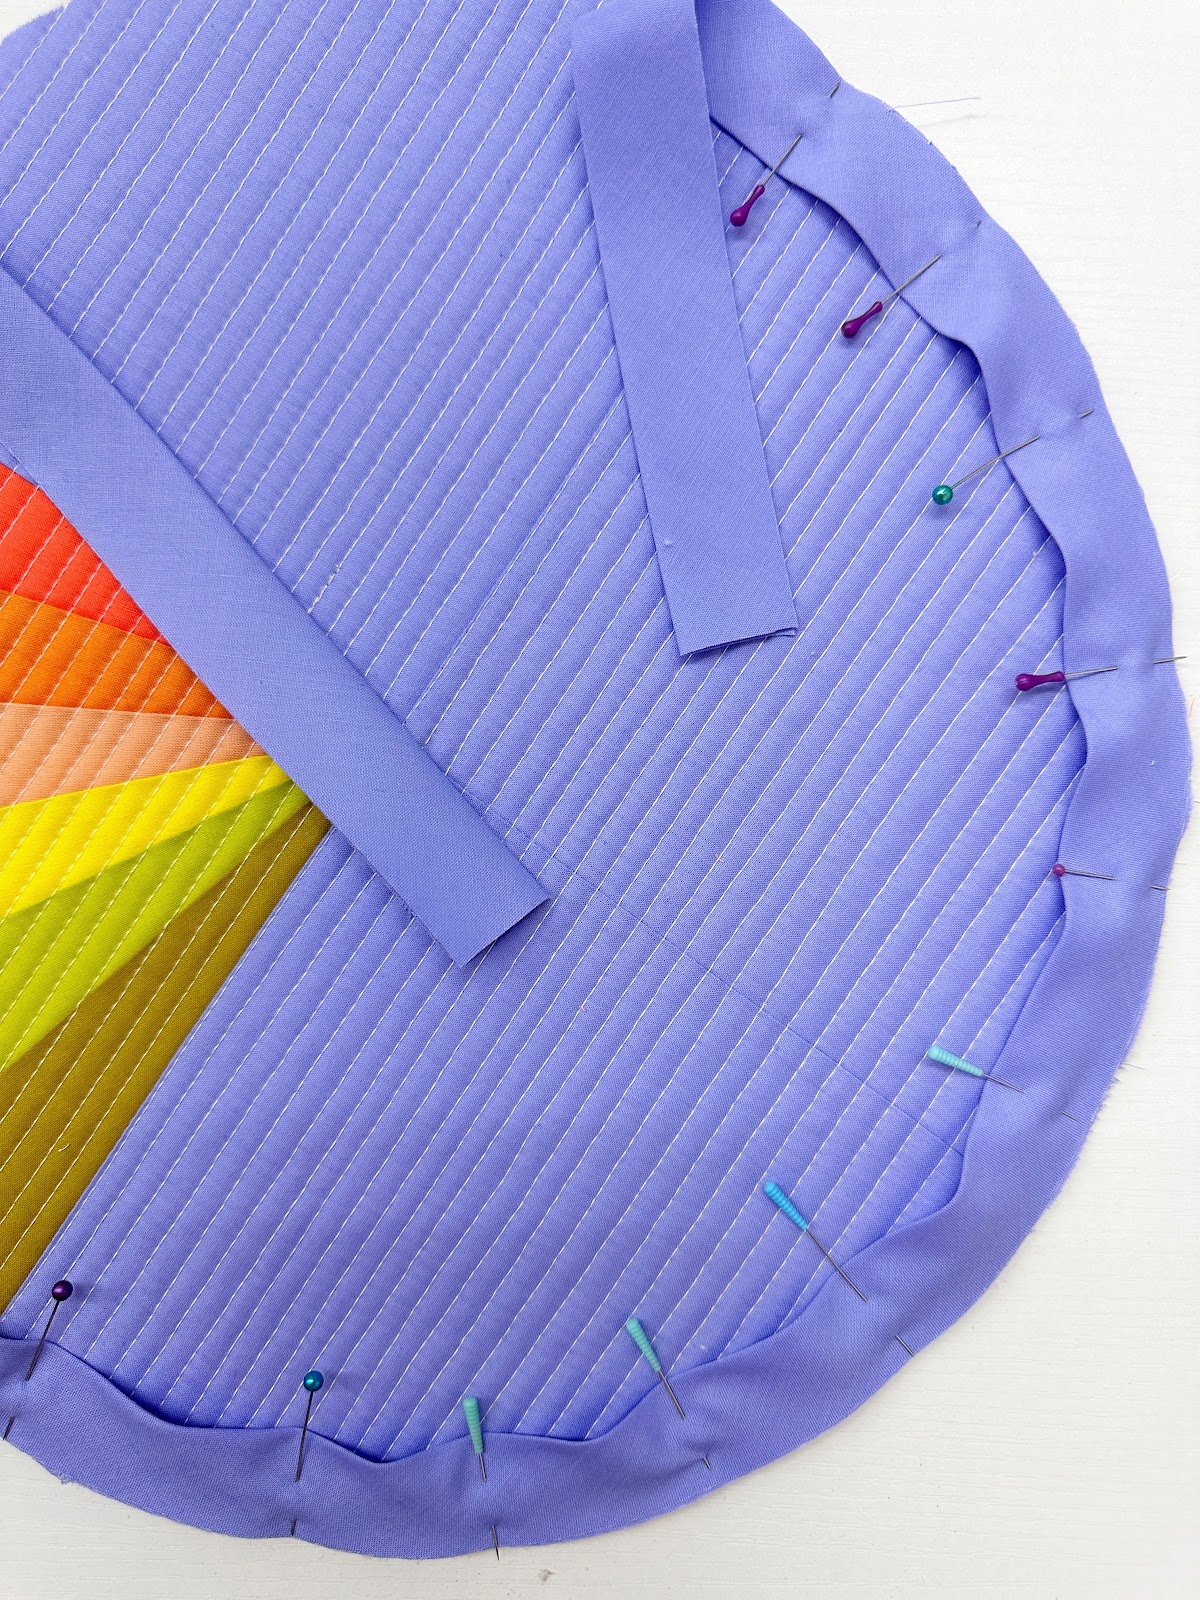
5.Stop sewing 10” from the starting point.


7.At the center point between the start and the finish, place a pin.


8.Take one binding end and extend it exactly 1” past the pin. (Our binding is 2” wide so to join the end we will need to cut 1” past the pin on each side for a perfect fit)


9.Leaving the pin in place, extend the other binding side 1” past the pin and cut.


10.  Open out each end of the binding strip and pin RST.


11.  Sew diagonally across the strip ends. Tim ¼” from stitch line and press open.


12.  This should create a perfectly fitting binding. Continue sewing until the binding is attached


13.  Press the binding away from the front of the placemat and then flip over and pin the binding in place.


Finish the edge as you wish, I always love to hand stitch my binding.


Everyone is Talking about Color Wheel Placemats
Reviews


Tako
Beautiful
Wednesday, November 23, 2016

cpindzola
Around the Table Dresden Placemats
Saturday, December 17, 2016

I like the concept, but the directions are "sloppy." Nowhere in the supply list does it mention the felt or the batting (how much?). Also, I would never use a high loft batting in a placemat, or a table runner, as I think that it would be too unstable for a glass. The next time I make these, I will cut out the batting (I use flannel) and spray baste it to the wrong side of the Dresden plate before I put the Dresden plate on the felt to cut out. I have not yet washed the finished placemat, and am hoping that the single layer of felt does not curl up, or become distorted after washing/drying.
Txmaid
Fun Great Gift!
Tuesday, February 21, 2017

MargieARK
Teatime Quilted Tablecloth
Friday, February 24, 2017

I made this today but your cutting directions need to be changed. You only need 4 of color 1 and color 3 4.5 squares for the triangles. Also the inner border, you only need 2 cuts as WOF is long enough to cut each in half to fit the sides.
MickelSews
Great Machine
Wednesday, August 30, 2017

I've had this machine for only a week now. I bought it used from a lady who makes her own clothes, but she no longer needed the machine. During the purchase, she noted that she is almost sad that it's better to give it away because of how well the machine performed. (I also bought it along side a computerized machine of another brand.} She demoed the machine for us, showing it worked and gave us everything (including the box it came in!) She took amazing care of this machine. I have used it a few times now, and the directions for threading were easy to follow (albeit my hands are quite large so the lower looper was a pain, but that is no fault to the machine or brand.) And I recommend this machine to anyone who wants to learn to serge and wants a machine that can grow with them. I will happily use this machine time and time again.
rvstan
S9 Review
Sunday, February 25, 2018

I love, love, love my S9! It's sews and embroiders beautifully and it's simplicity of use amazes me. I would recommend this machine for both a beginner and an experienced seamstress. If I would ask anything of Janome it would be to upgrade the programming to run a larger hoop size. I understand that it can't get much wider but there is most definitely room for it to go longer. That is the only limitation of this machine.
pjmnana
PJMNana
Monday, February 26, 2018

I purchased a Memorycraft 15000 a few years ago and it was the best purchase I ever made! This machine can do just about anything you would would ever want! I love the capability of using the Acuedit app to set up my embroidery pattern on my Ipad and then download it to the machine! I love how my embroidery looks upon completion and I love all the good lighting it has to light up your workspace. That way you don’t need to worry about where to set up your machine. It also has plenty of room to do machine embroidery on any size quilts! There are many decorative stitches from which to choose that are outstanding! It’s hard to choose which one to use! There are so many great features it is hard to decide what I love the most. If you want to buy only one machine to last a lifetime, I would recommend this one!
KLWash
S9 Review
Sunday, February 24, 2019

The S9 is amazing. I learned to sew by hand when I was just 5 and in my grandmothers way as she was quilting. I took seeing classes in high school until they would no longer let me sign up. The S9 makes me appreciate my current skills as well as motivate me to want to learn more. This machine is awesome.
SewSueMe2002
Horizon Memory Craft 15000
Thursday, November 19, 2020

My Janome Horizon Memory Craft 15000 is fantastic! I love, love, love this machine! When I came across the Eye for and Eye embroidery design today, I wanted to make it. However, the embroidery file is missing. Nothing downloads when I select the download button. Please help!
Jillfmischo
Treat Bag fun!
Monday, August 16, 2021

I made the Halloween treat bag for my new granddaughter and I’m sure it will last for years. No embroidery machine so I appliquéd the lettering. Need a little more skirt fabric for a better gathered look, and I used thin double-bias tape for the skirt hem, over edge stitch on skirt sides. I’m pleased with my results!
elenaz
Very helpful tutorial
Wednesday, October 25, 2023

I want to say thank you for teaching me this method of applique. I was able to do it with a small letters. This method is the best so far from all of those I've seen and tried.
plonkar
So useful
Thursday, November 30, 2023

I'd like to express my gratitude for teaching me this appliqué method. I successfully applied it with small letters, and, so far, it's the most effective among all the methods I've seen and tried.

DEALERS
The TWO Closest Dealers to you are:
196 Boston Post Road , Orange CT, 06477
203-878-1654
19 PUTNAM AVENUE , PORT CHESTER NY, 10573
914-934-2934
Find Additional Dealers