PART 1 – Fabric Cutting
For more precise cutting results, prior to starting, prepare all fabrics with starch & press.
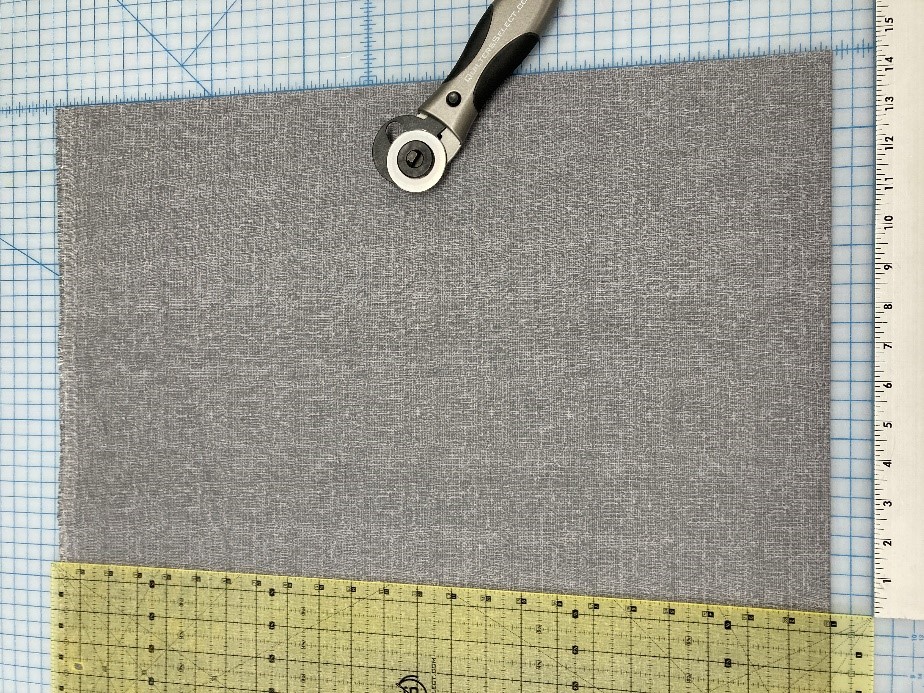
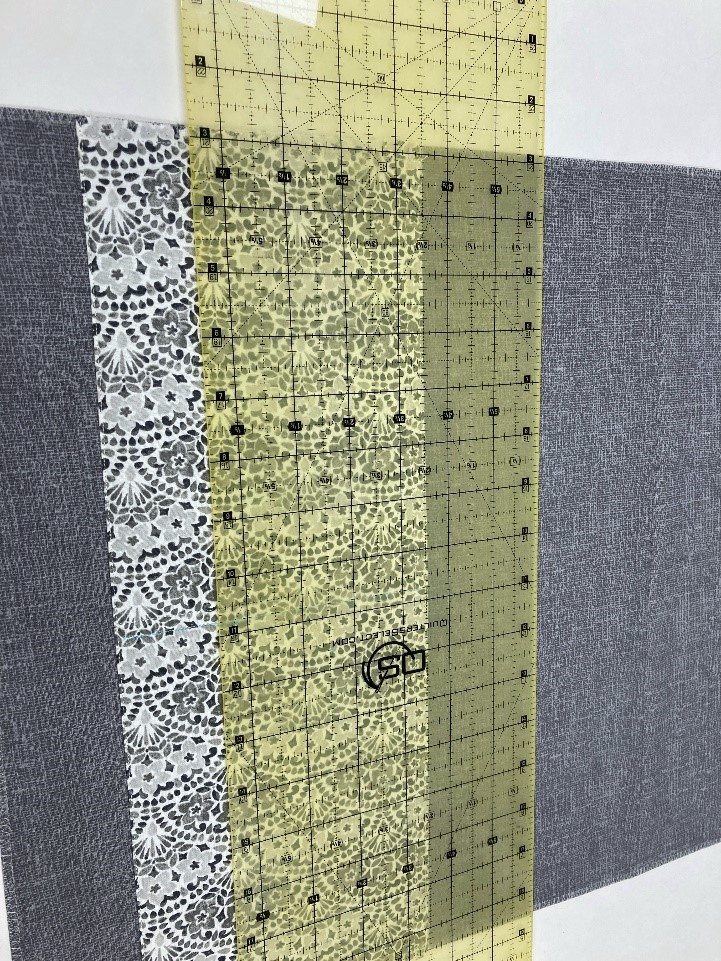
Use your rotary cutter, cutting mat and quilt ruler.
- For the board’s background, from the ½ yard fabric, measure and cut a 28 ½” x 16 ½ rectangle piece.
2. For the bottom pocket, from one of the fat quarters, measure and cut a 13 ¼” x 16 ½” rectangle piece. Measure and cut the same from the fusible interfacing.
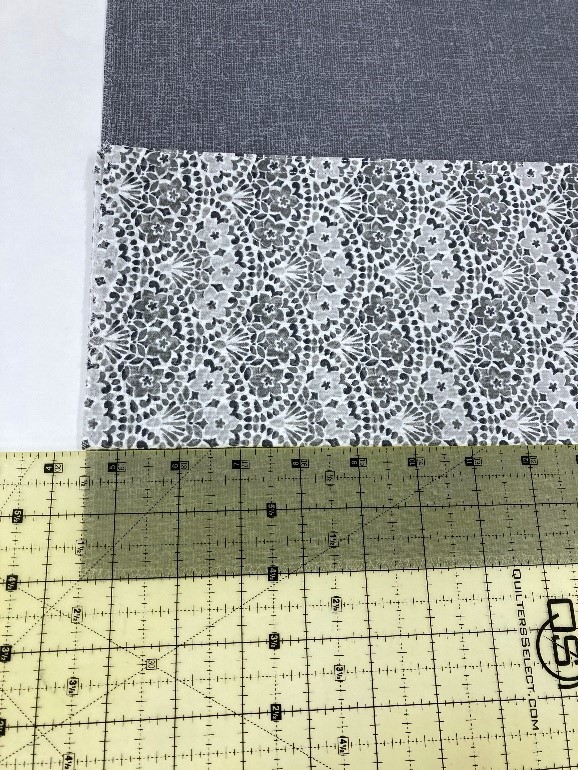
3.For the pleated middle pocket, from the remaining fat quarter, measure and cut a 22” x 16 ½” rectangle piece.
PART 2 – Preparing the Board’s Background Fabric:
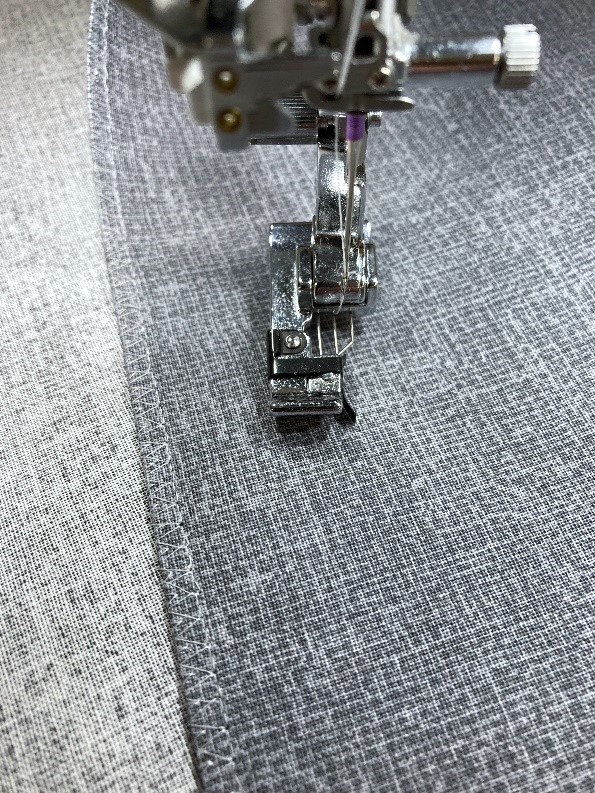
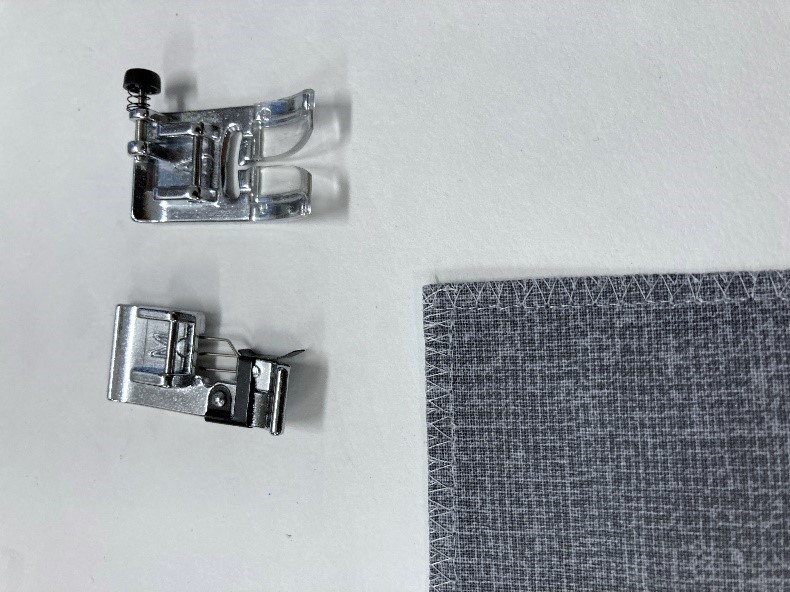
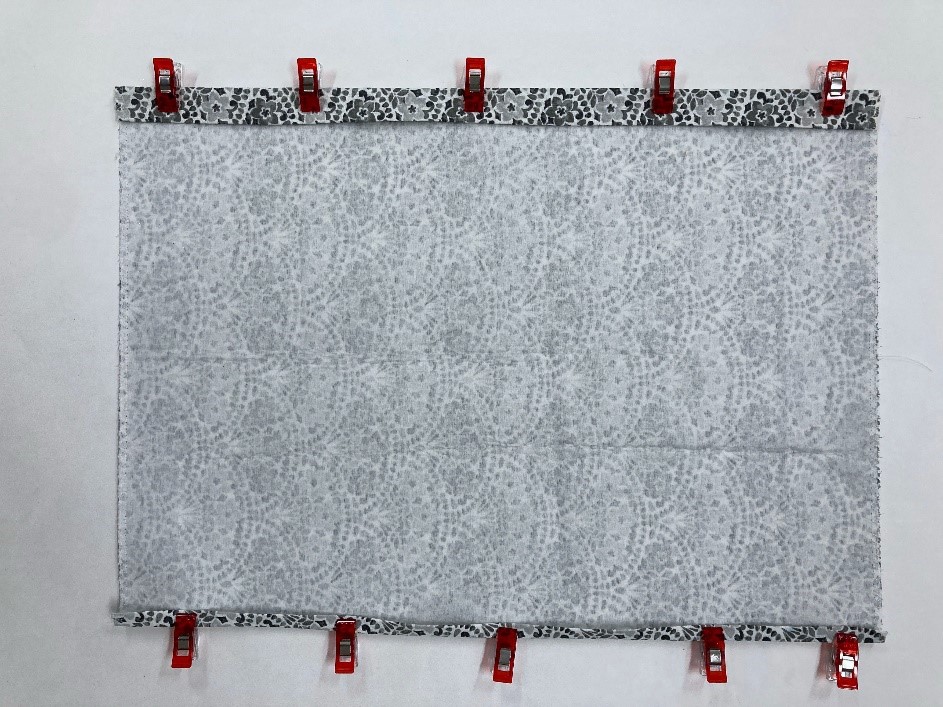
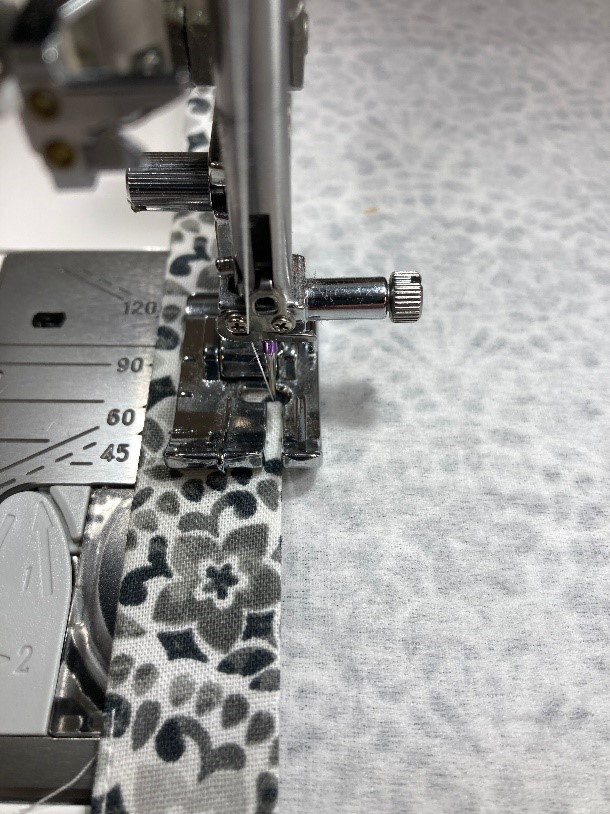
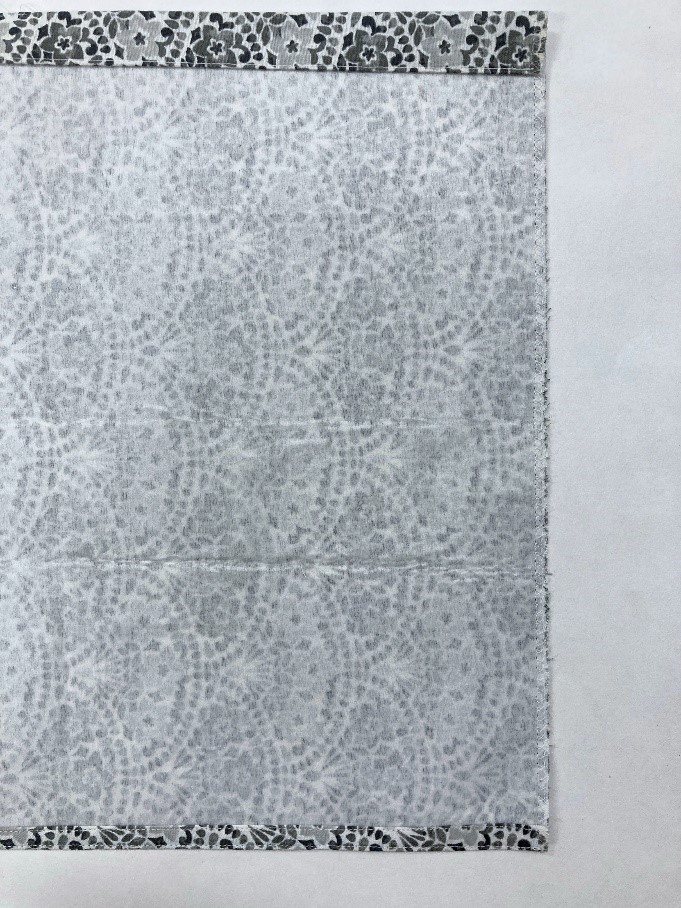
- On the reverse side, fold the raw edges in ¼” & press. Do this for all 4 sides of the fabric. Using the Overcast foot & overedge stitch selection on your sewing machine, stitch all four sides to prevent the raw edges from unraveling. Note: If preferred, use a zig zag stitch or serger to serge the fabric edges.
PART 3 – Make the Bottom Pocket:
- Using one of the fat quarters, fuse (following manufacturer’s instructions) to line the reverse side of the bottom pocket fabric piece with fusible interfacing.

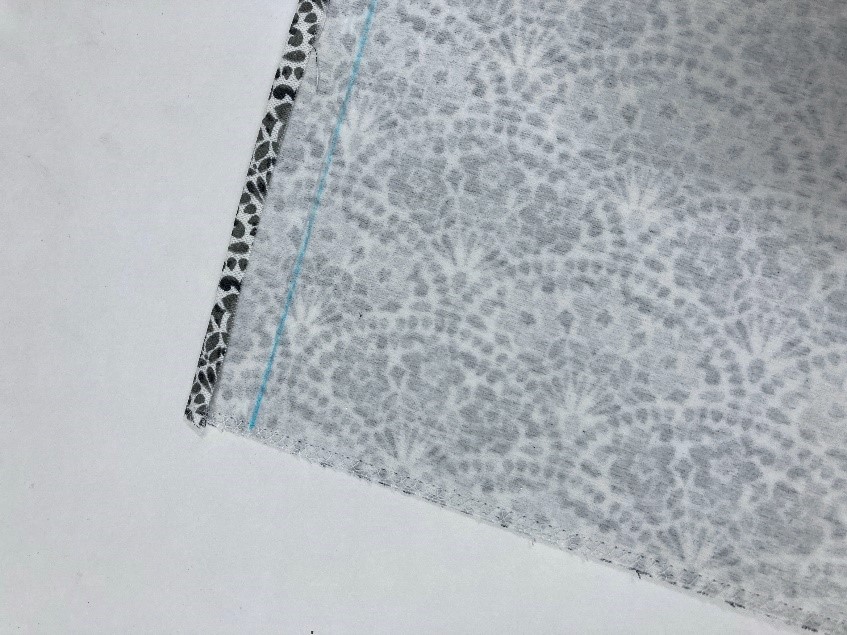
2. On the side lined with interfacing and working with the shorter edges, measure and mark a 1” reference line at the top edge, then fold the fabric in ¼” and press. Fold fabric in again at 1” reference line and press. At the bottom edge, measure and mark a ½” reference line, then fold the fabric in ¼” and press. Fold the fabric in again at the ½” reference line and press.
3. Secure the folded edges with clips or use straight pins.
4. On the wider fold, edge stitch the inner edge only. Leave top edge unstitched for now. And on the narrower fold, edge stitch the inner and outer edges.
5. Fold the pocket in half lengthwise, with the wrong sides together aligning the top edges and press. To create the dual pocket, mark a center reference line. Set this pocket aside for now.

PART 4 – Make the Center Pleated Pocket:
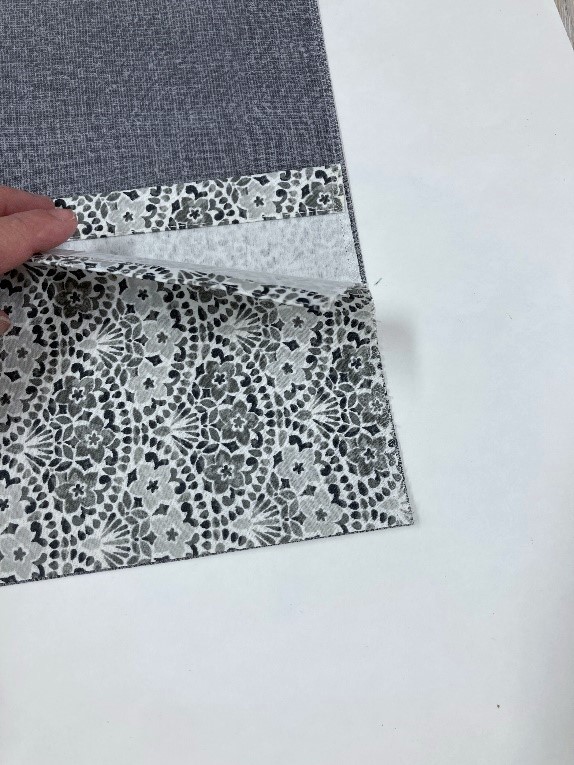
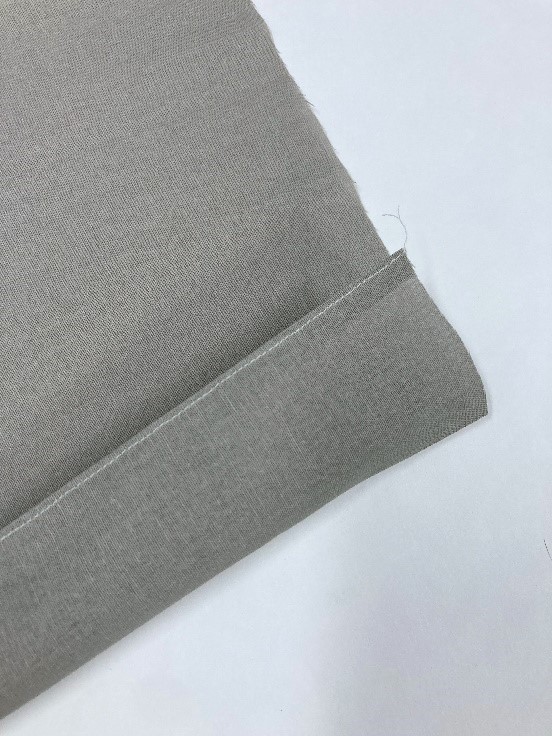
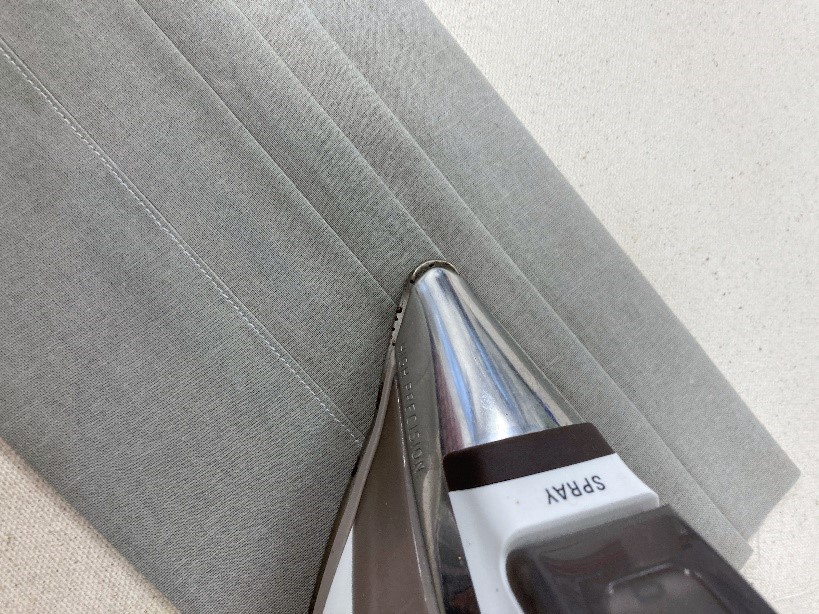
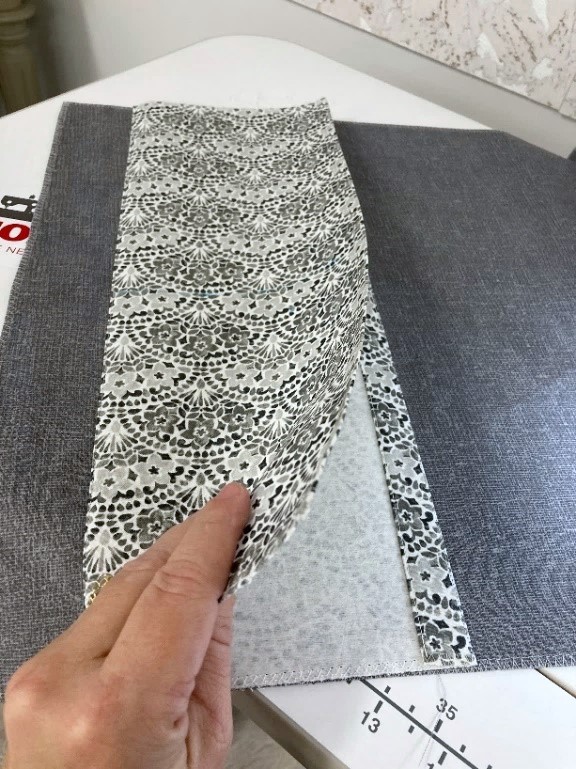
- Using the remaining fat quarter, for each of the shorter edges, fold the raw edge in ¼” press. Then fold again at 2” and press. Note: If you are working with something other than a solid colored fabric make your folds with the wrong side of the fabric facing up.
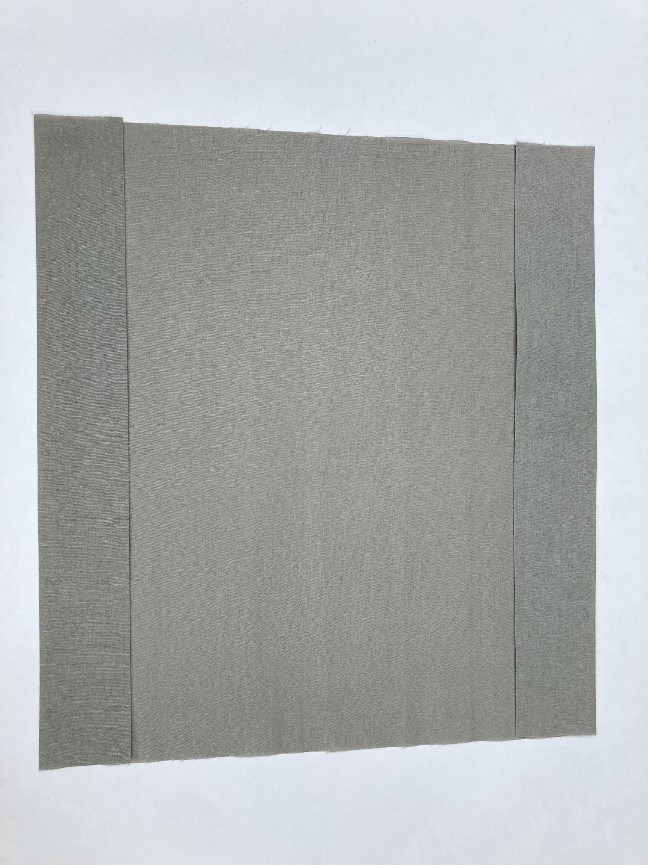
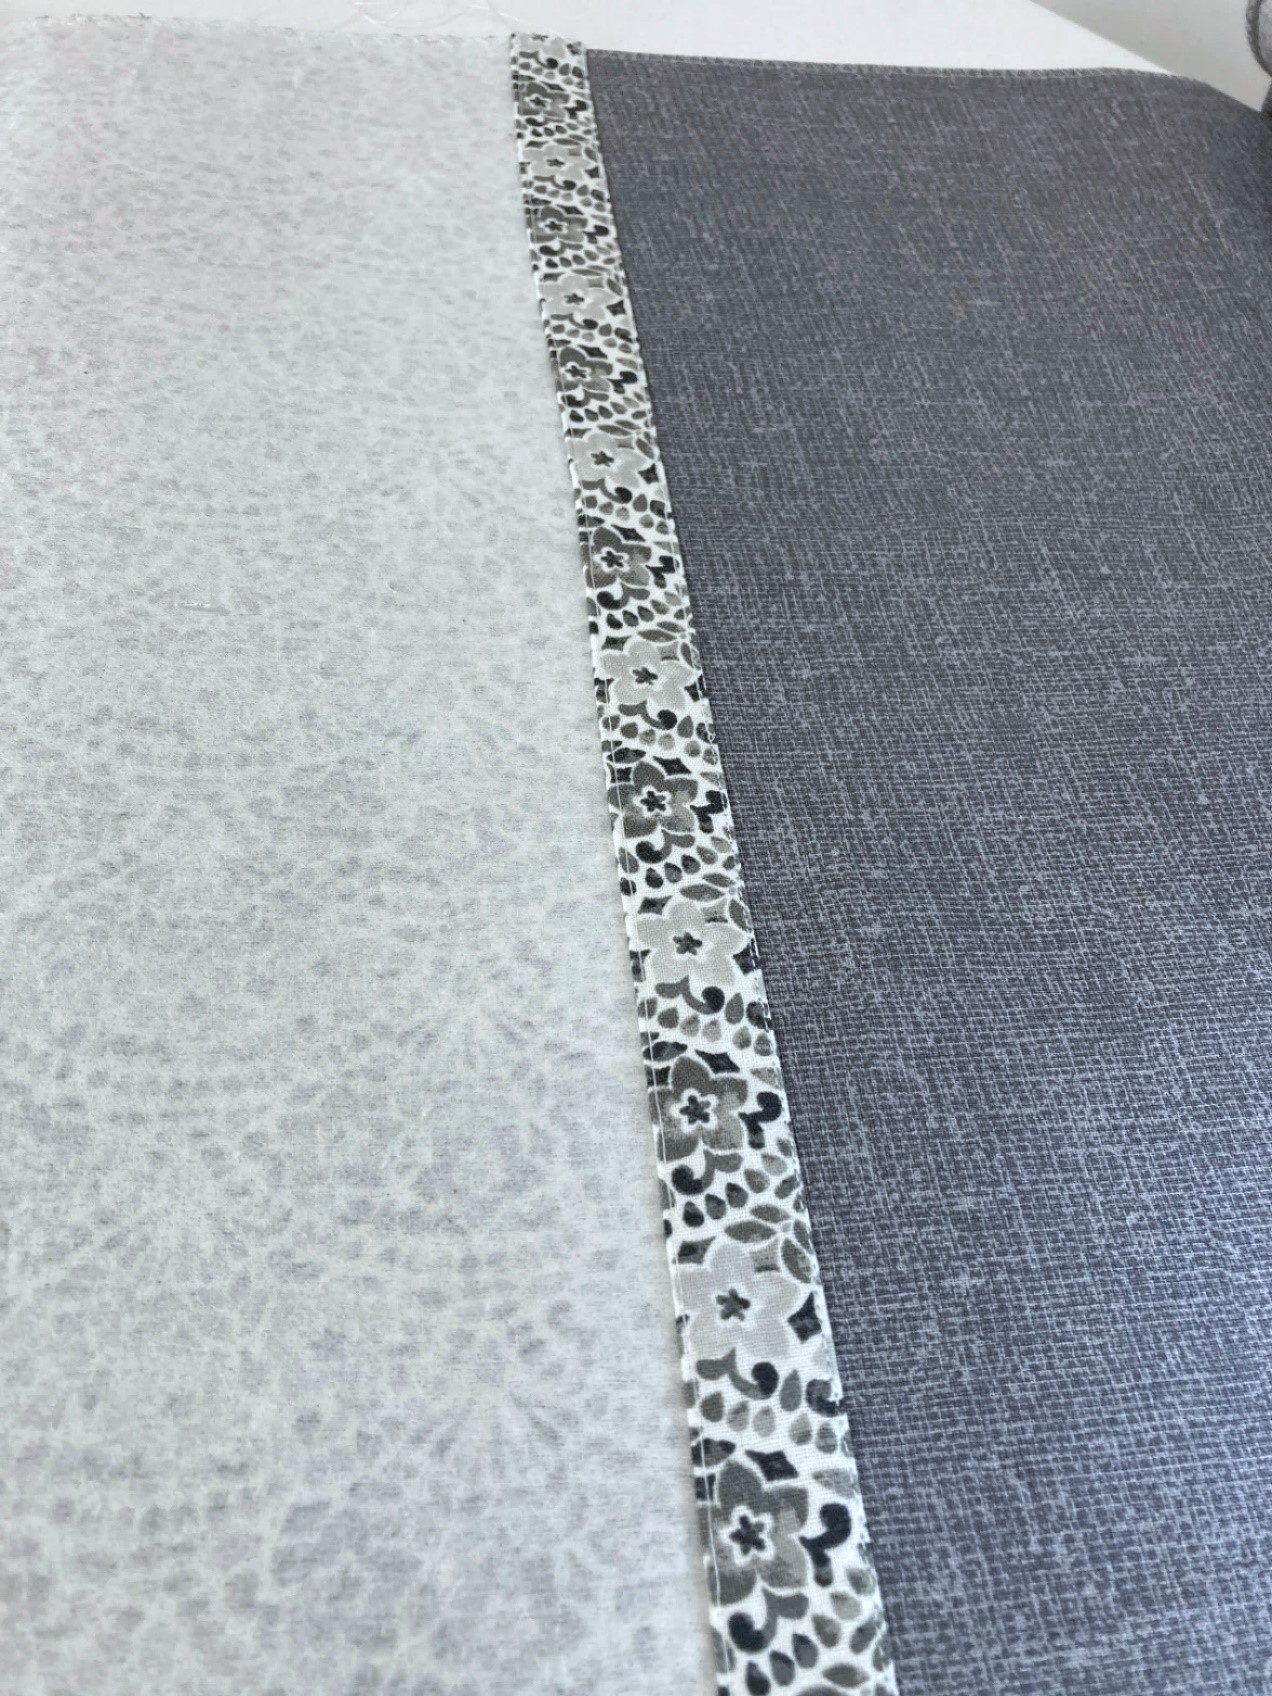
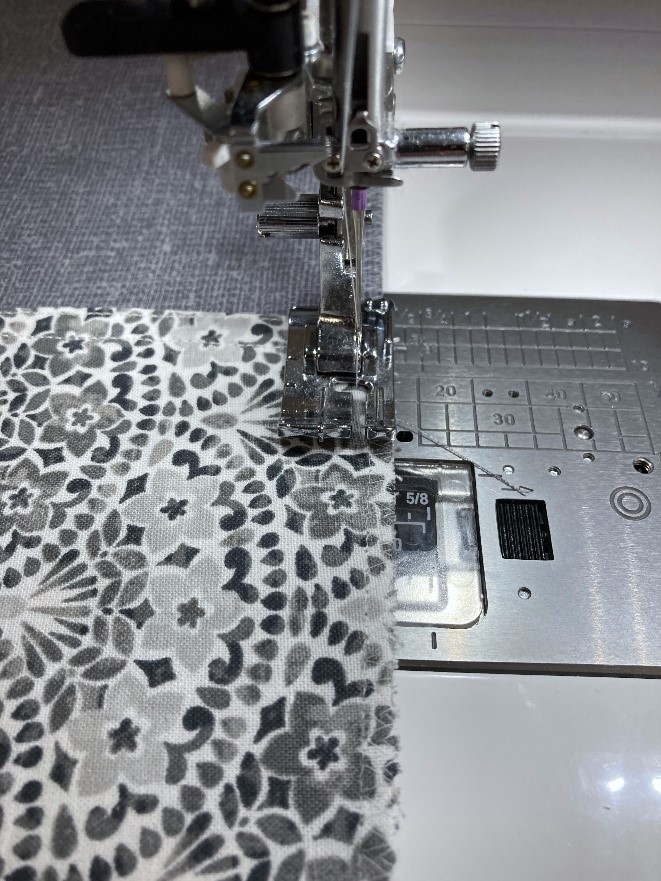
- Open the 2” folds out, then edge stitch the top and bottom ¼” folds only.
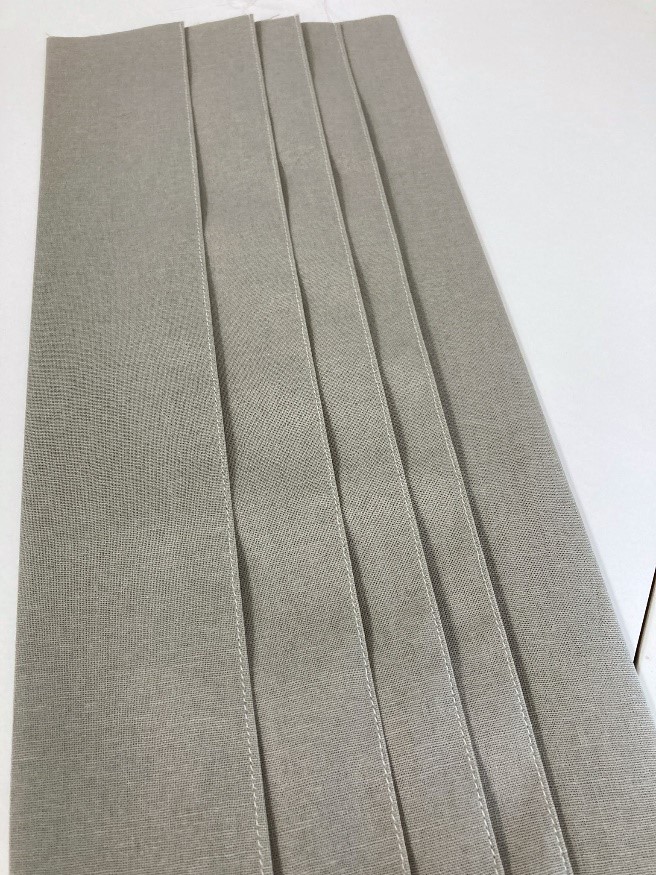
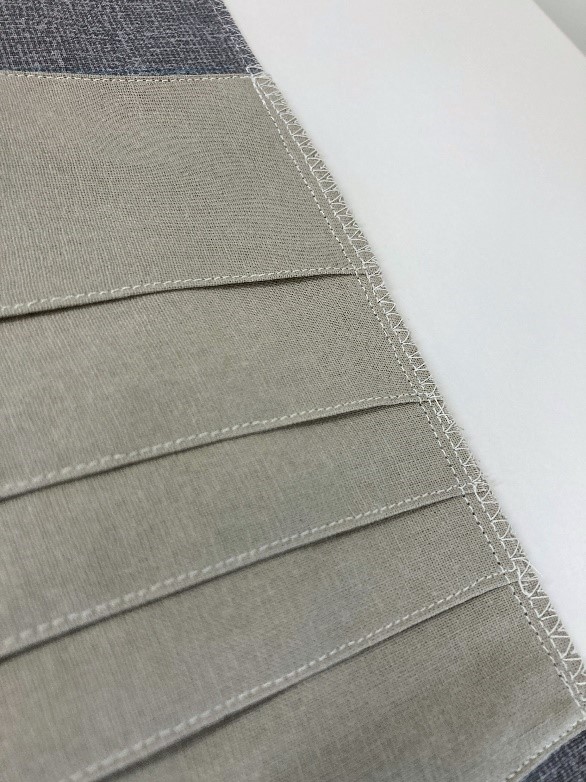
3. Fold the 2” folds inward again. Next, make a series of 3 accordion style folds to create the center pocket pleats. Again, if you are working with a fabric that has a right and wrong side, you can still create the pleats using the printed side of the fabric you just have to manipulate your folding to achieve the pleats so that only the right side of the fabric is showing.
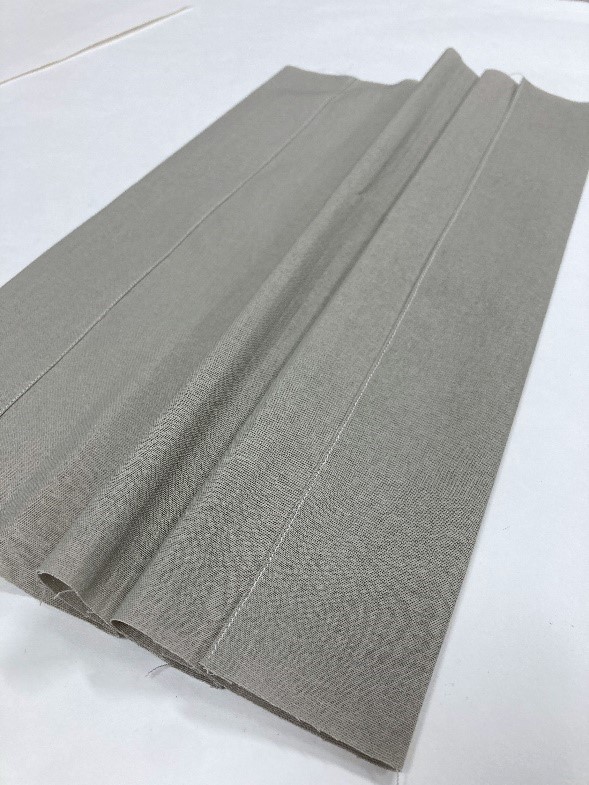
Ideally, you want your folded fabric to measure 5 ½” wide.
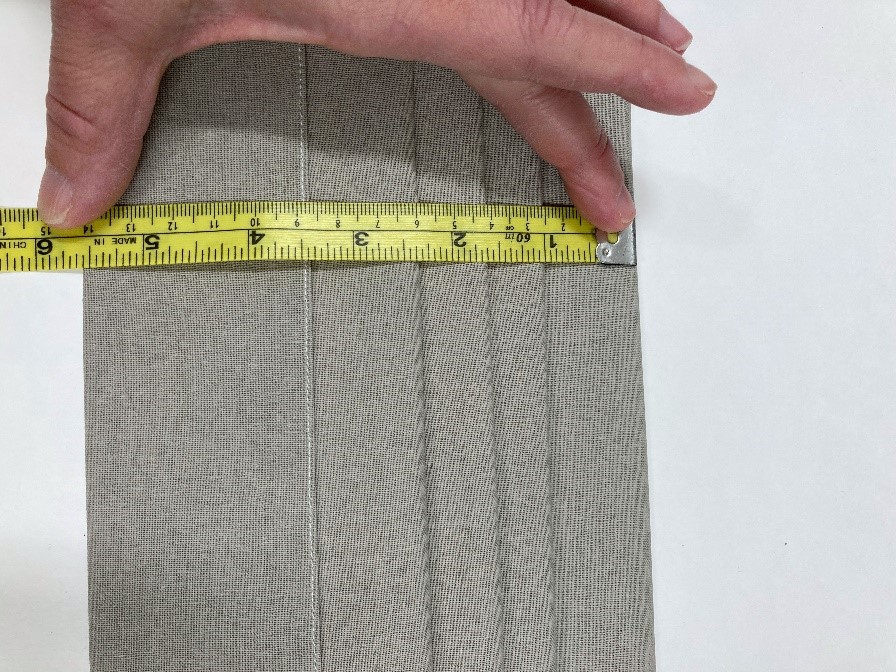
Each of the folds can vary in depth from 2” to 1” the choice is yours. More than 2” creates a deeper pocket but you might find anything less than 1” creates a pocket that is too shallow.
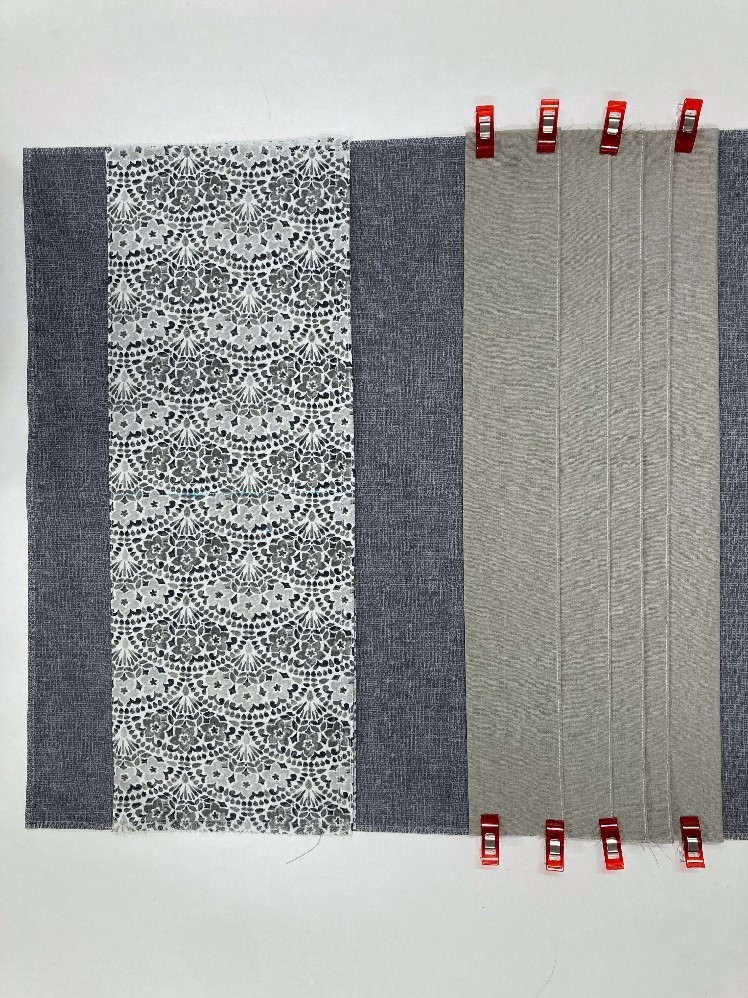
4. Once you are happy with your folded pleats, press them carefully on the front and backsides. Take time to make sure they are even and straight.
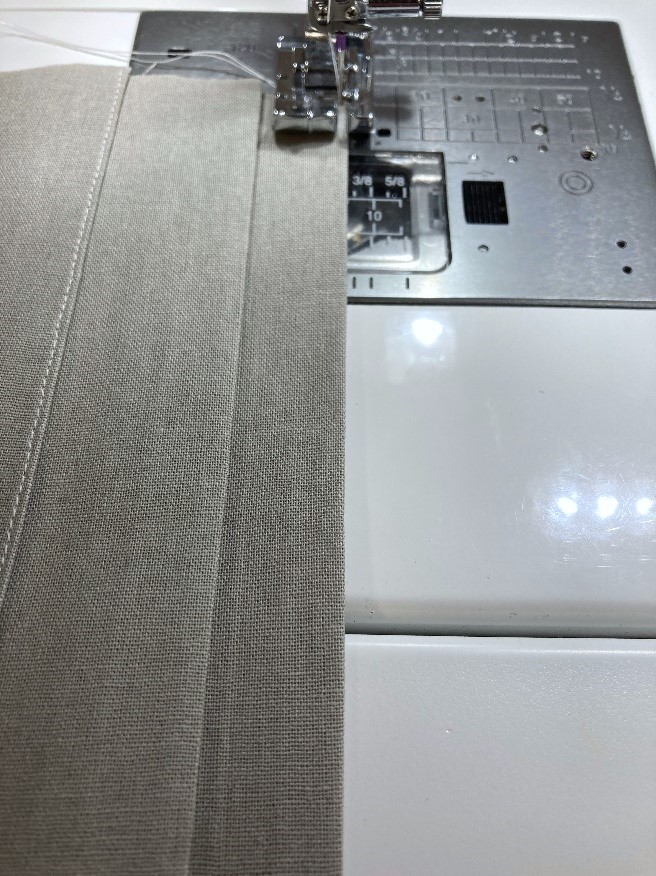
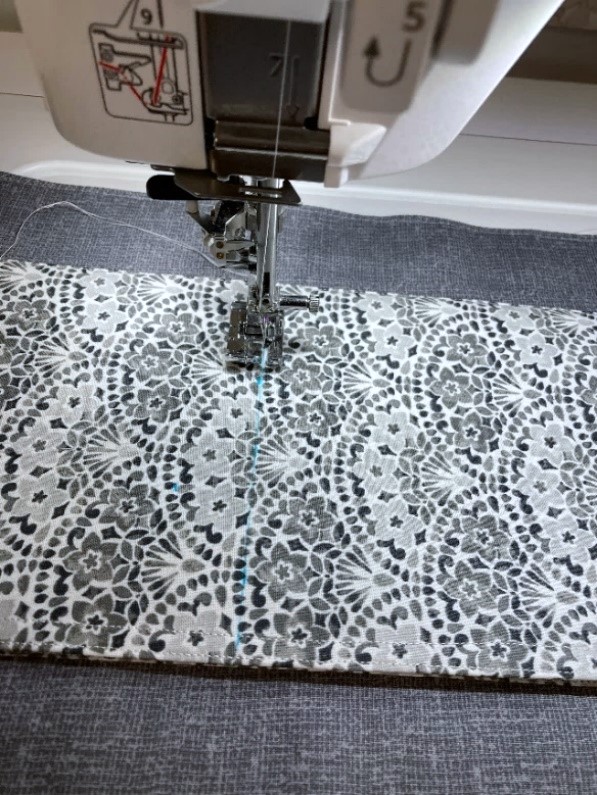
5. Next, for each of the 3 center pleats, unfold one pleat at a time and edge stitch each pleat. Do not edge stitch the top pleat at this time. To prevent unraveling, use an overedge stitch or serge the edges of both sides of the pocket or do this step when attaching the pocket to the background fabric later.
PART 5 – Attaching the Pockets to the Background Fabric:
- On the front side of the shorter edge of the background fabric, measure 2” up from the bottom and mark a reference line. Place the folded edge of the of the bottom pocket you prepared earlier on the 2” marked line.
2. With the bottom pocket positioned on the background fabric, pin and/or use clips to secure the pocket in place. Take time to line up the side edges of the pocket with the sides of the background fabric. Edge stitch the bottom of the pocket along the 2” marked line.
3. Open the pocket up and edge stitch the upper edge of the ½” fold to secure it to the background fabric.
4. Sew a ¼” in on both of the side edges of the pocket securing it to the background fabric.
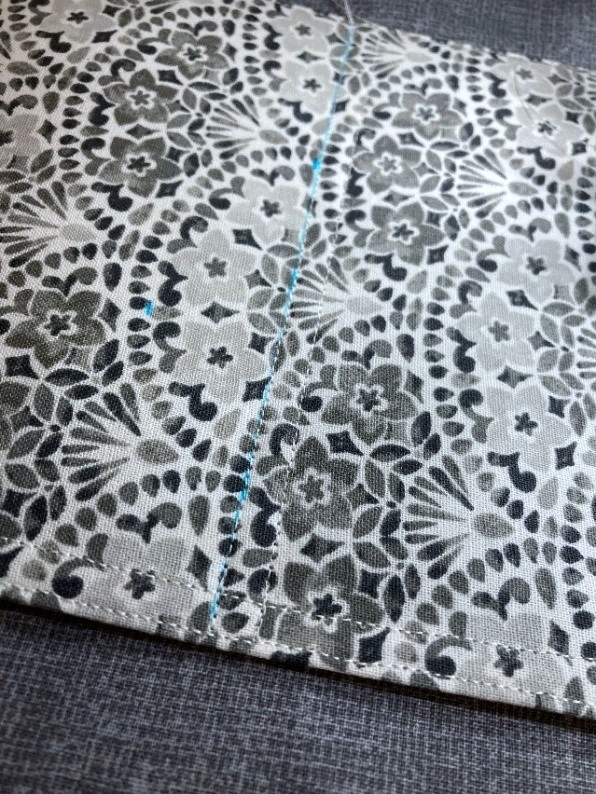
5. To create the dual pocket center seam. Using the center reference line marked on the pocket, stitch two parallel lines of stitching ¼” apart. Back tack at start and end.
6. To attach the pleated pocket to the background fabric. Measure and mark a reference line 2 ½” up from the top edge of the bottom pocket.
7. Position the bottom of the pleated pocket on the marked reference line and secure it to the background fabric using clips and/or pins. Note: Make sure to attach the pocket with the pleats facing up.
8. Edge stitch the bottom and top pleats to secure the pleated pocket to the background fabric.
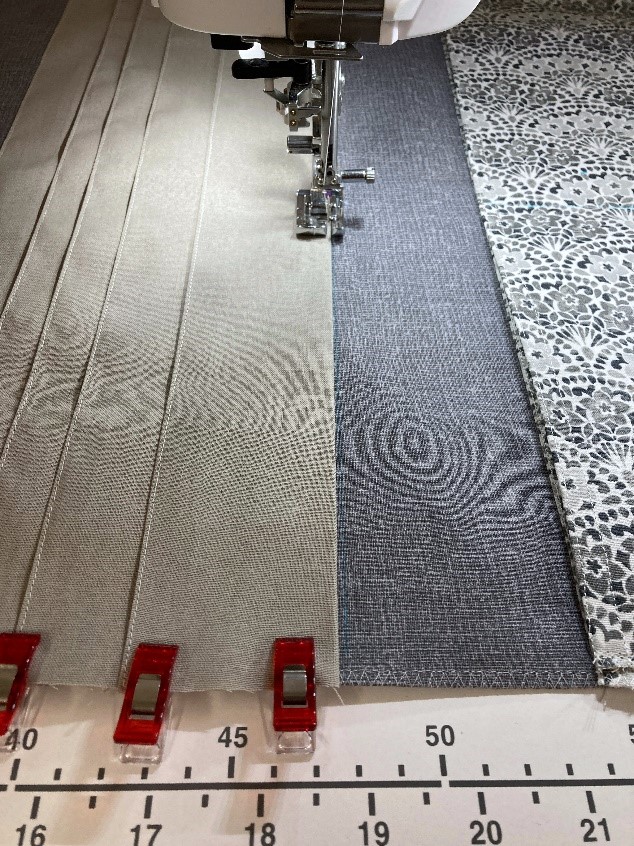
9. Next, sew a ¼” in on both of the side edges of the pocket to secure it to the background fabric. Note: If you haven’t already overedge stitched or serged the edges of this pocket previously, do so now. This will prevent the fabric from unraveling.
PART 6 – Attaching the Fabric Covering to the Board:
- Lay the fabric coving face down with the pockets facing up. Lay the framed canvas face down centered on the fabric covering. Measure to make sure it is centered on all four sides. Note: Disregard the pieced seams you may notice in this image, this was a practice sample. Your fabric covering will not have pieced seams.
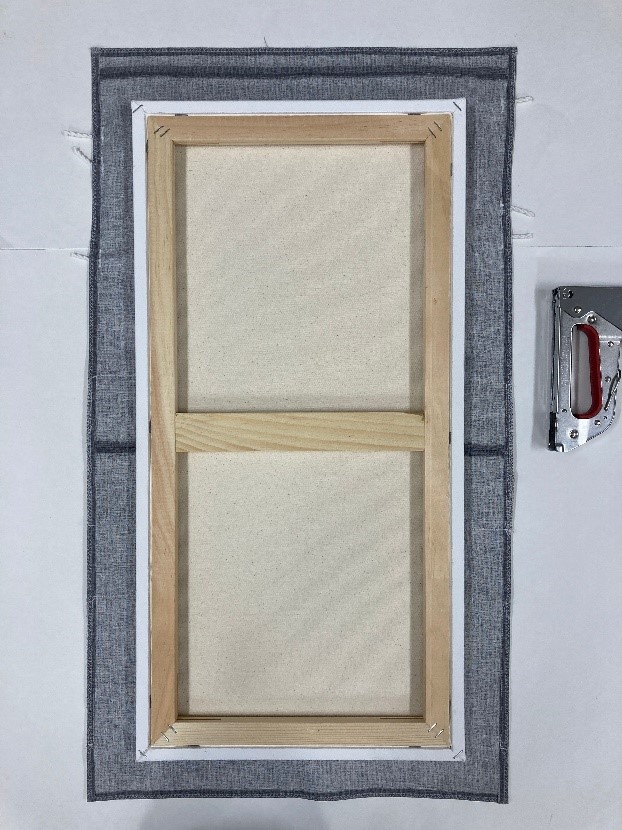
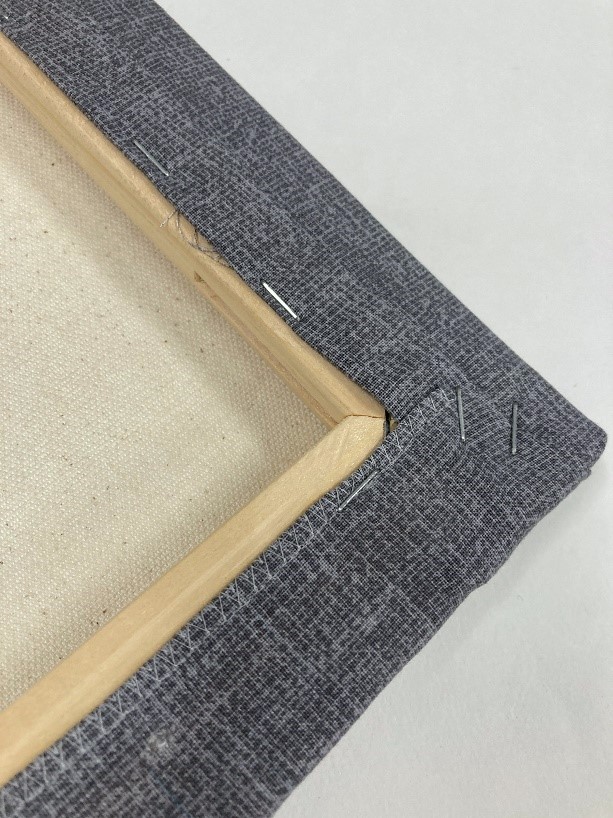
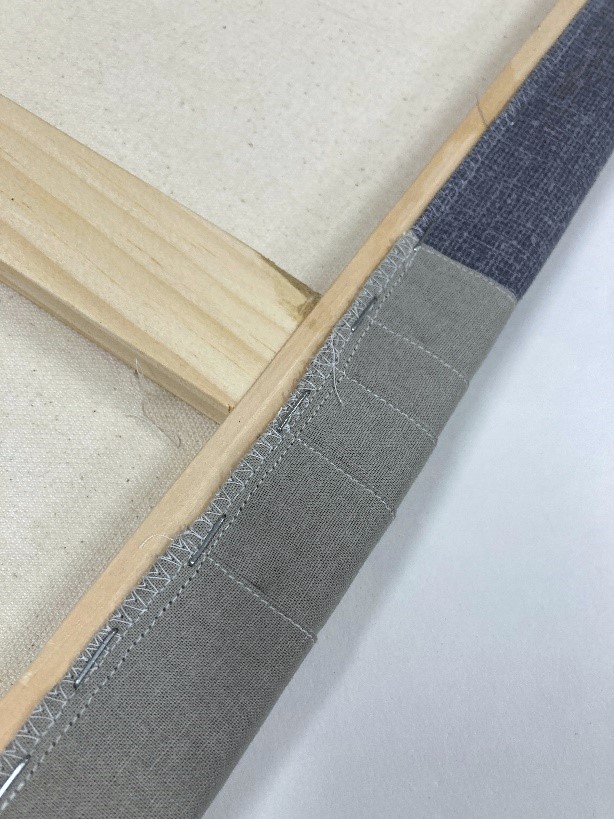
2. Next, run a very thin bead of fabric glue down the longer sides of the back edges of the canvas, then fold the fabric covering over the edges to glue down, securing the edges to the wooden frame. To prevent wrinkles and puckers on the front side, gently tug on the fabric while wrapping the edges so that the fabric is pulled fairly tight. Then using a staple gun and working from the center of an edge outward, staple the edges in place. Check for any wrinkles on the frontside throughout this entire step and adjust where necessary. Treat the corners like you are wrapping a gift, carefully tuck the fabric to create neat corner folds, use glue and staples to secure the corners. For extra security, I used a few more staples for the extra layers of fabric where the pockets are positioned.
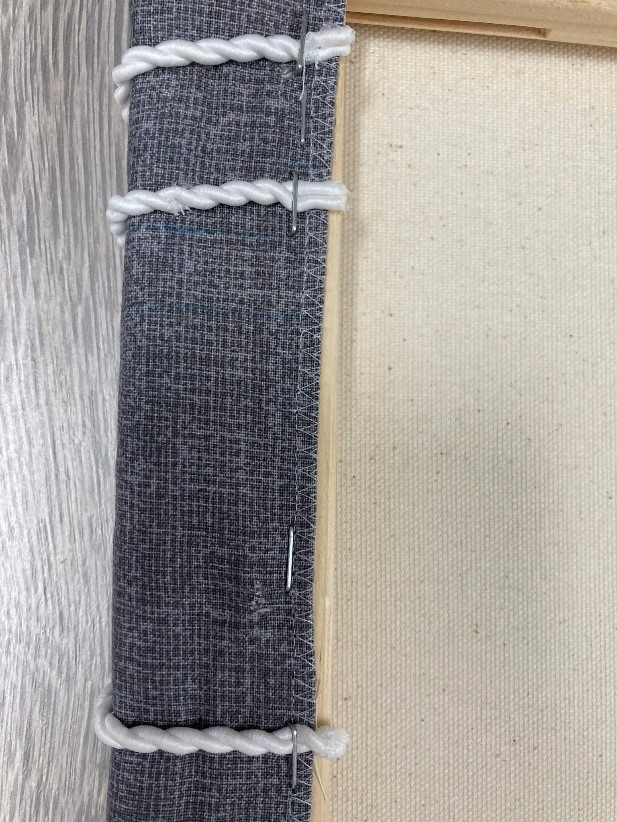
3. Once your Memo board is complete, cut some pieces of decorative trim or rope ribbon a few inches longer then the width of the board. Starting at approximately 1 ½” down from top of your board, wrap the first piece of trim around the board, gently pulling it tight and stapling it to the backside of the board. Do the same for the remaining pieces of trim. Trim away any excess ribbon. To create angles using your trim, vary the start and end position of for each piece of trim and staple accordingly.
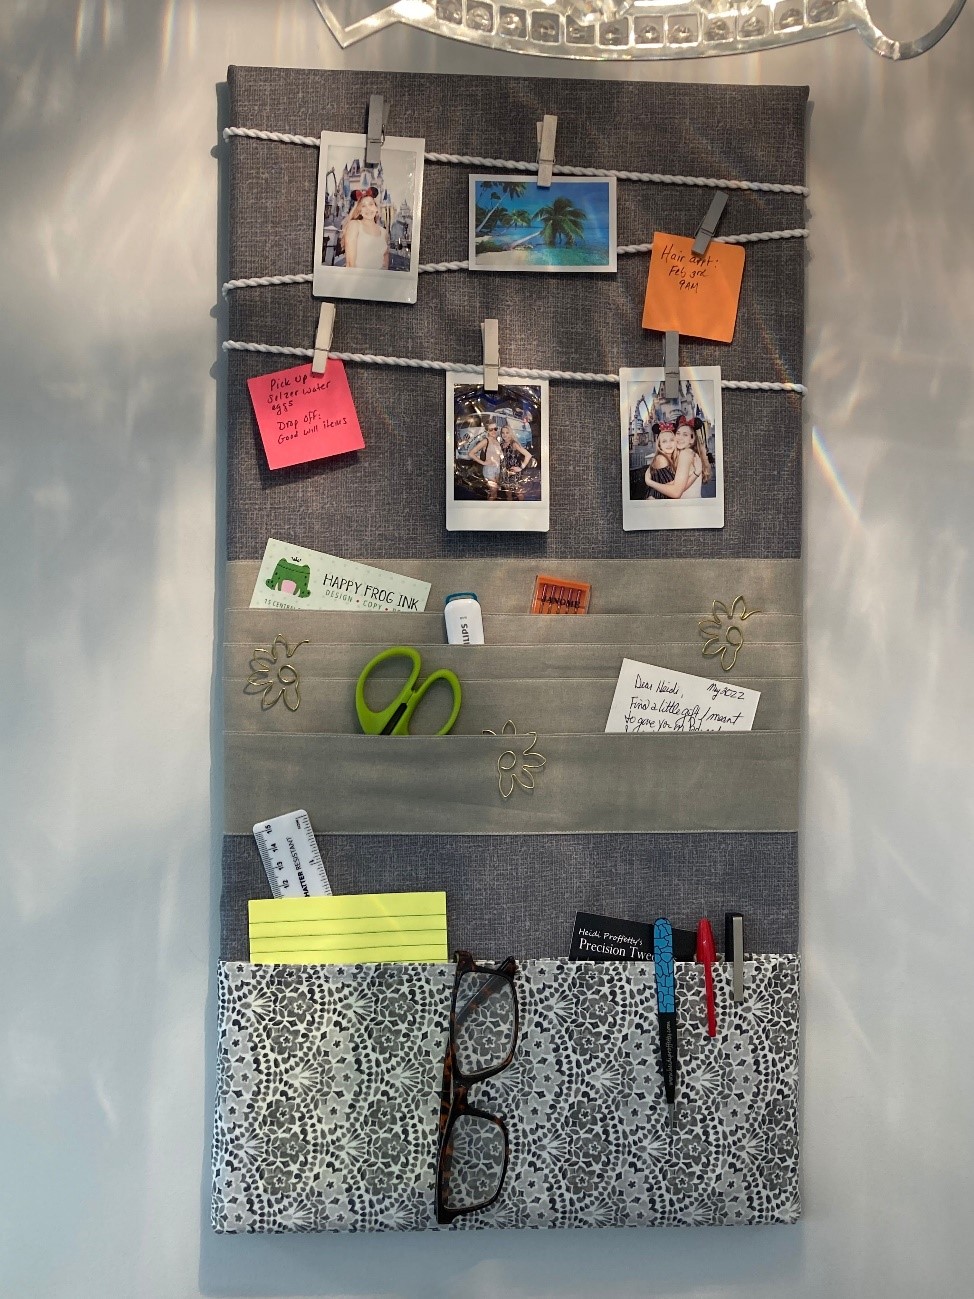
A new year means a fresh start… why not start out the new year off right organizing and displaying those littler items by sewing your own pretty and functional memento\memo board project!
Heidi