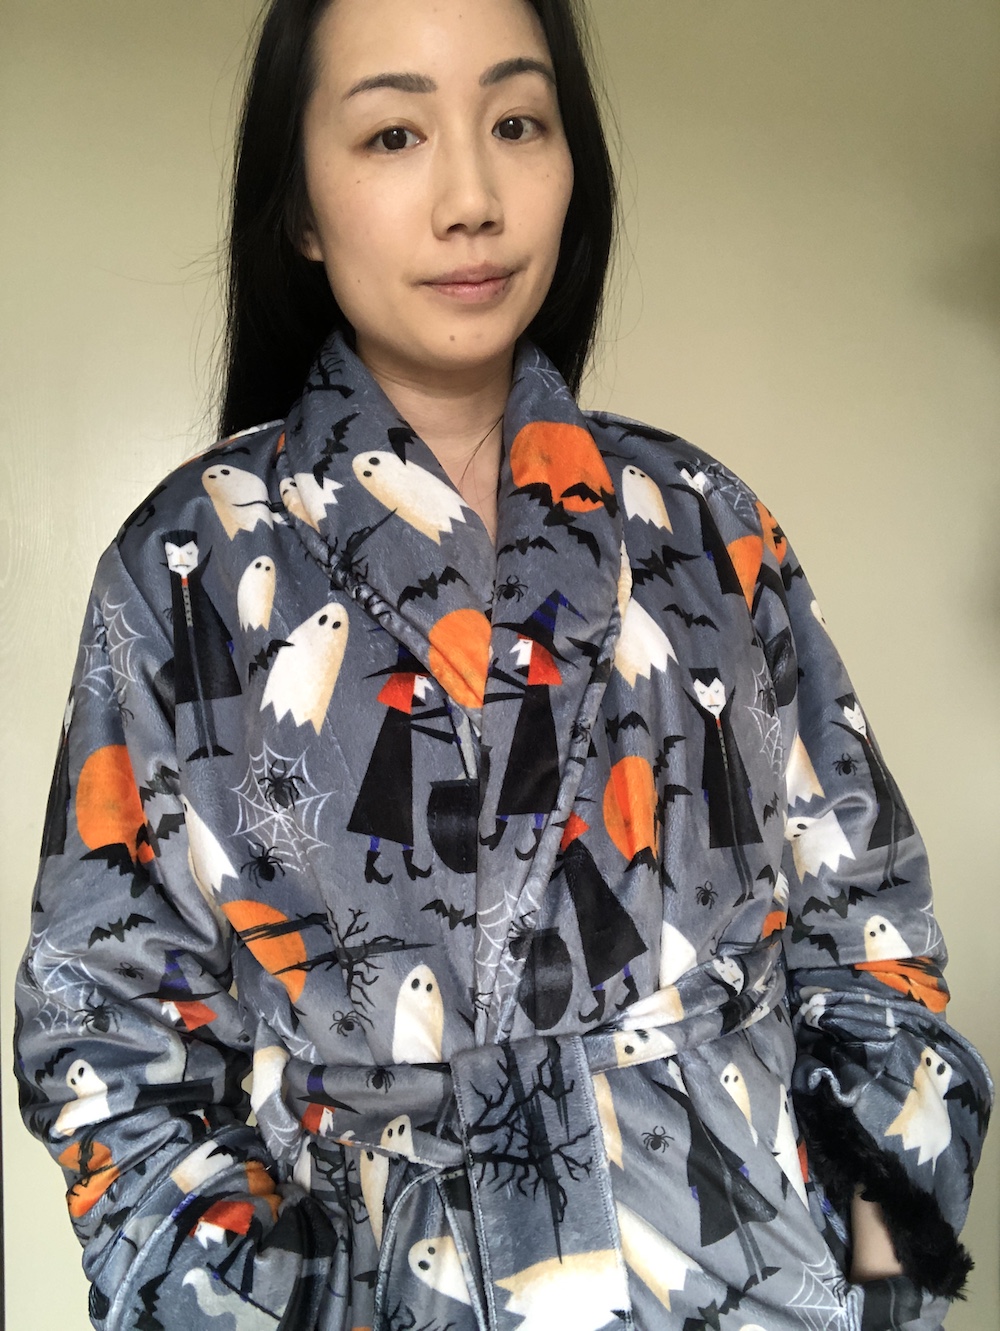
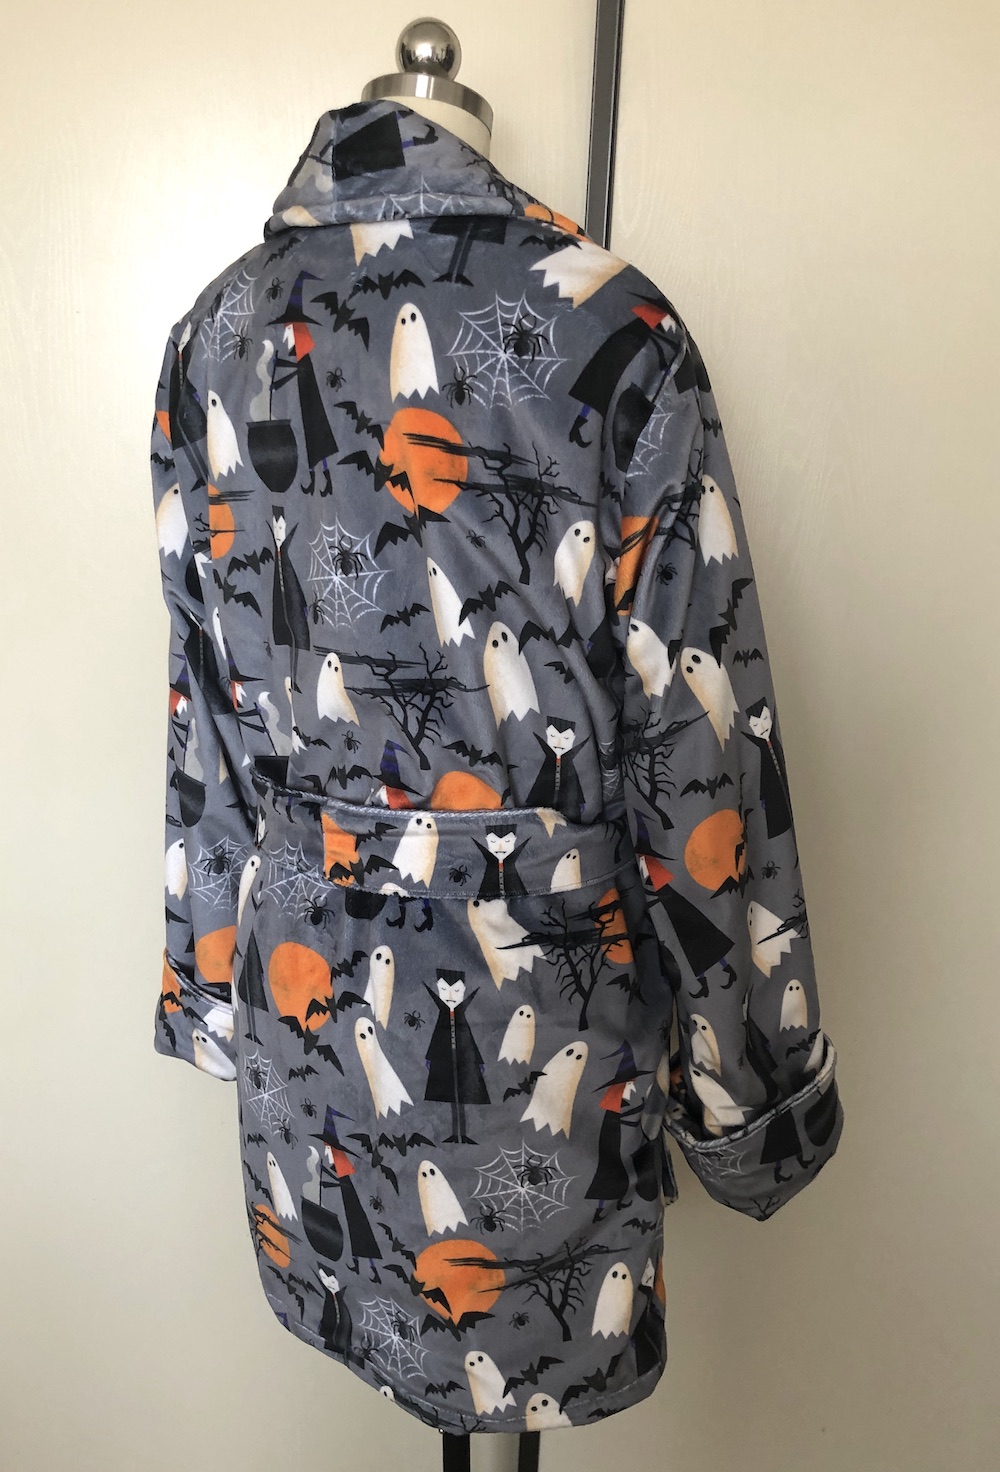
Does your winter wardrobe include a cozy robe? This robe created by Janome Maker Vivien Lee from Fresh Fripperyis the must sew project of the season to keep you toasty warm during the cold winter months! It is a fabric hug! What could be better than a fabric hug?
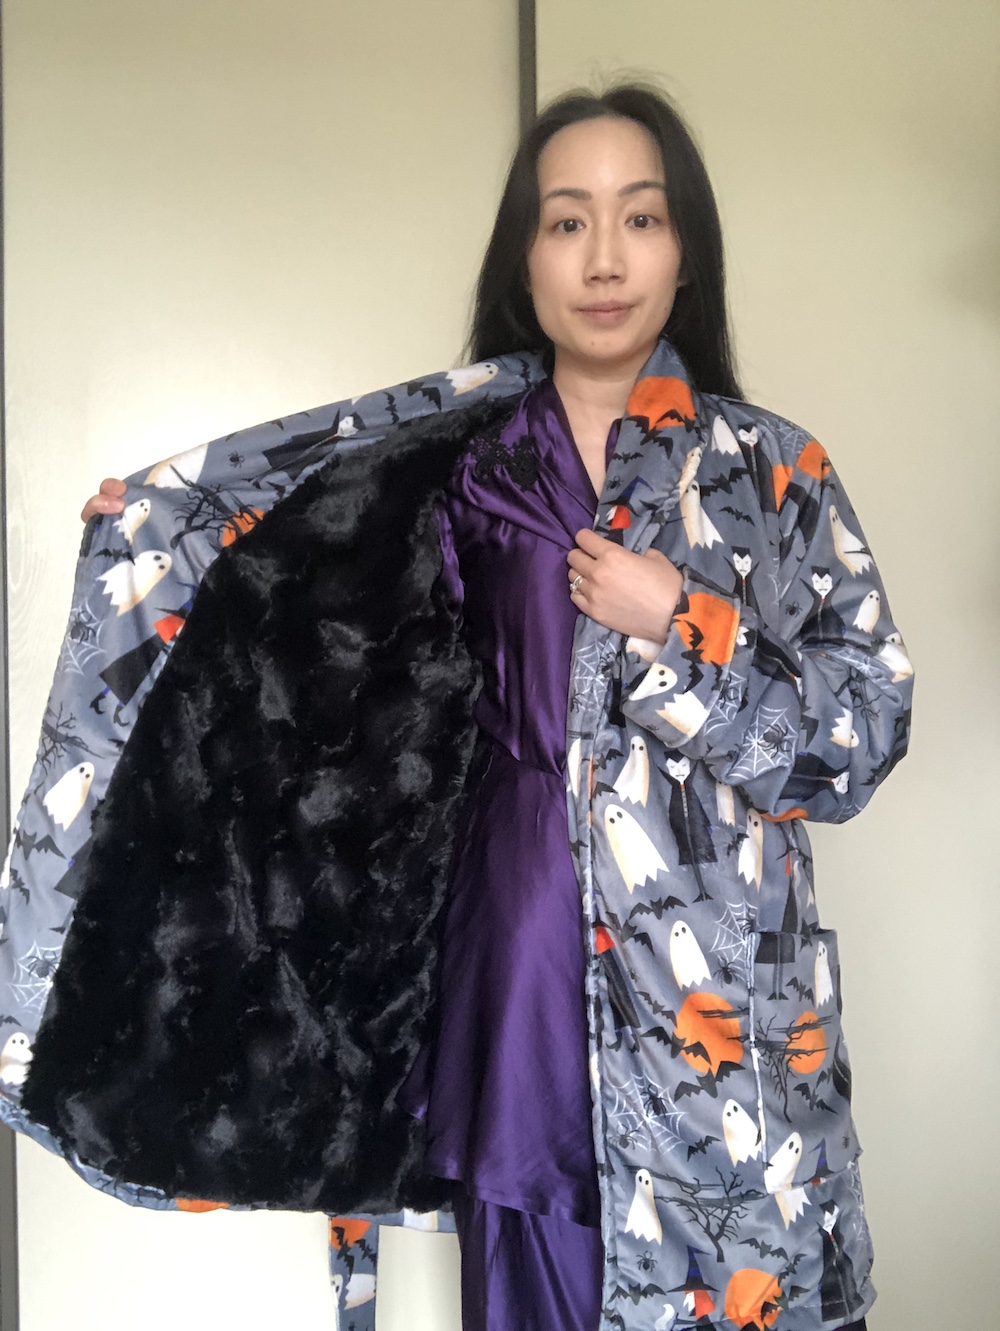
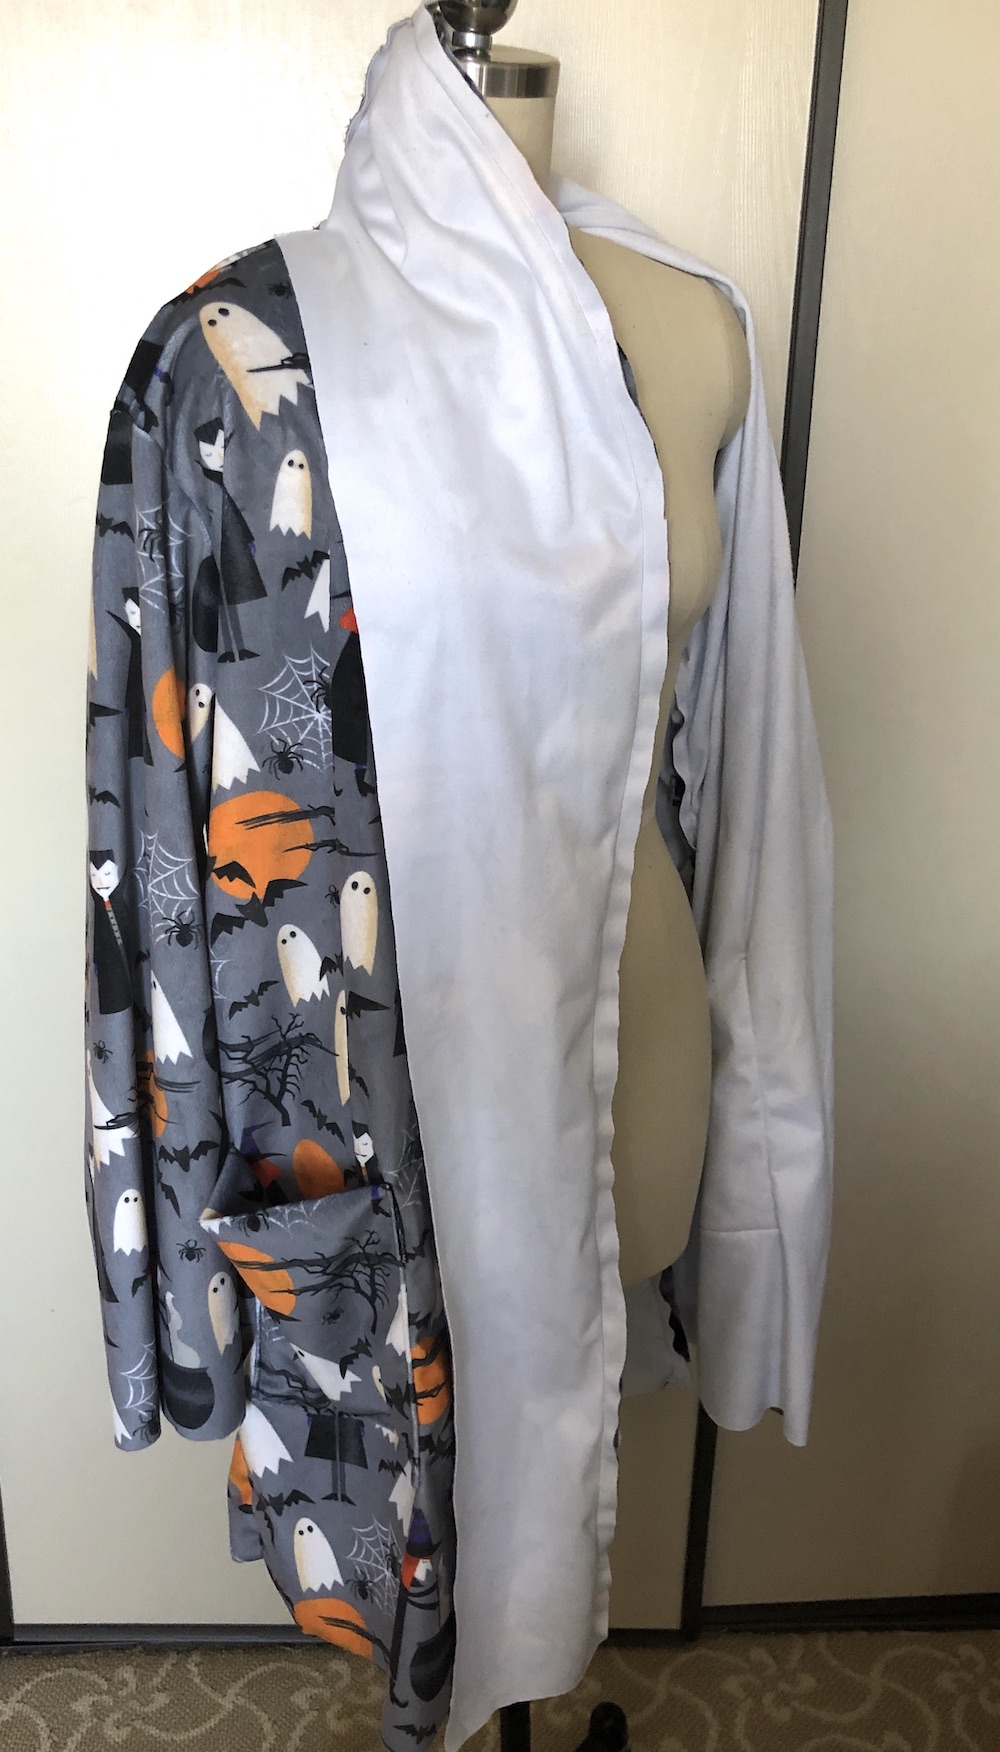
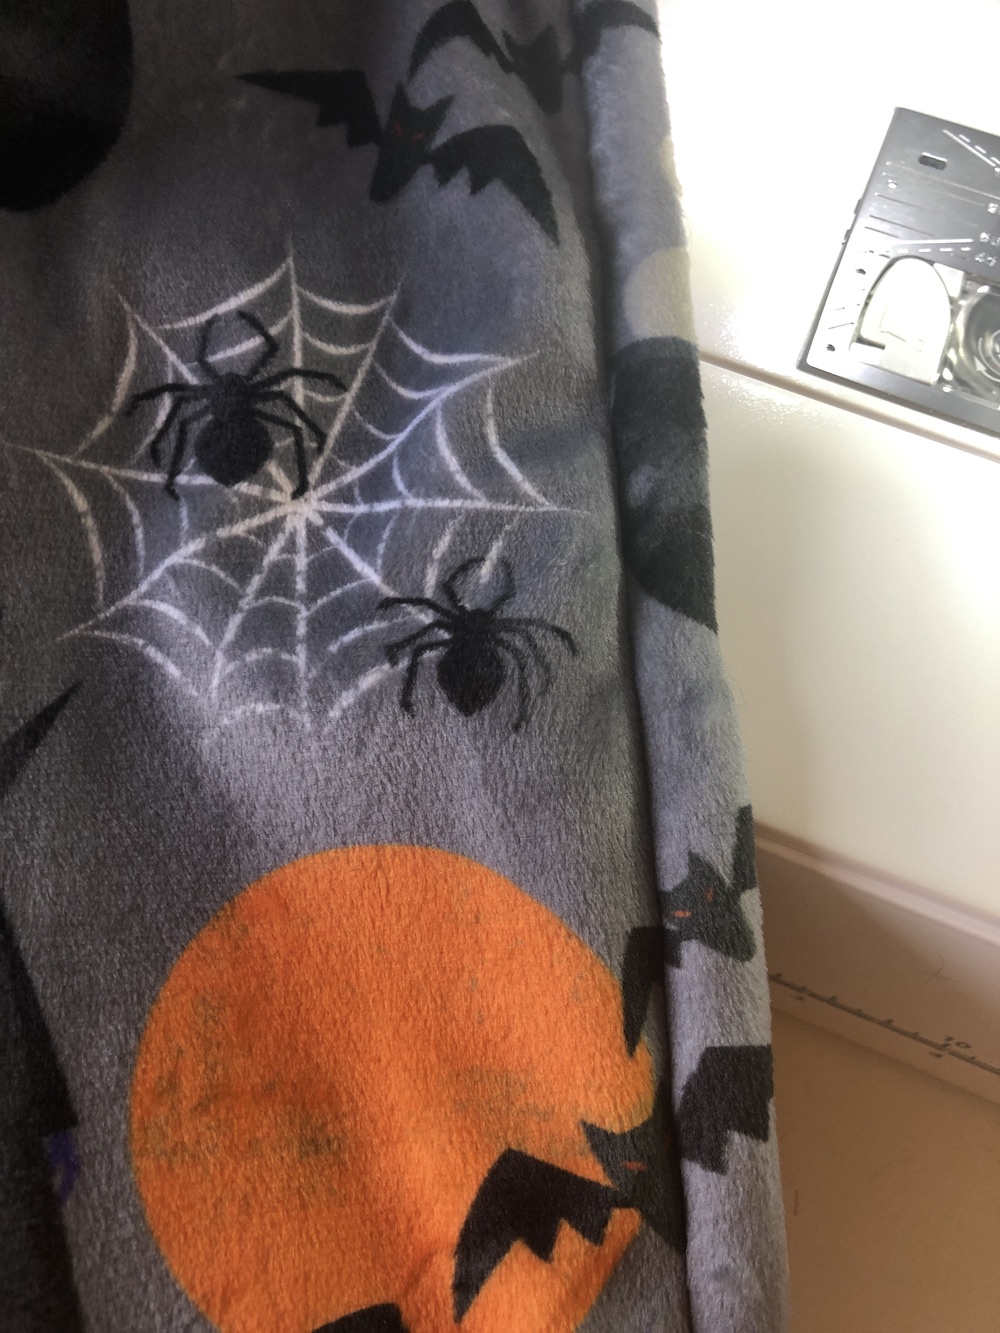
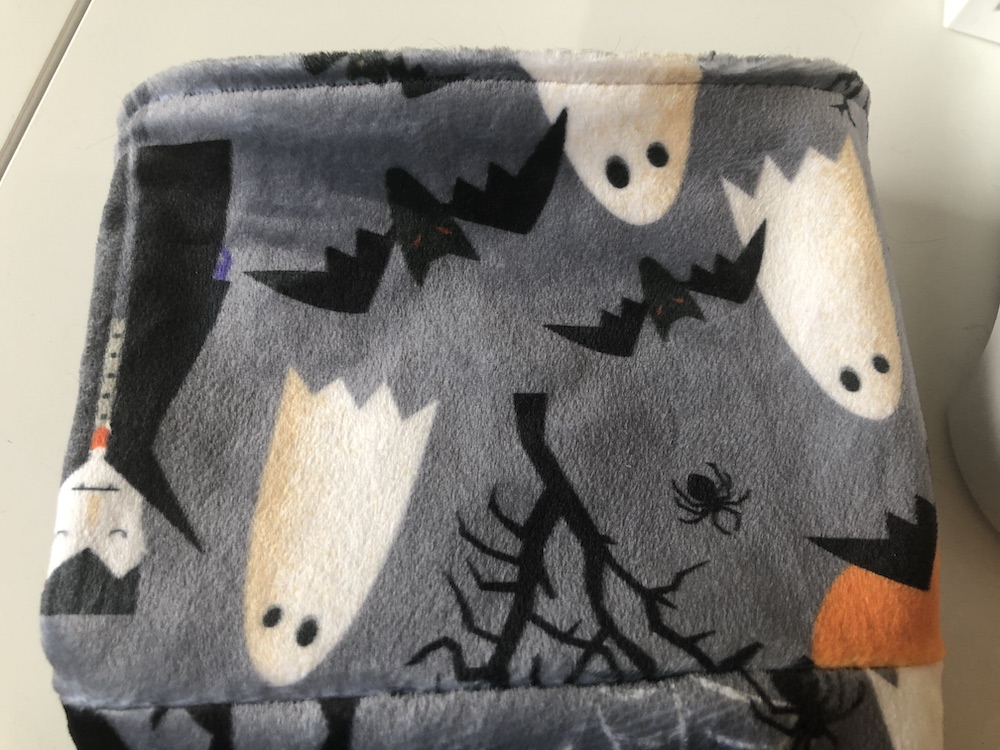
Tutorial for Cozy Halloween Robe Made with Cuddle Minky Fabric As someone who loves both fall and Halloween it is the perfect time of year for me to make a cozy robe made of super soft Cuddle minky fabric using my Janome Skyline S9. The print I chose is called "Eye of Newt" by Shannon Fabrics. A lot of robes are only a single layer but I wanted to have mine lined with plush fabric for extra warmth and luxury. I used "Luxe Cuddle Glacier" (a textured black minky fabric) for my lining.

Note: I am a member of the Janome Maker program and this skirt is sewn on a Janome Skyline S9. (This post is sponsored by Janome but all content and opinions are mine). All the fabric was gifted by Shannon Fabrics.
Please read through all instructions before starting projects. Please note that there are numbers without instruction, it is a technical issue and not misssing steps.
WHAT YOU WILL NEED (exact amounts depend on your measurements and the width of your fabric):
- 4 or more yards of 58-60 inch wide fashion fabric (minky or fleece fabric)
- 2 or more yards of 58-60 inch wide lining (more minky for extra softness, or a non-minky fabric if you want a lighter robe)
- thread, elastic, pins, scissors, chalk, etc.
PATTERN: Any wrap robe pattern with a shawl collar can be used as a base. I adapted Butterick 6837 view A with modifications in order to turn it into a lined robe. I used this pattern because I already had it on hand from making PJ bottoms for my family, but if you use this pattern you may want to make these same changes:
- Keep in mind this pattern runs large and you should size down unless you have broad shoulders or a large torso.
- I added a lining, which the pattern does not include instructions for, so my construction methods are adapted for that.
- I shortened the robe to make it knee-length instead of calf-length.
- The belt loops and pockets are very large and the recommended placement on the pattern is too low.
- Since this robe is lined, it is not necessary to cut separate collar pattern pieces because the robe fronts already have the under collar attached, and you will cut out collar facings.
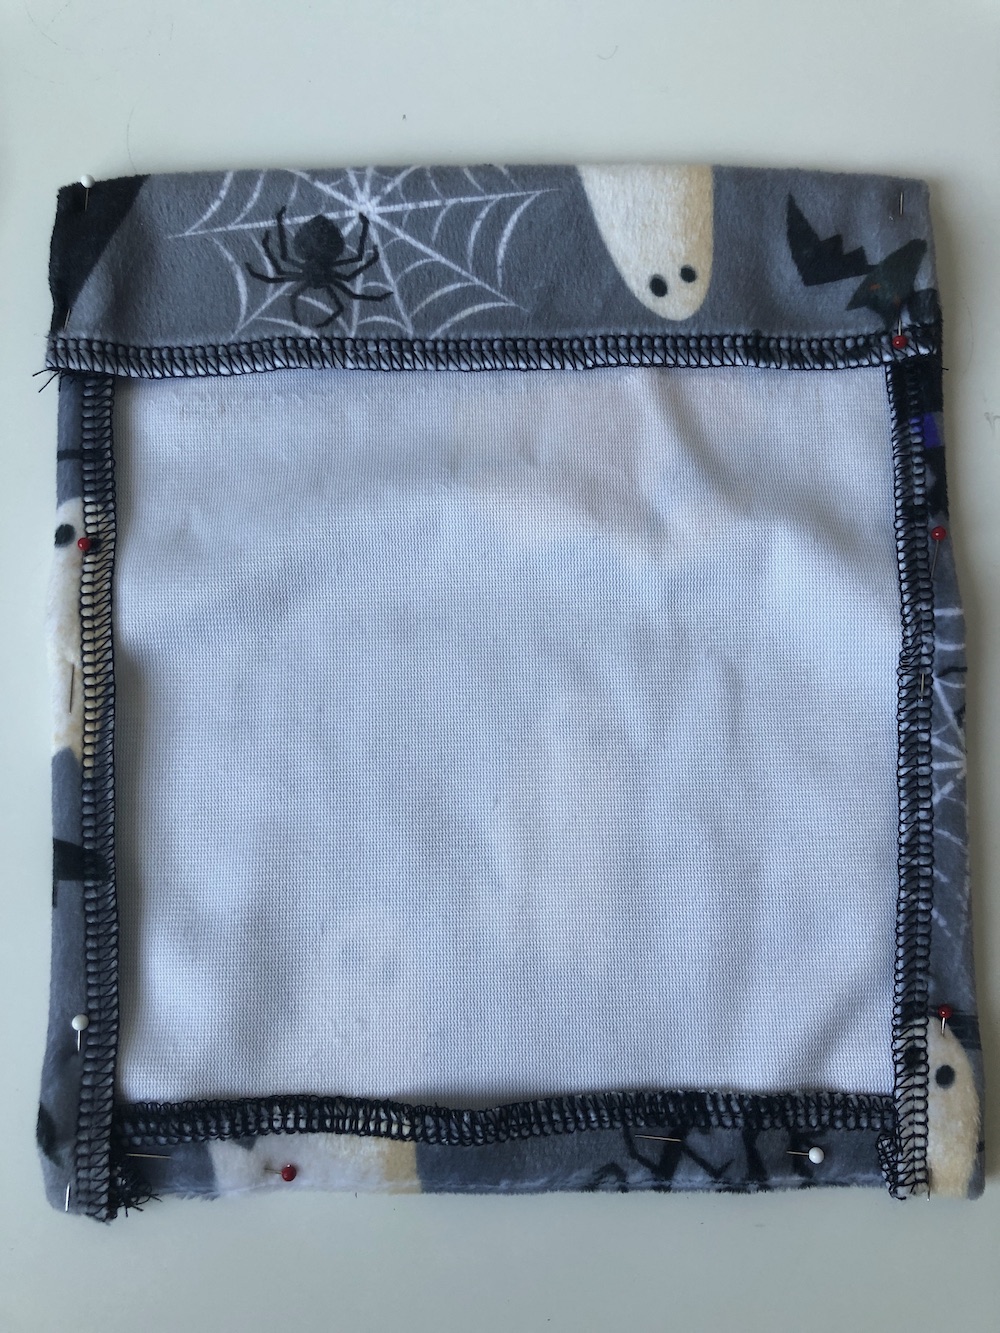
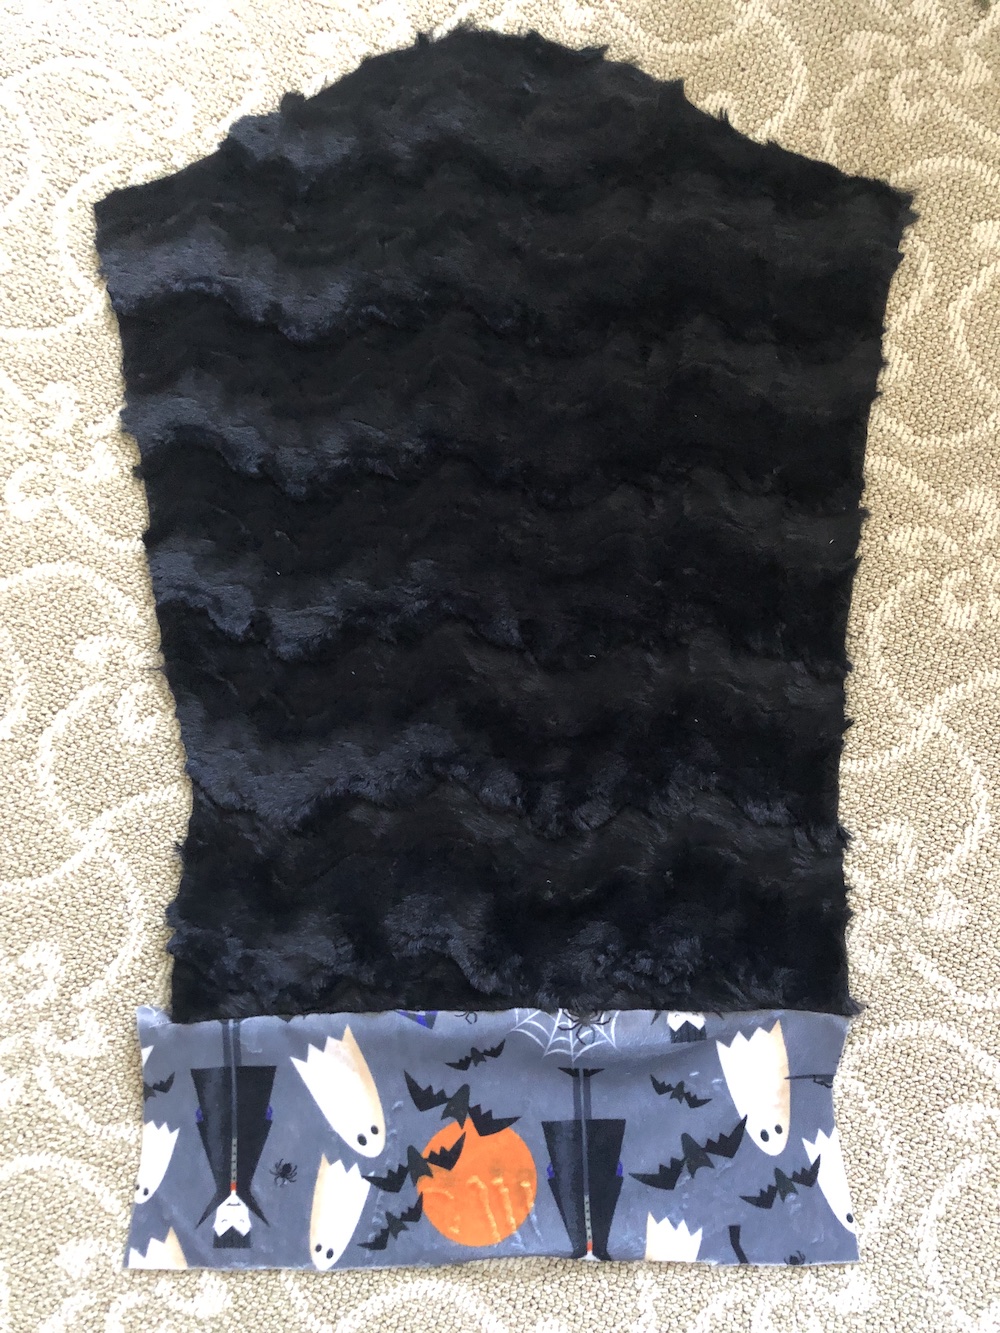
CUT OUT THESE PIECES OF FABRIC: Robe (out of your fashion fabric): 2 fronts, 1 back, 2 collar facings, 2 sleeves, 2 sleeve cuffs, 2 sleeve facings, 2 pockets, 2 belt loops, and 1 belt Lining (out of your solid fabric): 2 fronts, 1 back, 2 sleeves FABRIC PREP: Wash and dry your fabric before cutting and sewing. (Cuddle minky can be machine-washed on gentle in cold water, and then dried on low heat). Serge all sides of the pockets. The rest of the pieces do not need to be serged because raw seams will be hidden by the lining or turned inside (like the belt). CONSTRUCTION OF THE ROBE FASHION LAYER:
- Make the belt loops by cutting out two rectangles that are 5 inches by 3 inches. You will make a tube by folding the right sides together lengthwise, stitching it down, and then turning right side out. (Alternatively, you could make one long 10-inch tube and then cut it in half). Set aside.
- Sew the 2 fronts to the back at the shoulder seams. Do not sew the side seams yet.
- Sew one sleeve cuff to the bottom of each sleeve
- Sew the top of each sleeve to the shoulder where the front/back meets.

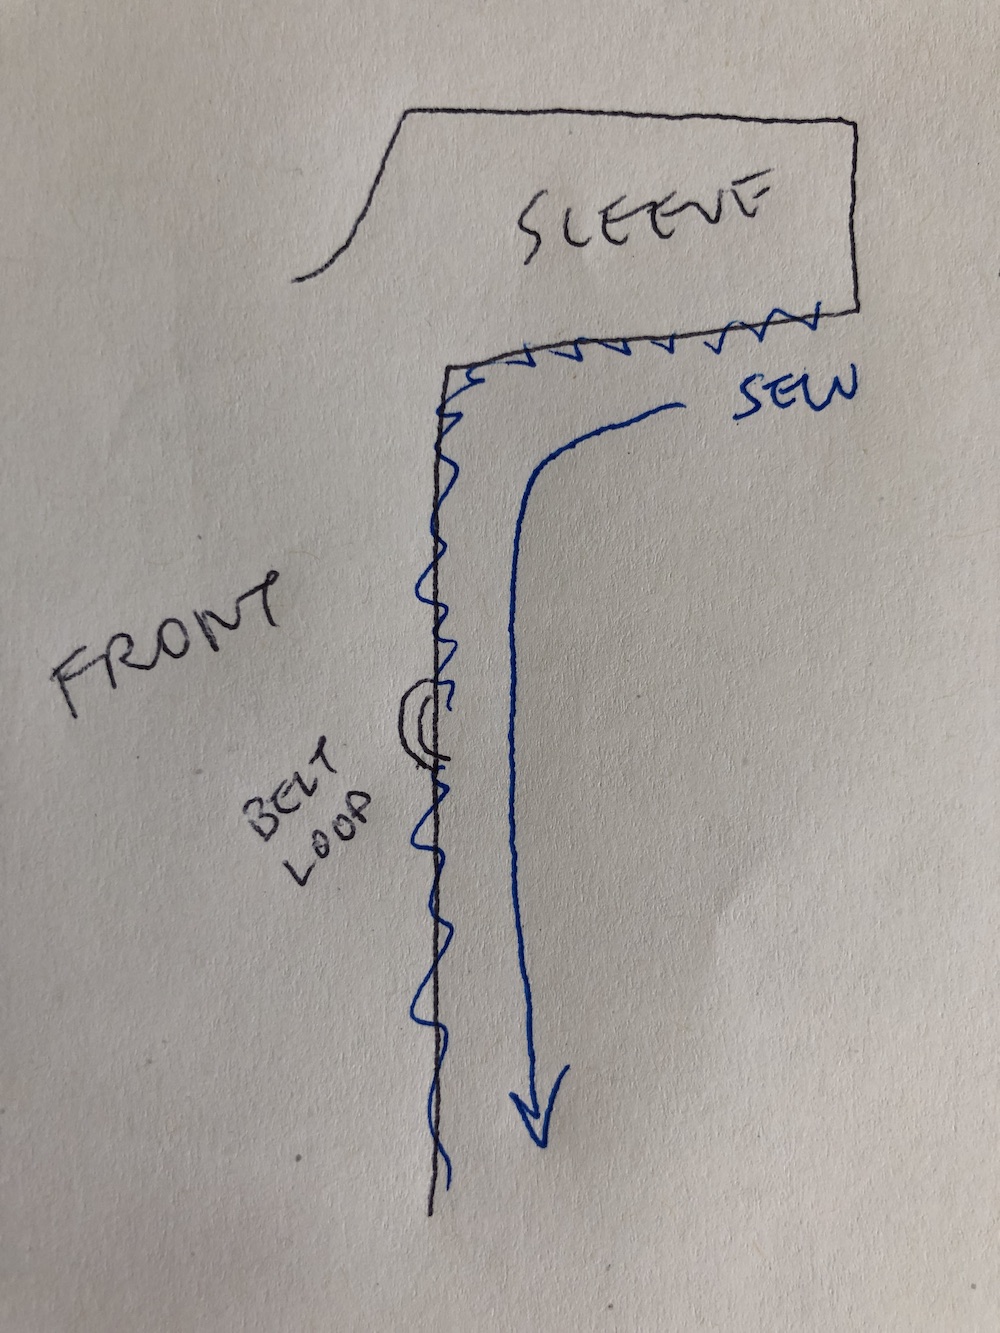
- Pin the side front to the side back (right sides together). Pin belt loops at waist level, sandwiching them between the front and back, with the unfinished ends inside the robe.
- Sew the sleeve seam and side seam shut as one long continuous seam, catching the belt loops as well. (The reason why you don't assemble the sleeves and top separately and then try to sew them together is so you don't need to carefully set the assembled sleeve into the armhole opening and try to make it fit).
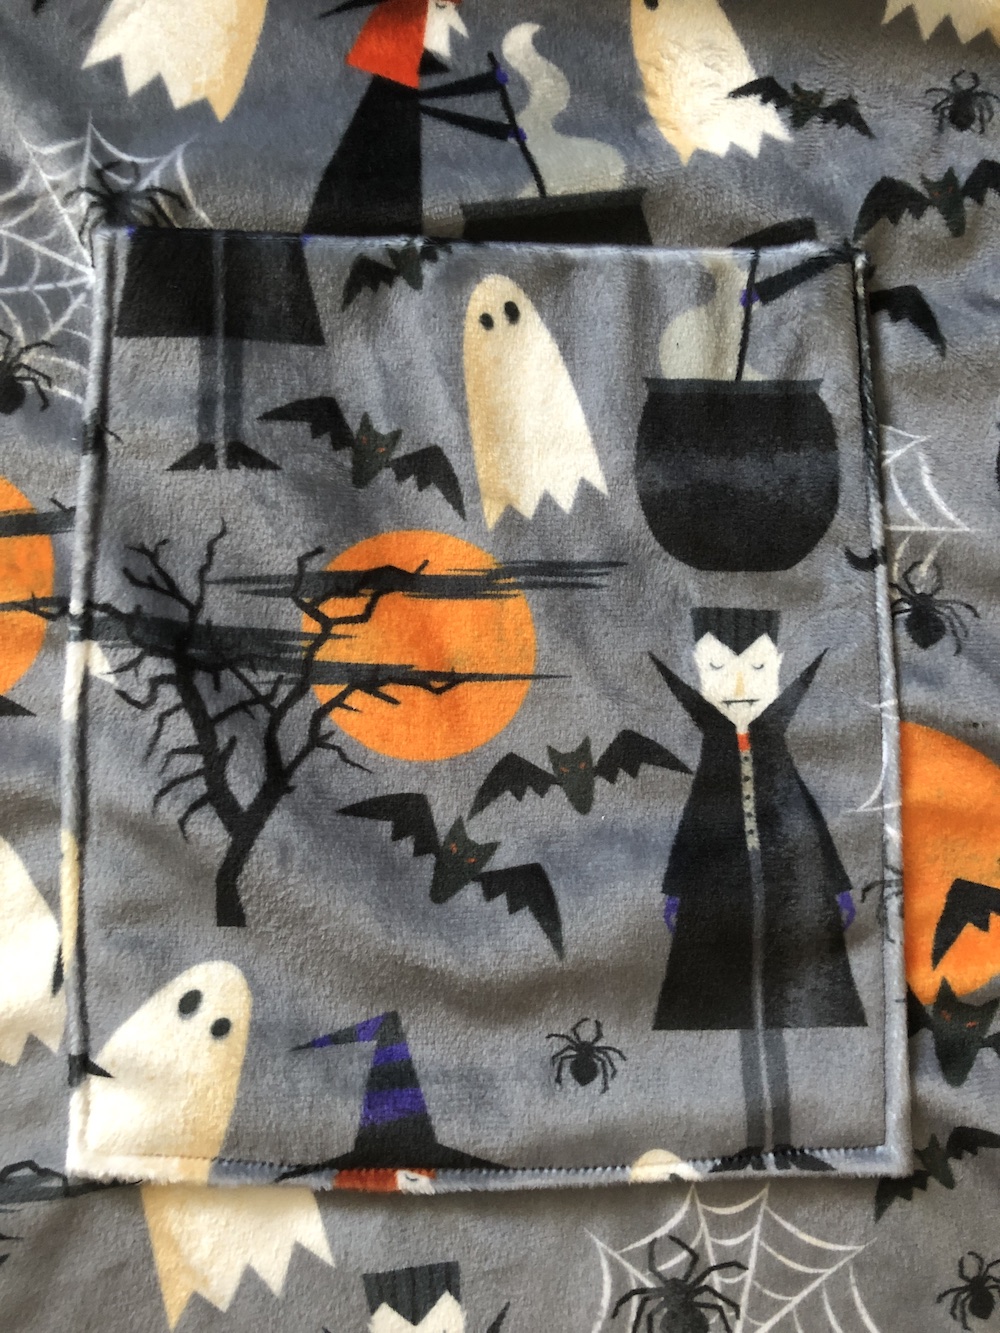
- To make the pockets fold all the edges of your pocket piece inwards, with the top part having a deeper fold. Pin the pocket to your robe fronts at the desired location (checking that they are at a comfortable level for your hands). Top-stitch the sides and bottom to sew the pocket into place.
- Stitch the two shawl collar facings at the center back seam. Then put the curved facing edge along the curved front edge and stitch together.
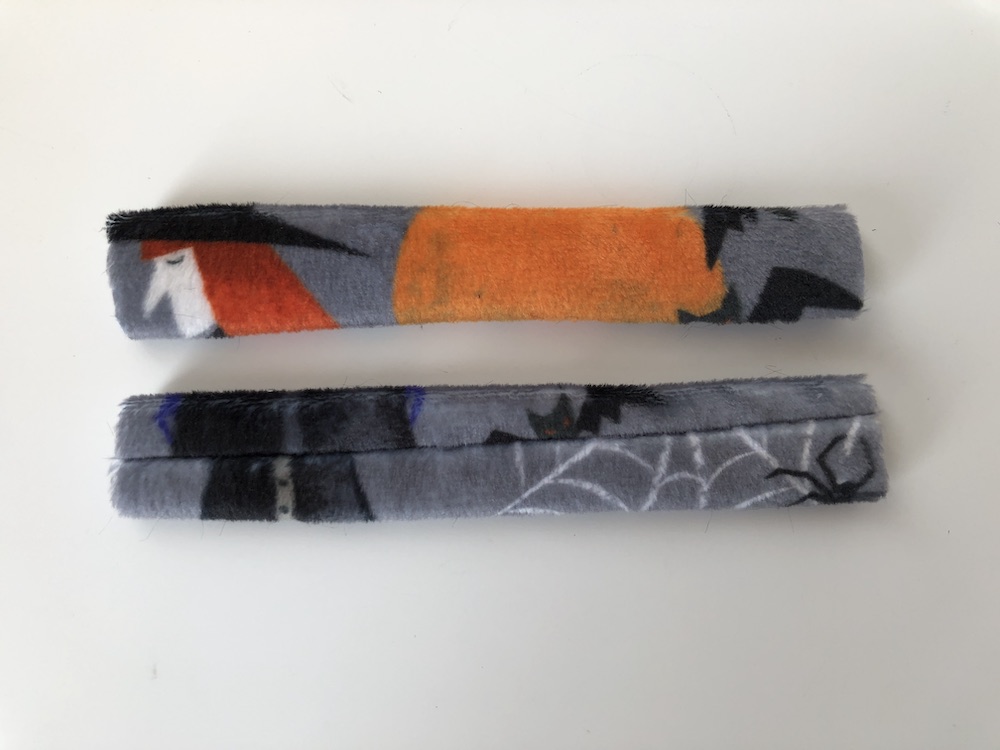
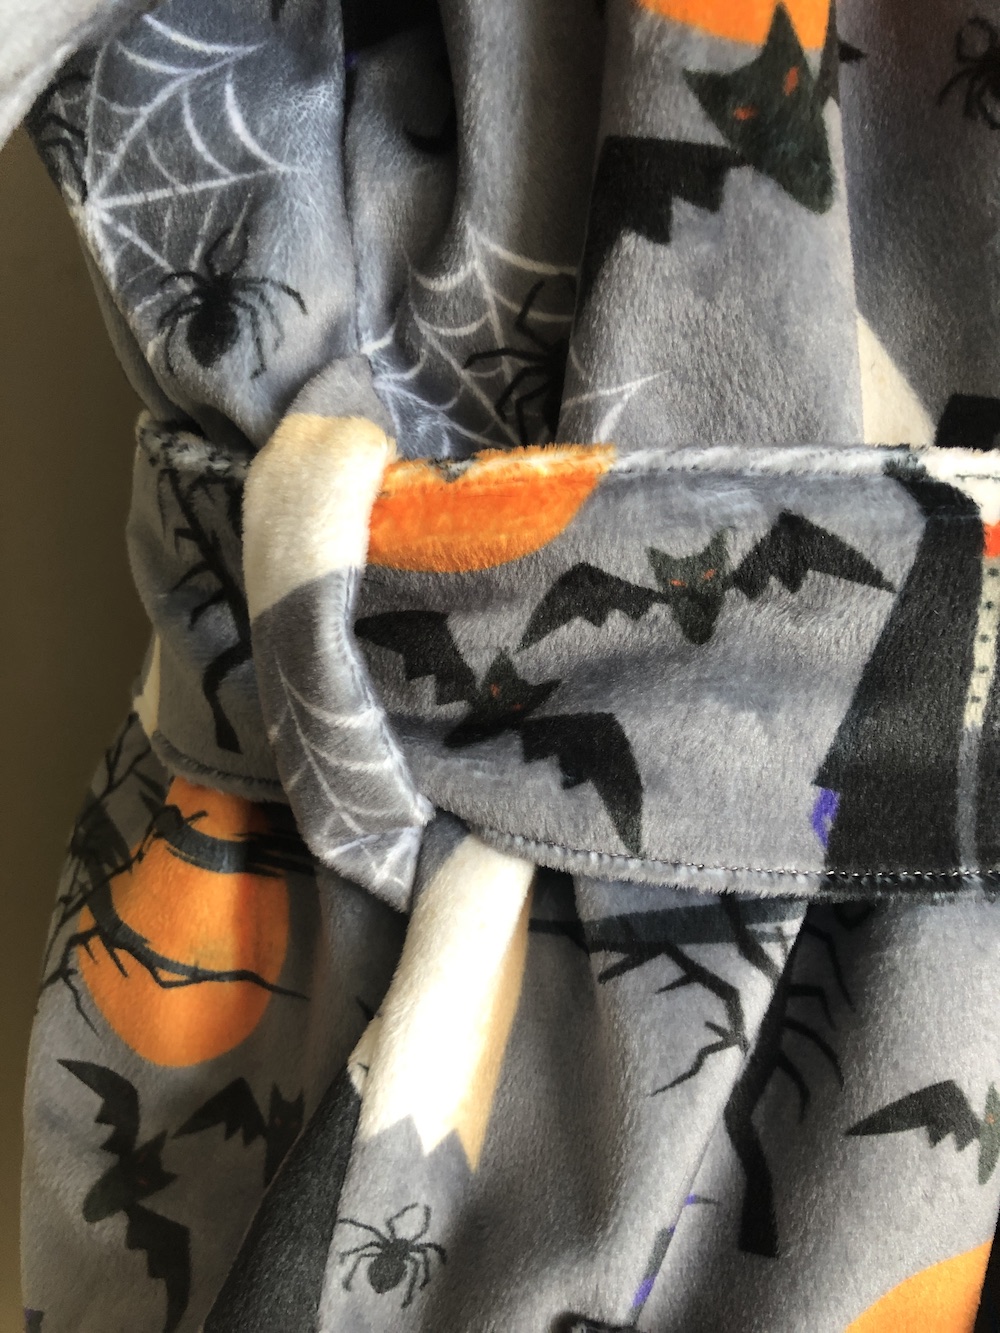
- To make the belt you will need to cut out a very long rectangle (78 inches x 5 inches) with diamond pointed ends. Fold the right sides together lengthwise and stitch all along the edges, leaving a 4-inch area unstitched towards the center of the belt. You will use this opening to pull the right sides out.
- After the belt is right side out, fold the raw edges in and pin the opening shut. Topstitch the opening closed, and continue to topstitch the entire perimeter of the belt. This will make the belt lie flat since the fabric is puffy. (See below for a comparison).

CONSTRUCTION OF THE LINING: The construction of the lining is very similar to that of the fashion fabric but you do not have pockets, belt loops, or the belt. You also need to note the directionality of the sleeve facing.
- Sew the 2 fronts to the back at the shoulder seams. Do not sew the side seams yet.
- Sew the sleeve facing to the bottom of the sleeve lining. If you have a print, sew the sleeve facing with the print upside down since it will be flipped up when the cuff is rolled.
- Sew the top of each sleeve to the shoulder where the front/back meets.
- Sew the sleeve seam and side seam shut as one long continuous seam (as seen in step 6 of the robe construction).
ASSEMBLY:
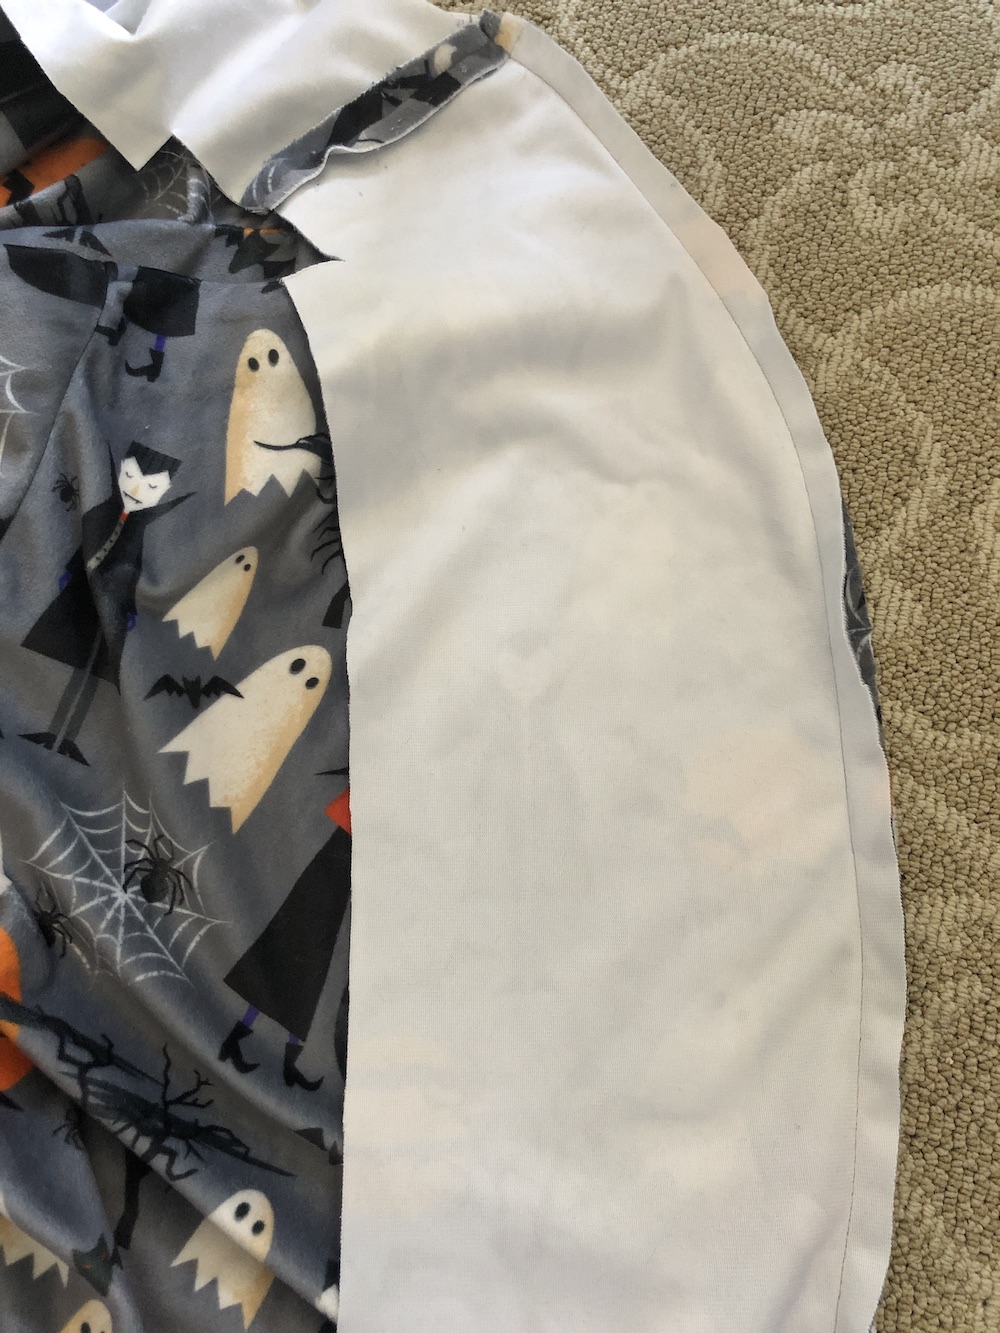
- Put the lining inside the robe fashion layer, wrong sides together. (Put the lining sleeve into the robe sleeve).
- Pin the curved edge of the lining front to the robe front, then sew them together. (Remember that the robe front is already attached to the collar facing, forming a sandwich consisting of collar facing, robe front, and lining. The right sides of the printed collar facing and fronts are together, while the wrong sides of the front and lining are together).
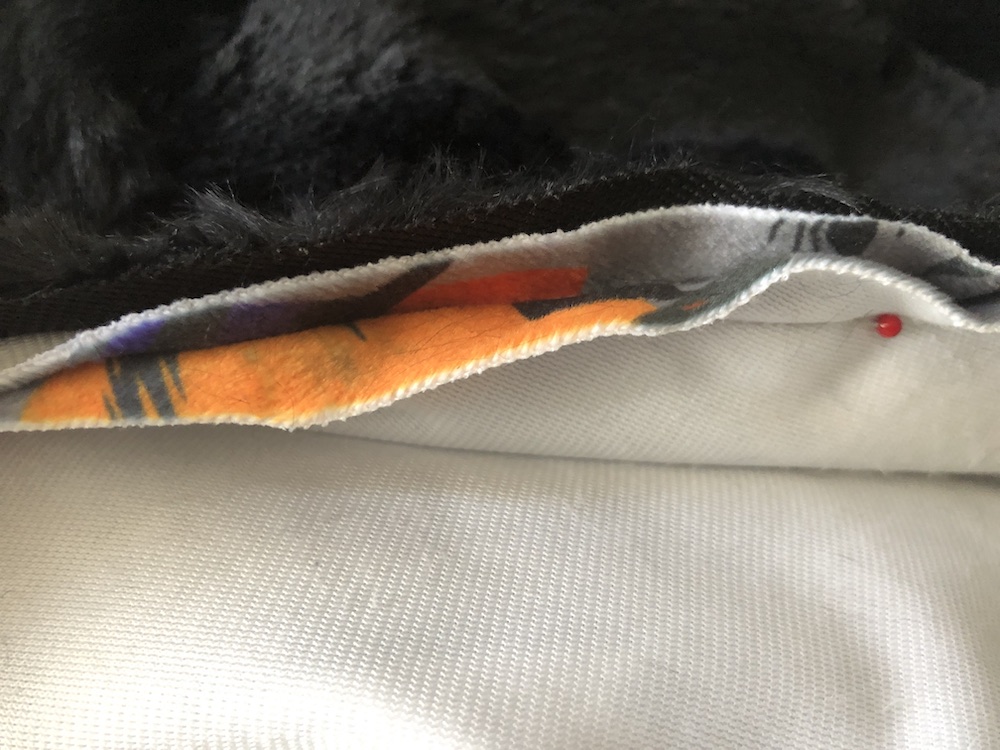
- Flip the collar facing inside the robe, covering part of the lining. To finish the collar facing: Topstitch the outer edge of the collar facing about a half-inch from the edge. Fold the raw edge of the other side under and slip stitch closed to the lining (indicated by the pins).

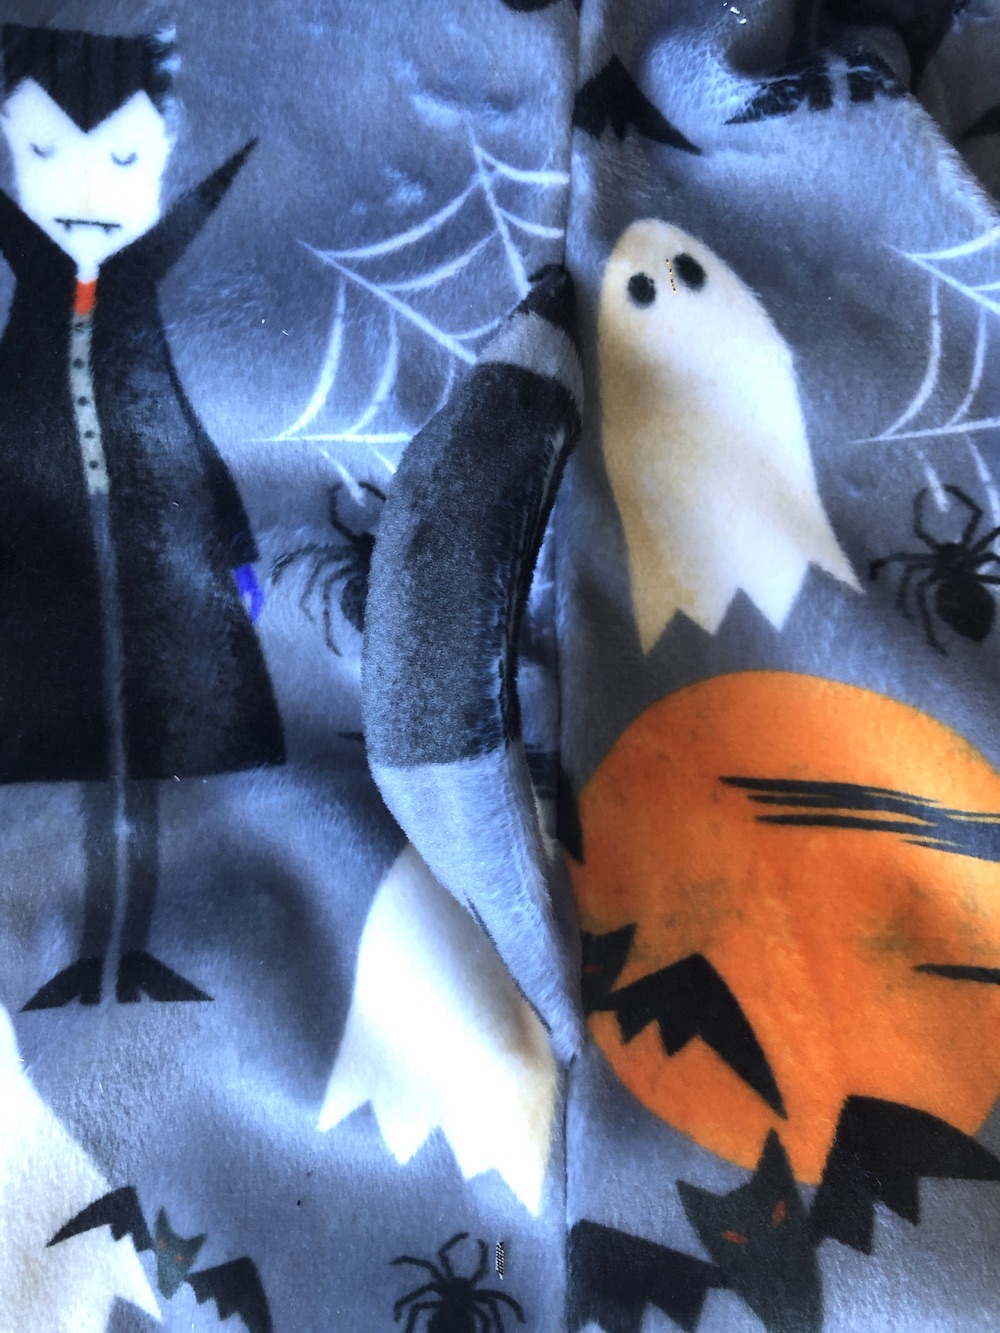
- To finish the sleeve cuffs: Line up the bottom edges of the sleeve cuffs and sleeve facings and fold the raw edges of both inward. Top stitch the edge closed, then flip the finished cuff up to show off the sleeve facing.
- Hem the bottom of the robe: Fold the bottom of the robe inside, covering the raw edge of the lining, then fold the robe fabric inward again to hide the raw edge. You may want to cut some excess lining before hemming to reduce bulk. Sew down the edges to finish the robe.
- Put the belt through the belt loops and you have a finished robe!
Thank you again Janome and Shanon Fabrics for making this project possible! I hope everyone has a beautiful fall season!