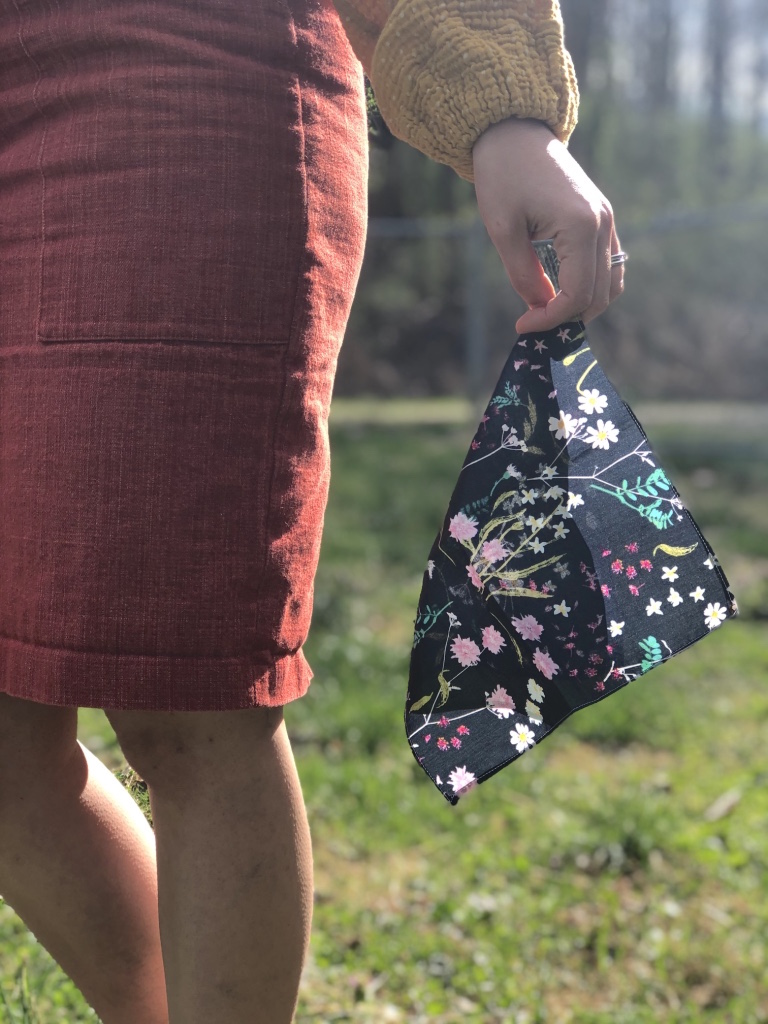
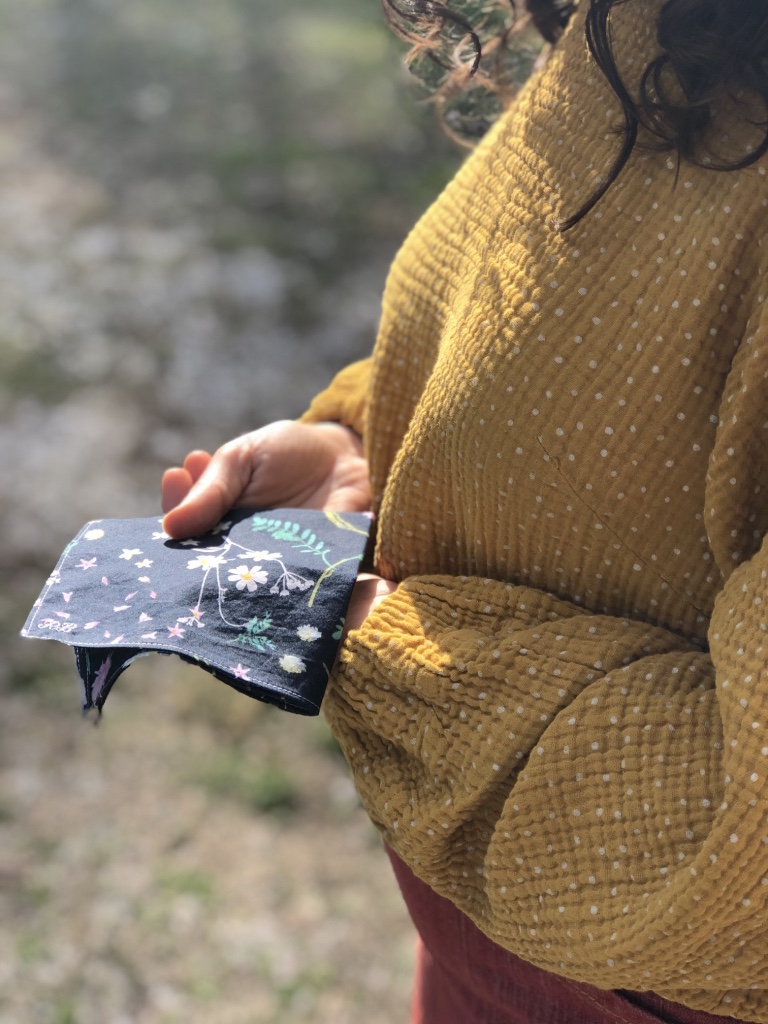
Spring is the season that makes us all so very happy with more daylight hours, butterflies, and warmer temperatures but also has its fair share of sneezing! We were thrilled when Janome Maker Rachel from Oak Blue Designs submitted a project that is the perfect way to beautifully contain your sneezes by making your own handkerchiefs!
You can make these environmentally friendly handkerchiefs with lighter-weight fabrics or this could also be a wonderful upcycle using high-quality dress shirts or linen that is no longer being worn! Easy on the nose and the wallet!
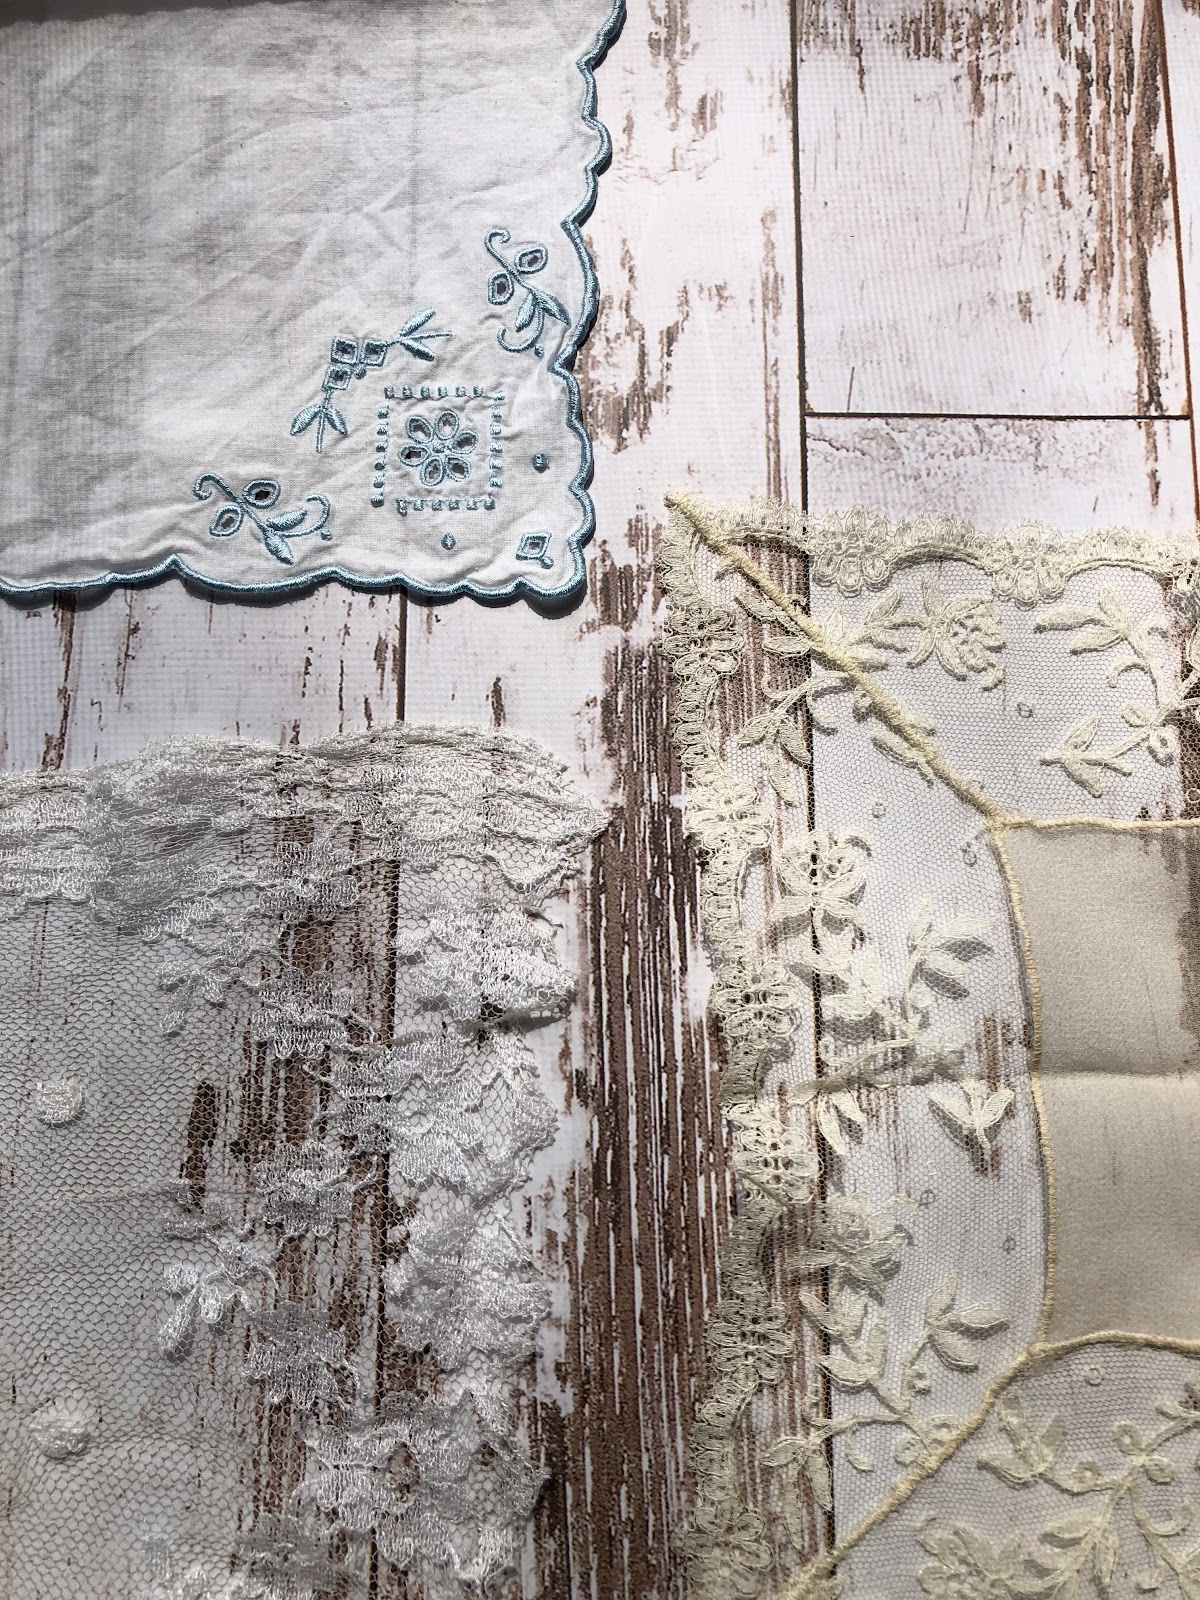
Handkerchiefs… I have a special nostalgia for handkerchiefs. I have collected them from family members of past generations. I’ve enjoyed looking for them when I go into an antique store. There’s something so special about a small square of cloth that people have kept close to them. I’ve appreciated the traditions behind hand-stitched handkerchiefs. That said, I thought it would be really fun to do a modern take on the traditional handkerchief.
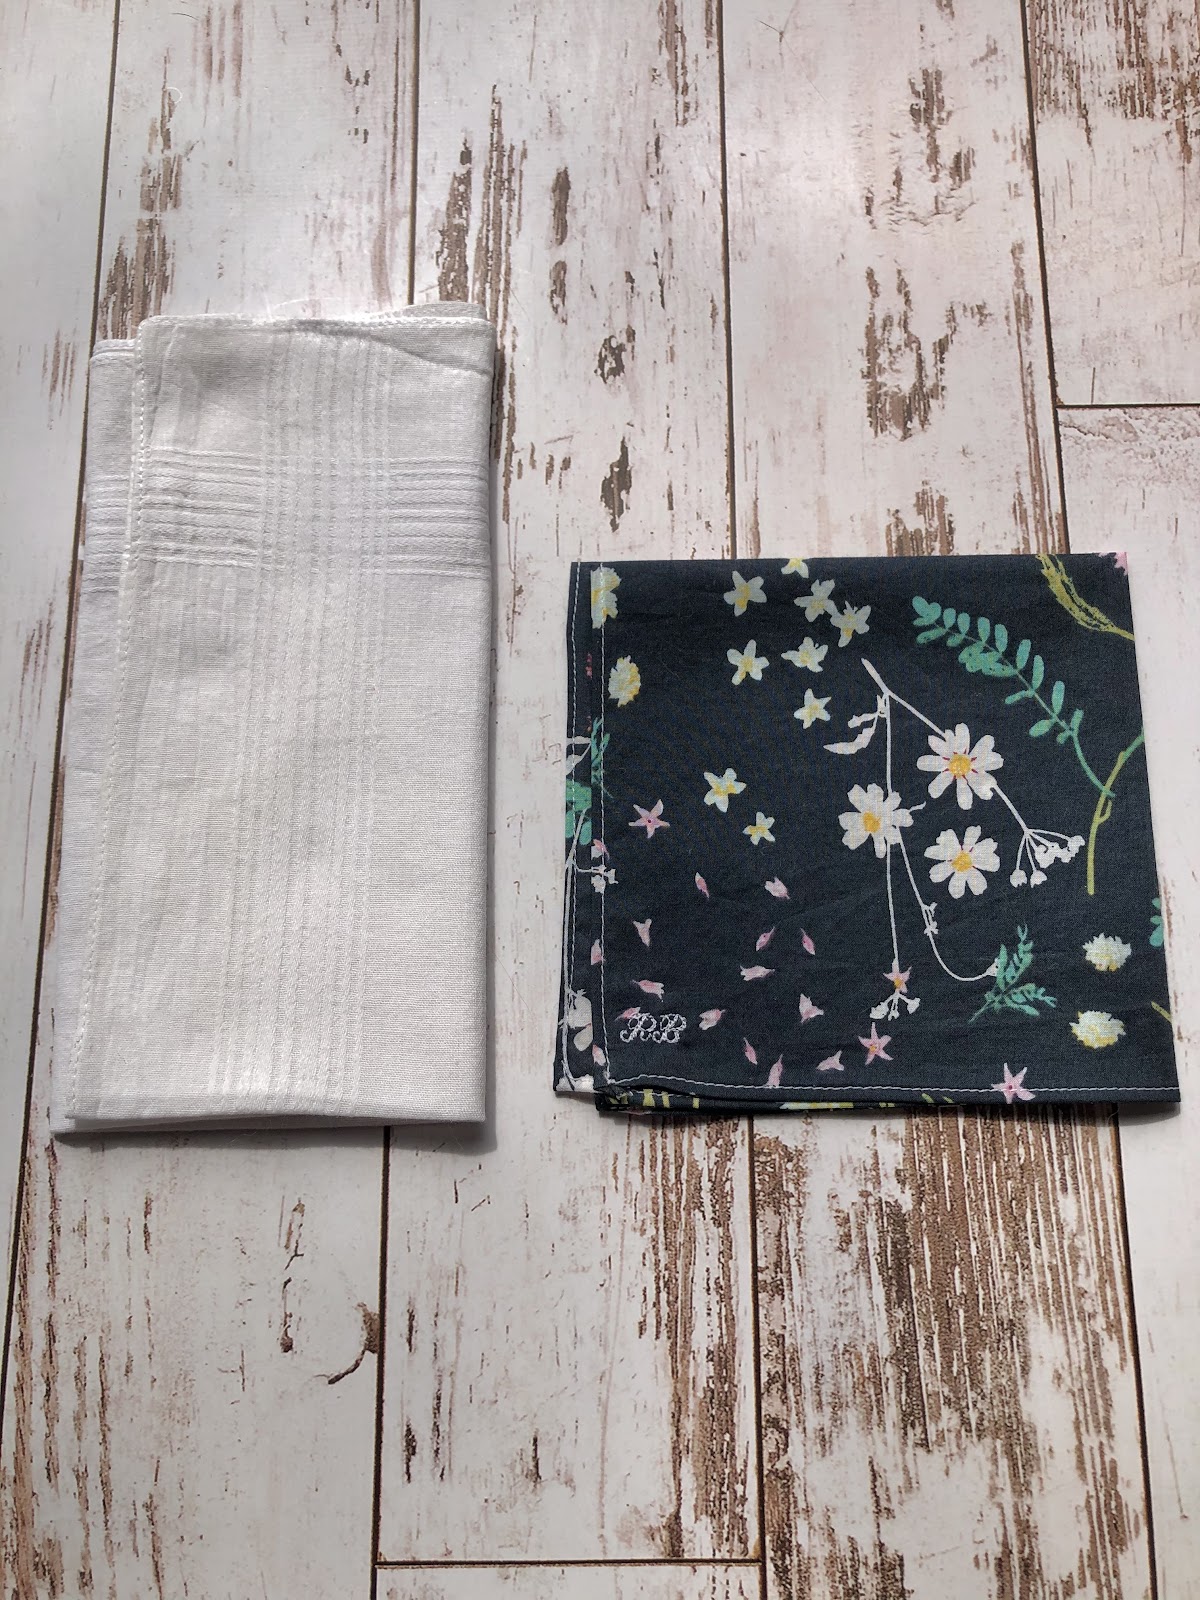
Today’s project is to make a handkerchief with a printed, lightweight garment fabric. I loved the approach of making a handkerchief with a printed fabric. Traditionally I’ve seen commercial and handmade handkerchiefs as non-printed fabrics. Whether you have scraps of linen, cotton voile, or cotton lawn lying around (or if this is your first time working with garment-weight fabrics), everyone can join in with this fun project.
You will learn how to stitch a rolled hem and add personalized, machine-stitched initials. If you have not yet practiced stitching a rolled hem, this project is a great project to jump in and learn the technique! With all of the steps for this project being on the sewing machine, you will save time and could also make more versions to share as gifts. This is not a fast process but it is a very satisfying one. A rolled hem takes some time but the end result is so worth it!
The sewing machine used for this project is the Janome Skyline S9. The sewing machine feet used are:
Rolled hems make a perfect edge finishing detail for lightweight fabrics like chiffon and georgette. This is a great project to practice this technique. Sewing with lightweight cotton or linen will be easier than sewing on sheer fabrics for a rolled hem (but this project is a great stepping stone to bridge the two fabric weights).
Supplies:
-
Rotary cutter & cutting mat
-
2.5” square ruler
-
12.5” square ruler
-
Iron & ironing board/pad
-
Tweezers
-
11” Art Gallery Fabrics Cotton voile, Blossom Swale Depth print, V-16803
-
Sewing machine thread
-
75/11 sewing machine needle
-
Tapered awl
-
Fine embroidery scissors
-
2”x2” Iron-on tear-away stabilizer (Sulky Totally Stable™)
Rolled hem edge
The rolled hem foot should be attached to your machine for this section. You may also reference page 86 in your Skyline S9 instruction book as well.
-
Cut fabric into a 10 ½ “ x 10 ½ “ square. Iron fabric.
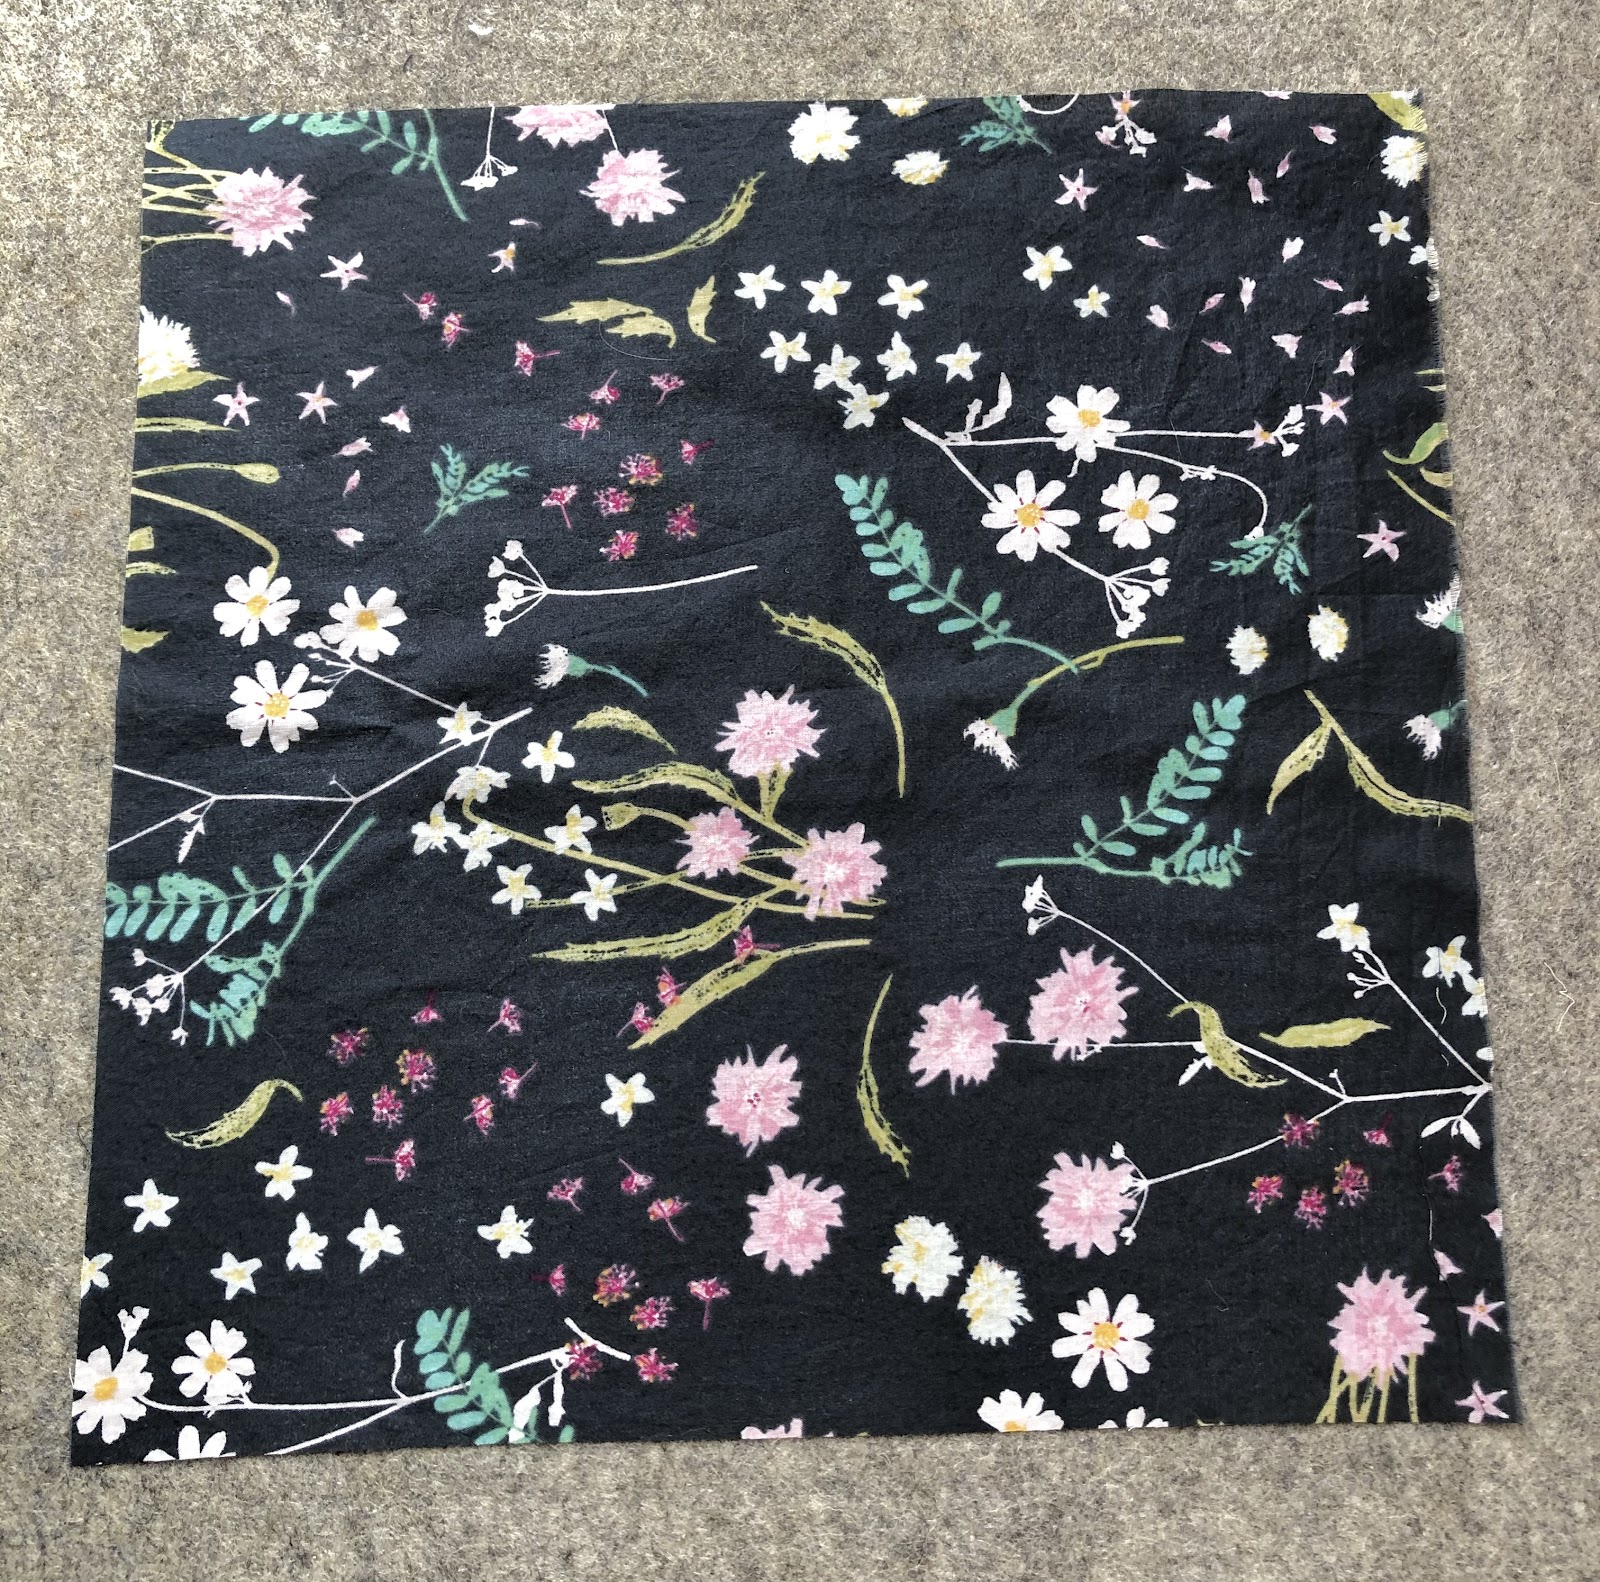
-
Cut off all four corners, measuring ⅜” across the corner. This step reduces bulk for the rolled hems.

-
Lay the fabric with the wrong side facing up on an ironing board or ironing pad. Slightly fold the edges of the fabric in and press flat, repeating around all four edges.


-
Fold the four edges of the fabric a second time. Do not worry about measuring as in the previous step. Pre-folding the edges in a double fold helps align the fabric for the rolled hem foot.


-
Set the machine for the rolled hem edge:
-
In the Home Screen, select the Garment icon.

-
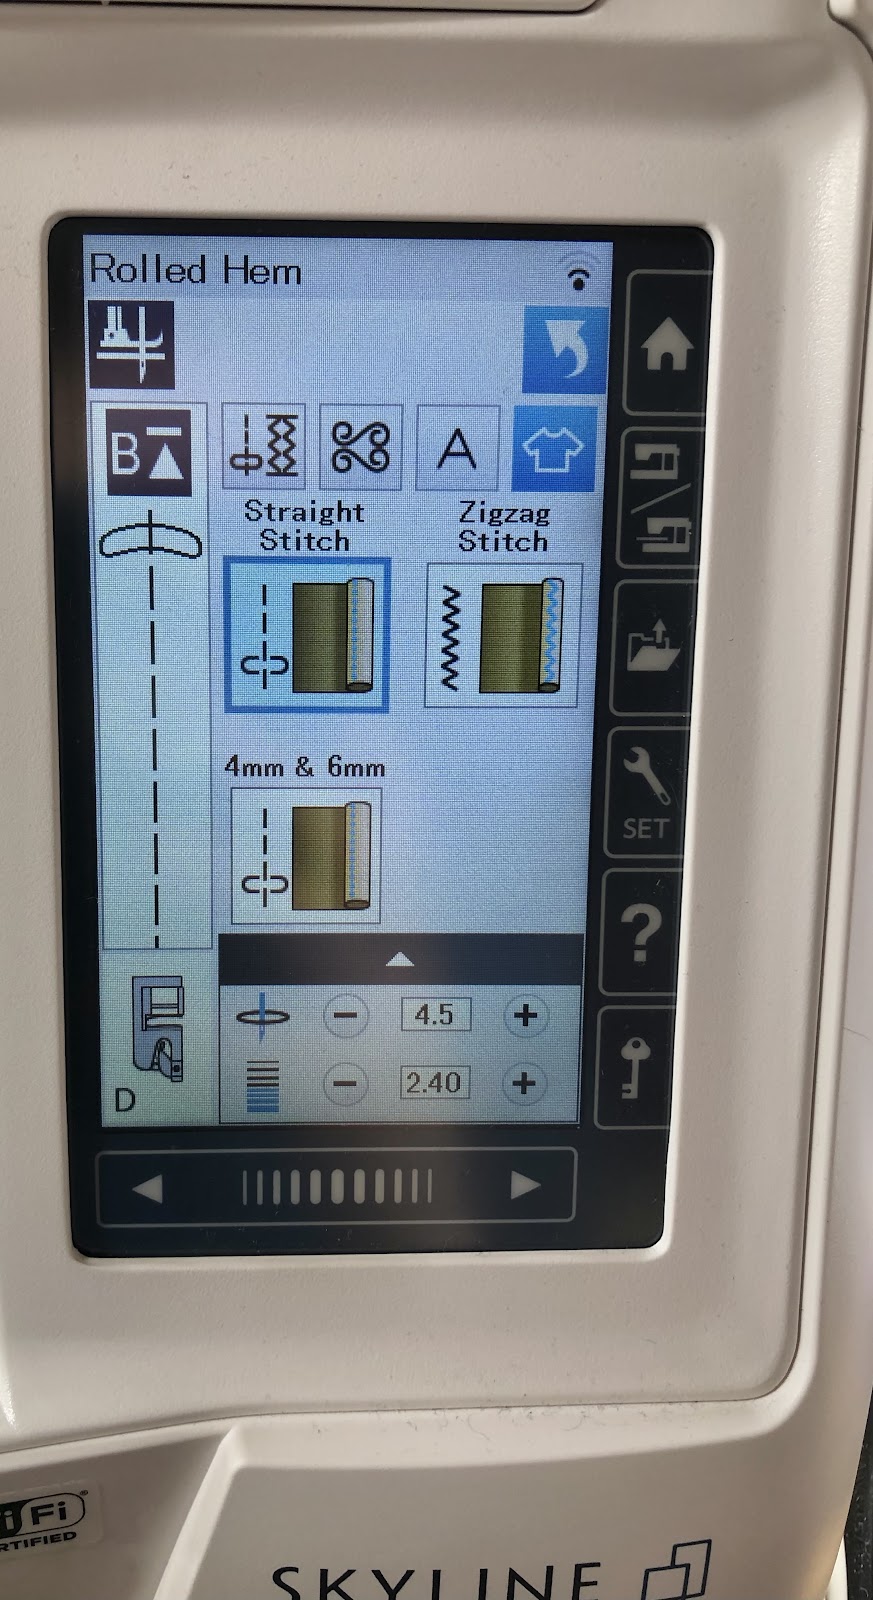
Select the Rolled Hem icon.
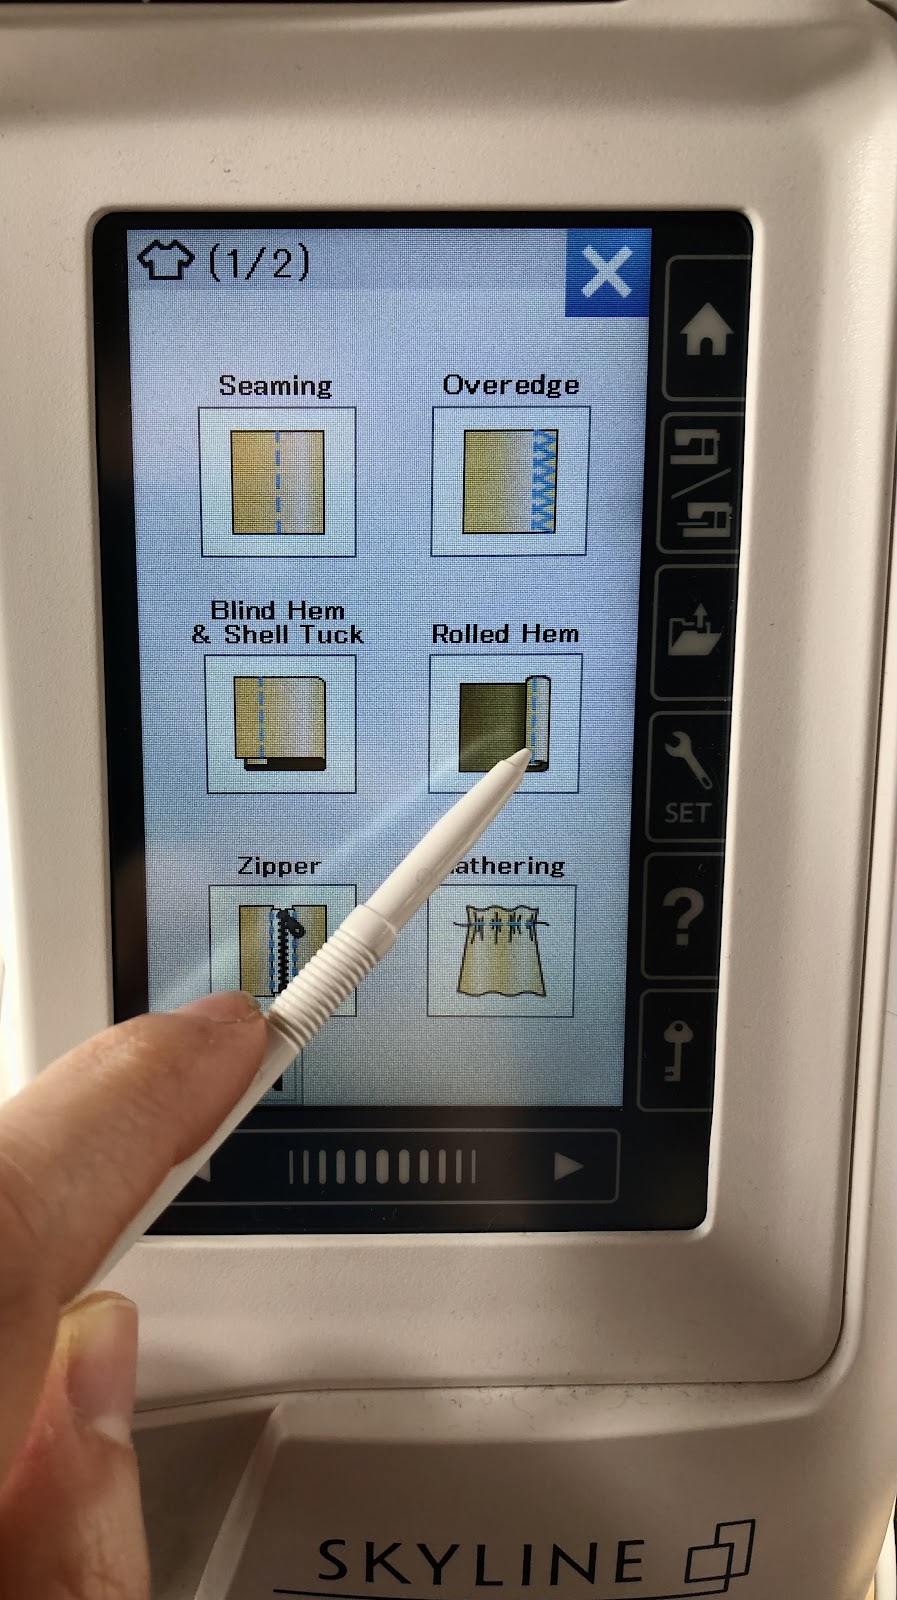
-
The machine is ready to sew a rolled hem.
-
To help neaten the edge, you will need to pull up and lengthen the bobbin thread. Hold the end of the topstitching (upper) thread with your hand.
-
While holding the top stitch thread, select the needle Up/Down button once and then a second time.

-
Pull the topstitching thread to bring the bobbin thread above the needle plate. You may need to remove the presser foot at this step to more easily access the bobbin thread. With tweezers, pull the bobbin thread out so you have a longer length of the bobbin thread to hold away from the needle plate.


-
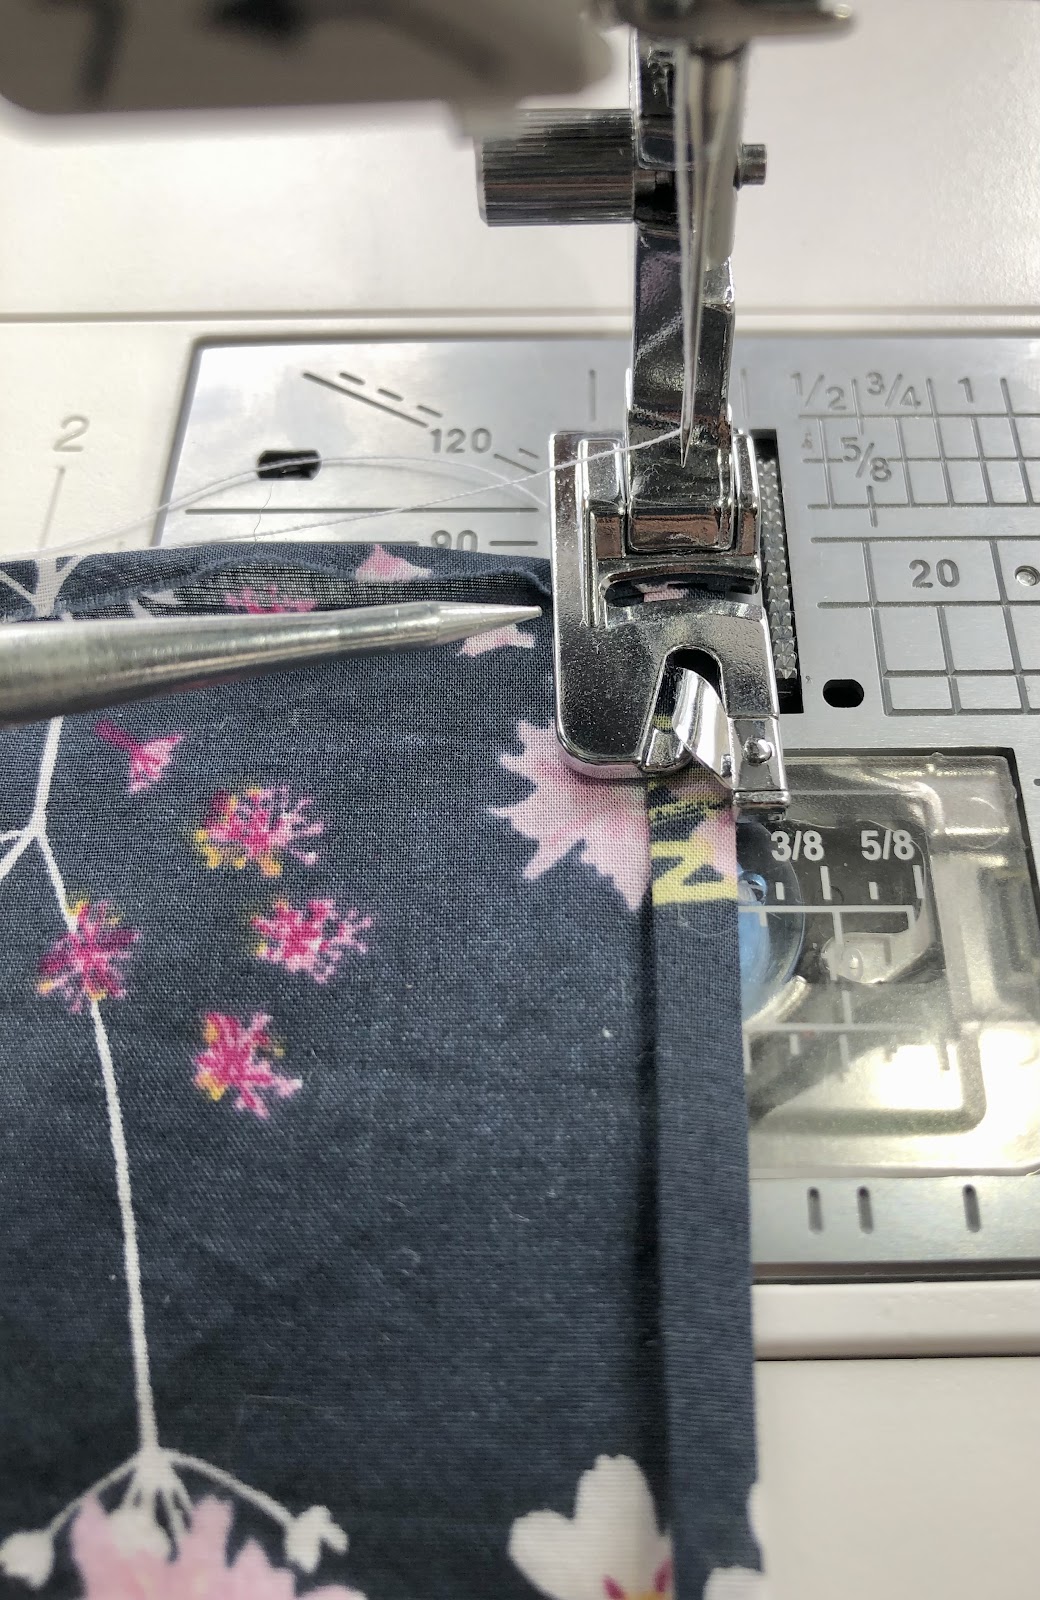
With the edge of the fabric folded under twice, set the fabric under the presser foot. The fabric will not be inside the rolled spiral feature in the presser foot yet, the fabric will be flat, double folded under the presser foot.

You can use the awl at this step to ensure the end of the fabric is flat and turned under.
-
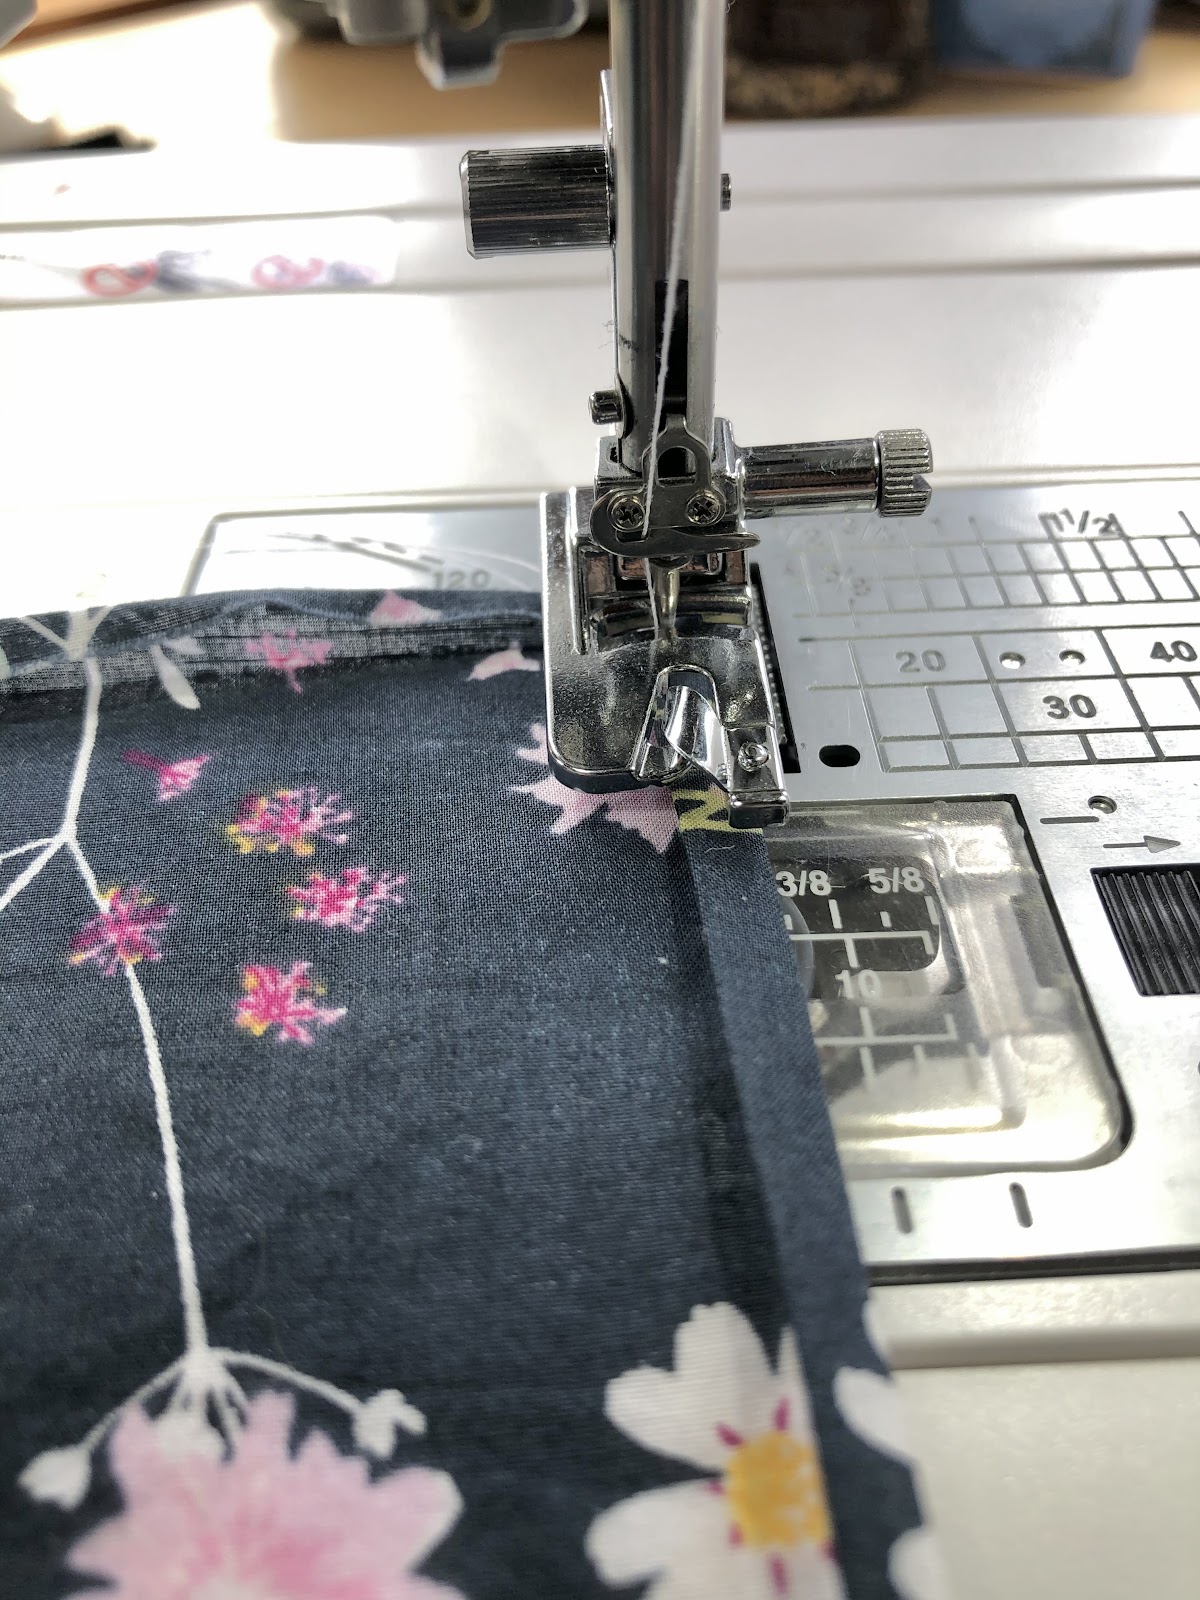
Holding both the top stitch and bobbin threads with your hand, away from the fabric, start the first couple of stitches at a seam allowance in between ¼” and ⅛” to get the initial seam started.

-
With the needle in the down position, raise the presser foot.
-
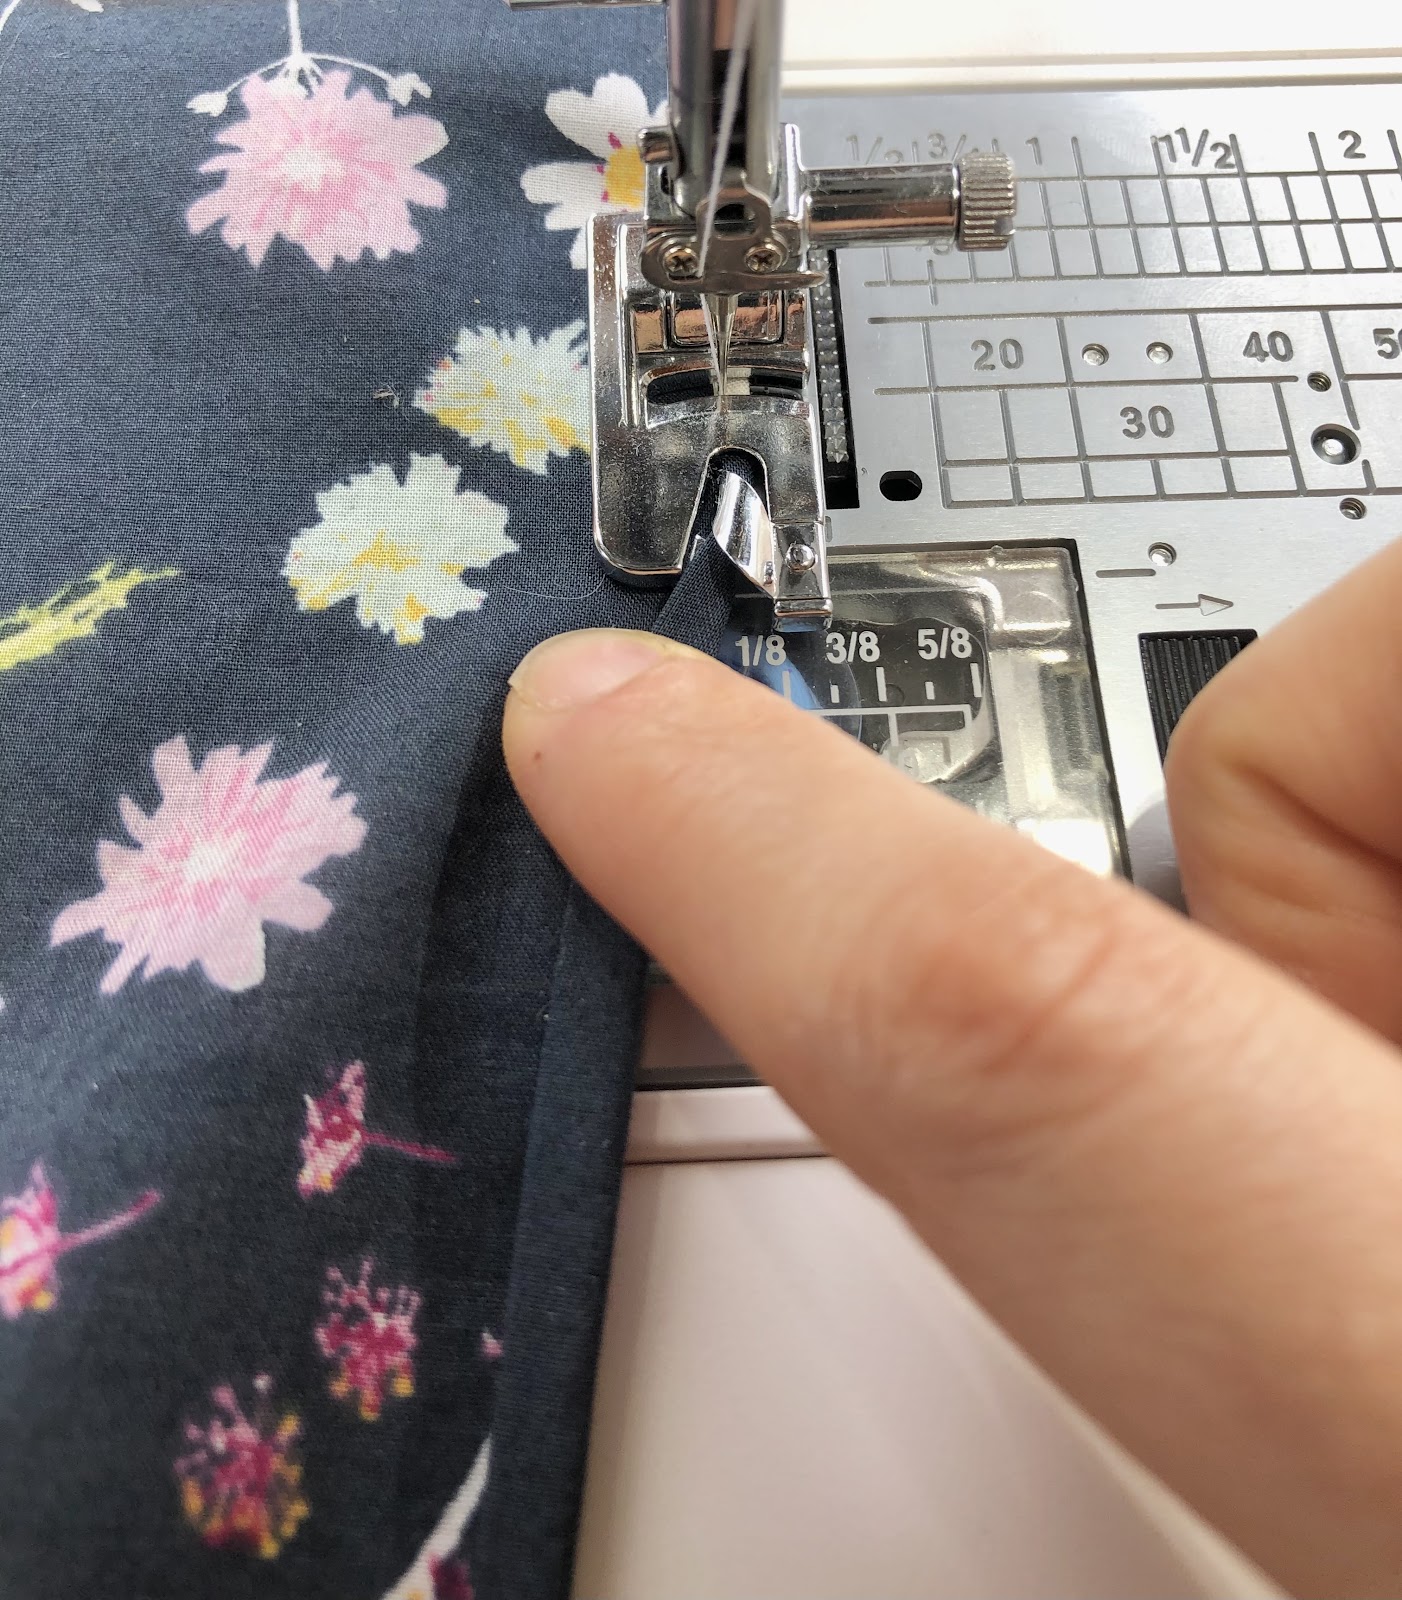
Tuck the rolled hem into the swirl feature at the front of the rolled hem foot.

-
Lower the presser foot.

-
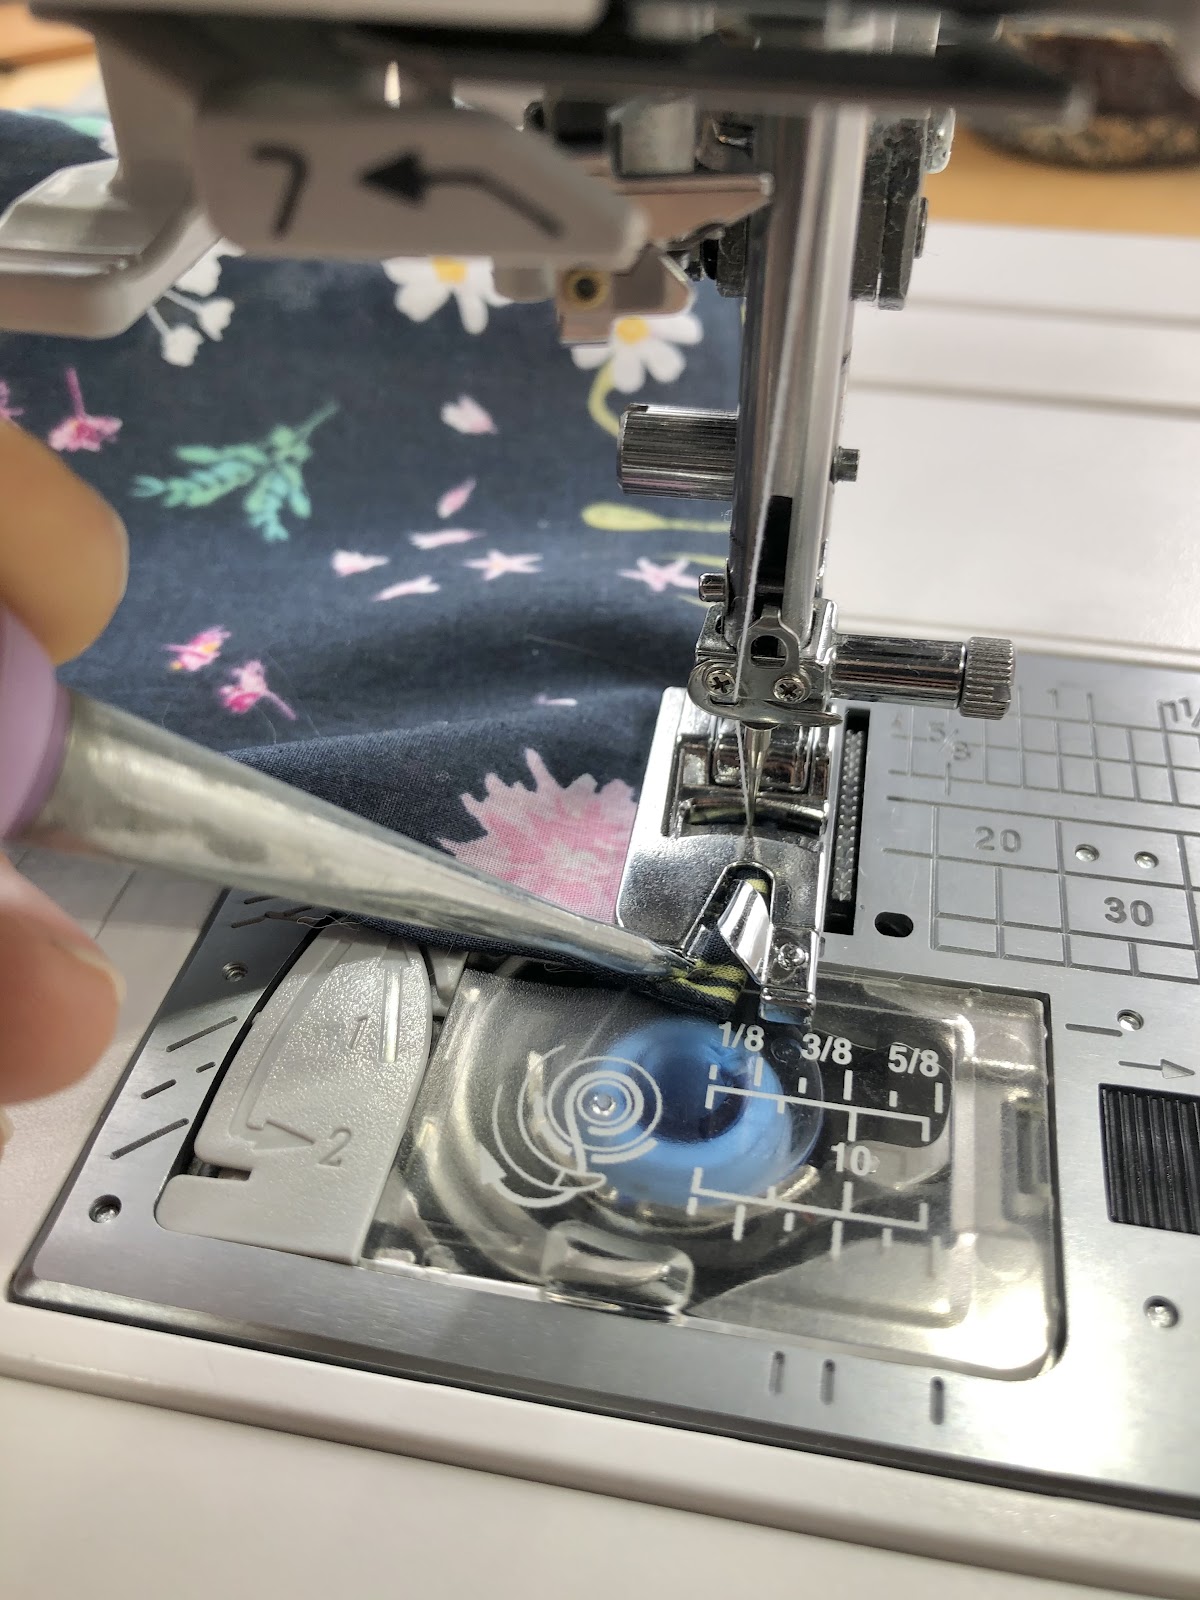
While holding the top thread/bobbin threads in your left hand, continue stitching the seam, keeping the double rolled edge inside the front swirl feature of the foot. Once the seam has gotten past 2”, you don’t need to hold the top/bobbin threads. If you need to re-adjust the placement of the fabric in the front swirl of the rolled hem foot, stop sewing with the needle in the down position and adjust fabric as needed.
-
Stitch all the way to the end of the seam, using an awl as needed to keep the end of the fabric double folded (the previous pre-ironing step the fabric in a double fold makes this step much easier).
-
As you get to the end of the seam, press the auto-lock button for three stitches to finish the end of the seam. Do not forward/backstitch the beginning/ends of the seam as the material is thin and the threads will not finish well with a forward/backstitch.

-
Press the thread cut button to end the first seam.

-
Trim the ends of the threads at this step for a clean finish.

-
Using an iron, double fold and press the perpendicular edge of the fabric in the next seam that you are getting ready to sew. Pressing will make starting the next double folded seam very easy.

-
You will repeat steps 6 - 19 for the next 3 edges of the fabric. If you’re having a hard time getting the first stitches of the seam started with the feed dogs, use the thread tails to gently move the seam forward. You can also raise the feed dog with the needle in the down position and readjust the fabric with the awl to move the fabric forward for the seam.
-
After stitching all four edges of the fabric with the rolled hems, iron the fabric, flattening all four neatly finished rolled edges.

Embroidered Initials
Cut a 2” square of the tear-away stabilizer for this step. You will need to remove the Rolled Hem Foot from the sewing machine and install the Open toe satin stitch foot F2 for this section.
-
Pick the corner on your handkerchief to embroider the initials.
-
Find the shiny side of your stabilizer. Turn the handkerchief so the wrong side of the fabric is facing up. Lay the stabilizer so the shiny (adhesive) side is facing down in the corner that you plan to embroider the initials.

-
Set your iron to the appropriate settings (steam off, wool setting) and quickly baste the stabilizer square in place, pressing the corner of the handkerchief along the right side of the stabilizer/wrong side of the fabric.
-
Turn the handkerchief over so the right side is facing up and press the stabilizer again in place.
-
Let the fabric cool and then turn over the handkerchief to test the adhesion of the stabilizer. If the stabilizer has not adhered to the fabric, repeat steps 3-4 for the stabilizer to fuse to the fabric.
-
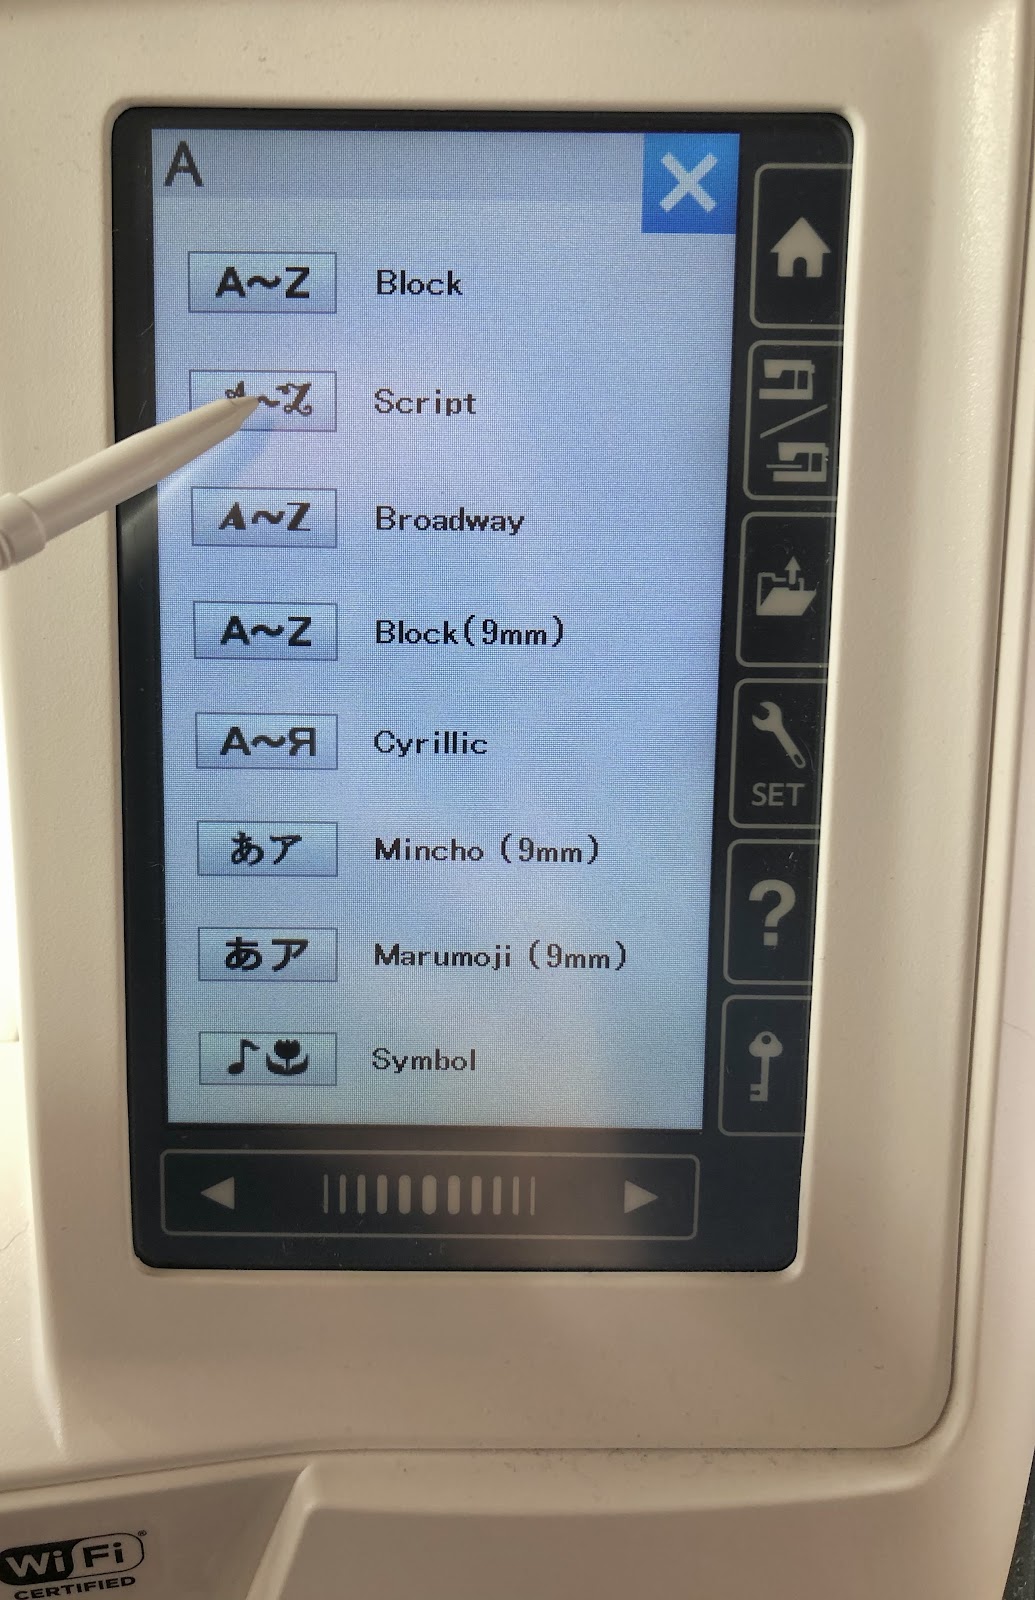
Select the Monogram icon (A) to get to the Monogram screen.

-
Select the Script icon.
-
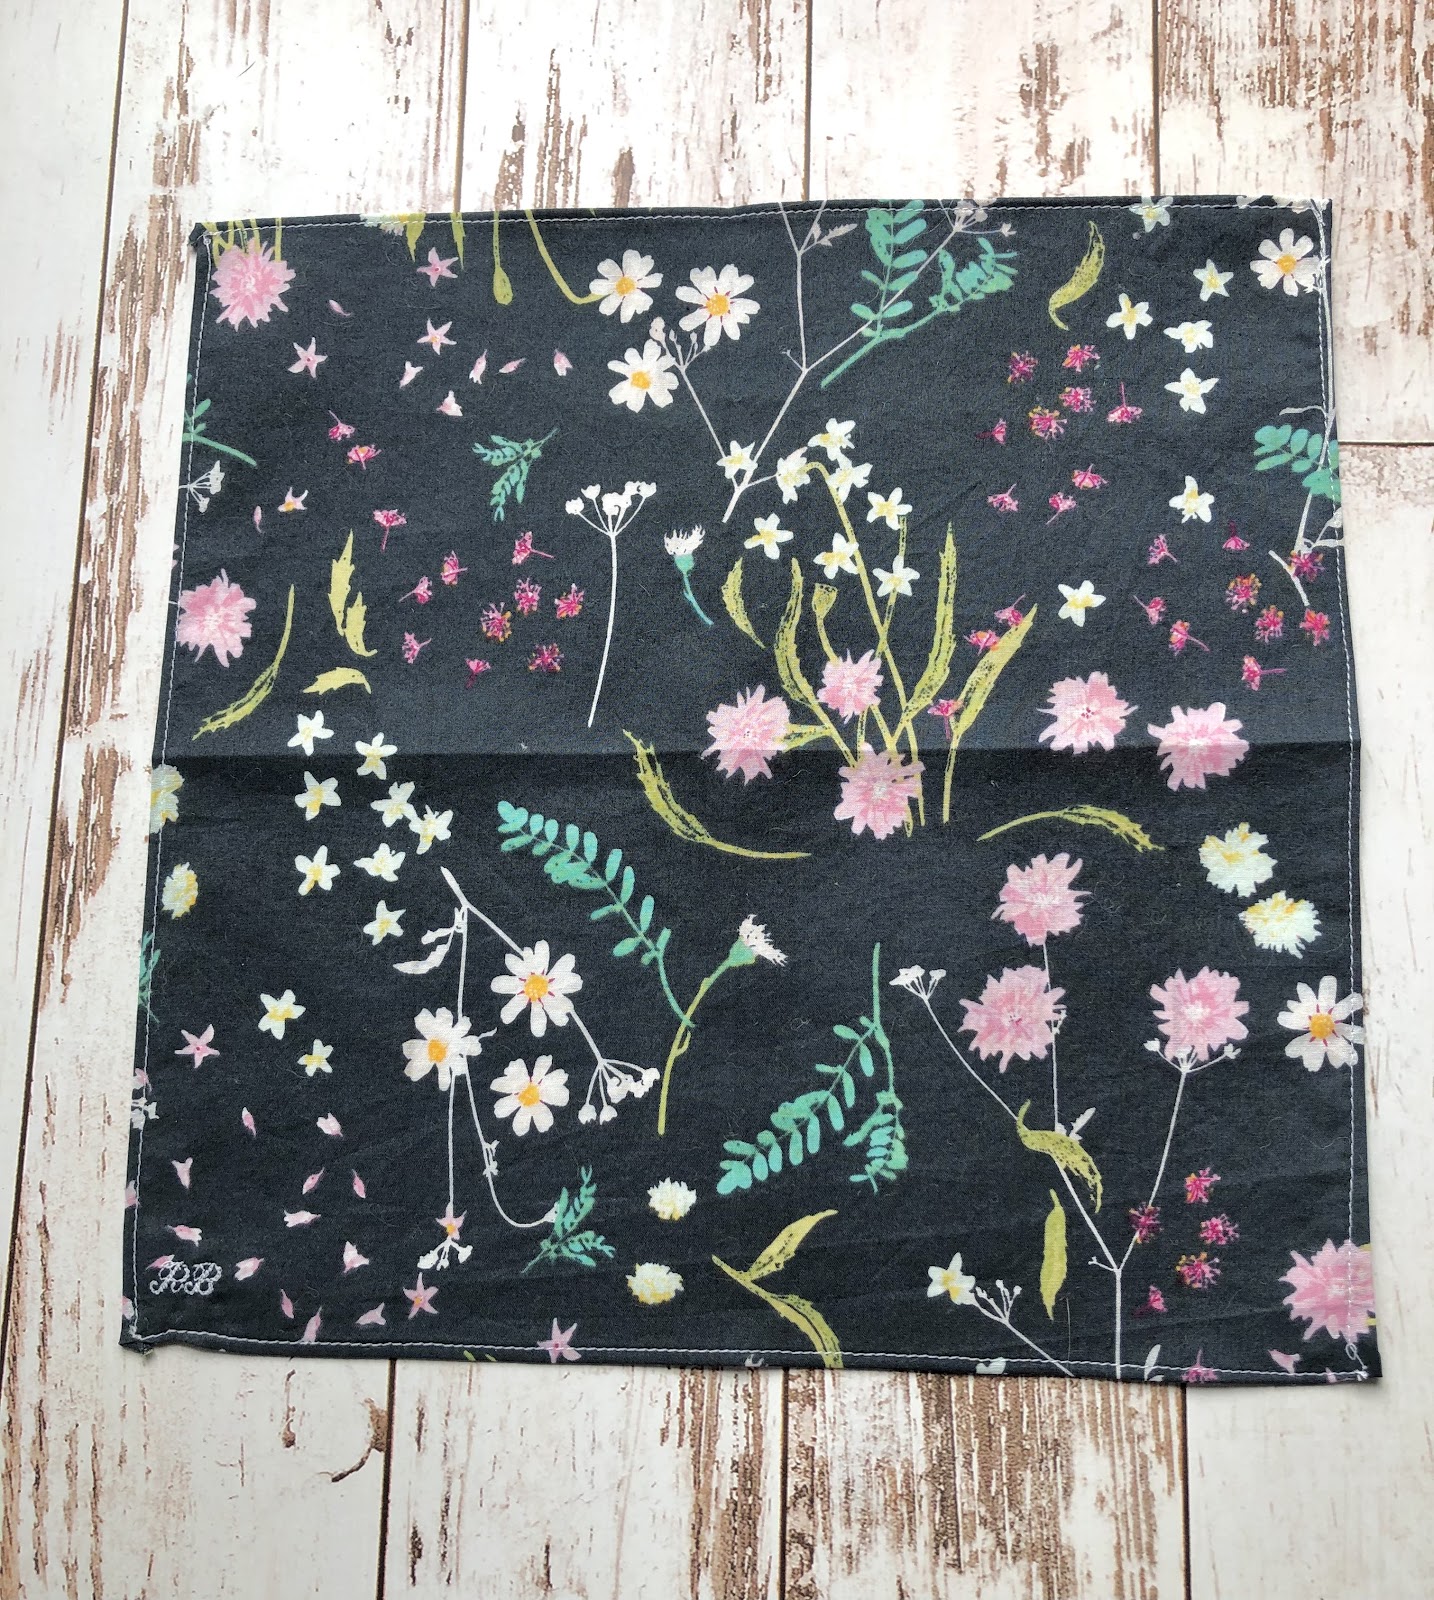
With the “large” icon selected and “upper case letter key” selected (as shown in the photo below), select the two or three letters to stitch your own initials.

For this example, the RB letters were selected. You can do your own variations for your project as well (add a period in between the letters, add different spacing in between the letters, etc.). If you decide to stitch a name instead of initials, you will need to cut a larger piece of stabilizer than previously recommended.

-
As you place your fabric under the presser foot, keep in mind that the stitching will be vertically stitched.

-
Start stitching the initial stitches of your first letter in the monogram.

-
After stitching the first couple of stitches, trim the long topstitch thread (for a cleaner finish).

-
When your stitches are finished, use the cut thread key to trim the end thread.
-
Using embroidery scissors, trim the stop stitched and bottom threads to neaten the finish.

-
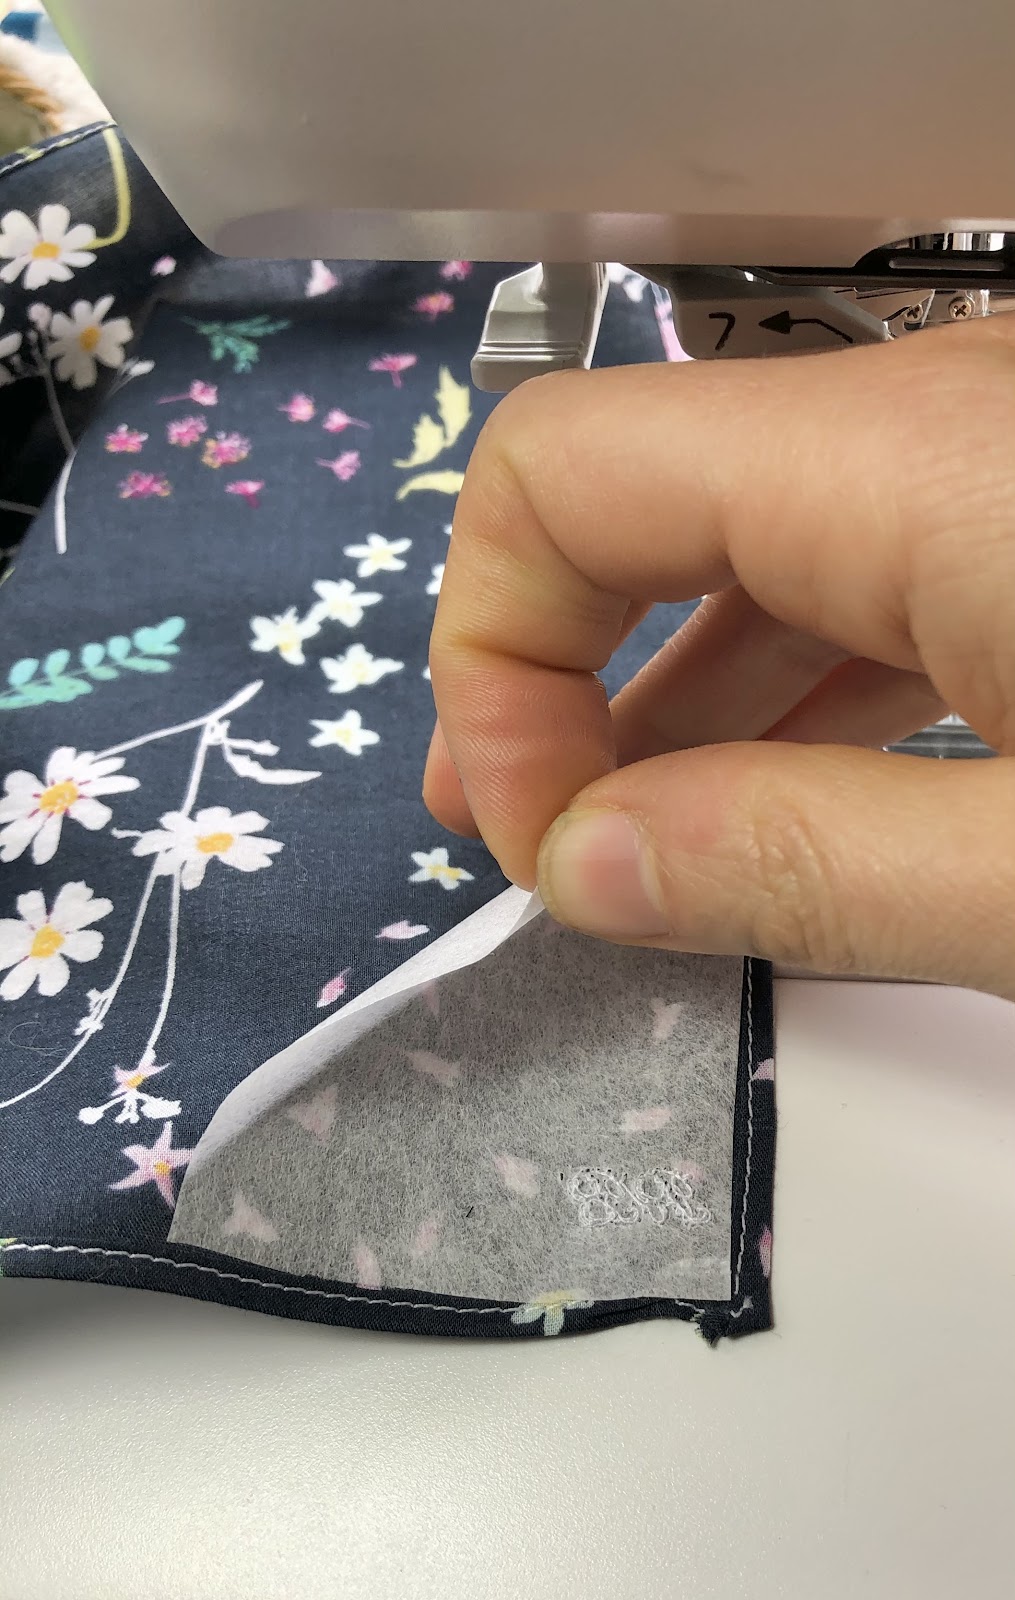
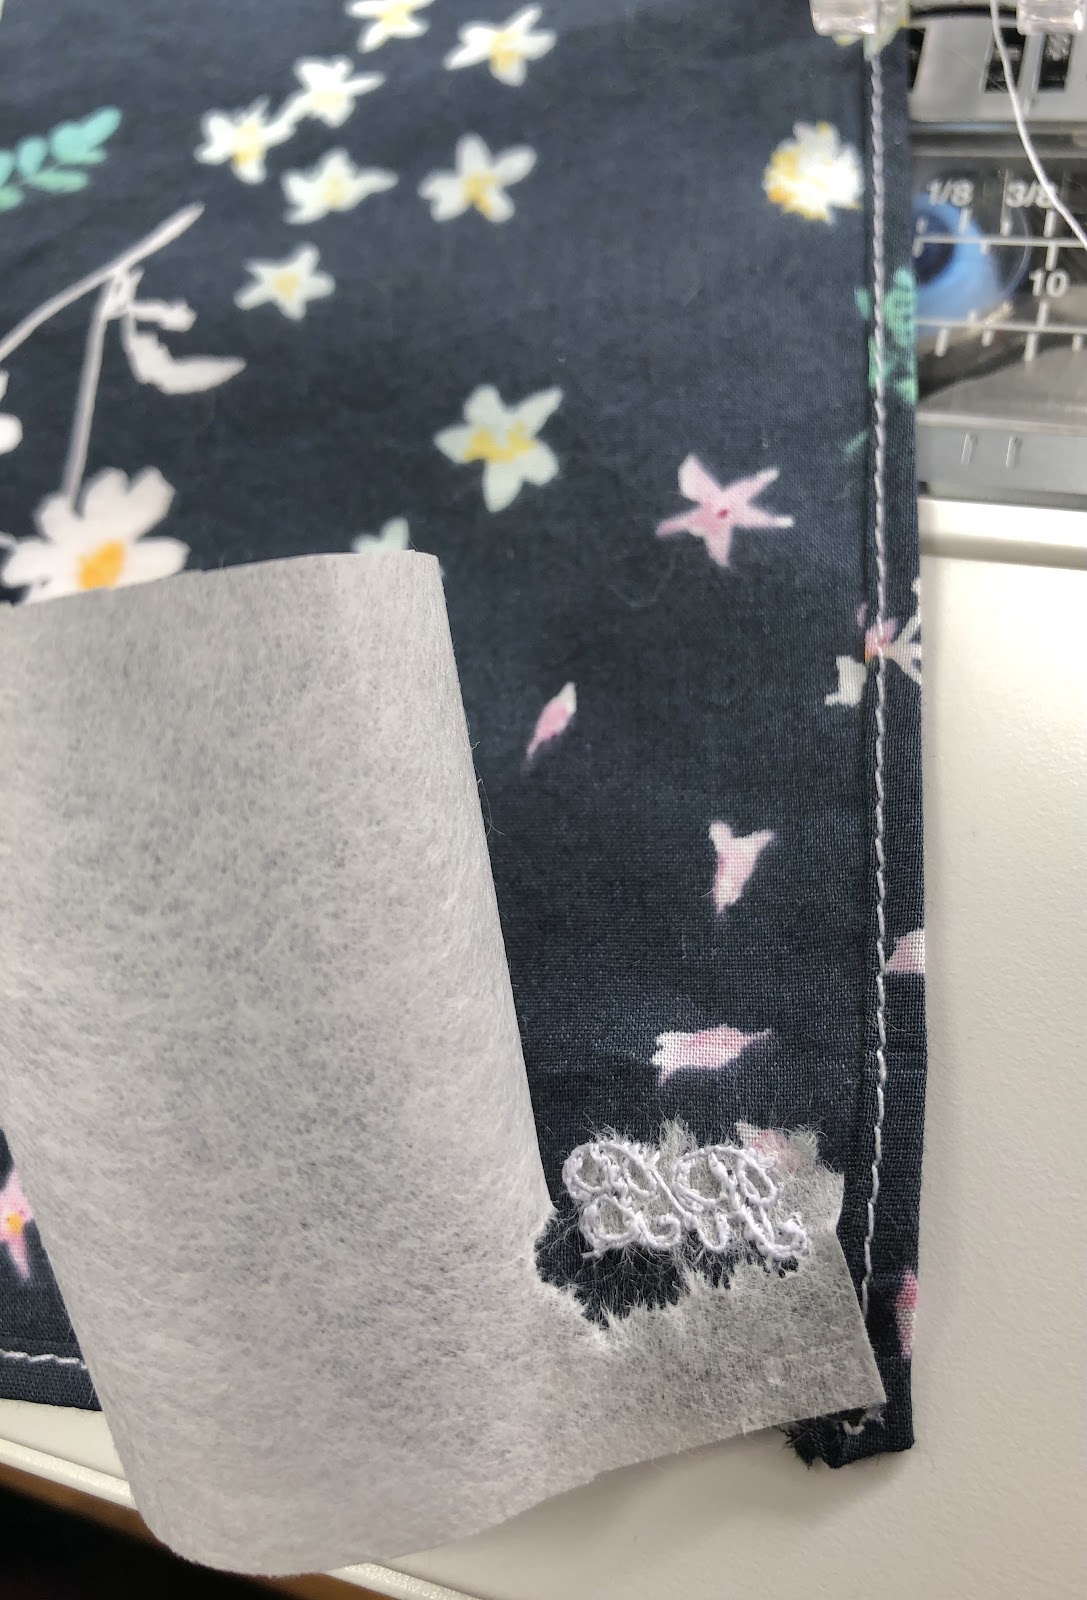
With the wrong side of the fabric facing, gently peel back the stabilizer away from the fabric.

-
Pinch the embroidered stitches and gently tear away the extra stabilizer, away from the stitches. If you need to use tweezers at this step, they are a helpful tool as well (just be gentle as you do this step).
-
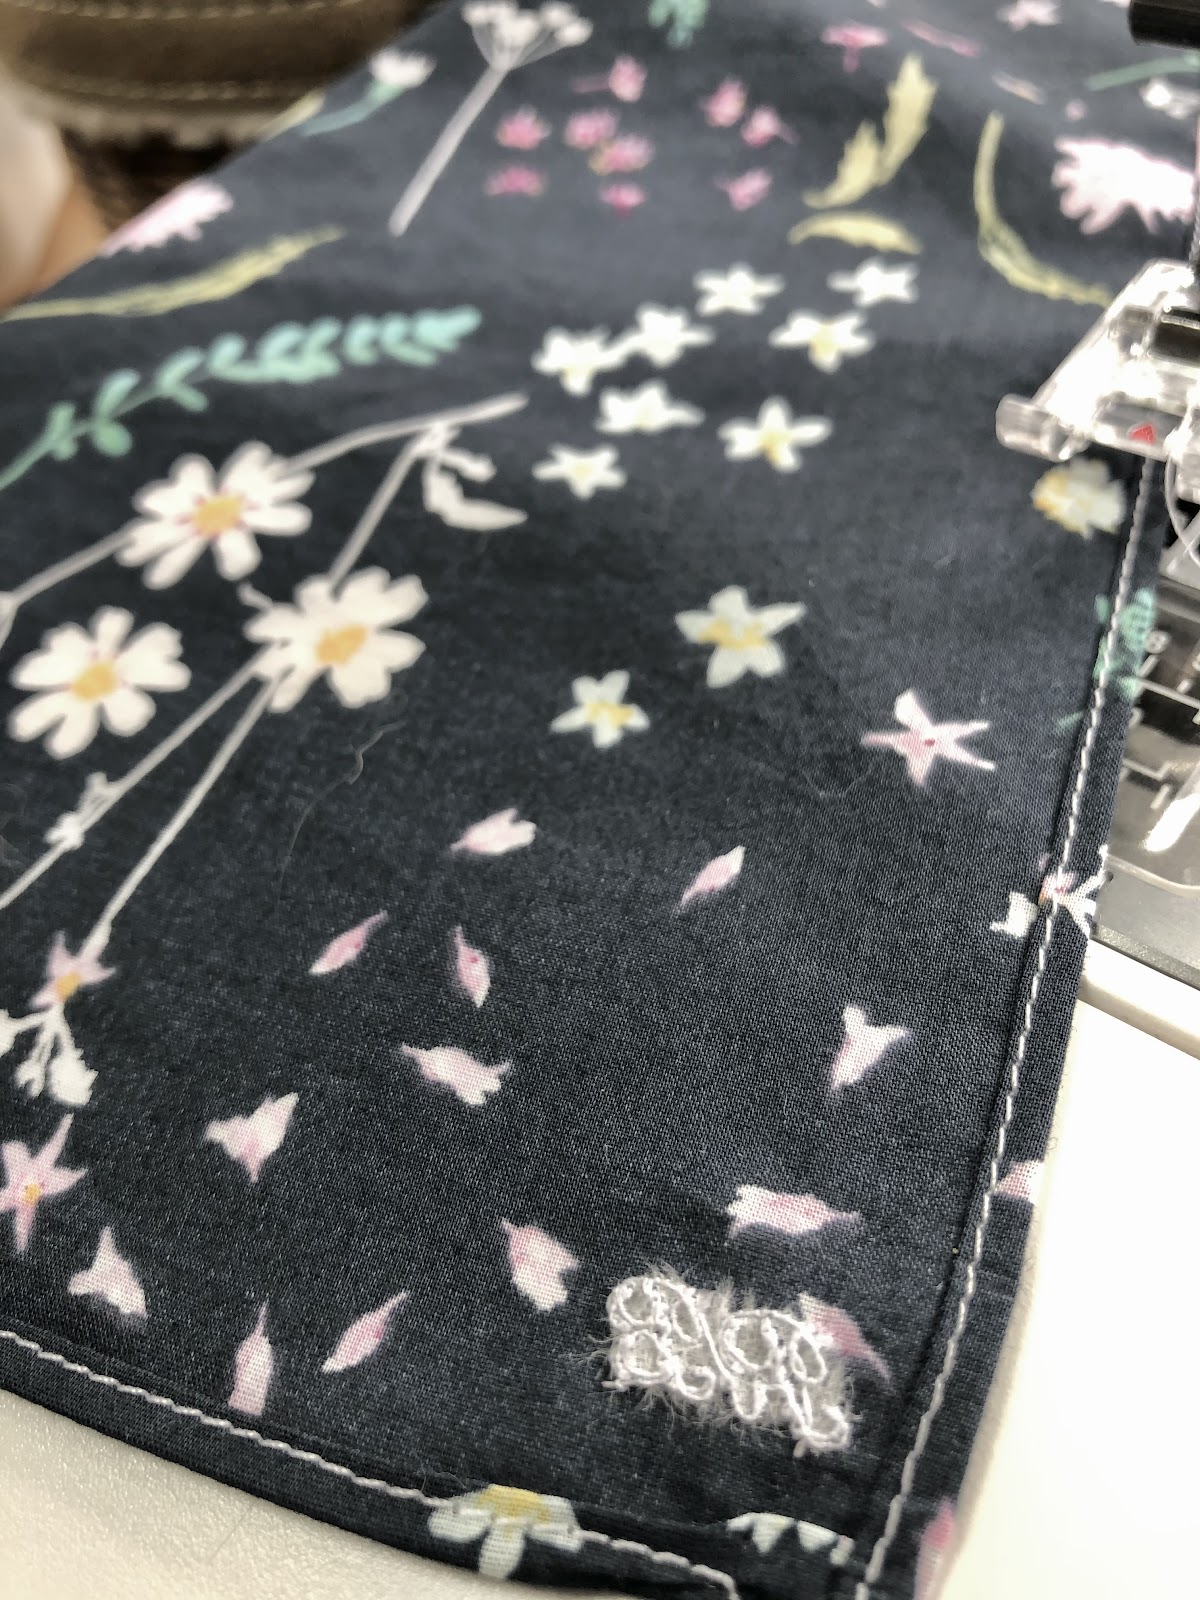
Enjoy your finished, embroidered handkerchief!