Janome Maker Carolyn Norman has leveled up her wardrobe using the Janome Circular Attachment!
Carolyn will reveal how easy it is to use the beautiful built-in decorative stitches on your Janome machine to personalize your wardrobe whether store-bought or hand-sewn. This method can also be used on other sewing projects like bags, home decor, and even quilts!
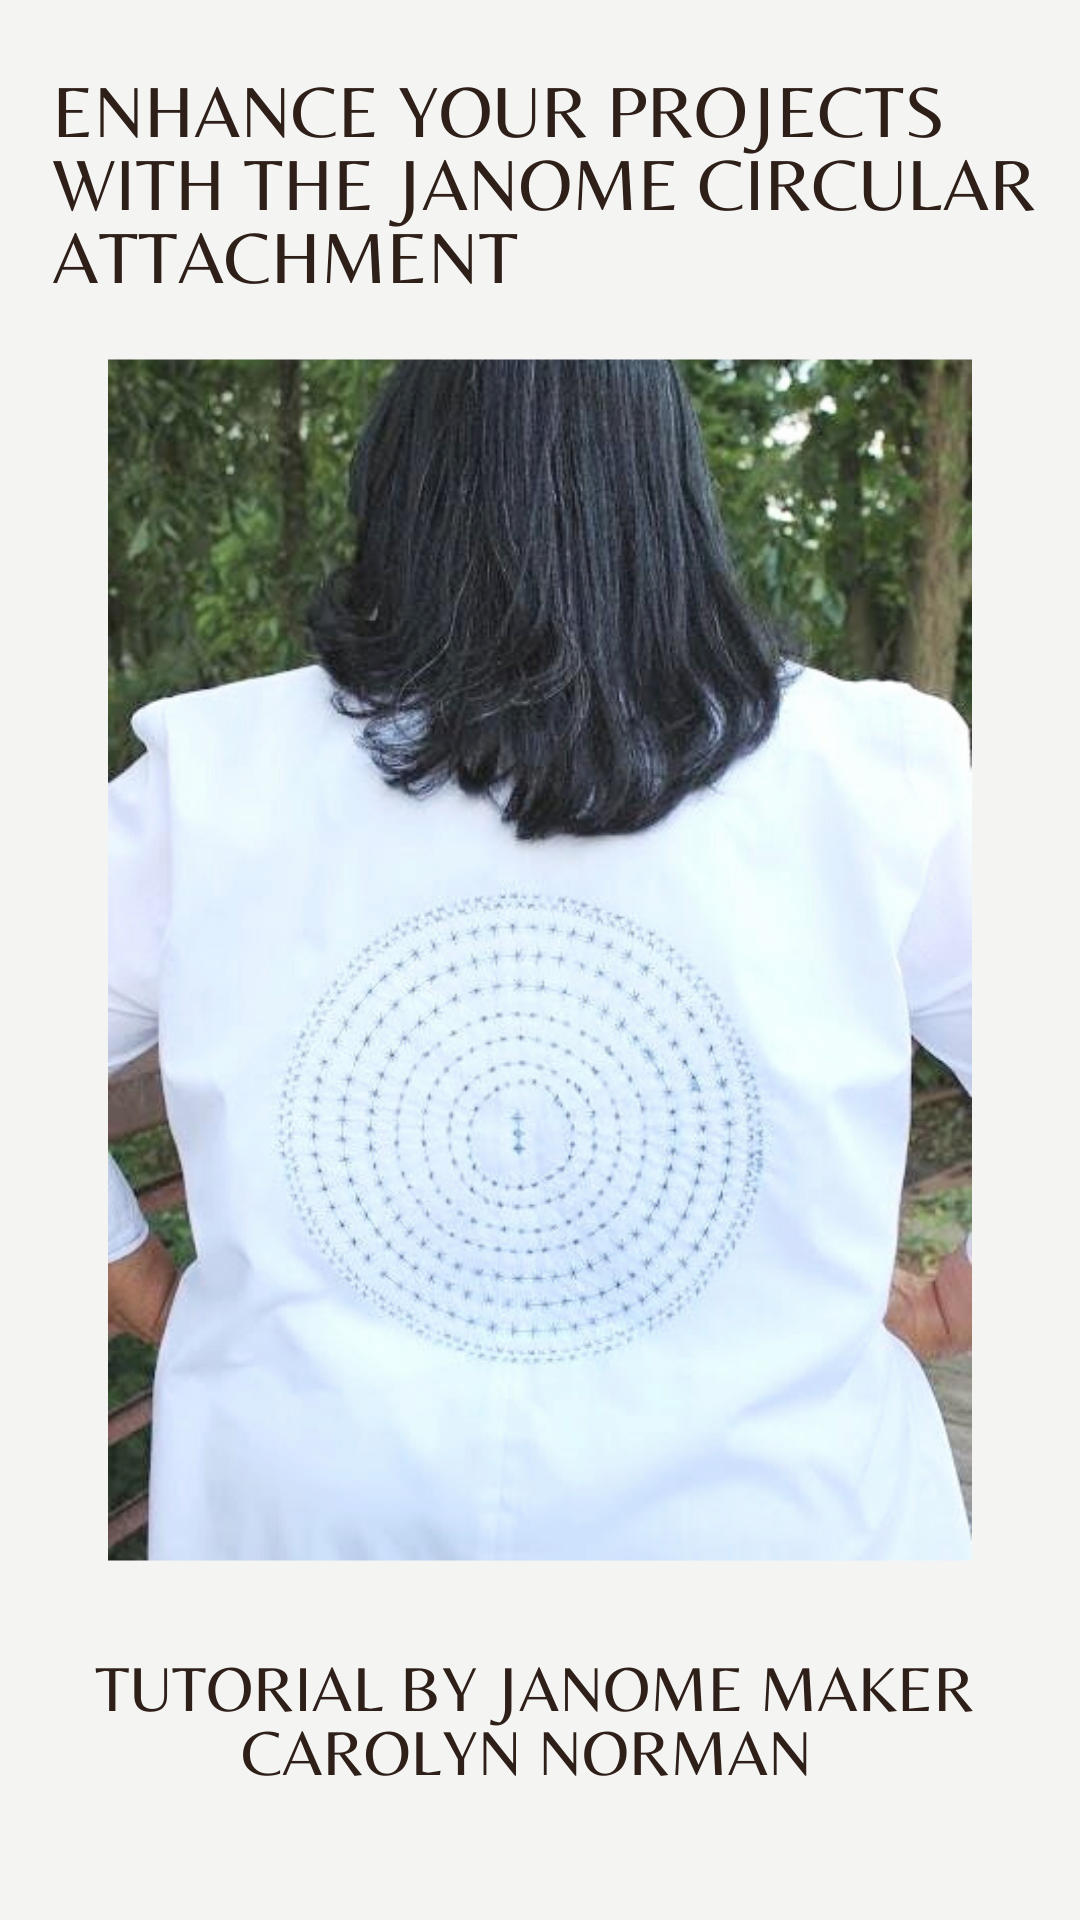
I saw a Ready-To-Wear top that inspired me to try creating some circular designs on a tunic. My tunic is me-made but you could easily do the same thing on a purchased tunic or top.
Here's how I made it happen ~
Skill Level: Intermediate
Time to complete the circles: 4-6 hours; additional hours if you sew your garment.
Project Supply List:
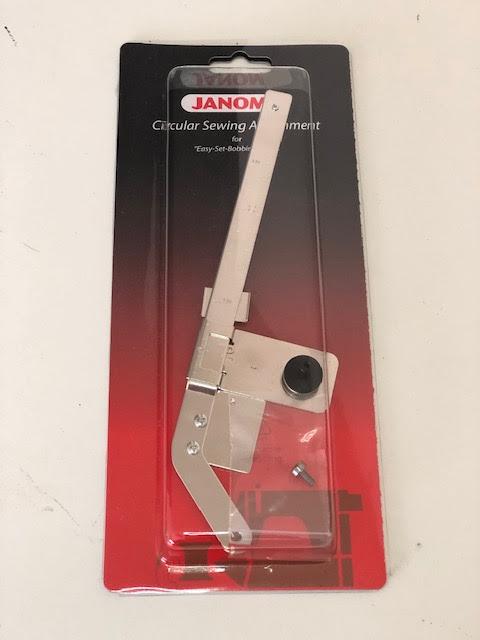
Janome Circular Attachment
Compass & pencil
Sulky Total Iron On/Tear Away Stabilizer
Schmetz Universal #70 Needle
Small screwdriver included in Accessory Kit
Amann Group Isacord 100% polyester ombre thread or a rayon thread of your choice
4" small sharp scissors
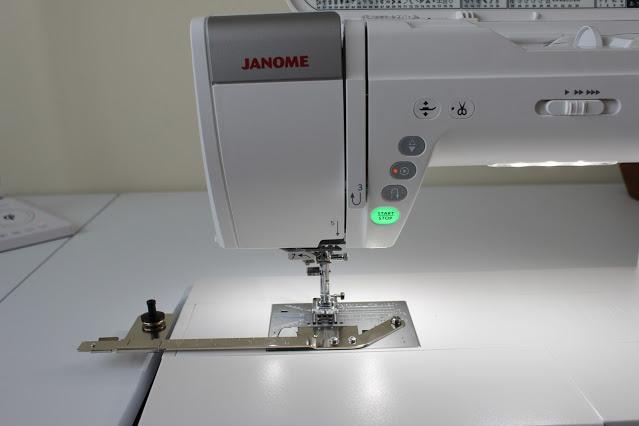
I am sewing on a Janome 9450QCP but the Circular Attachment is available for other models.
The pattern for the top is The Katie by MimiGStyle
Application of the Design:
1. Follow the instructions included in the packaging for the Circular Attachment to attach it to your sewing machine.
2. Determine where on your garment you want your design to be. I put the design on my garment pieces before sewing them together.
3. If you are embellishing RTW, try it on and make light marks where you’d like the designs; for something you’re making, hold the pattern pieces up to yourself and mark the center of the circle. You may want to use the compass to draw out the smallest circle which you can stitch first.

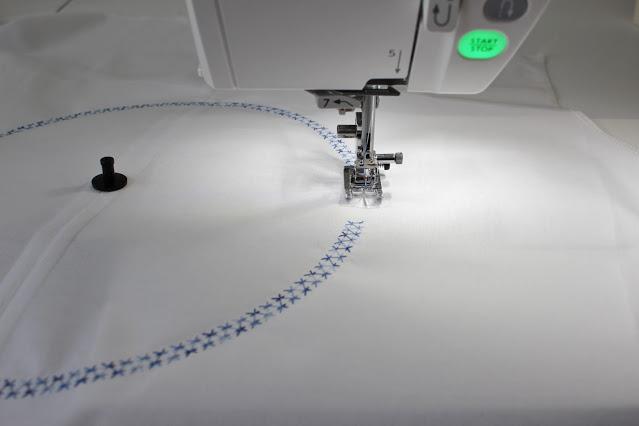
4. After you've made a mark to begin stitching out your circles, apply your interfacing and place the stabilized fabric on the sharp point of the Circular Attachment, place the black cap back on, and lock the bar into place.
5. Decide what decorative stitches you want to use. I would suggest making a few samples on scrap fabric to see how the stitches lay on the fabric. If using a RTW garment, I would suggest using a less dense stitch so it doesn't change the fit of the garment.
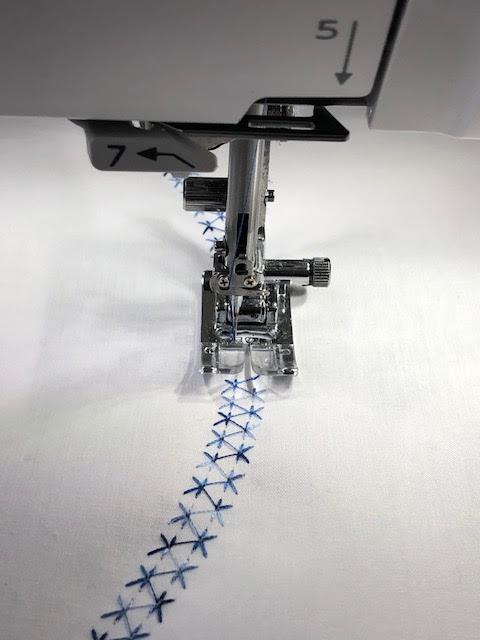
6. For my garment, I started from the outside of the row of stitching farthest from the pin working inwards.
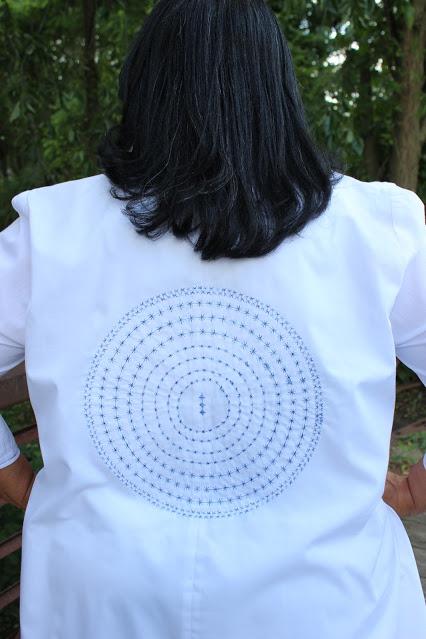
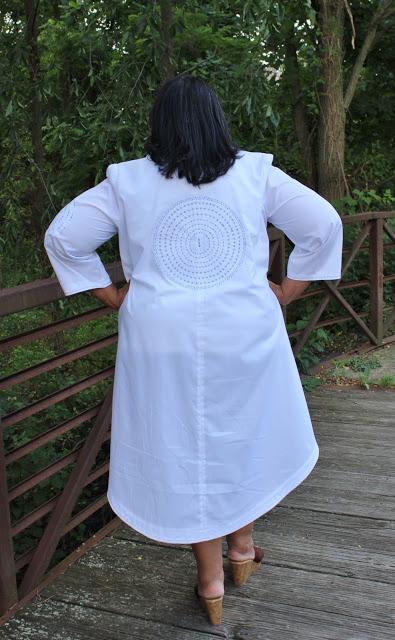
7. The largest circle was on the back of the shirt and consisted of 8 rows (10 inches wide) using 4 different design patterns:
- Outer circle 1 row - Quilt stitch #33
- Next 3 rows - Quilt stitch #22
- Next 4 rows - Quilt stitch #23
- Center of the circle - Satin Stitch #8
8. After determining the order of using the designs, sew each circle until you reach the last point of your design.
9. I decided to make my last round of designs 1" from the center point.
10. When adding the next row of stitches, I aligned the side of my presser foot with the row of stitching. This allowed the space between the stitches to be the same for each row.

11. When coming to the end of the circle, adjust to a slower speed to ensure that the stitches join cleanly.
12. If while stitching, you're unsure of how the design is progressing, stop sewing (with the needle in the down position) and lift your foot. You can smooth out your fabric or check how the stitching is going without causing the machine to lose its place.
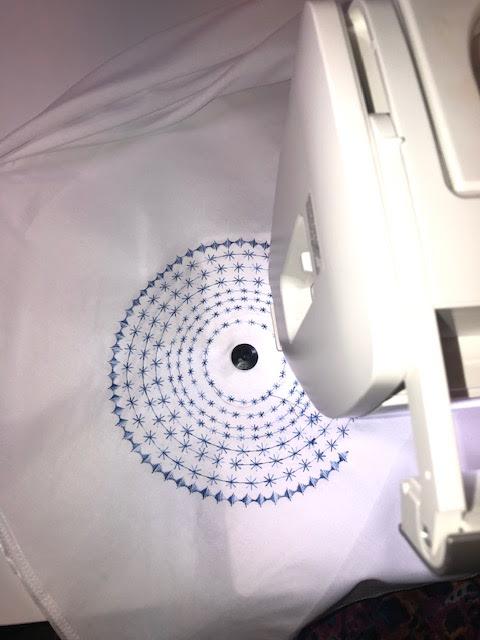
13. Here's what a finished circle looks like after completion. I added a design to the center to cover the hole from the pin.

I added circles to the back of my tunic ~
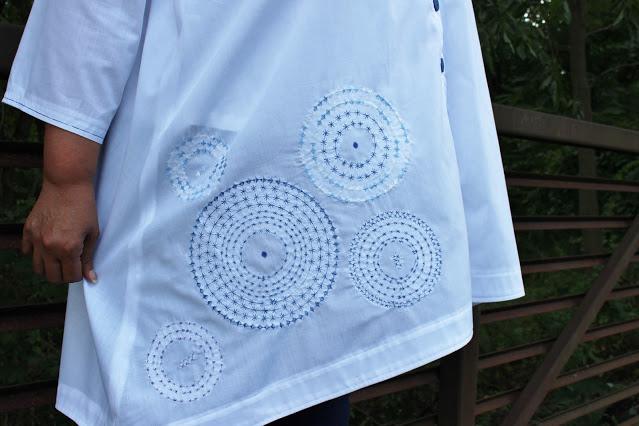
Several sizes of circles to the bottom front of my tunic. You can choose one color or more for a completely different look!
I also added one on the elbow of the sleeve for an extra design pop! You can add a variety of sizes of circles and decorative stitches to create a gorgeous statement piece!


A Few Tips to make using the Circular Attachment easier:
- When you take the screw out of the package, put it in a magnetic pin cushion holder so it will not be lost.
- Gently ease the fabric - because the machine will do all of the circular stitching but if you're sewing on a large piece of fabric or a full garment, you will need to make sure ALL of the fabric is easing around the pin.
- I found it easier to let the machine perform the circular pattern stitching further away from the pin. You will need to manage the fabric more as you get closer to the pin.
You too can add any type of circle design or embellishment to your garment, a bag, a hat, or a new make. Give it a try! It's a new way to experience the wonderful abilities your sewing machine has to enhance a RTW or new garment make.