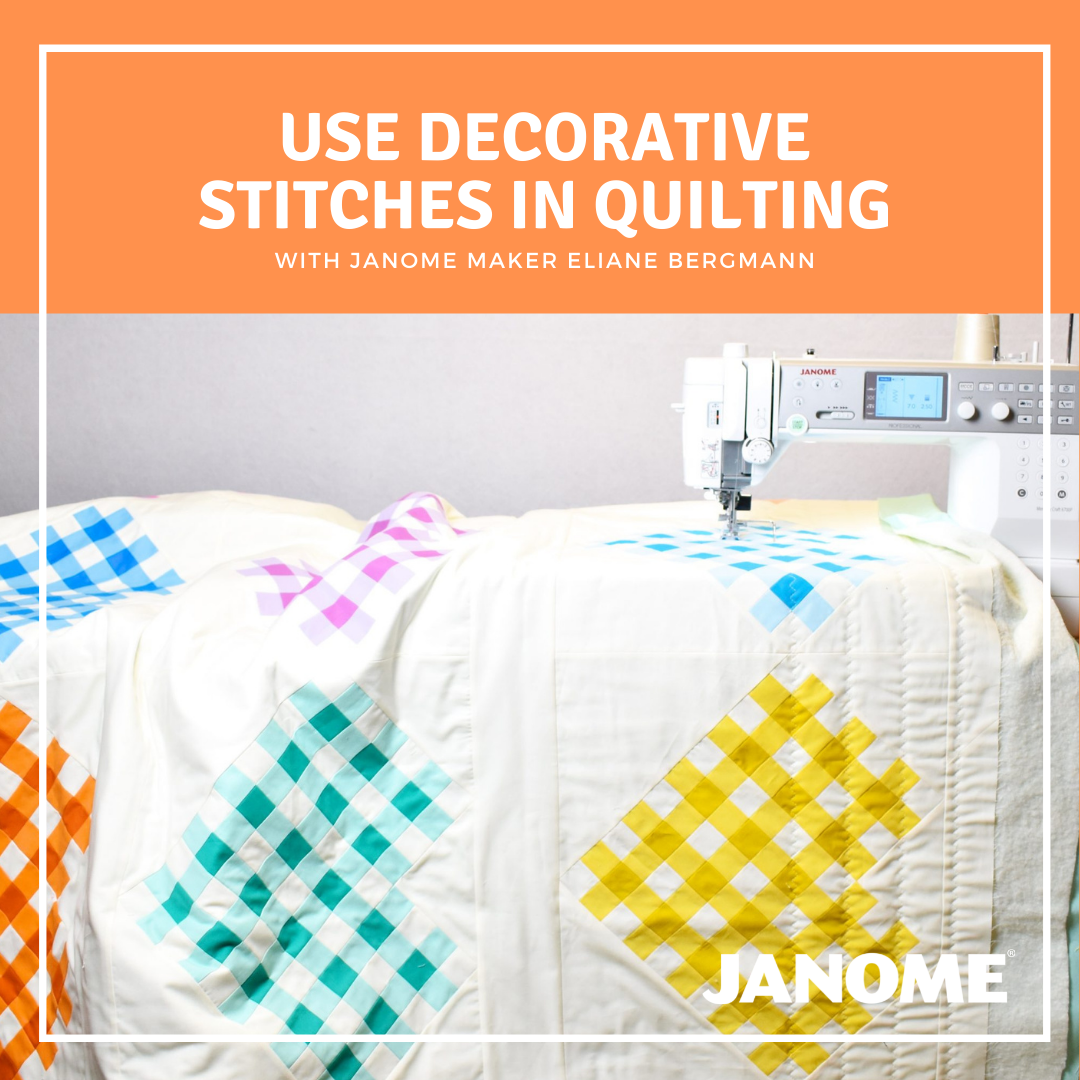
Decorative stitches can be used in so many ways! These stitches are often kept for special occasions and not utilized in everyday sewing and almost never in quilting. Janome Maker Eliane from Patchwork & Poodles is going to show you how to to use a few of these stitches to create lovely quilting with ease!
If you are just starting to quilt, this is a great way to get comfortable with handling the feel of the quilt when quilting. For the more experienced quilter, This can be your go-to when you need that fast finish for a gift or service quilts! No matter what the case, you will be thrilled by the results you can achieve with this method!
Hi, I’m Eliane from Patchwork & Poodles! I’m a quilt pattern designer, which means I make a lot of quilts. I also primarily quilt all of these at home on my Janome MC6700P machine.
While straight-line quilting is a fast way to finish a work in progress, I found myself bored of quilting the same way all the time. If you’re in the same boat, read on! You’ll find three decorative stitches you can use in your quilting, and none of them take more time than normal straight-line quilting!
The Set-Up:
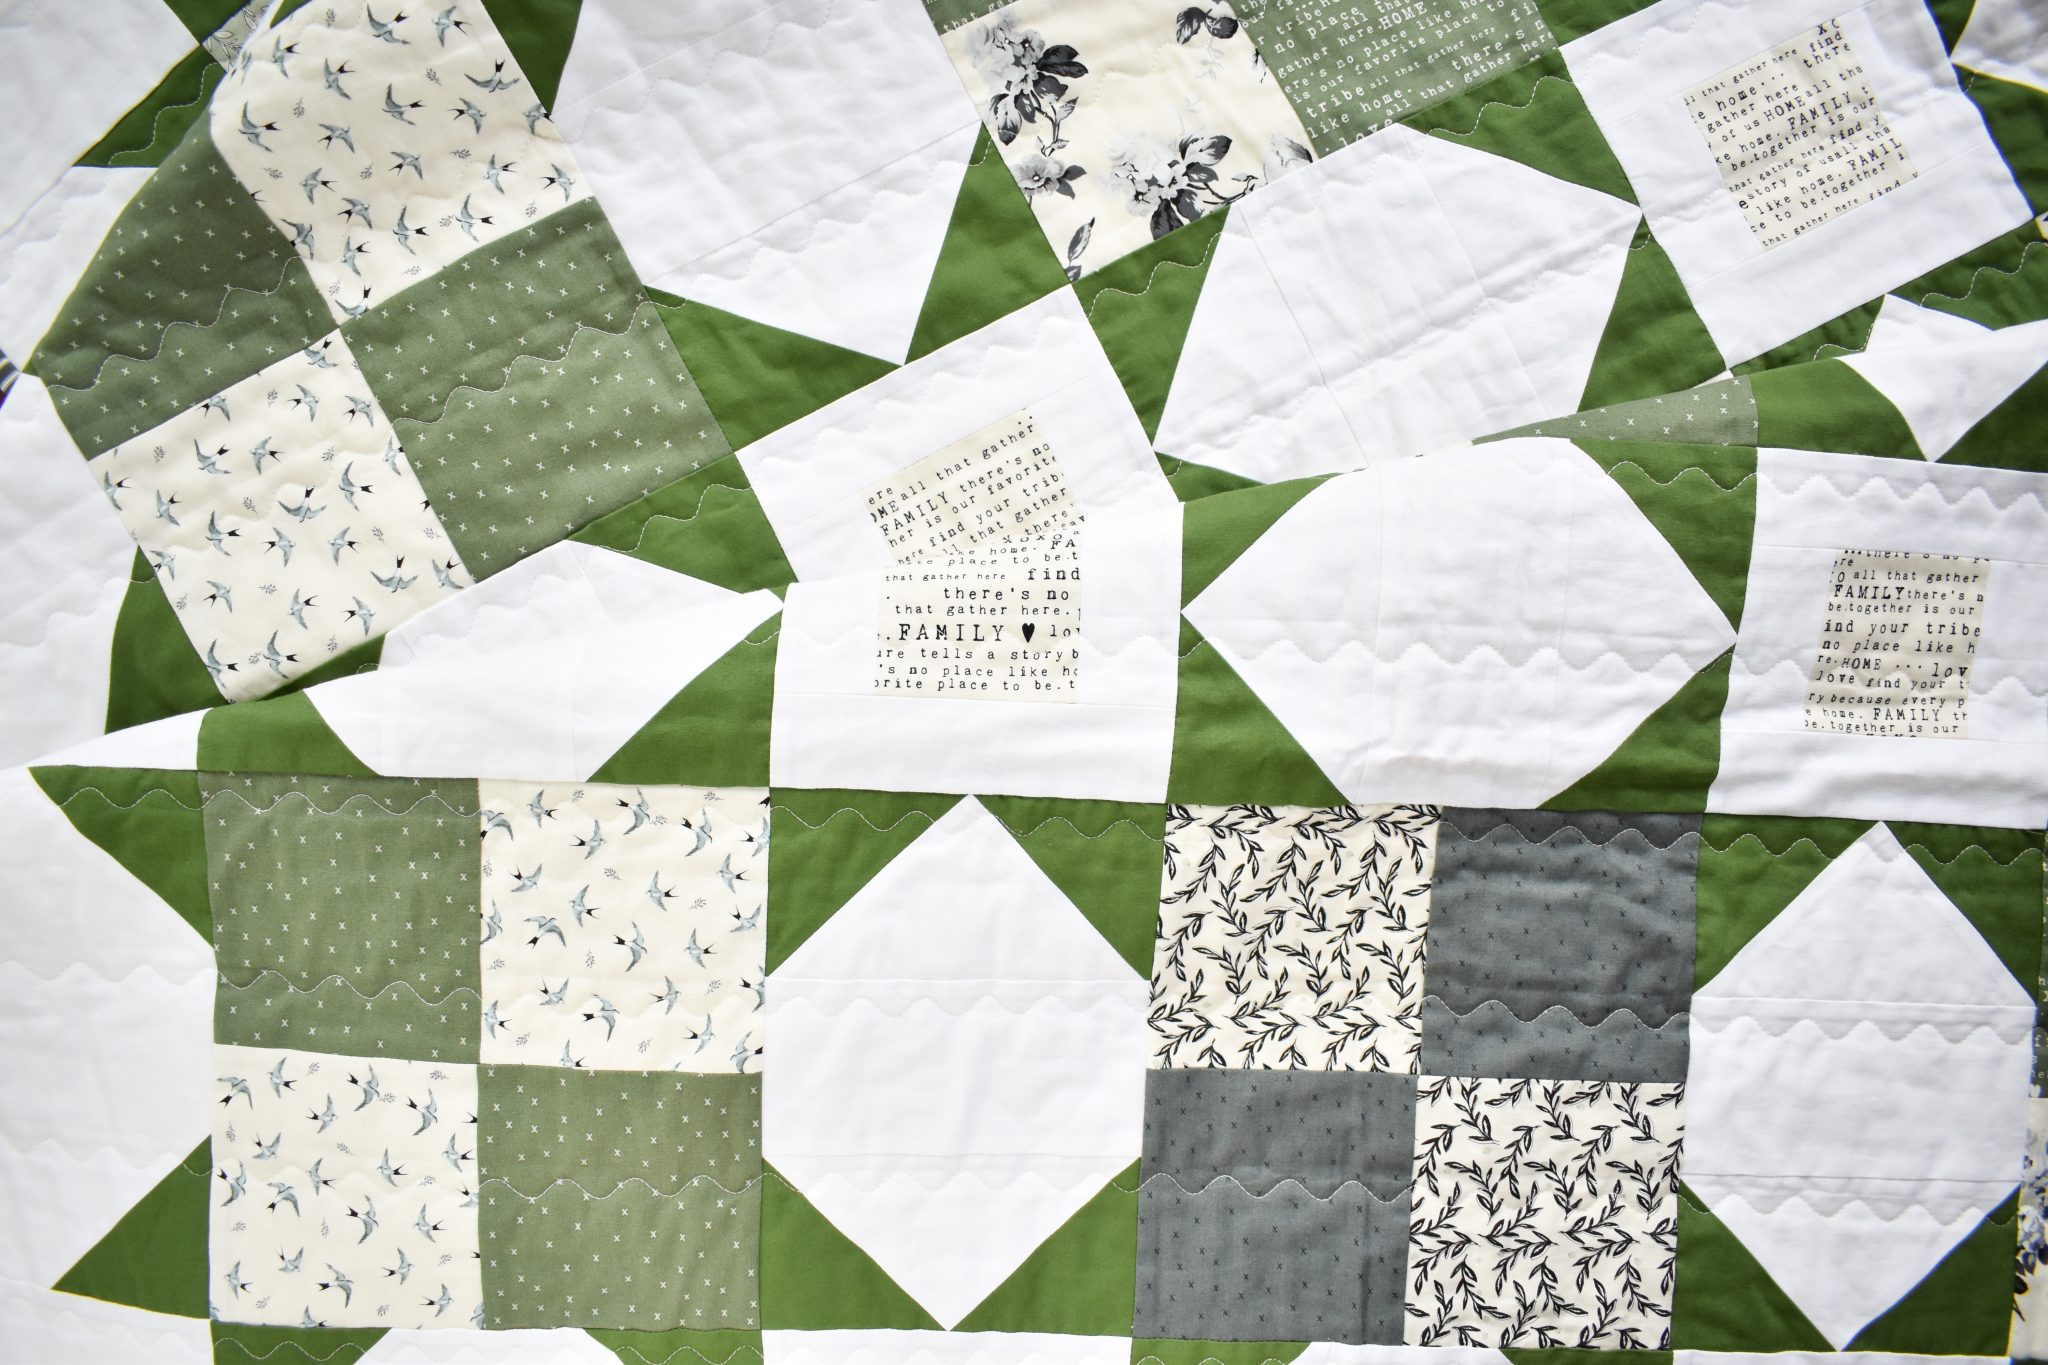
You’ll need to put your walking foot on your machine and mark some lines on your quilt. I like to use a Hera marker to mark my lines, but tape, a chalk pencil, or a water-soluble marker works well too. If you’d like to see more information about marking a quilt, watch Eliane's video:
.
VI recommends that your marking lines serve as a guide for the edge of your walking foot instead of your needle. This makes it easier to follow. Luckily, all three of these stitches are pretty forgiving, so even if you end up going a bit crooked, no one will notice!
Tips for success:
-
Practice on some scraps first to see what you like. You can vary the width of the stitches for a wider or narrower design to suit the quilt you’re quilting.
-
Go slow! You should always stitch slowly with a walking foot, and this is no exception. If your machine can regulate speed, set that up so you’re not tempted to press the pedal to the metal.
-
Gently guide your quilt, don’t force it through the machine.
The stitch widths and lengths provided below are a great starting point. Start there and then play around to find your favorite combination!
Three-Step Zig-Zag:
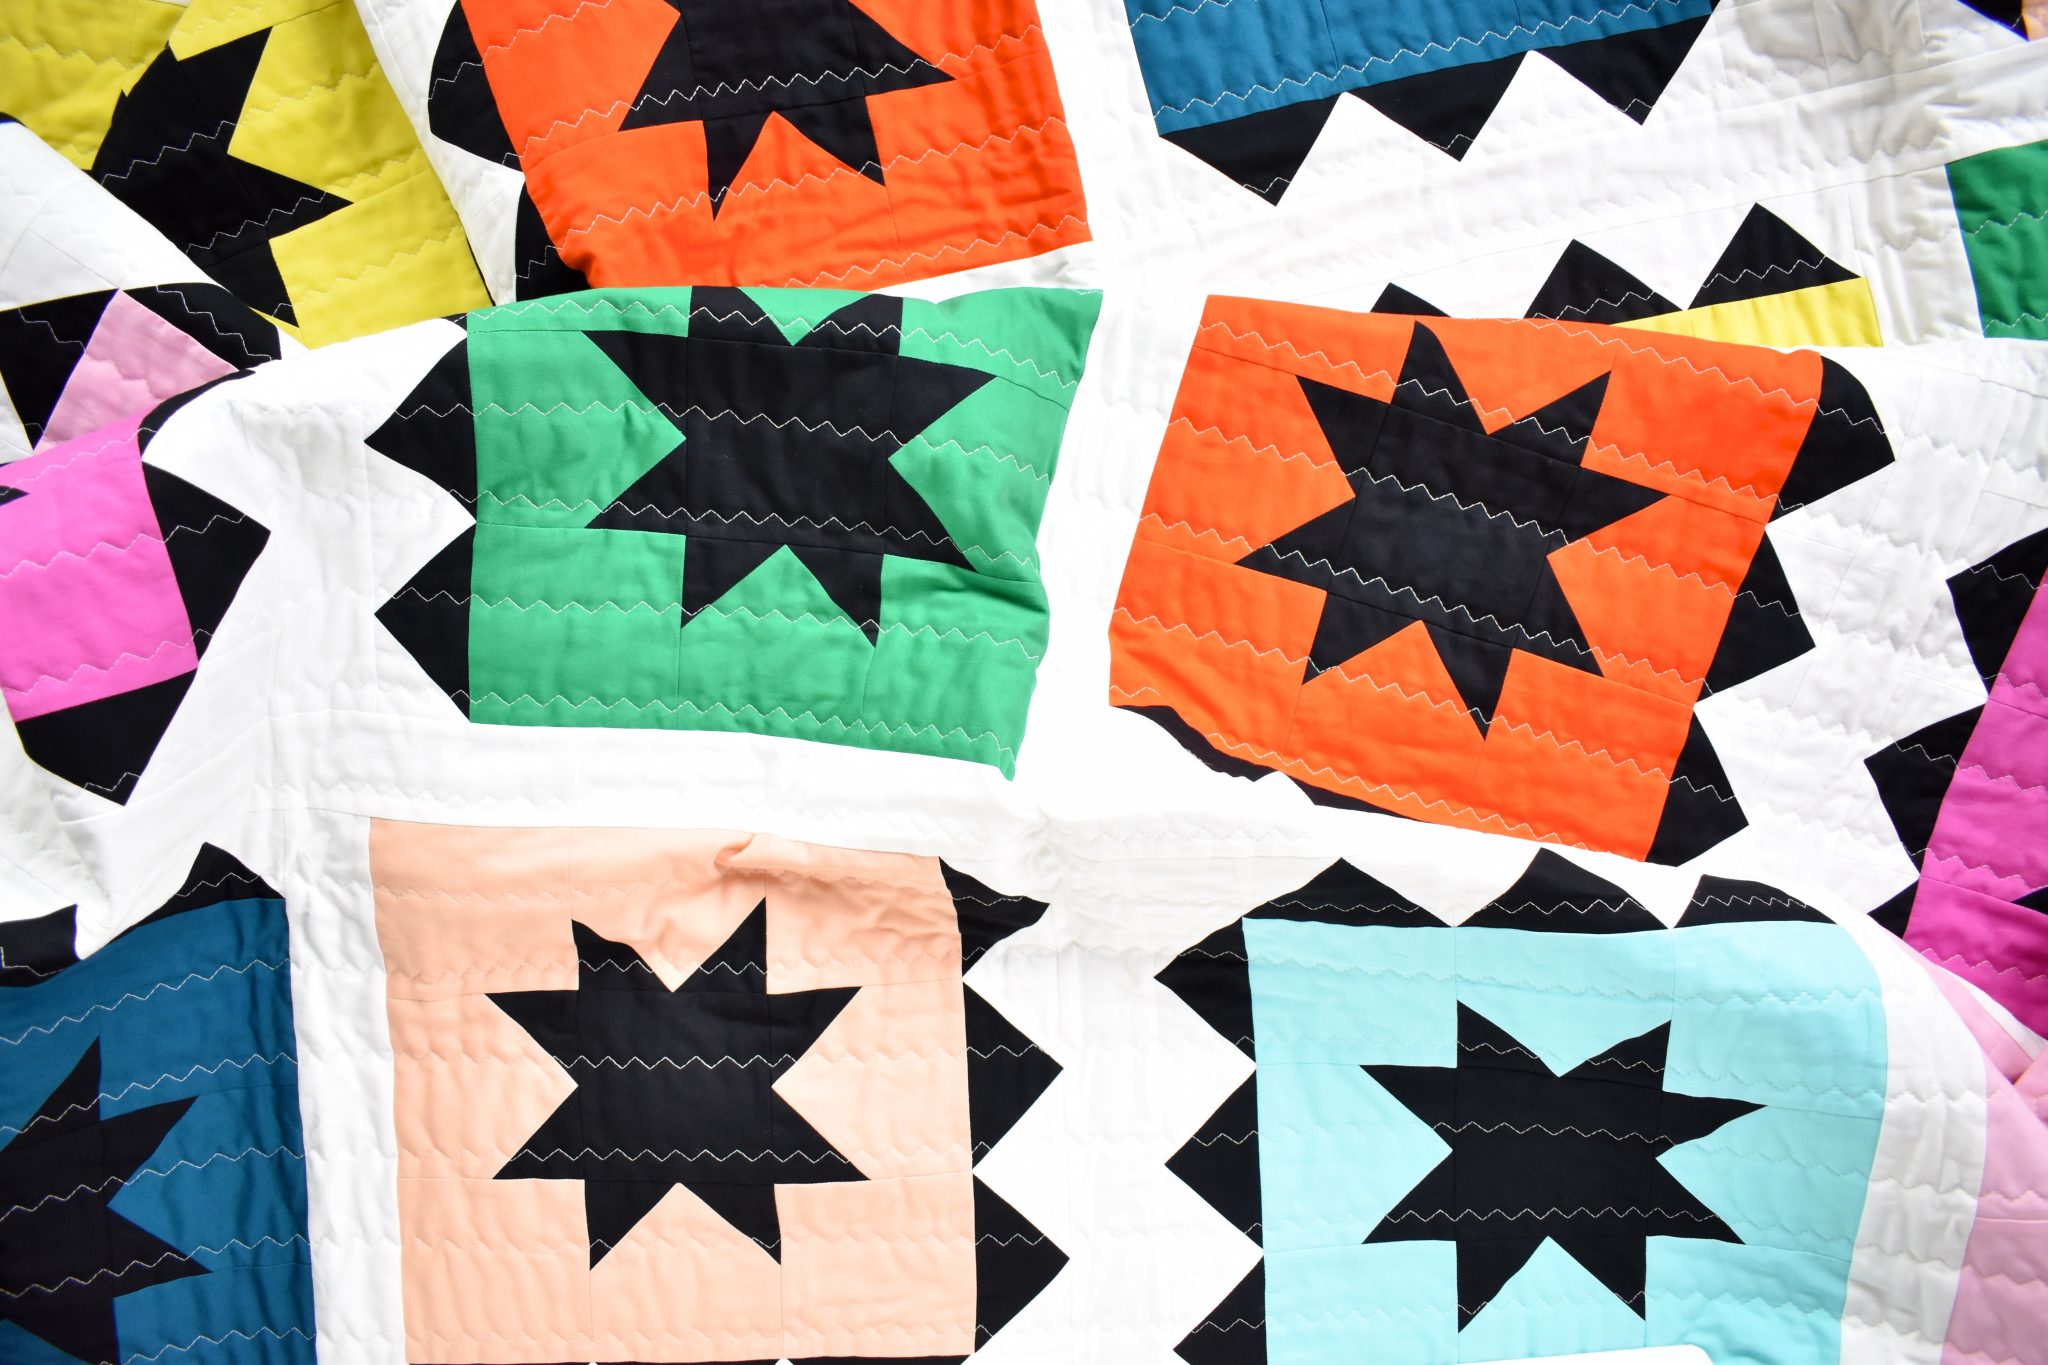
Three-Step Zig-Zag on a Zippy Quilt
This fun stitch creates a wide zig-zag that is made up of multiple individual stitches. This one adds a really nice crinkle effect when the quilt is washed and adds a playful touch to any quilt. Vary the stitch length and width until you like the results. Just be sure that your individual stitches aren’t too small!
Stitch: 011
Stitch Width: 7.0
Stitch Length: 2.5
The Serpentine Stitch:
The Serpentine Stitch on Summer Glow Quilt (Free Pattern!)
The serpentine stitch adds quilted waves to your quilt and is a good one to use if you want to soften a very angular quilt. Vary the stitch width to create a wider serpentine stitch. This is also a great stitch to use for water/ocean-themed quilts.
Stitch: 096
Stitch Width: 9.0
Stitch Length: 3.0
The Scallop Stitch:
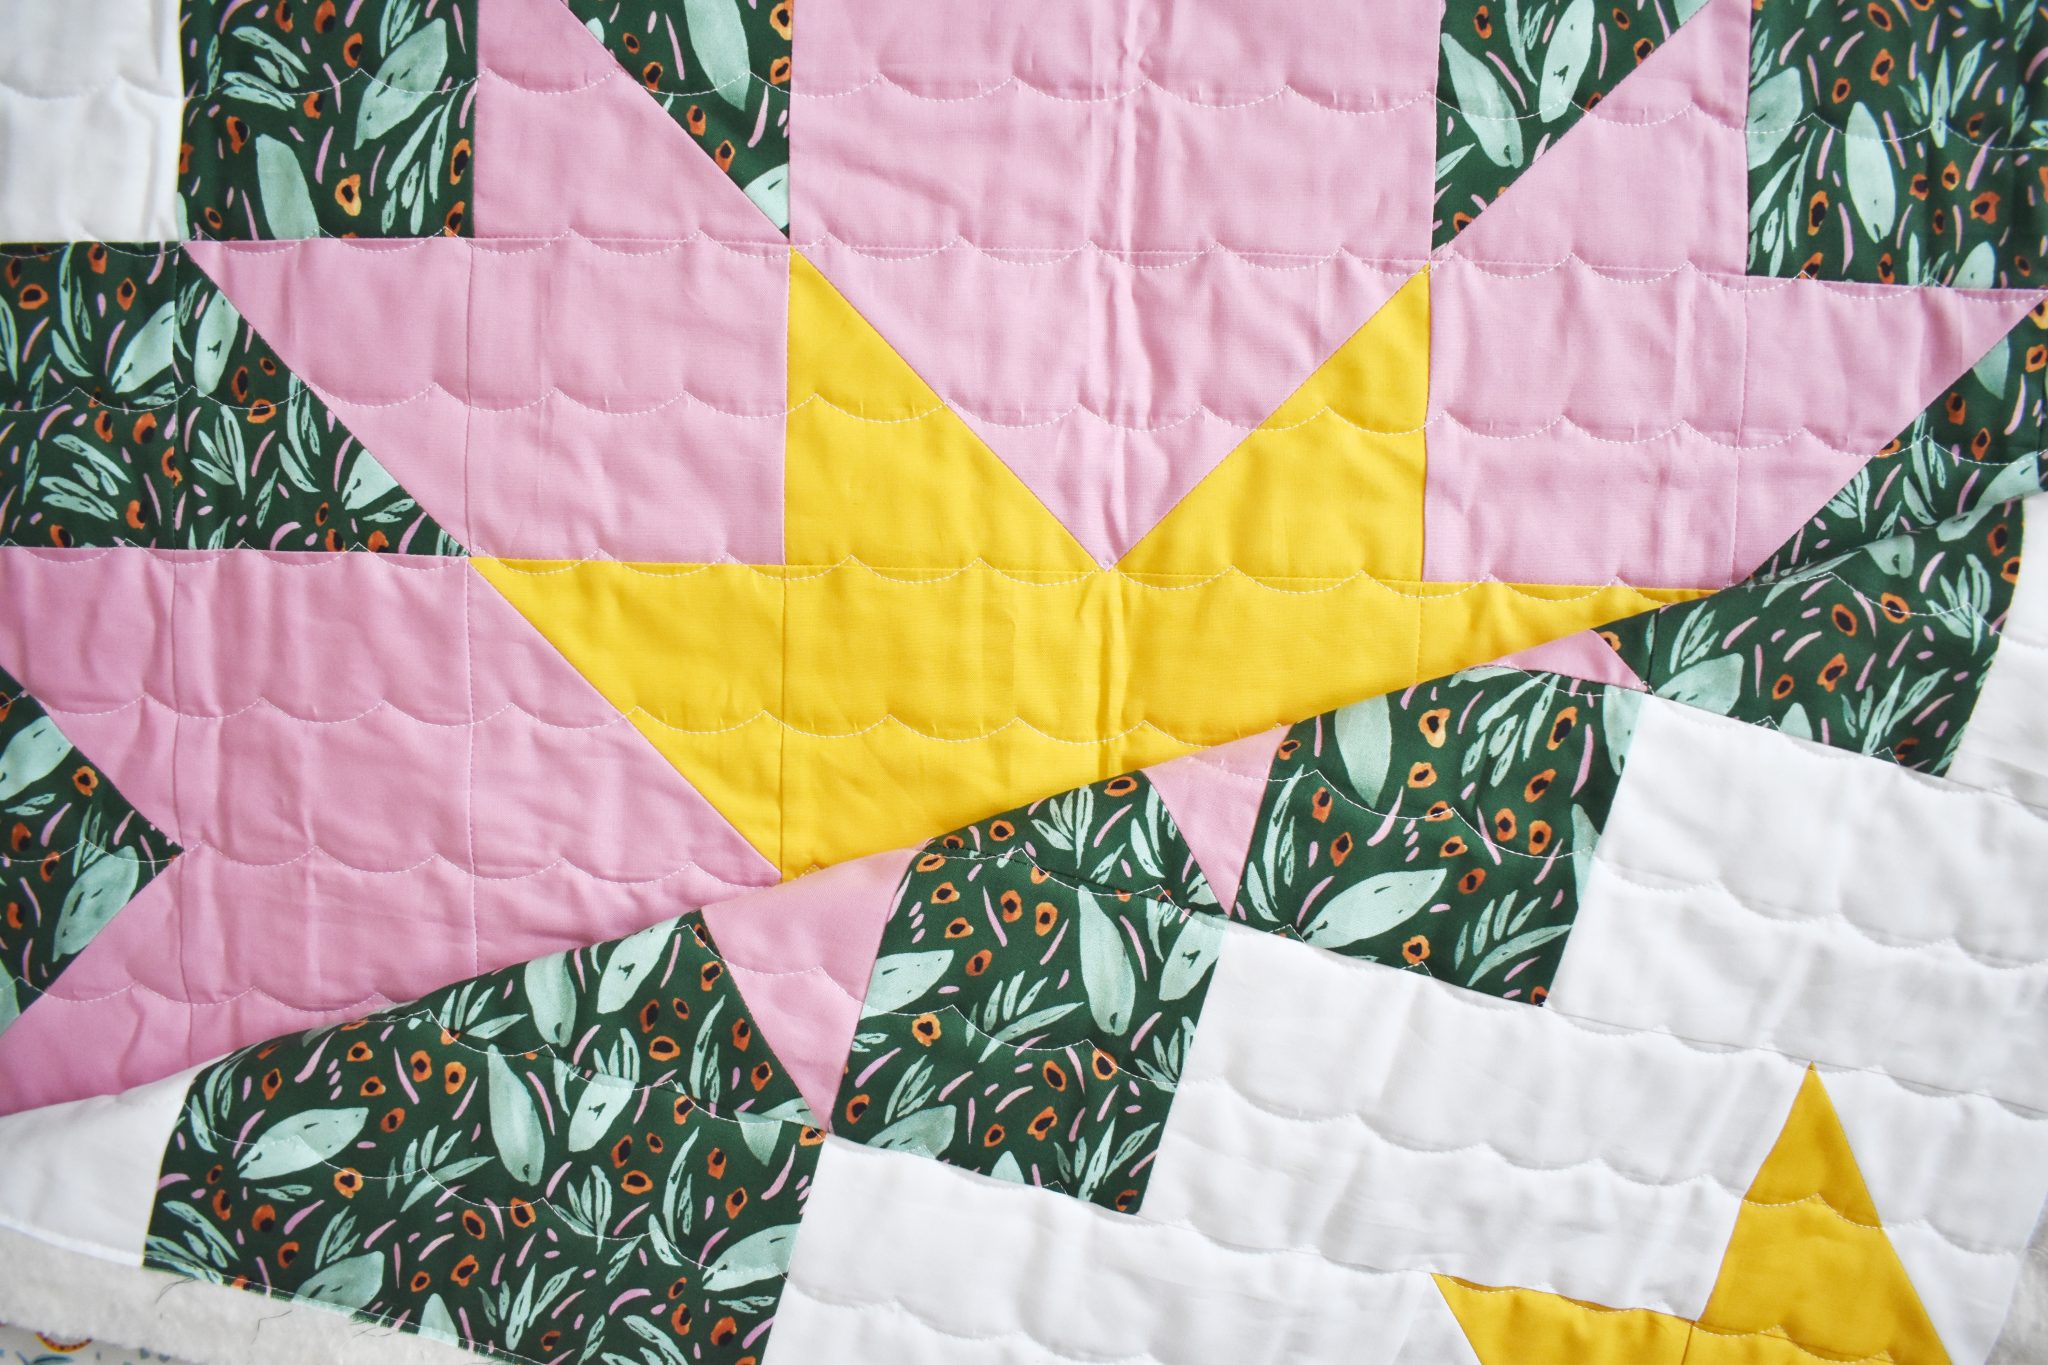
Scallop Stitch on Etoile Quilt
This stitch is probably my favorite as it is so versatile. You can create the scallops right side up to look like lace or ocean waves, or upside down to look like clouds.
Stitch: 111
Stitch Width: 9.0
Stitch Length: 2.5
After you try this method, be sure to take photos and share!