Making the pillow sleeve:
Unless otherwise stated, sew with a ¼” seam allowance.
![]()
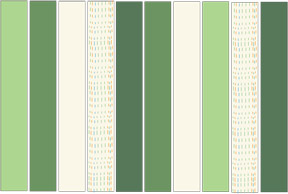
1. Cut out ten 2 ½” x 18” strips.
![]()
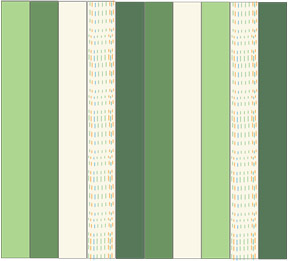
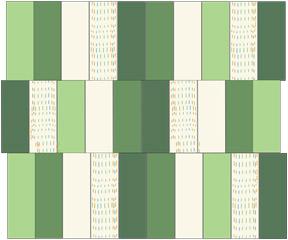
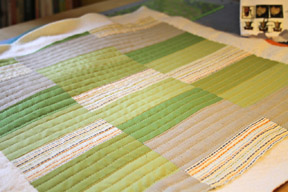
2. Sew together the strips. Press.
![]()
3. Use your rotary cutter to cut the panel of strips into three portions. I don’t use a ruler or measure when I do this step. I like the slightly “off” look to just doing it at random and “eyeballing” the three portions.
![]()
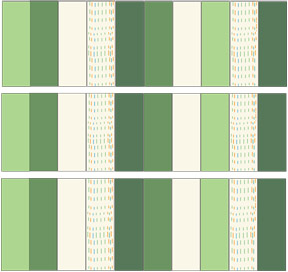
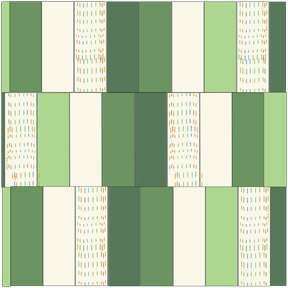
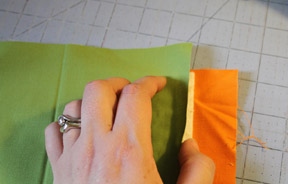
4. Flip the center portion around and offset the rows so that it so that the rectangles are offset from each other.
![]()
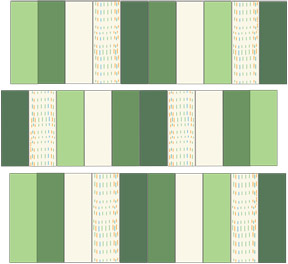
5. Sew together the three portions.
![]()
6. Trim down to 16” square.
![]()
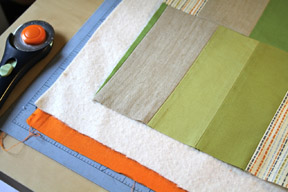
7.. Take your finished piecing and layer it with the front batting square and scrap fabric square.
![]()
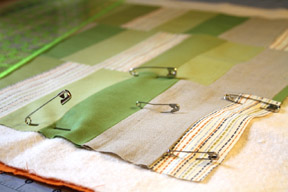
8. Baste as needed.
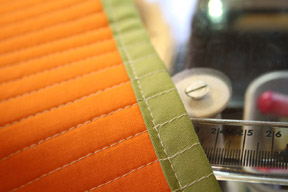
8. Quilt as desired. I did vertical seams evenly spaced apart, using the edge of my walking foot as the guide for each seam.
![]()
Then I added about an inch worth of very, very, very dense horizontal lines about a 1/3 of the way down from the top of the pillow.
![]()
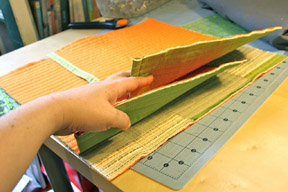
9. Layer your quilt sandwich for the two backing portions of your pillow. Be certain to layer the back fabric with the batting so that it hangs off of the top of the batting by about an inch.
Tip: Take care if you’re using a directional print for the backing fabric. Make sure the hanging inch is on the correct edge of the batting so that the print will all face the same way on both backing pieces.
10. Quilt both back pieces as desired. I simply did the same horizontal evenly spaced quilting lines.
![]()
11. Press the extra hanging inch of fabric in half, and then in half again. Sew in place to close off the edge. Repeat with the second back piece.
![]()
12. Layer your three pillow pieces, right sides together, layering the two back pieces so that they overlap as pictured.
13. Using a ½ inch seam allowance, sew all the way around the perimeter of the pillow.
14. Trim the corners, and turn right side out. Fill with your pillow form and you’re all done!