Projects

Embroidering Faces for Kigurumis

Created By:

Janome Maker Tyska

Skill Level: Intermediate

Ever wanted to make your own kigurumi or onesie, but became overwhelmed when you got to the face? This tutorial will walk you through the applique and embroidery process on your machine, and also comes with an example file to try out yourself!

Janome Supplies Required
Instructions

Embroidering Faces for Kigurumis


What you will need:

Embroidery machine! I’m using the Skyline S9, assembled with the embroidery attachment.
– Your embroidery file! You can use the one in this tutorial or make your own.
– Fleece or minky in chosen colors
– Scissors (curved embroidery snips are recommended!)
– Embroidery needle

– Embroidery thread. I used: black, white, grey, lt pink, med pink, and dark pink Gutermann
– Janome bobbin thread (white)

– Medium weight embroidery stabilizer and basting adhesive spray
– Wash-away top stabilizer
– Your machine’s embroidery hoop! I did this on the S9’s RE20a (6.7” x 7.9”)


Stabilize, Stabilize, Stabilize!

First, we’re going to want to stabilize and hoop your base fabric. Fleece can be very stretchy, so we want to pick a solid, medium-weight stabilizer to hold it in place. If not stabilized sufficiently, the embroidery stitches will stretch your fabric over time and could throw the design’s alignment out of whack!

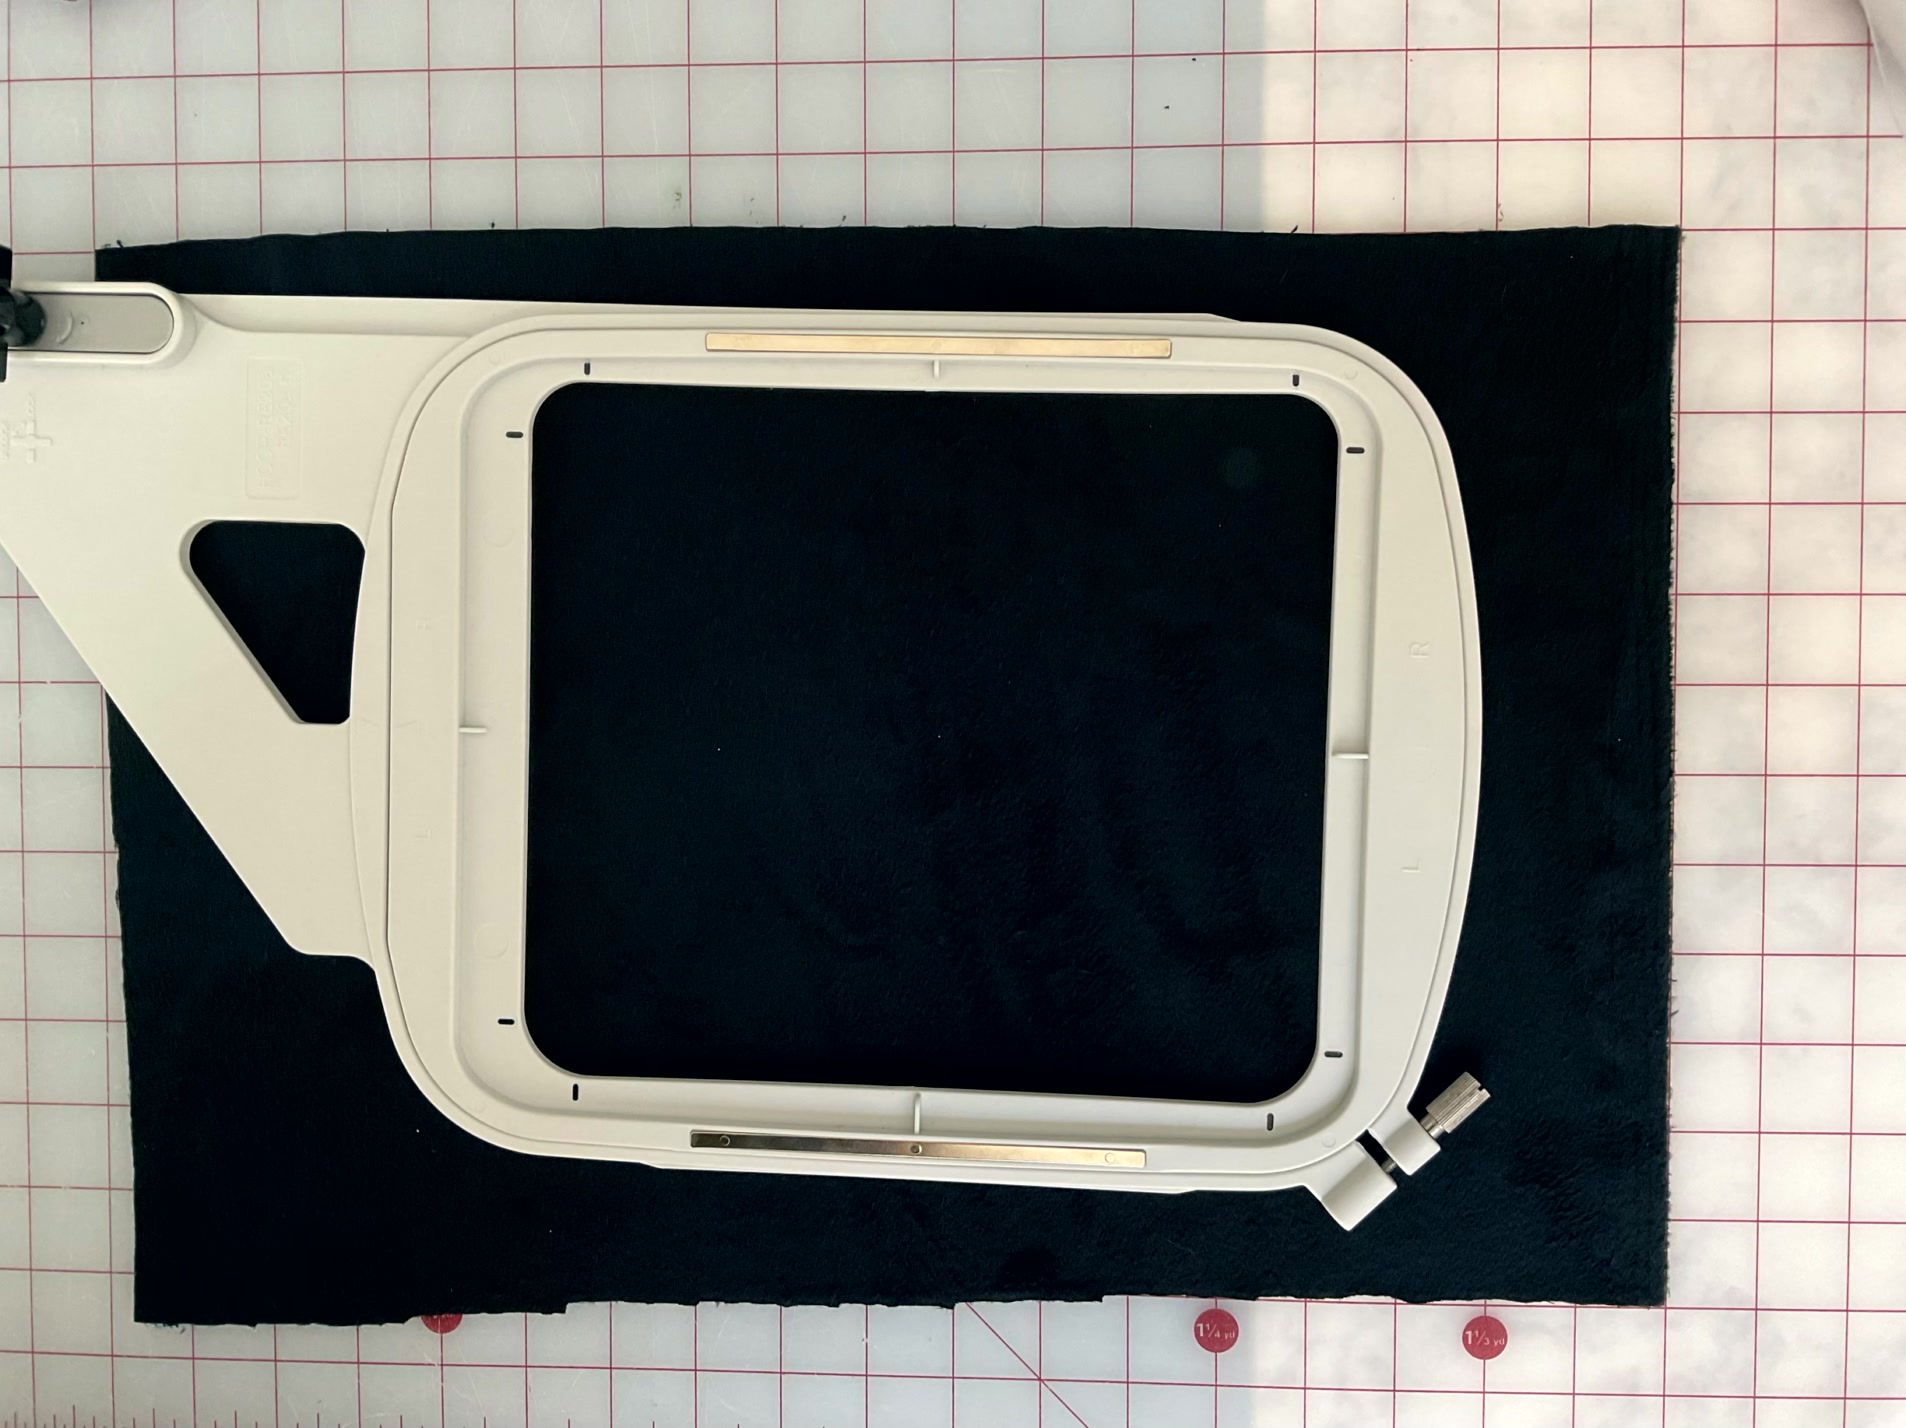
Cut your fleece and bottom stabilizer bigger than the size of your hoop.


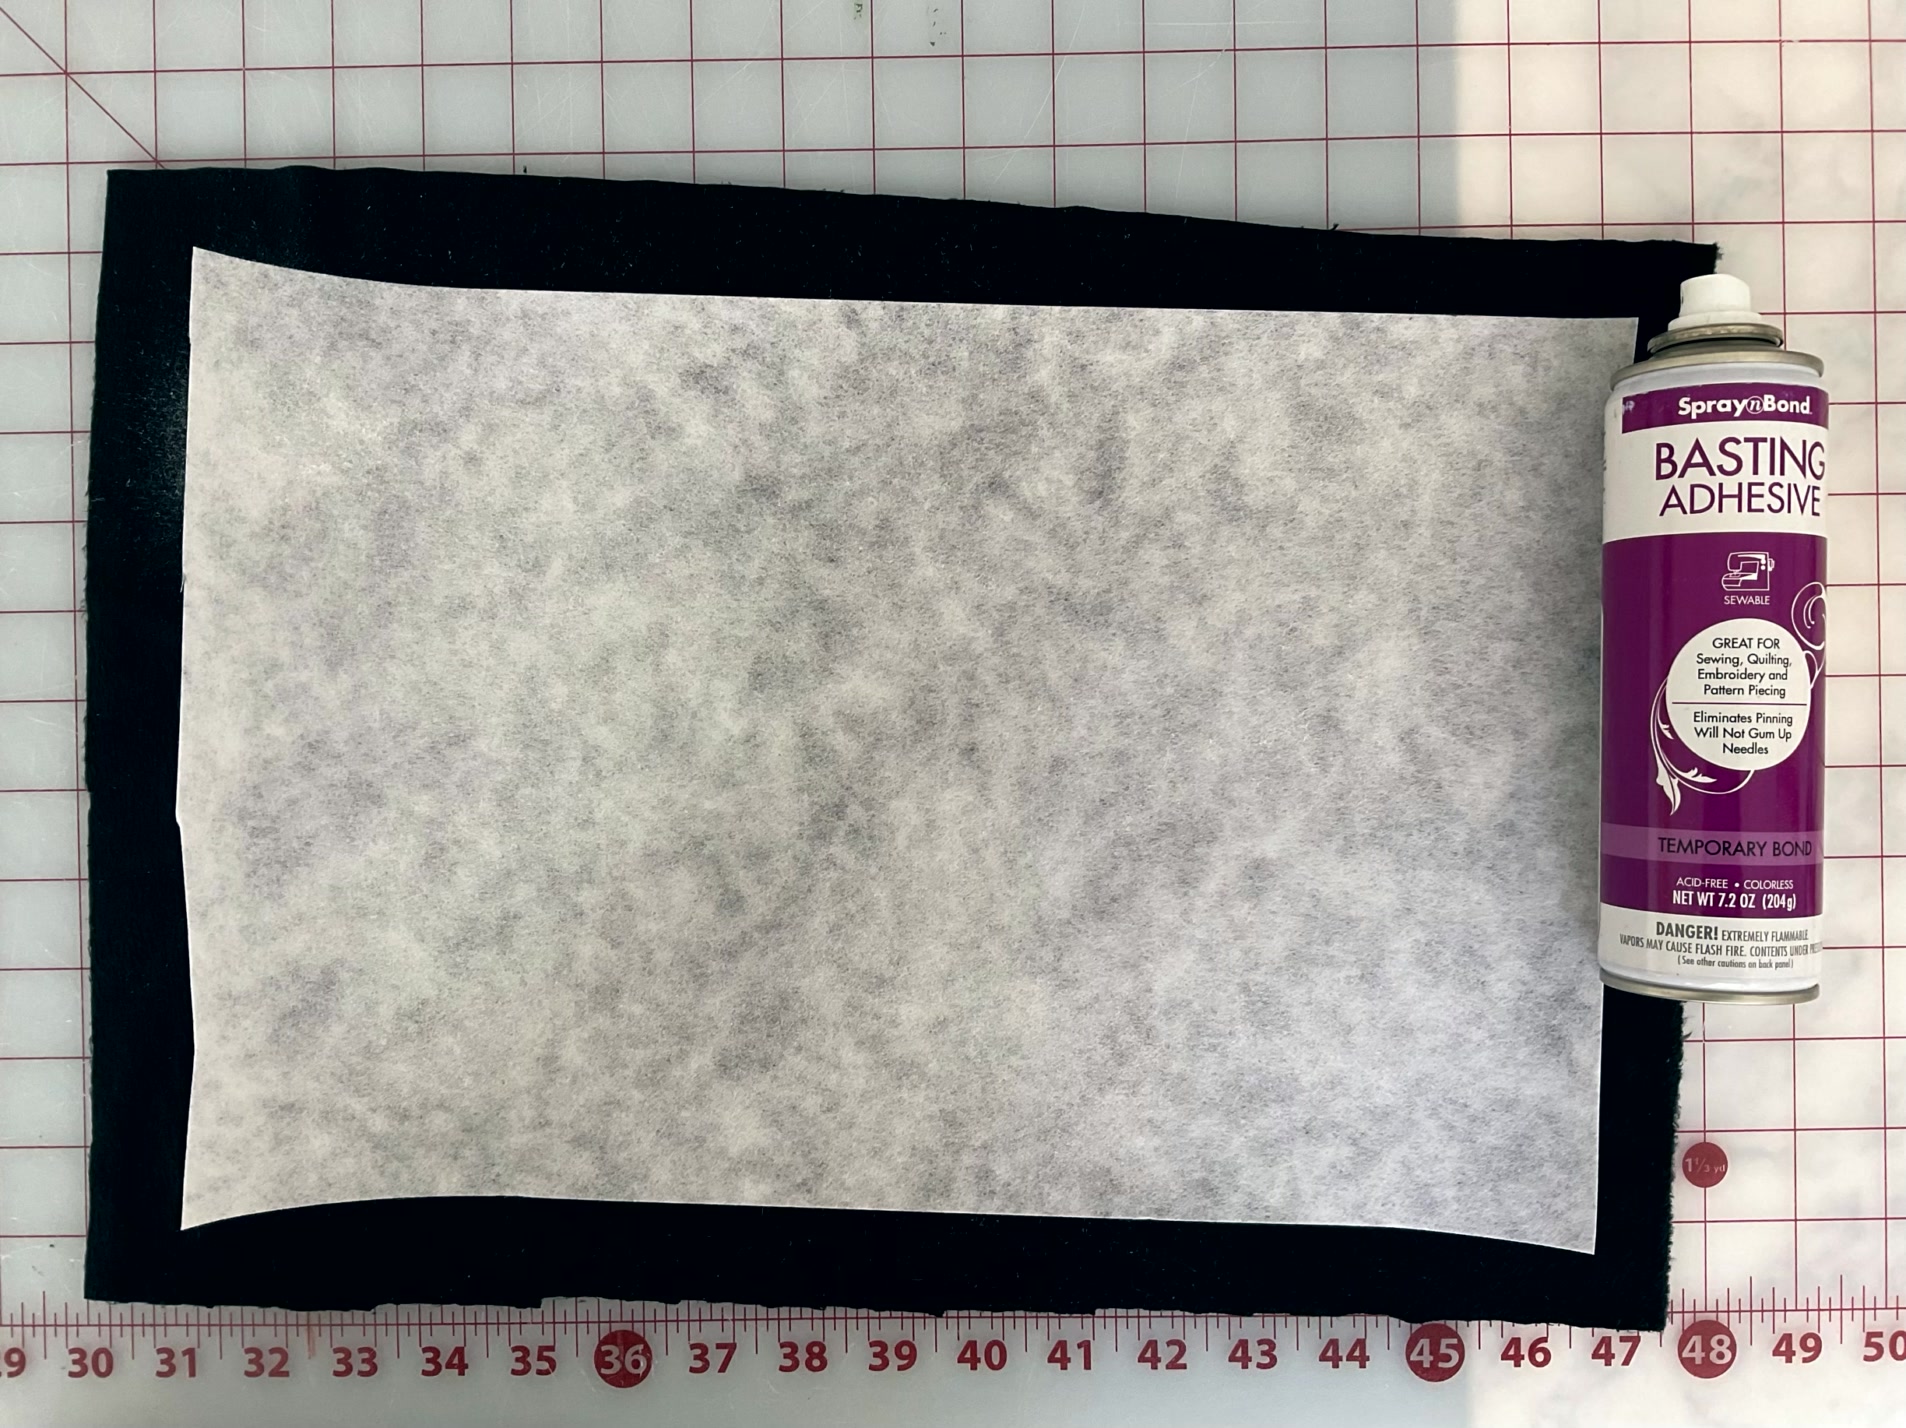
Using your basting spray, lightly coat one side of your fleece. Press your stabilizer onto the fleece to adhere. I like this method better than fusible stabilizers, but those will absolutely work as well!


Hoop your fabric


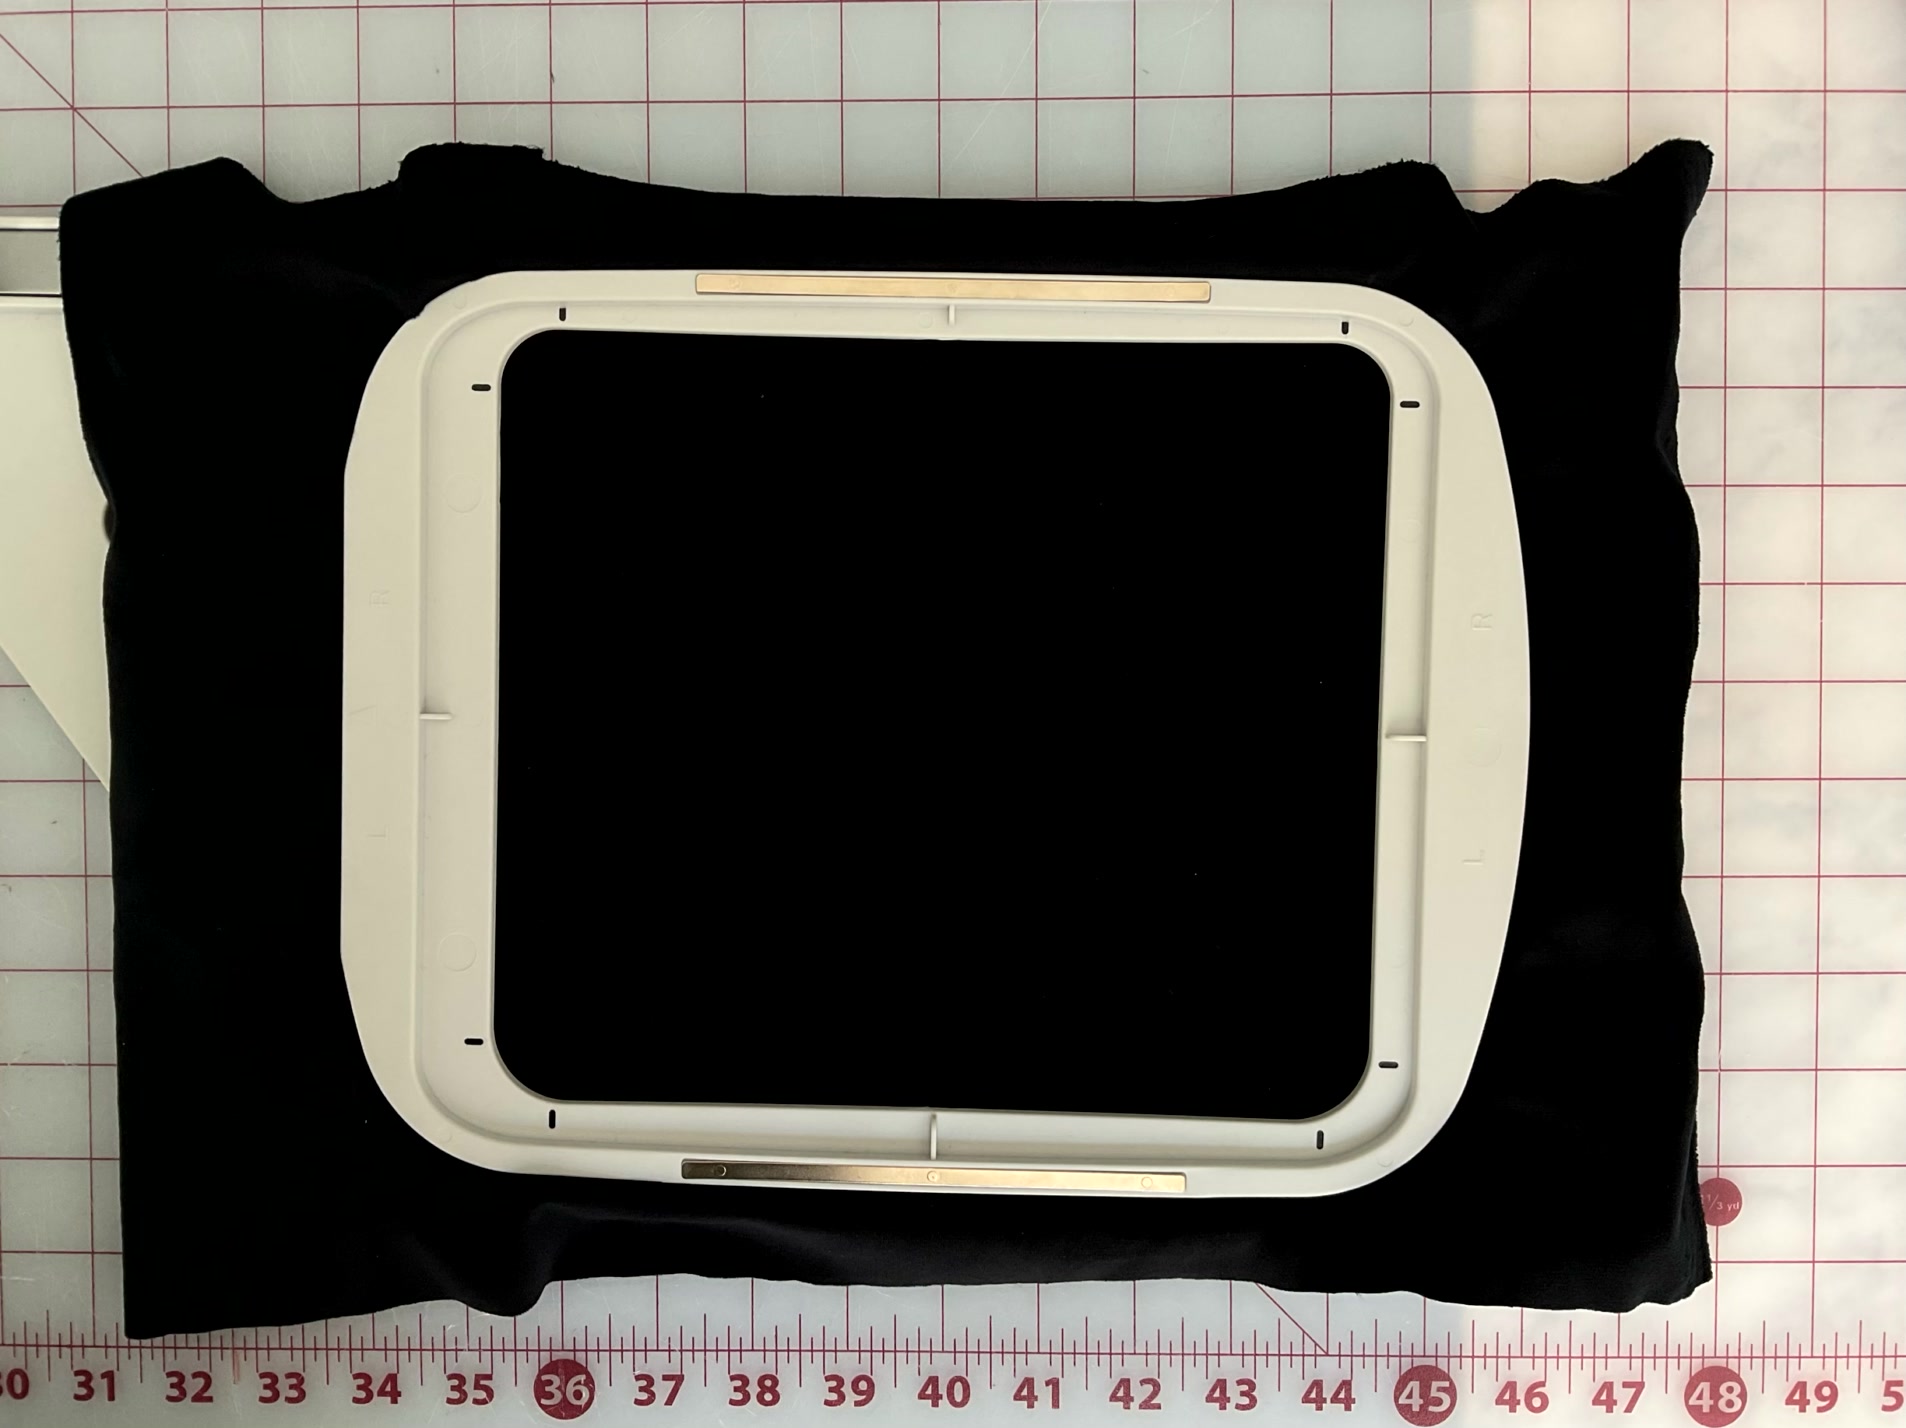
Lay your bottom hoop on the table then place your stabilized fleece on top. The upper half of the hoop should lock in place atop the fleece. Do not try to overstretch your fleece or stabilizer in the hoop! It should fit in snugly, and should be just taut enough to not appear obviously saggy.

Time to Applique!


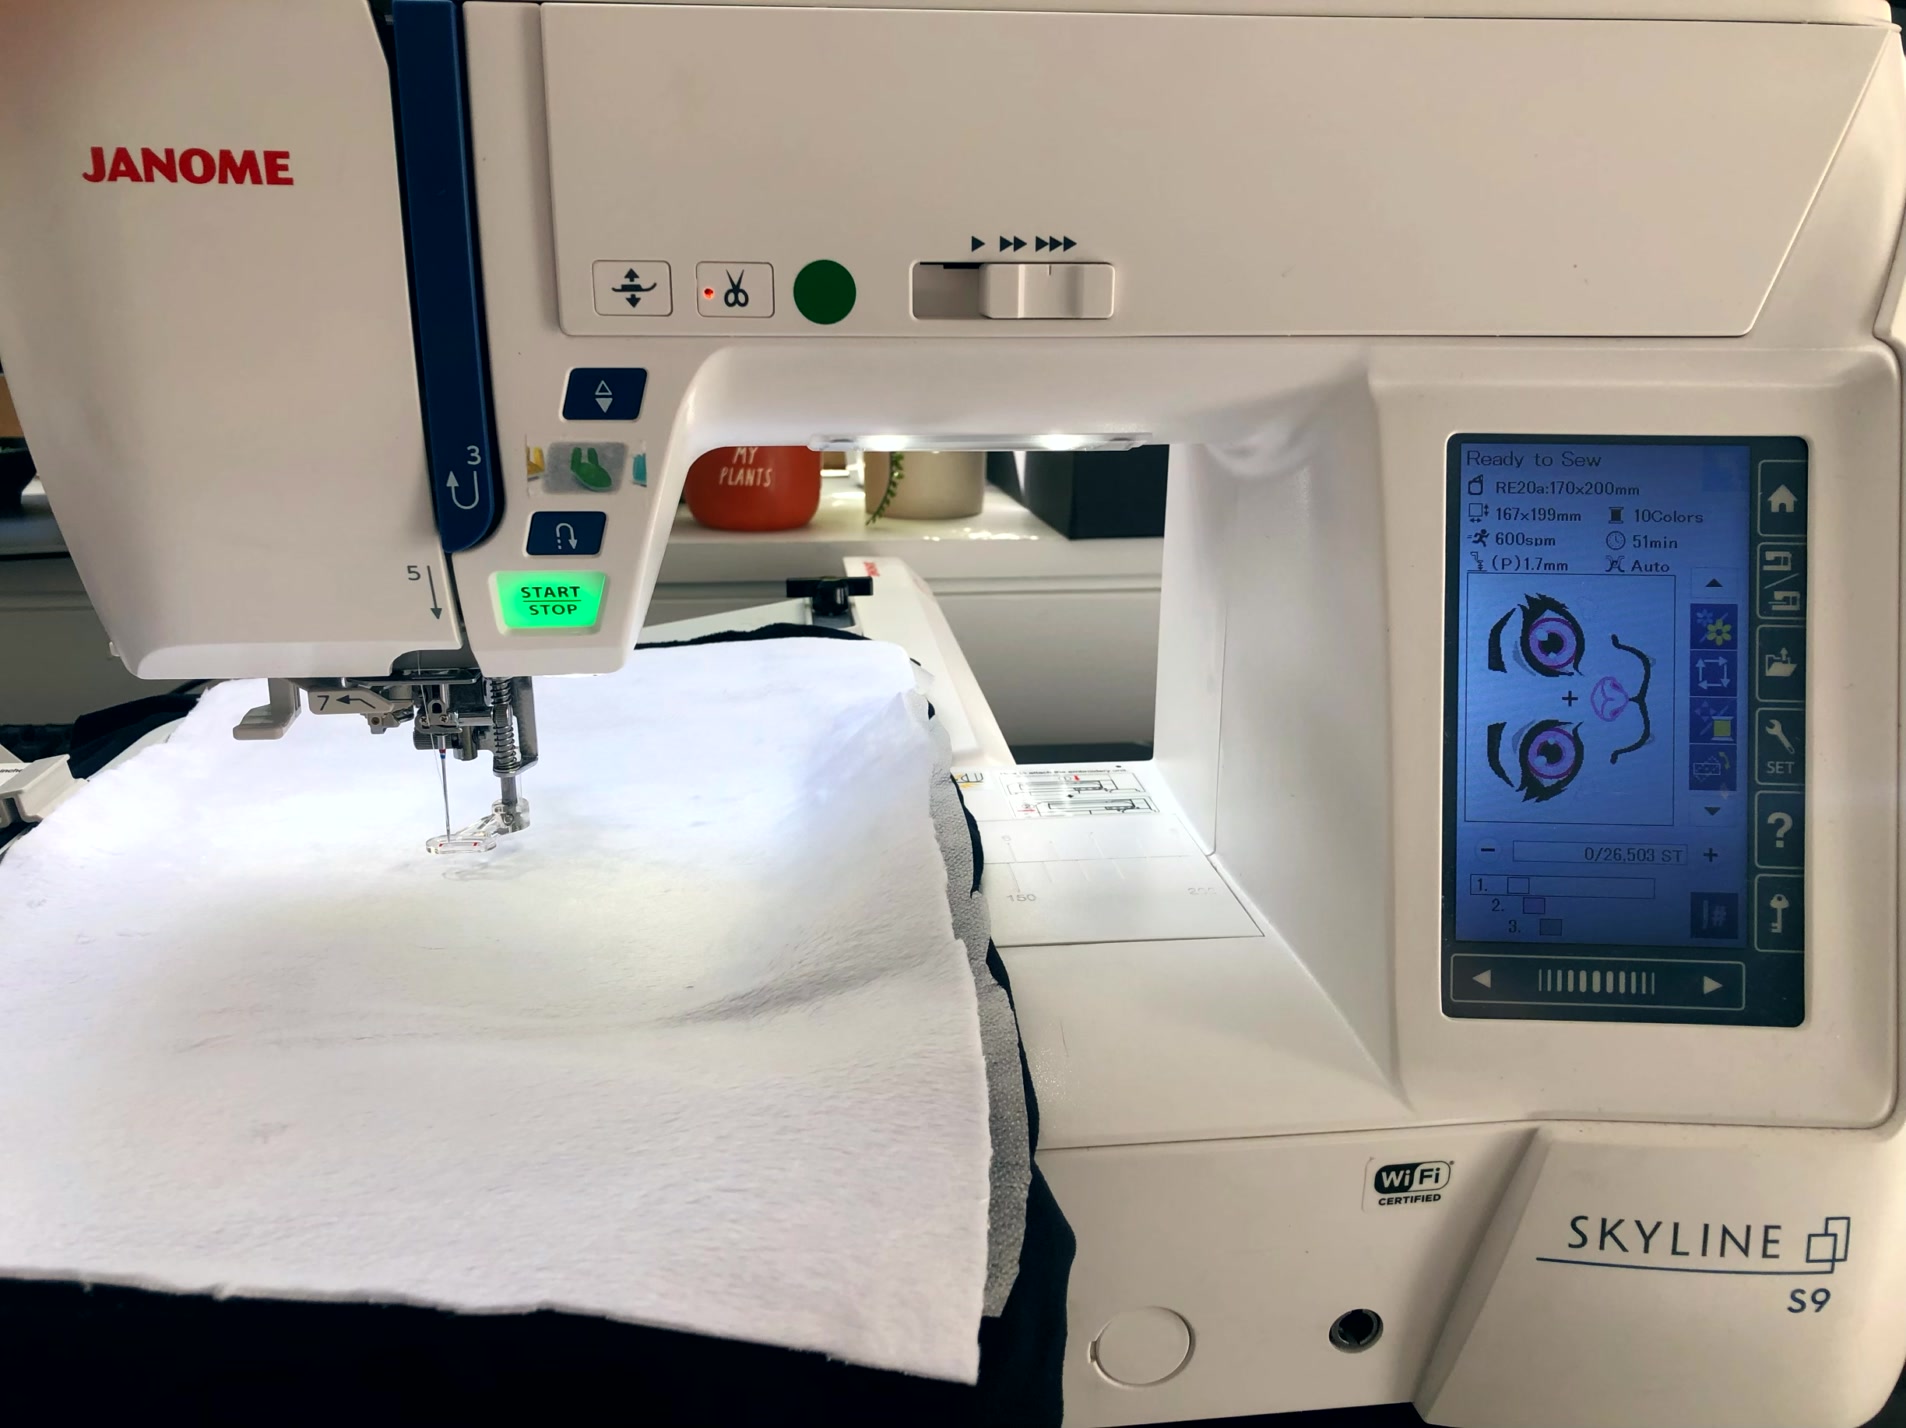
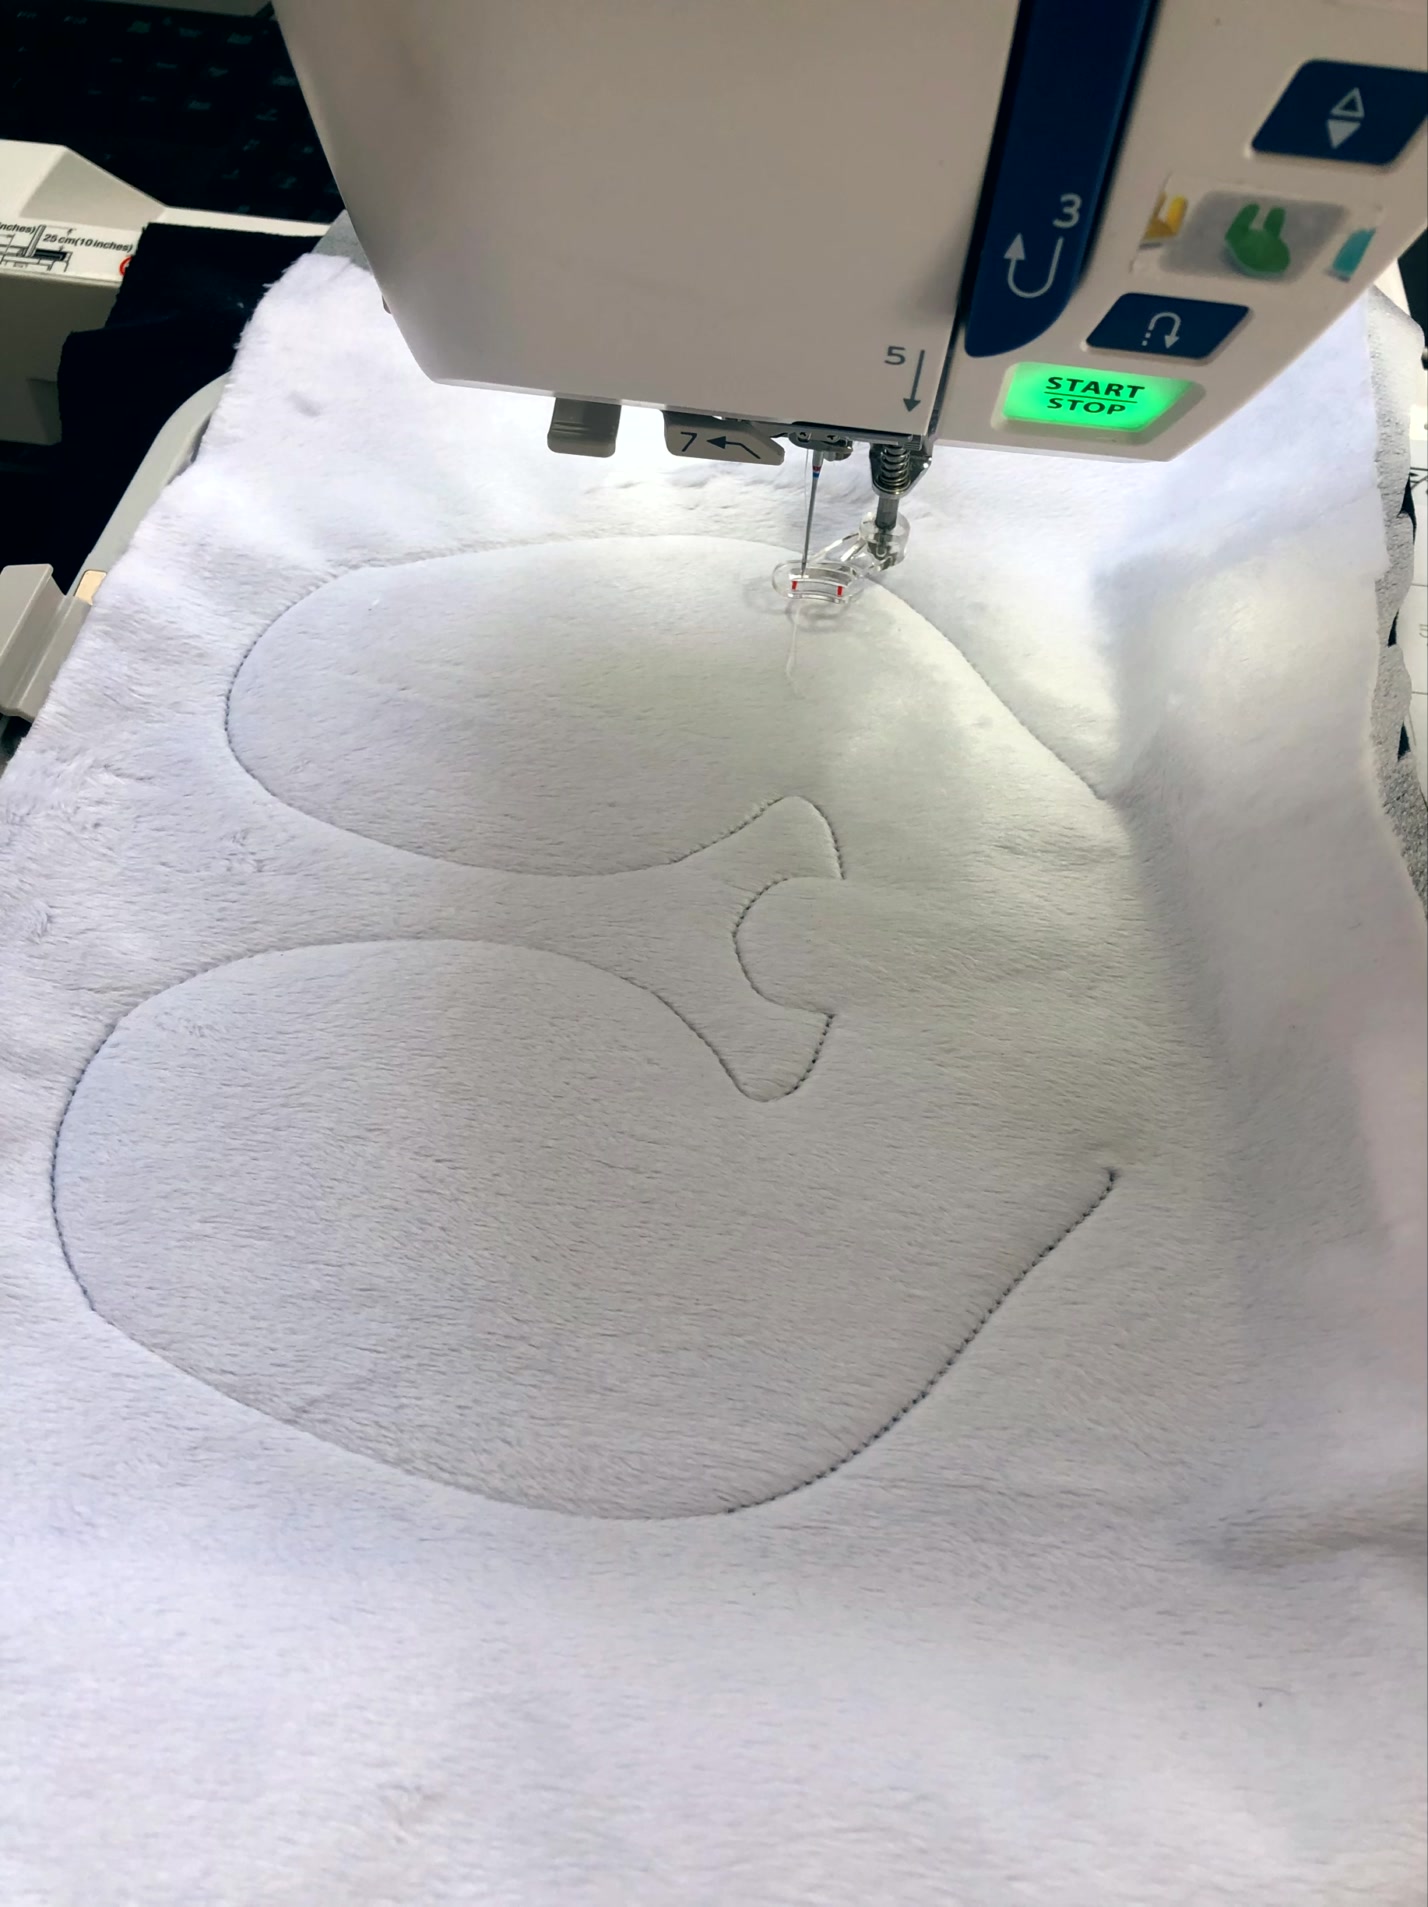
We will be “floating” the first applique fabric on top of your hoop. This means pretty much how it sounds– Just place the applique fabric over your hoop, and hit Start to get the file going!

For the provided file, you need a “face” fabric and then a “nose” fabric for your appliques. In your own design you could use any number of fabrics. The idea is to use an applique in places you wouldn’t want to use a tatami embroidery fill, aesthetically.


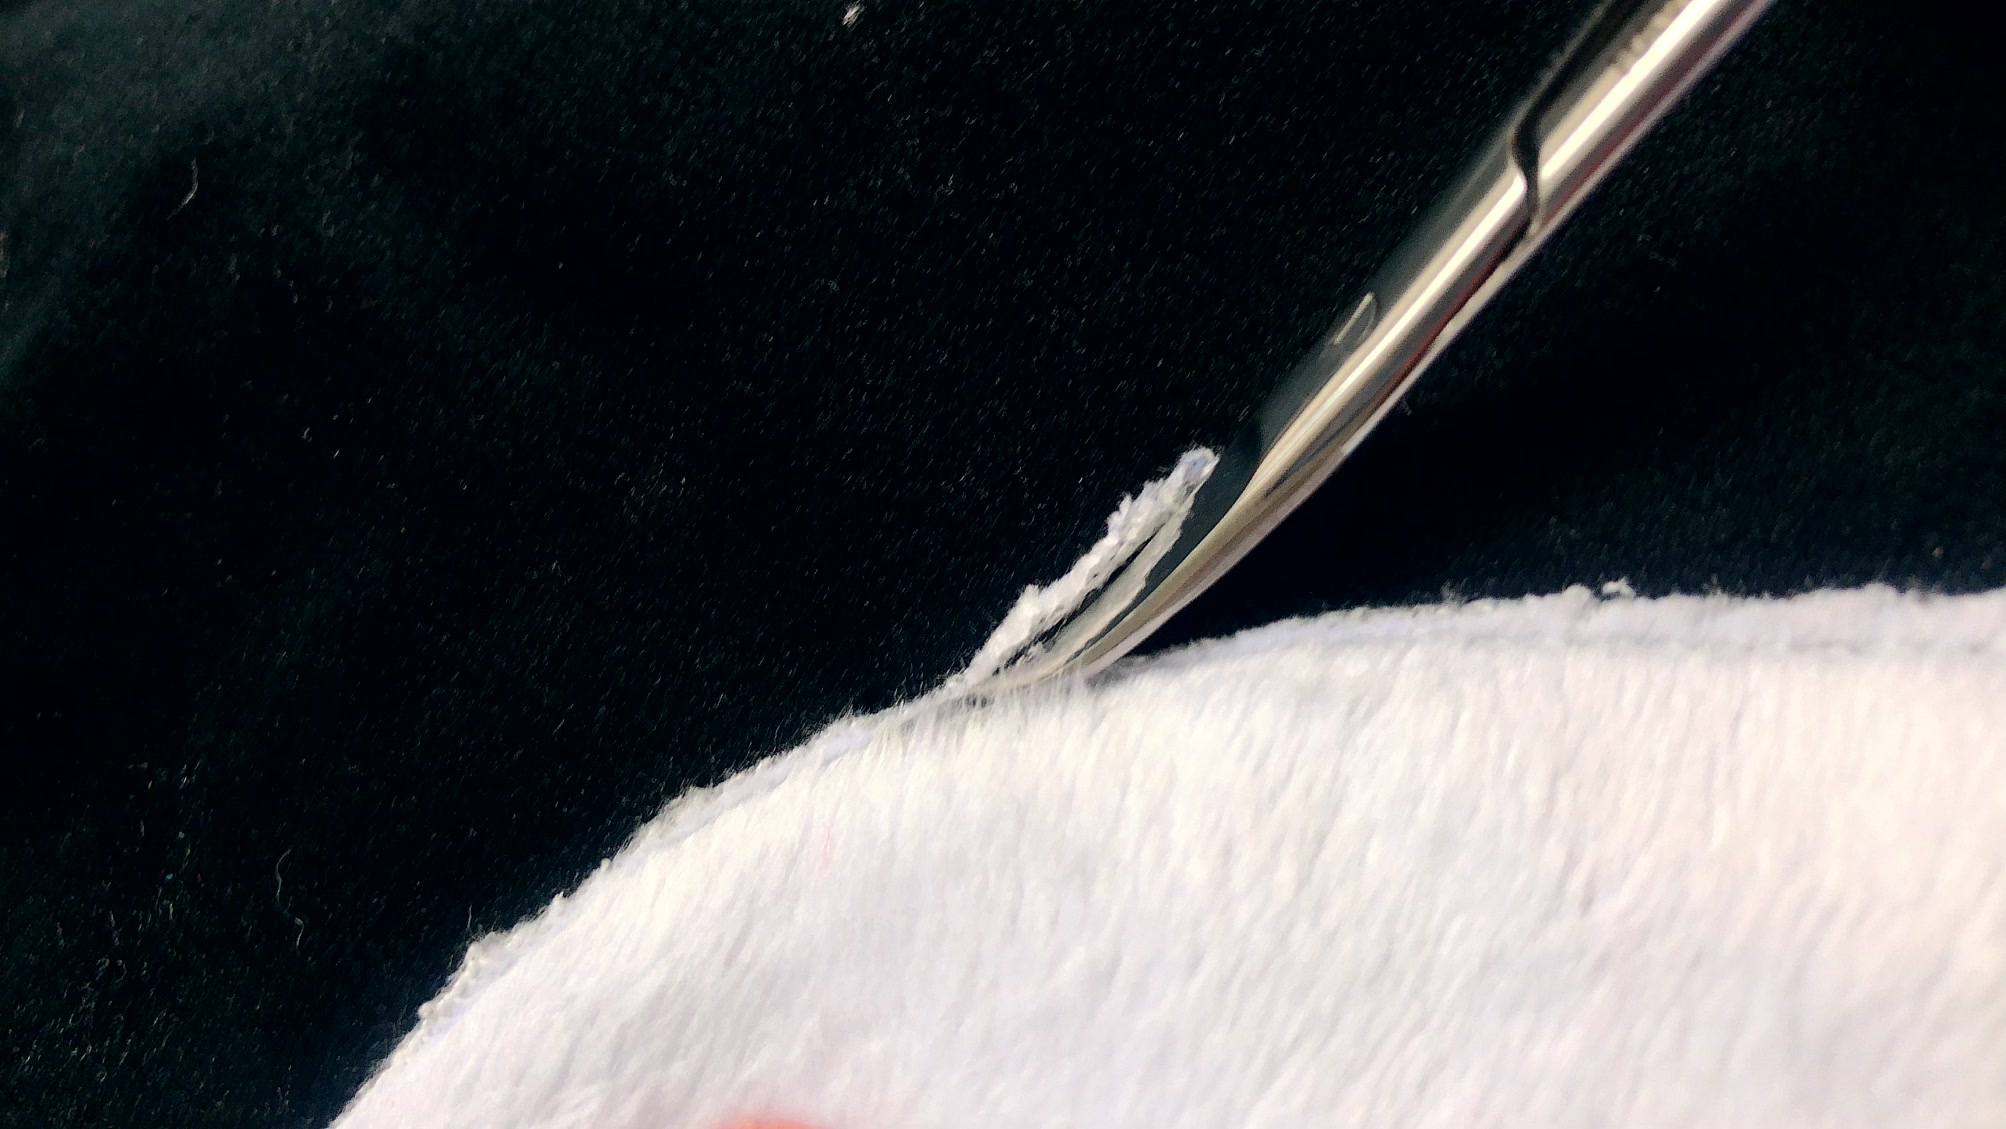
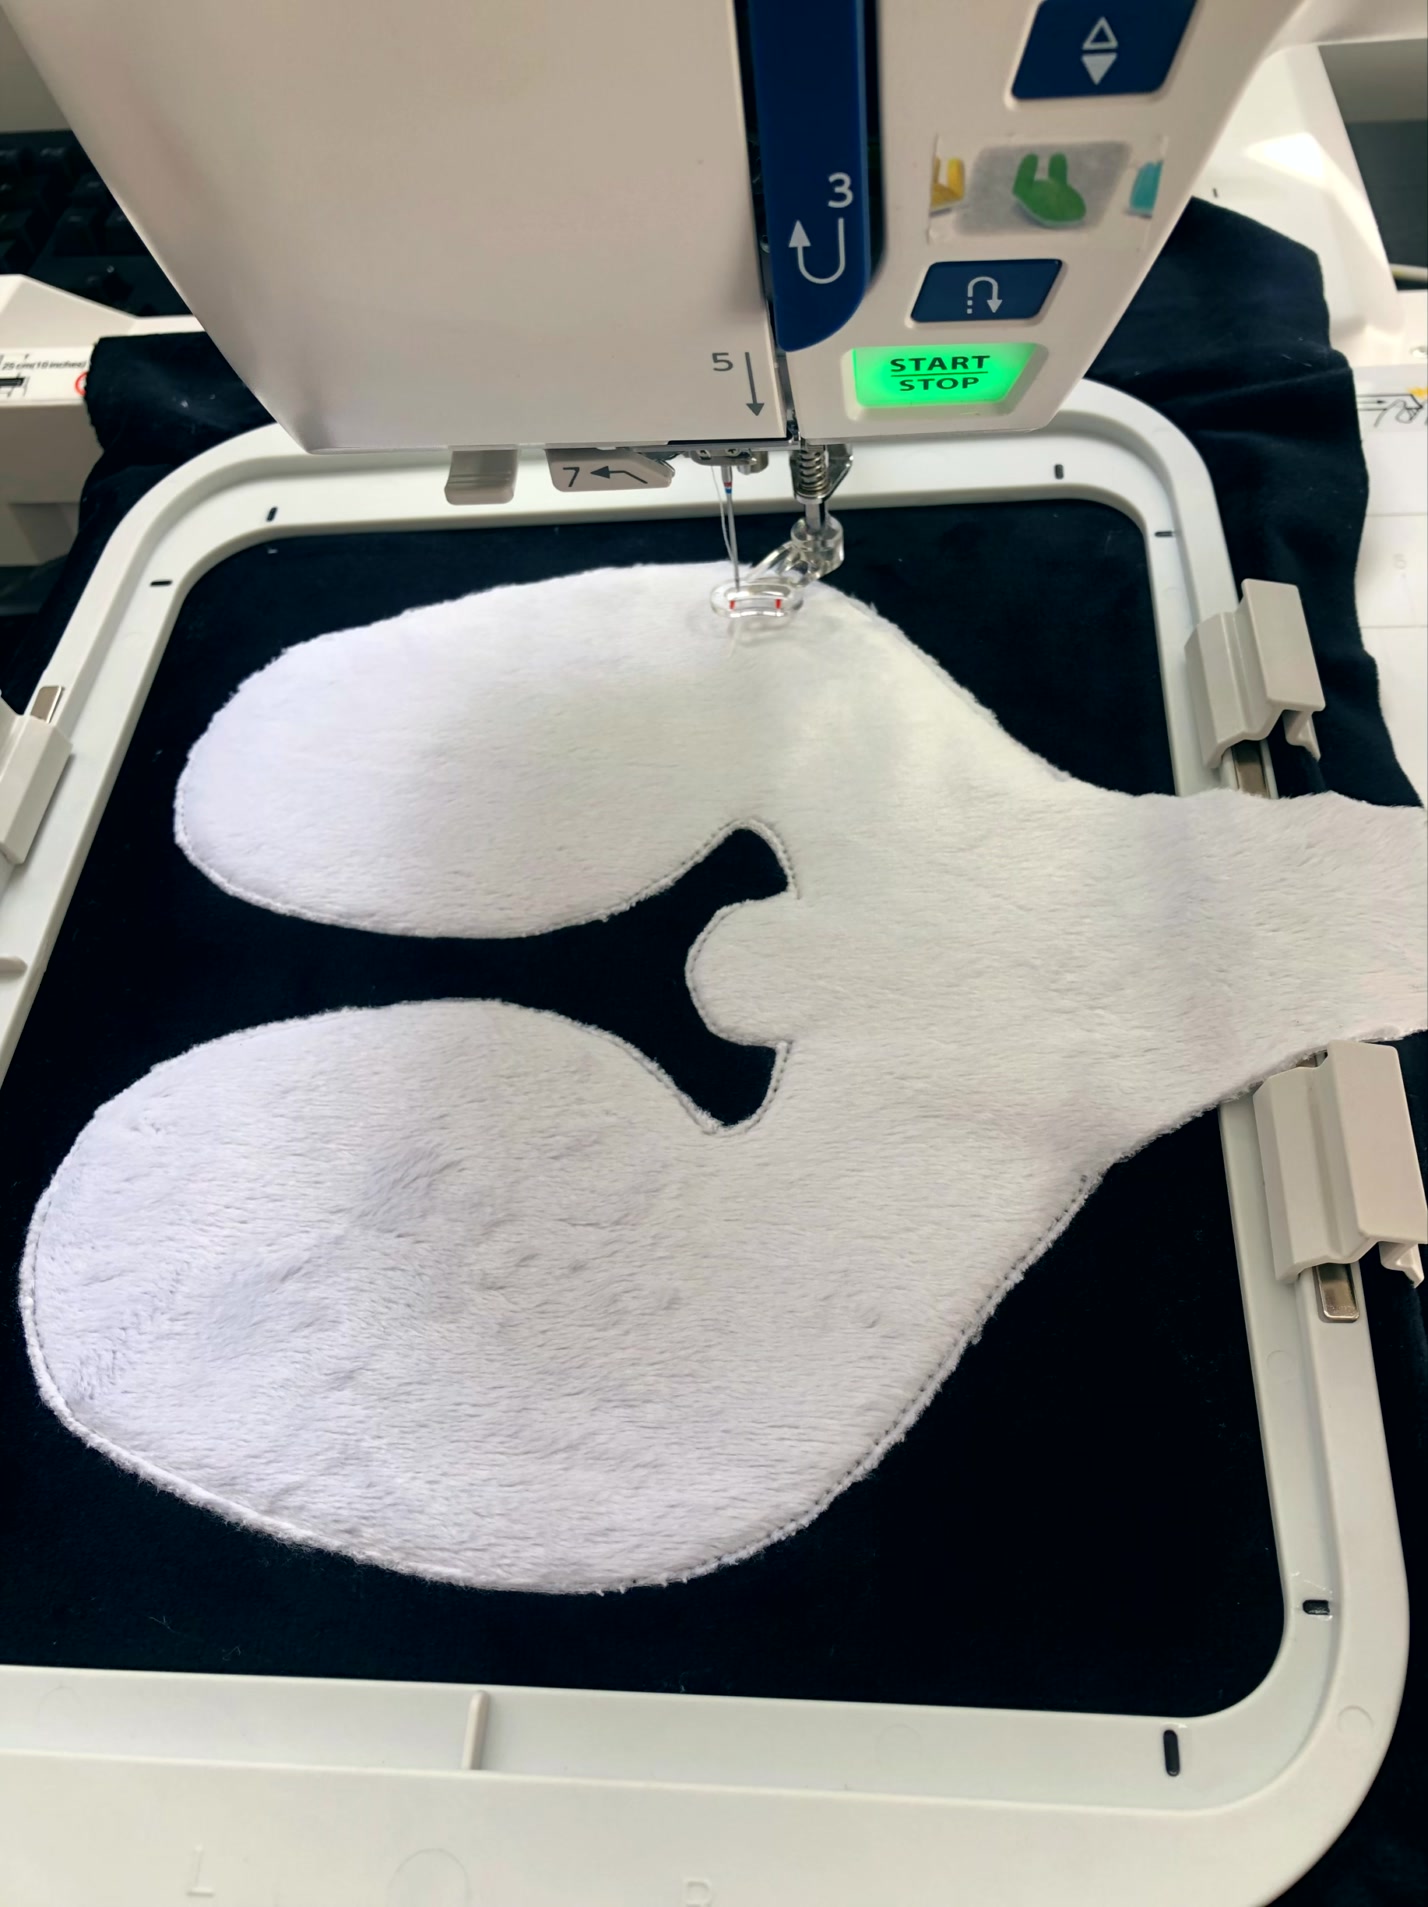
Using your snips, carefully trim the excess fabric from your applique stitches. Sometimes you might want to satin stitch over your applique edges, so it’s important to trim very close to the stitch line. In this case, we will leave the face edge raw, but will satin stitch around the pink nose.


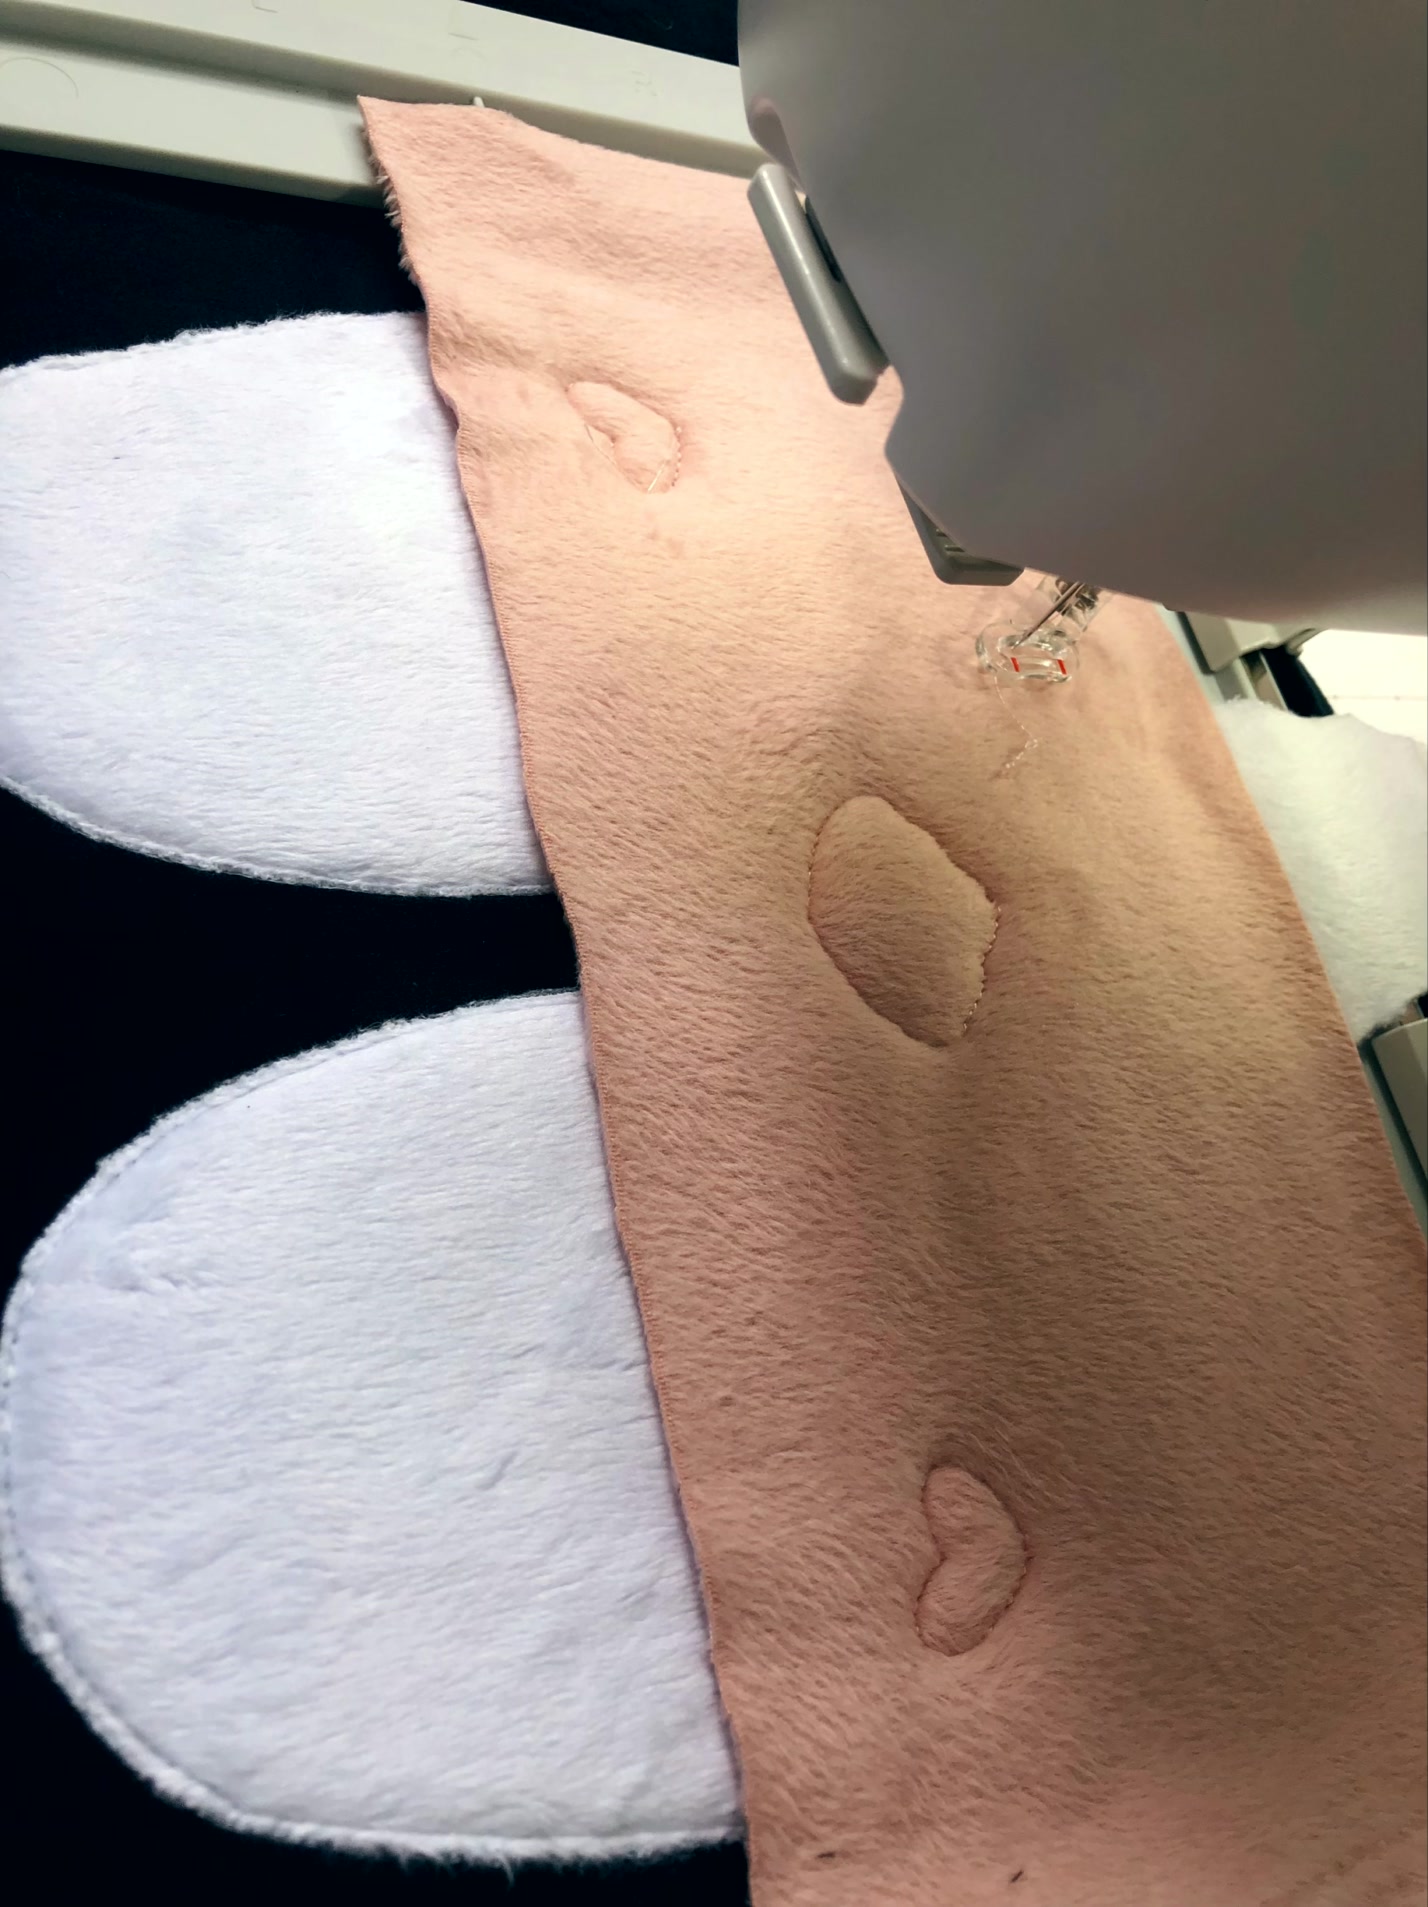
Repeat the applique process for your remaining pieces. Float fabric, stitch out, trim, repeat.

Stitching + Color Changes


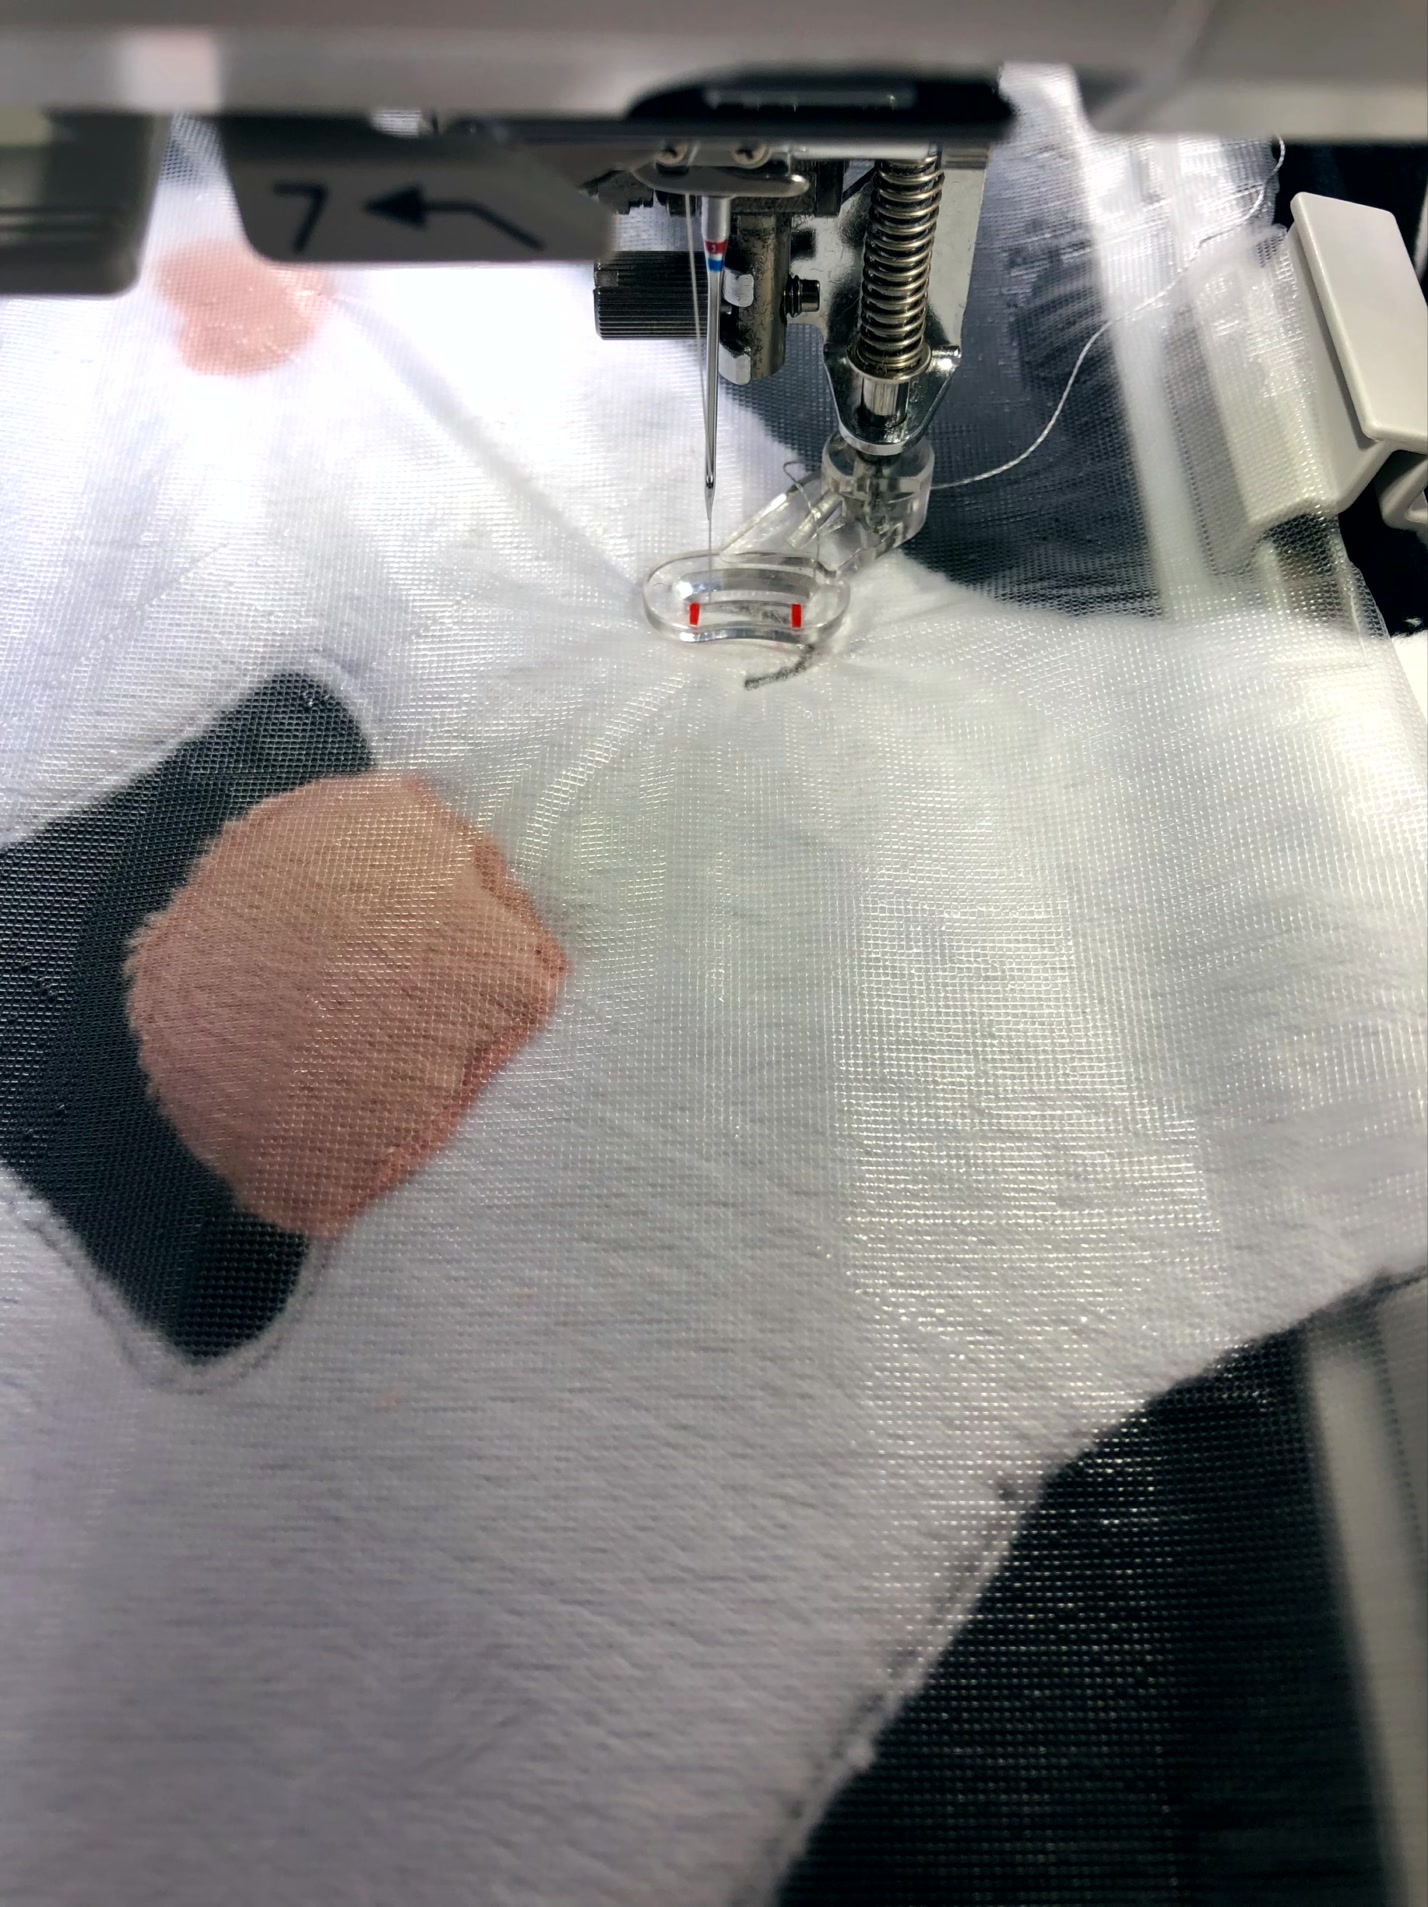
When the applique steps are done, you finally get to begin your satin and tatami stitches! Because we are using a plush fabric with a “nap”, we’re going to want to protect it. Lay a clear, washaway stabilizer over your entire stitch area before hitting start.


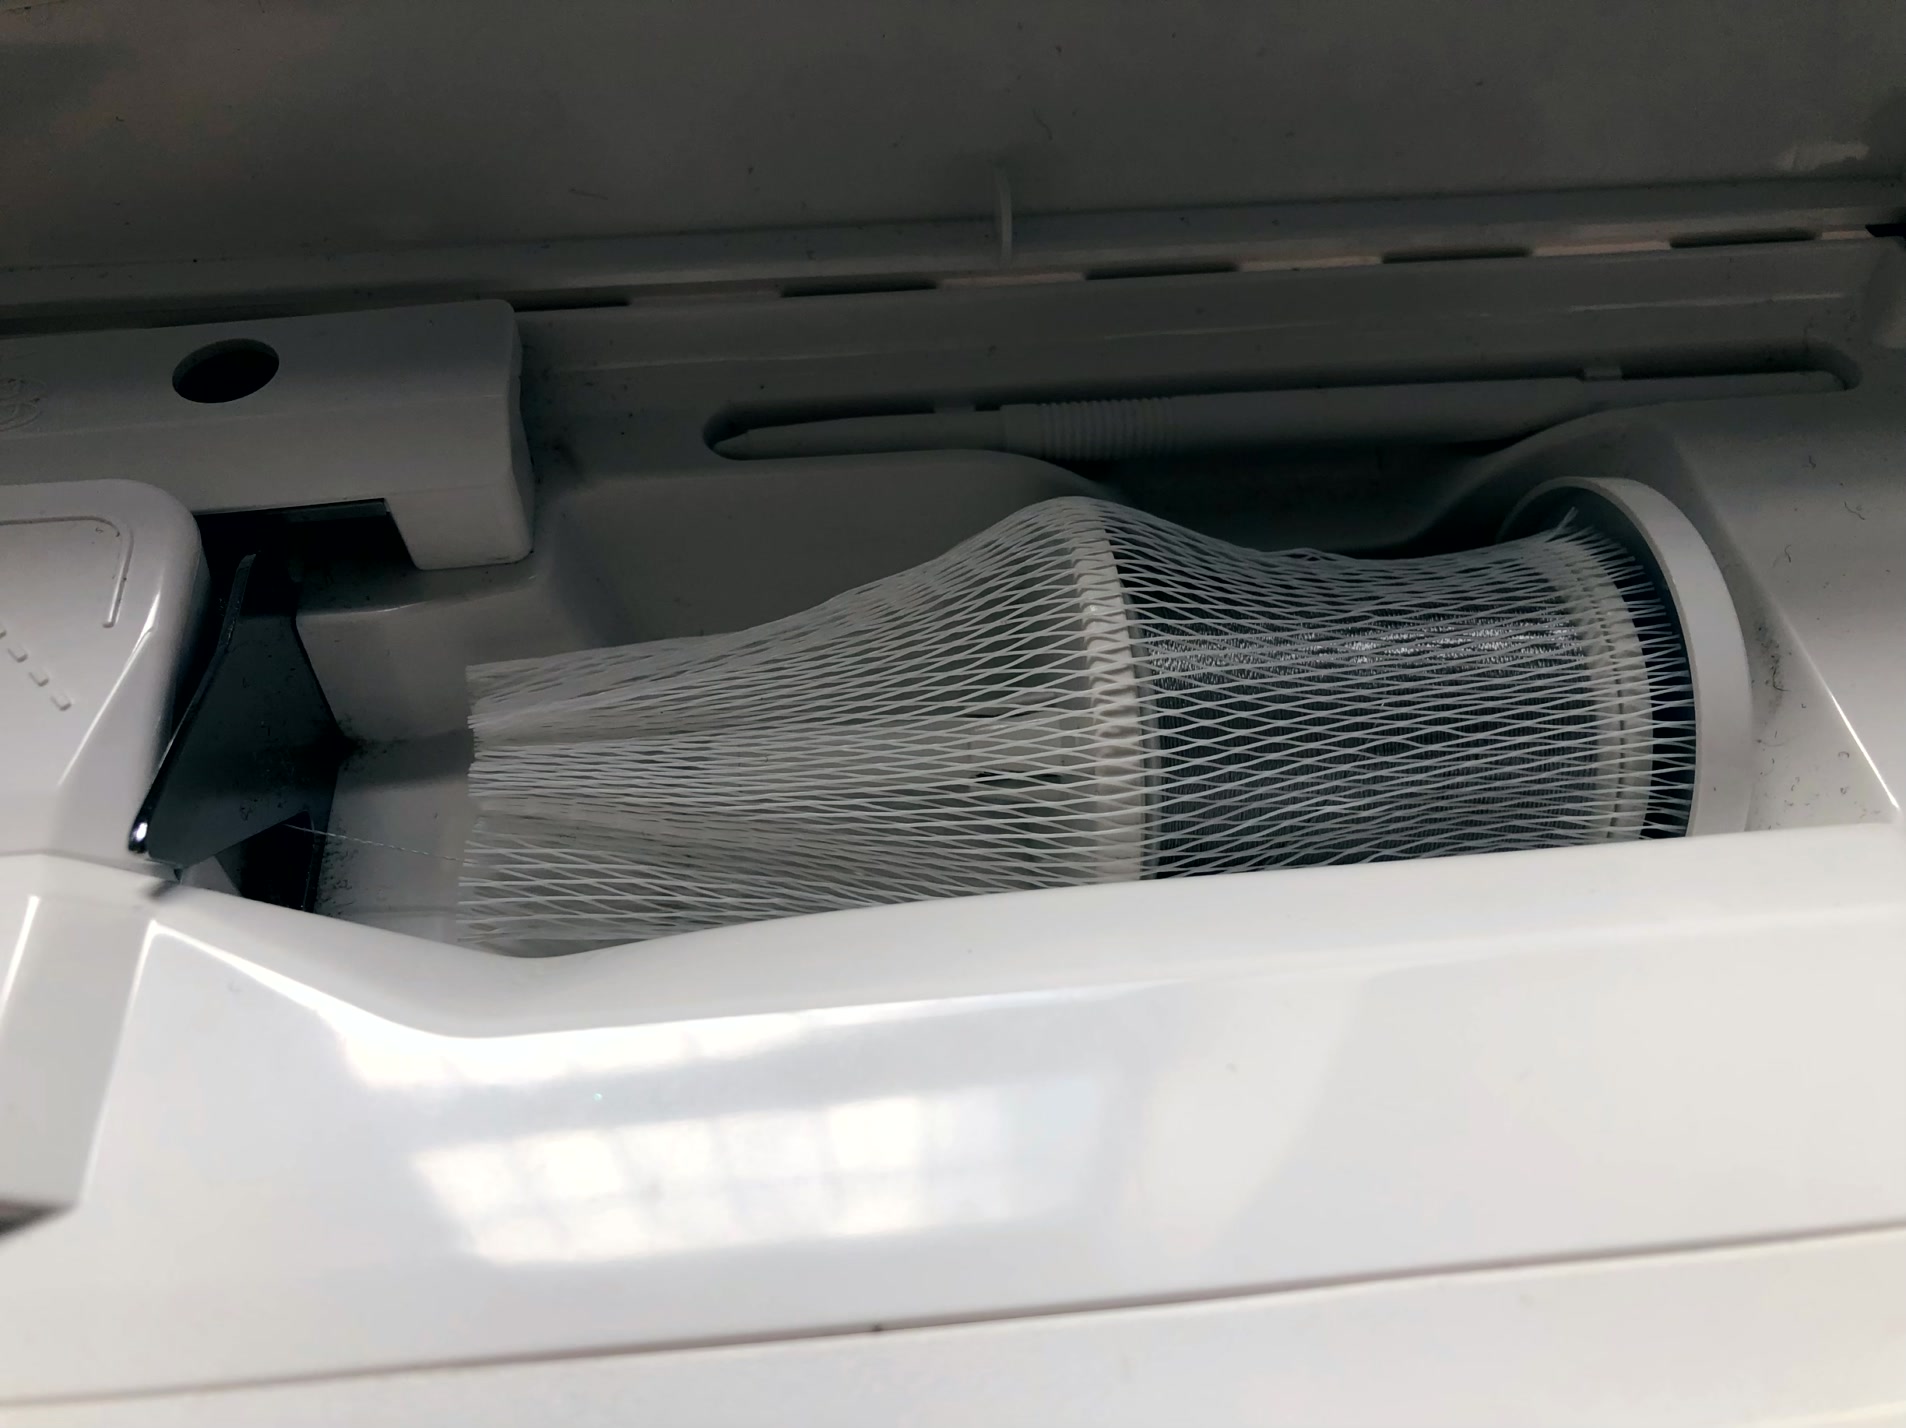
A good tip when doing machine embroidery is to utilize the netting that came with your machine! Each time you switch thread colors, slide the netting over your spool. This will lessen the speed and intensity at which your thread is pulled down to the needle. You should see fewer thread tangles and shredded threads with this method, saving you the headache of rethreading!

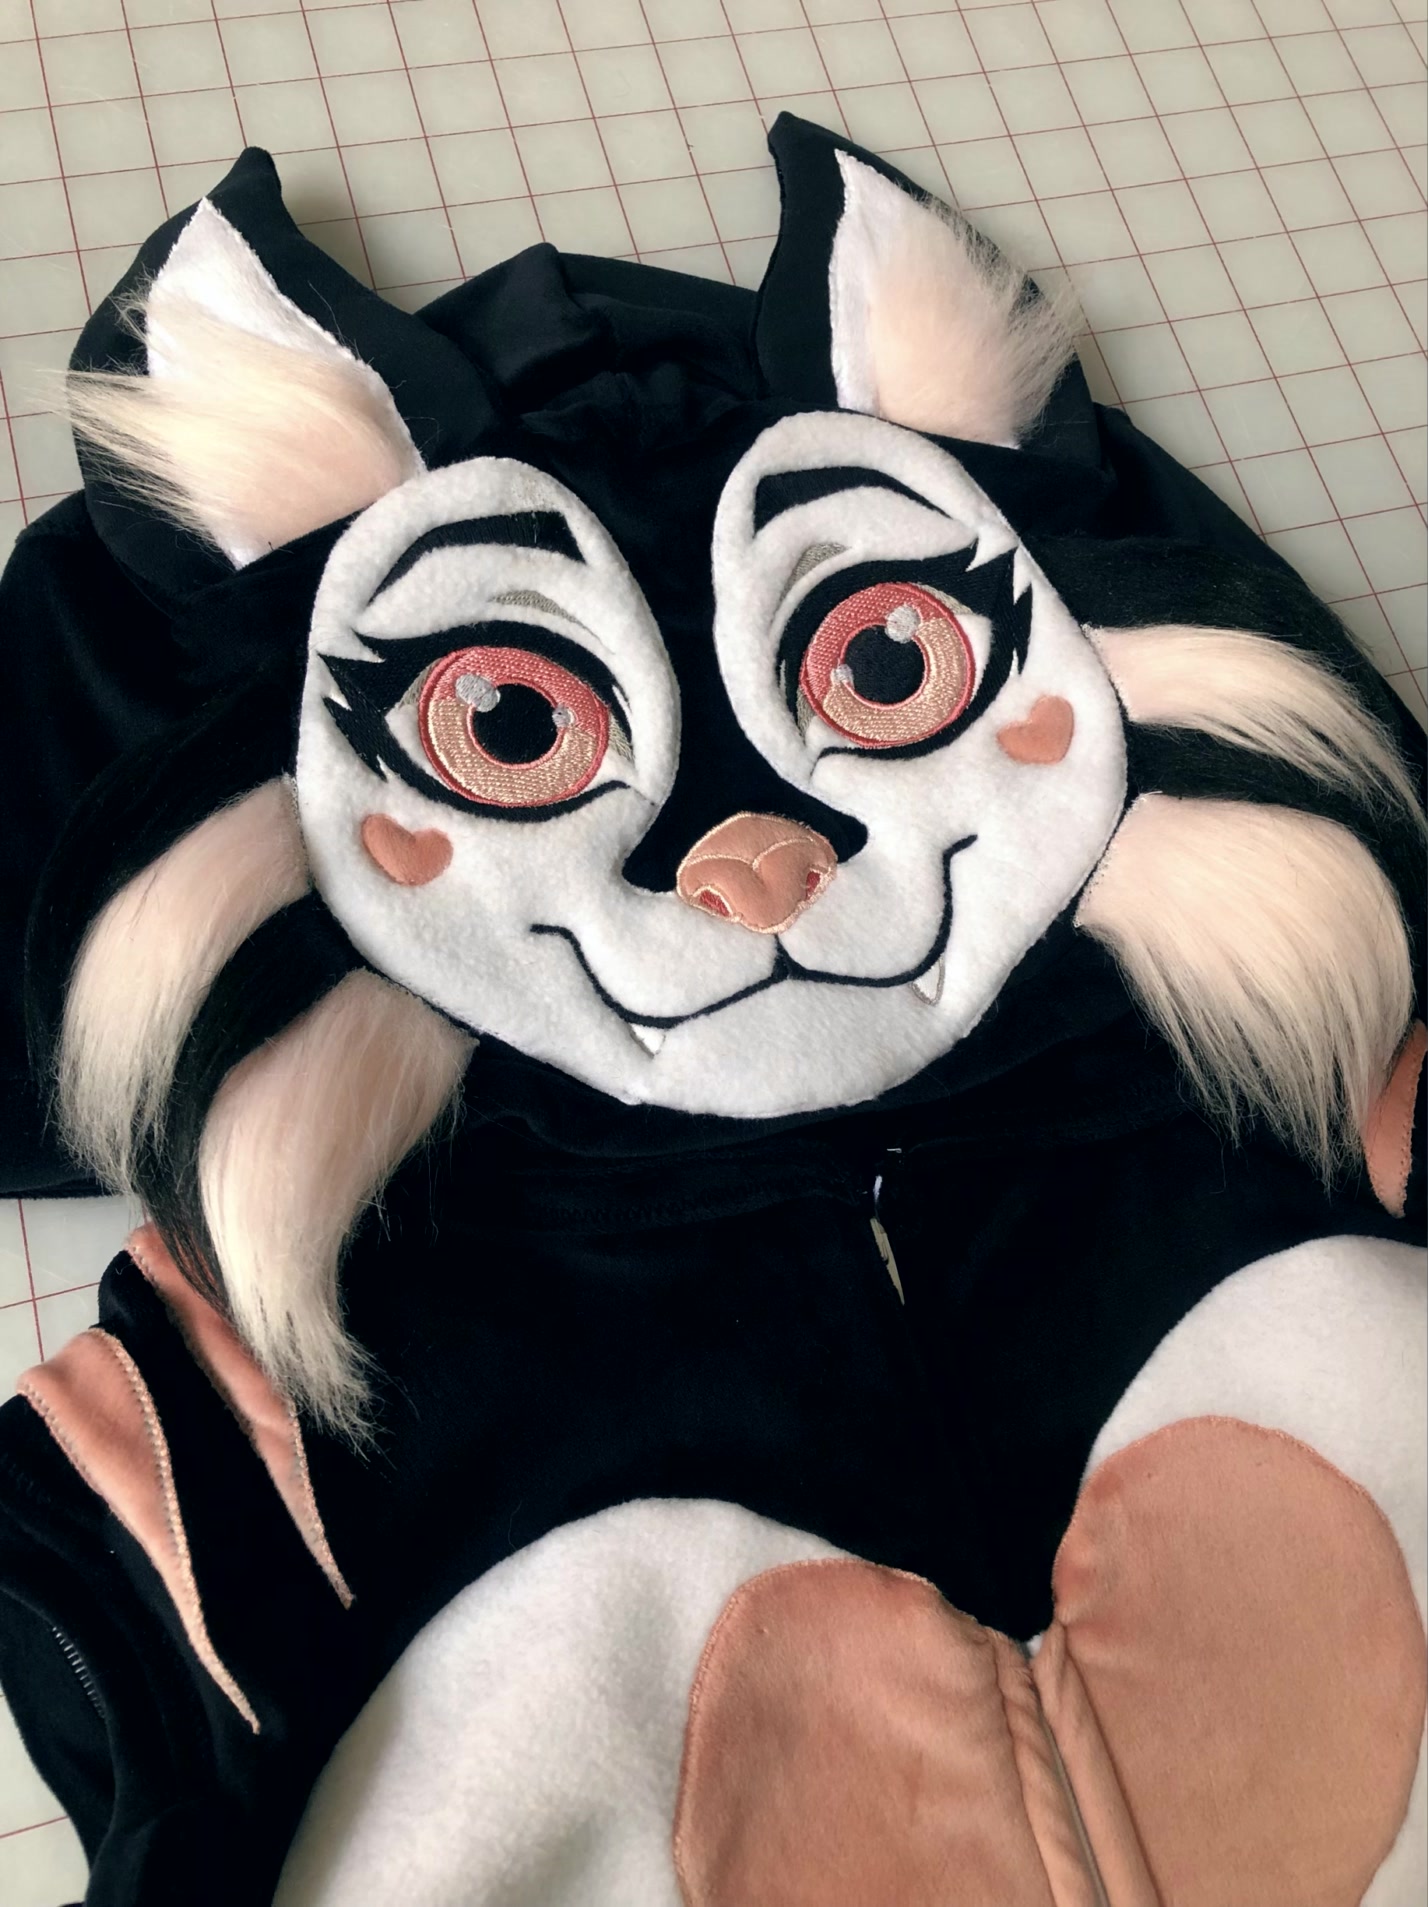
The face is starting to look like a face :0

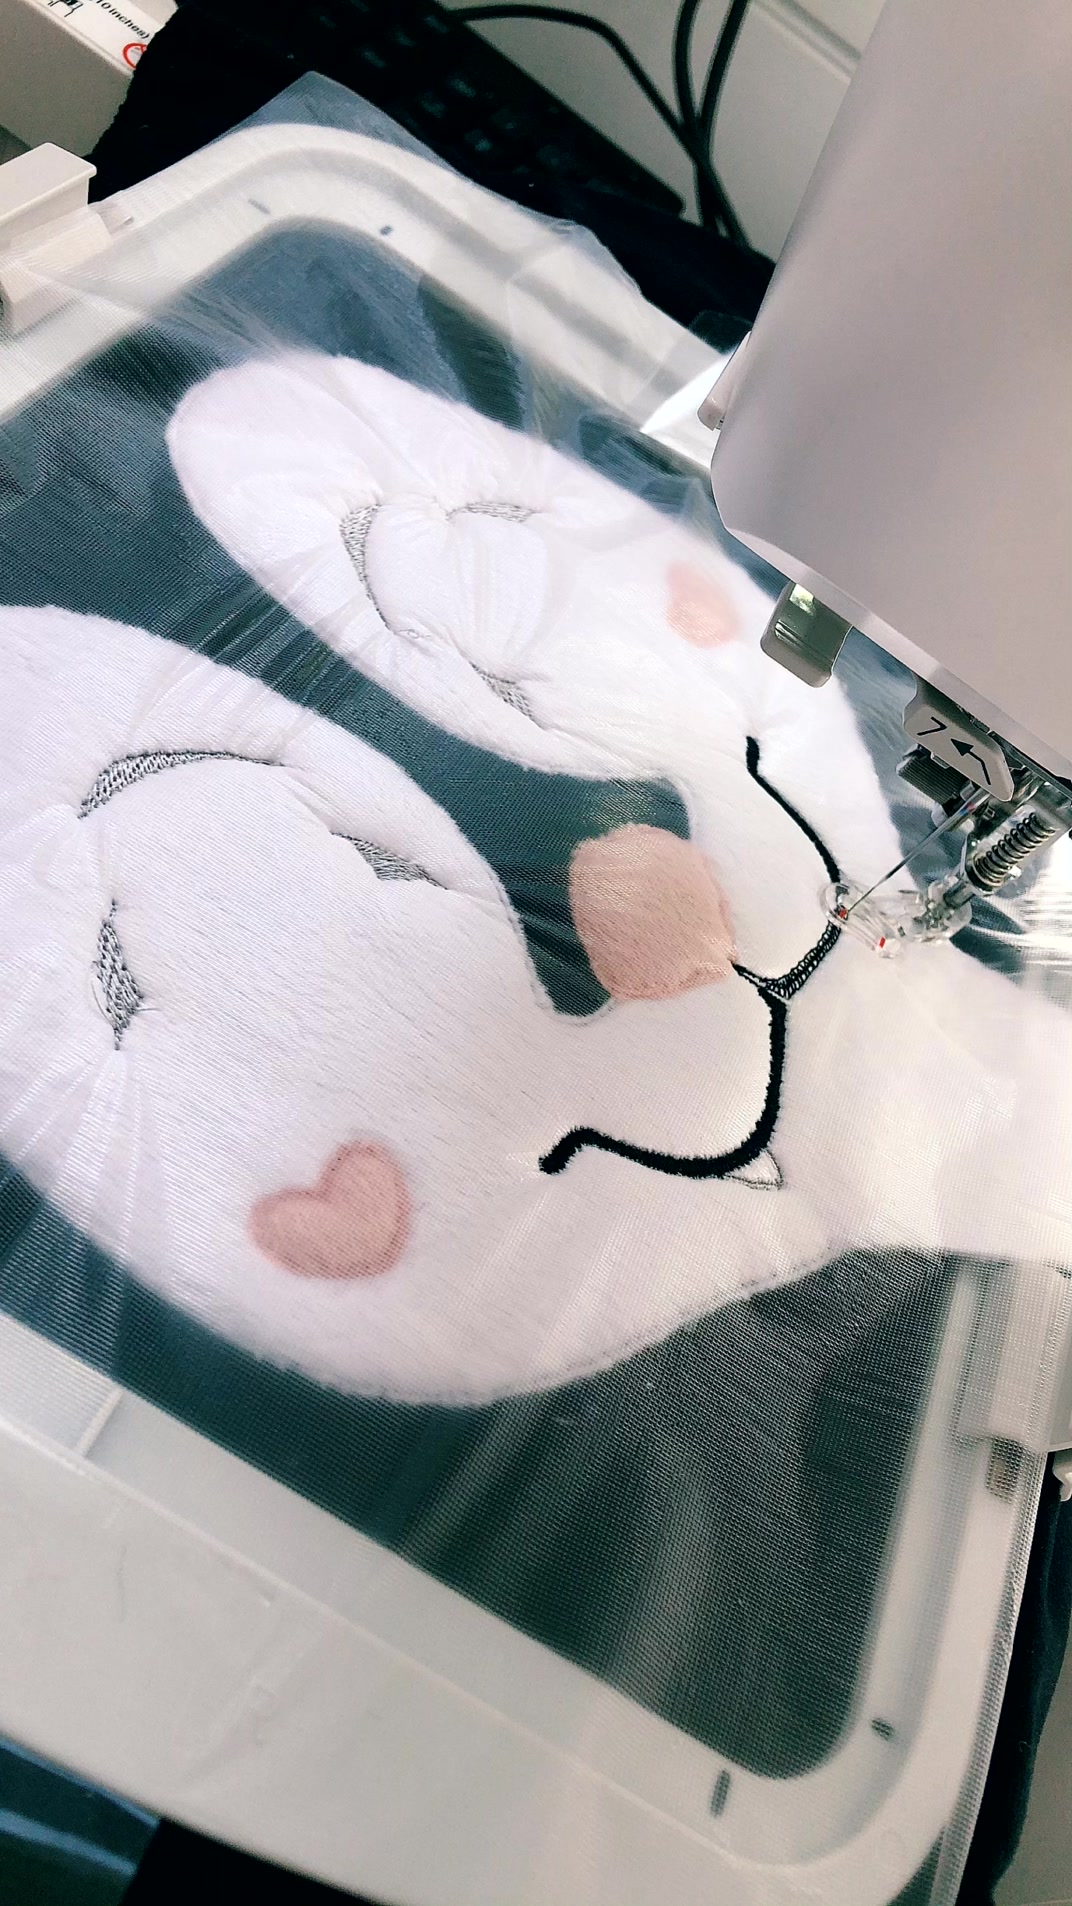
The process of stitching and changing thread colors will take a while. Patience is great, BUT you could also


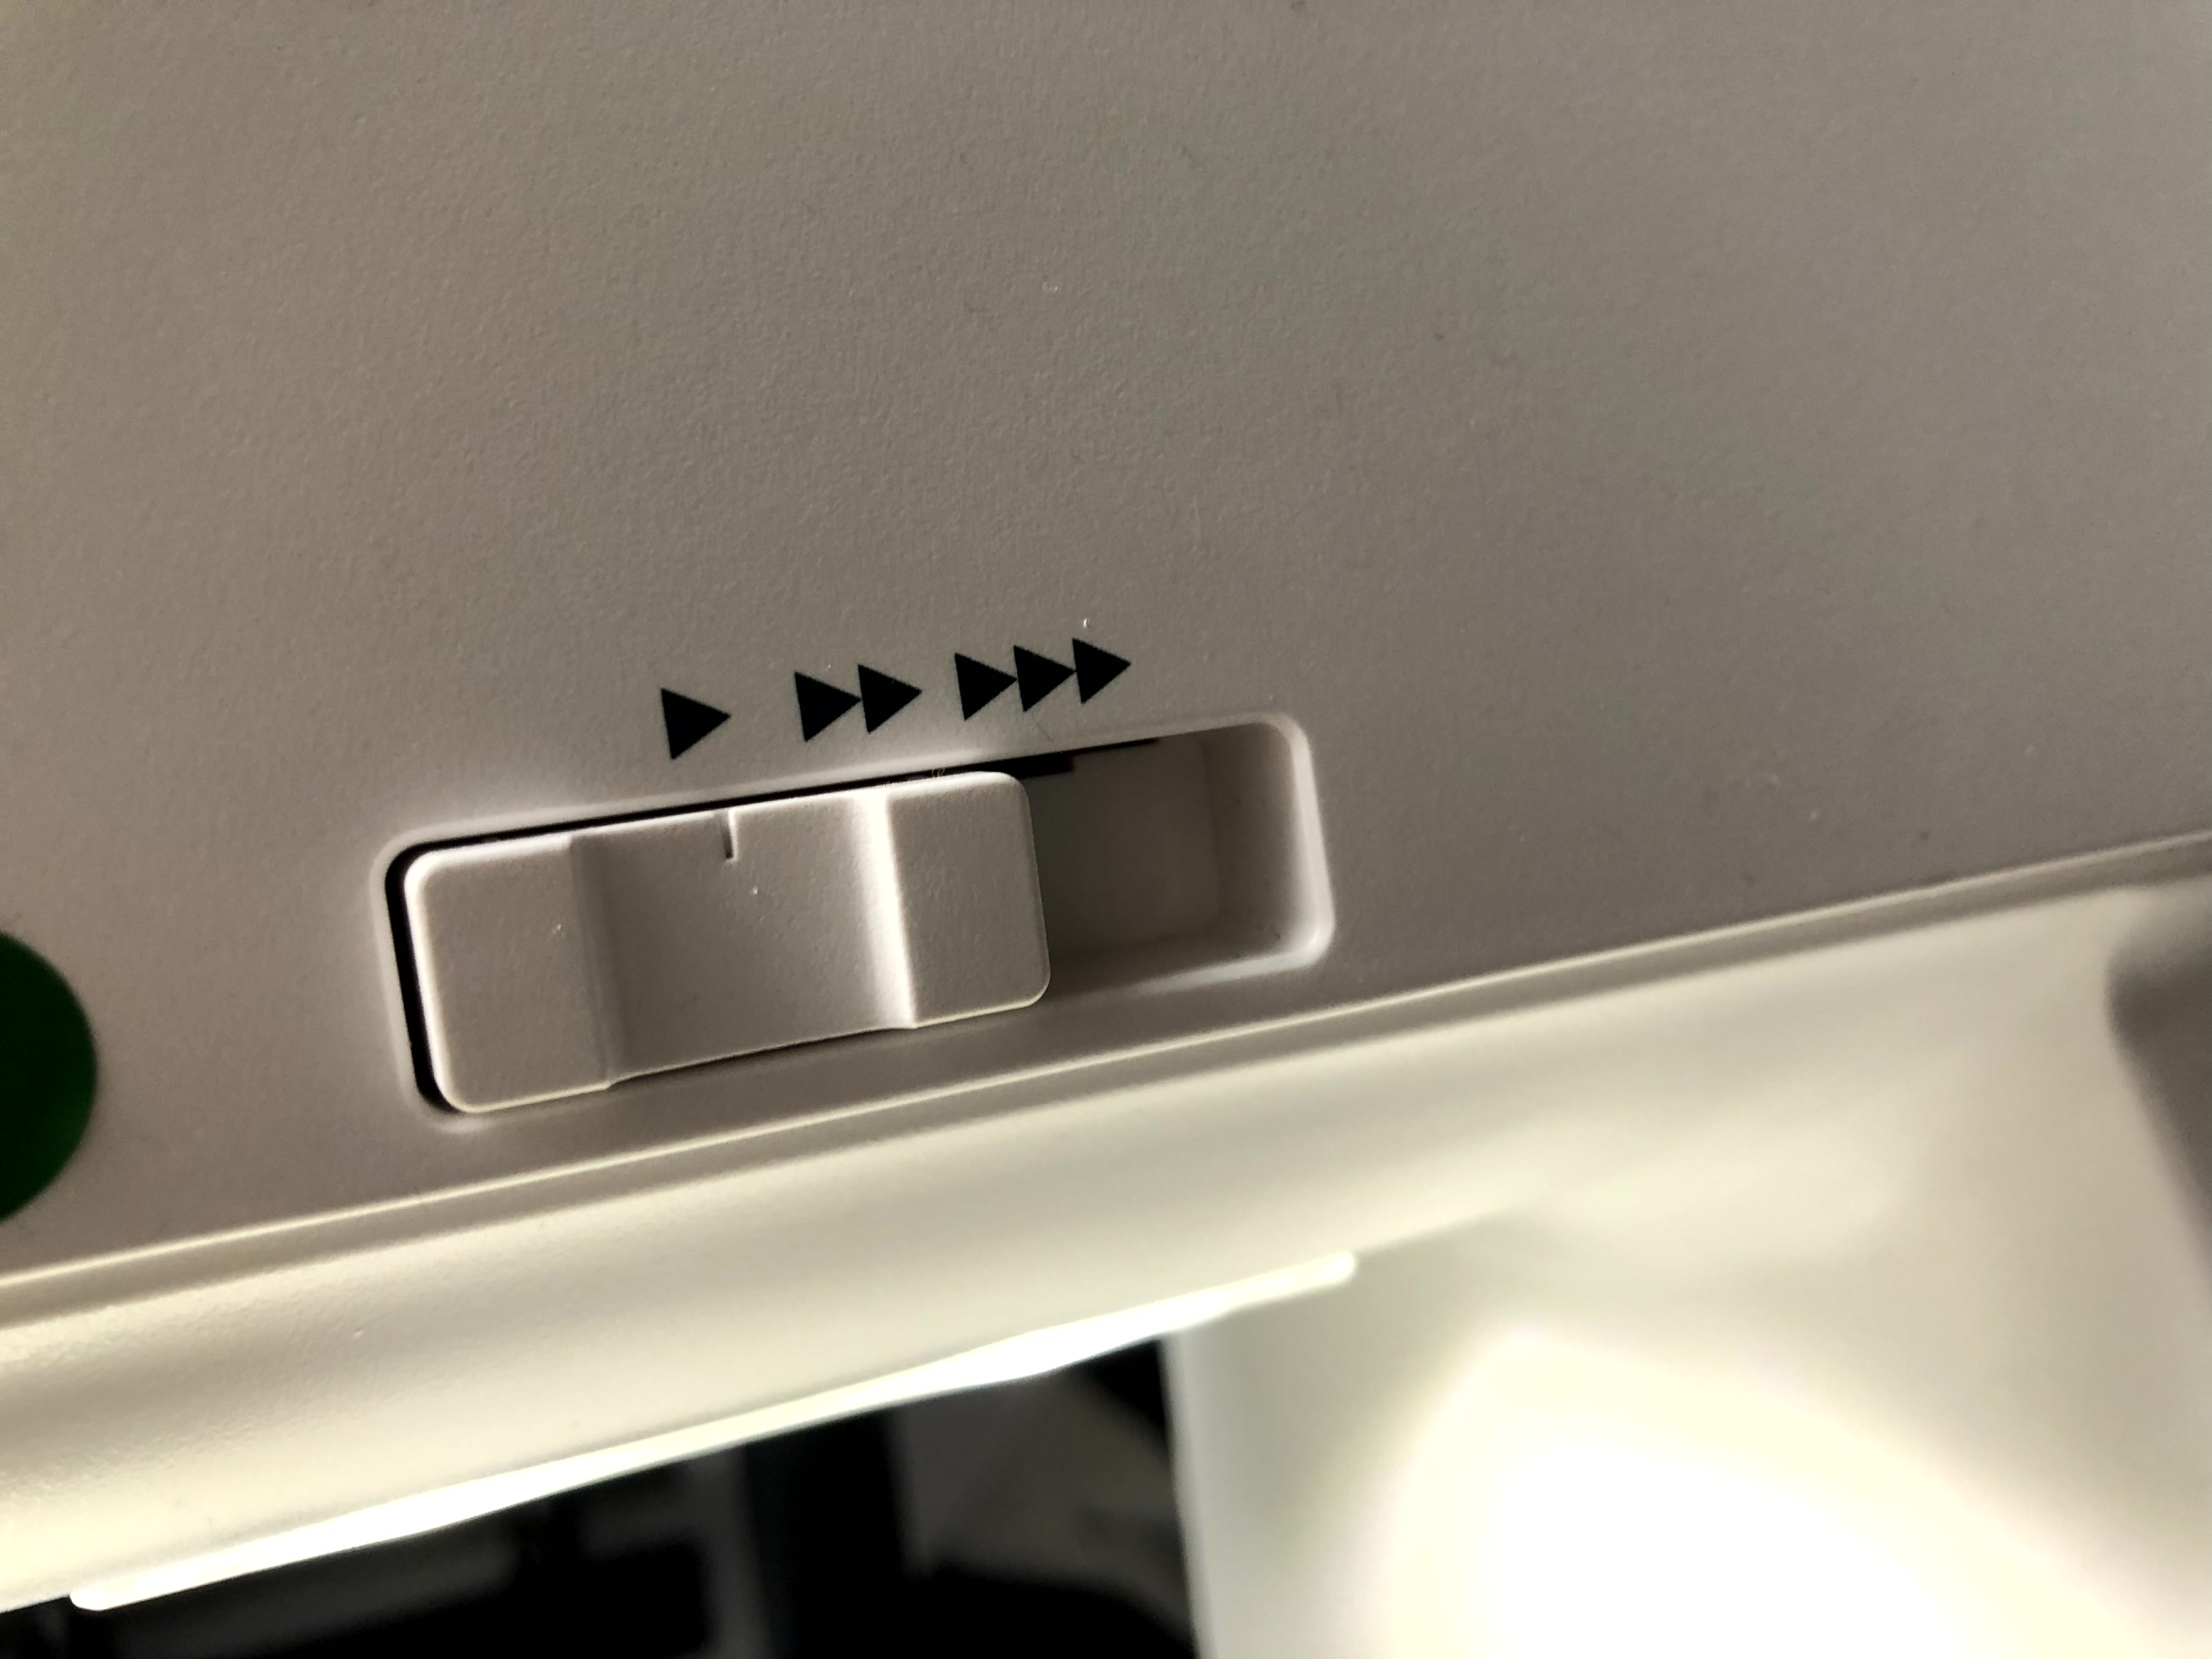
As you continue your stitchout, you may come across “problem areas” in your design that are a little thick due to overlapping appliques and stitches. If your needle starts skipping areas or making angry sounds at you, you may want to use the speed slider to slow down until you move on to a less-dense stitching area.

Finished already? And it’s only been 2+ hours! (hah)

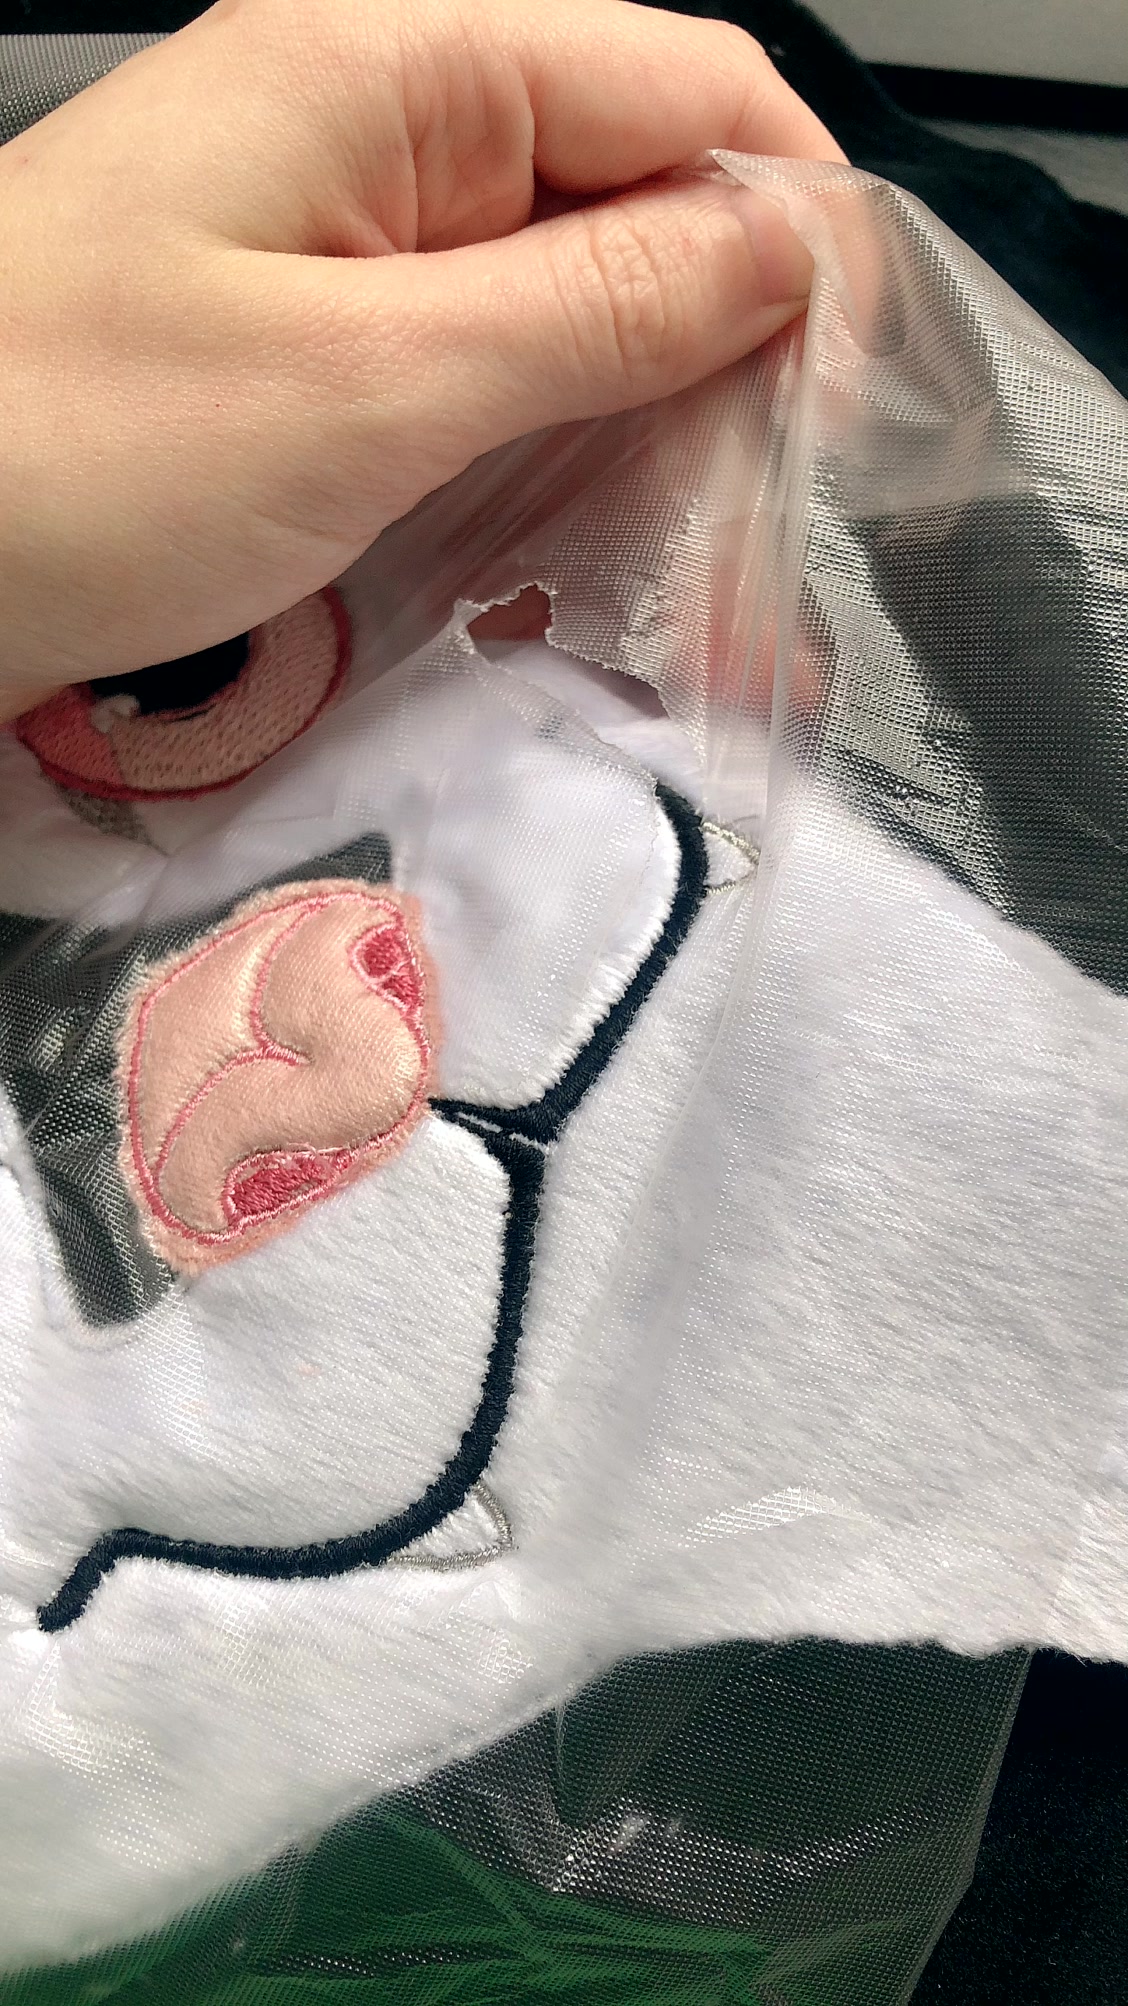
You’ve finished your sew-out and now it’s time to take her out of the hoop.
But first, you can finally peeeeeel the clear top stabilizer away. So satisfying…

If any stabilizer remains in a small or hard-to-reach area, you can dissolve the leftovers with a quick dunk in water.

Make it YOURS


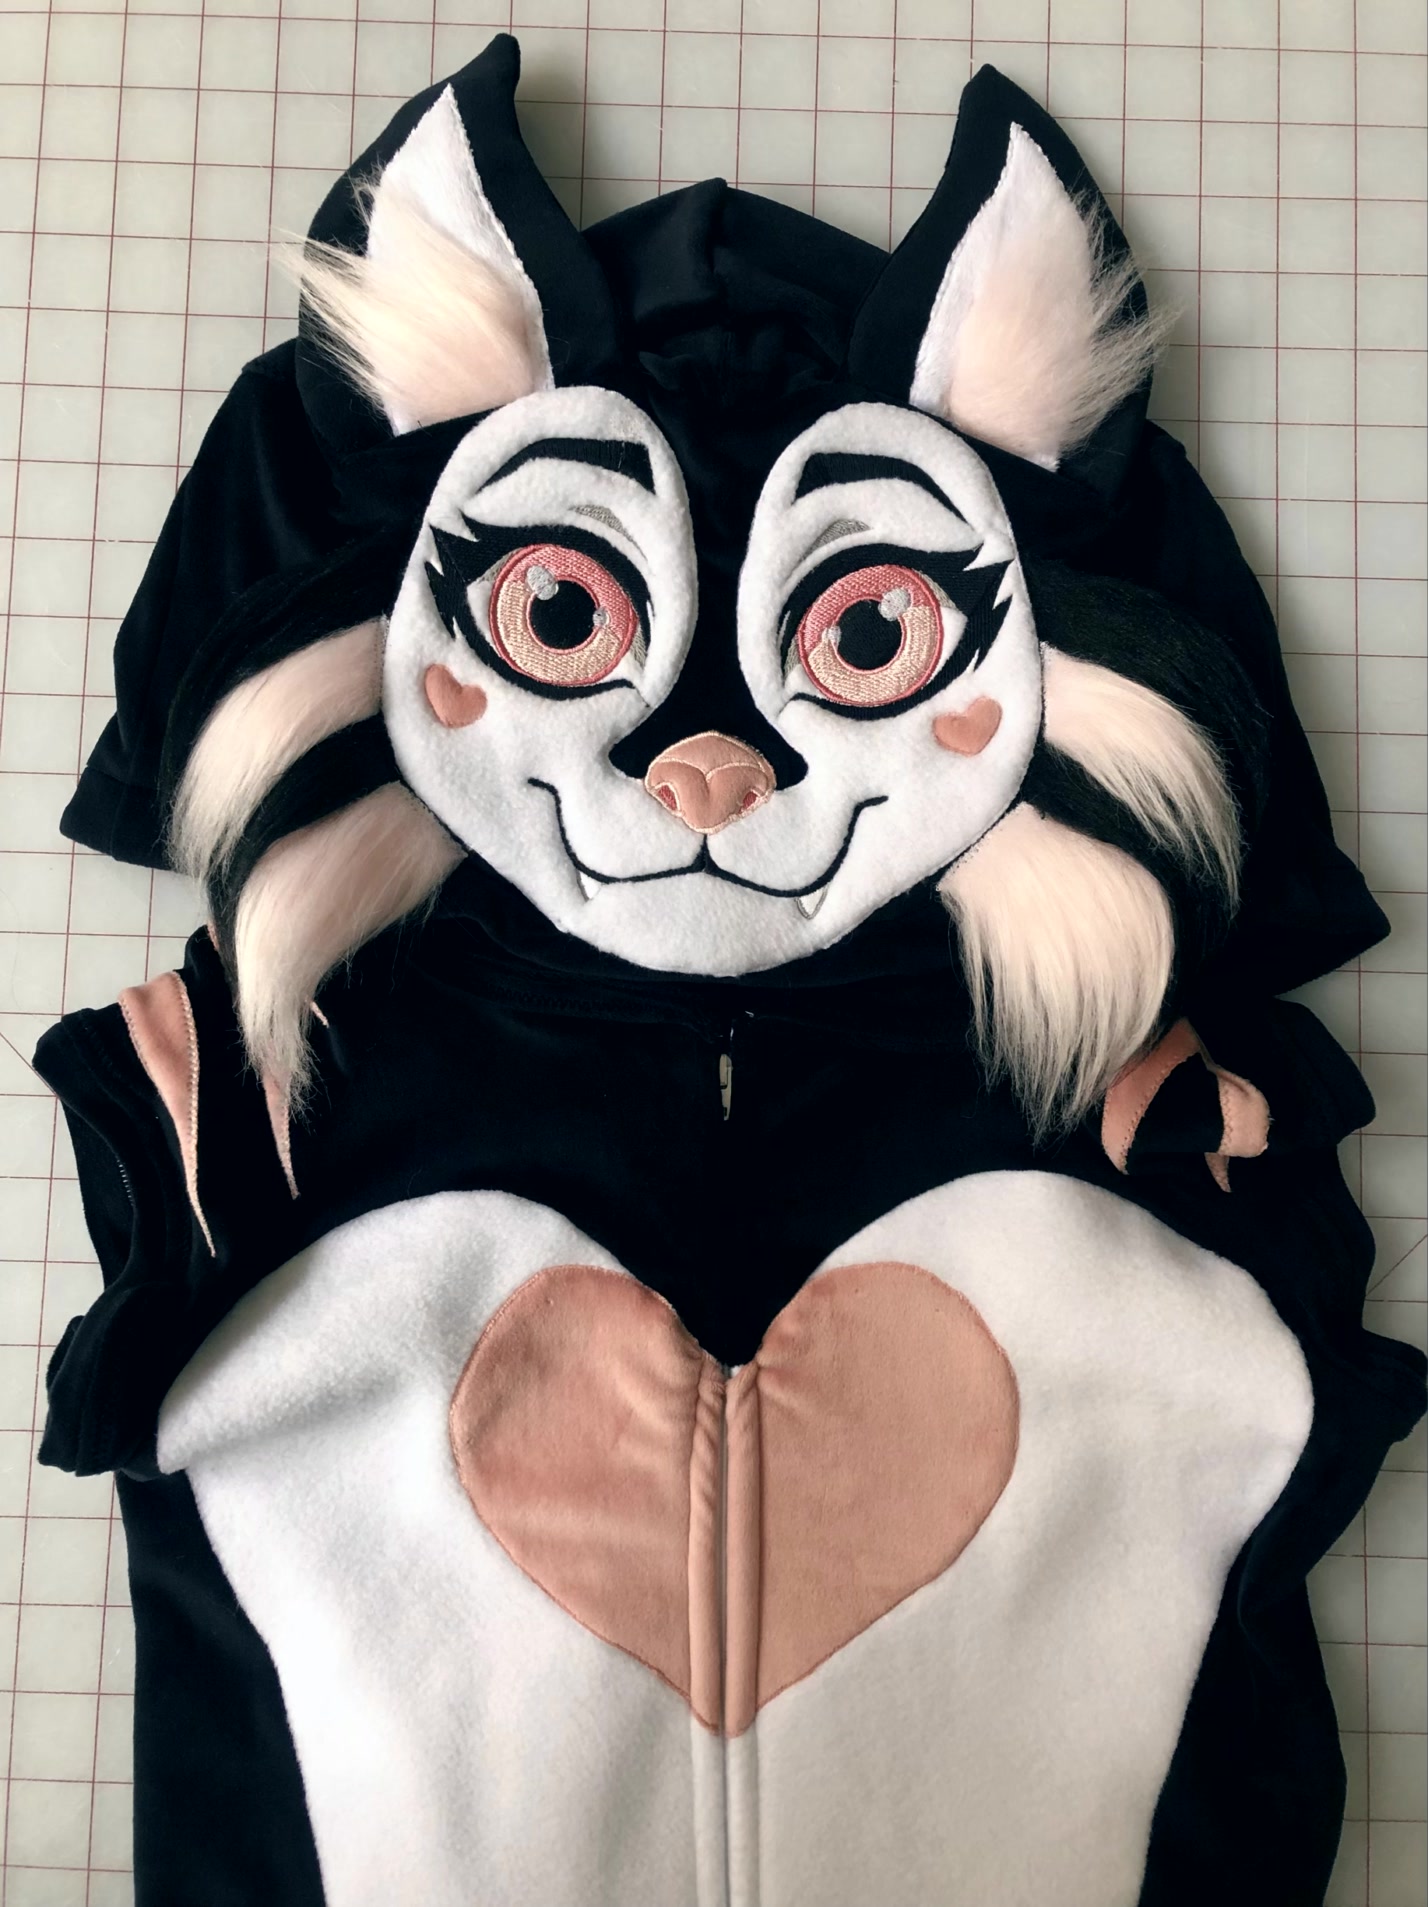
Now it’s up to you to make the rest of the kigu– Add fur, ears, and accessories to truly make it yours!

Much like the example face file we’ve provided, this knowledge is just the foundation. The best way to learn to applique for kigus is to just try it. It might take several attempts! Each time you try, you will notice your mistakes and learn how to do better the next time.

Don’t give up!

Everyone is Talking about Embroidering Faces for Kigurumis
Reviews


Tako
Beautiful
Wednesday, November 23, 2016

cpindzola
Around the Table Dresden Placemats
Saturday, December 17, 2016

I like the concept, but the directions are "sloppy." Nowhere in the supply list does it mention the felt or the batting (how much?). Also, I would never use a high loft batting in a placemat, or a table runner, as I think that it would be too unstable for a glass. The next time I make these, I will cut out the batting (I use flannel) and spray baste it to the wrong side of the Dresden plate before I put the Dresden plate on the felt to cut out. I have not yet washed the finished placemat, and am hoping that the single layer of felt does not curl up, or become distorted after washing/drying.
Txmaid
Fun Great Gift!
Tuesday, February 21, 2017

MargieARK
Teatime Quilted Tablecloth
Friday, February 24, 2017

I made this today but your cutting directions need to be changed. You only need 4 of color 1 and color 3 4.5 squares for the triangles. Also the inner border, you only need 2 cuts as WOF is long enough to cut each in half to fit the sides.
MickelSews
Great Machine
Wednesday, August 30, 2017

I've had this machine for only a week now. I bought it used from a lady who makes her own clothes, but she no longer needed the machine. During the purchase, she noted that she is almost sad that it's better to give it away because of how well the machine performed. (I also bought it along side a computerized machine of another brand.} She demoed the machine for us, showing it worked and gave us everything (including the box it came in!) She took amazing care of this machine. I have used it a few times now, and the directions for threading were easy to follow (albeit my hands are quite large so the lower looper was a pain, but that is no fault to the machine or brand.) And I recommend this machine to anyone who wants to learn to serge and wants a machine that can grow with them. I will happily use this machine time and time again.
rvstan
S9 Review
Sunday, February 25, 2018

I love, love, love my S9! It's sews and embroiders beautifully and it's simplicity of use amazes me. I would recommend this machine for both a beginner and an experienced seamstress. If I would ask anything of Janome it would be to upgrade the programming to run a larger hoop size. I understand that it can't get much wider but there is most definitely room for it to go longer. That is the only limitation of this machine.
pjmnana
PJMNana
Monday, February 26, 2018

I purchased a Memorycraft 15000 a few years ago and it was the best purchase I ever made! This machine can do just about anything you would would ever want! I love the capability of using the Acuedit app to set up my embroidery pattern on my Ipad and then download it to the machine! I love how my embroidery looks upon completion and I love all the good lighting it has to light up your workspace. That way you don’t need to worry about where to set up your machine. It also has plenty of room to do machine embroidery on any size quilts! There are many decorative stitches from which to choose that are outstanding! It’s hard to choose which one to use! There are so many great features it is hard to decide what I love the most. If you want to buy only one machine to last a lifetime, I would recommend this one!
KLWash
S9 Review
Sunday, February 24, 2019

The S9 is amazing. I learned to sew by hand when I was just 5 and in my grandmothers way as she was quilting. I took seeing classes in high school until they would no longer let me sign up. The S9 makes me appreciate my current skills as well as motivate me to want to learn more. This machine is awesome.
SewSueMe2002
Horizon Memory Craft 15000
Thursday, November 19, 2020

My Janome Horizon Memory Craft 15000 is fantastic! I love, love, love this machine! When I came across the Eye for and Eye embroidery design today, I wanted to make it. However, the embroidery file is missing. Nothing downloads when I select the download button. Please help!
Jillfmischo
Treat Bag fun!
Monday, August 16, 2021

I made the Halloween treat bag for my new granddaughter and I’m sure it will last for years. No embroidery machine so I appliquéd the lettering. Need a little more skirt fabric for a better gathered look, and I used thin double-bias tape for the skirt hem, over edge stitch on skirt sides. I’m pleased with my results!
elenaz
Very helpful tutorial
Wednesday, October 25, 2023

I want to say thank you for teaching me this method of applique. I was able to do it with a small letters. This method is the best so far from all of those I've seen and tried.
plonkar
So useful
Thursday, November 30, 2023

I'd like to express my gratitude for teaching me this appliqué method. I successfully applied it with small letters, and, so far, it's the most effective among all the methods I've seen and tried.

DEALERS
The TWO Closest Dealers to you are:
1900 CENTRE ST , WEST ROXBURY MA, 02132
(617)323-6200
443 MOODY STREET , WALTHAM MA, 02453
781-893-3331
Find Additional Dealers