
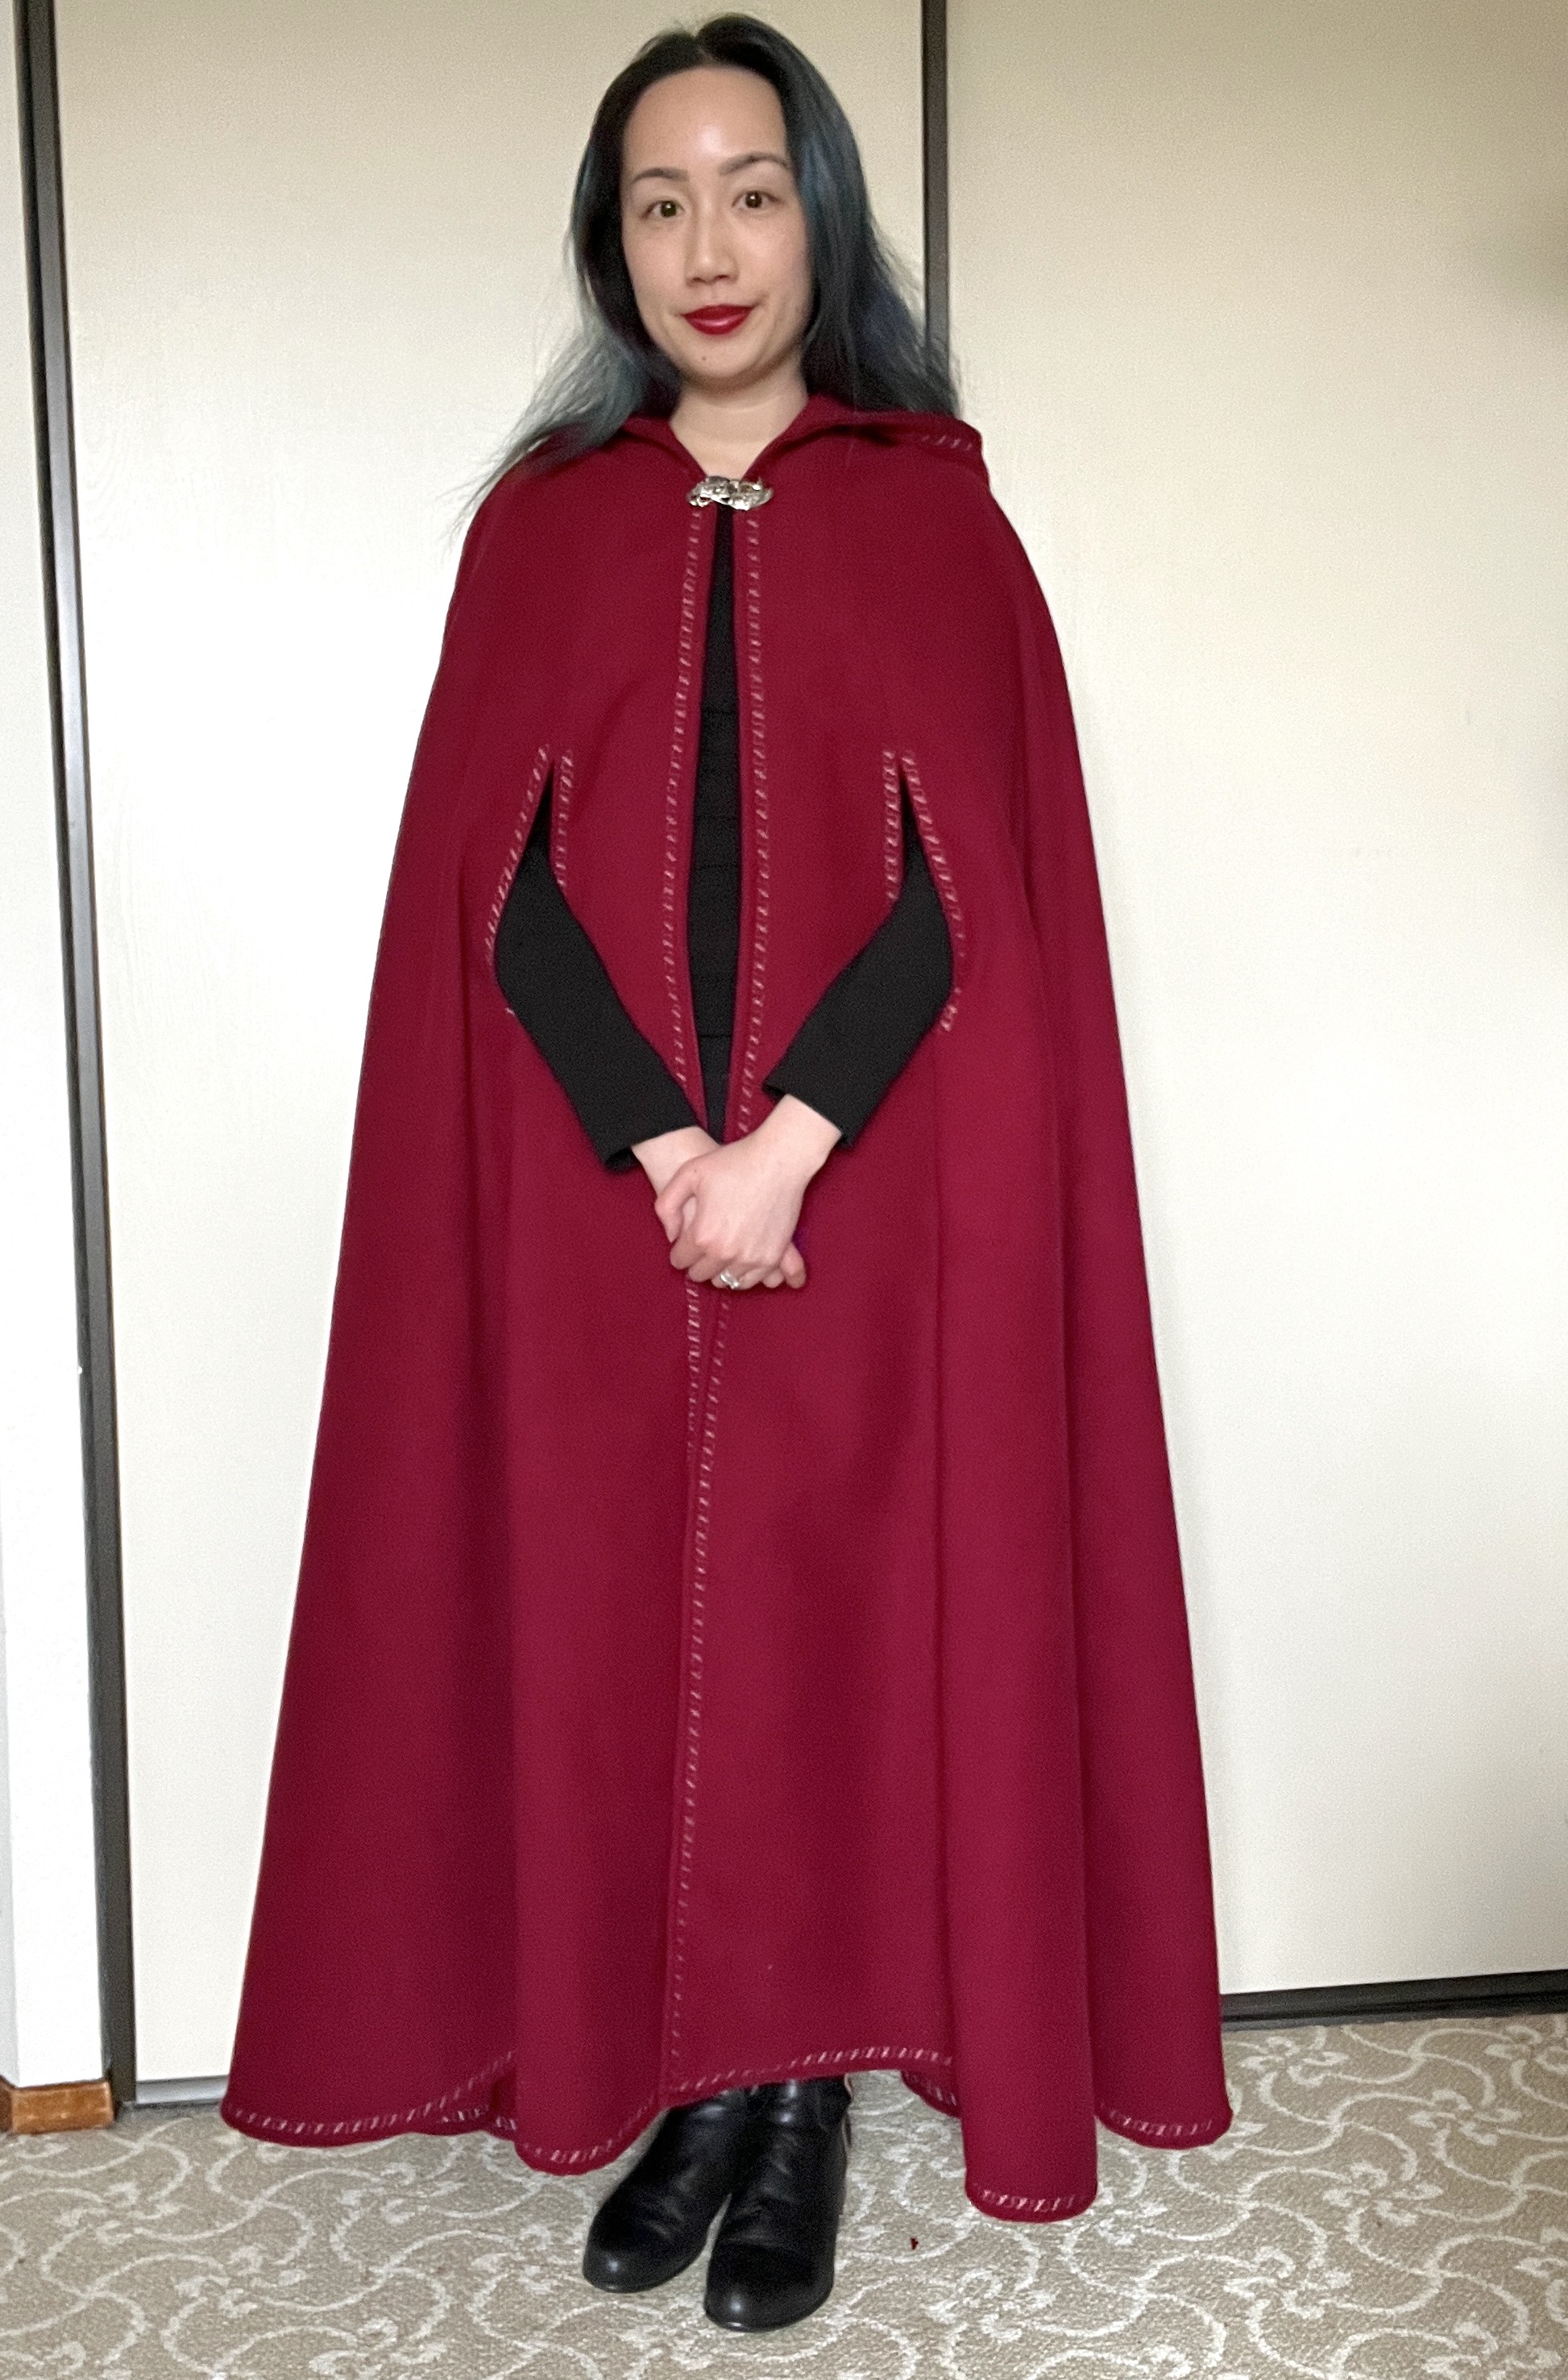
This cloak uses 5 yards of 60” fabric and features arm openings and a big hood. I used Simplicity 8770 as a base, with modifications. The hood is fully lined while the front of the cloak has facings down the center front openings. I am using a polyester faux wool material, but depending on the weather and aesthetic you are aiming for, you can also use wool, velvet, fleece, satin, or other materials. I also accented the cloak using the decorative stitching on my Janome Skyline S9, and used my Janome FA4 serger to keep all seams neat.
1. Cut out these pieces: one cloak back, two side fronts, two fronts, two front facings, one hood, one hood lining, one back facing.
2. Serge all pieces to prevent fraying except for those that will be fully enclosed: hood, hood lining, center edge of front and front facings, bottom hems, and the neckline of the back and front facings.
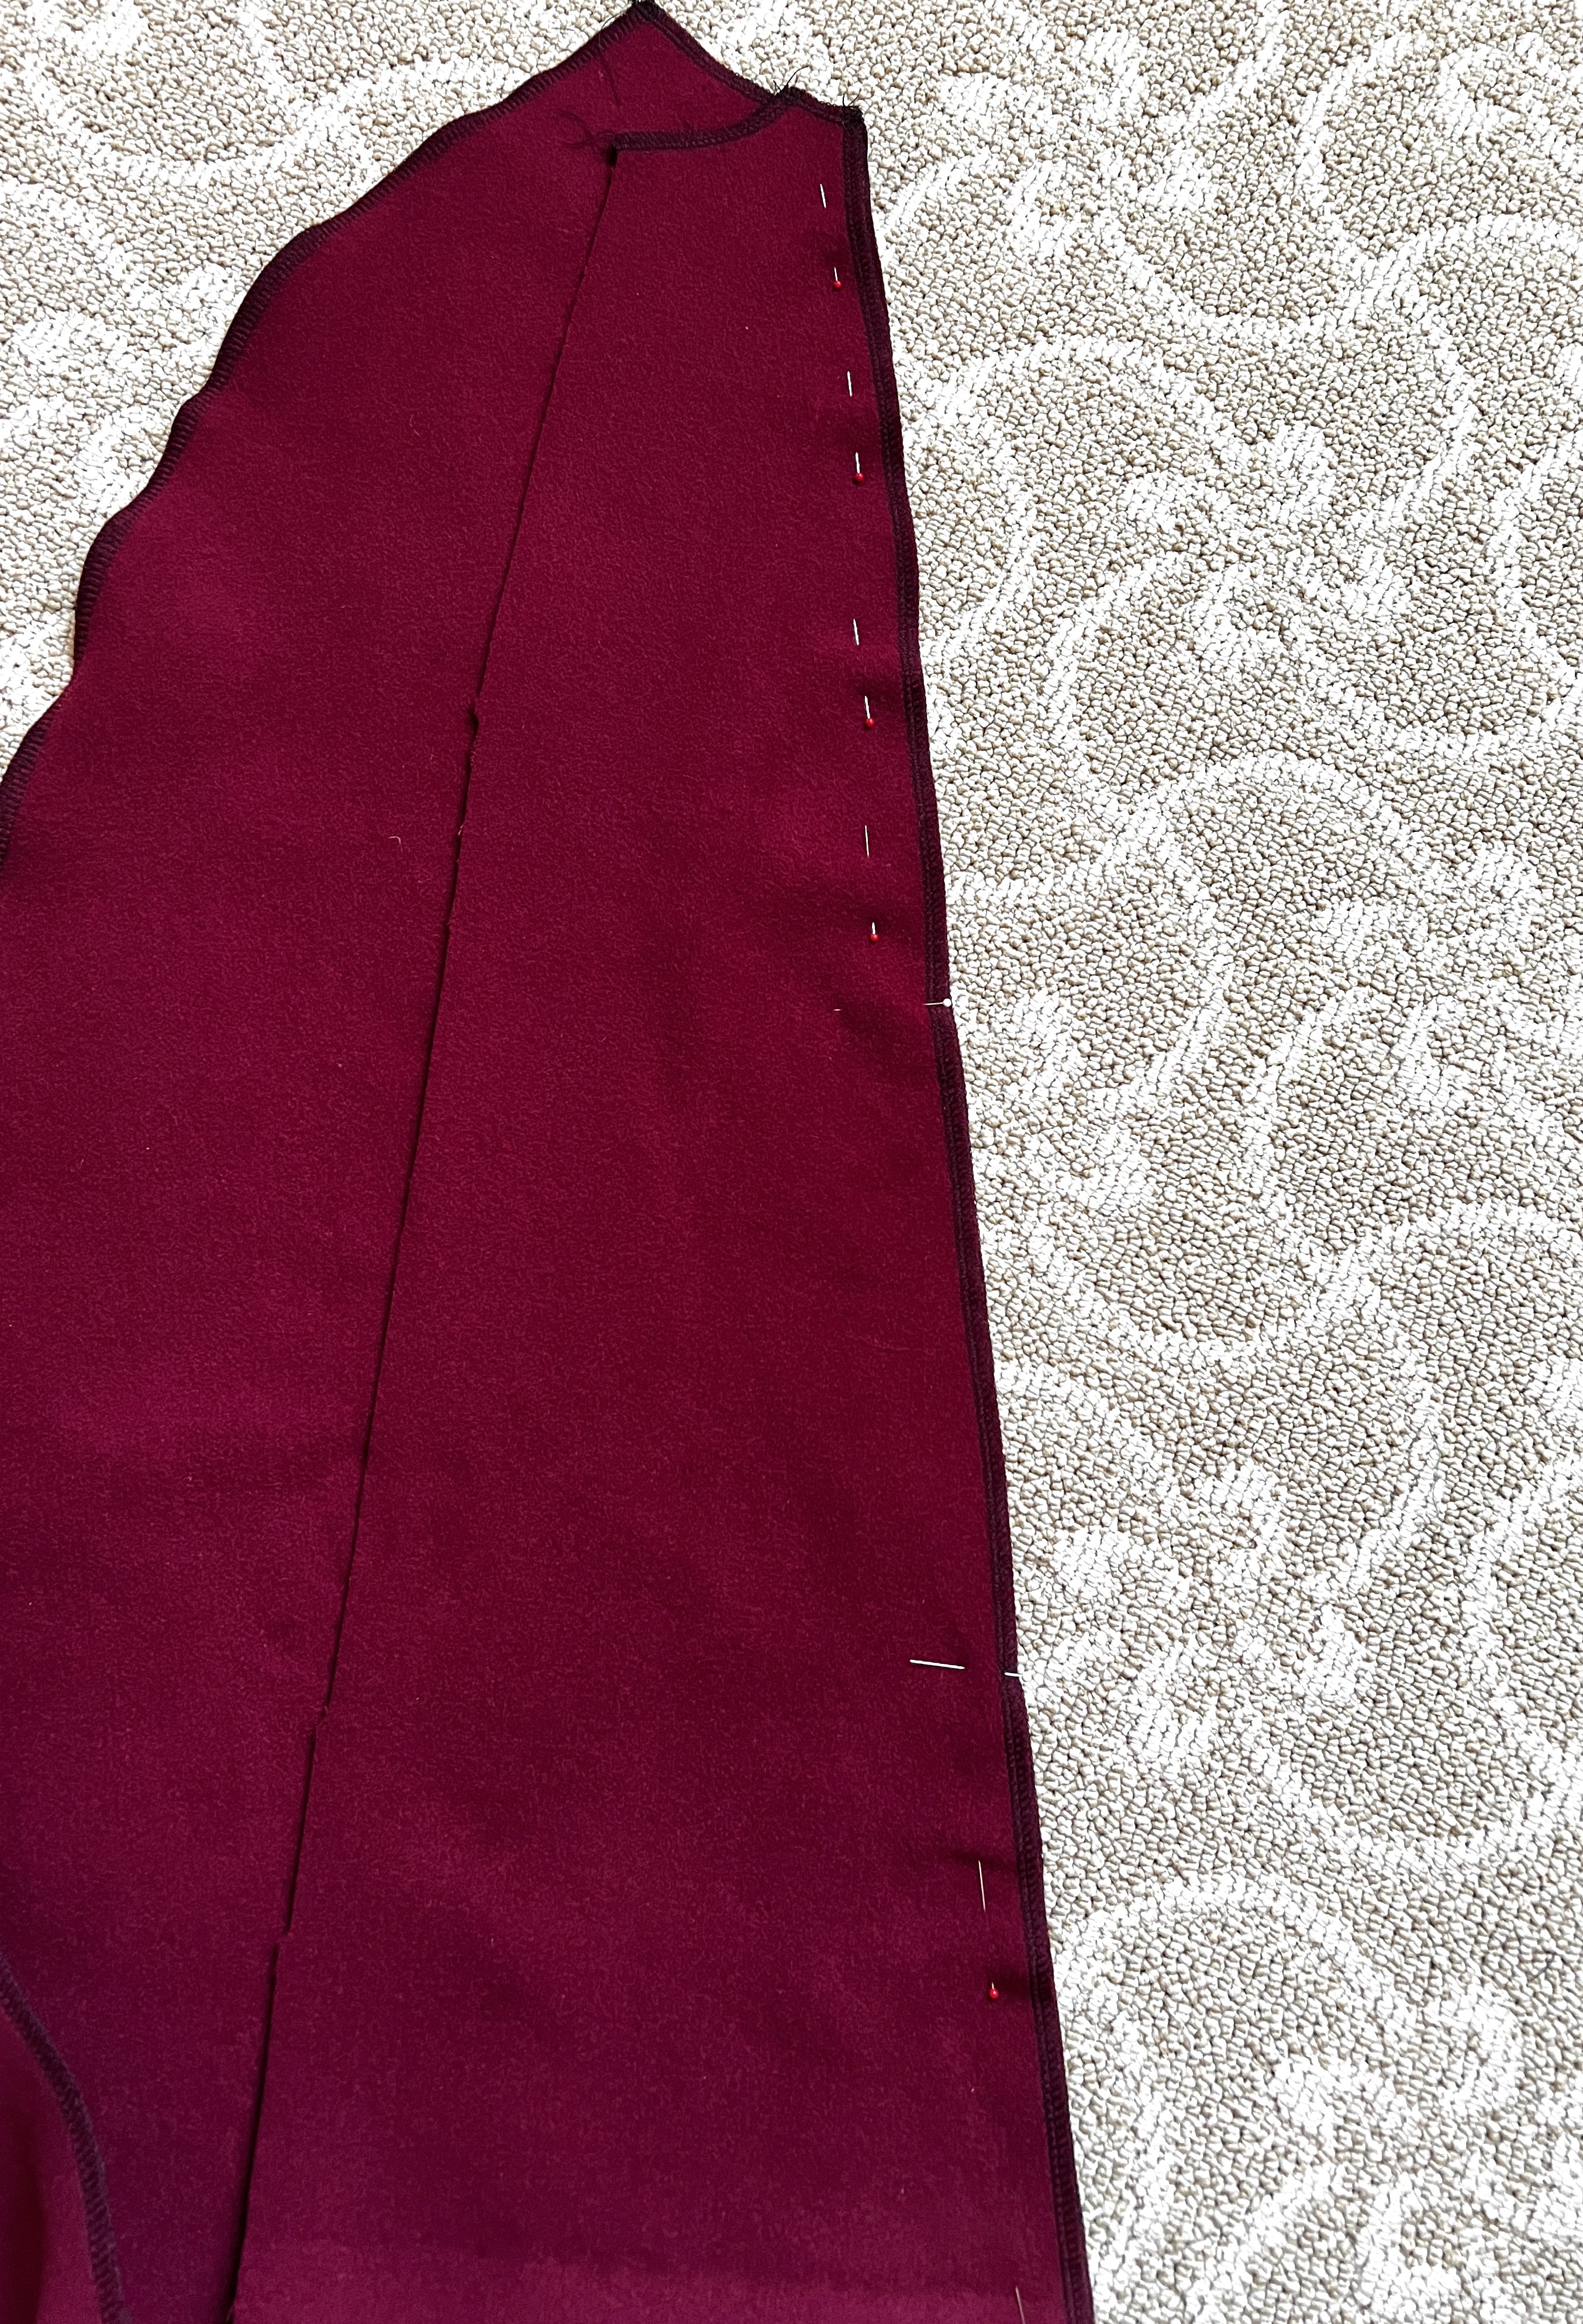
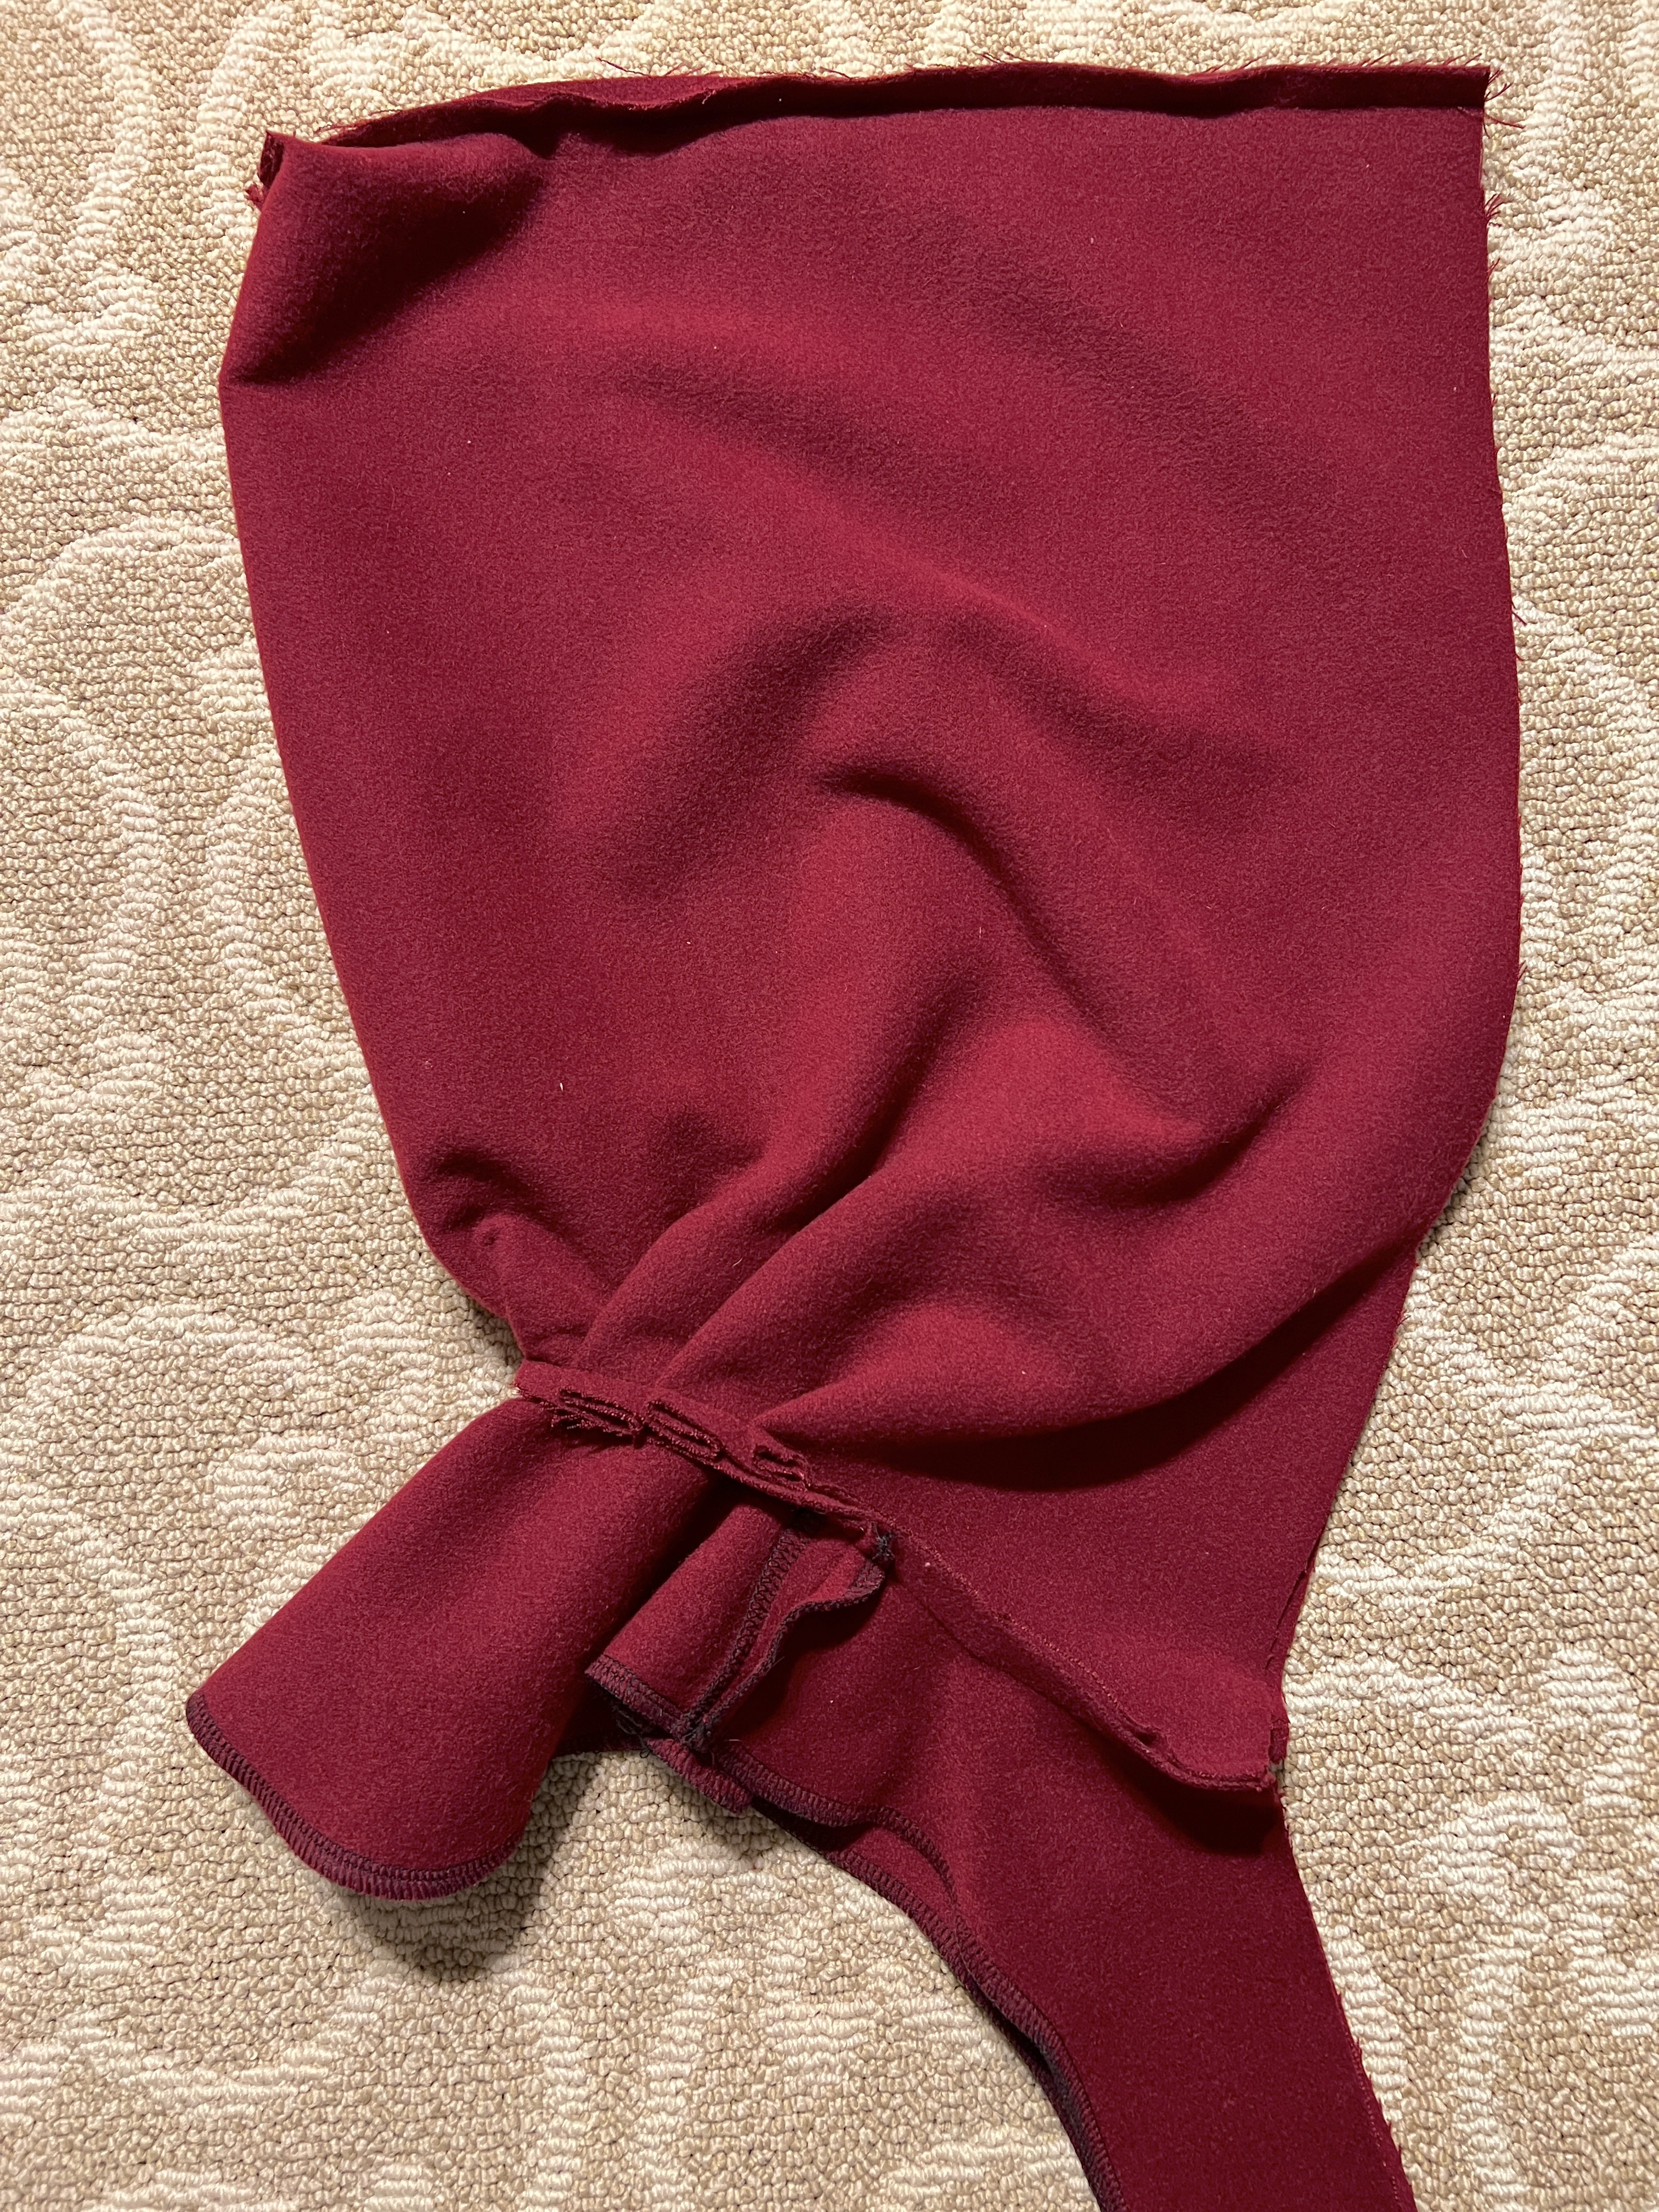
 3. Sew each side front to front, leaving a gap for your arms. The armhole should be about 12 inches down from the neckline, and 8 inches long. For this use a wider seam allowance (1 inch). The following photo shows pins with a gap for the arms.
4. Sew the back to the side fronts, using a 1/2 inch seam allowance.
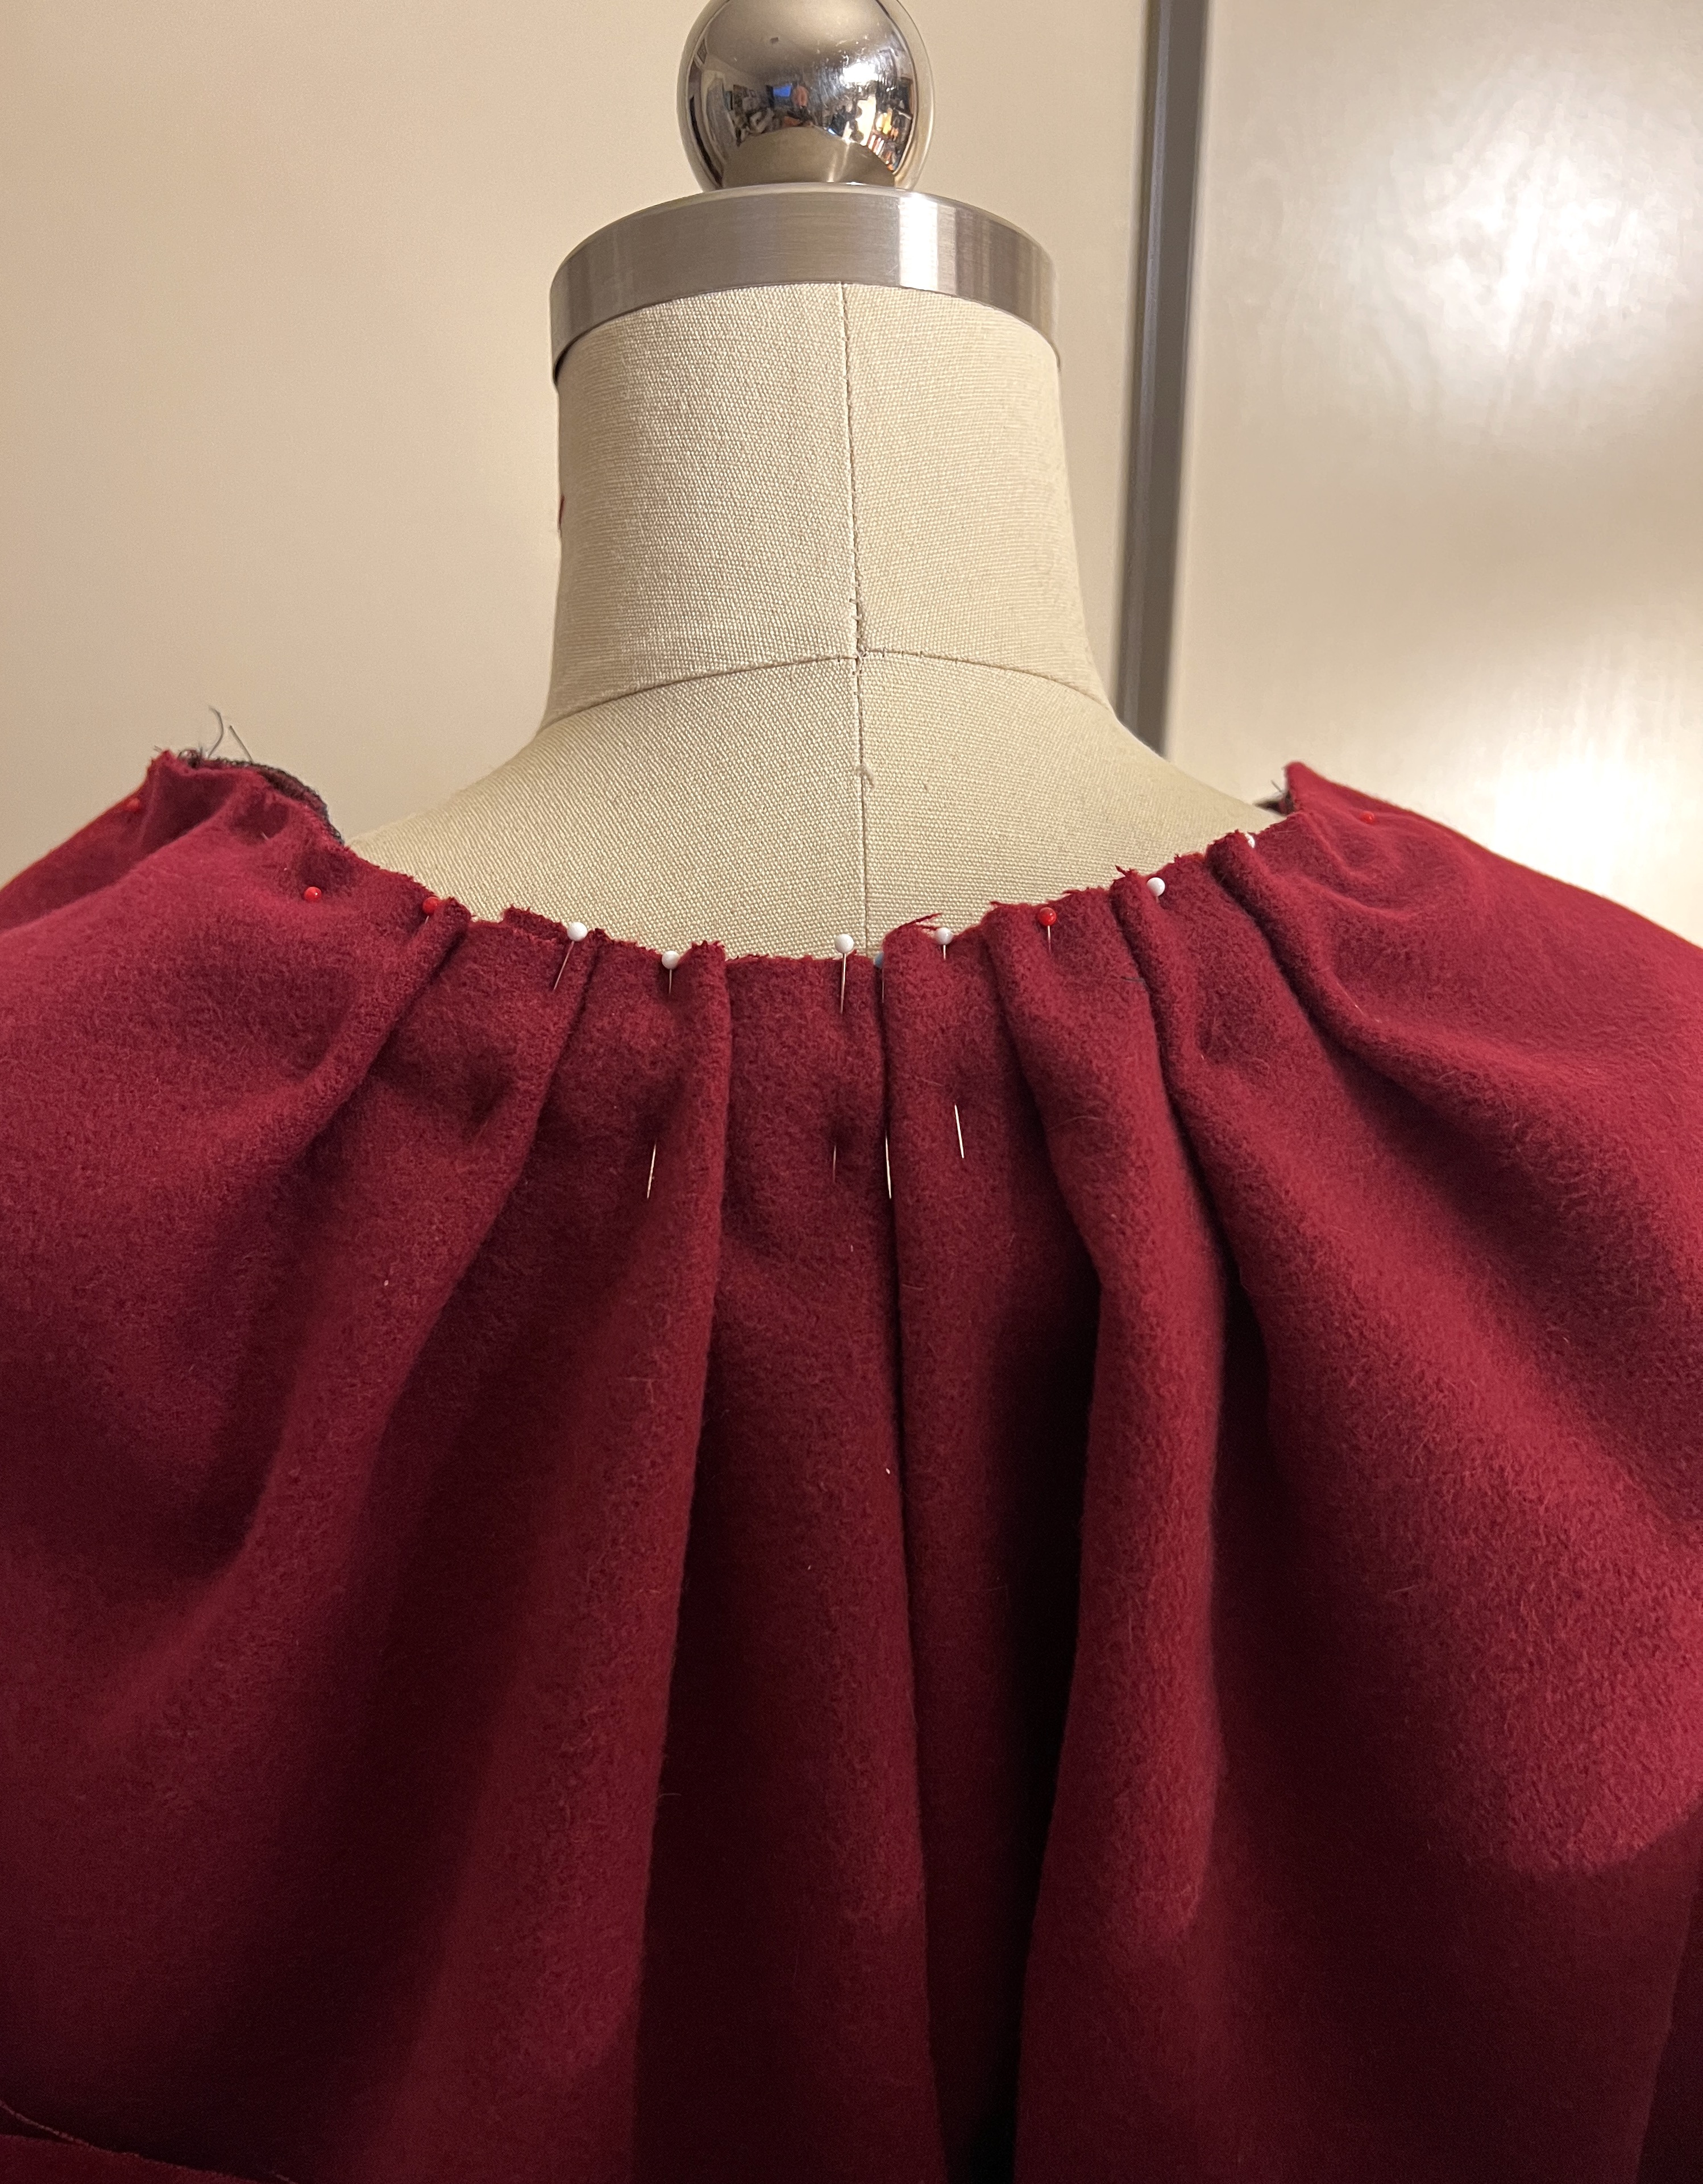
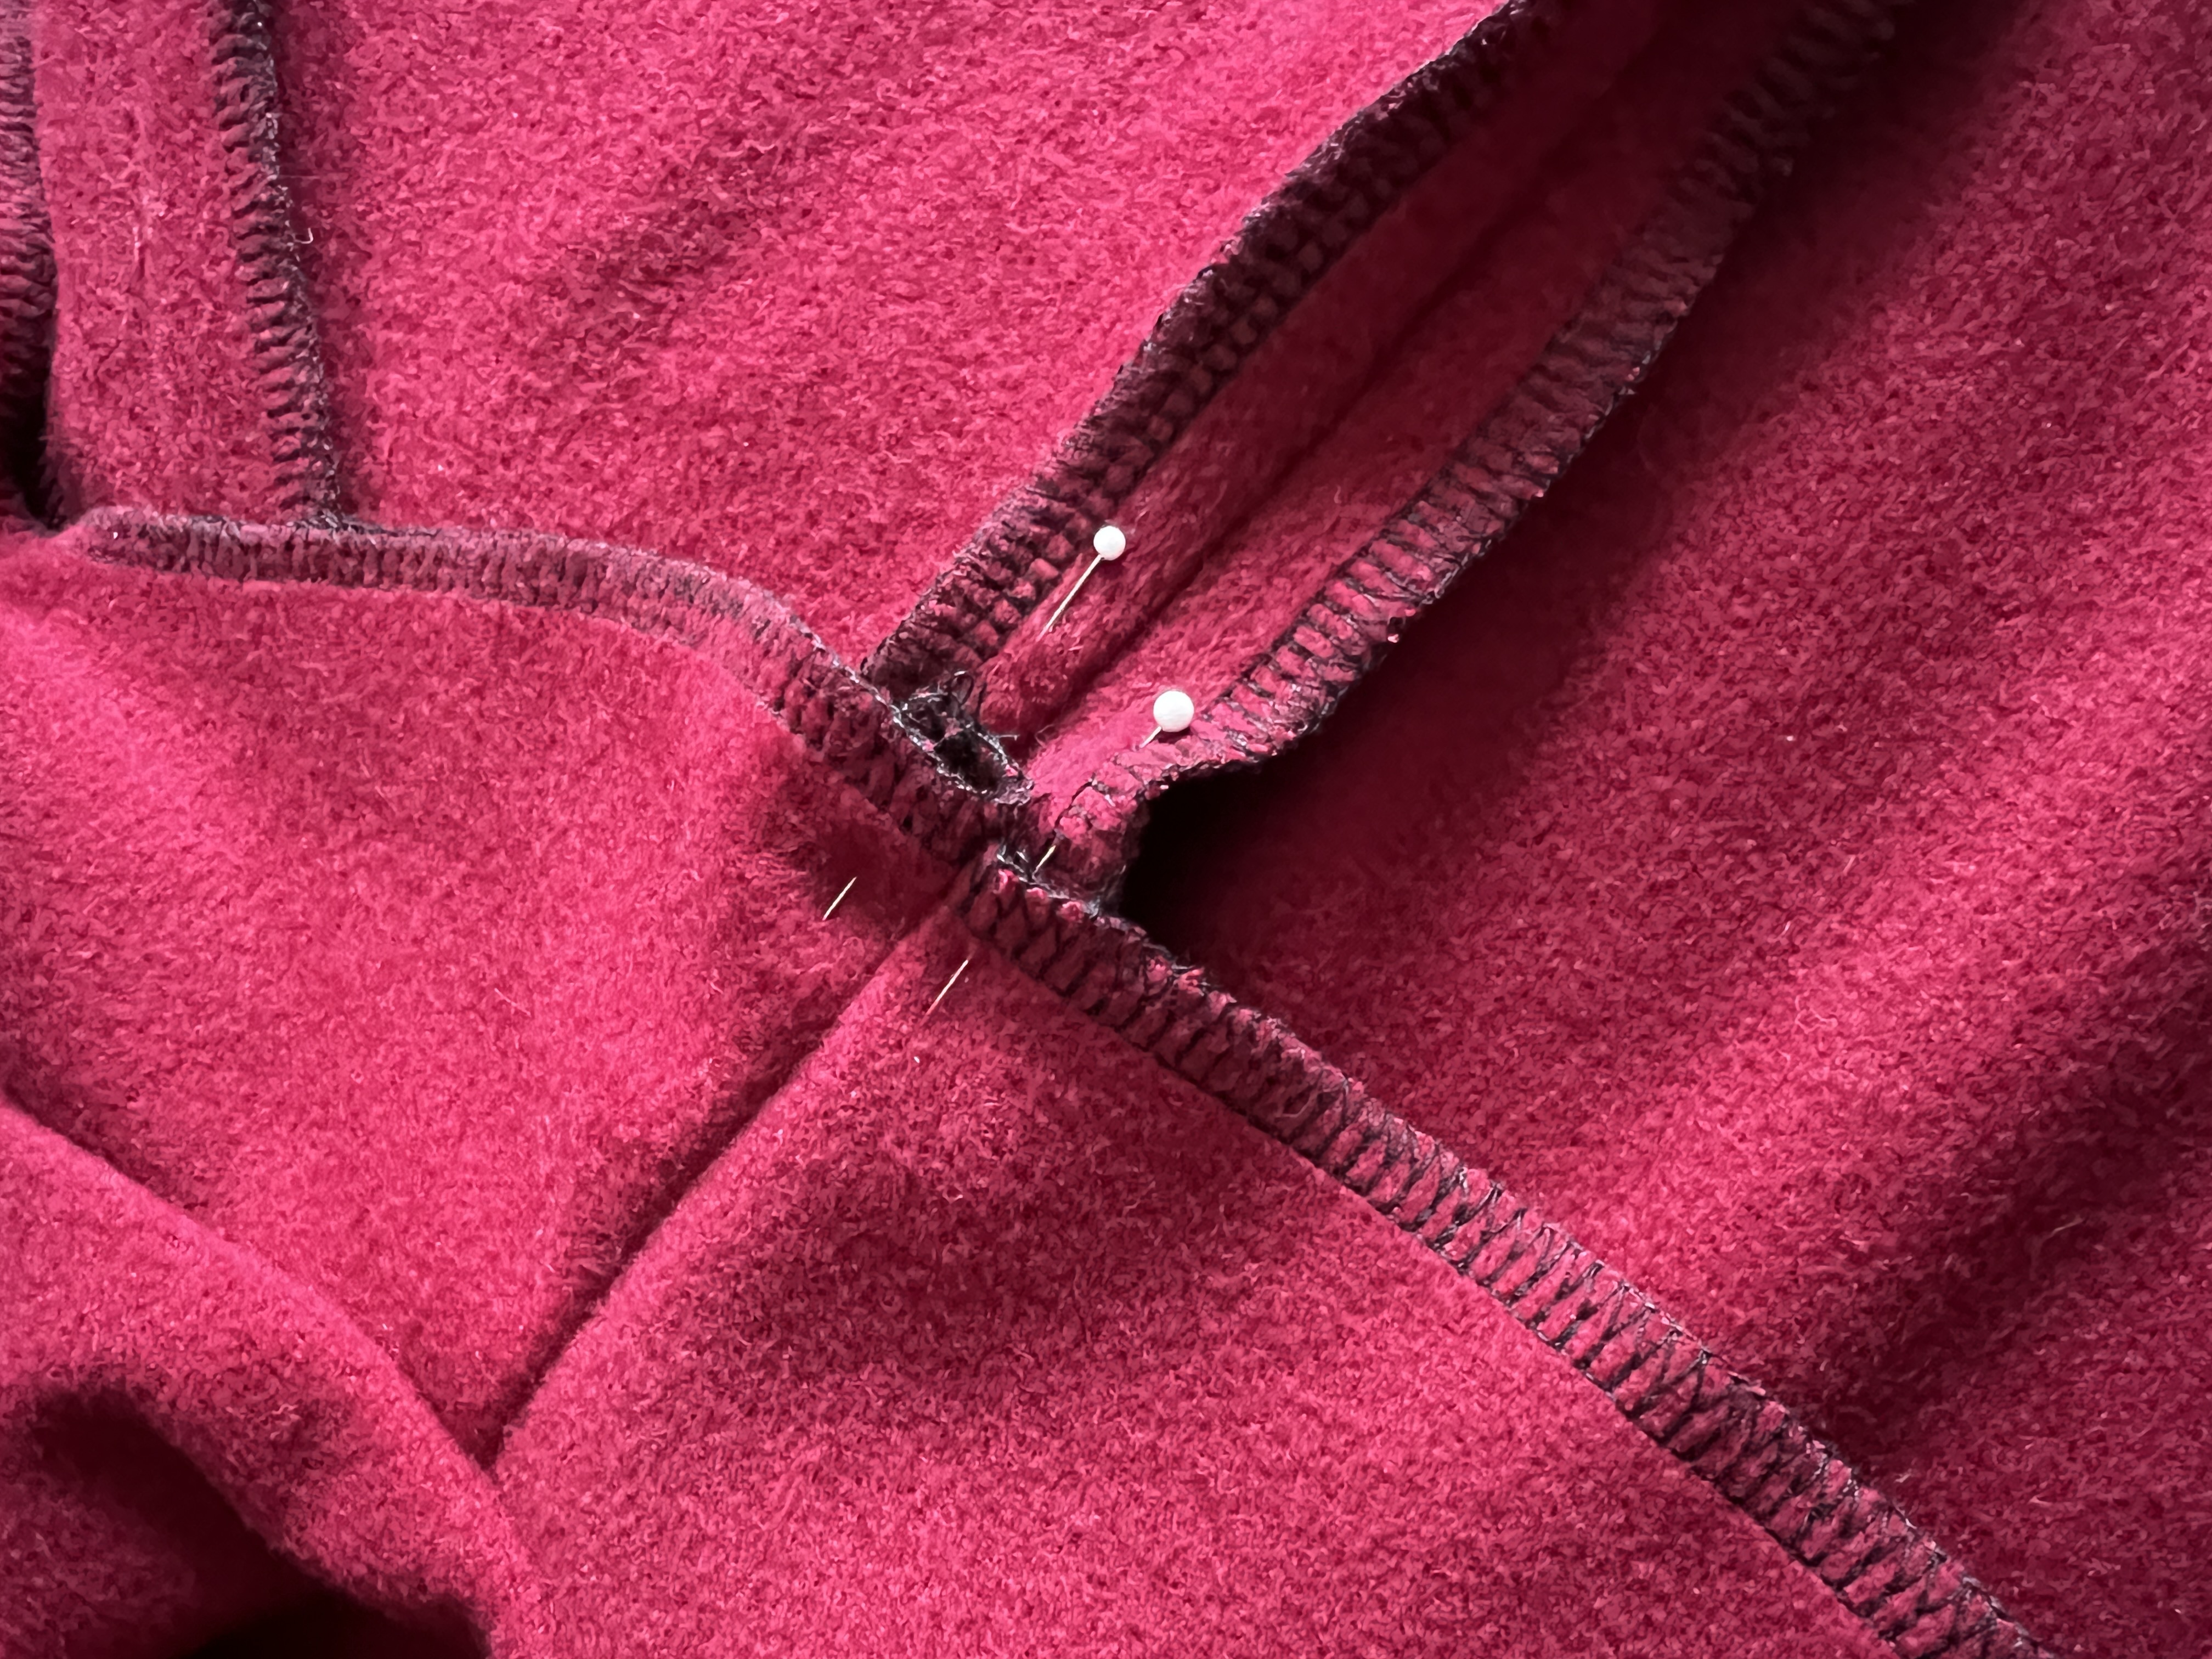
5. Sew the center seam of the hood. Sew the bottom of the hood to the cape, right sides together, pleating to fit at the center back.
6. Sew the back facing to the front facings. Then sew the bottom of the hood lining to the inside neckline of the facings, pleating in the back to fit.
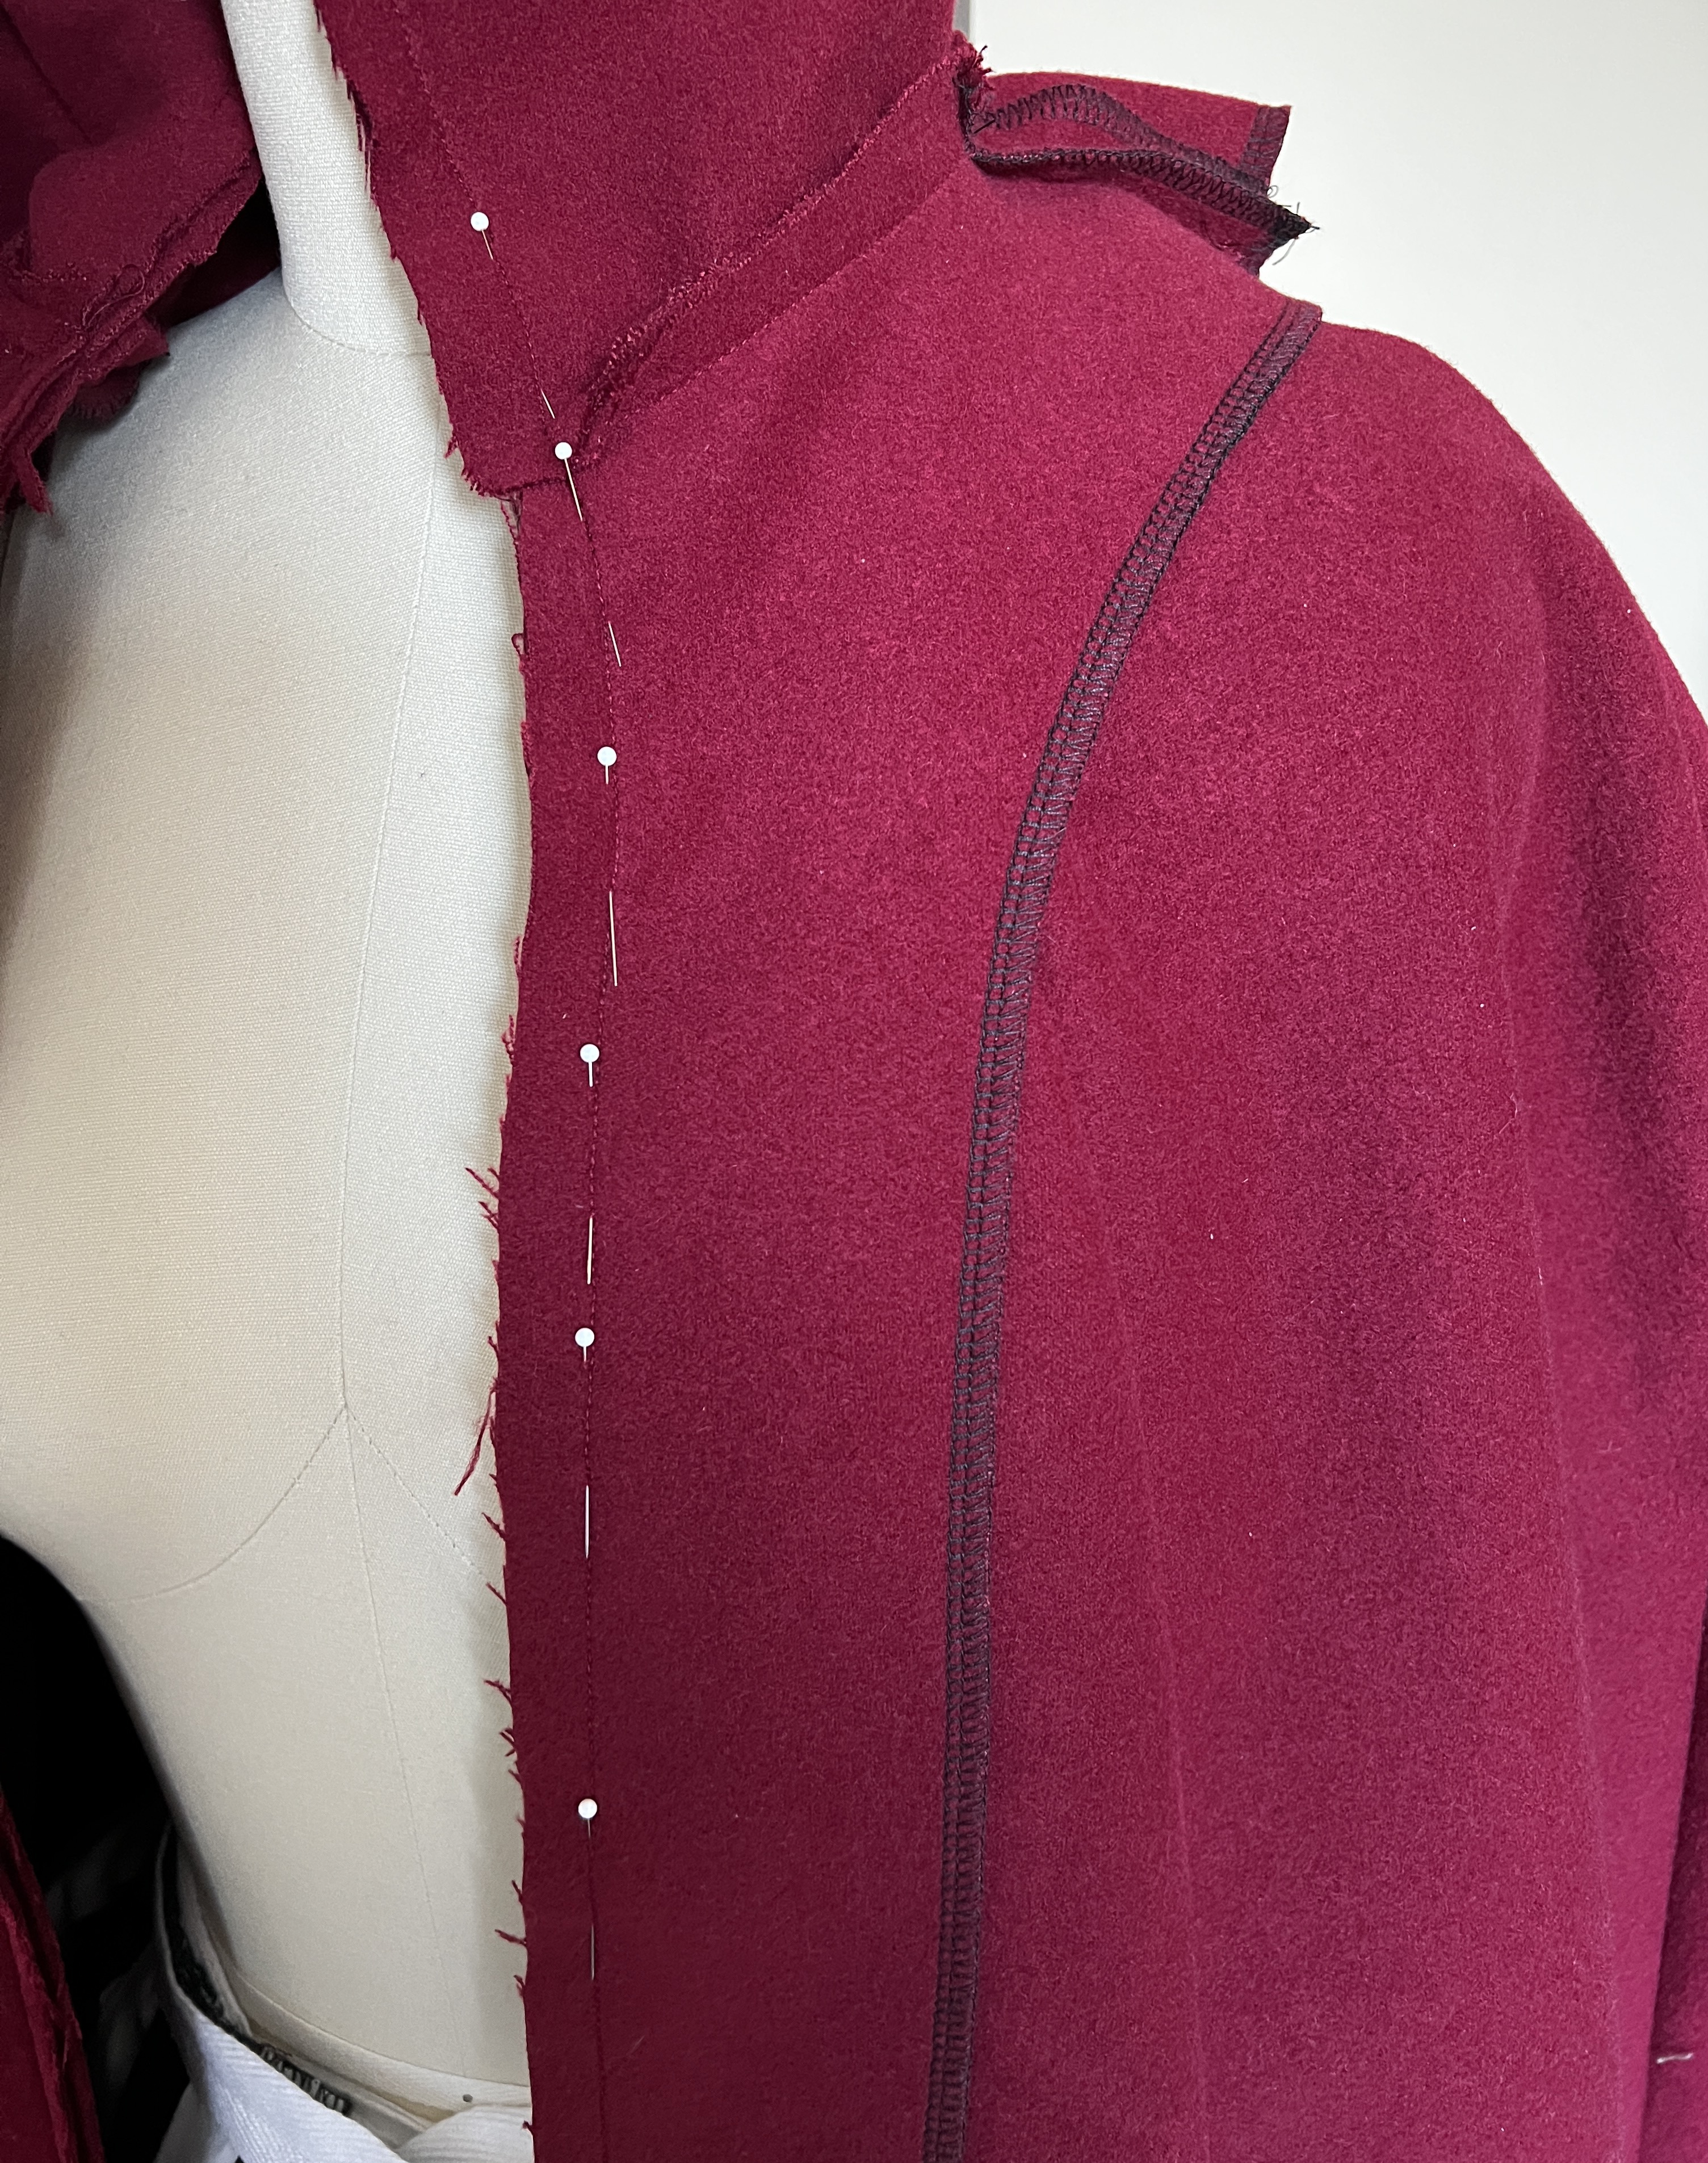
7. Pin the front edges of the cloak + hood to the corresponding front edges of the facings + hood lining, right sides together, and sew. (All of these should be the raw, unserged edges). In the following photo the cloak is shown inside out with the serged edge of the facing visible, with the stitching line shown by the white pins.
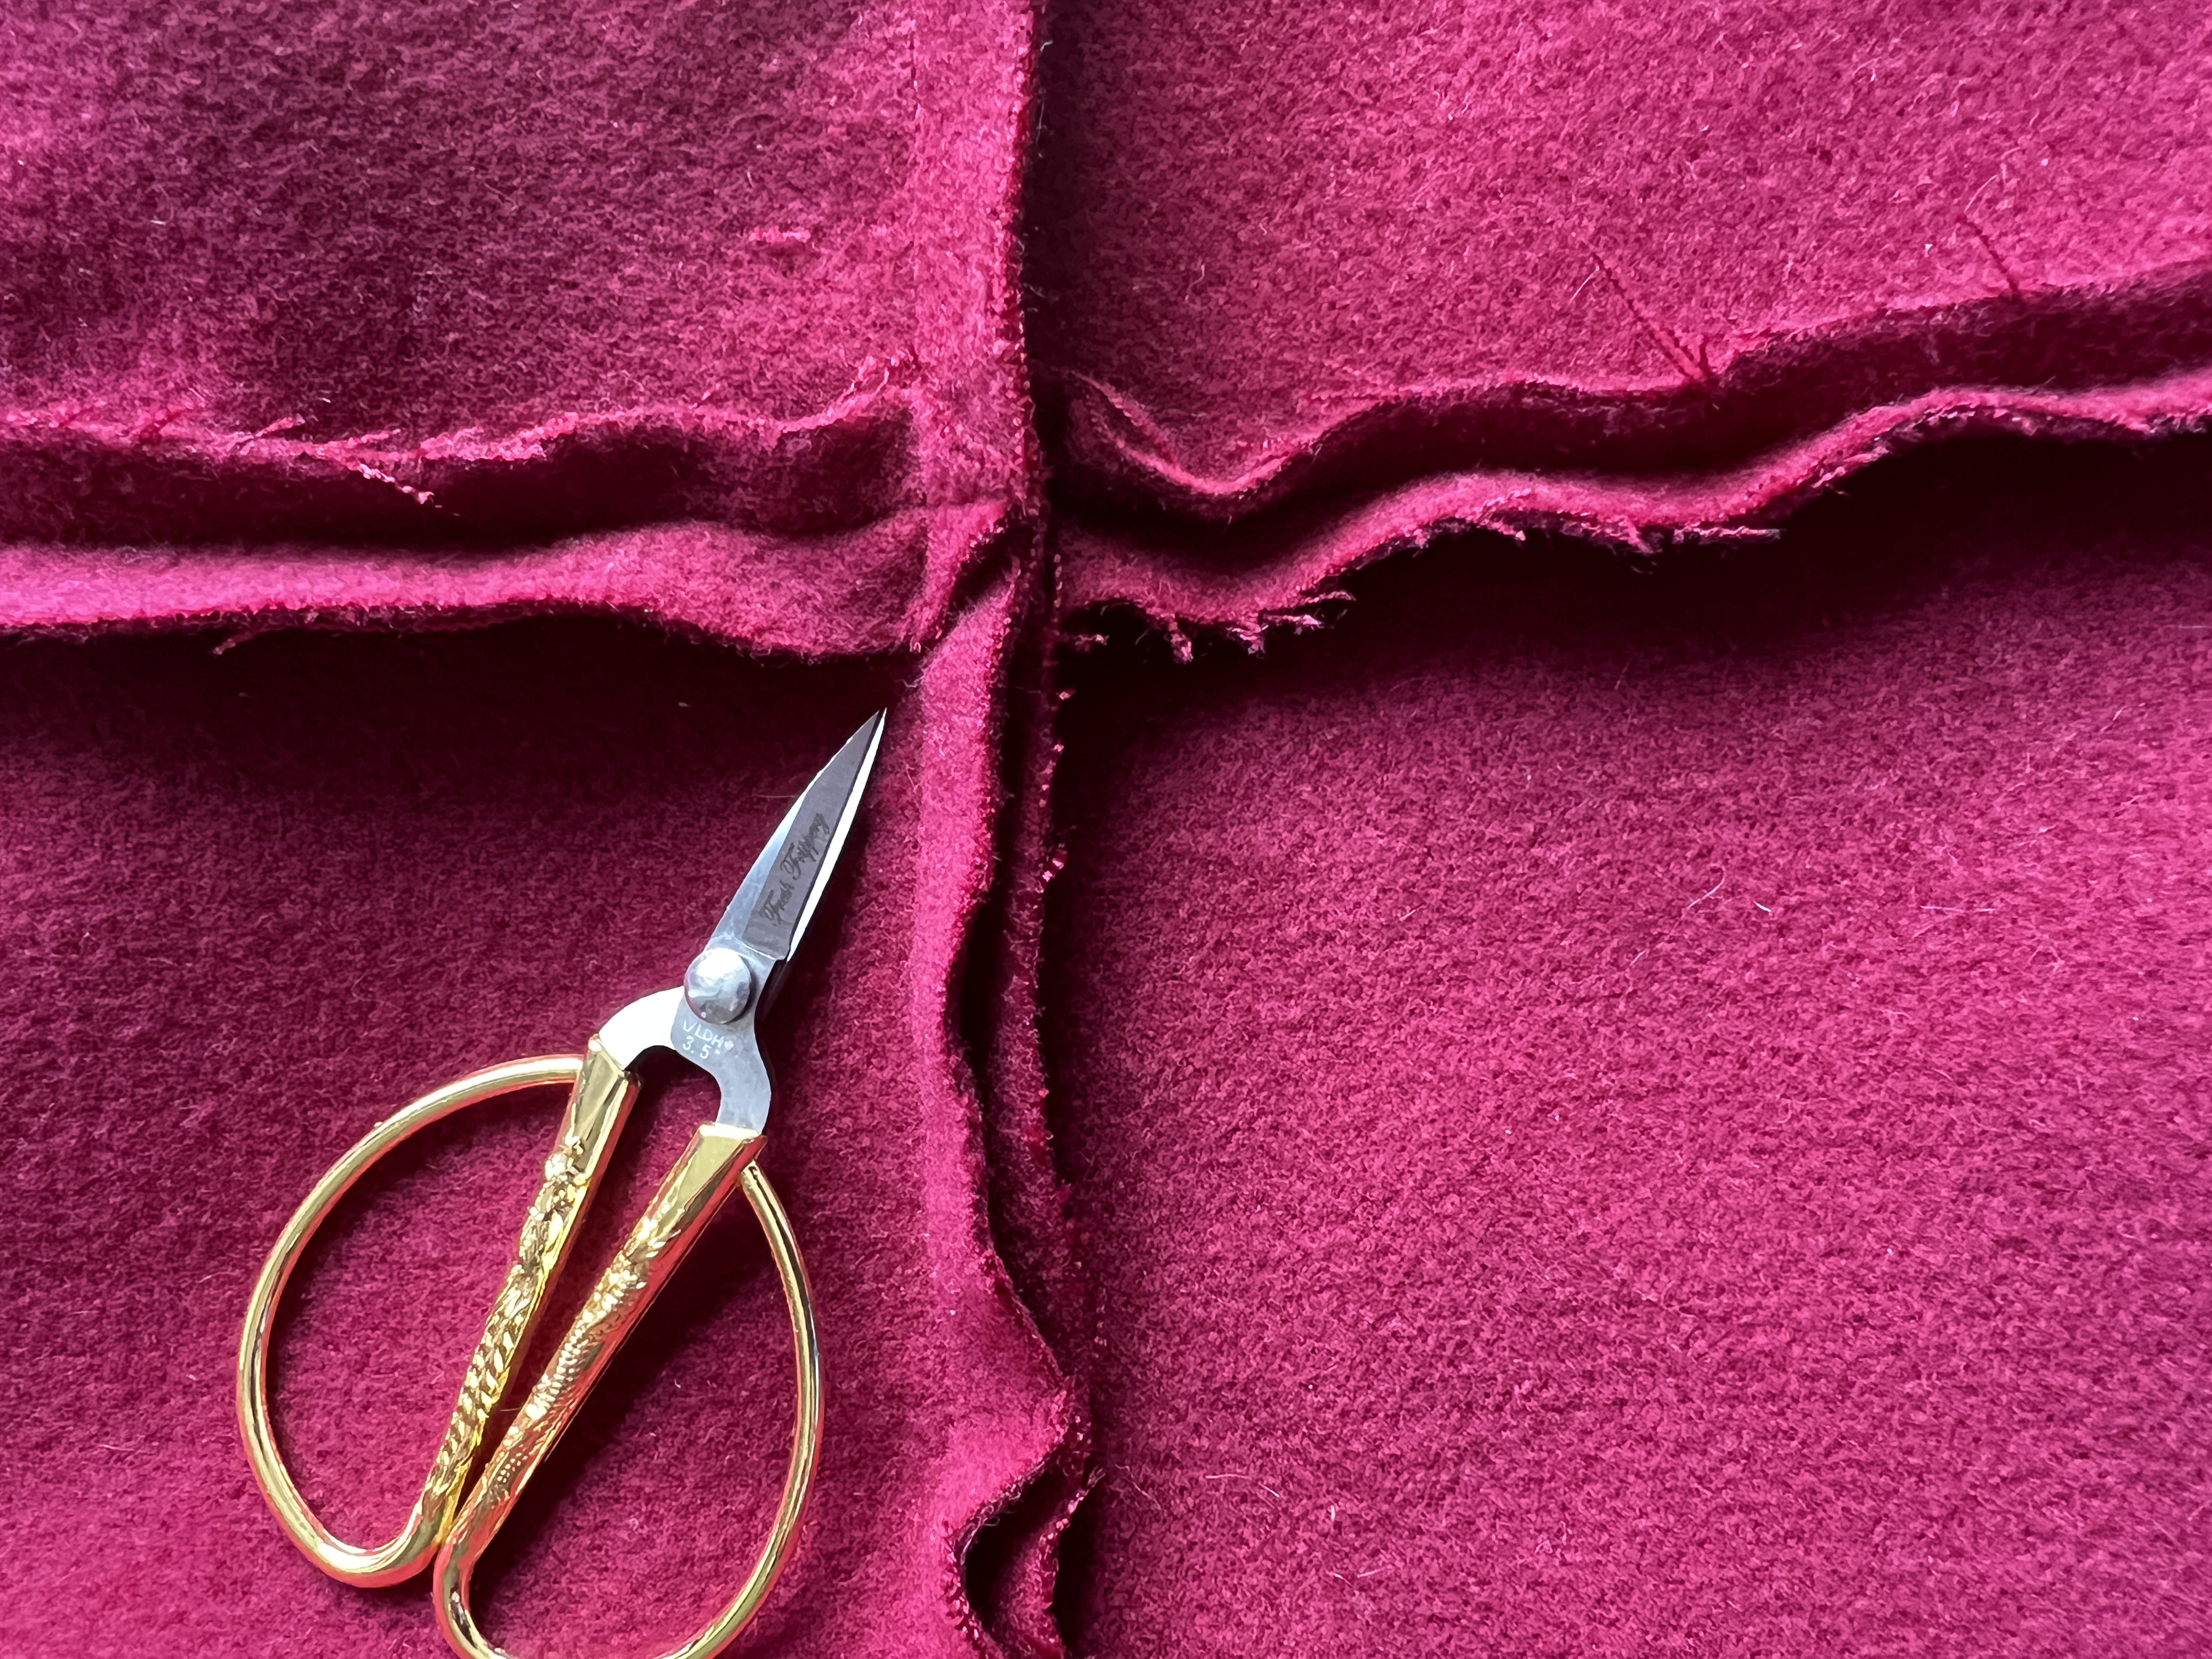
8. Press all seams flat, then turn the hood lining and facings into the interior of the cloak. Use small scissors to trim away any excess bulk in the seams.
9. Add some hand sewn stitching to the hood/front facings to the shoulder seams and back of the cloak to keep them attached.
10. Hem the bottom of the cloak to your desired length. (You can either serge the bottom and fold it up once, or not serge and fold it up twice to enclose the raw edges).
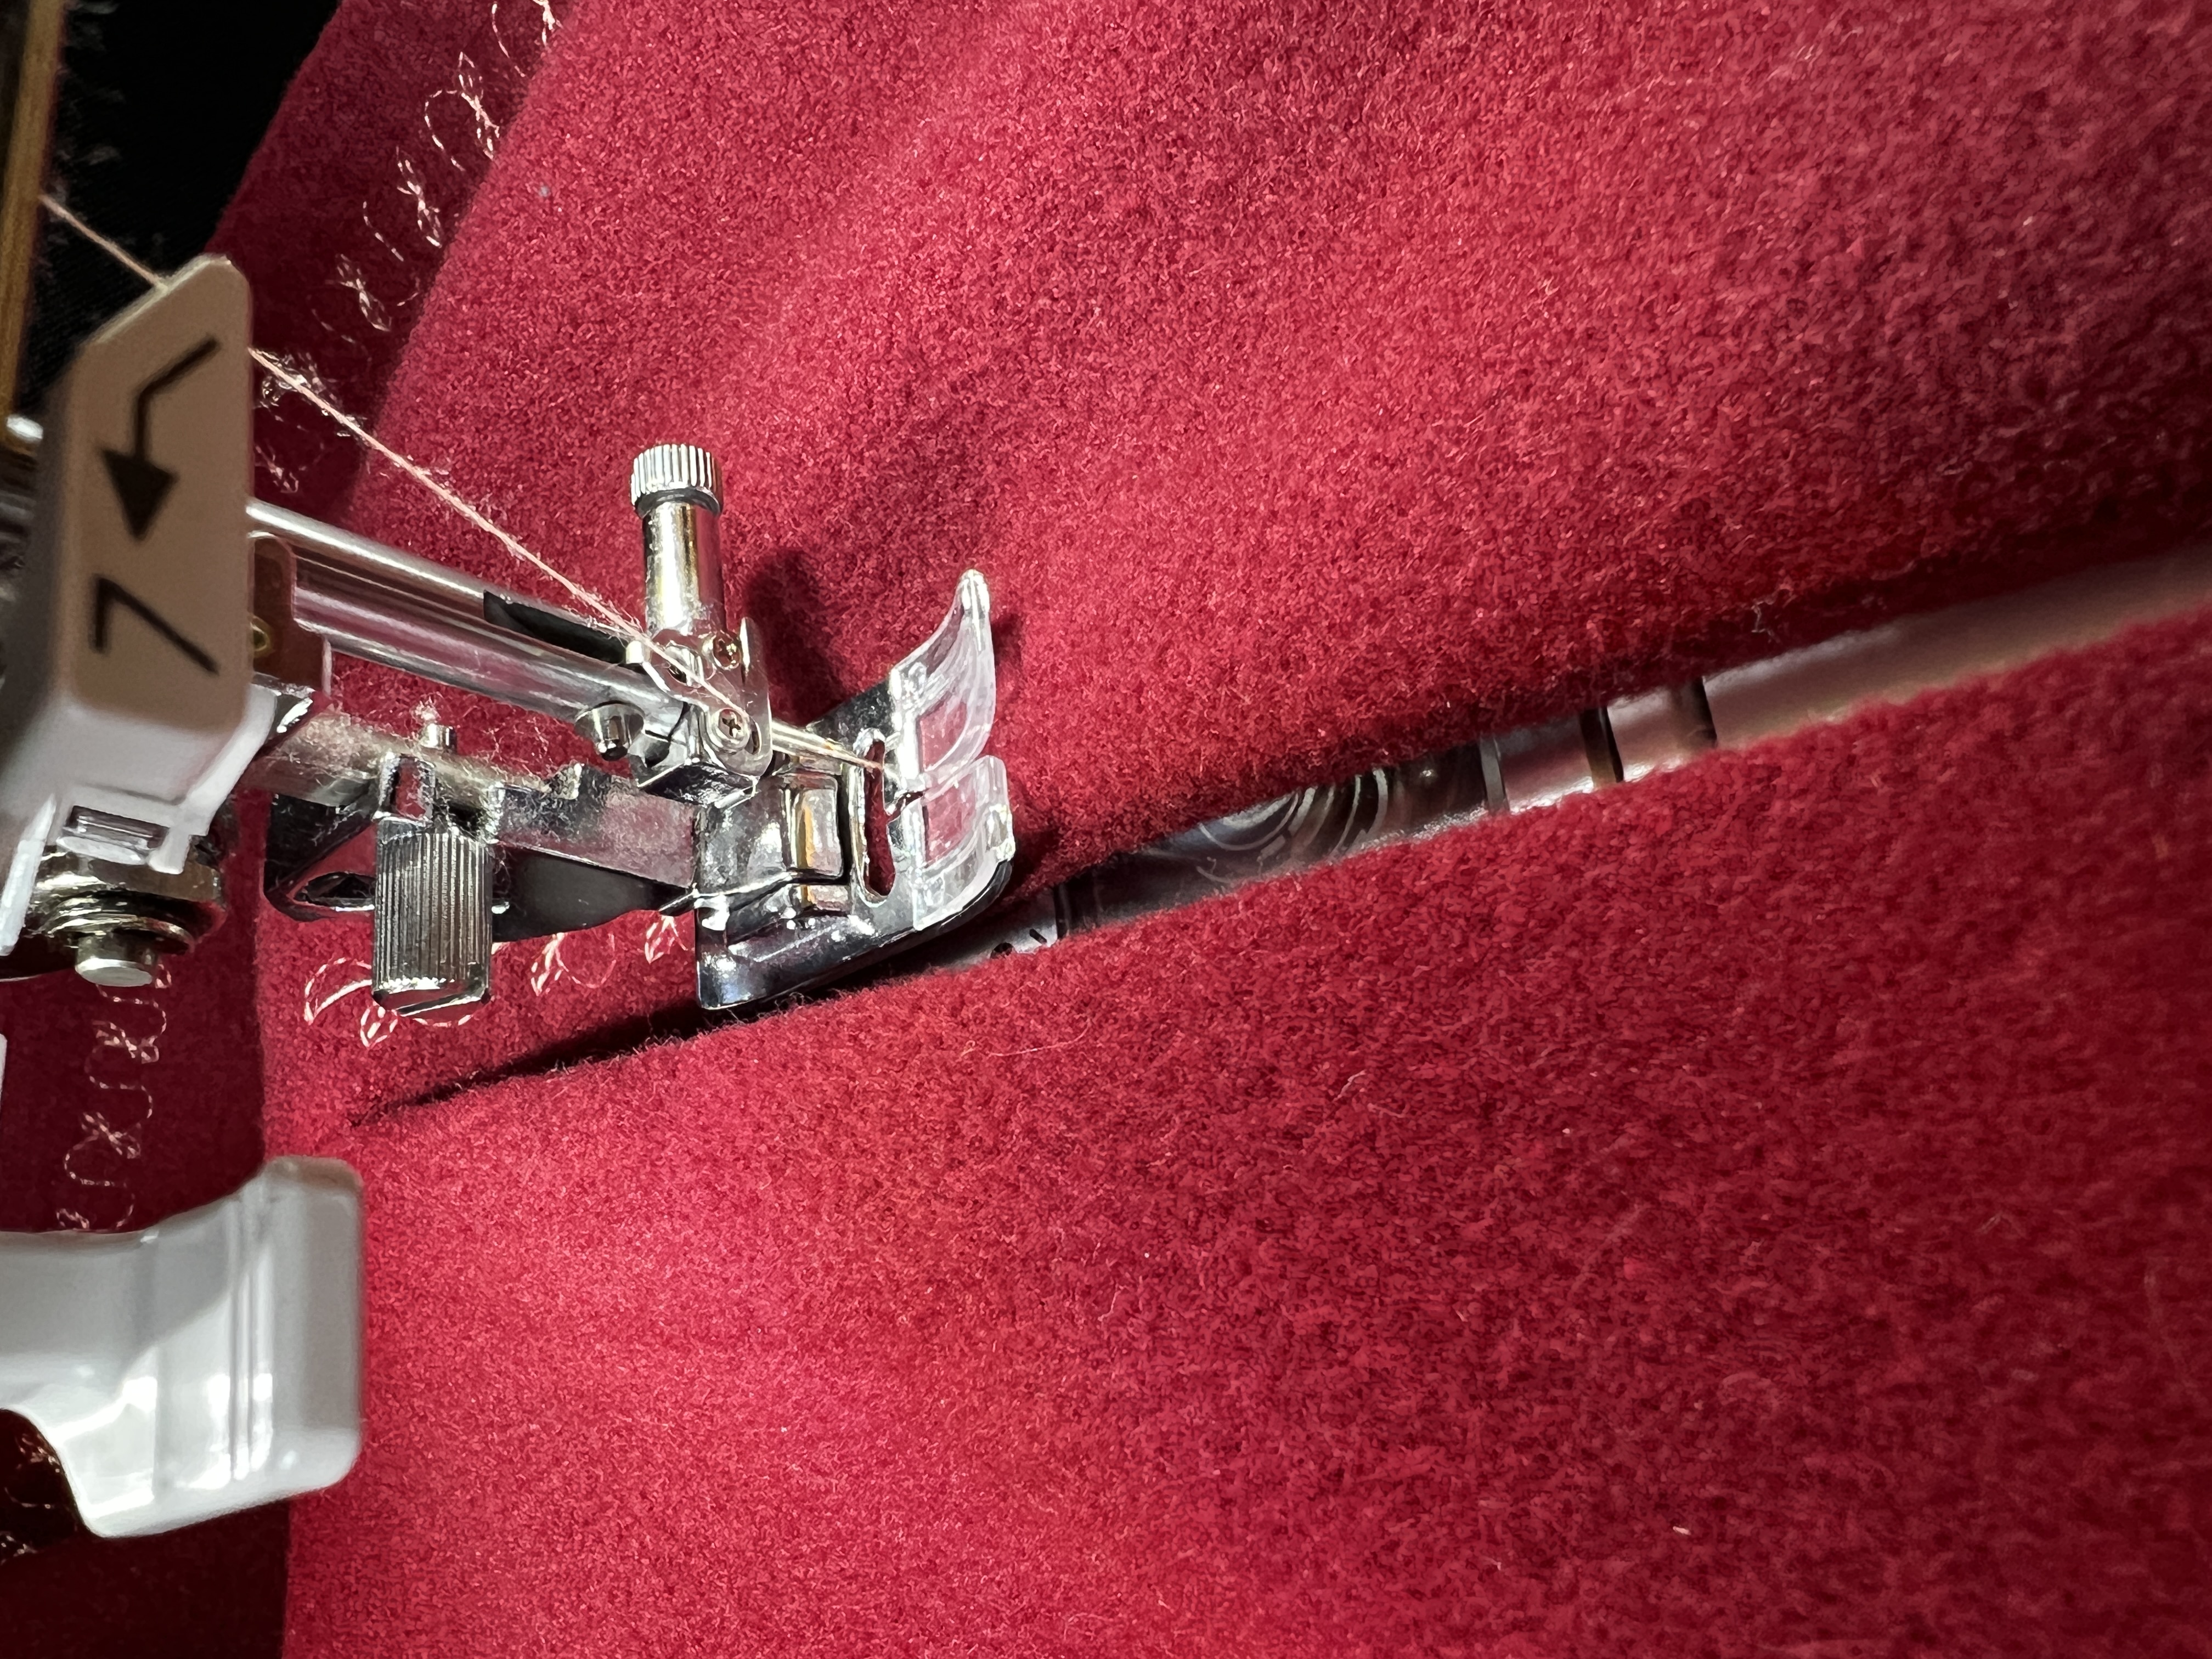
11. Top-stitch all the edges of the cloak (hood, front, and hem) using a decorative stitch in a contrasting thread.

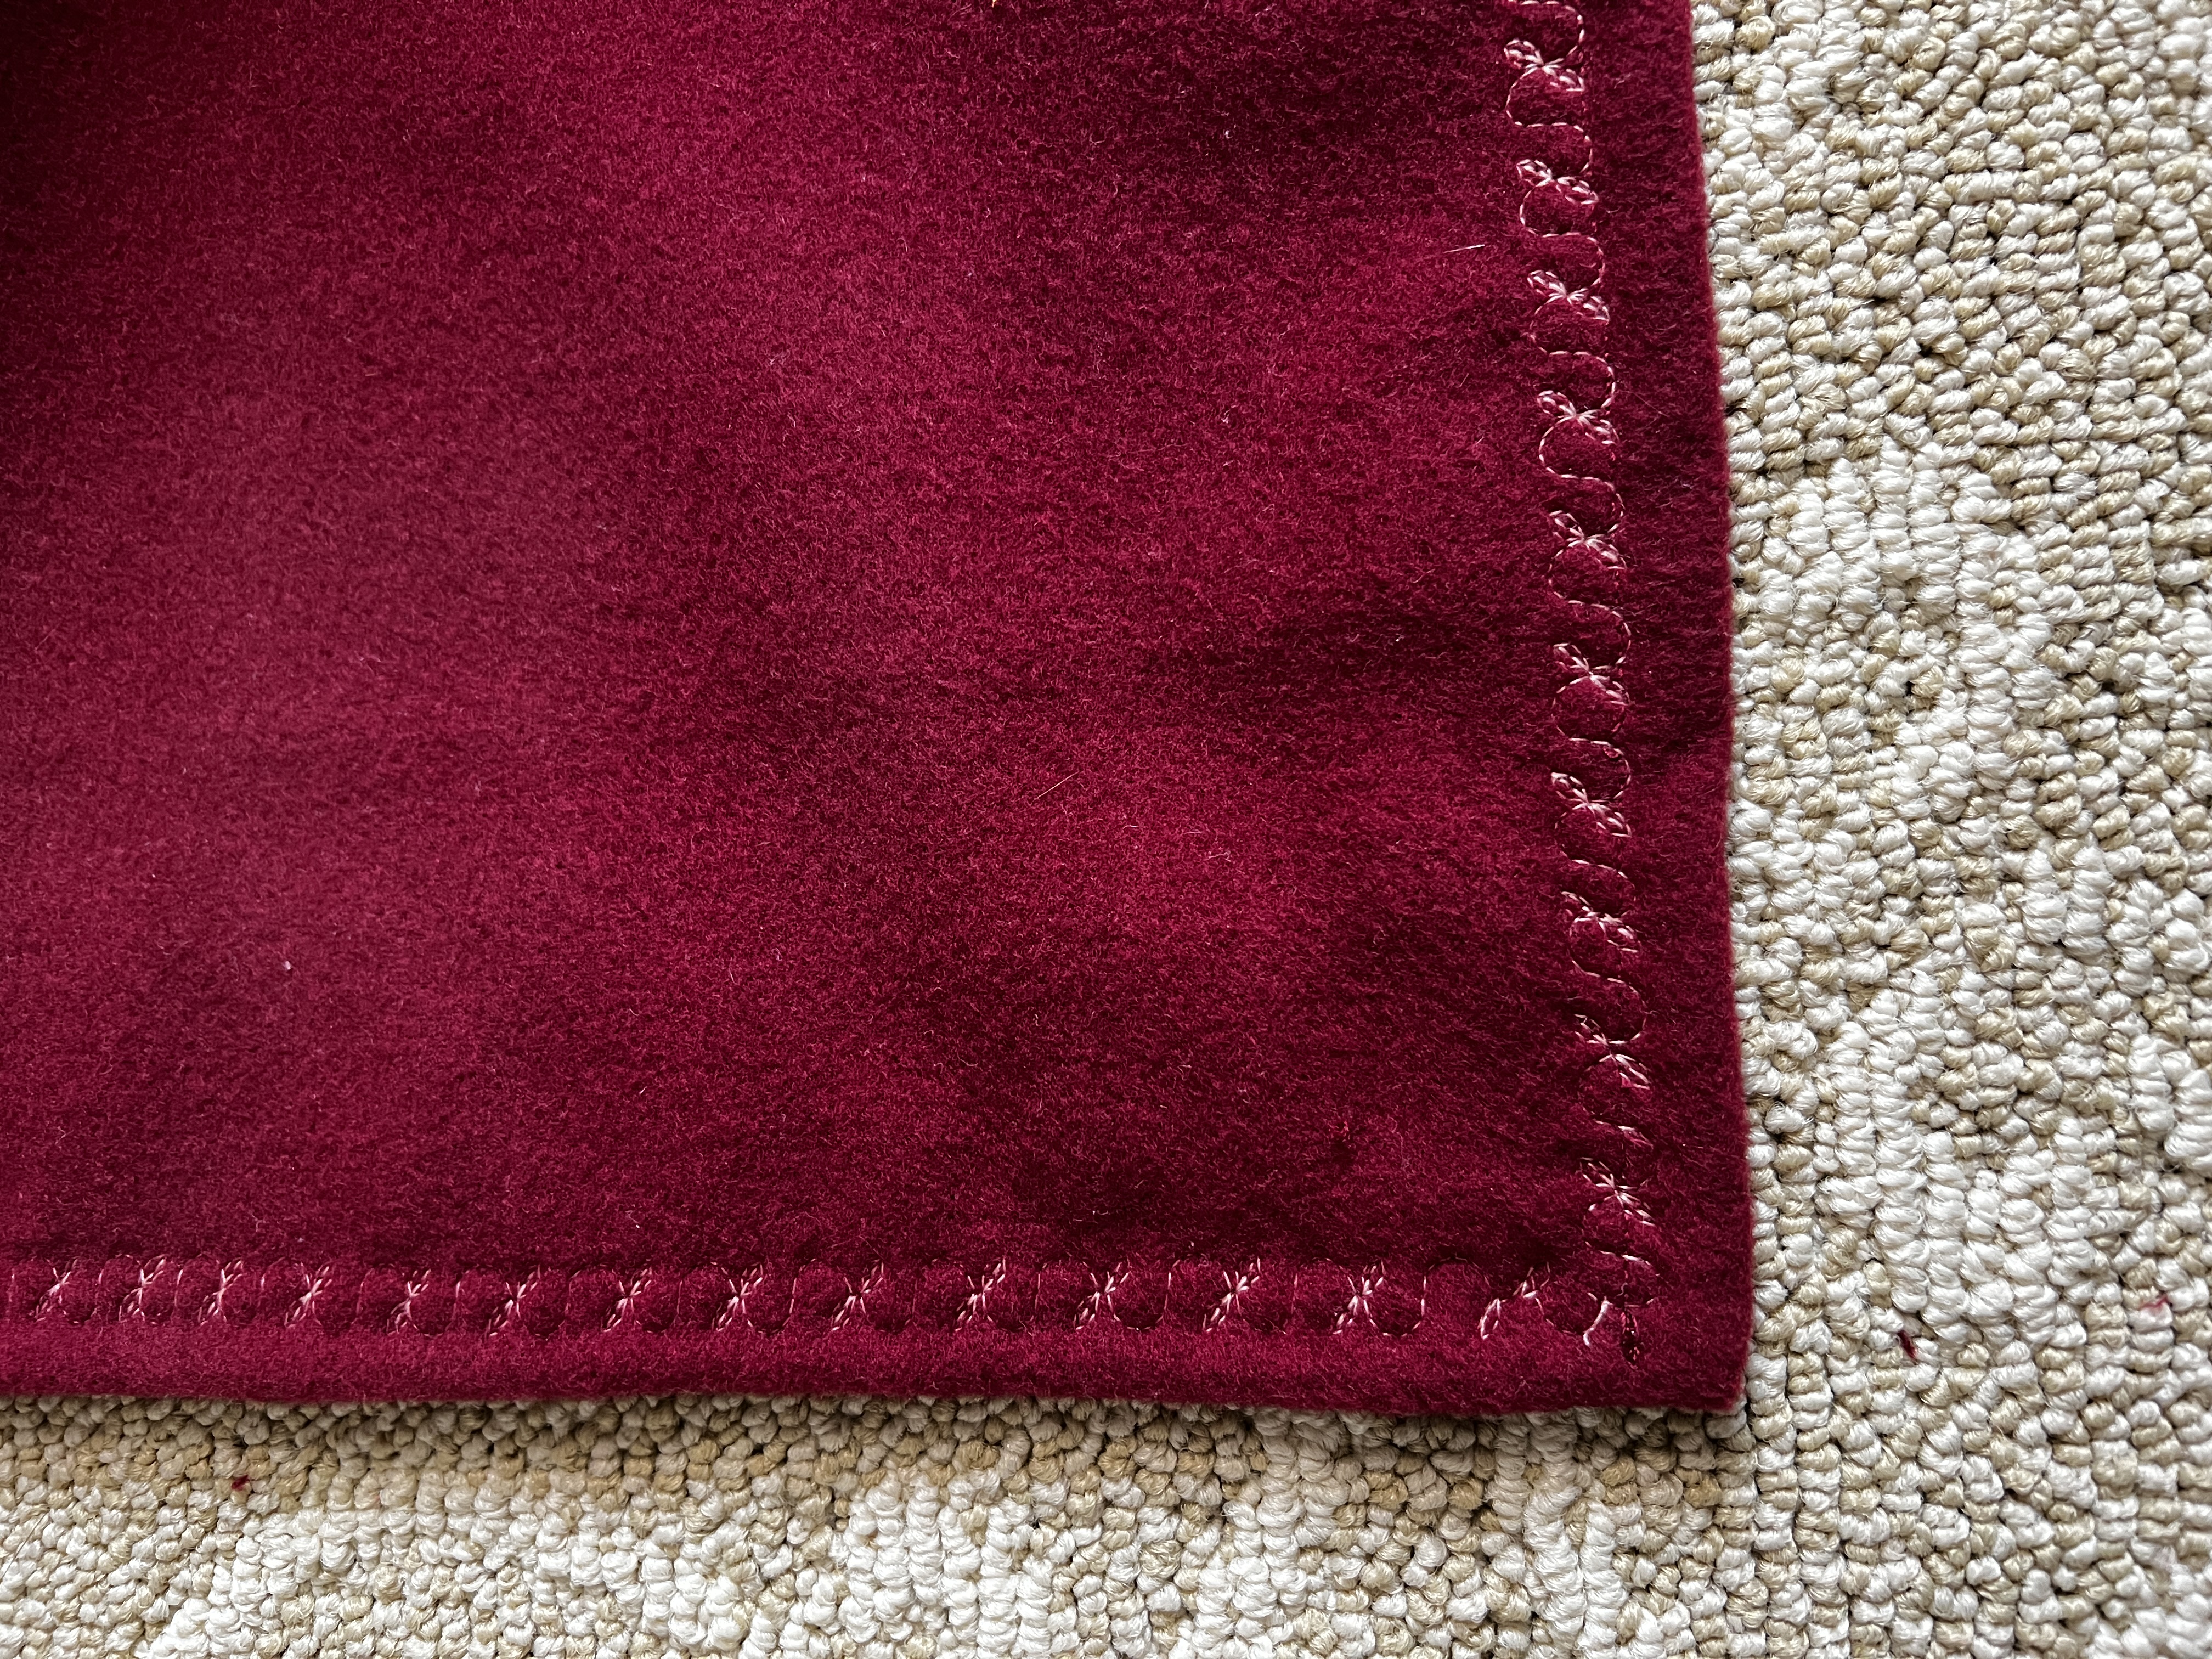
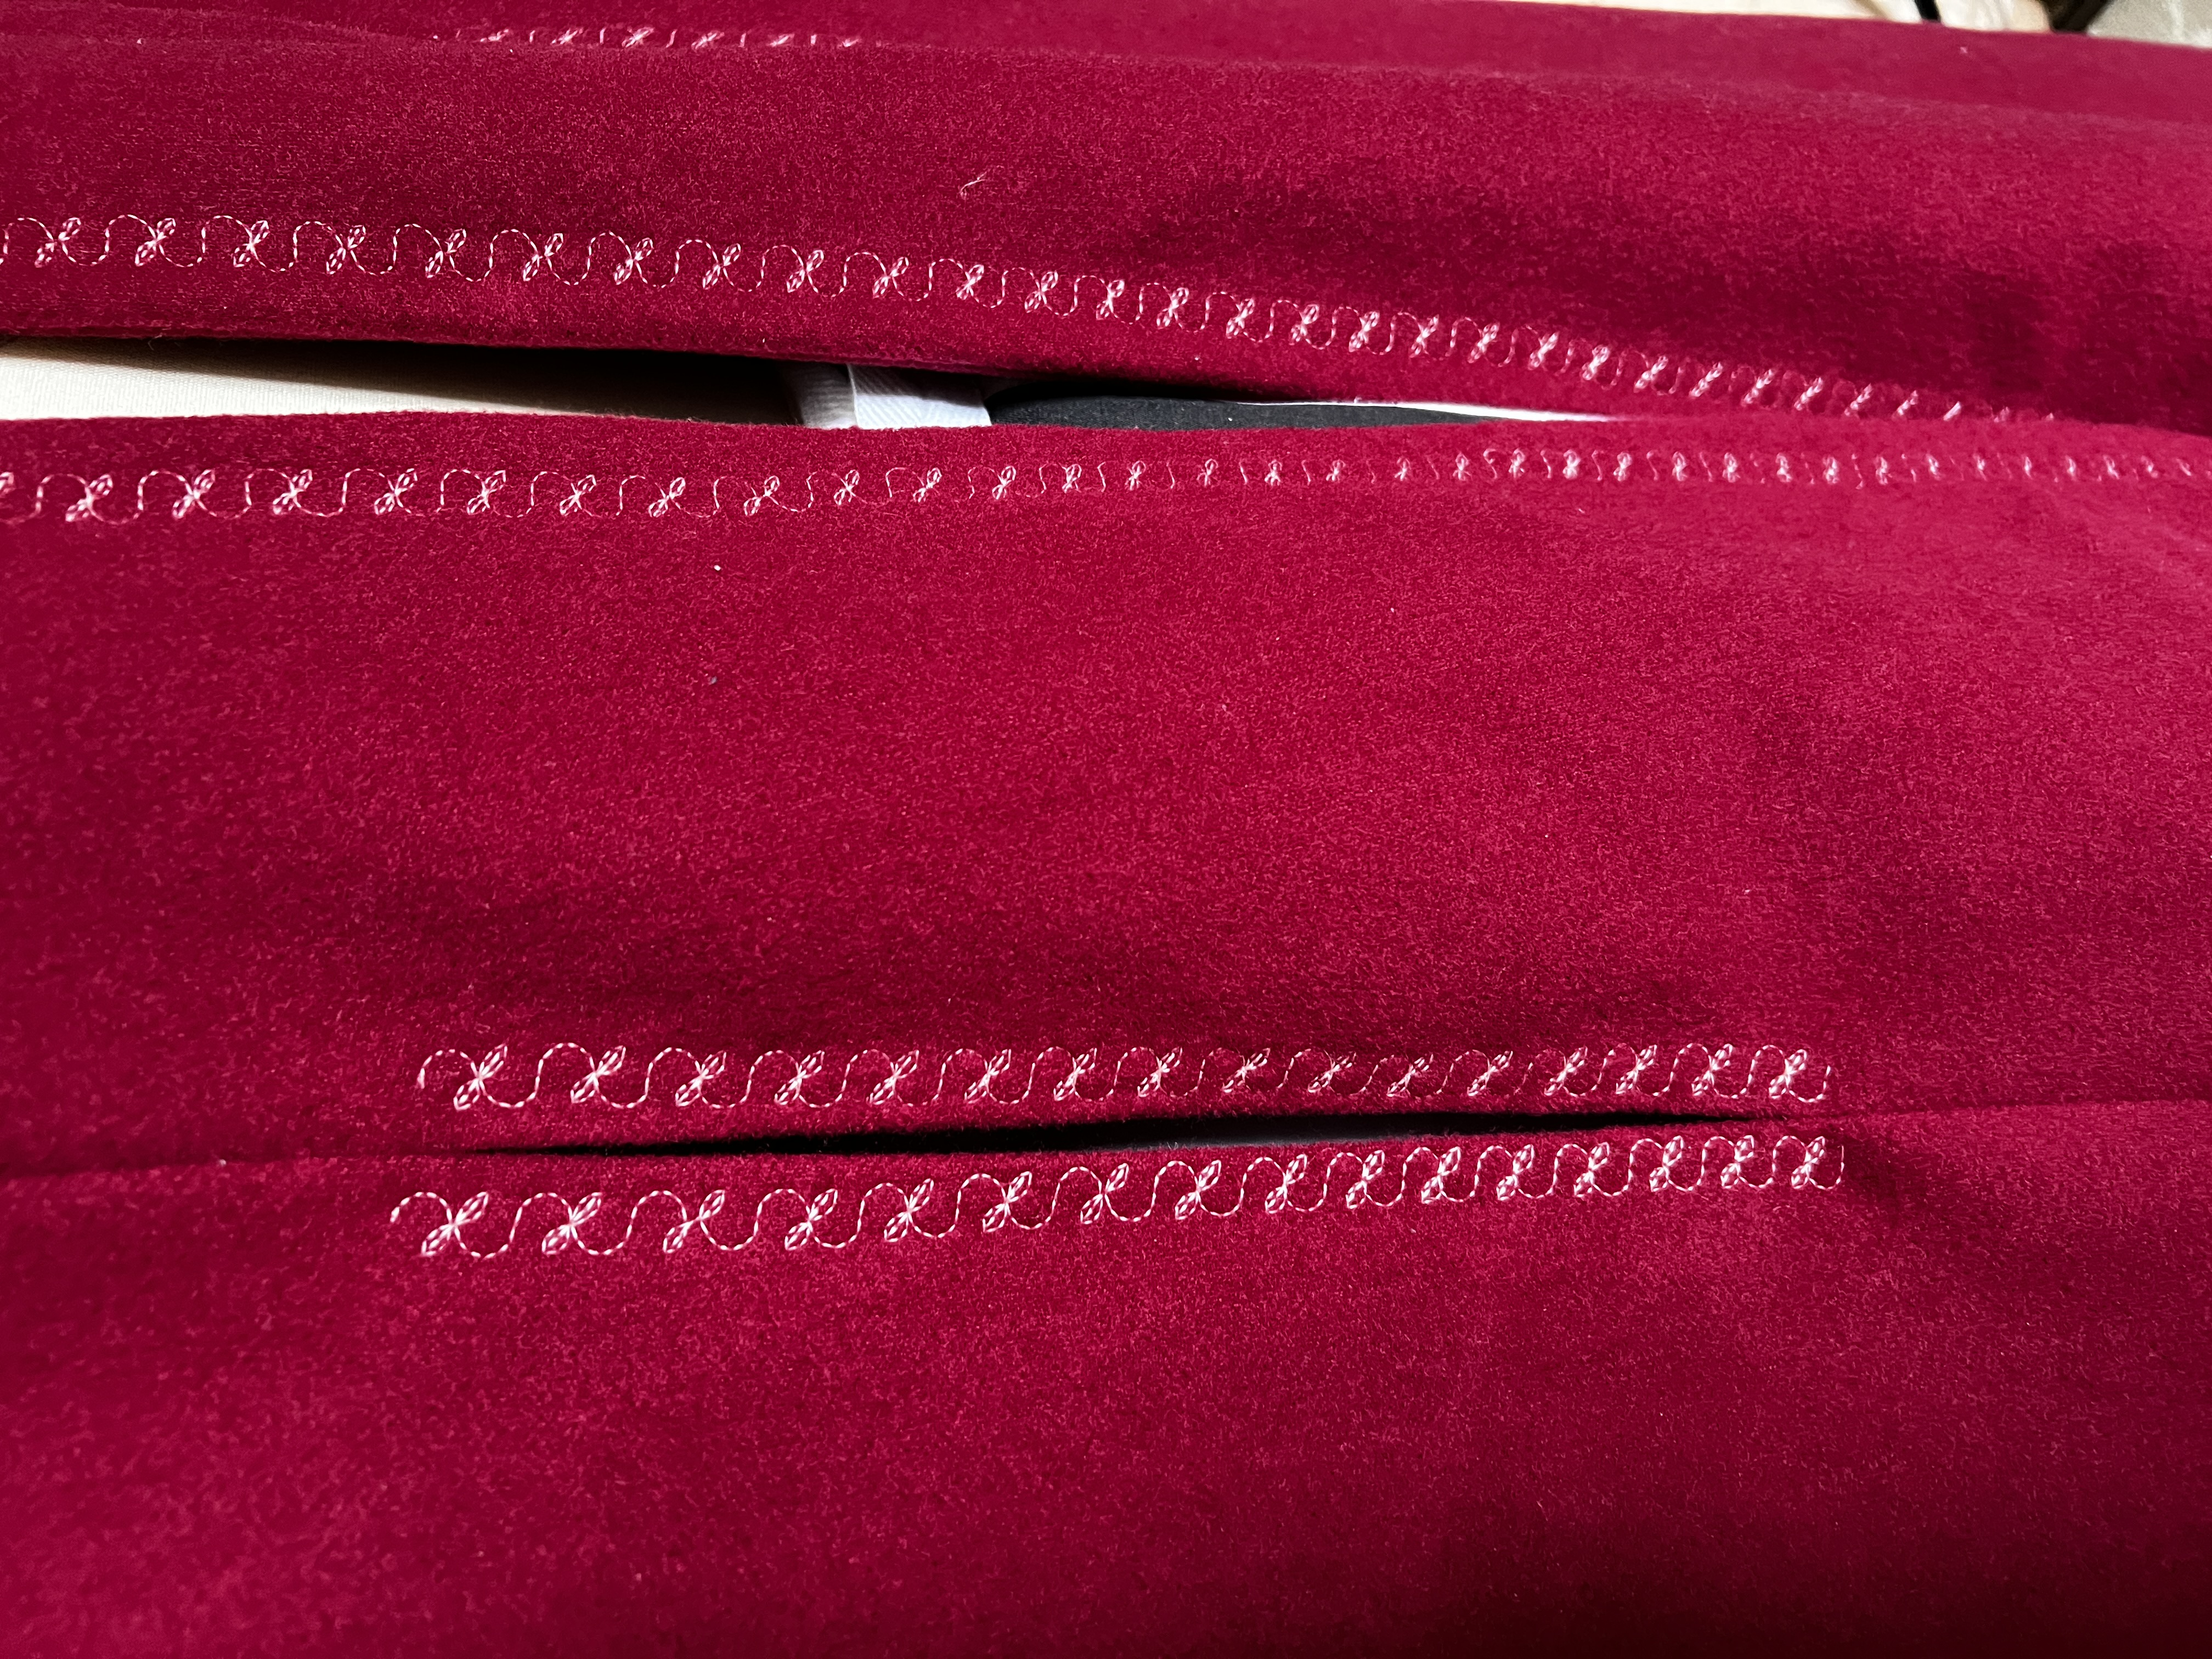
12. Add two columns of decorative stitching around the arm openings.
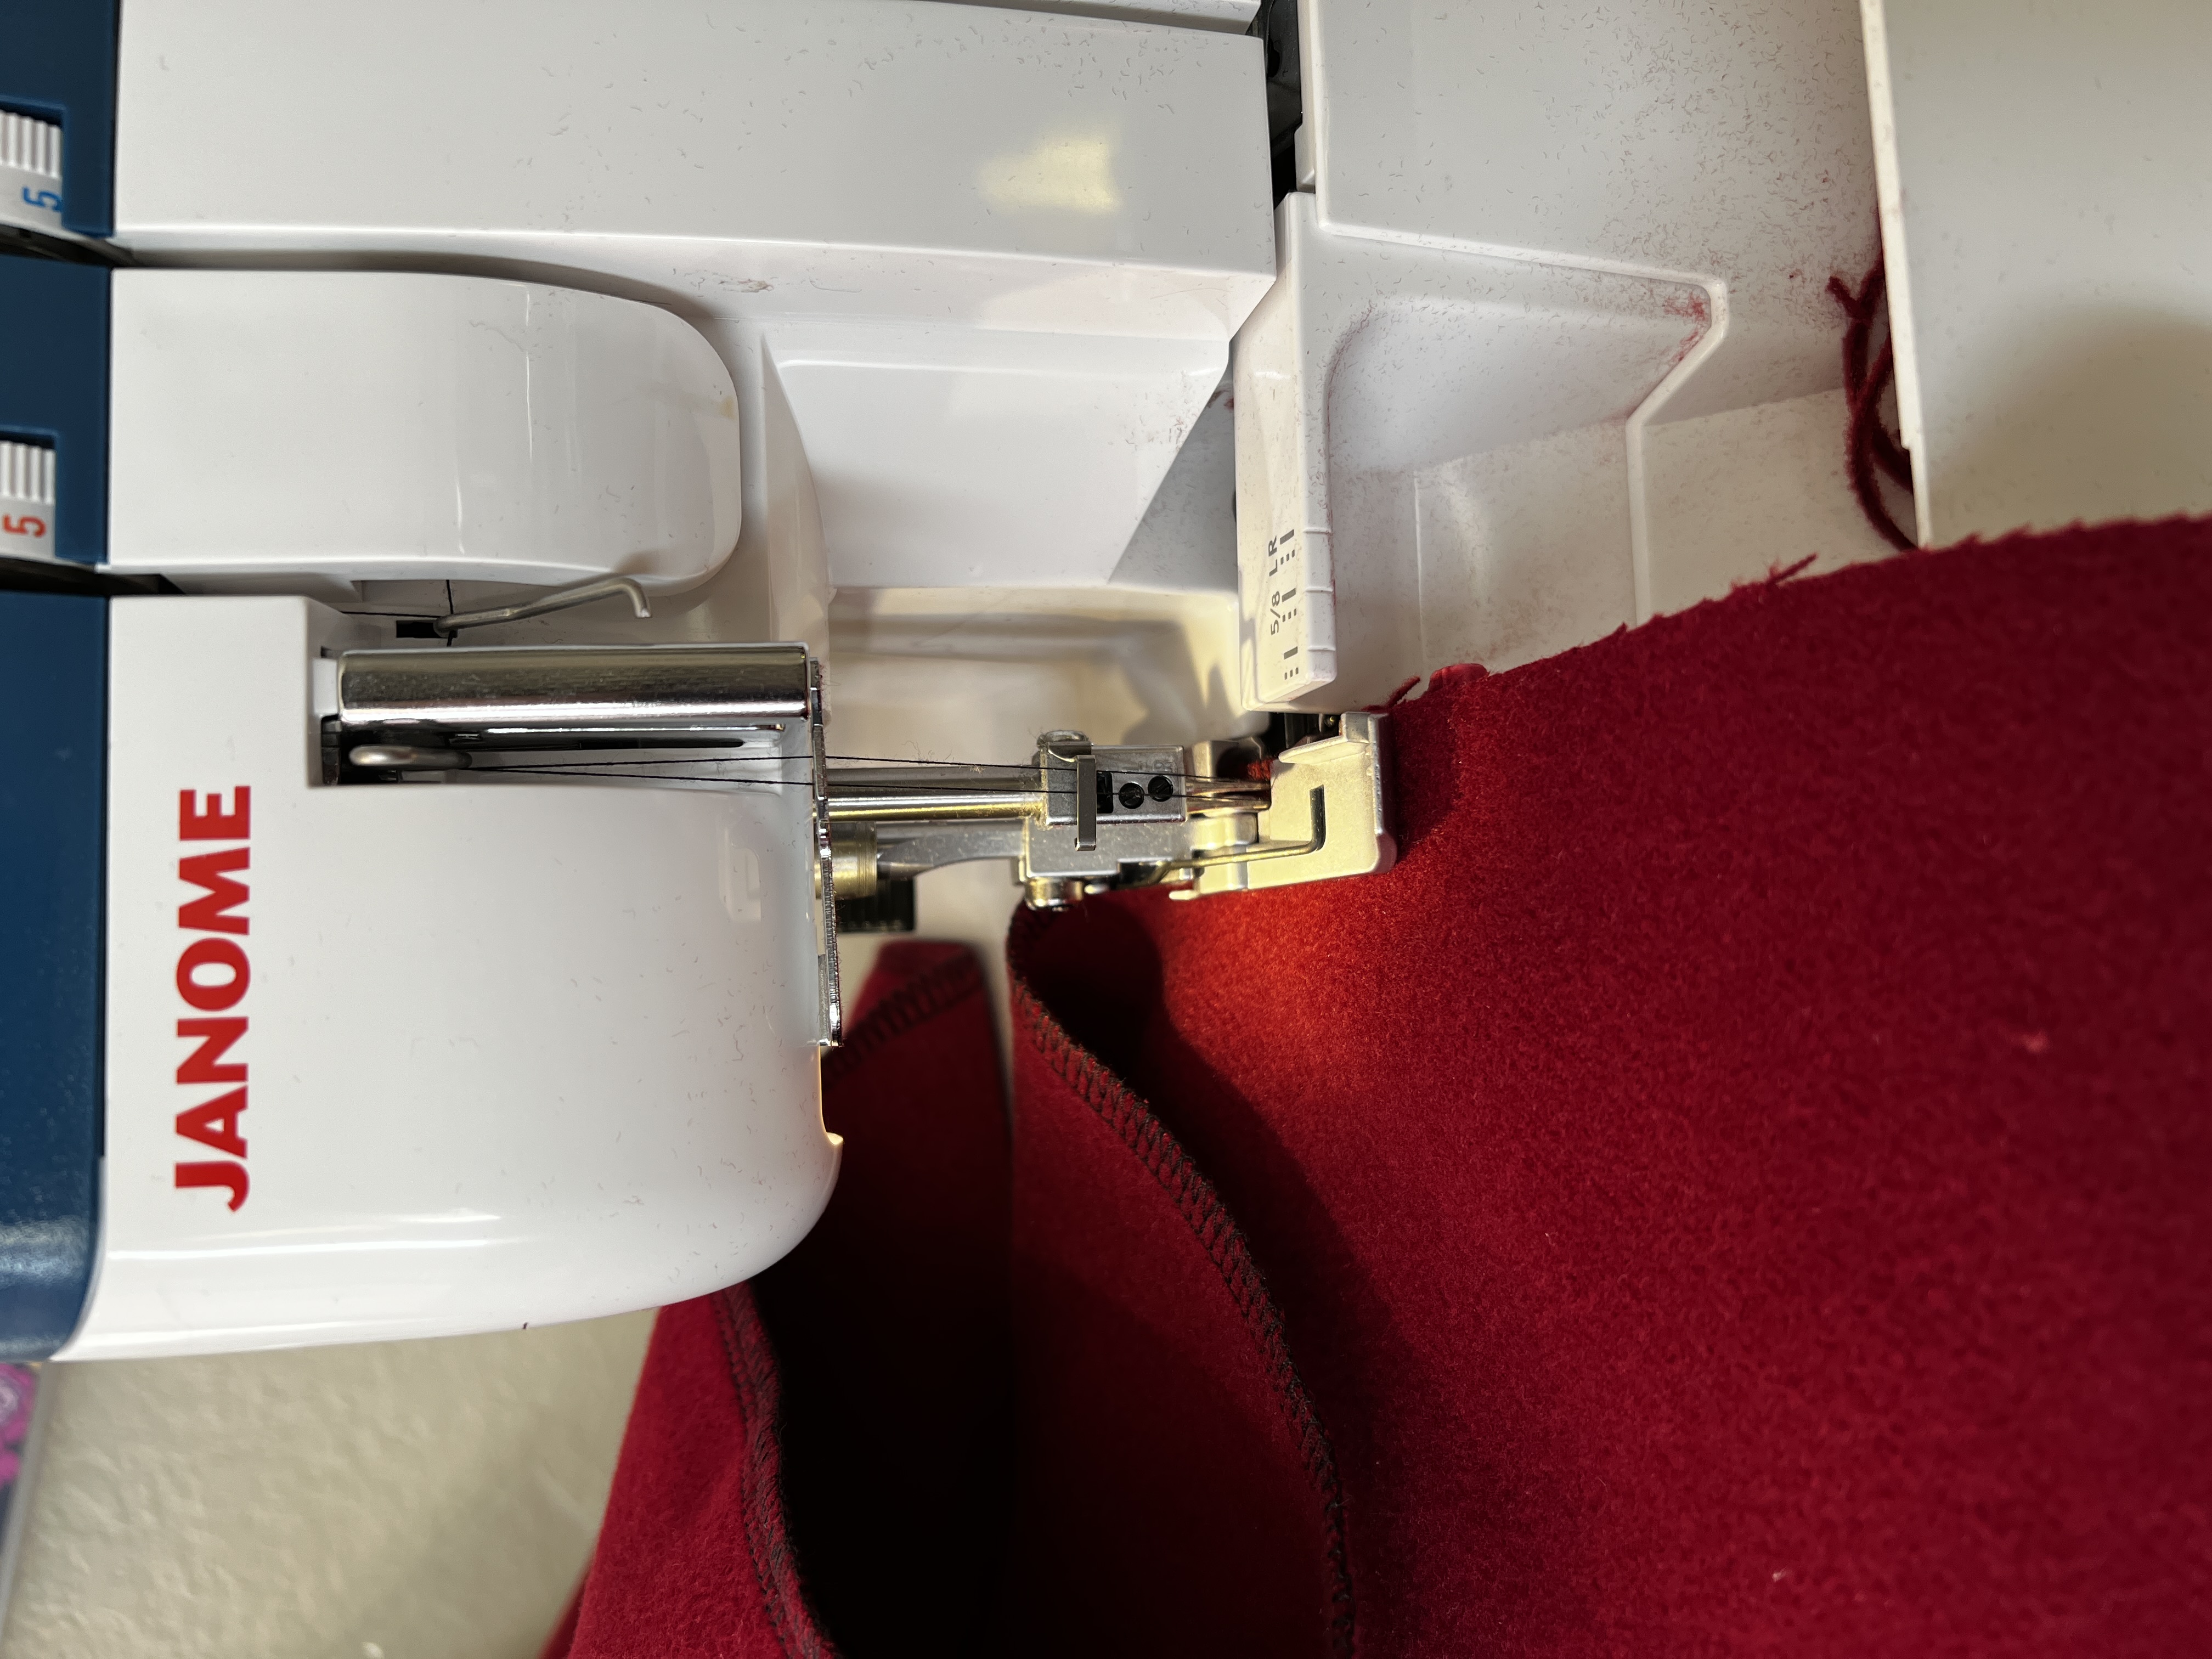
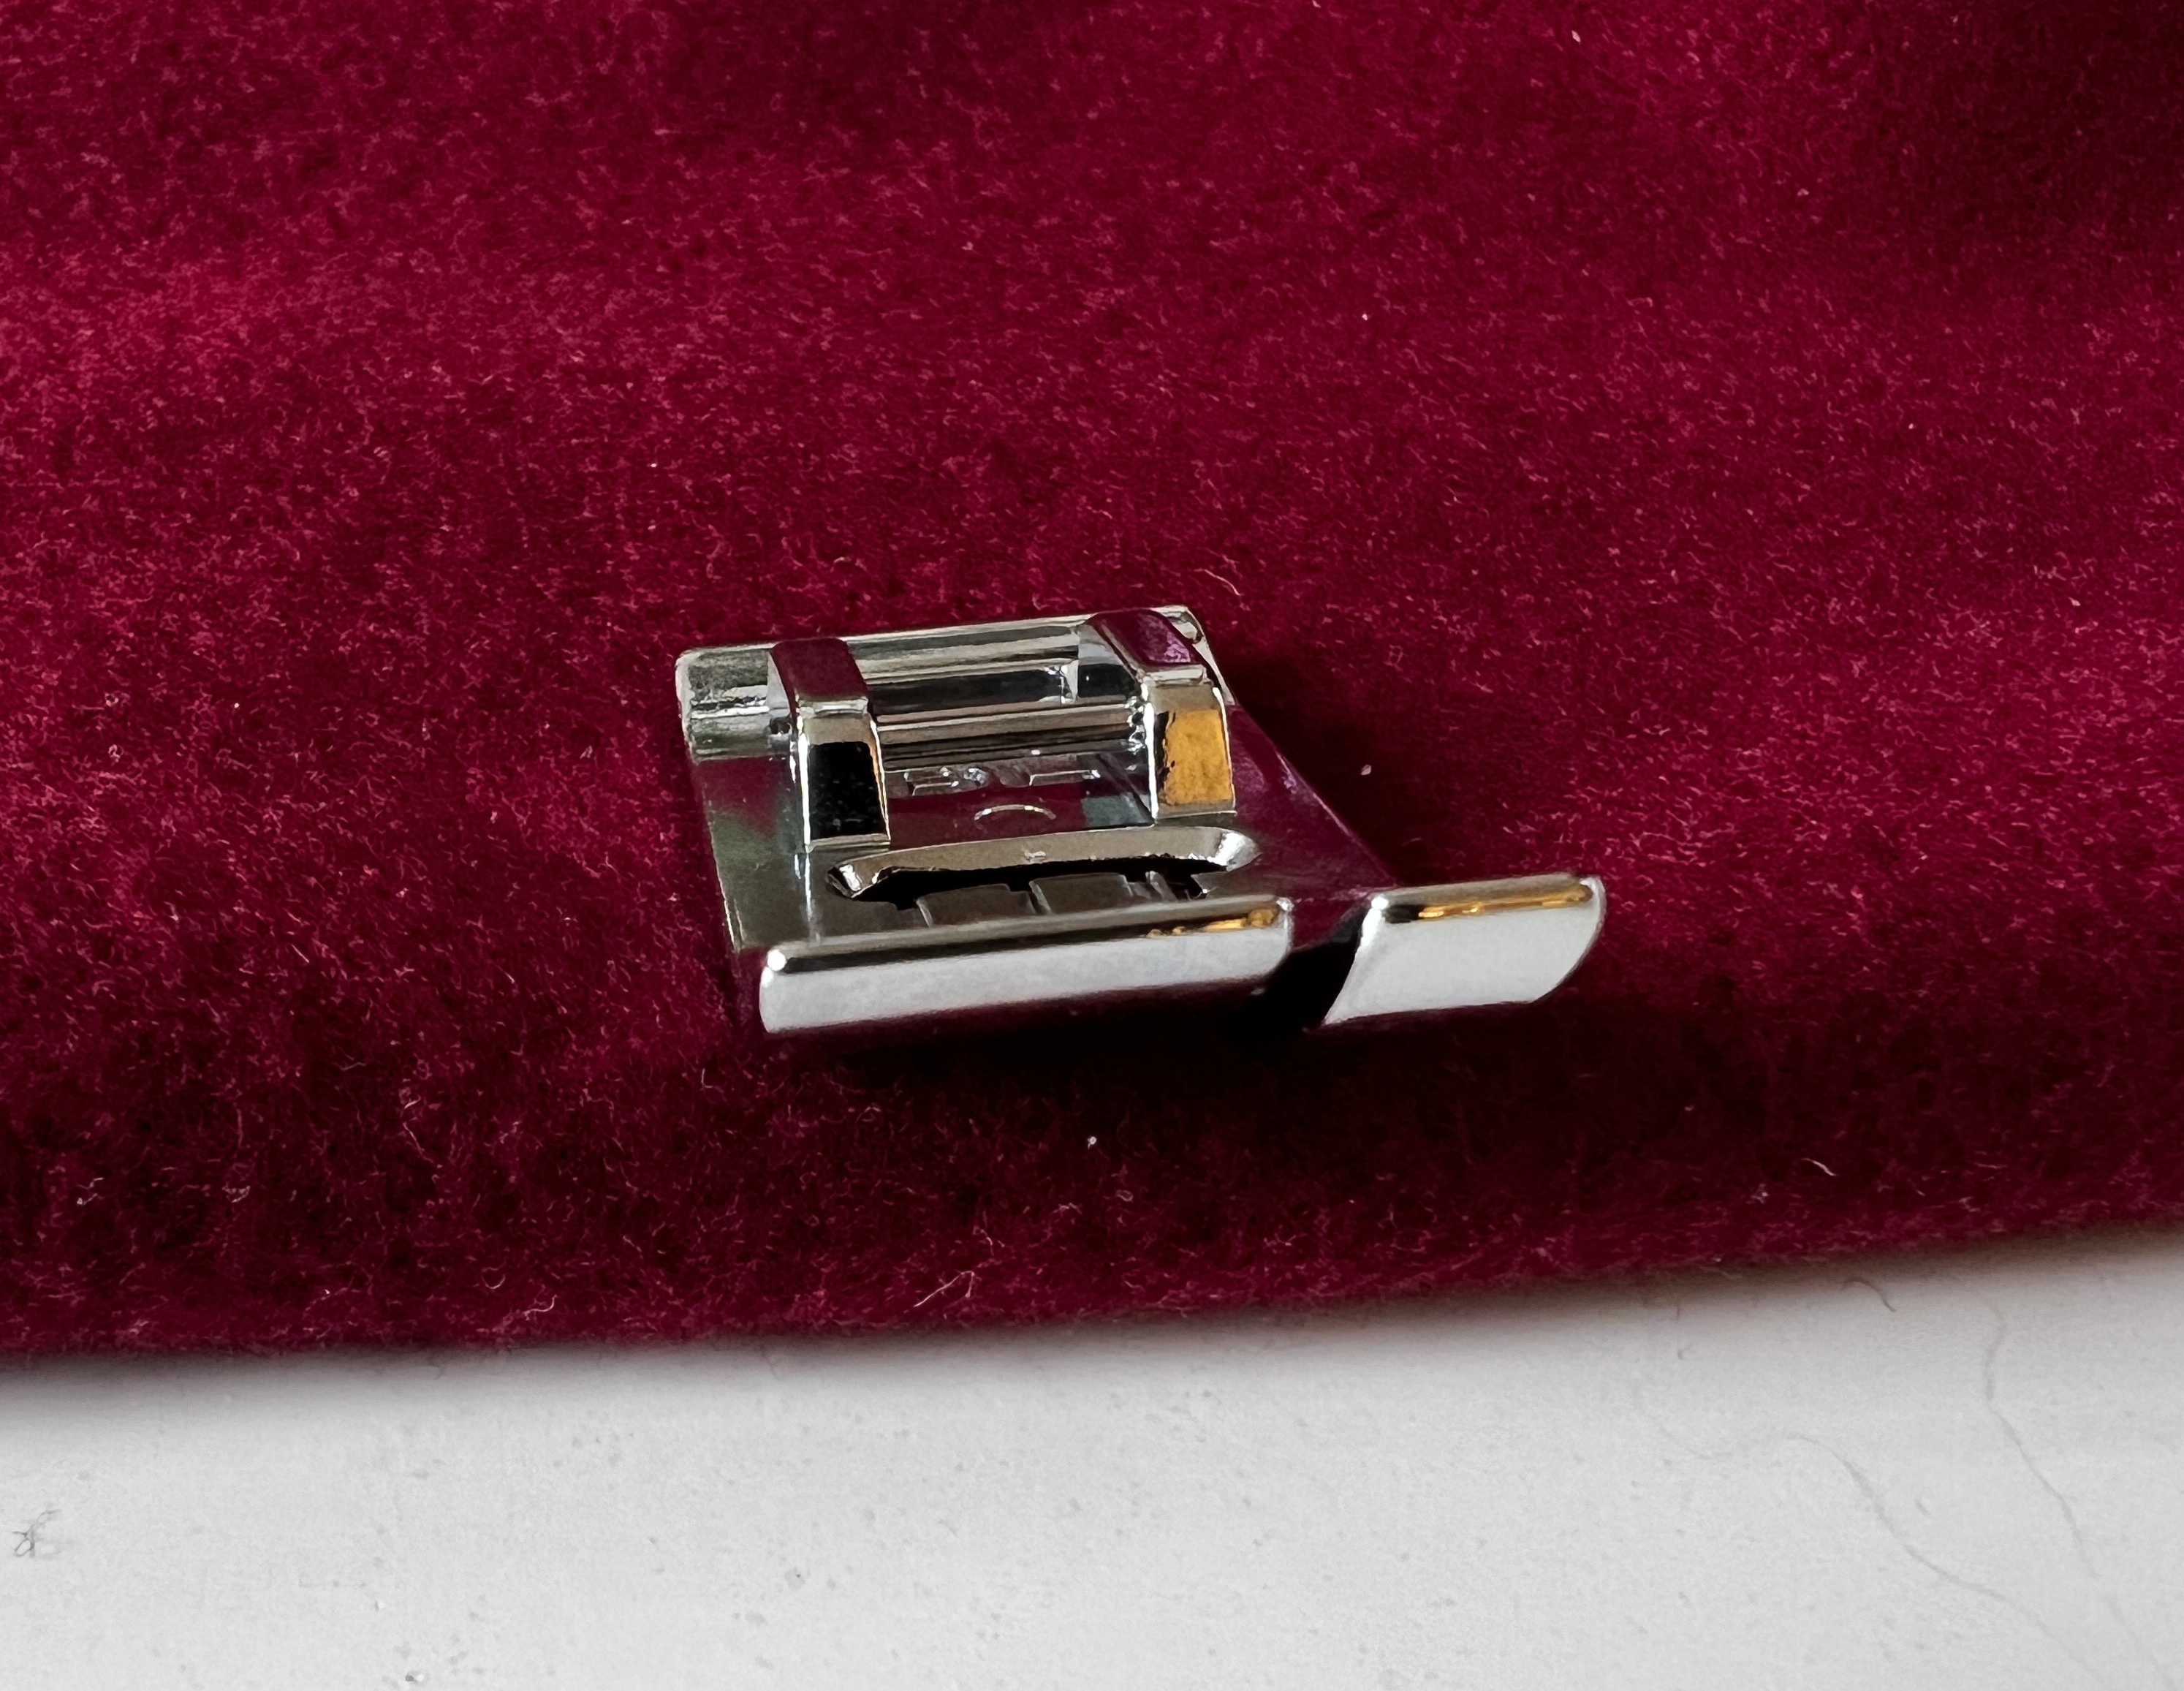
13. Alternatively, if you prefer to have plain top-stitching instead of embroidery, you can use a straight stitch in a thread that matches your fabric. When top-stitching bulky edges, the Janome bi-level foot is very useful!
14. For the closure, you can sew on ribbon ties to make a bow, a cloak clasp or a frog, or a simple sturdy hook and eye. I am using a brooch in my photos but am going to add ribbon bows to match my outfits!