1. REGISTRATION MARKS.
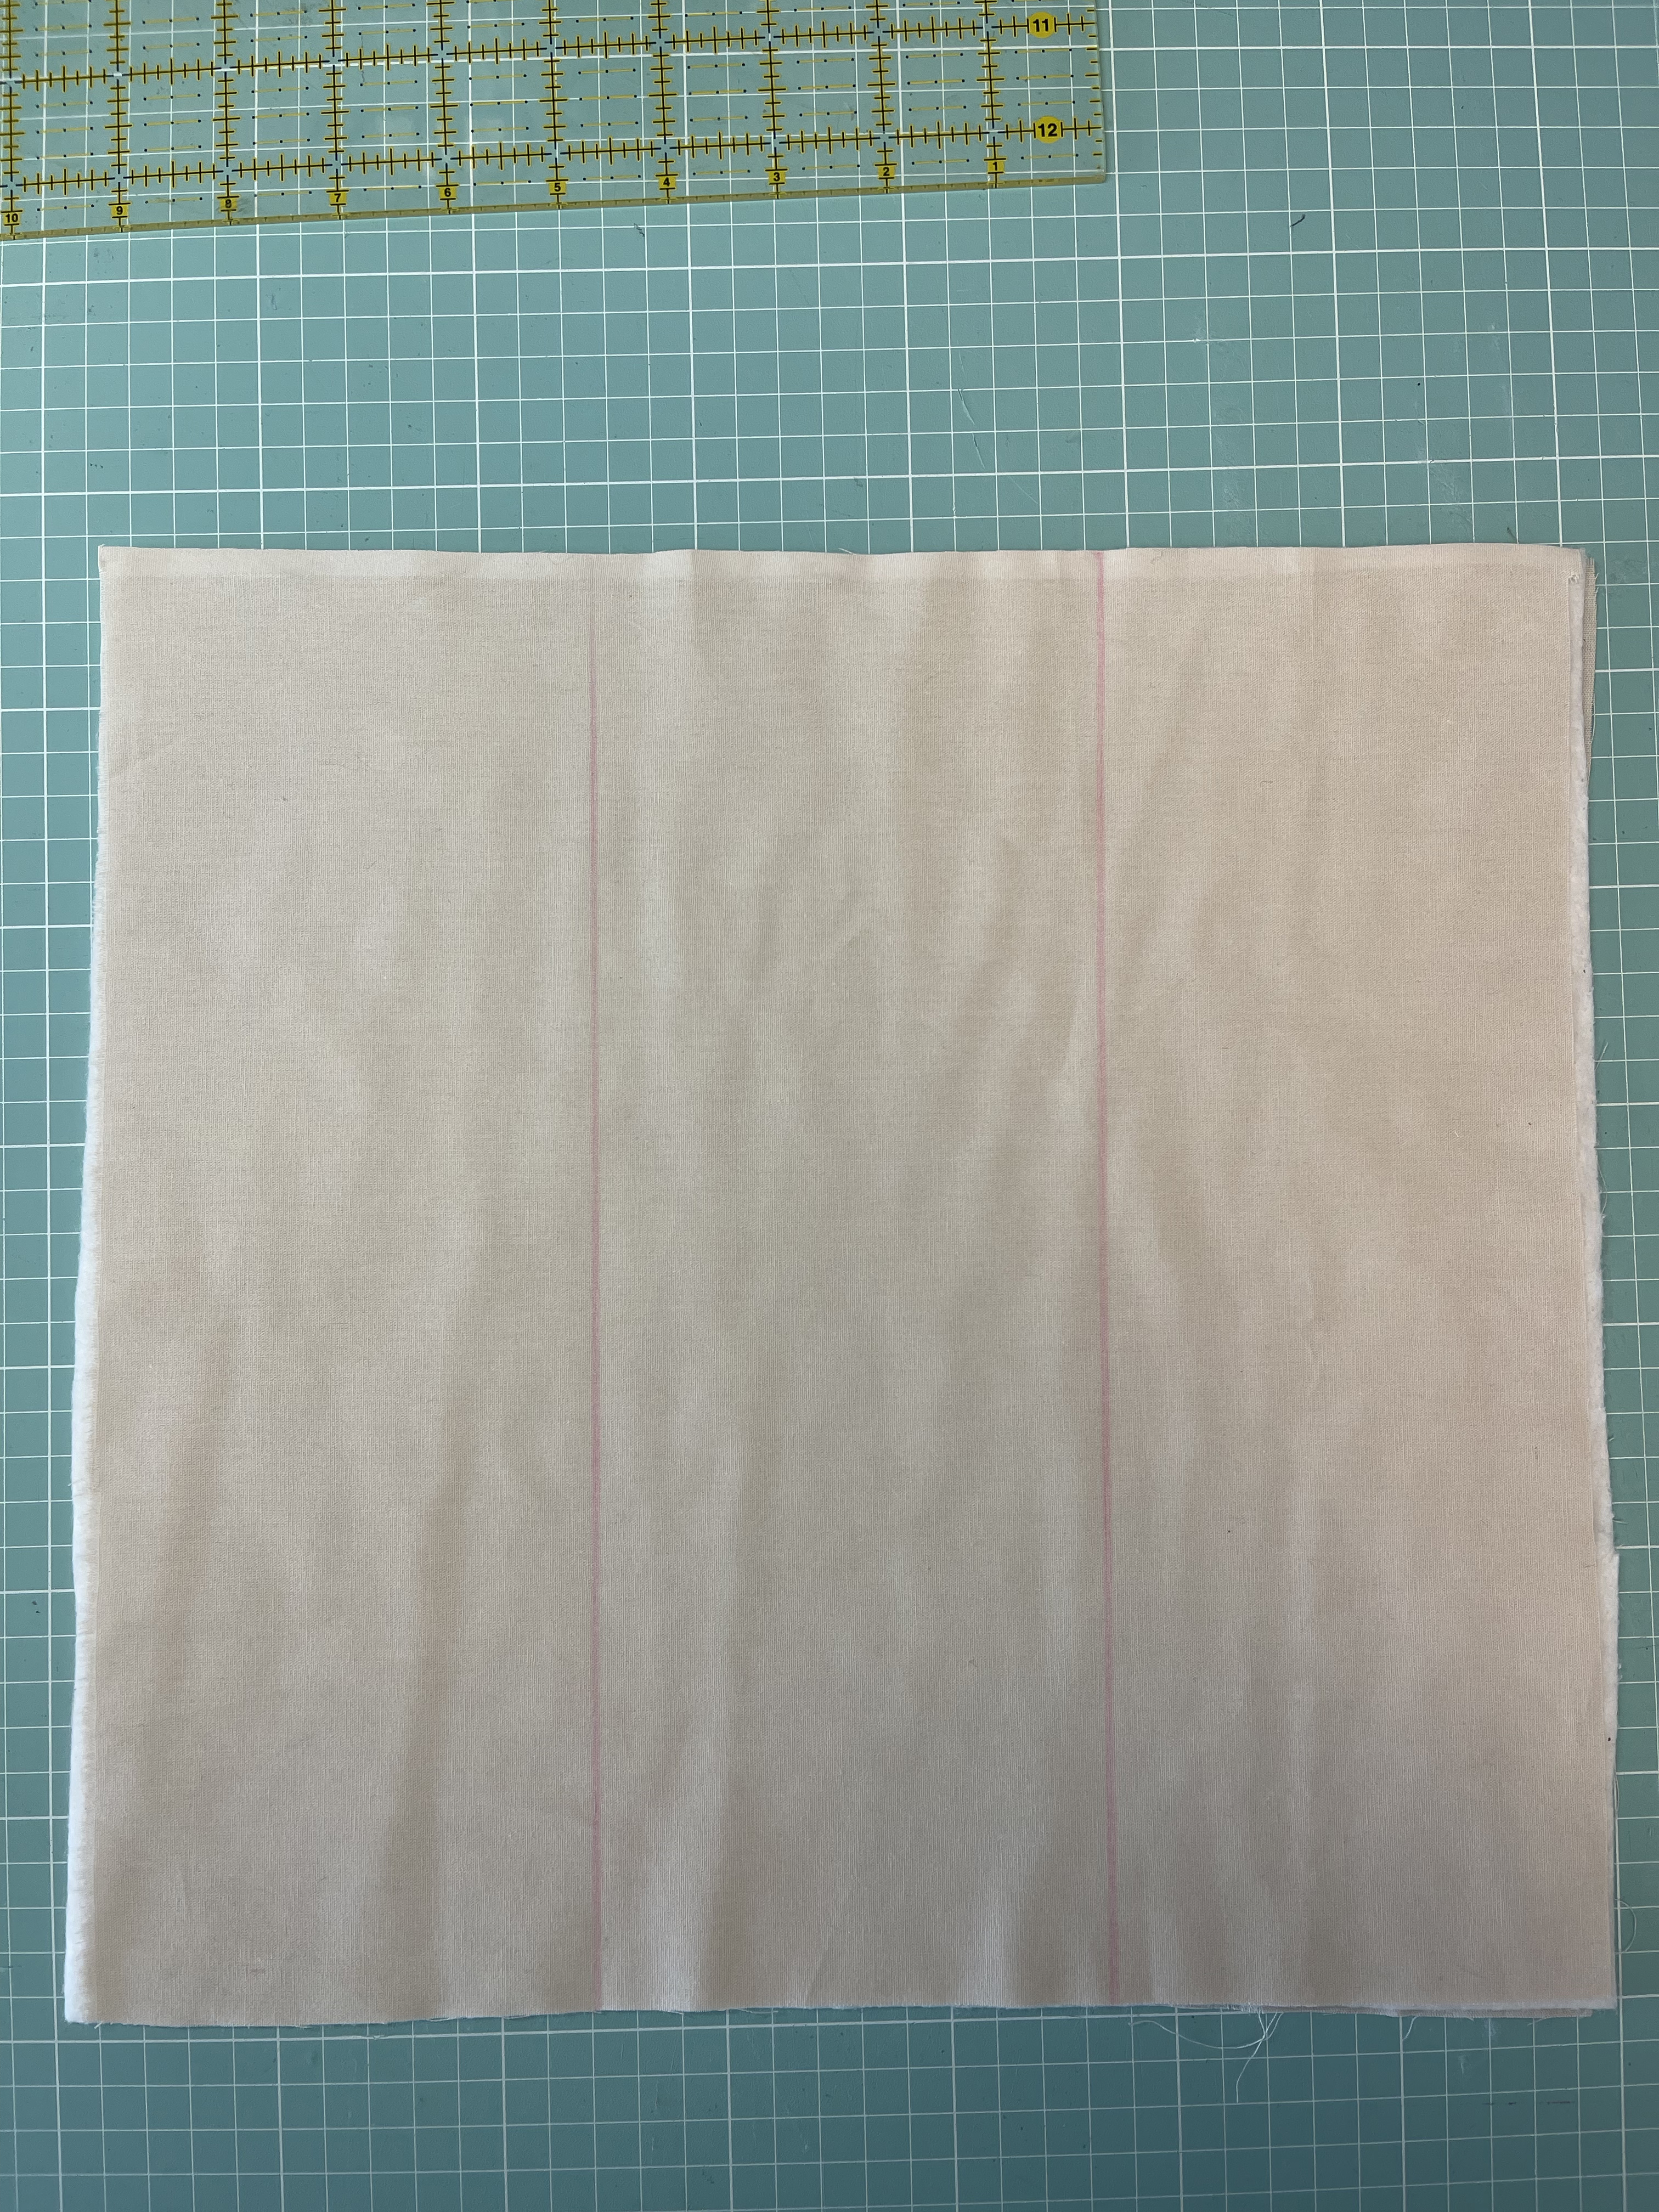
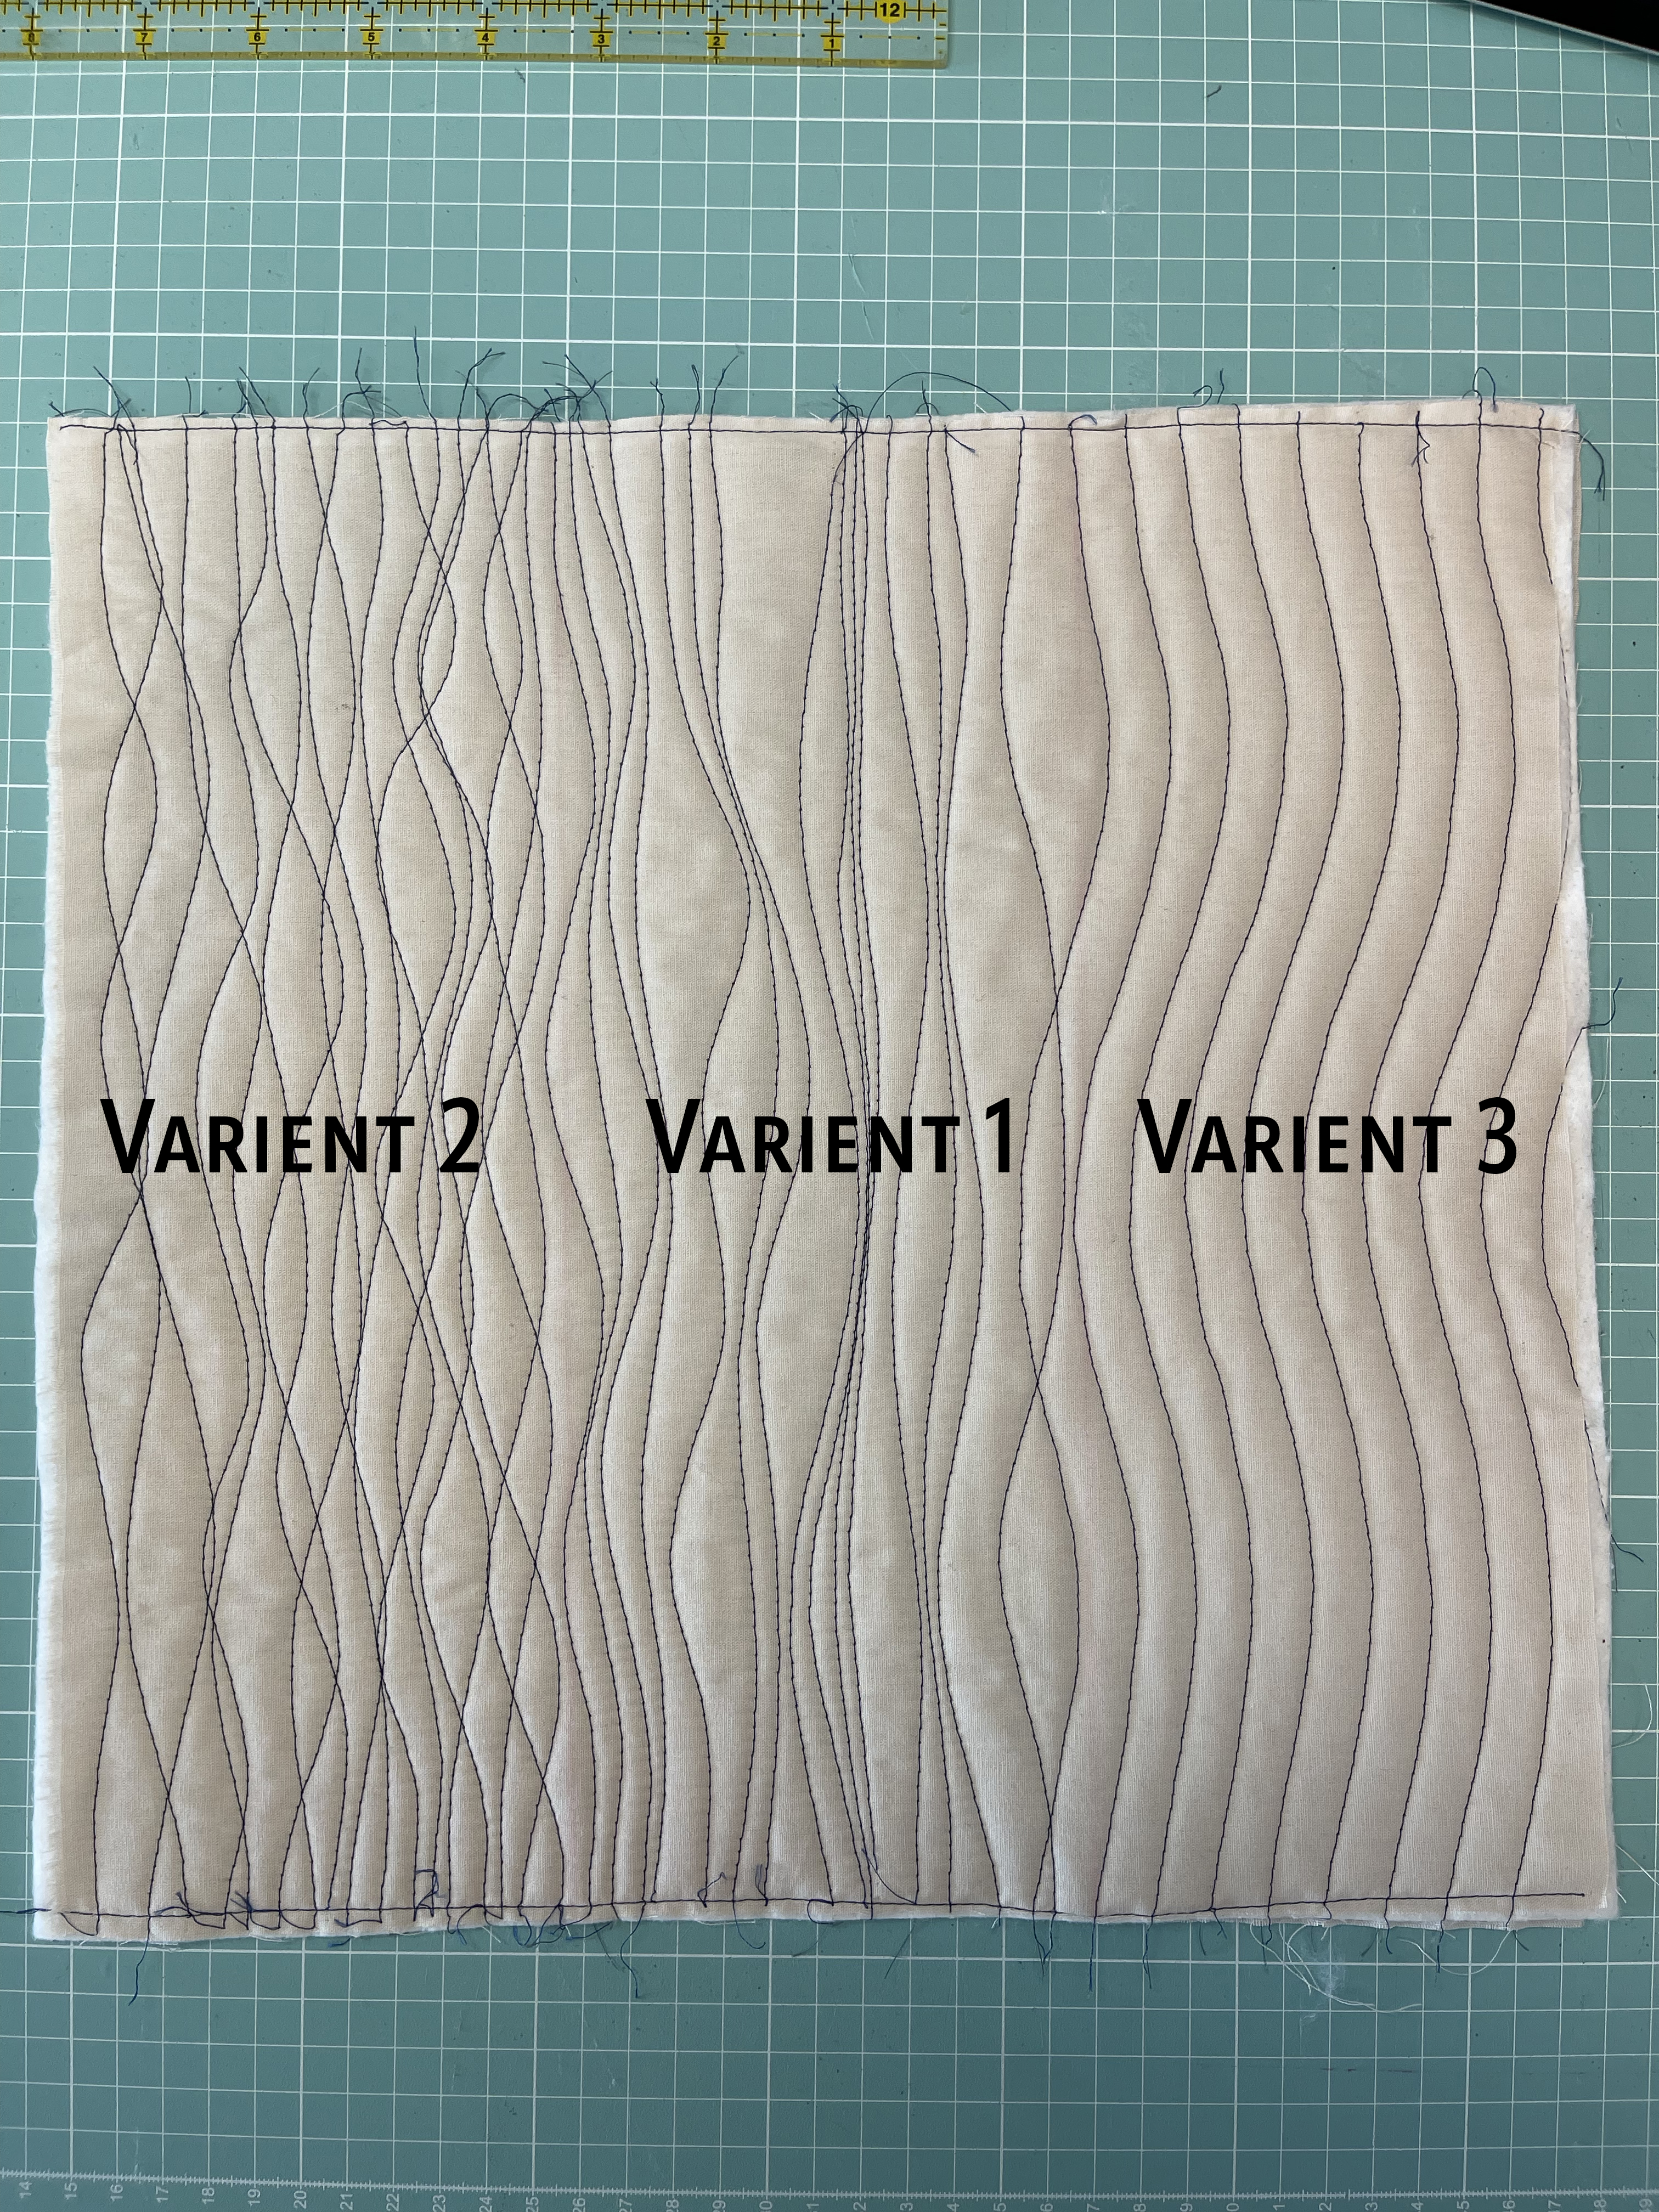
Use them always, in a small or big quilt, registration marks allows you to have parallel lines always, even if they are wavy lines. Start marking a first line on your quilt (use a ruler and an erasable pencil or masking tape), then depending on ow big is your quilt, I recommend you to draw registration marks every 8”-10”. For today sample I divided my top in 3 sections to show you the 3 different wavy lines designs.
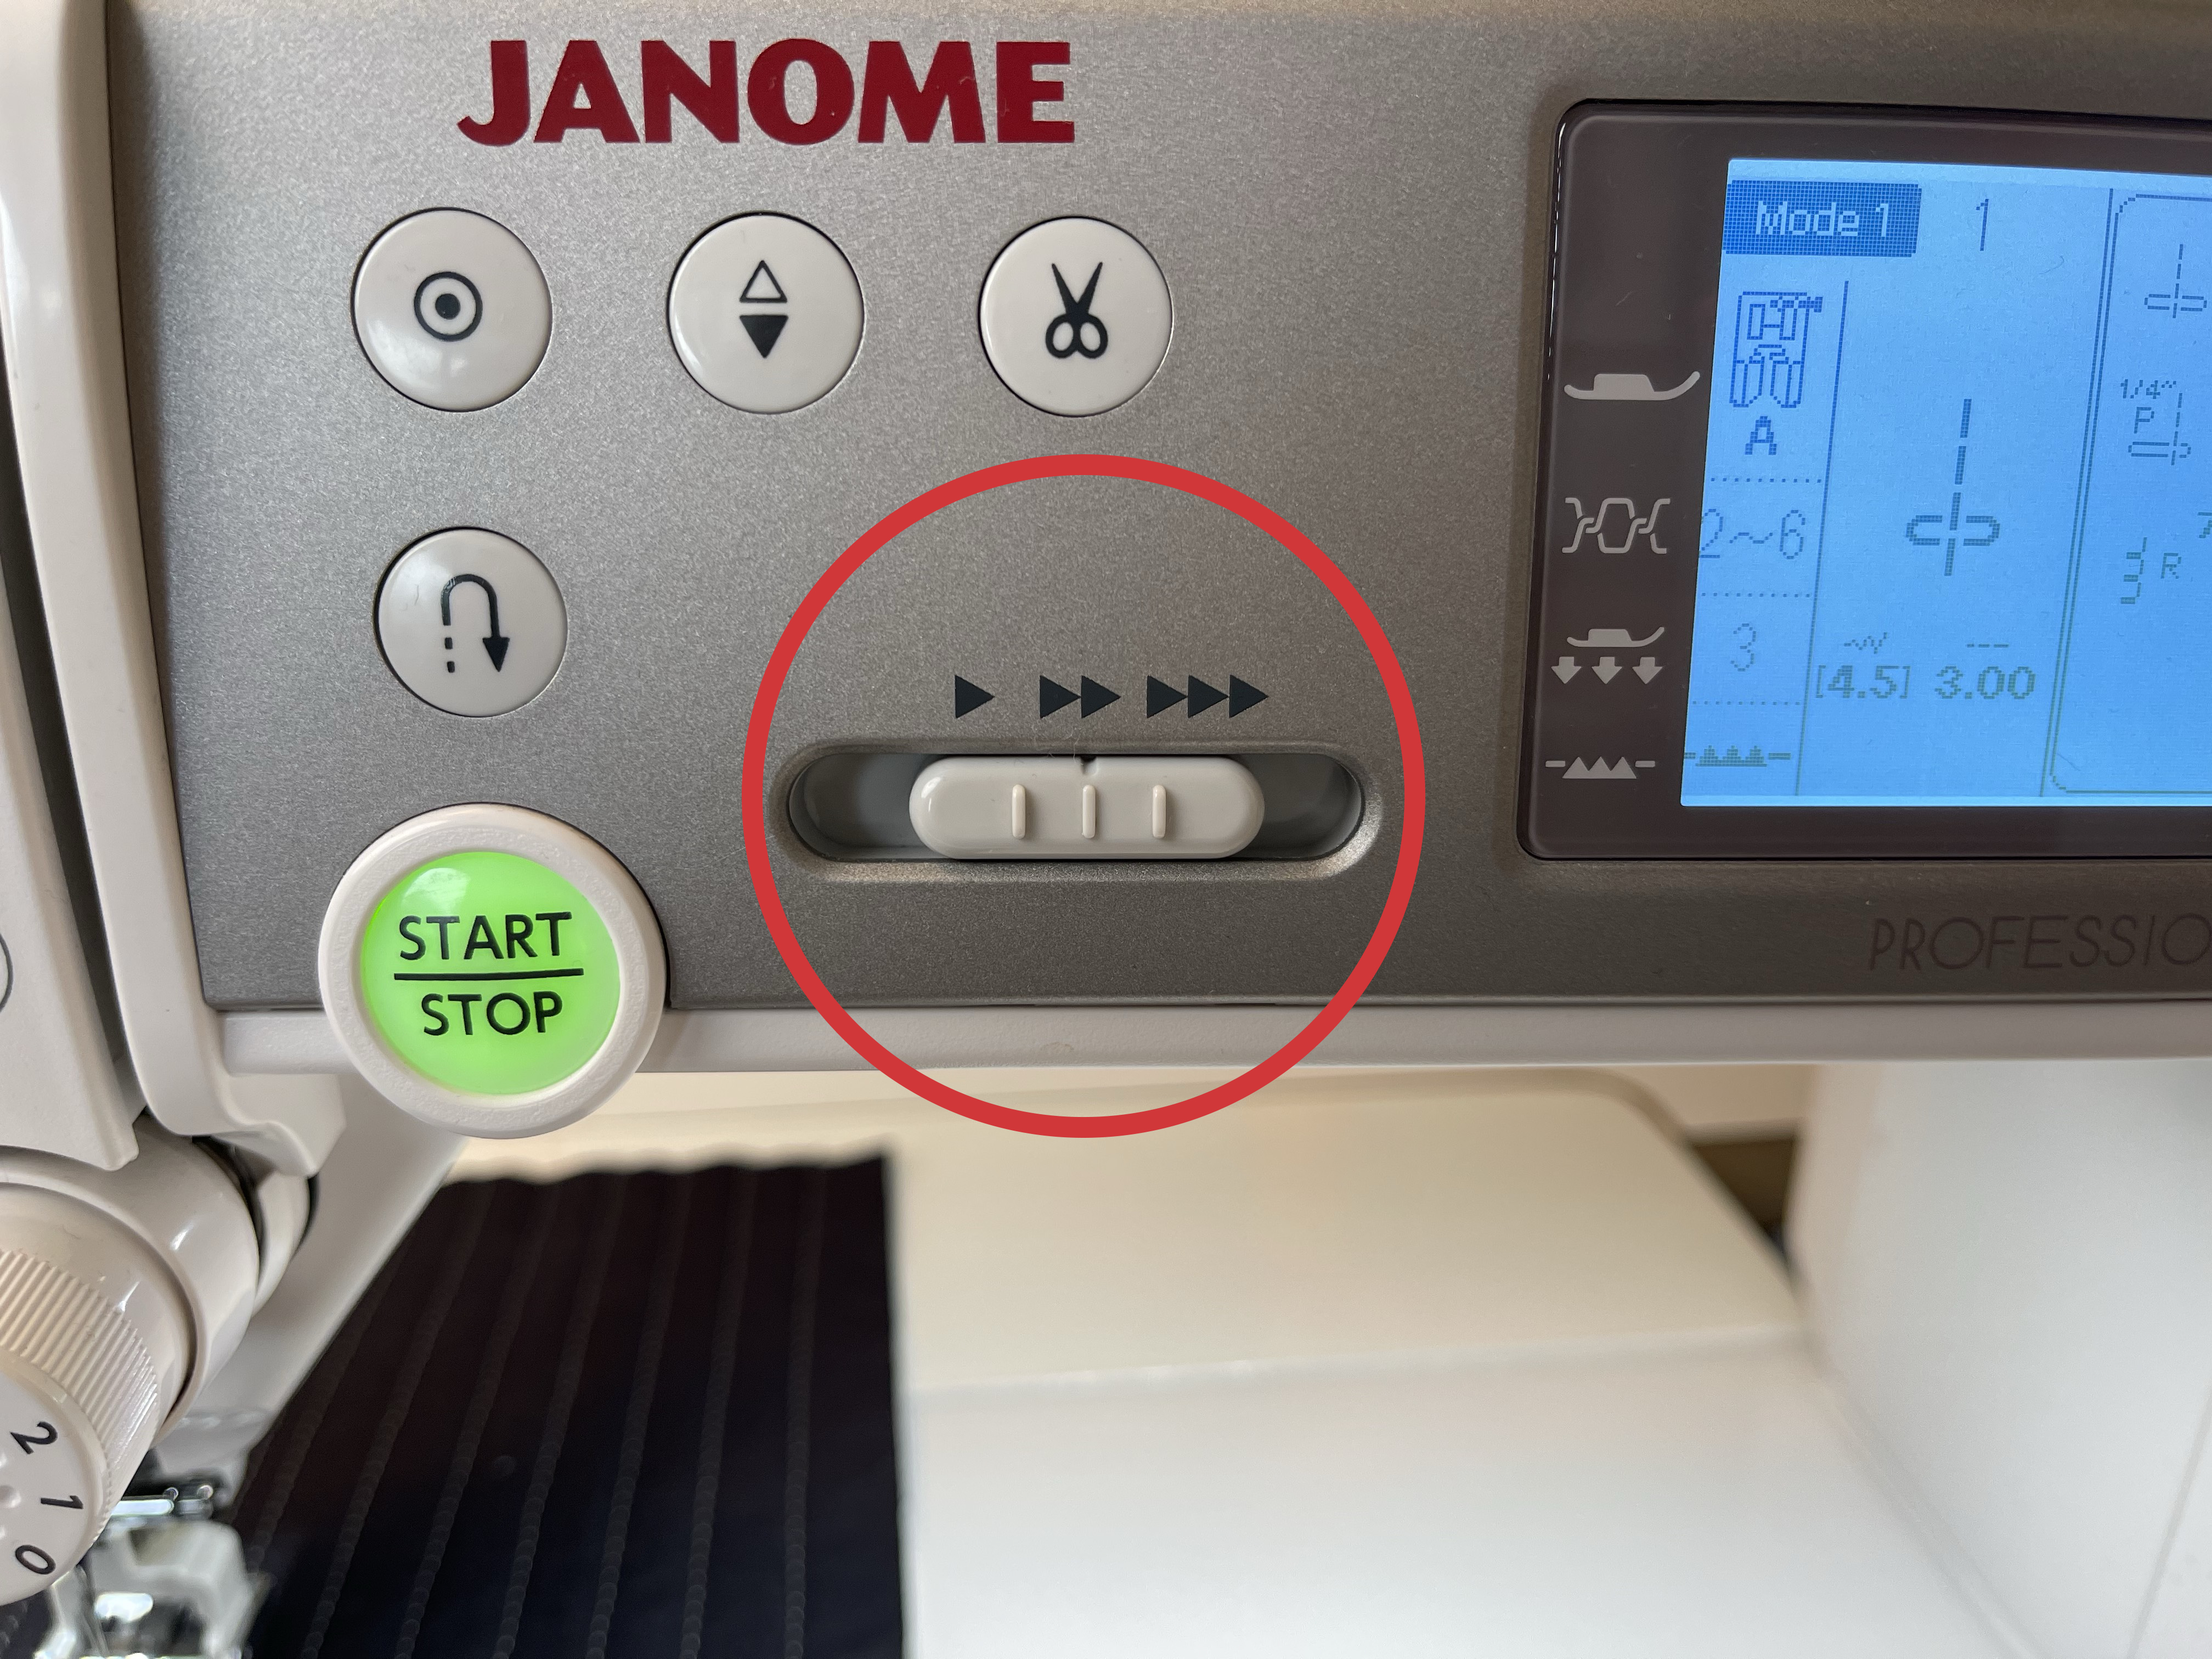
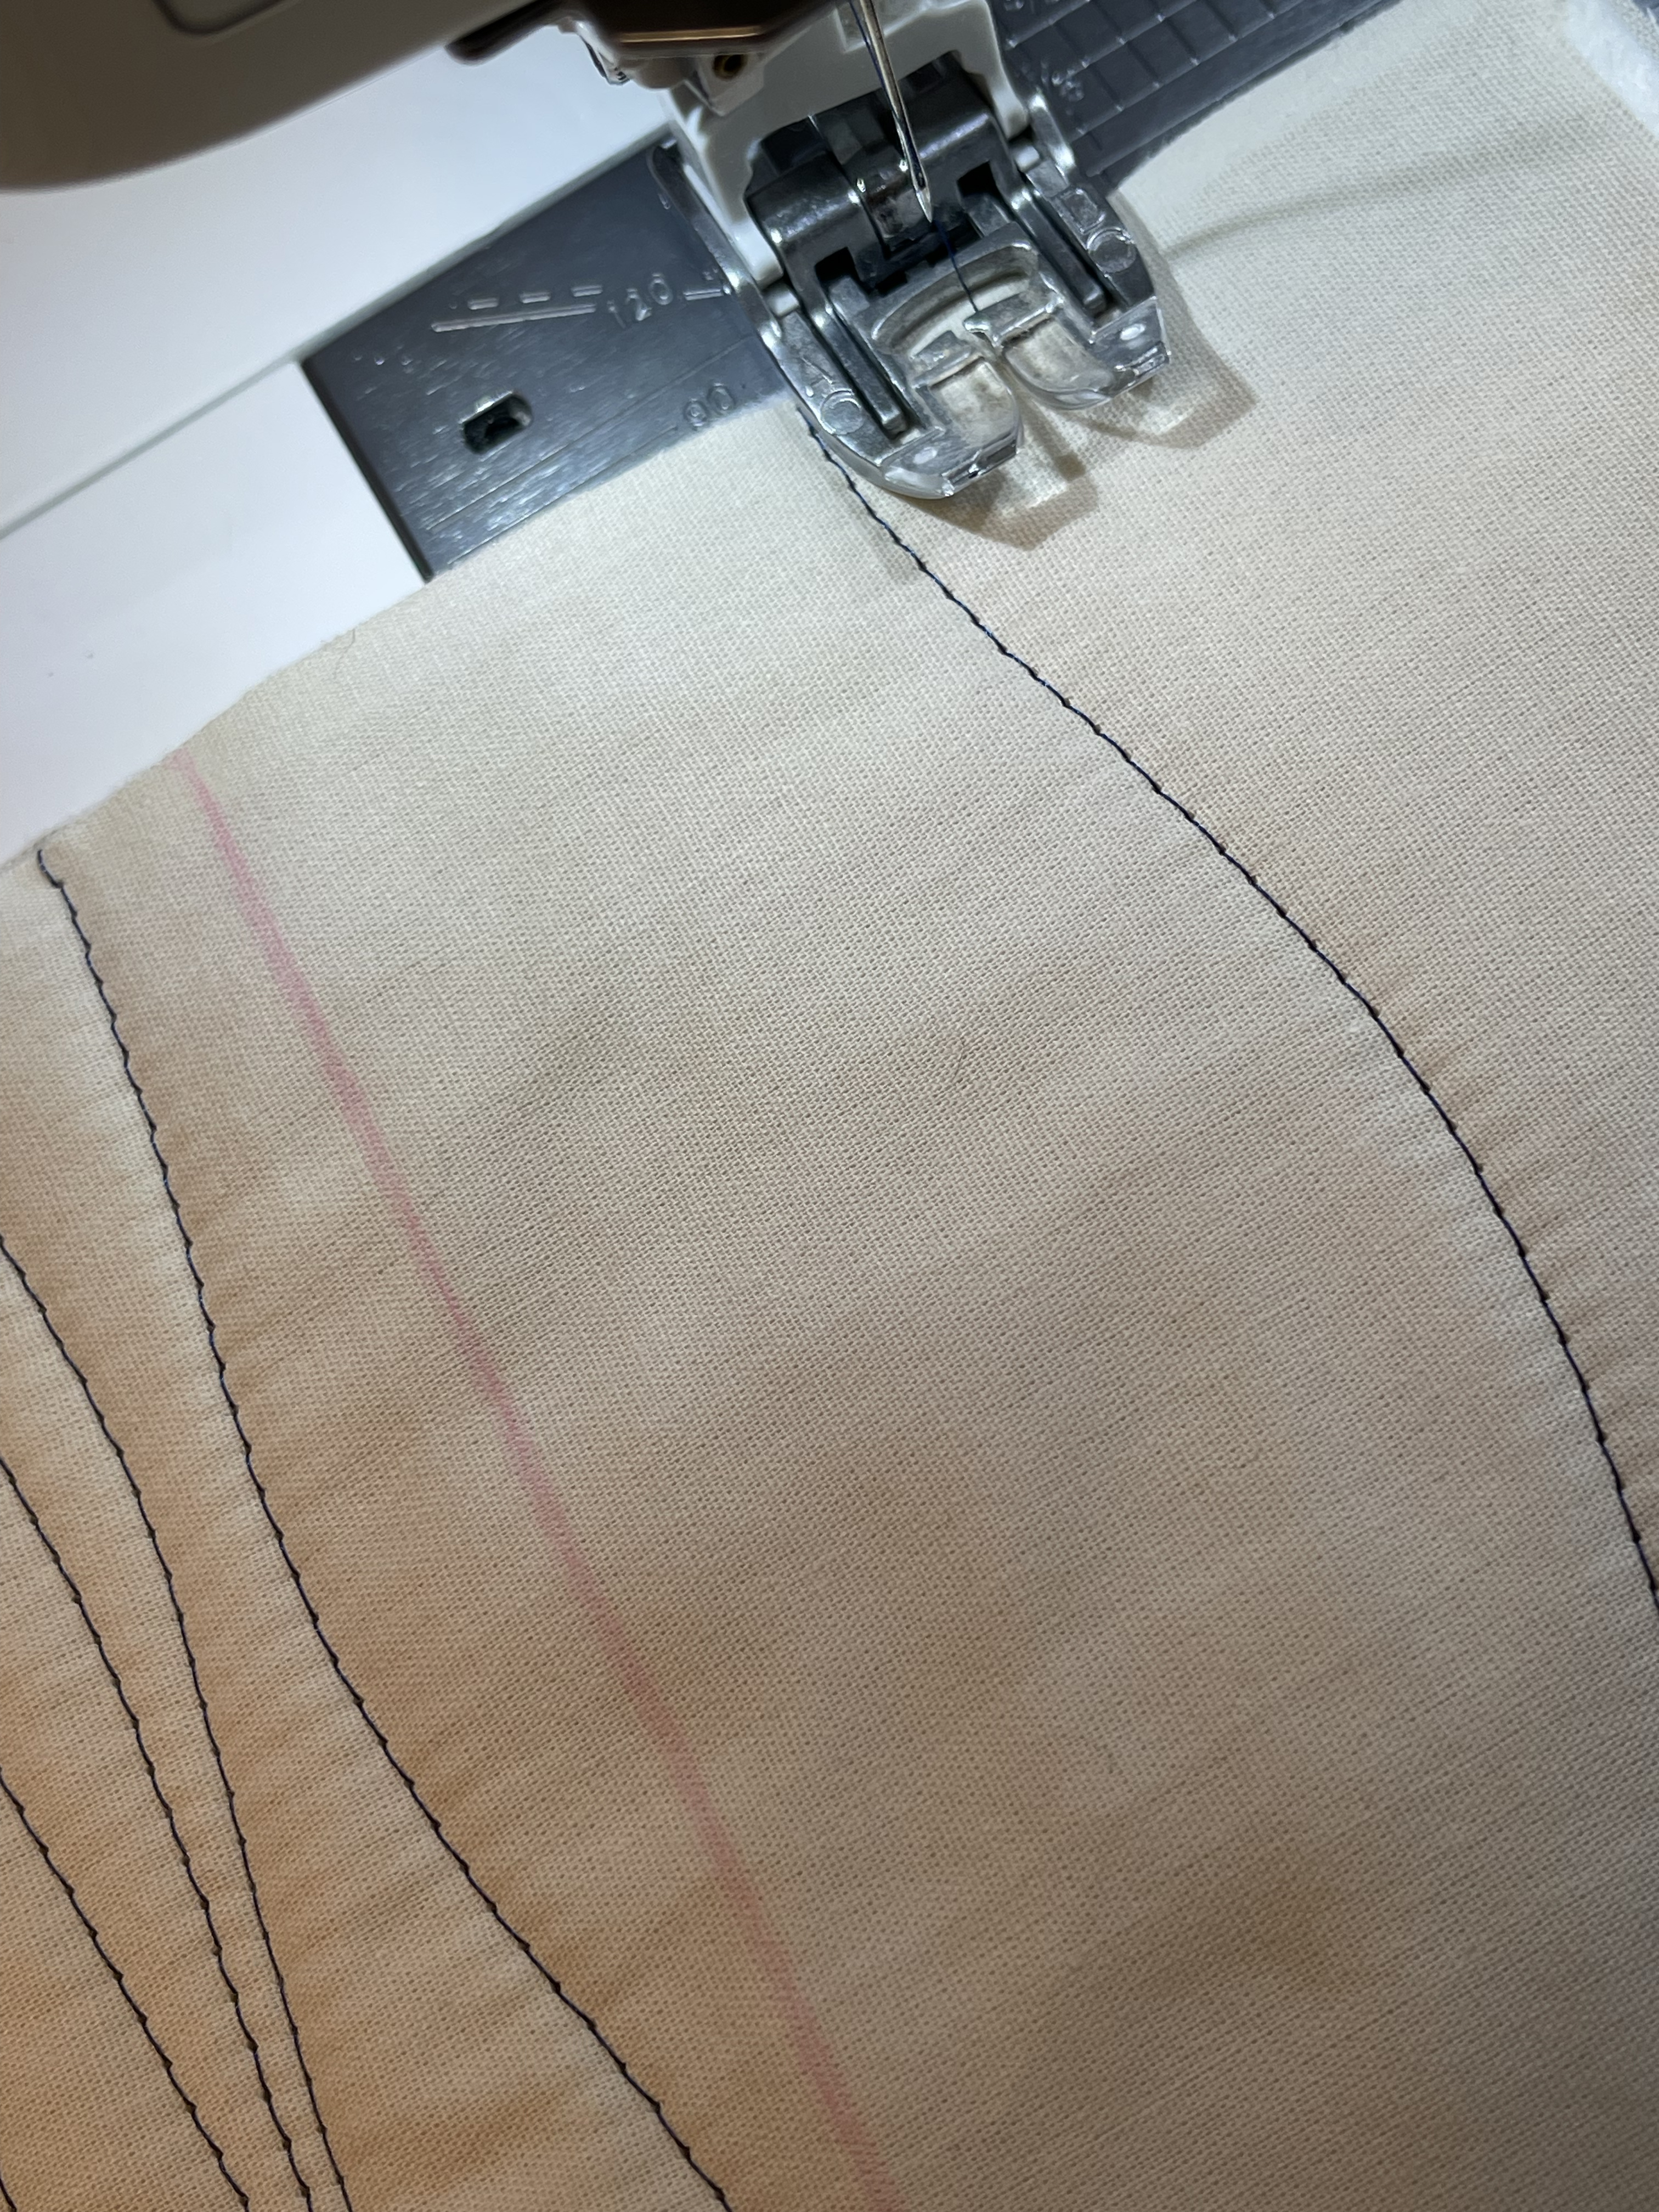
2. SET UP.
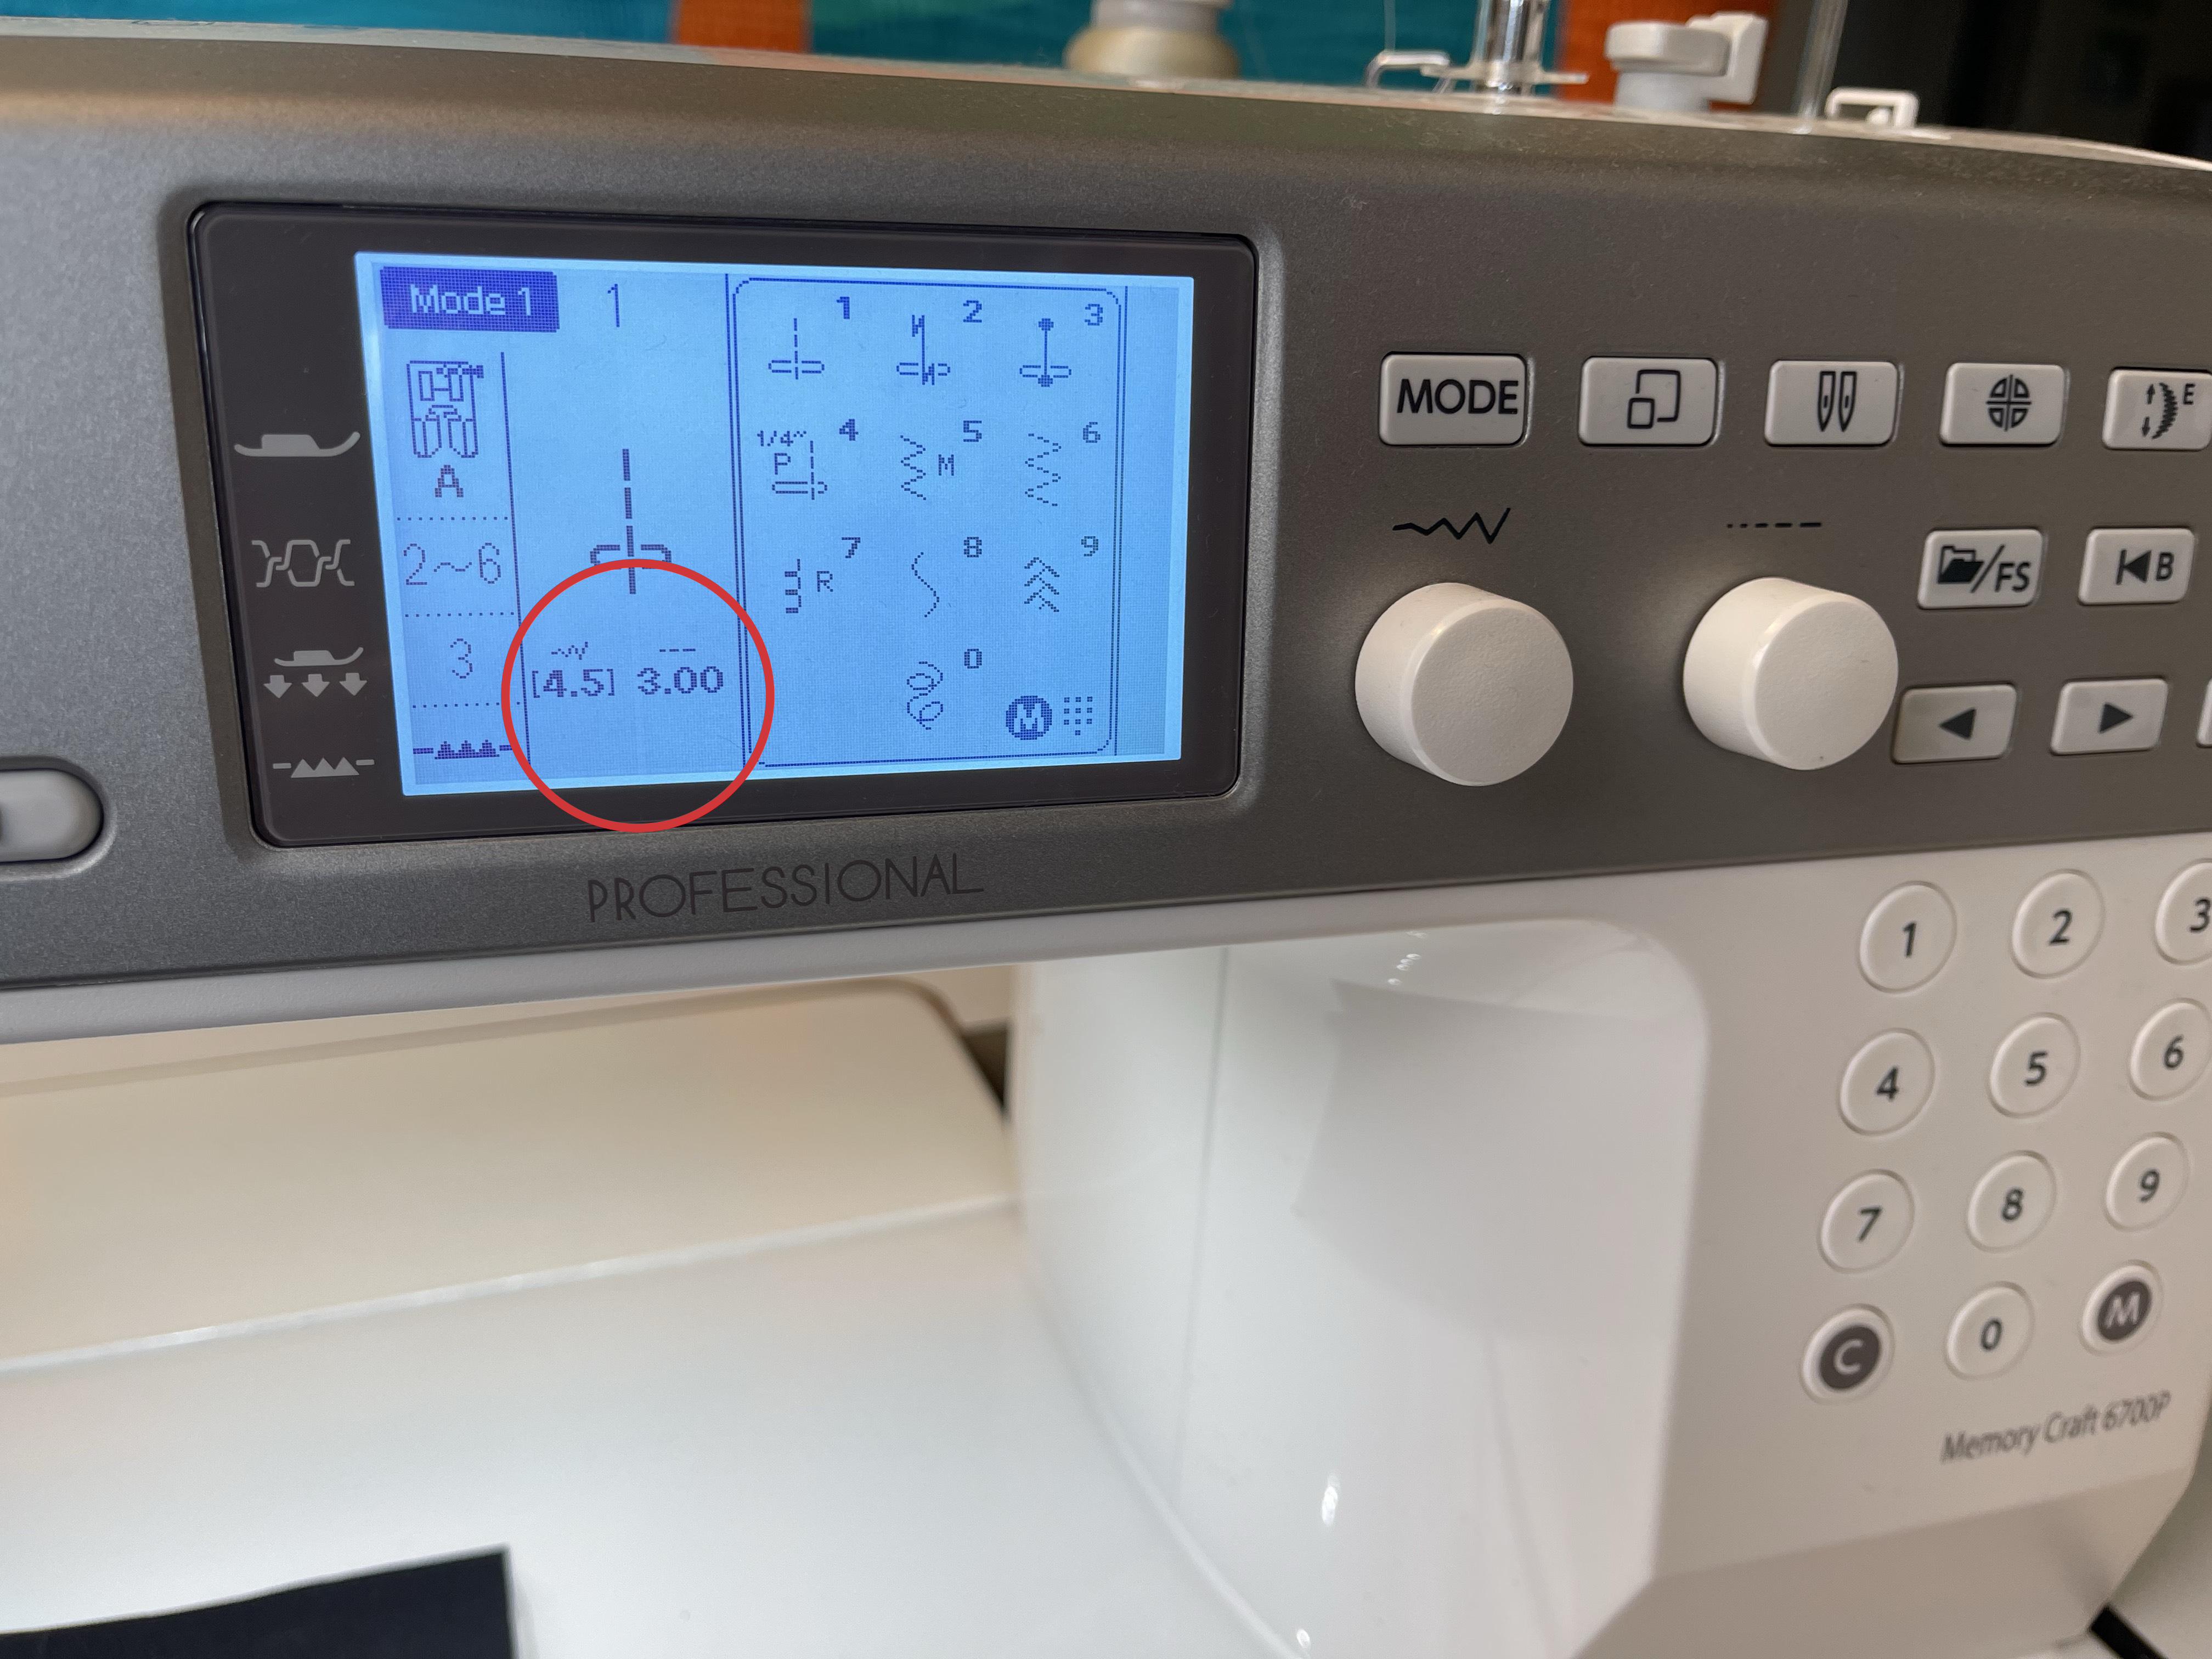
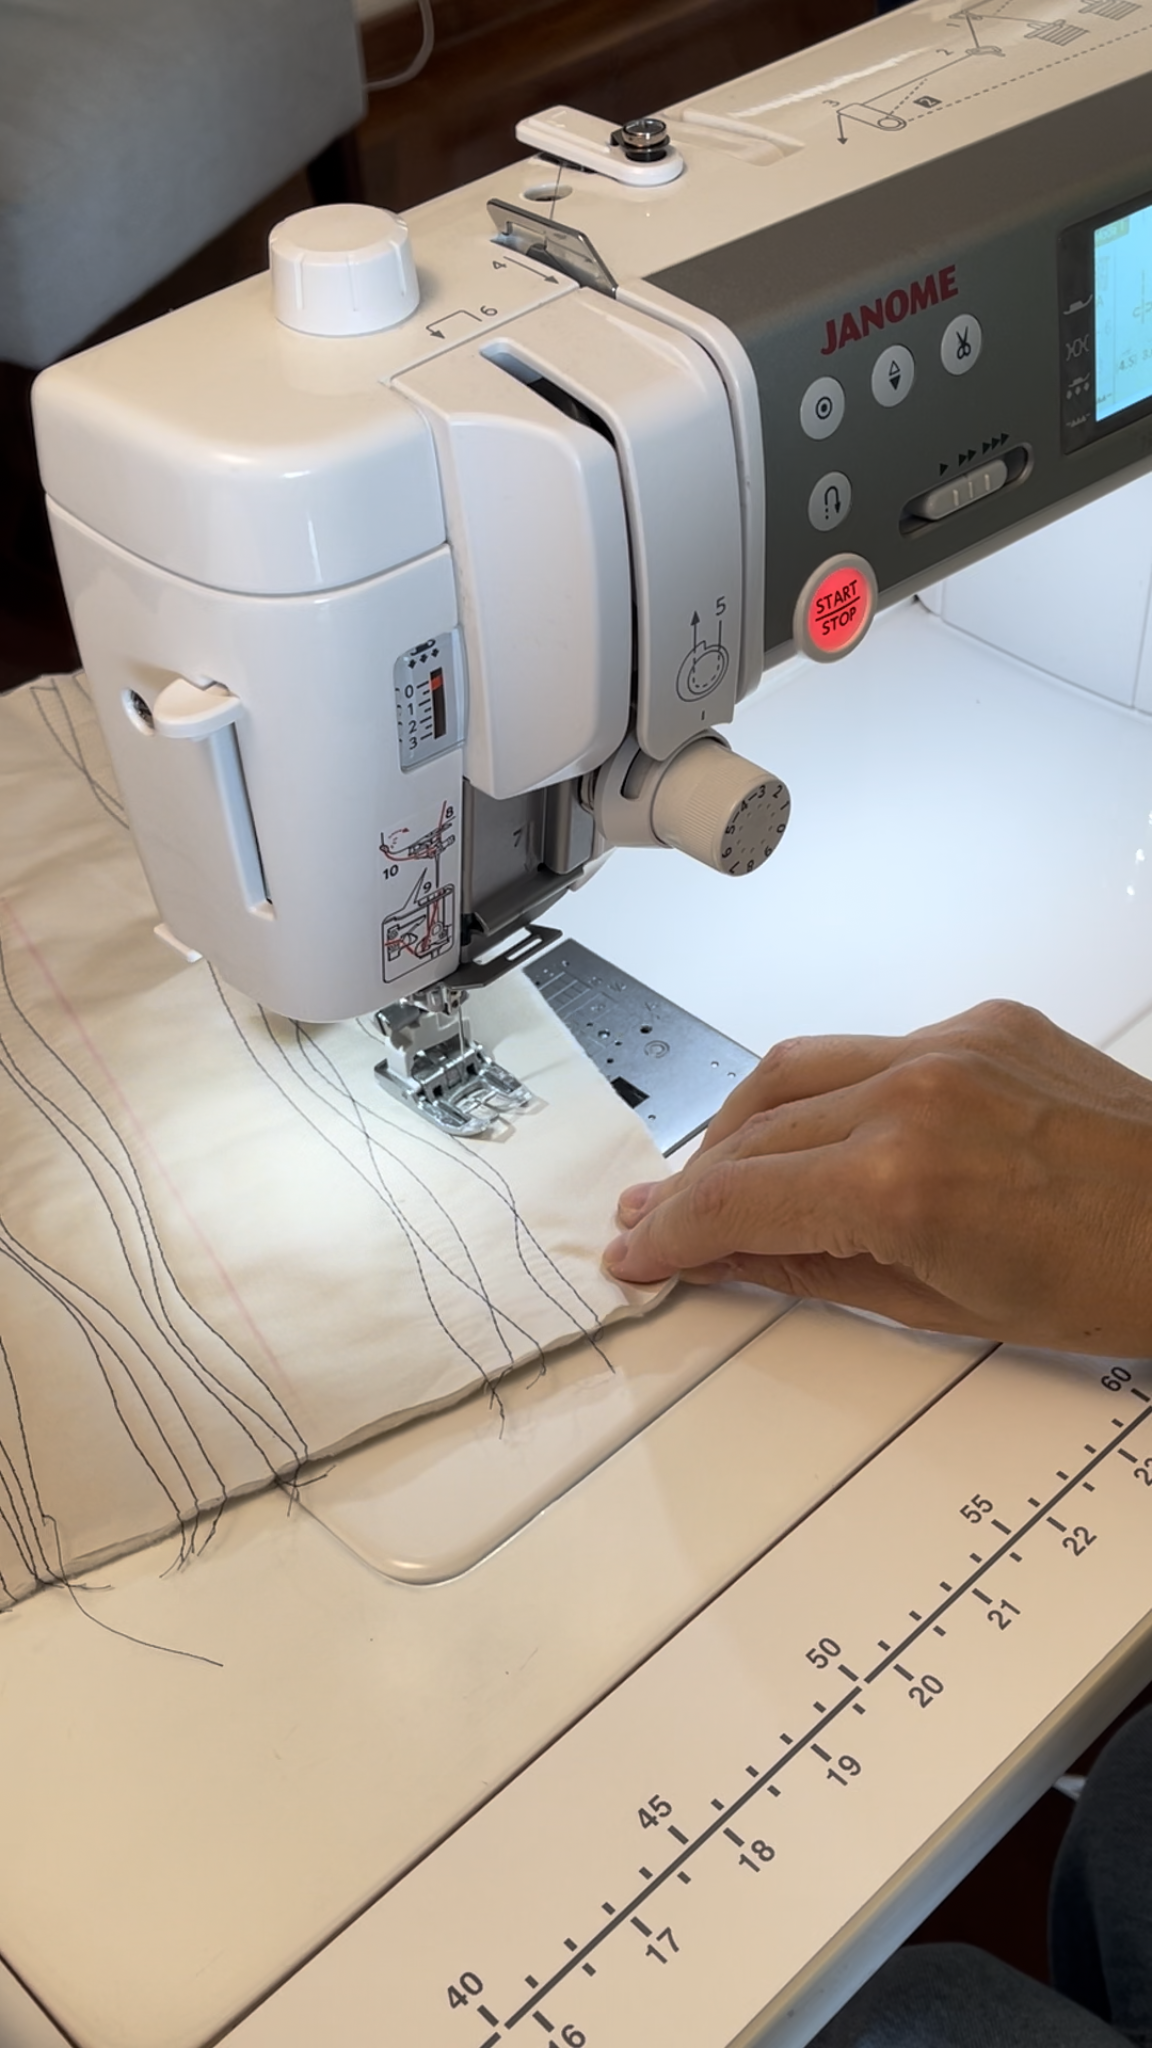
Depending on your sewing machine, use your walking foot or dual feed foot. Important set up: use a stitch lenght between 2.8 - 3.0. Set your needle down. Sew slow! This is one of the most important recommendations that I can give you (I like to set my speed in medium so I can’t go faster)
3. START QUILTING.
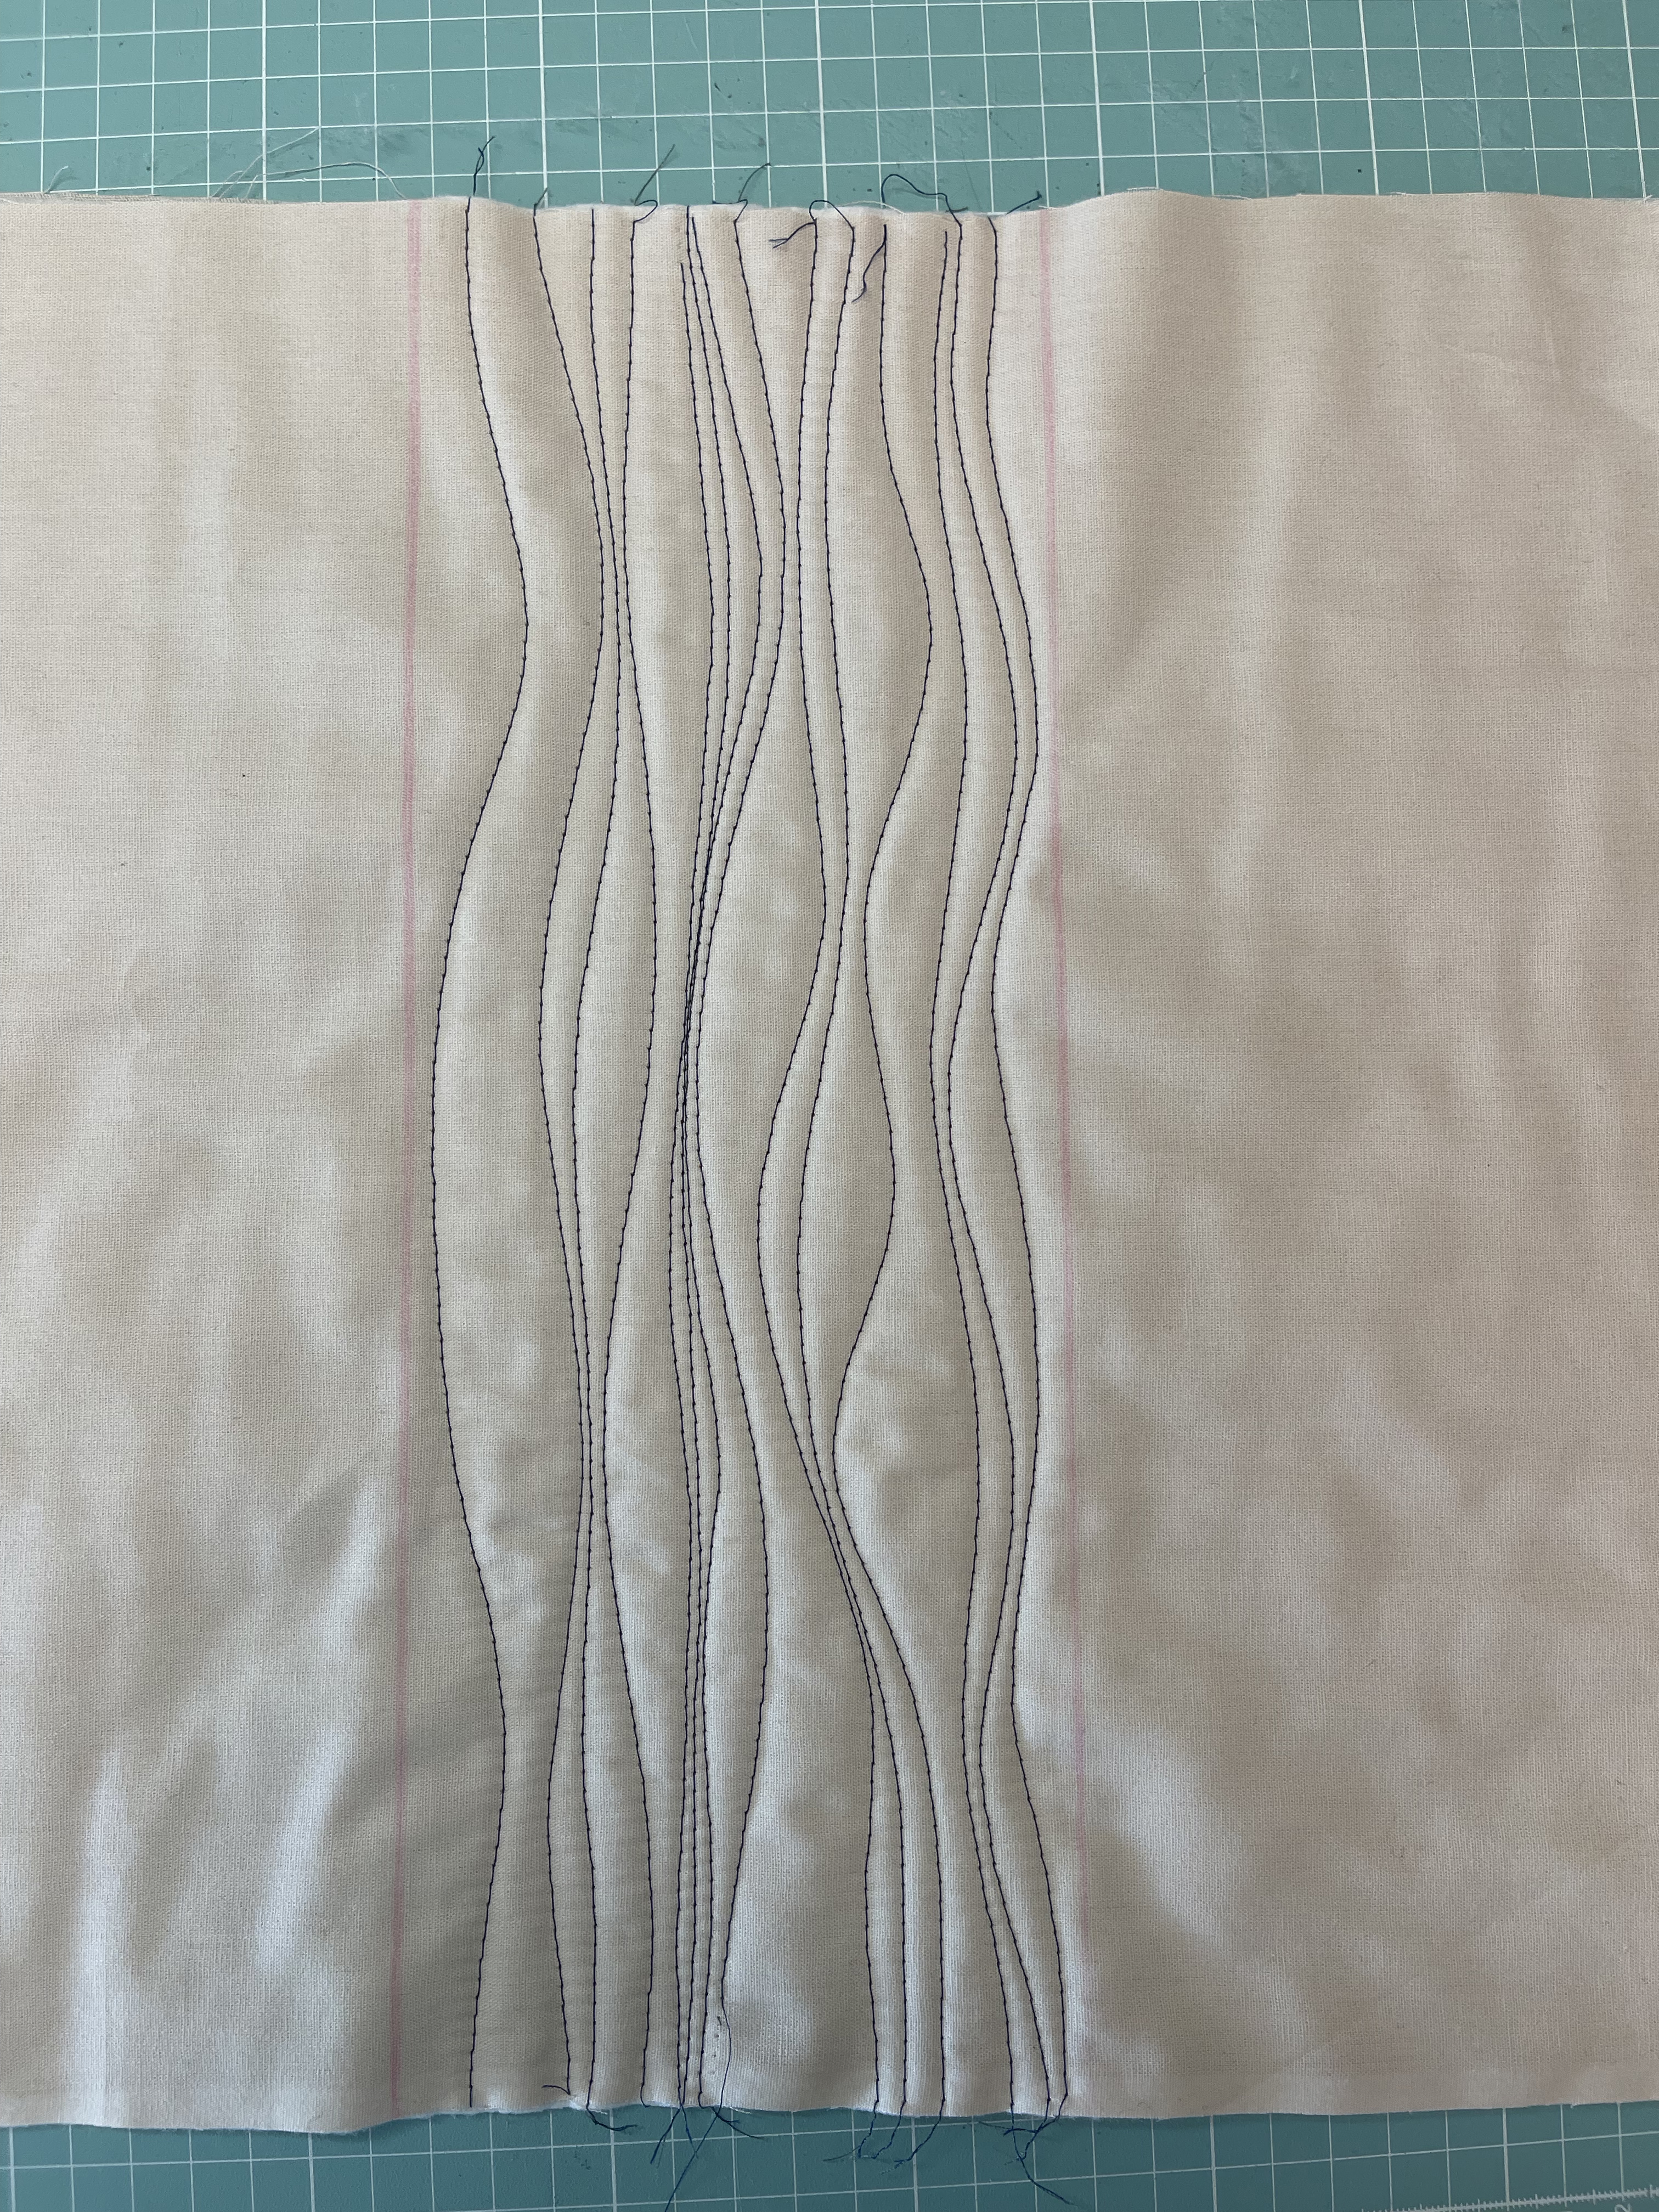
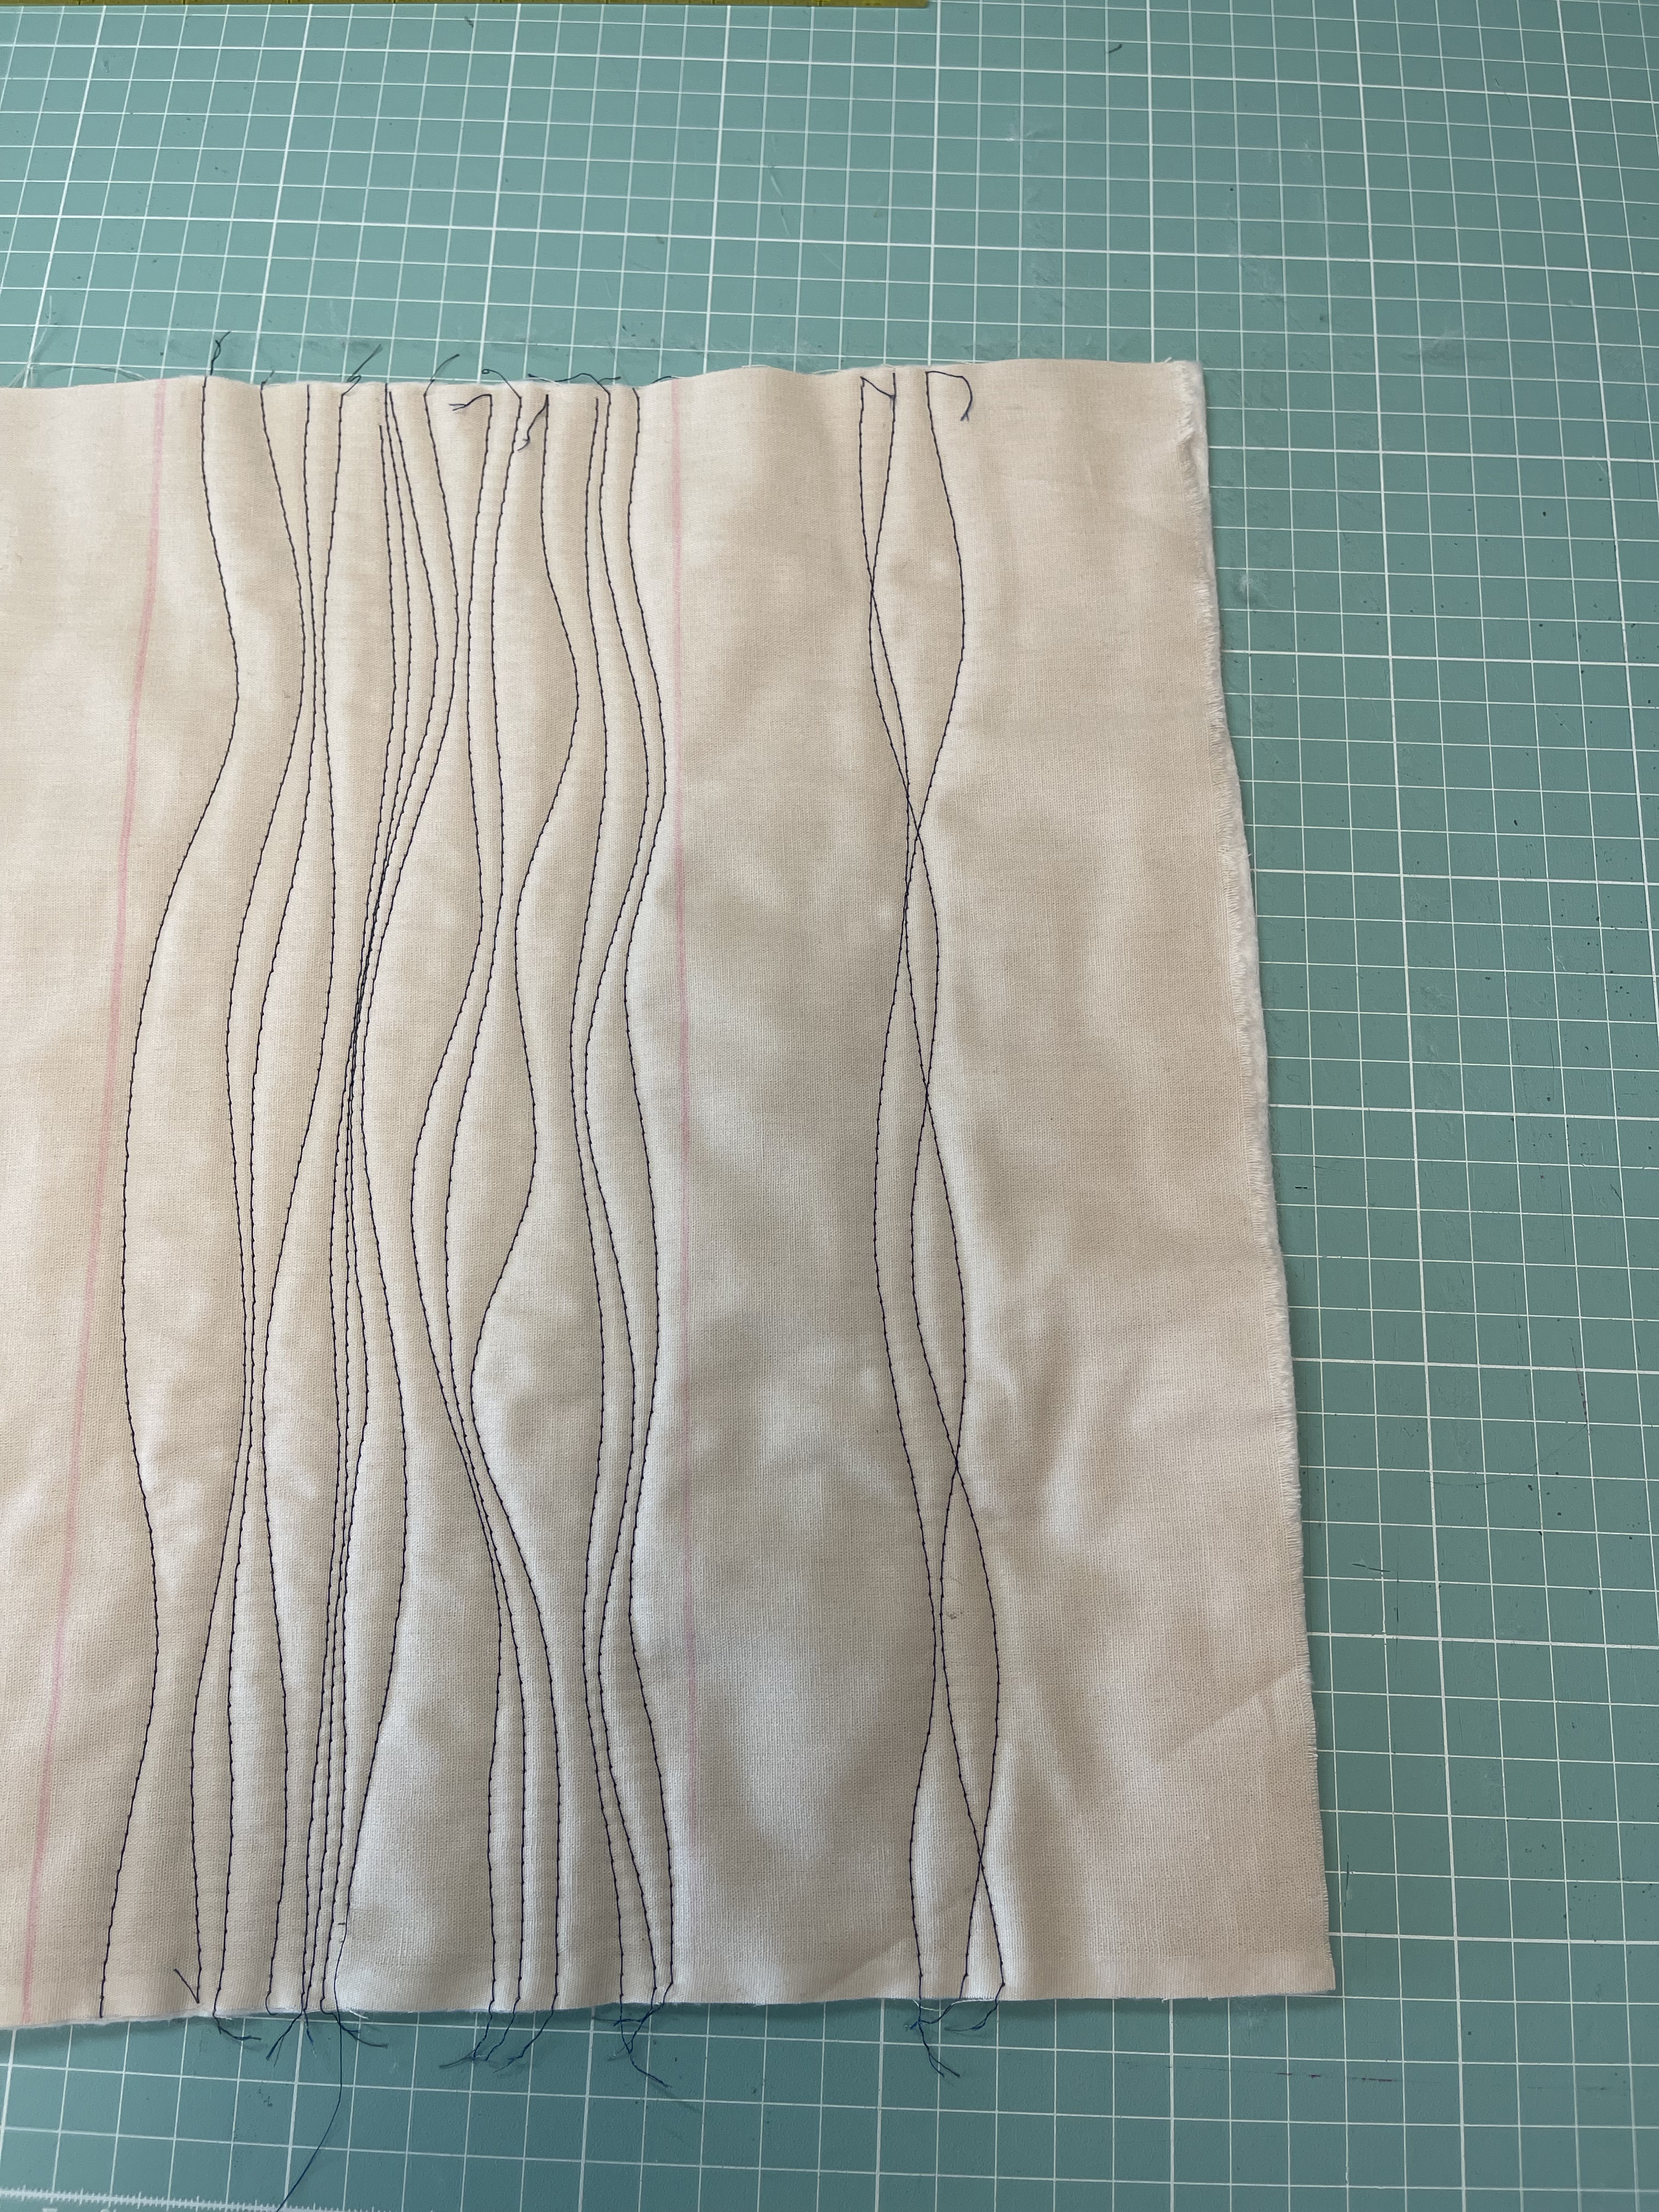
VARIANT 1 : Wavy lines that don’t cross each other.
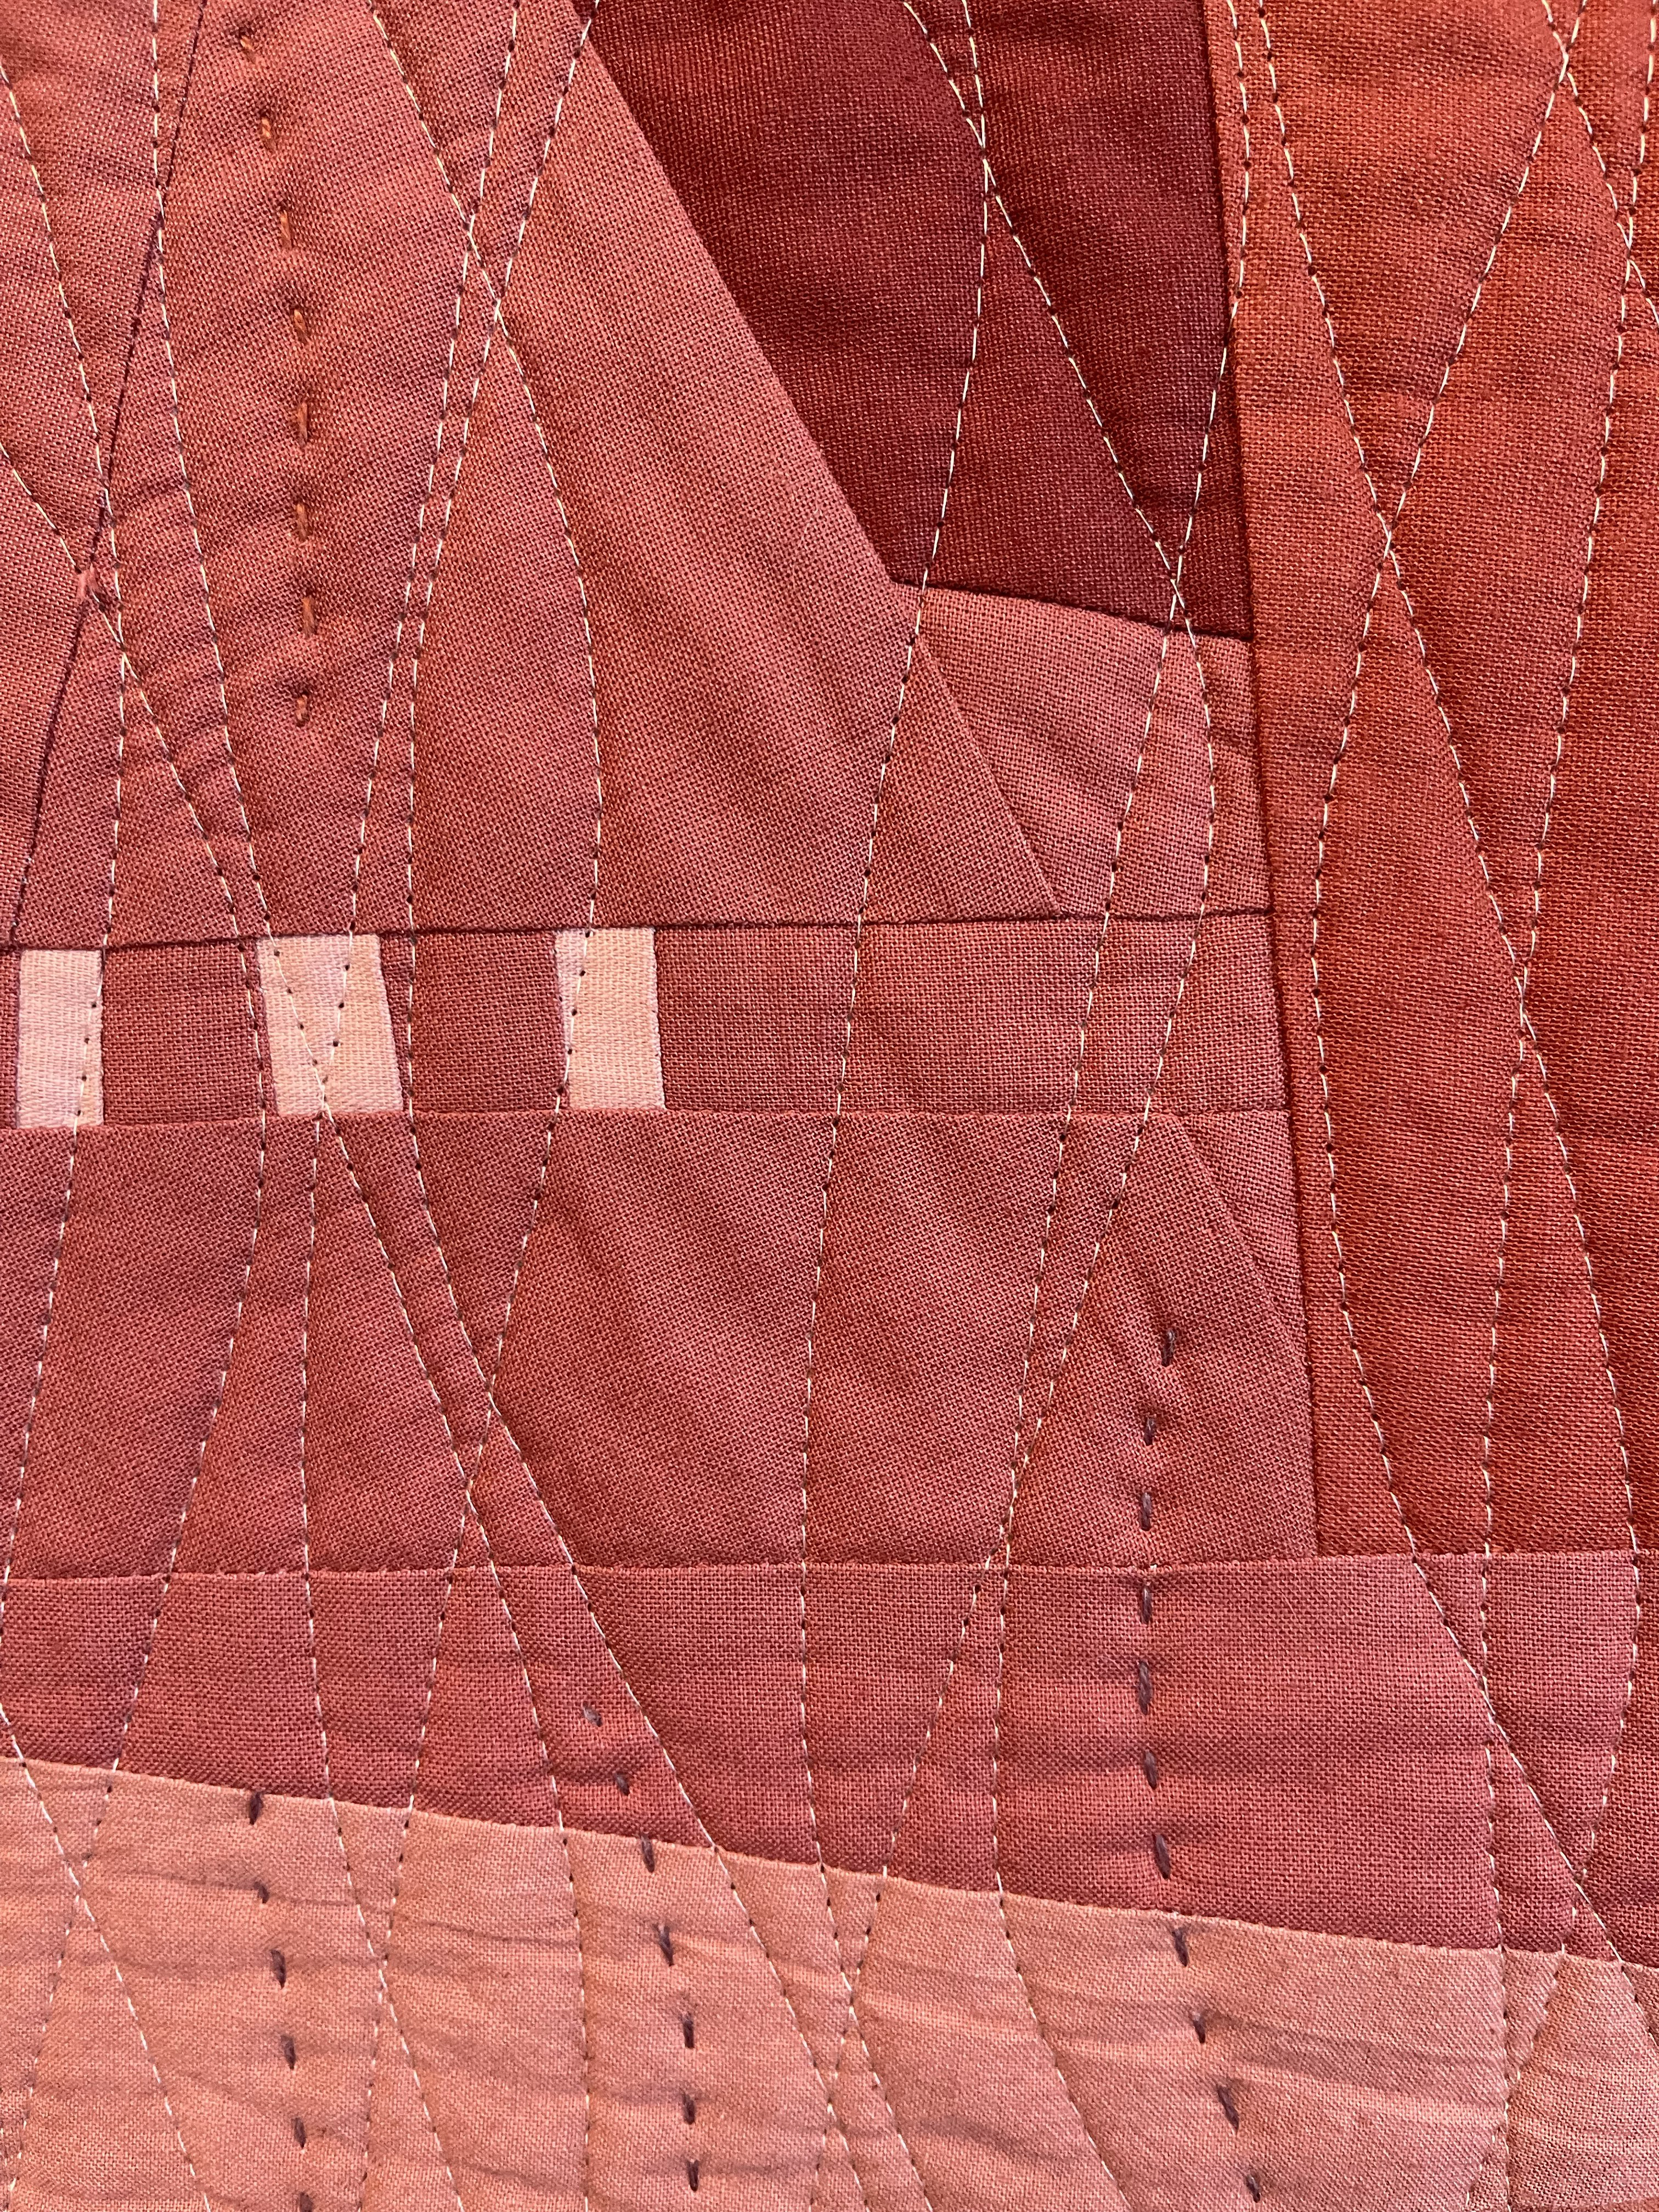
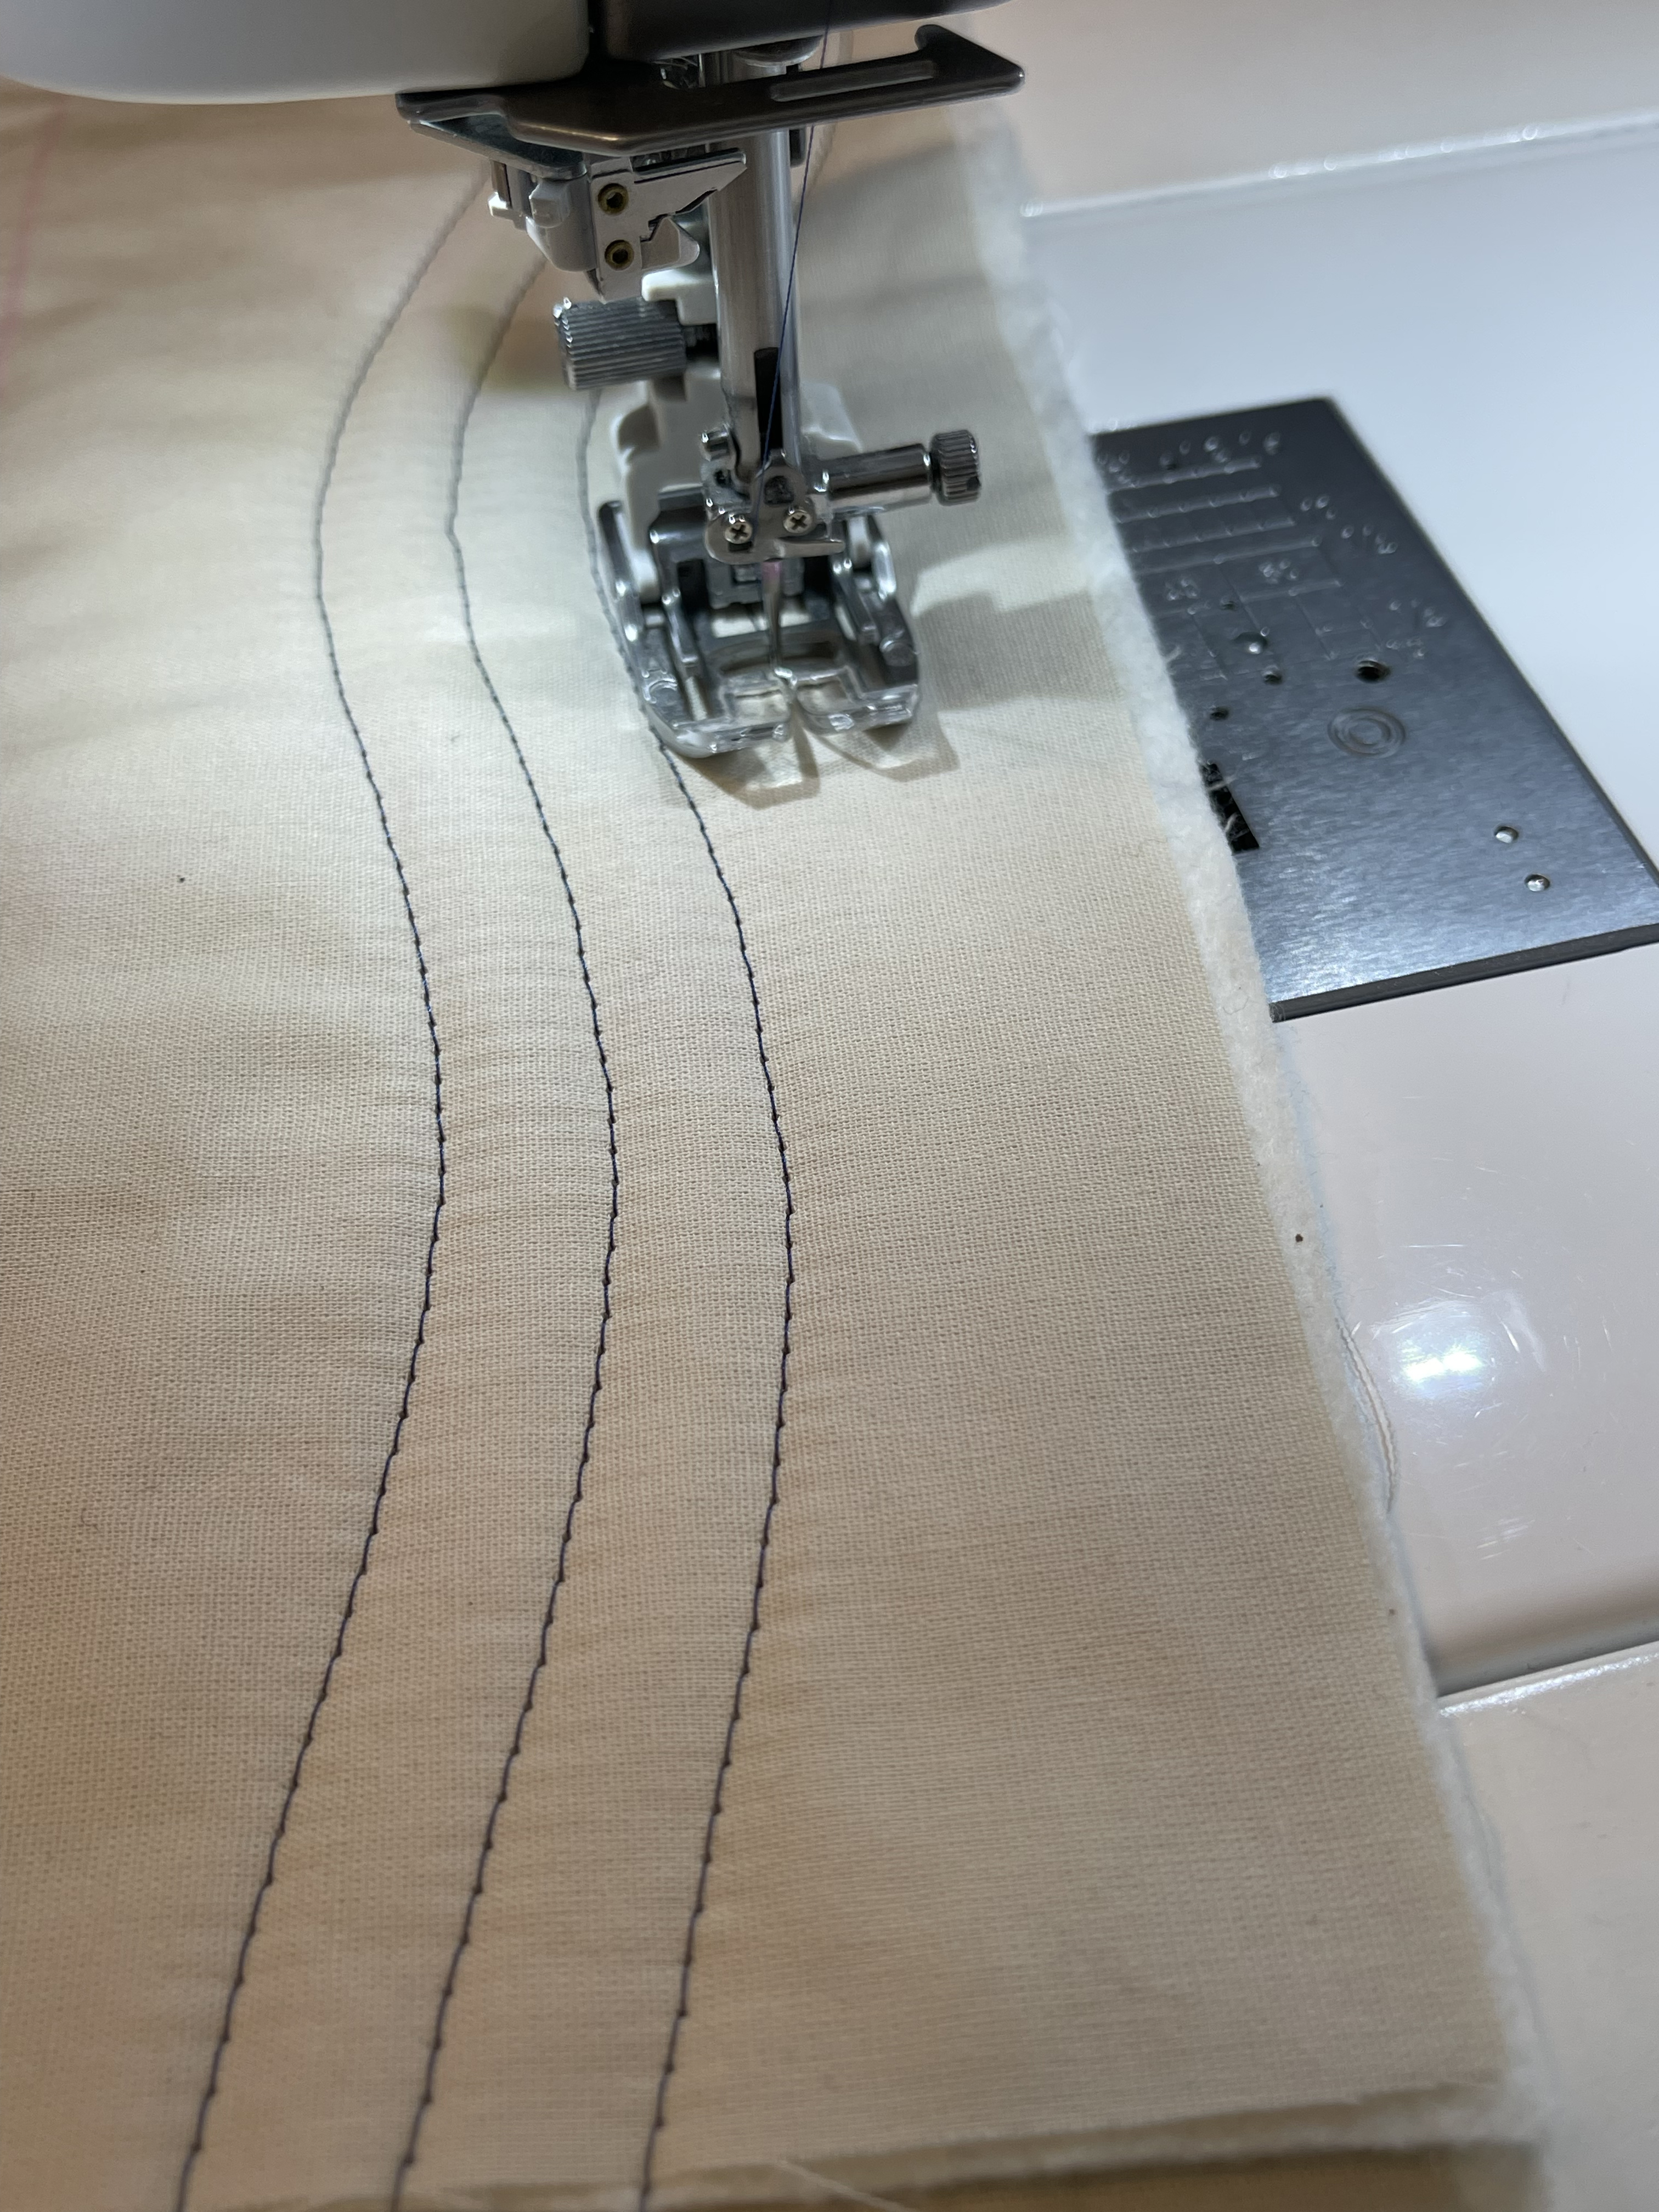
Always start in the center, from top to bottom and toward the right (in that way the bulk inside the arm of yor sewing machine always will be at most the half of the quilt).Once you finish your first wavy line, cut the thread and start again on top. Pay attention to not quilt on top of a previous quilted line. As the same concept that I teach you in the matchstick quilting design, you can start going inside to wavy lines if you want to make your wavy lines closer.
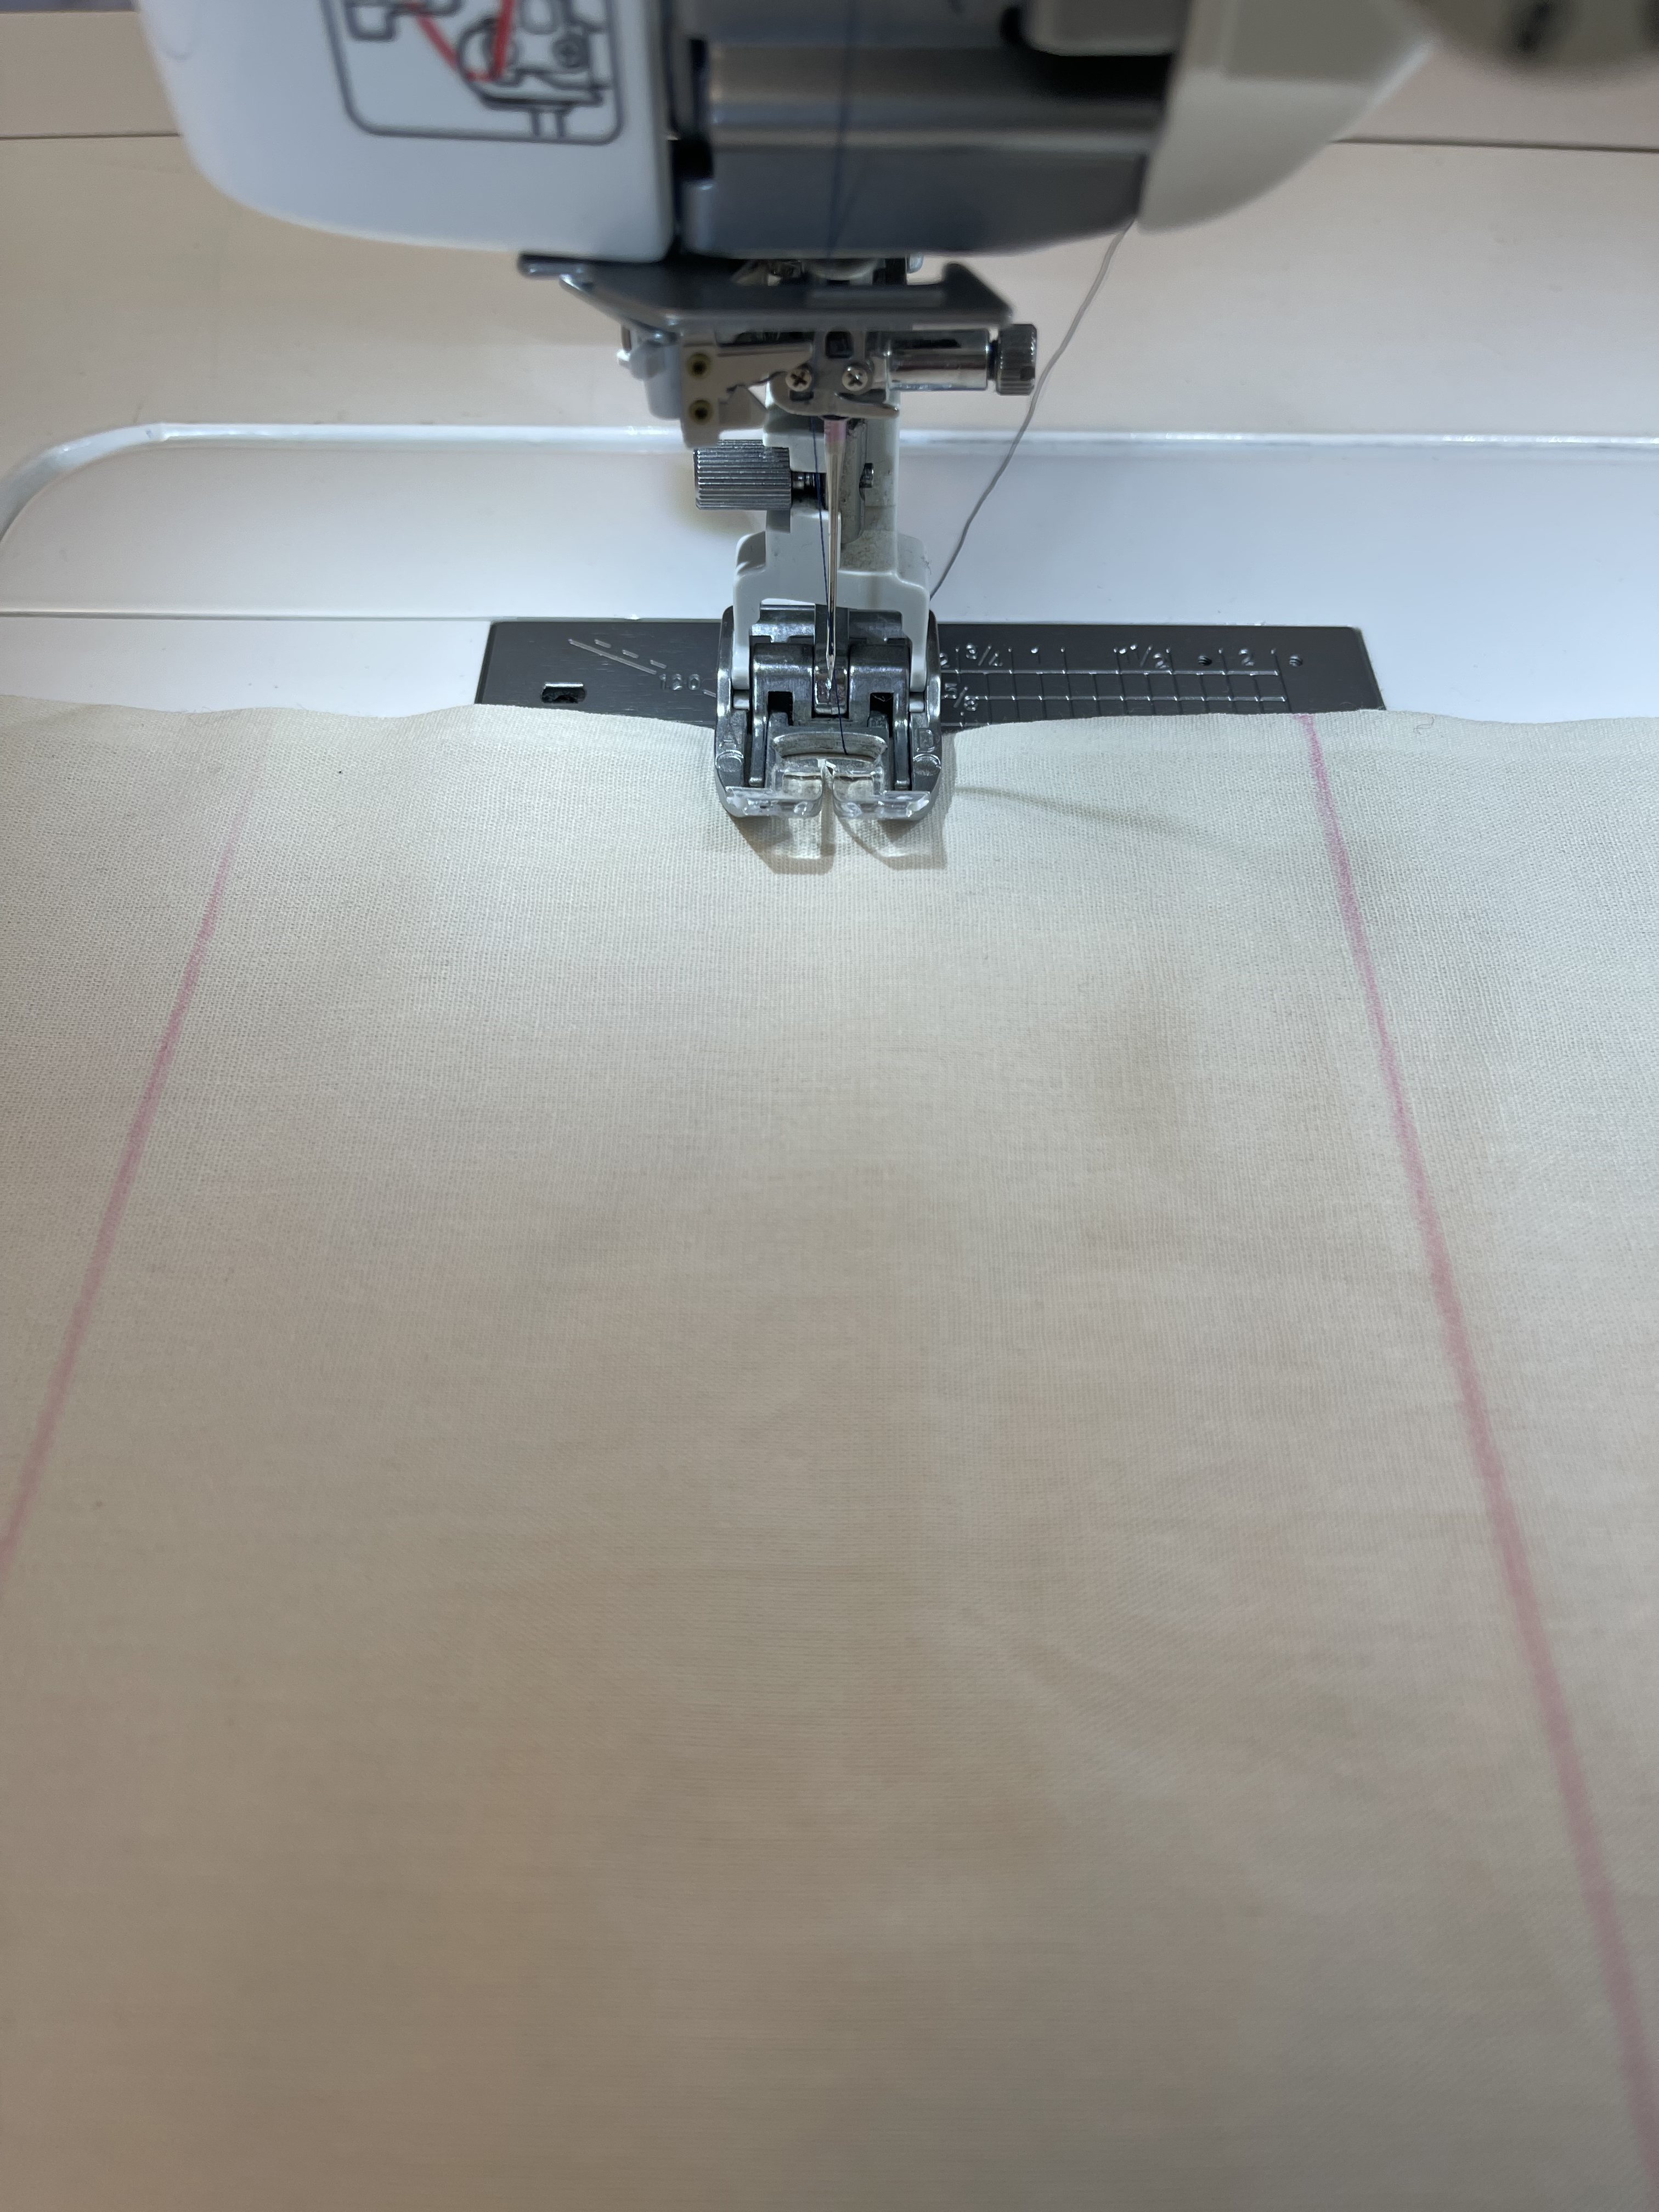
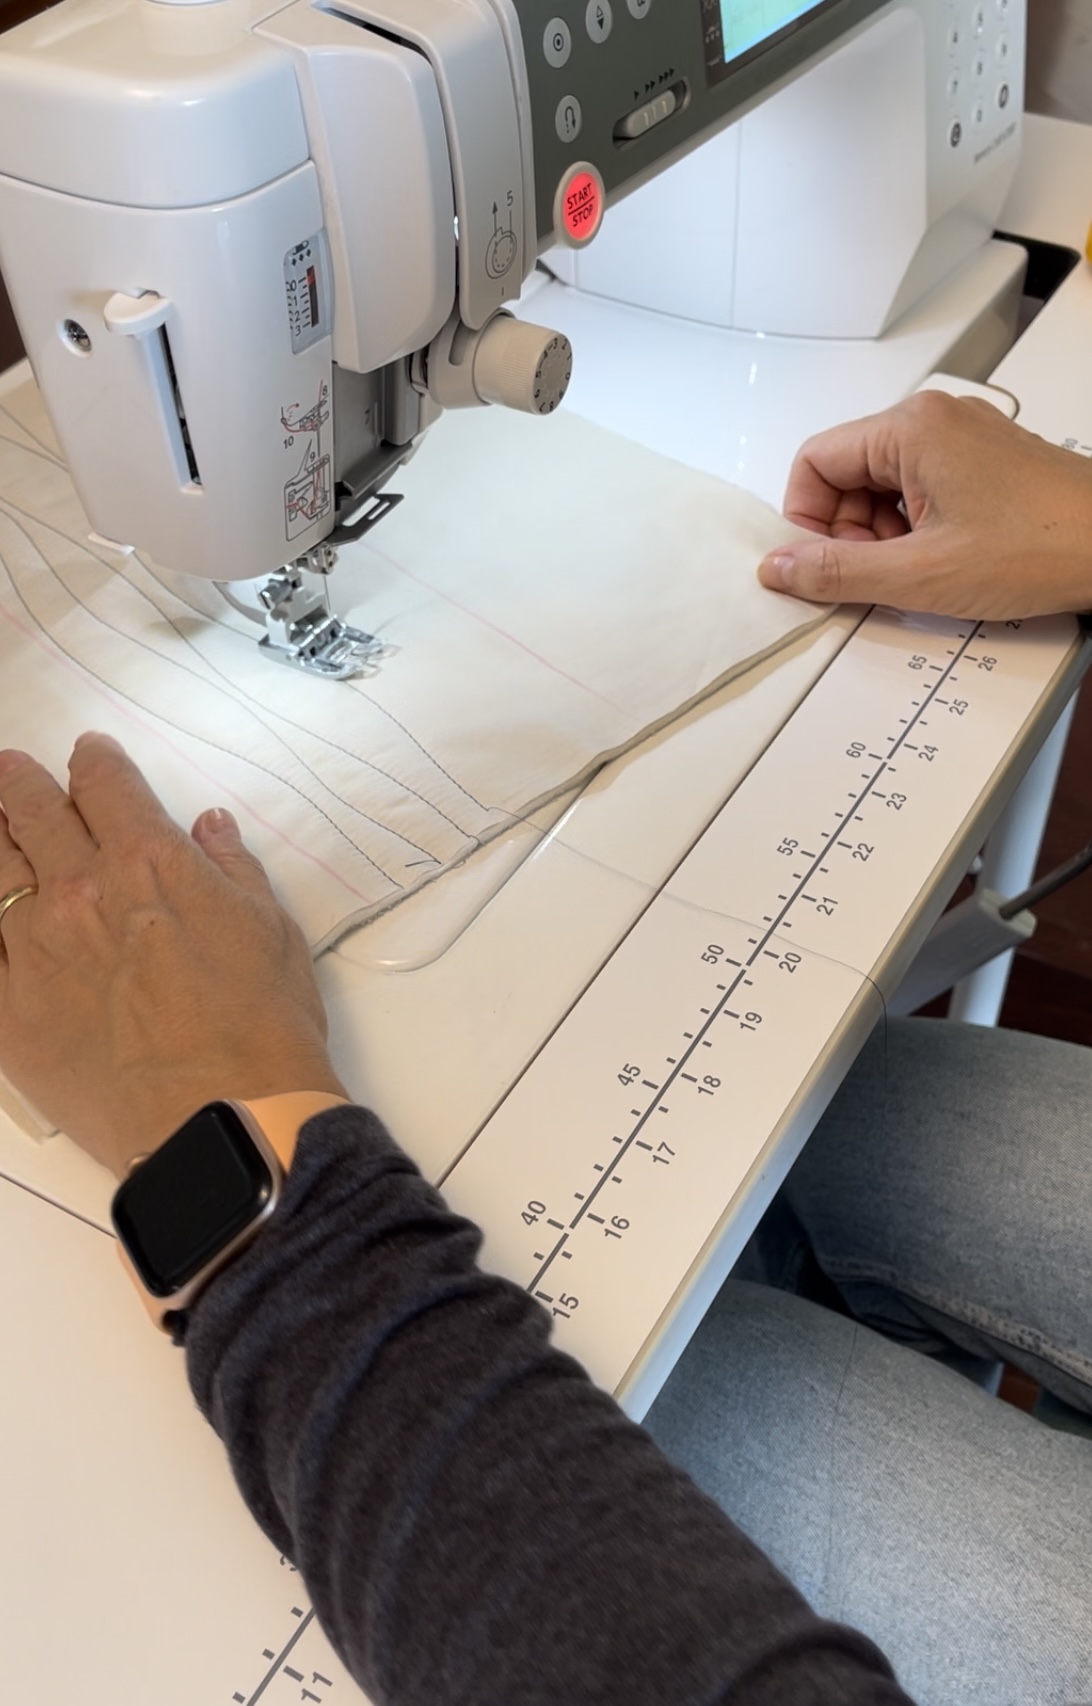
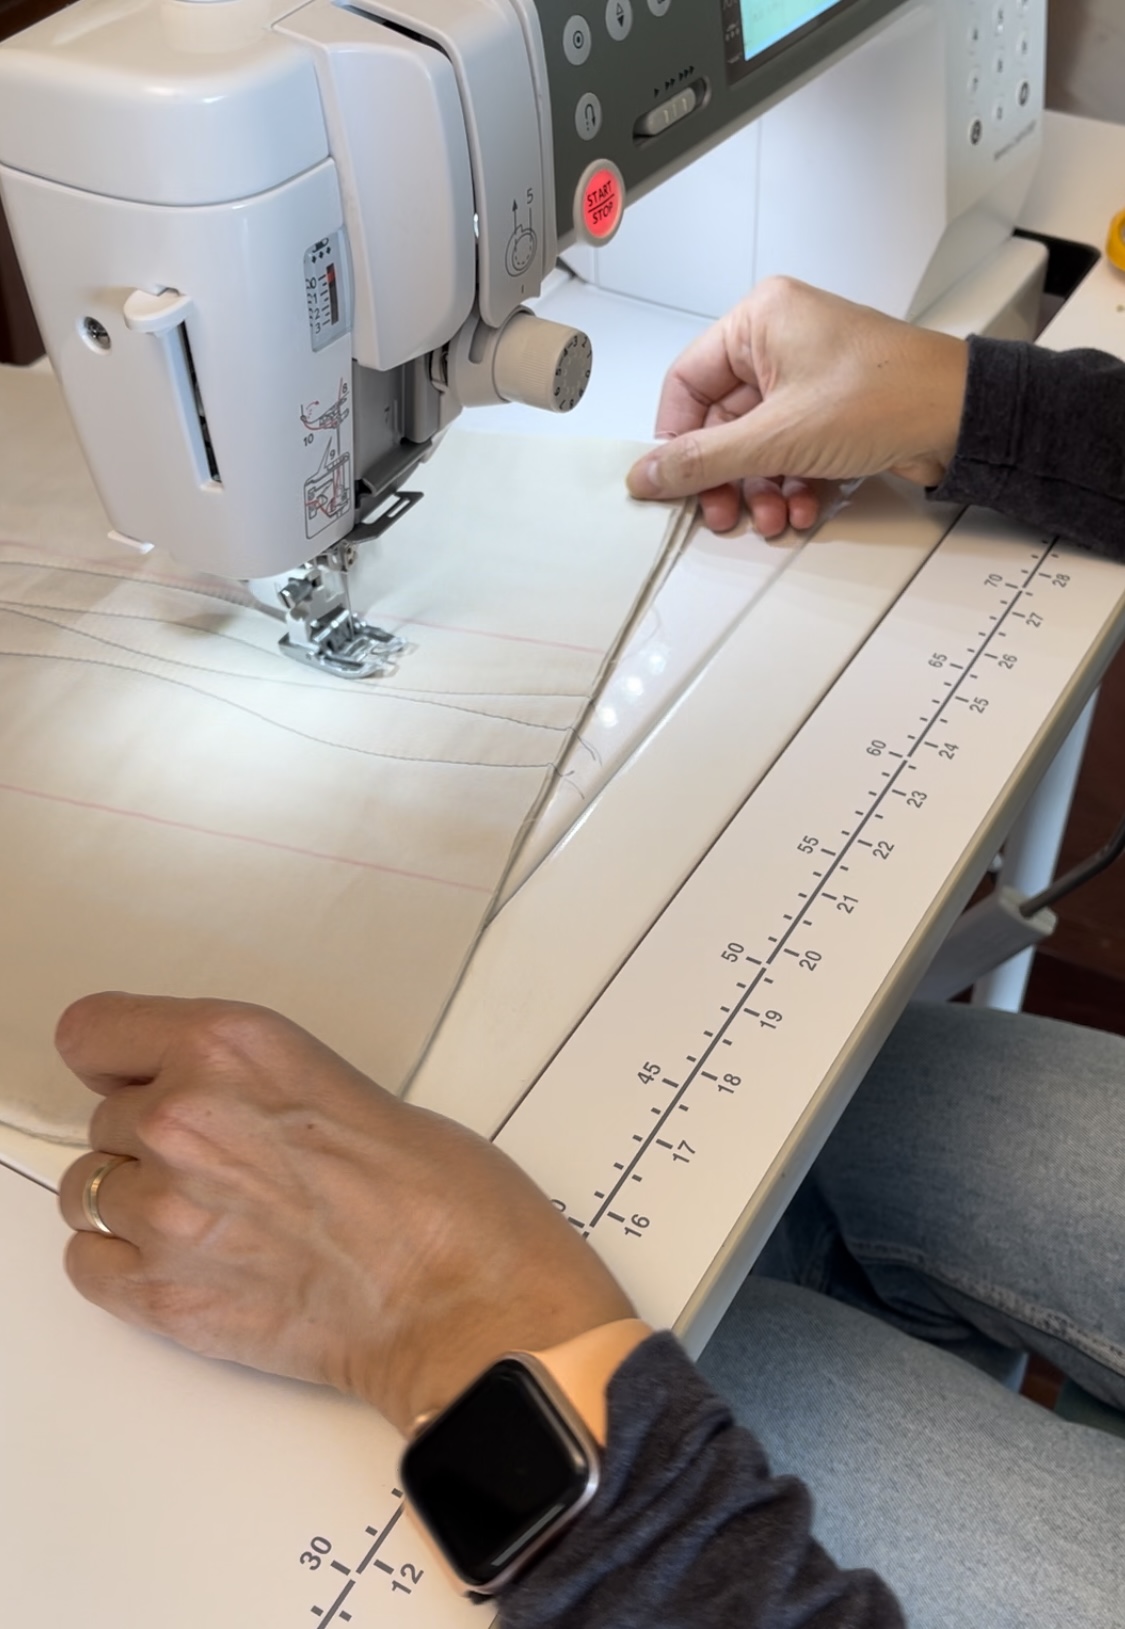
To make the wavy lines you just need to move your top a little bit to the right and then to the left, as if you were turning the handlebars of a car, always hold your top with both hands.
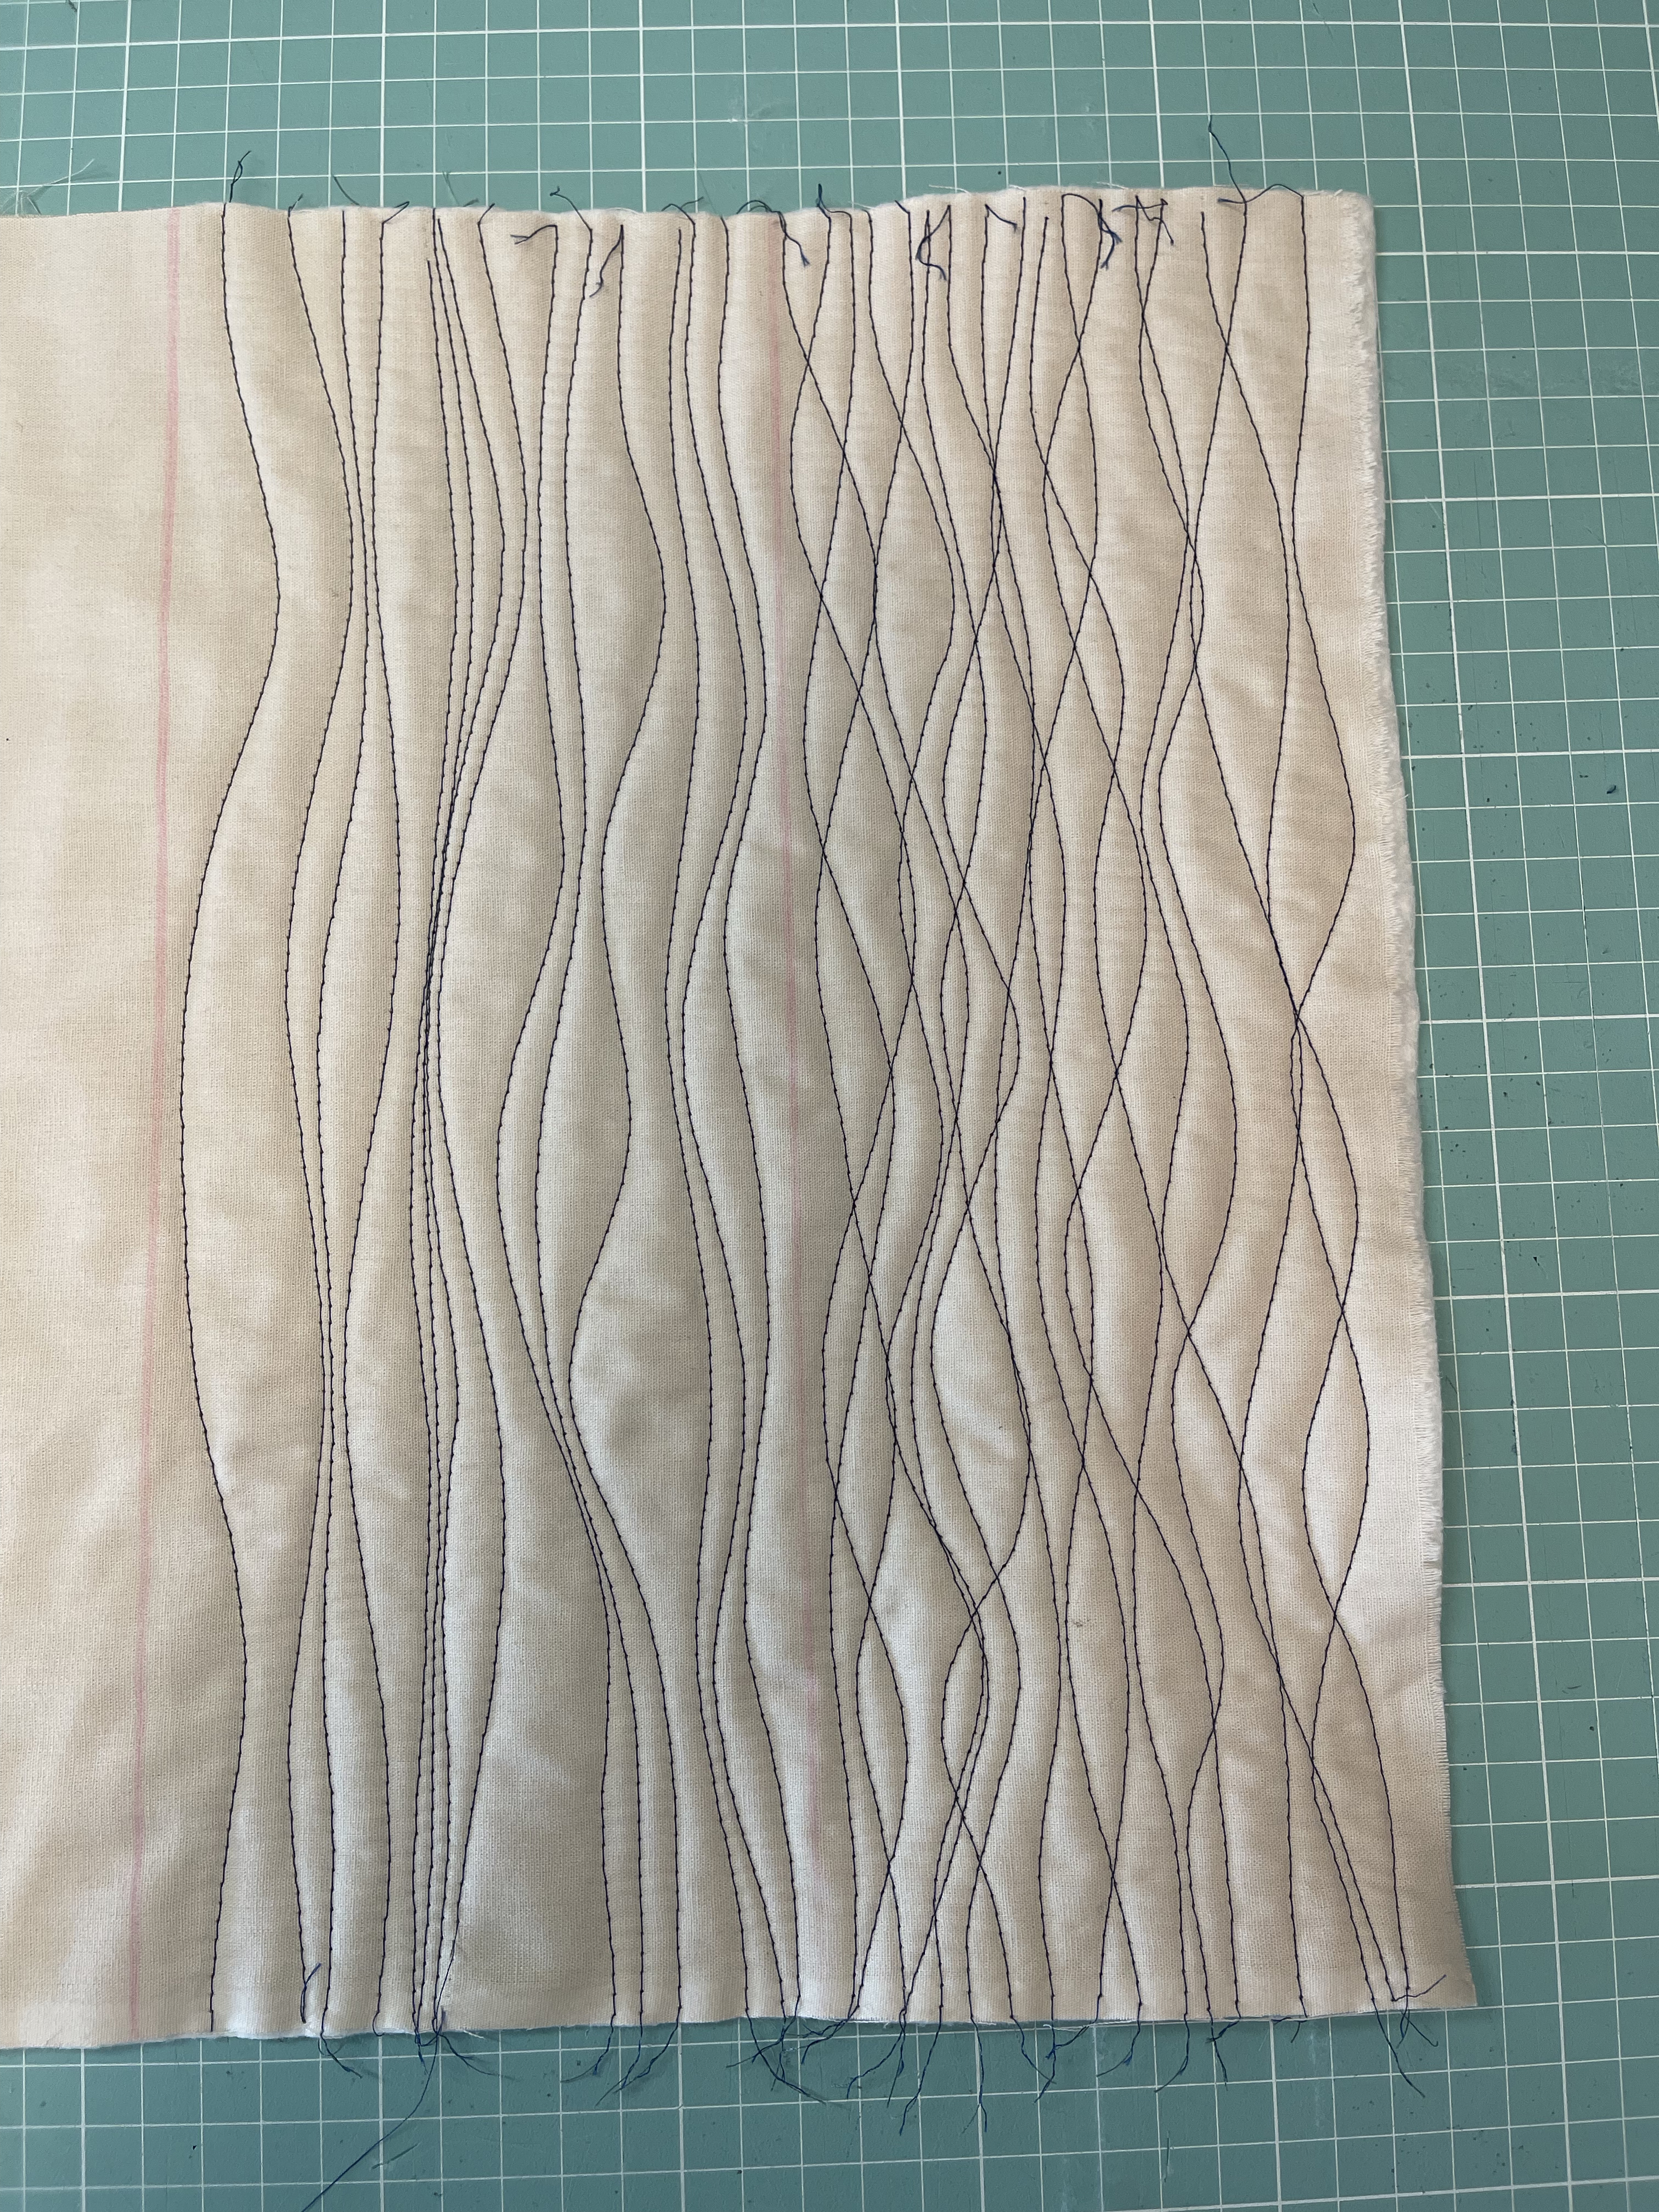
VARIANT 2 : Wavy lines that cross each other.
Always start in the center, from top to bottom and toward the right (in that way the bulk inside the arm of yor sewing machine always will be at most the half of the quilt).Once you finish your first wavy line, cut the thread and start again on top. This time tray to quilt on top of the previous wavy line in order to cross the lines.

VARIANT 3 : Wavy lines that are parallel
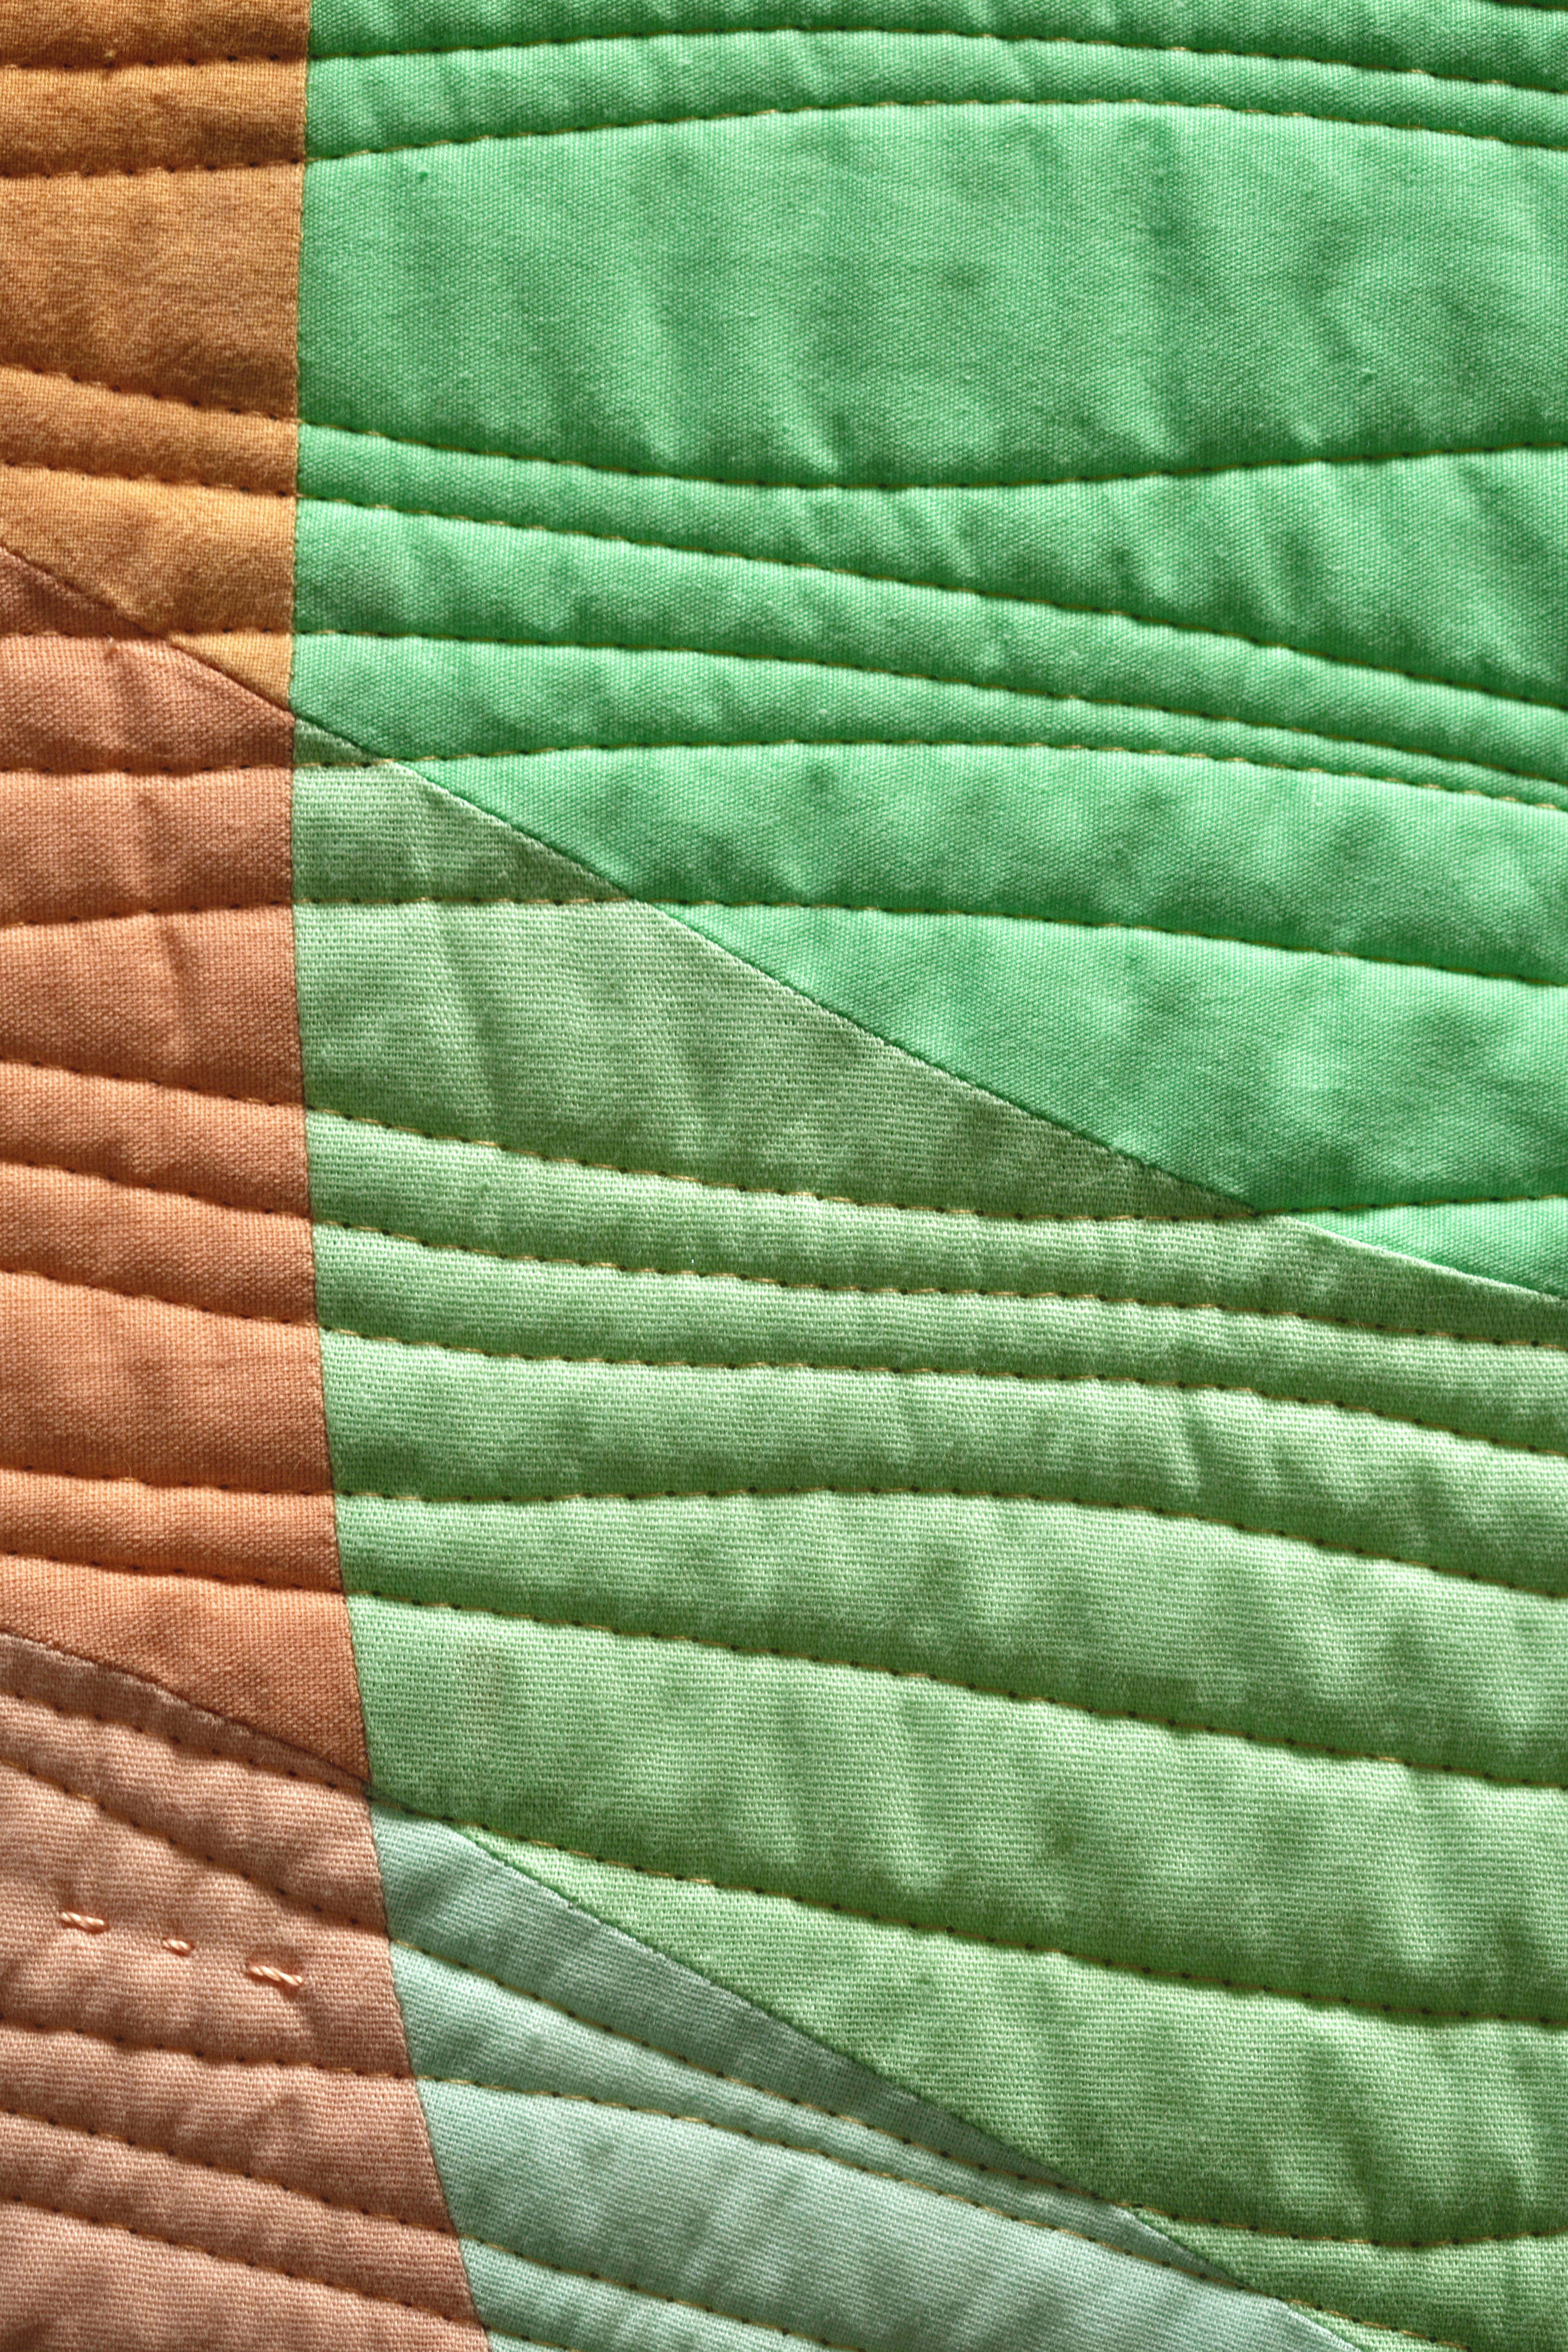
Always start in the center, from top to bottom and toward the right (in that way the bulk inside the arm of yor sewing machine always will be at most the half of the quilt).Once you finish your first wavy line, cut the thread and start again on top. This time use the edge of your walking foot as a guide so the second wavy lines will be parallel to the first one. Repeat until you finish. Once you finish you will have your complete quilt with wavy lines that are parallel with a distance in between them equal to the distance that exist in your foot from the needle to the edge of the foot, mine is 1/2” (other common measures are 1/4” and 3/8”). If you want to have closer lines as a quilting design you will start quilting inside the space that exist between two lines.
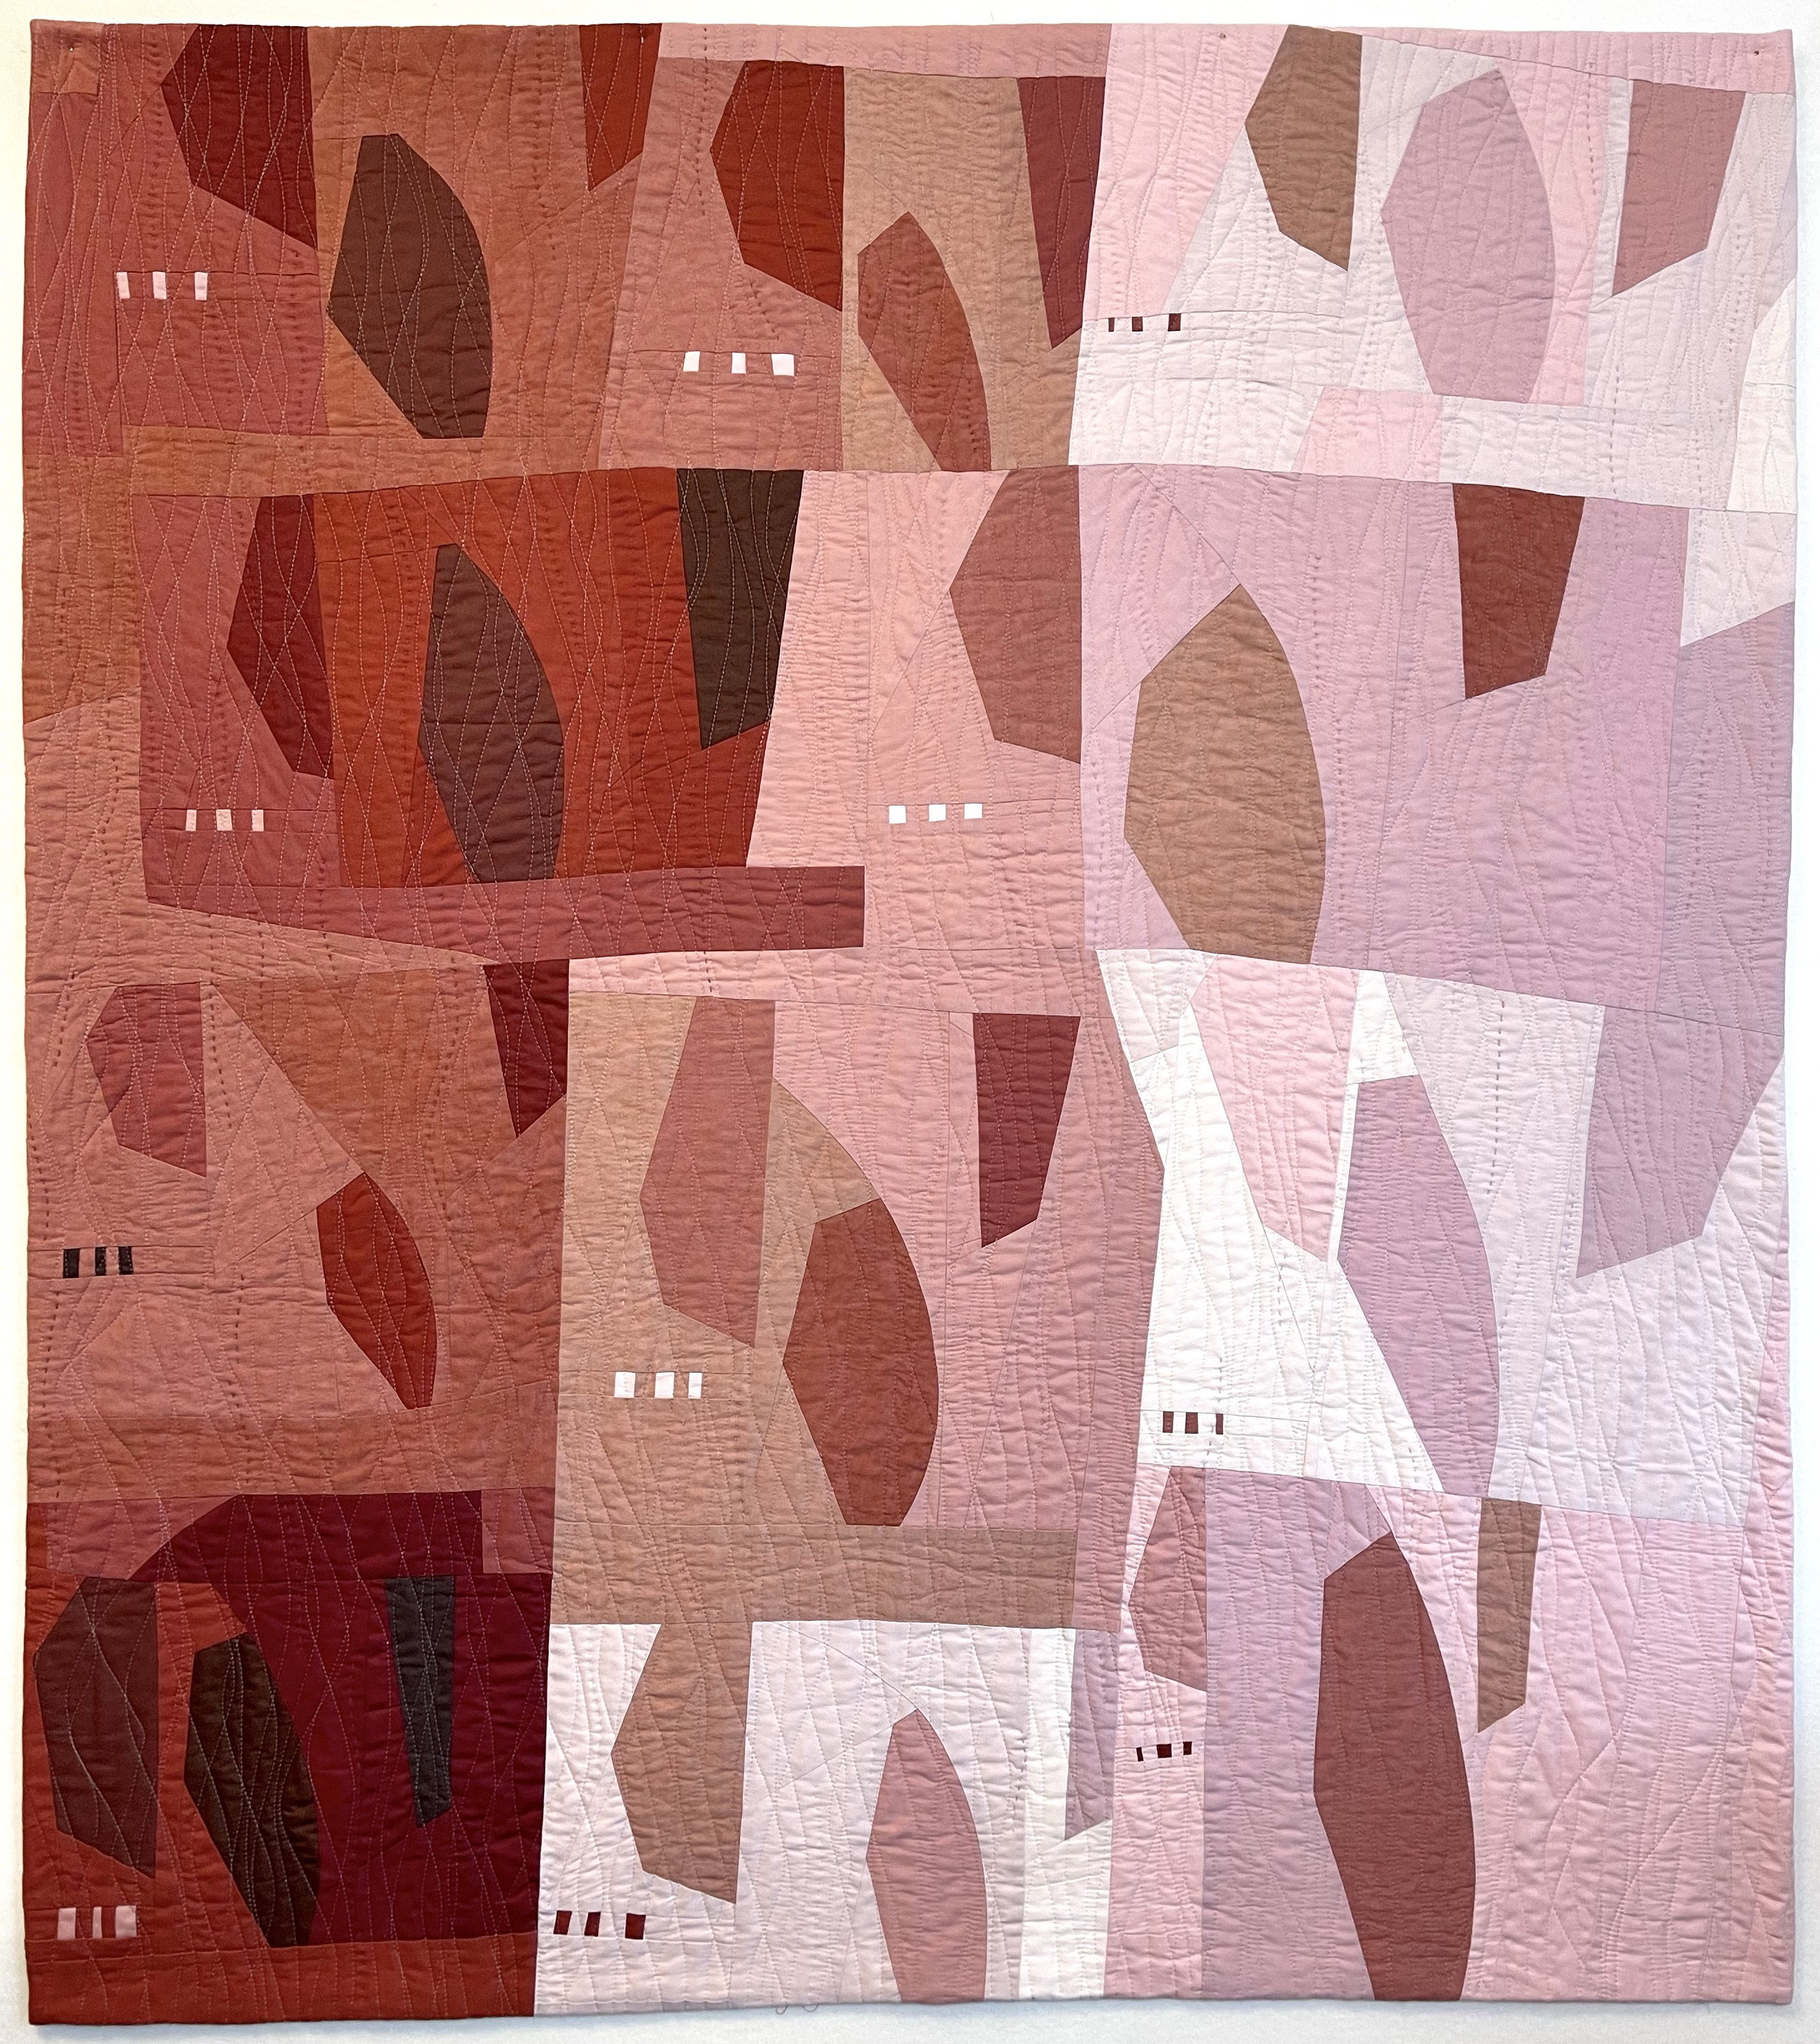
As you can see is easer than we think it would be! Of course while dense your quilting, it will takes more time and thread to finish your quilt! Now is your turn to try and learn!
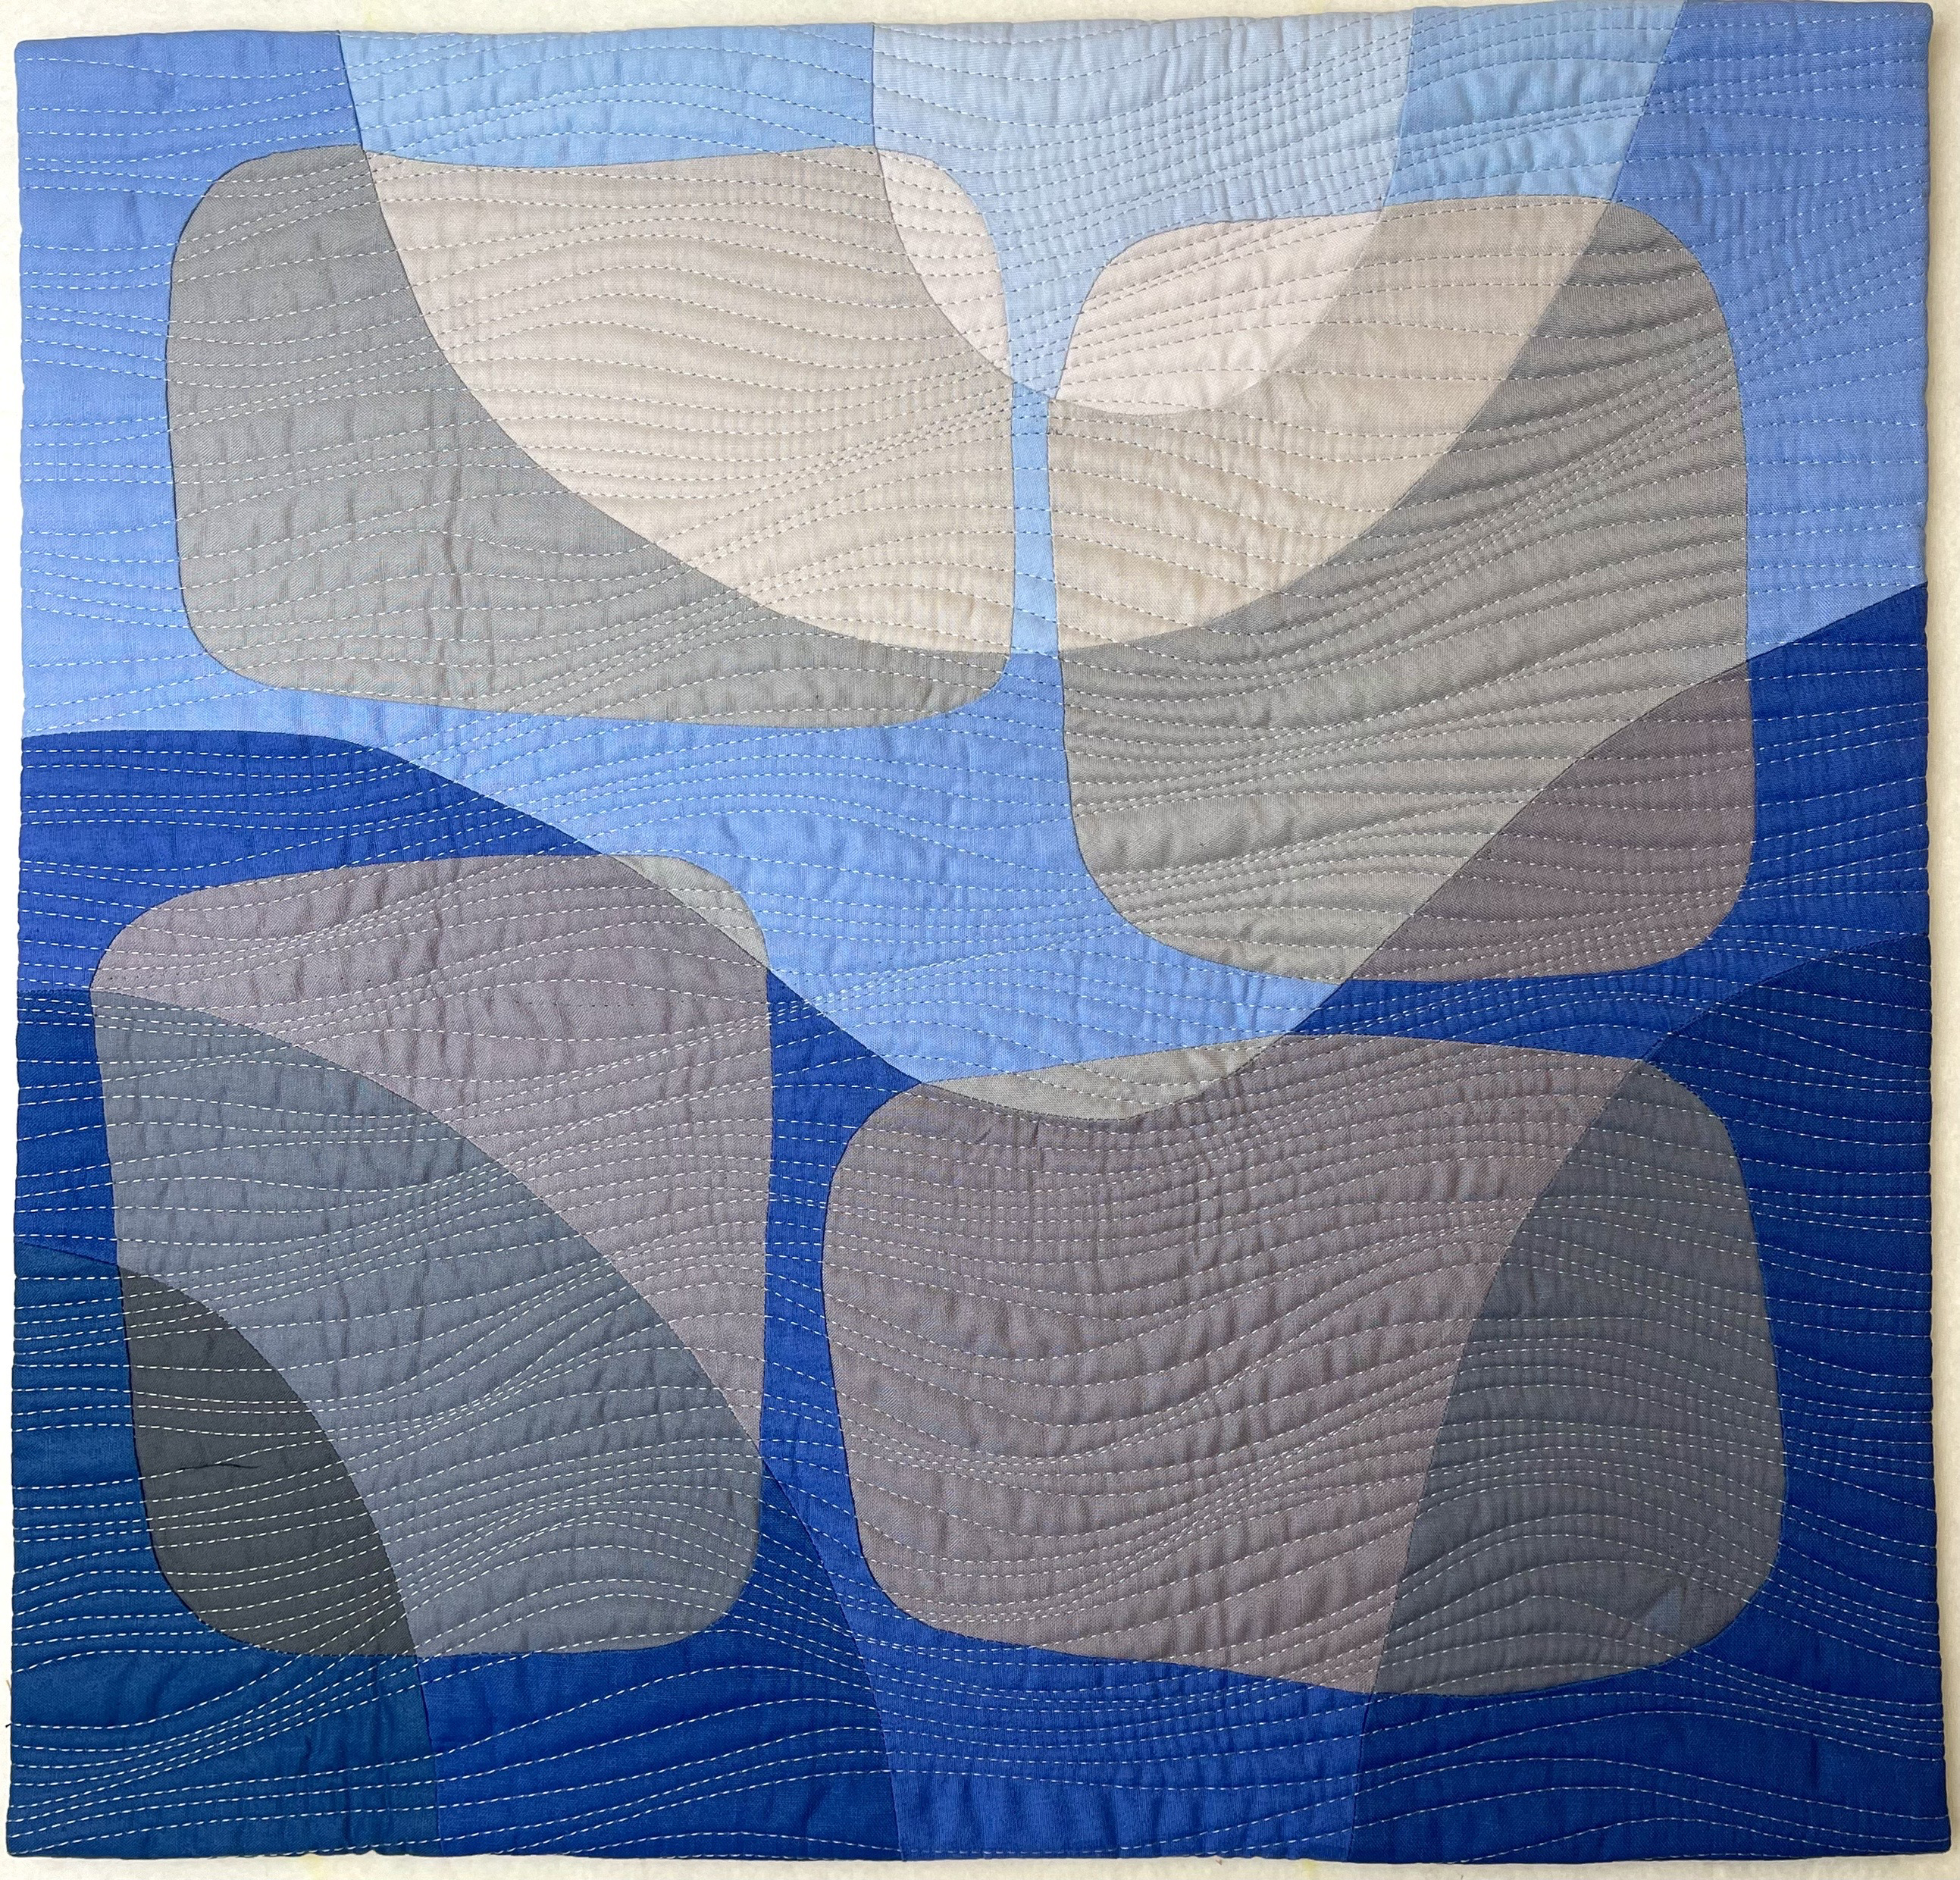
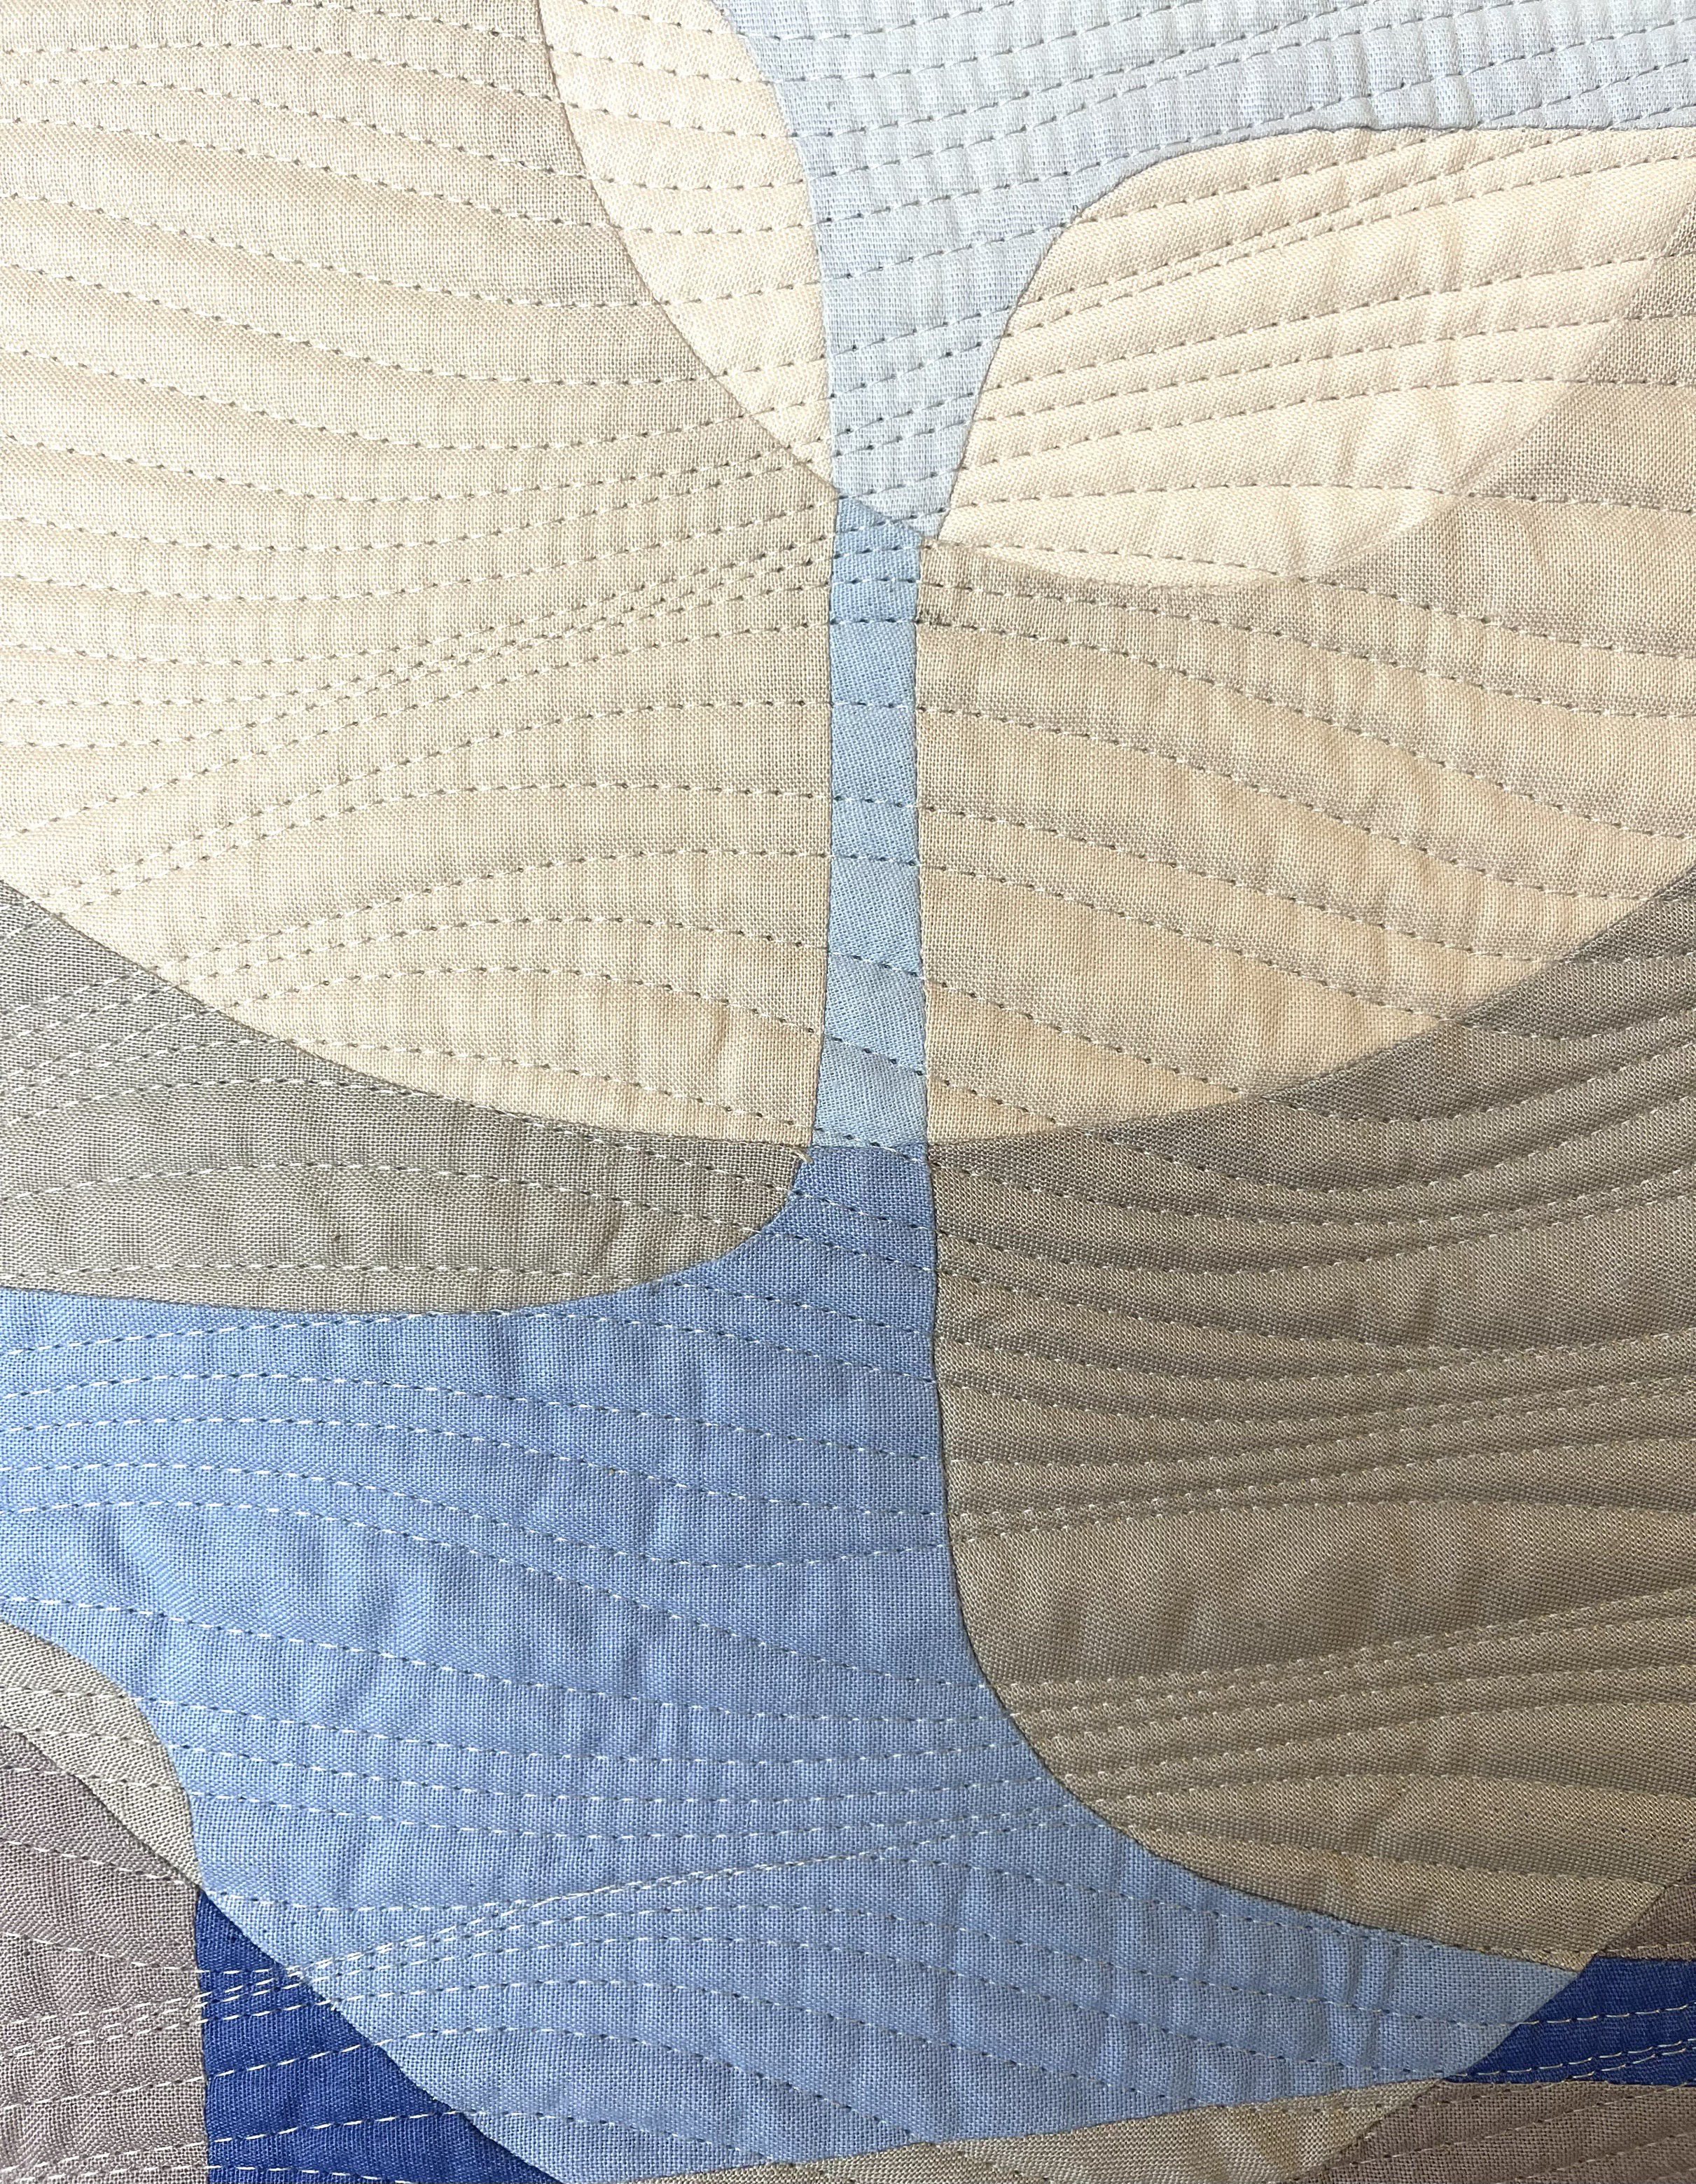
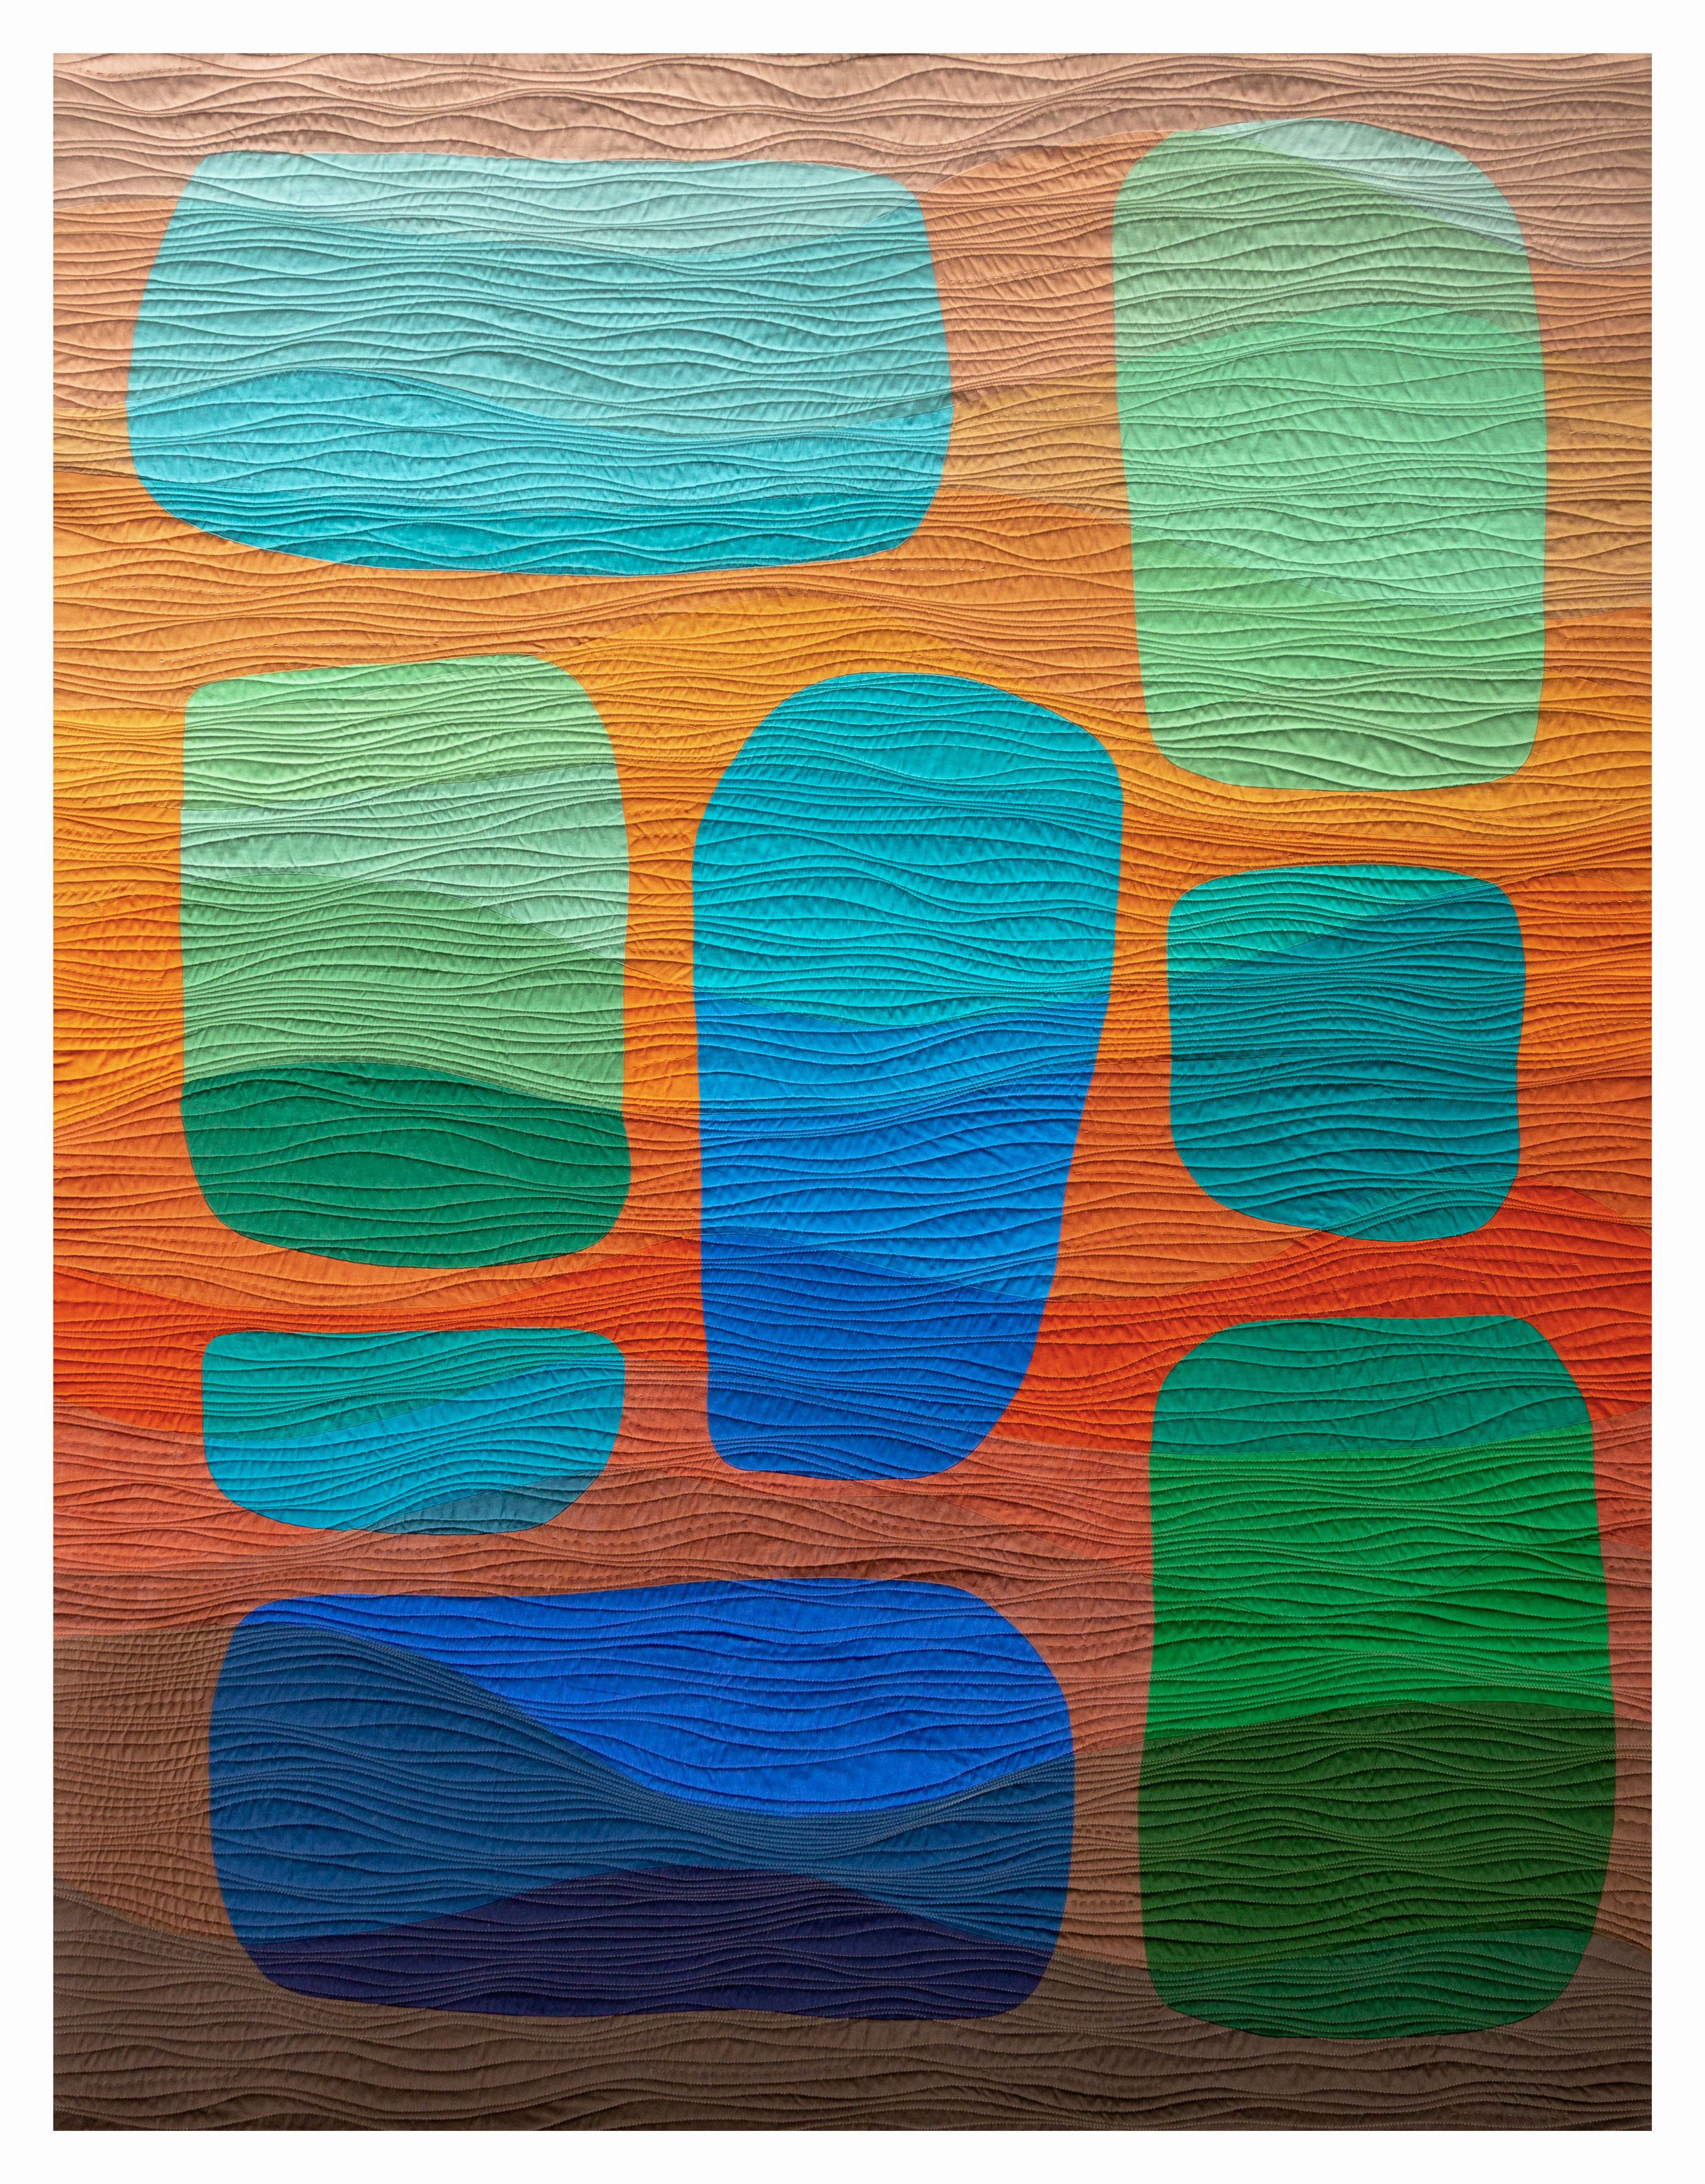
Below I want to show you some examples in my quilts using this design that I love!